Hi All, I apologise if this is covered somewhere, looked but couldn’t find it.
Recently finished my build of the MPCNC, did a 48" X 48" build and have it operating with the dewalt 660 spindle. Very impressive cuts! Time to move to Phase 2 of my build, Adding a Laser.
This is the laser module that I have. It has a TTL input pin, and I am not sure what needs to happen to interface it with the MiniRAMBO board. I have read through the laser add on PDF and if seems reasonably straightforward, but it uses the RAMPS board so there are some differences. Does anyone have a walkthrough using the MiniRAMBO?
Sorry Ryan, I am probably looking right at it and not seeing it. When you get back to a computer can you link it for me? No hurry, I am putting the spindle back on to work on another project and will get back to the laser later.
One additional question. What plug do I need to purchase to fit the endstop plugs on the mini rambo board? (I tried searching 3 pin Molex on amazon and it’s really hard to tell from the pictures)
I will just barewire pins for the smoke test, but in the long run, dressing it out with an actual plug will be best.
OK! I have the laser working! Here is an example of one of my first test runs.
[attachment file=59489]
I used Inkscape and the J Tech plugin to create the Gcode, which worked well for outline and text items, but seems to be limited to a single power setting for the drawing. I would like to play with some greyscale drawings / photos next. I got a copy of the MPCNC optimized Image2Gcode but the newest incarnation I can find appears to be about 2 years back (V1.0). is there a newer version of this or is there something better out there I should look at now? 2 years seems to be ancient history in this field!
Been playing with Image2GCode for the last few weeks with little to no success, still can not get usable GCode out of it. However, A friend pointed me to a piece of software called LightBurn. This software has the ability to control the machine as well as basic editing of photos, text, drawings etc. Feels a lot like someone combined a basic version of inkscape with Laser control! So far it is working well for me, but more testing is required. This is a paid software (about $40) but has a 30 day full feature trial. If you are using the MPCNC Marlin firmware, just select Marlin in the machine setup page. After that it was pretty “plug and play”.
If you want to try it, here is the link. I would be interested in hearing your opinions and experiences, especially if you are using another software and can compare them!
Hi Ted, i was wondering if you could walk someone though what you did to get the laser firing offer your mini rambo board I am kind of at a lose as there is so much different information about it ever
Sorry for the late reply, Life gets busy this time of year!
I am using the Z min plug as my TTL send point. (my laser wants a 5 Volt signal. If yours will handle a 12V signal then follow the instructions Ryan posted above) (This assumes you do not have endstops using that port!, Not sure which port I would use if I had endstops) In order to use this, I needed to make a minor change in the firmware to allow it to address this port. However, I cleaned my shop a few weeks ago and tossed my notes for this. If that is the info you need, it will take me a few days to reconstruct that data. I might be able to just send a copy of my firmware file (it’s the basic MPCNC Mini RAMBO file with that one modification made) Let me know if that is what you need. I then ran 2 wires to the laser controller 1 for ground and one for TTL signal. This should allow for the Mini RAMBO to switch your laser on and off.
As my postings above state, I have had good luck with LightBurn as my laser software. If you download the trial version, walk through the setup and pick Marlin as your device. It will default to auto for the com port, On my machine, I have to set that manually to com 3, but I think that is an eccentricity of my laptop. Others state that theirs works fine on auto. Others have also had to adjust the baud rate, but I didn’t. (Mine is set at 250,000) Once you have connected LightBurn to your Mini RAMBO, you should have a button under the “Move” tab that says “fire laser” and next to it should be a power setting. This is the test fire button that is used to show you where your laser is pointing. set the power to 20% and toggle the fire button. You should see your laser dot on the work surface, but it should be a low enough setting that it wont burn the wood. If you can see the dot, Congrats you should be ready to start playing! REMEMBER, proper eye protection is a must!
Let me know if you need those firmware settings and I will reconstruct. Also let me know if you need more info.
Hi Ted,
Just wondering if you every found the firmware you used on your mini rambo for the laser I would like to compare it to my file to see if it is the same. mine works I however cannot seem to get grey scales to work well.
Cheers wayne
Hi Wayne, Sorry but I have had to change computers and it appears that I no longer have that file. I am glad yours is working!
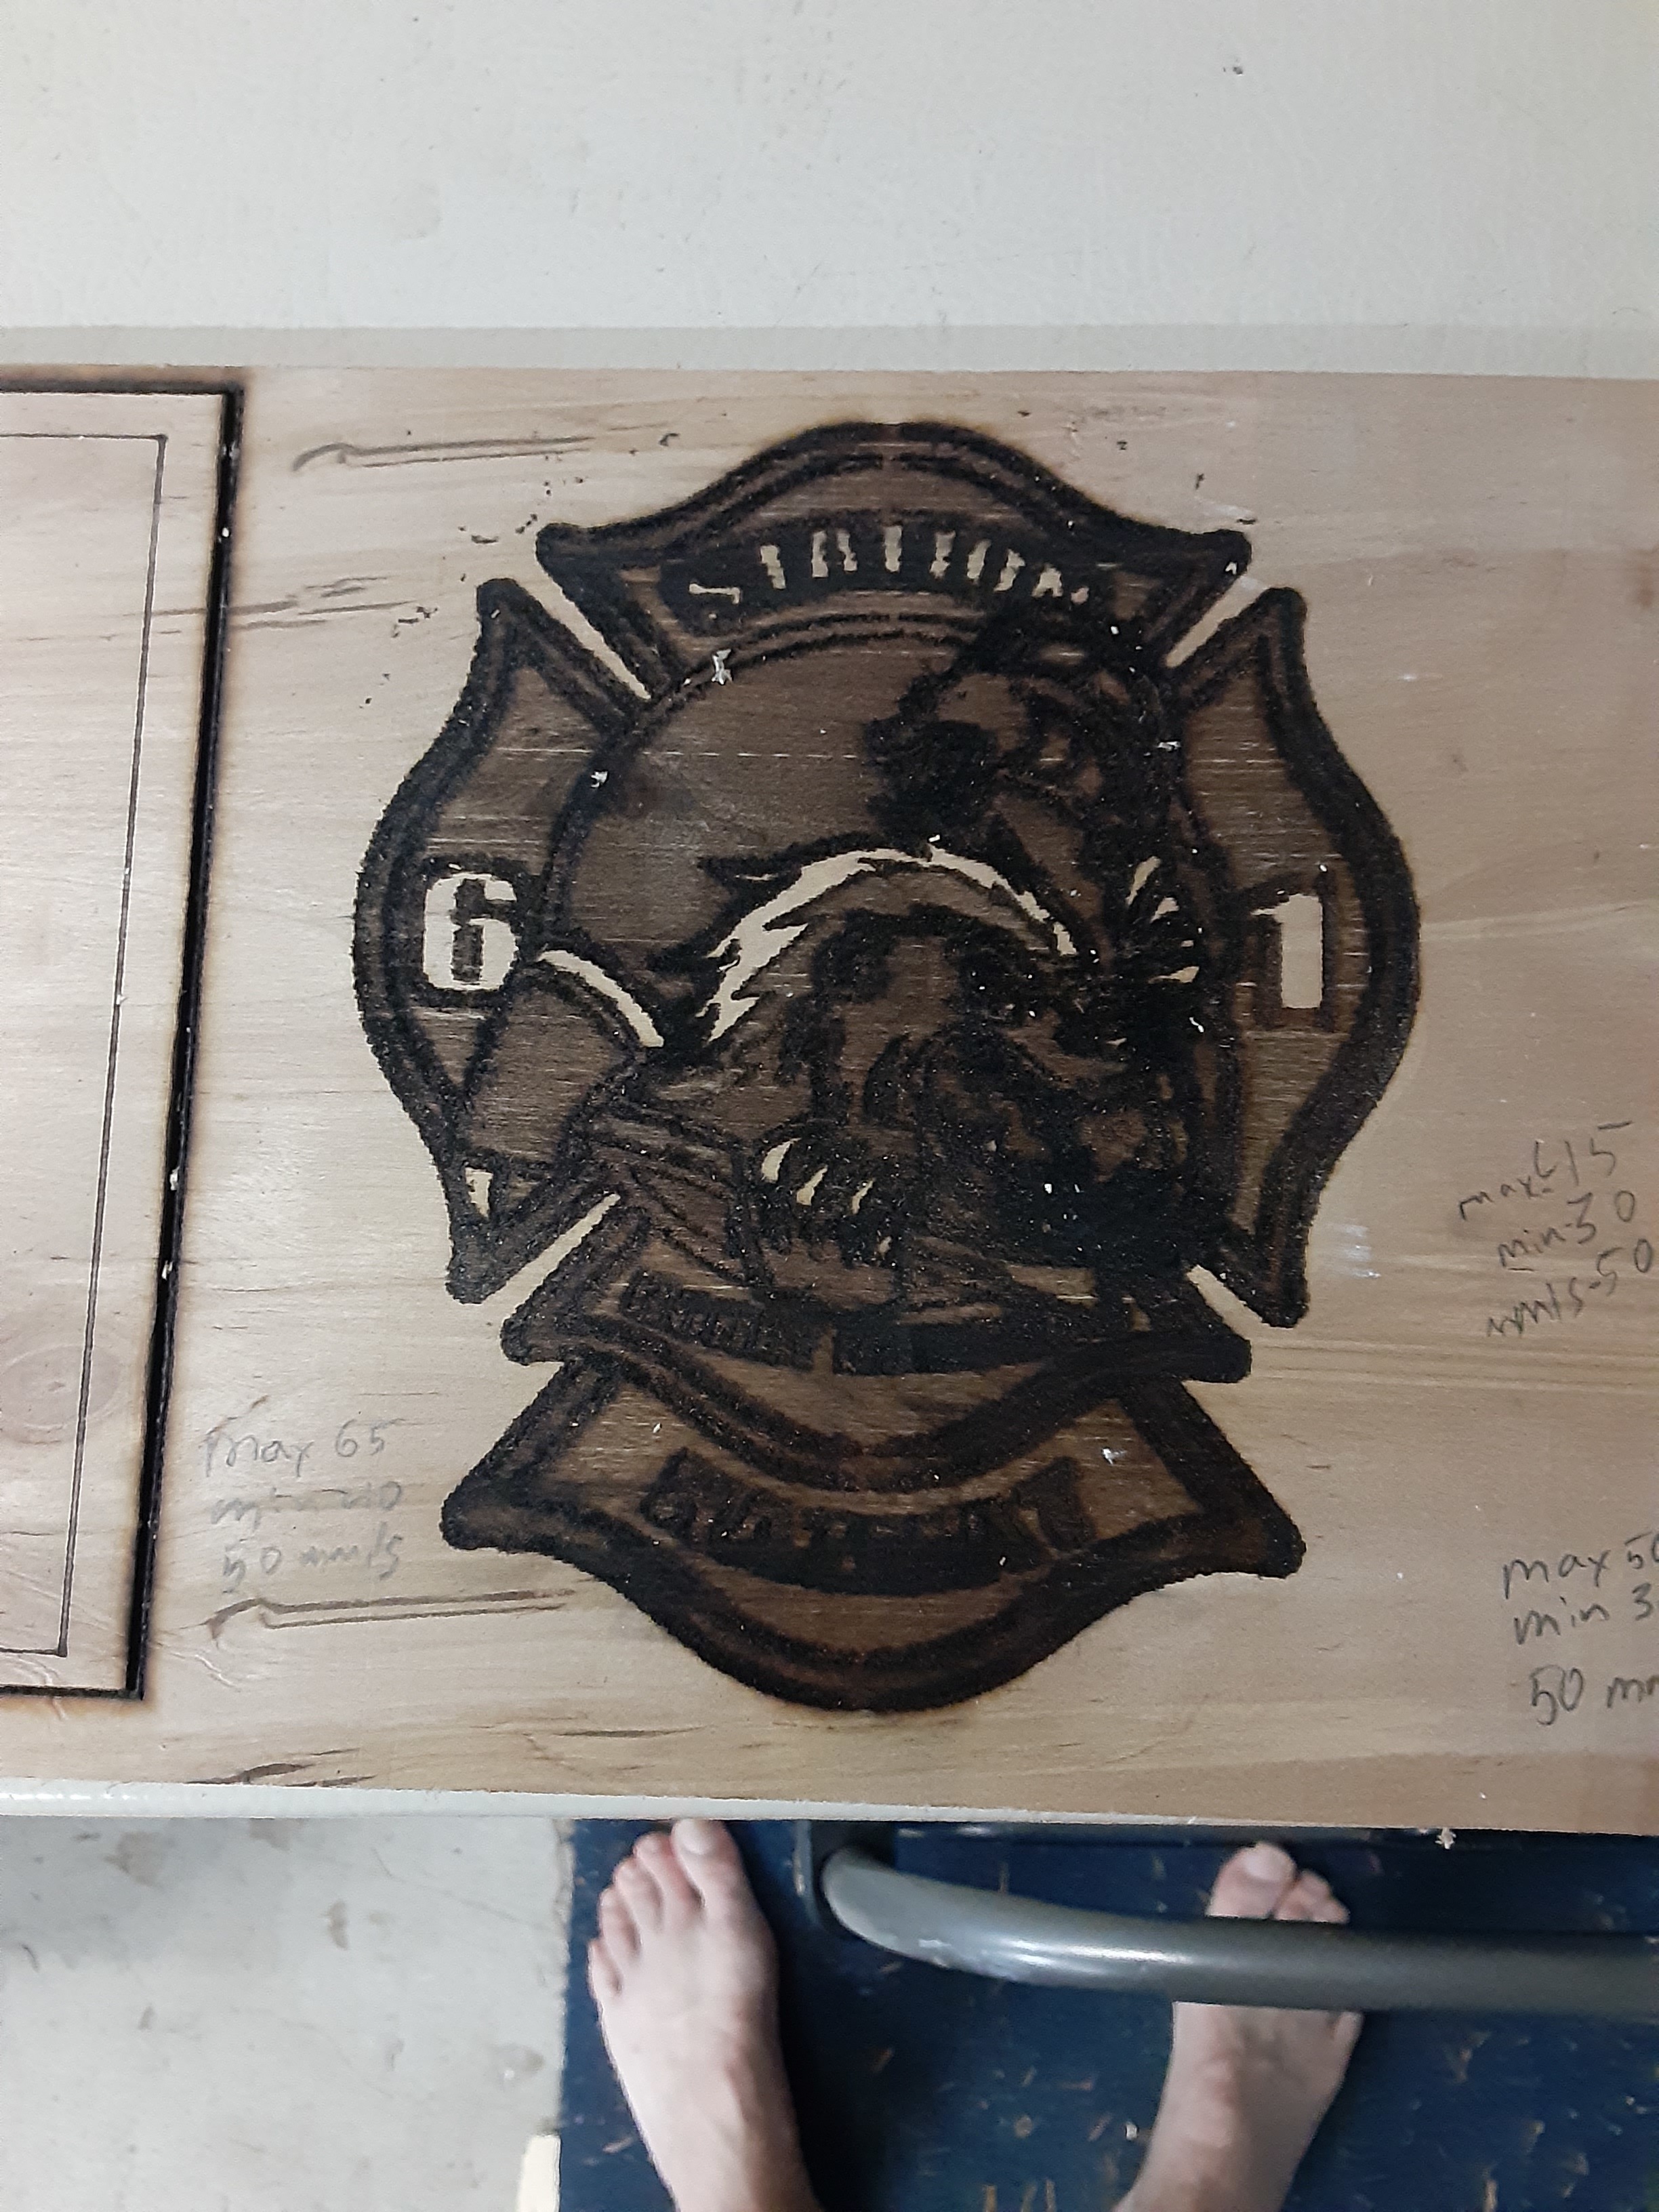
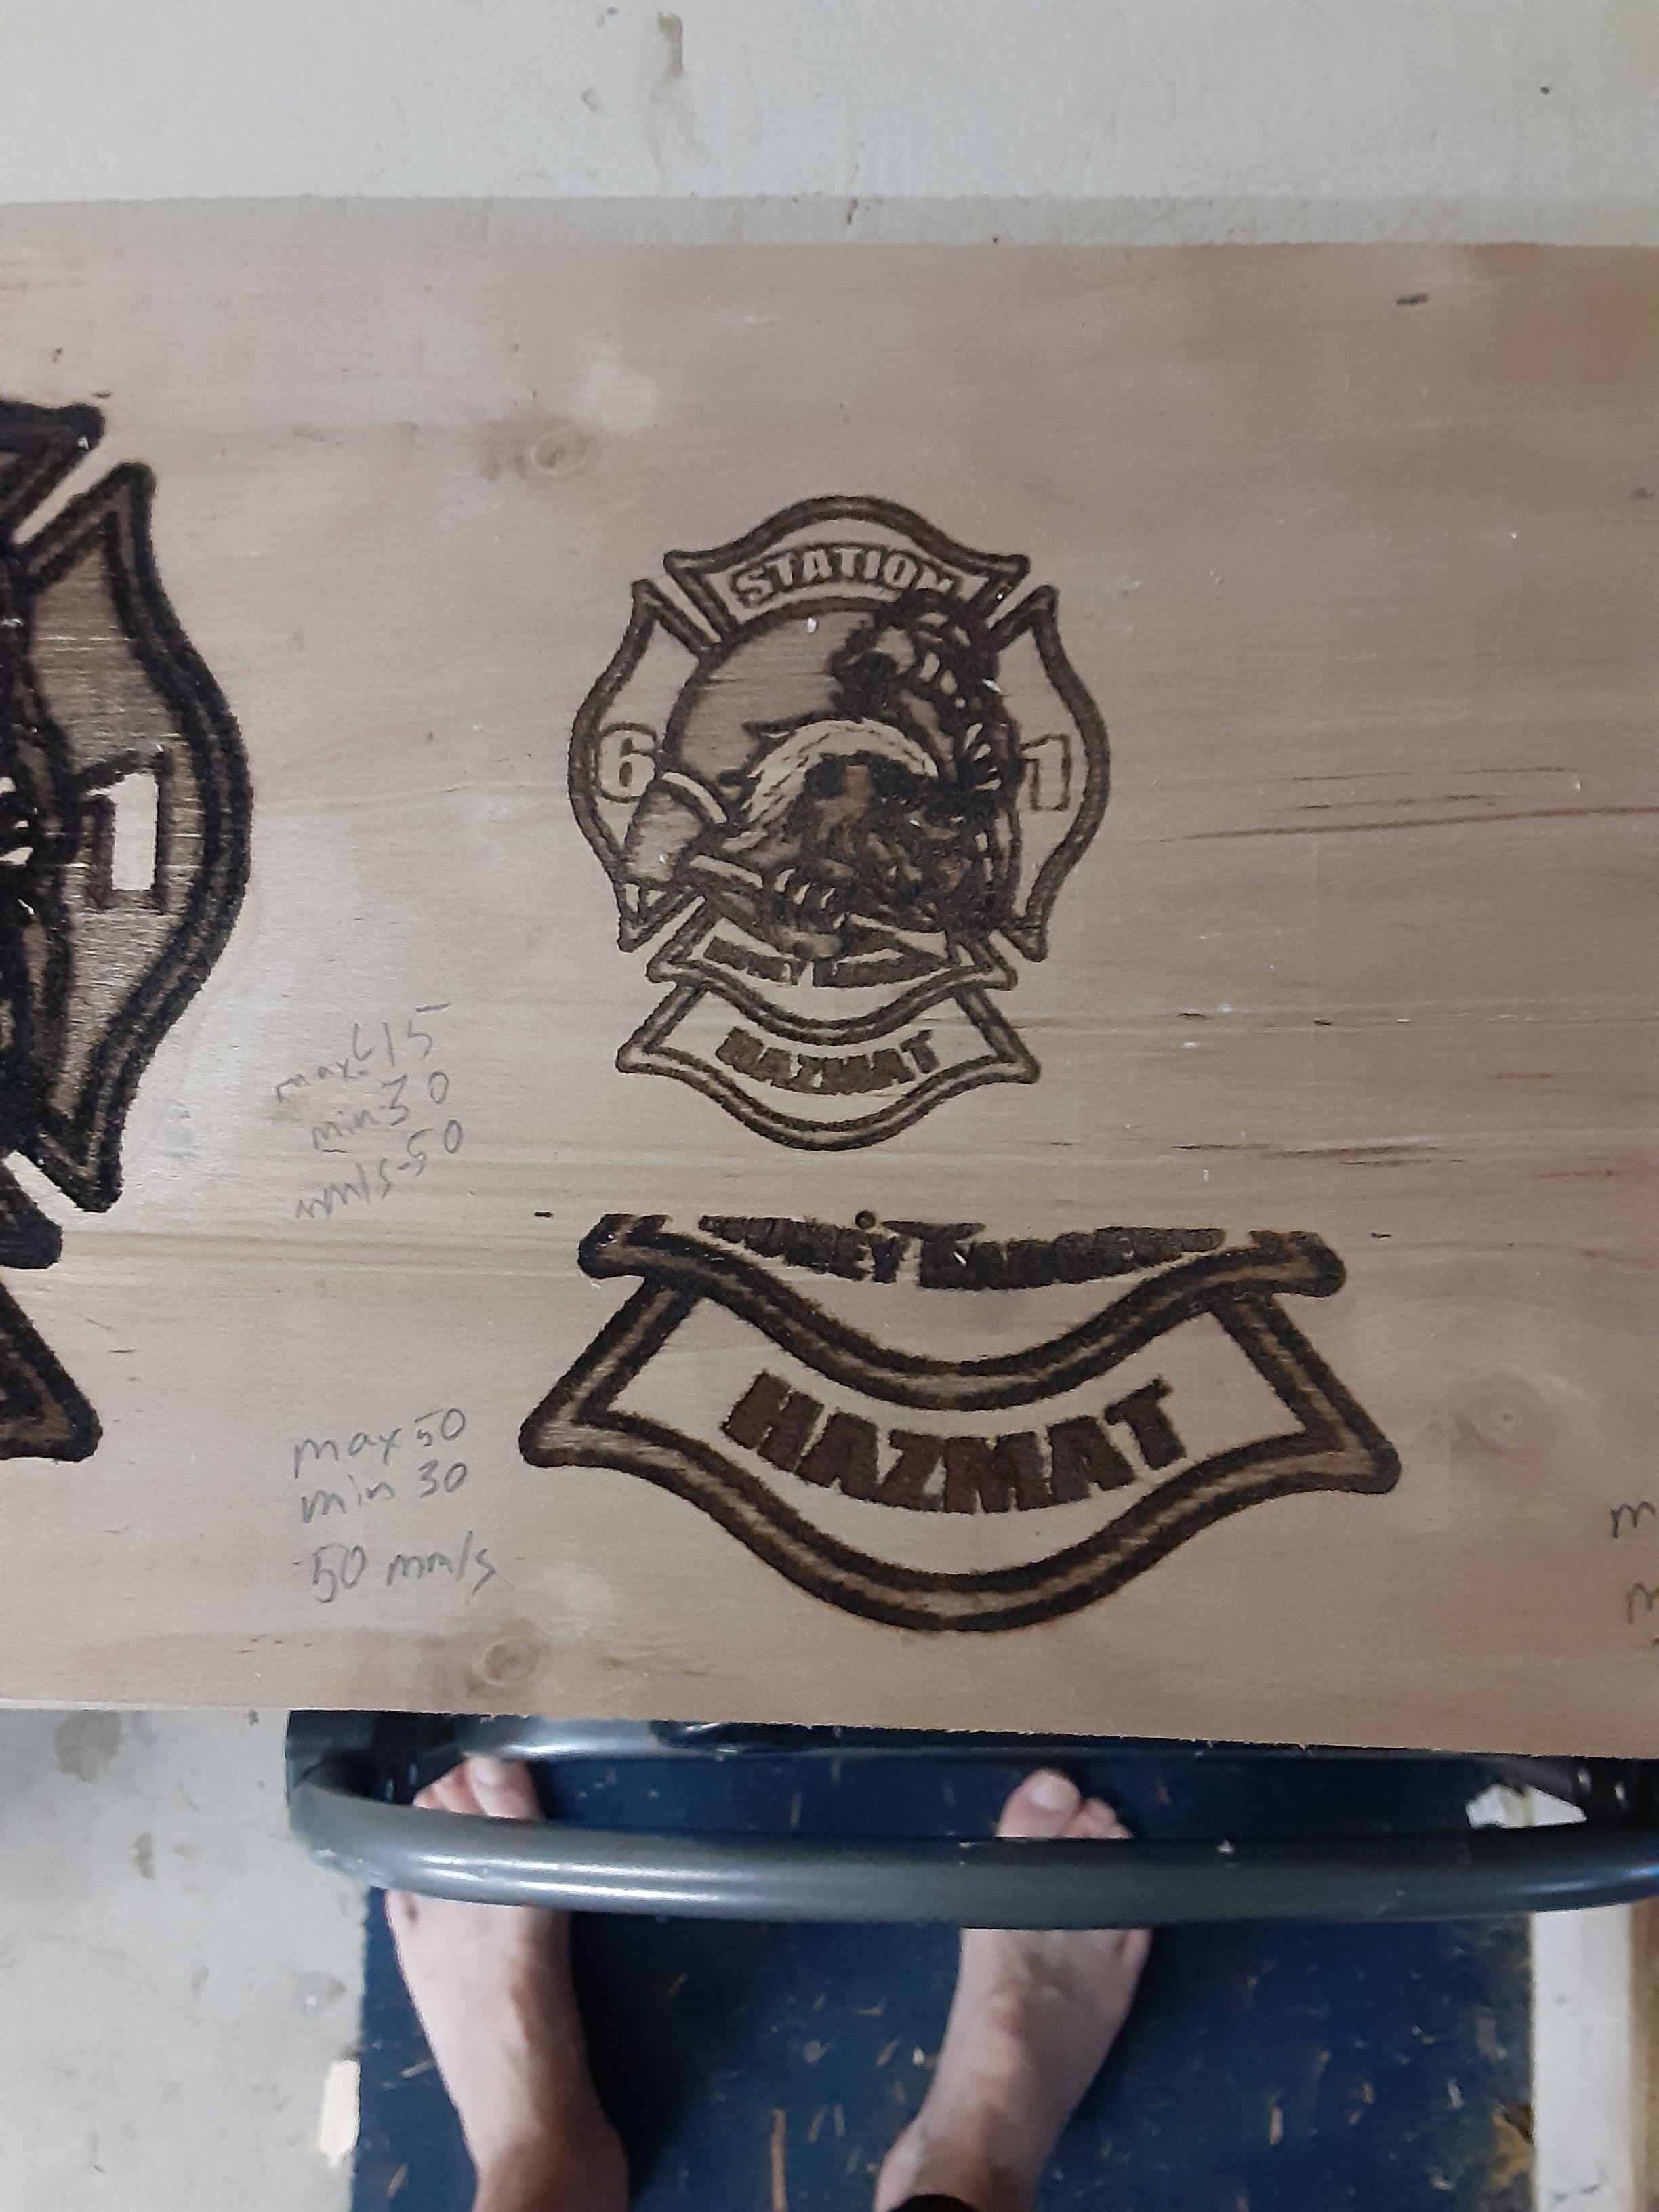
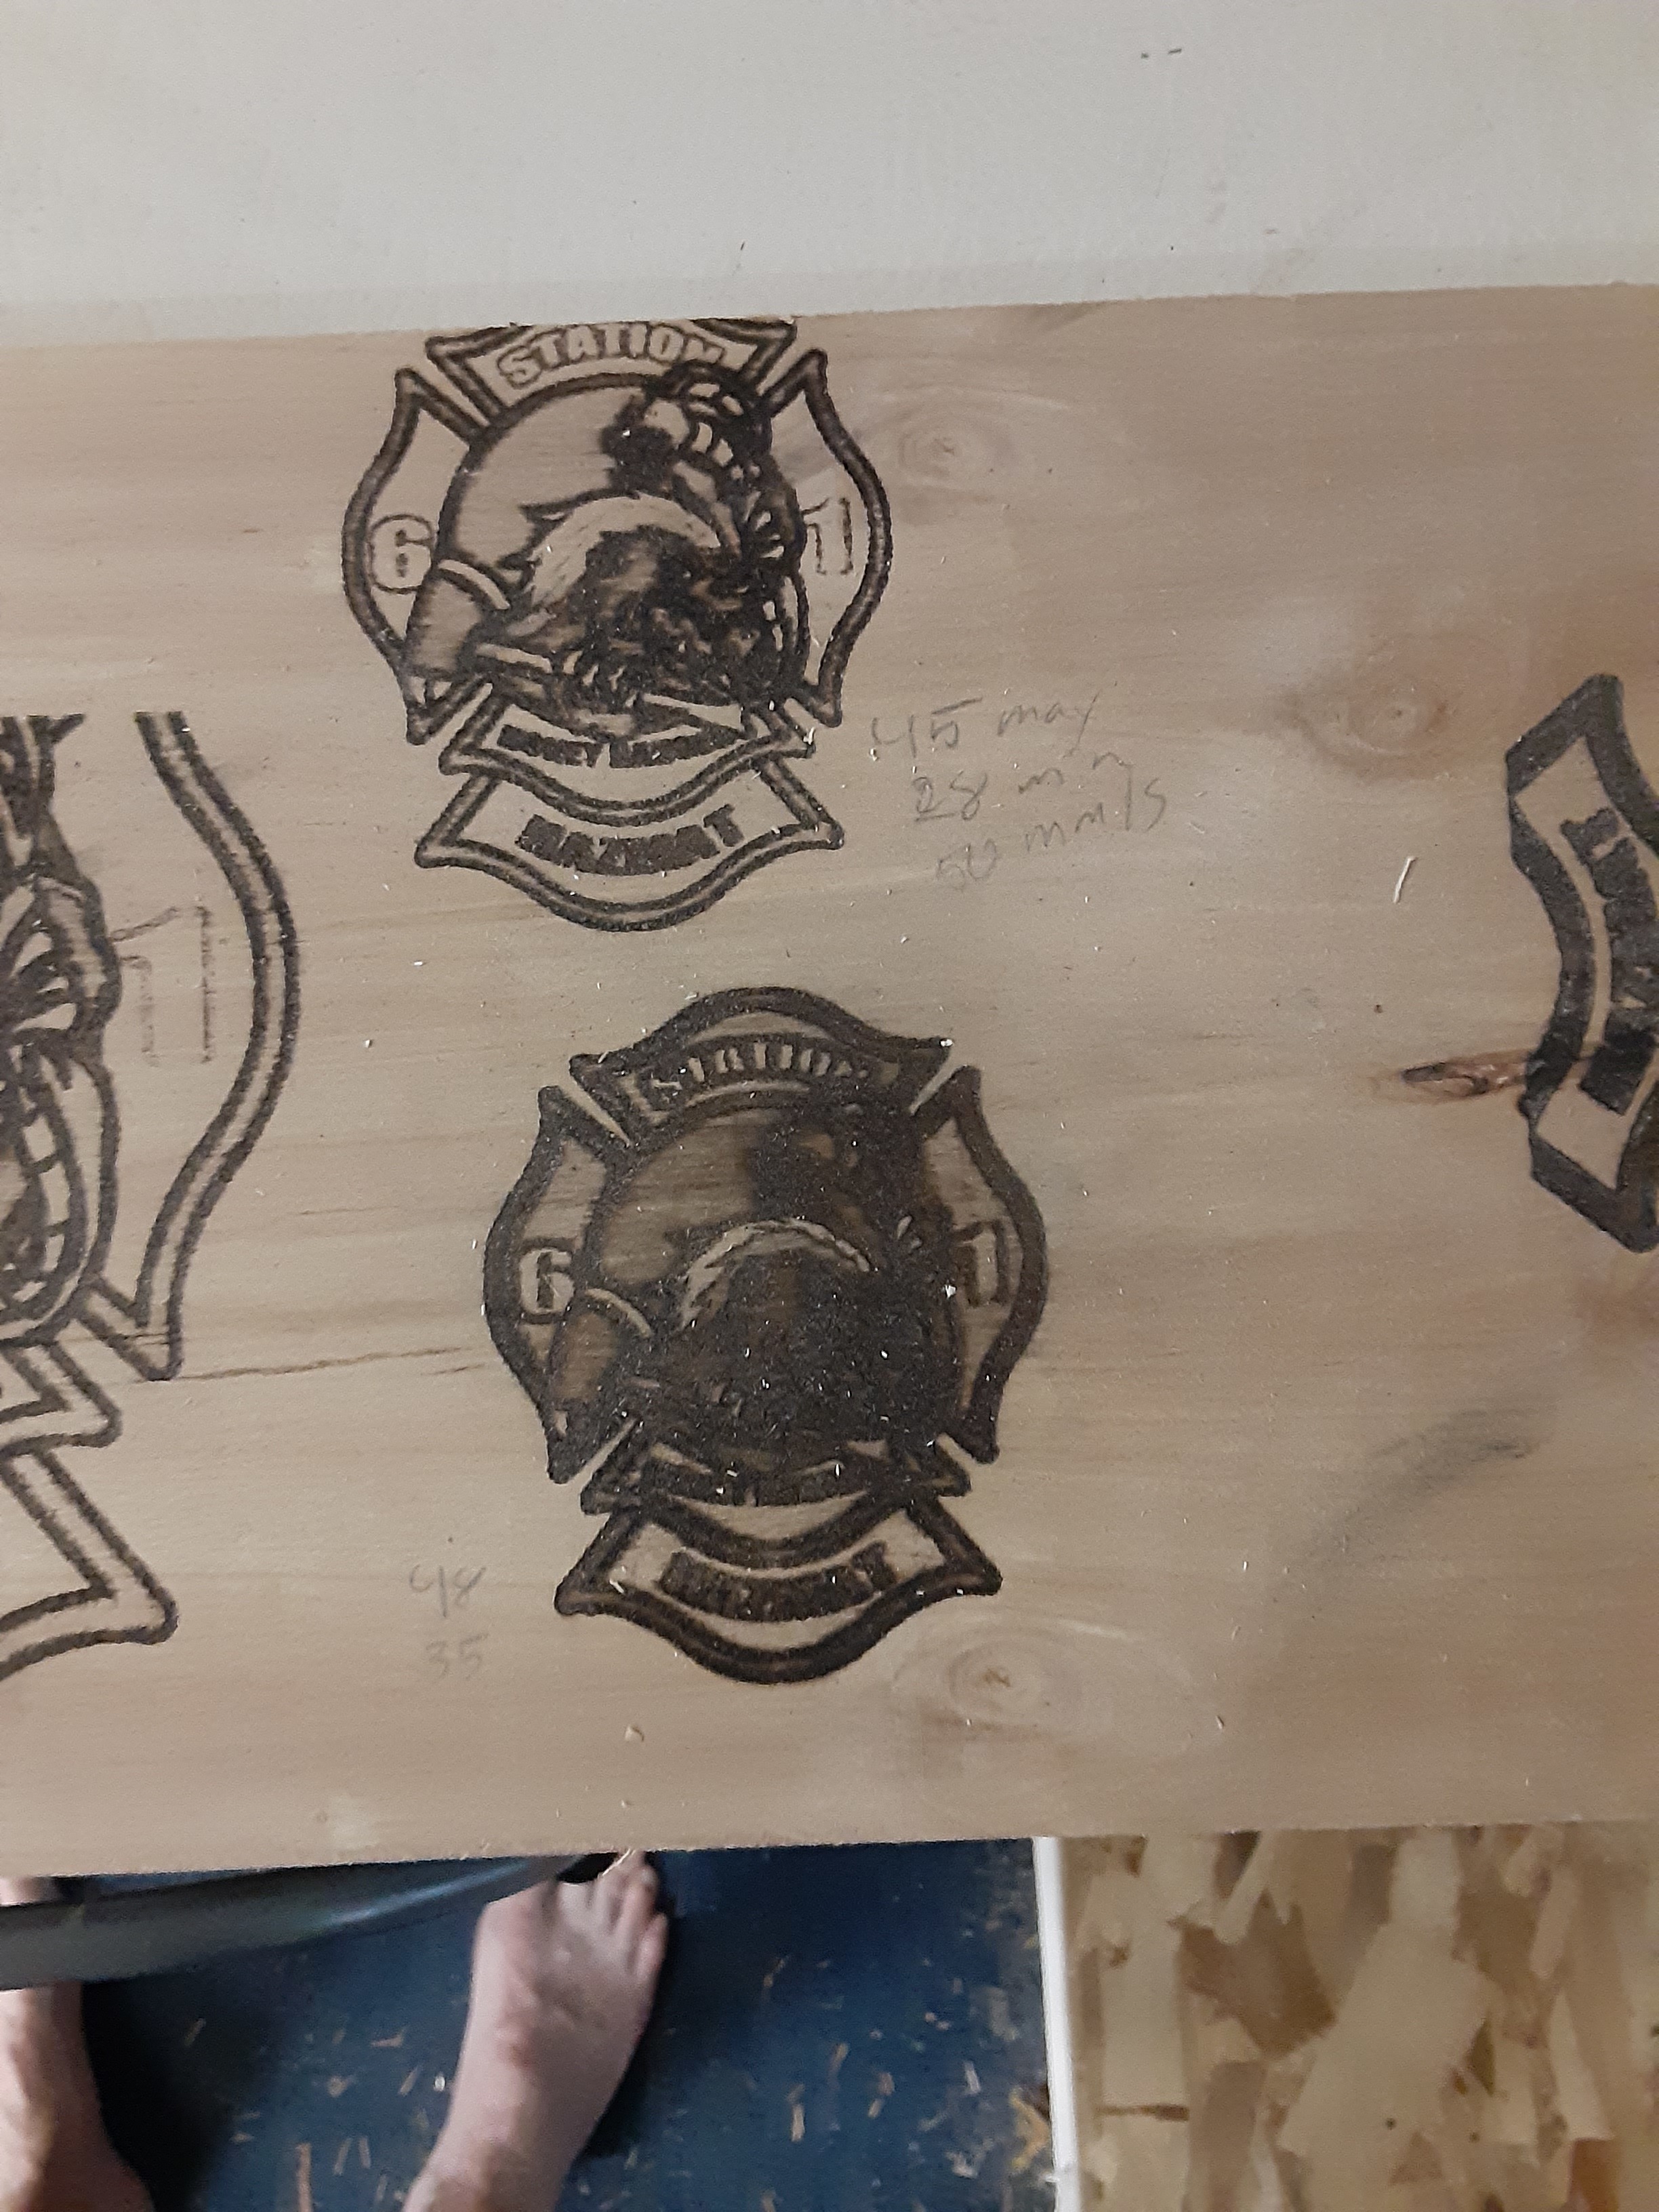
Greyscale takes a LOT of trial and error, adjusting the min and max power and the speed. small adjustments can make a big difference in the outcome. What I did was to print the same image multiple times using different settings, and experiment. I then refer back to those images to get the settings I want for a specific print. (photo examples below)
Note the written settings next to each image. Obviously, your laser is different from mine so your settings will vary, but it gives me a starting point as I set up a new job.
Hope that helps!
Ted
Thanks for the response I it was more about the settings in your pins file on the mini rambo I was querying but I like everyone will have to keep learning.
Cheers Wayne