Do the “two wrench approach” for bit changes, by use of a thin 12 mm wrench, like this one, in conjunction with the stock 17 mm wrench provided by Kobalt with the router. I made my own 12mm wrench using my plasma cutter, and some 3mm cold rolled steel, but afterward I googled and the one I linked to above is just 3.6 mm thick, and would hopefully work. This all but eliminates the need to use the button.
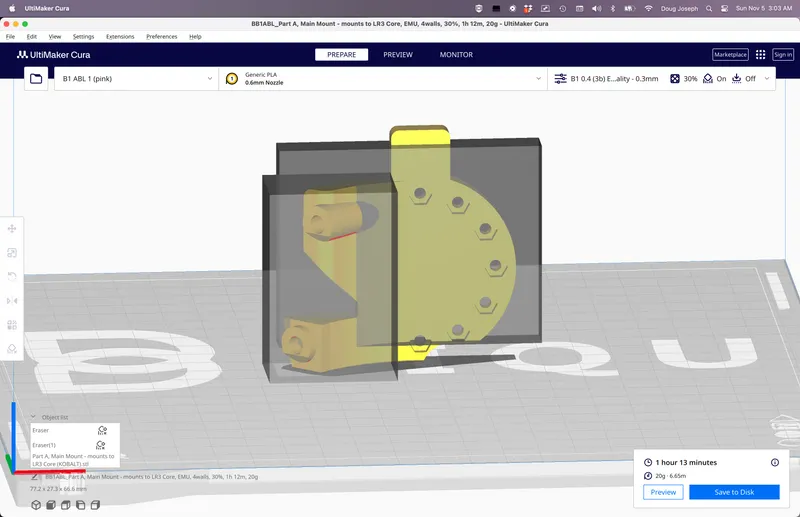
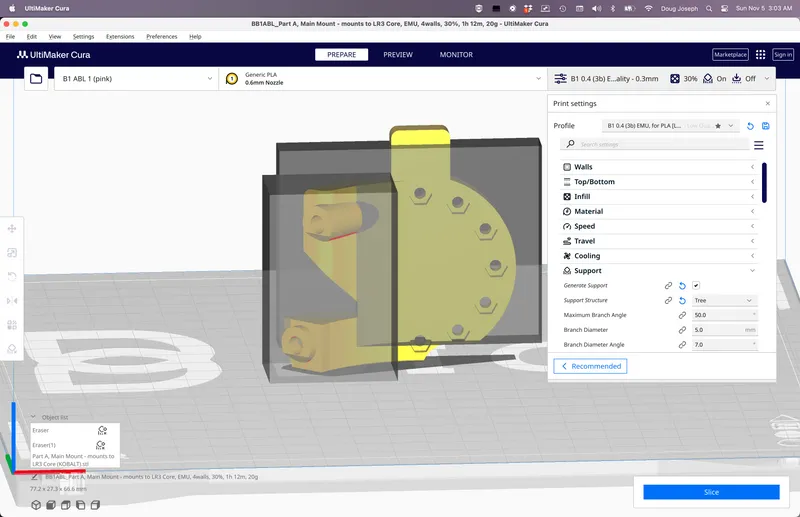
I just remixed the main mount to have a rounded notch in it, for exposing the button more. The fixed base that attaches to it would still be there, but the area closest to the button would be more open. It might help if option #1 is not used. This new part is now included in the Printables listing. See Cura screen shots below showing how I used support blockers to confine supports to only the newly added notch.
I’ll get one of these ordered as I like the two wrench approach. It will definitely have to be thin as there isn’t much space between the collet nut and the bottom of the dust collector mount.
Thank you for the remix. Printing asap I’ll post it mounted here when I get the chance.
Yes, I was thinking just this exact thing earlier today. And since we know 3mm works, and the “thin” wrench I linked to on Amazon is only 3.6mm, worst case scenario, you’d only have to grind off about 0.6mm’s worth.
Belt sander would make fast work. Especially with low grit… am curious if any of the furniture special wrenches I have are 12mm…. I really should have labeled them a while ago…
It’s alive! Thanks @DougJoseph for the remix, definitely gave me a little more room.
Also unforeseen issue with PETG, it isn’t as flexible so when mounting a tight fitting router it’s easy to brake those CAM adjusters…. Good thing I had backup mounts
And we just replaced our 1st Makita that spun a bearing with a new one from the local Lowe’s. Makita’s warranty “service” made repair less than financially viable, because shipping isn’t covered. A new one cost less than shipping the failed one to/from the warranty repair center, and we needed to get back online quickly. Replacement bearing set only about $25 though. Good to know this one can fit in our 65mm mount.
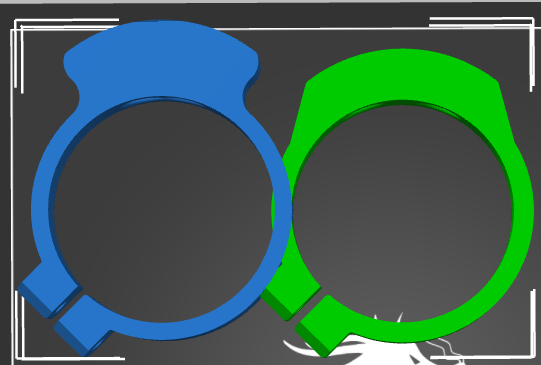
Did this get reworked? It looks like it is 8mm longer and not the same shape. The Makita is on the right and the Kobalt is on the left, both from Printables. Was there an interference?
A lot of info on Cobalt router except holder diameter - I assume it is 65mm. Please advise, I have to get a replacement router for my BoXYZ. Can your controller board be used to upgrade their long obsolete controller? Thanks - Bob Schoemer
I had seriously thought of doing a mod’d version of that “shield / guard” part on my floating Z dust shoe, that has a clear acrylic bottom inserted to let the LED light shine through. I honestly don’t know how long it would stay clear and see-through, before getting scratched up and hazy. Perhaps worth a try.