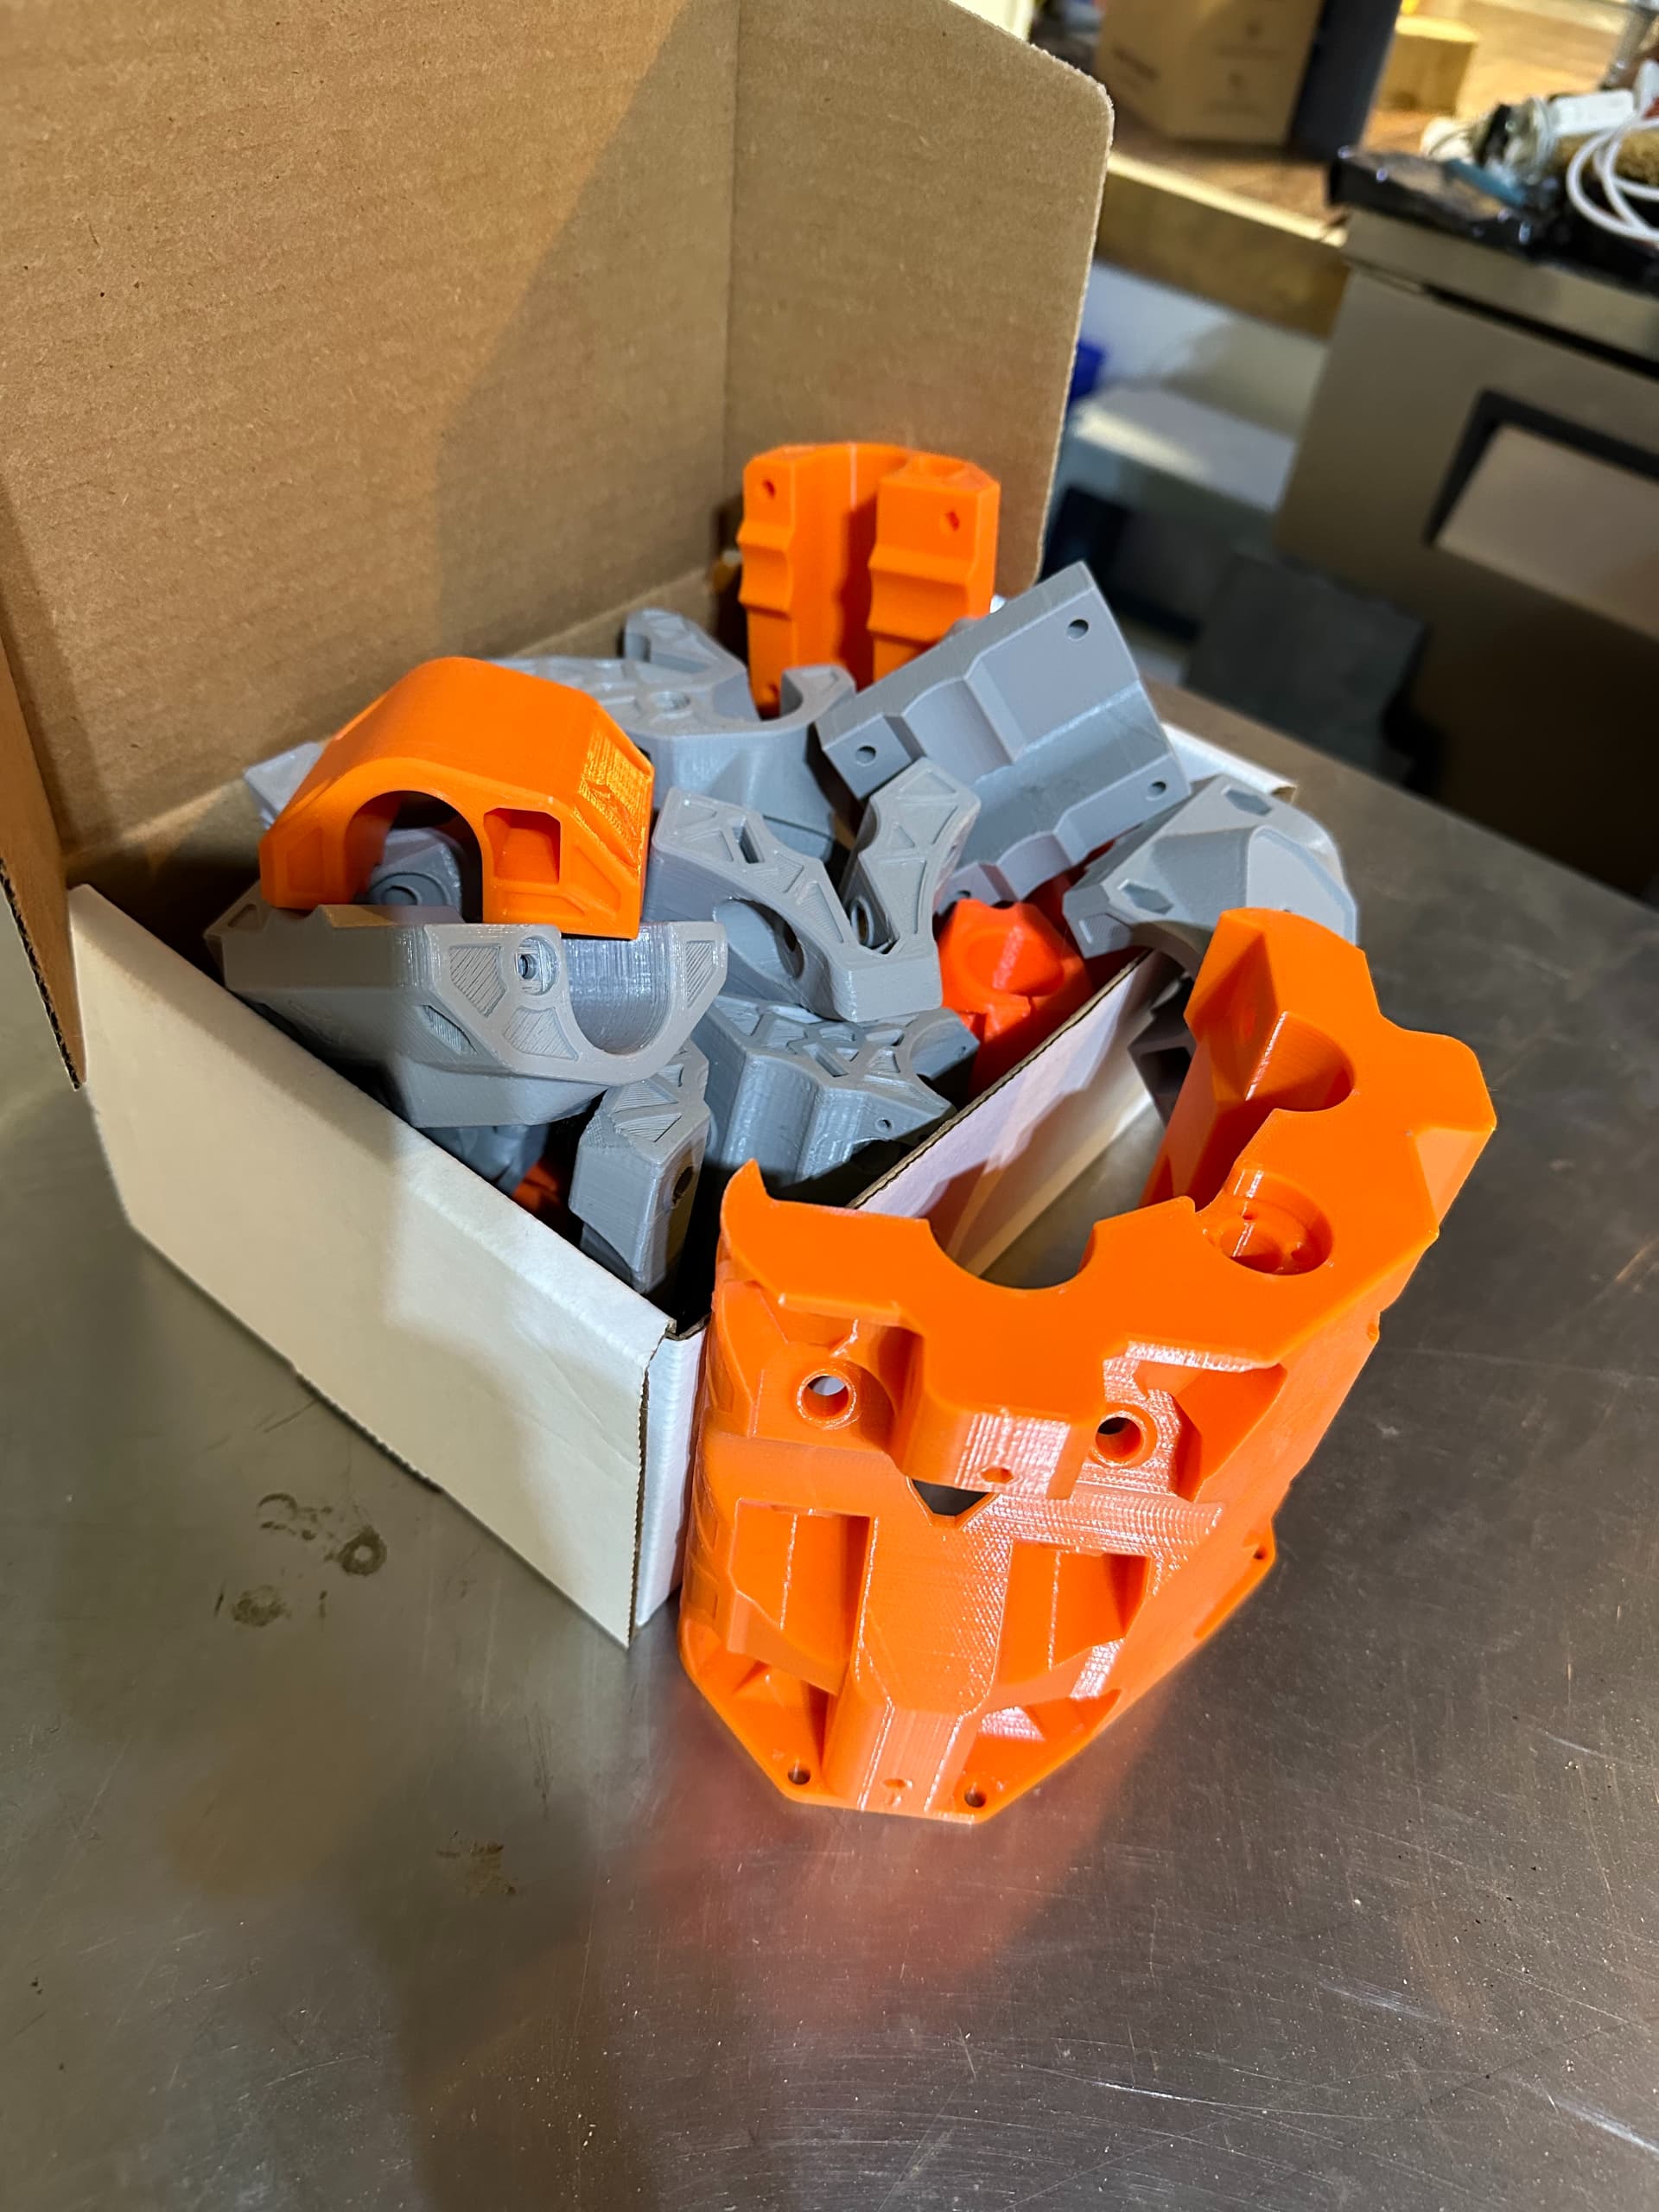
Alright. Paint is drying on the ‘table’ for the LR3 so rather than sit around I know I’m gonna need this guy very soon so I figure it’s time to get it coming together too.
7 Likes
Dang! You are literally building them all! And at the same time! That’s so awesome!!!
1 Like
It seems more impressive than it is though. I printed Primo probably a year or more ago and it’s been sitting waiting - and, having just torn apart the two burlys I’ve got steppers and boards sitting around that need something to do. But it’s true - I’ll be needing Primo very soon. Or the second LR3 or 3.X. However with the developments in the LR world I figure I’ll get Primo together so I can see what bubbles out of the Lowrider world.
Broached the topic of the ZenXY last night with the wife and she “wants to see what this is going to look like…I gets to have a say too you know”. And I was grumpy from a hard long day Saturday so I kept my mouth shut like a smart husband and will find all the nicest photos I can to show her.
2 Likes
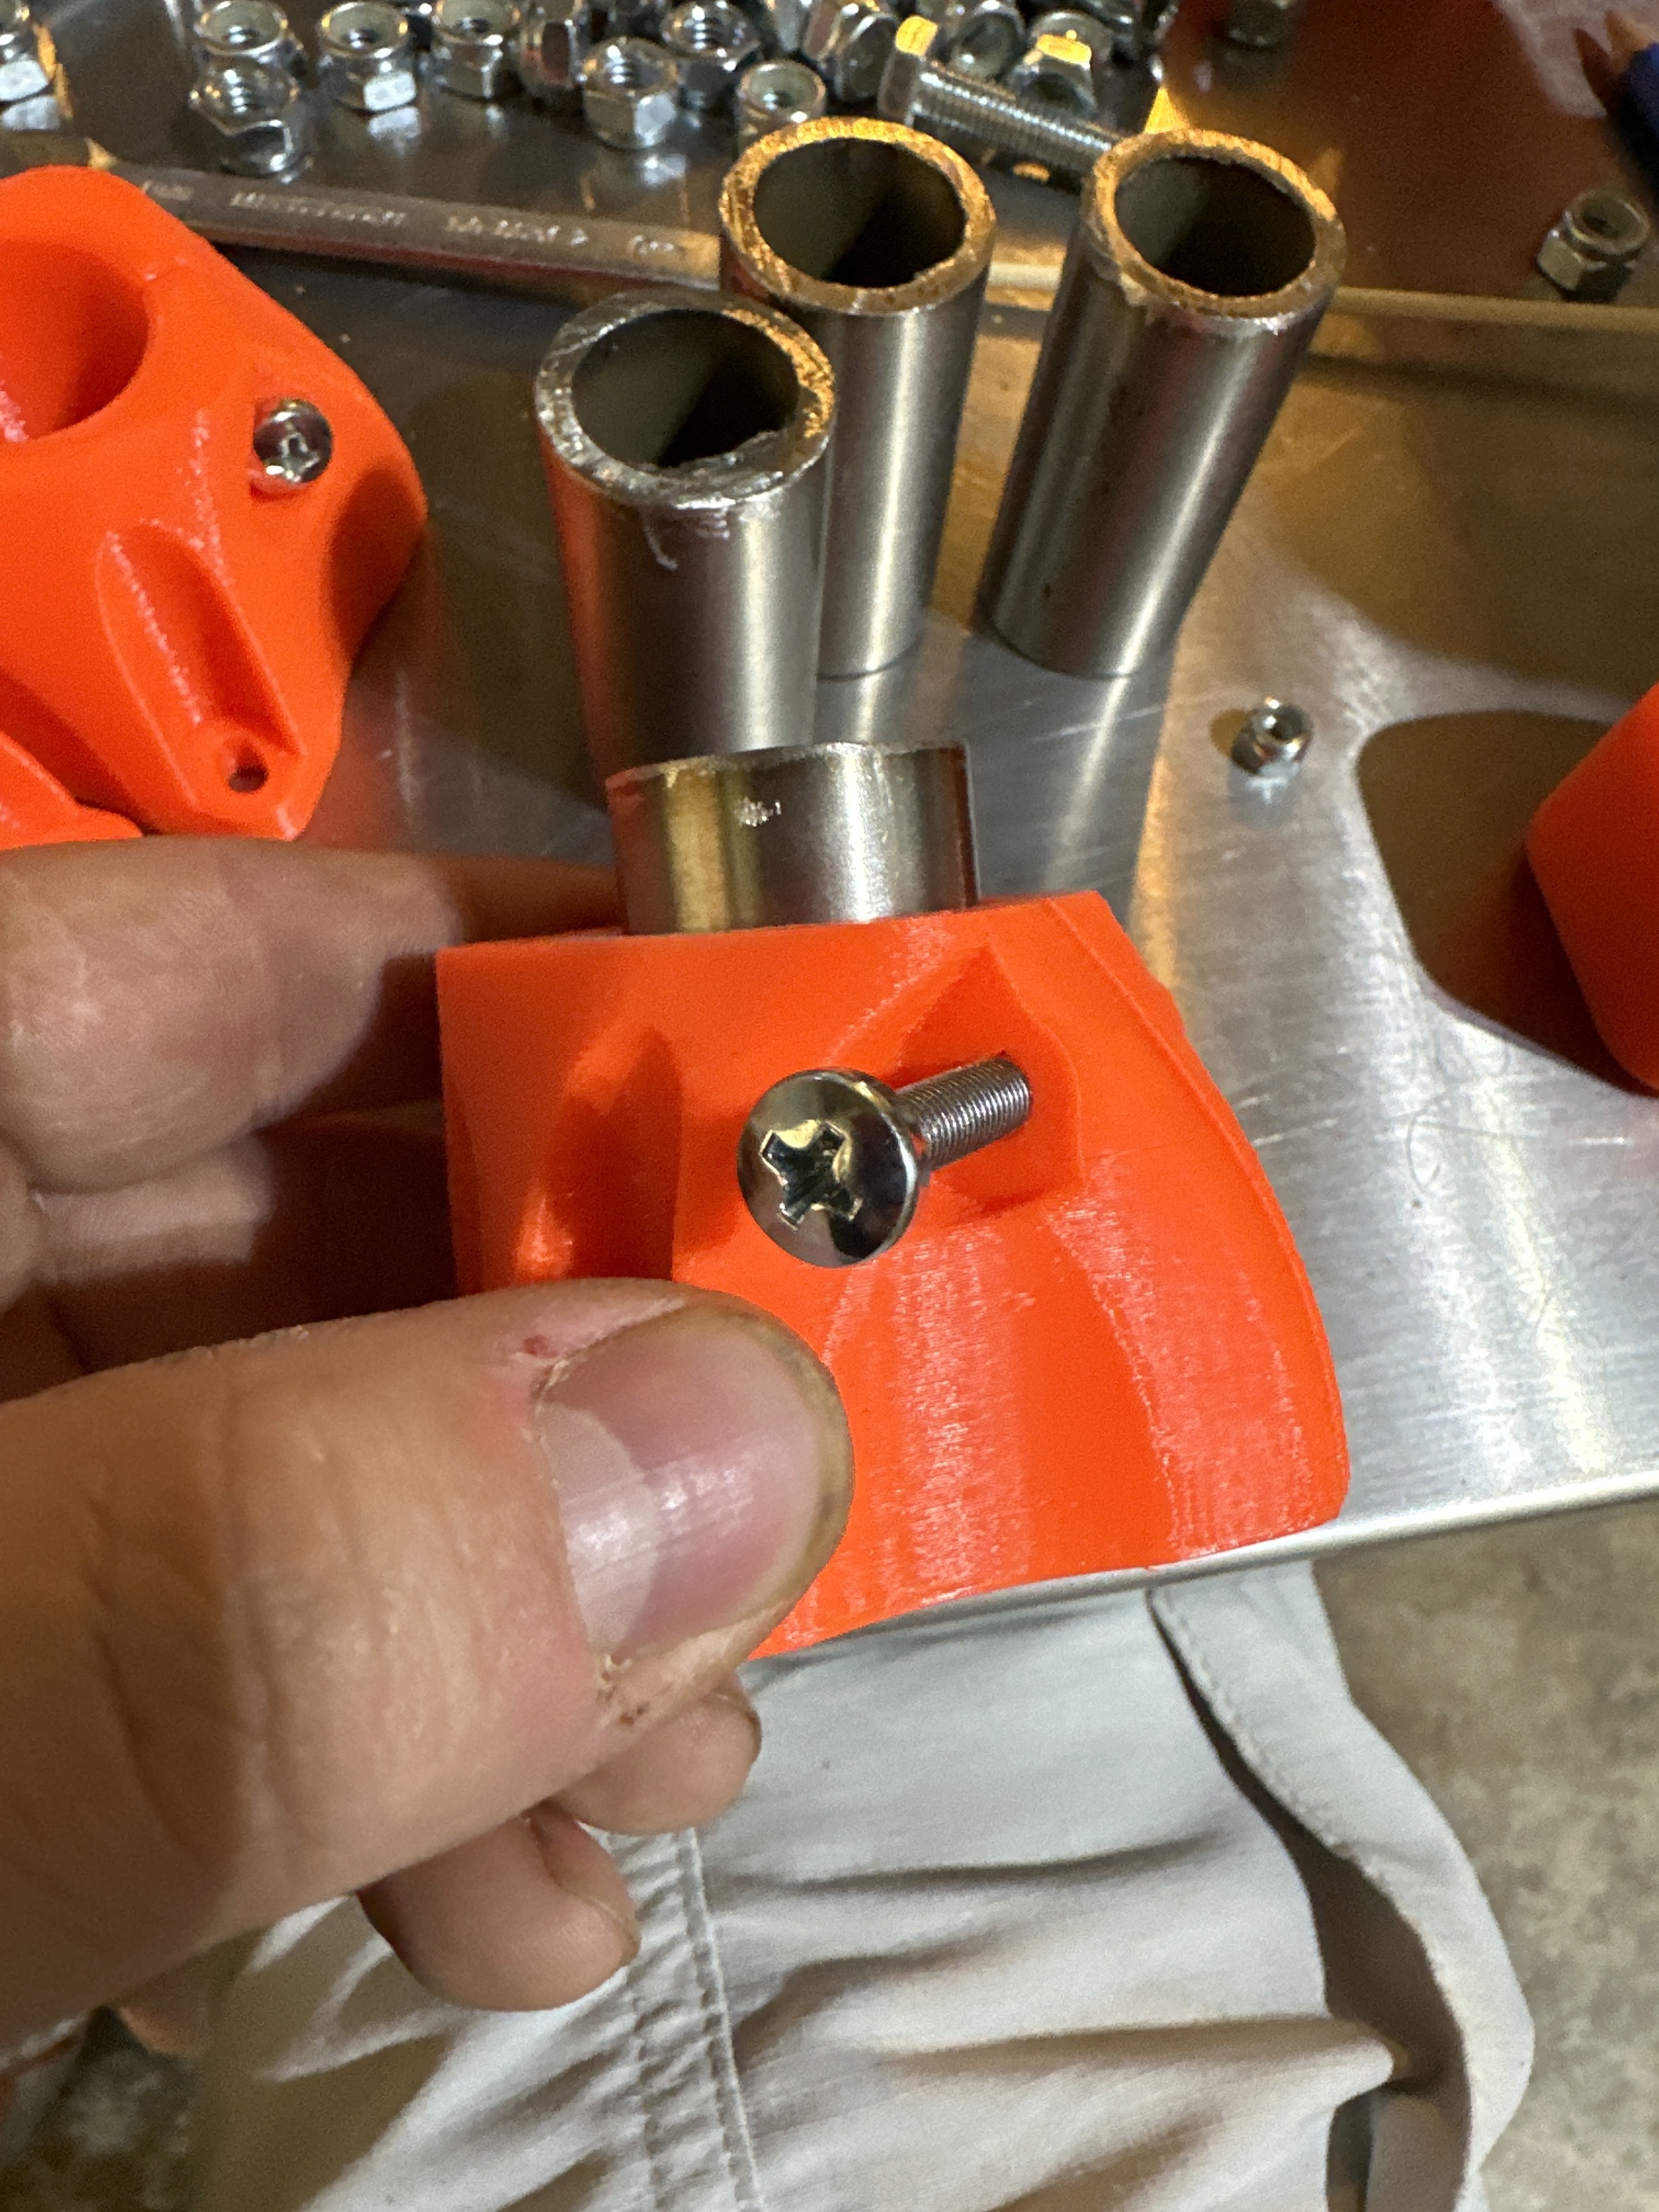
Recycling the tube stock from the Burly build. Thick wall stainless is amazing…when someone else is cutting it for you. I was off by about 1/16. Now I’m within .3mm. Long careful grind.
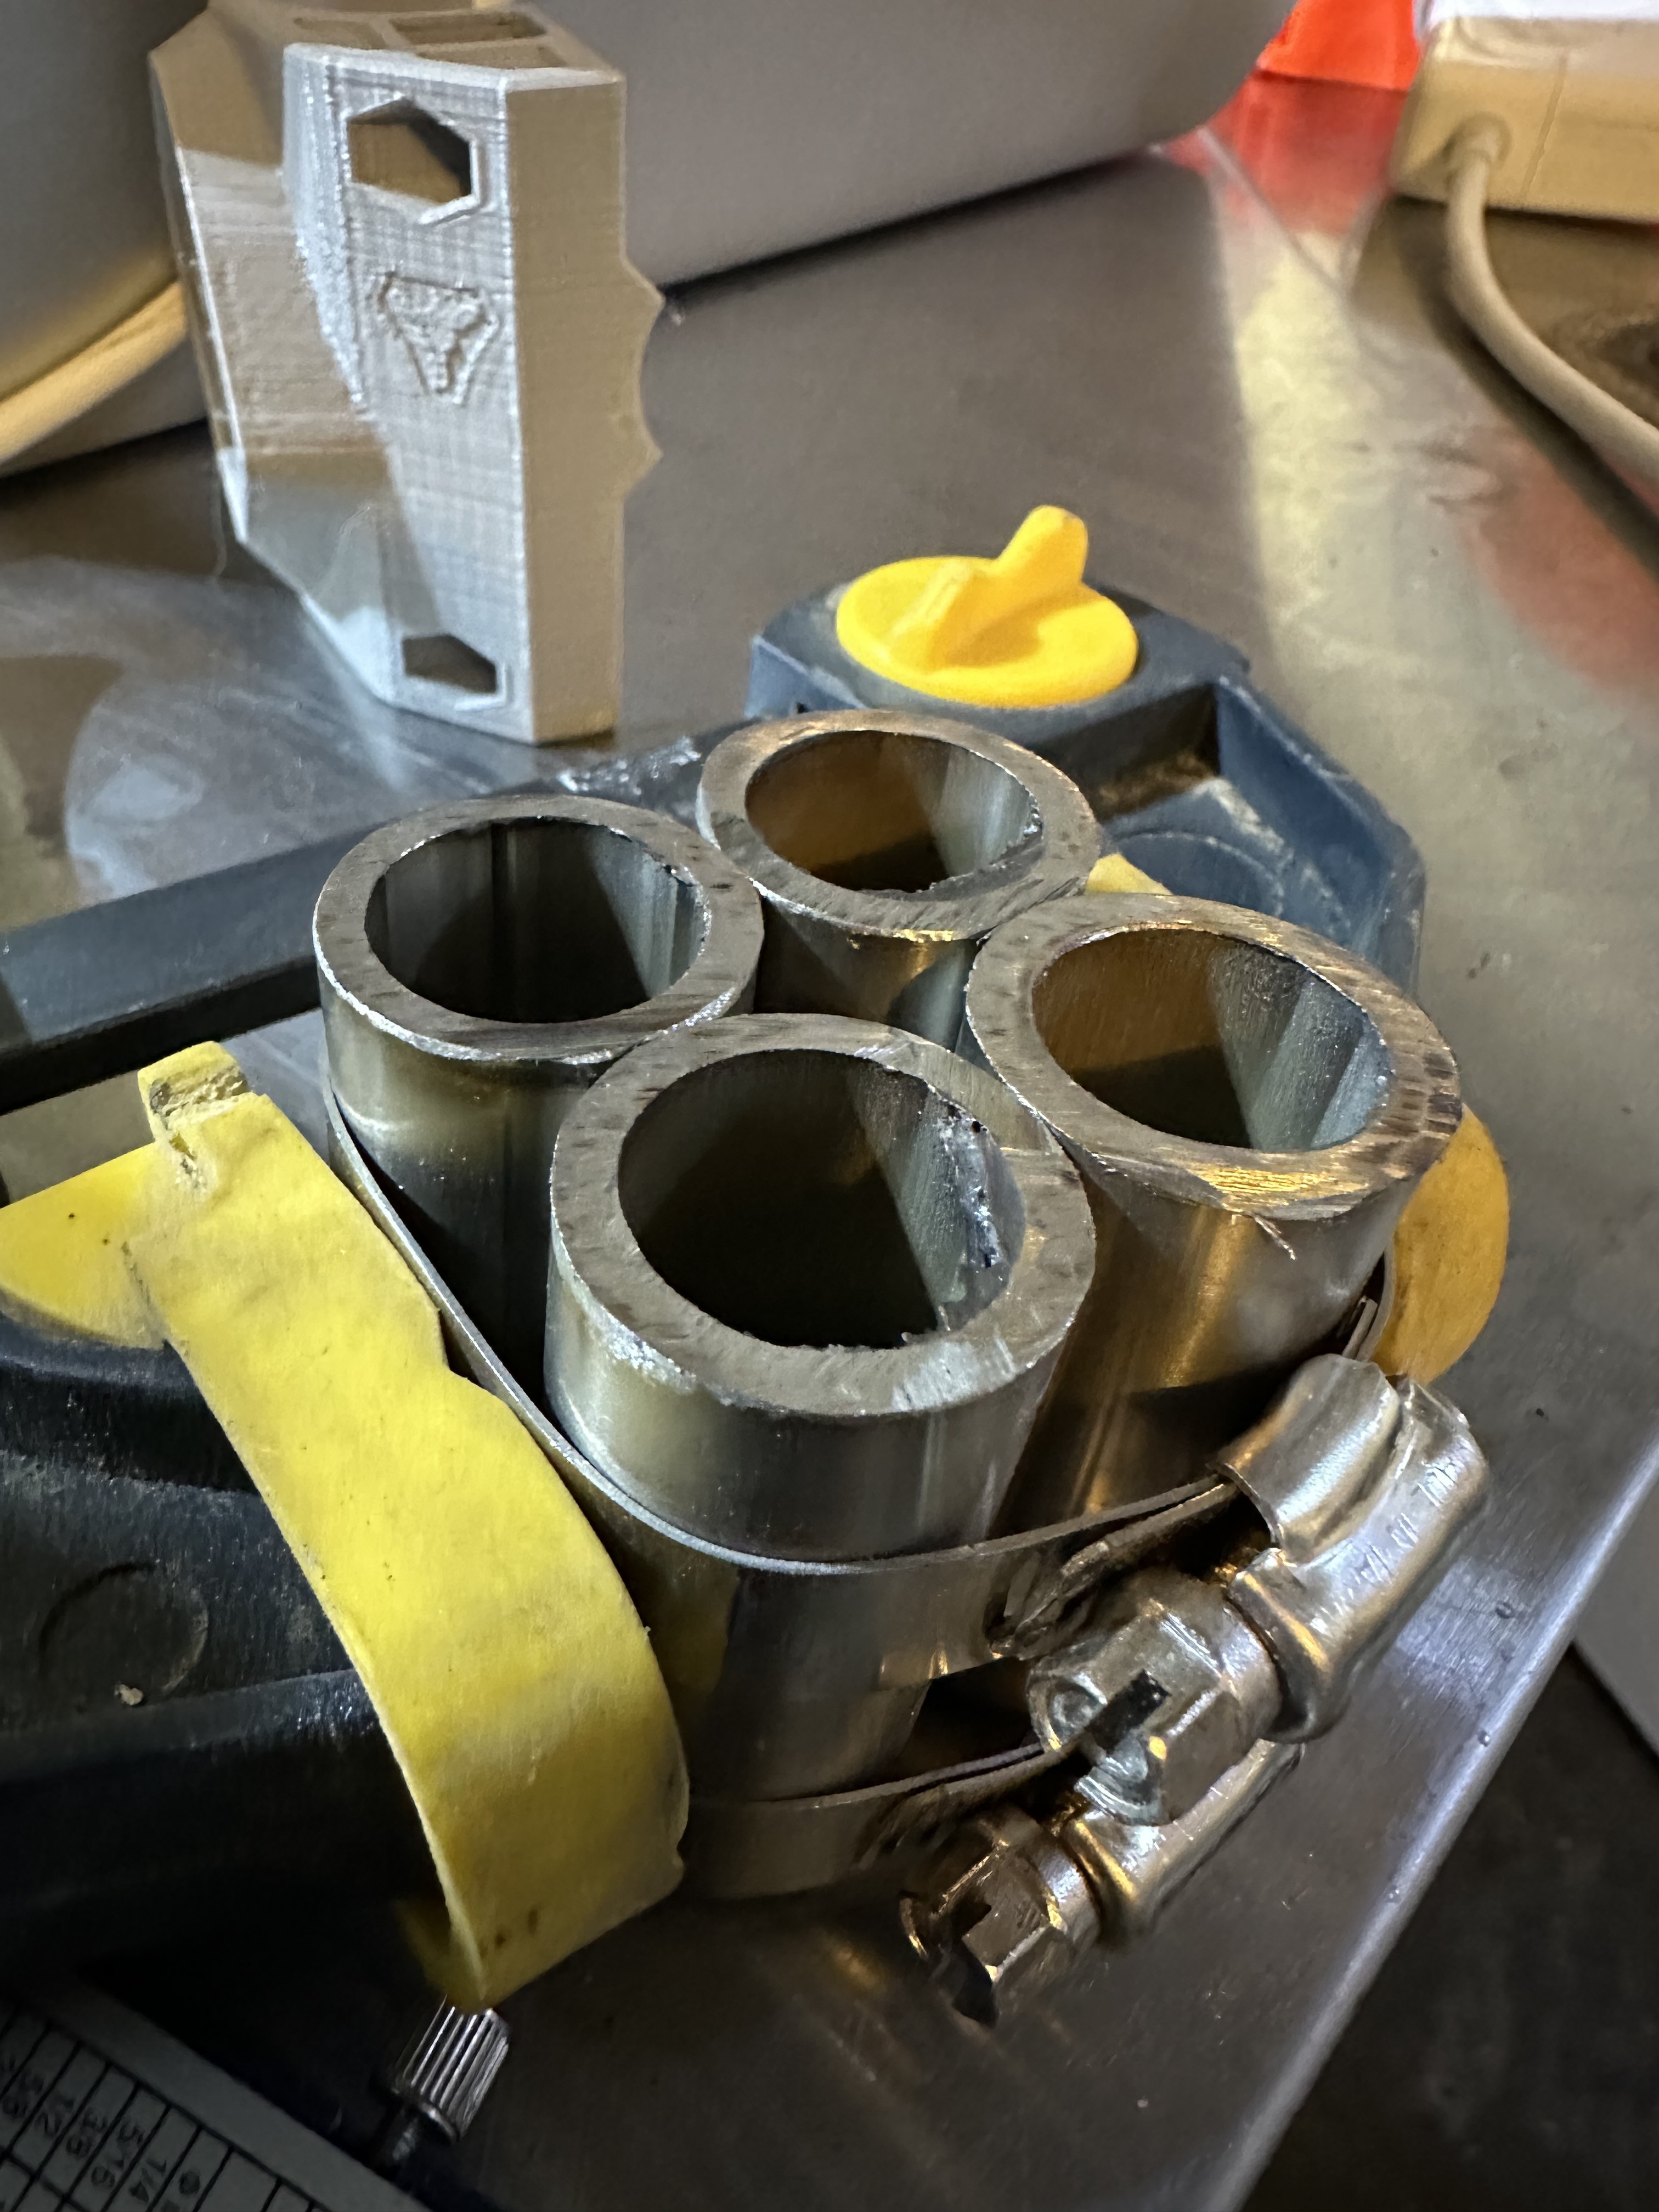
1 Like
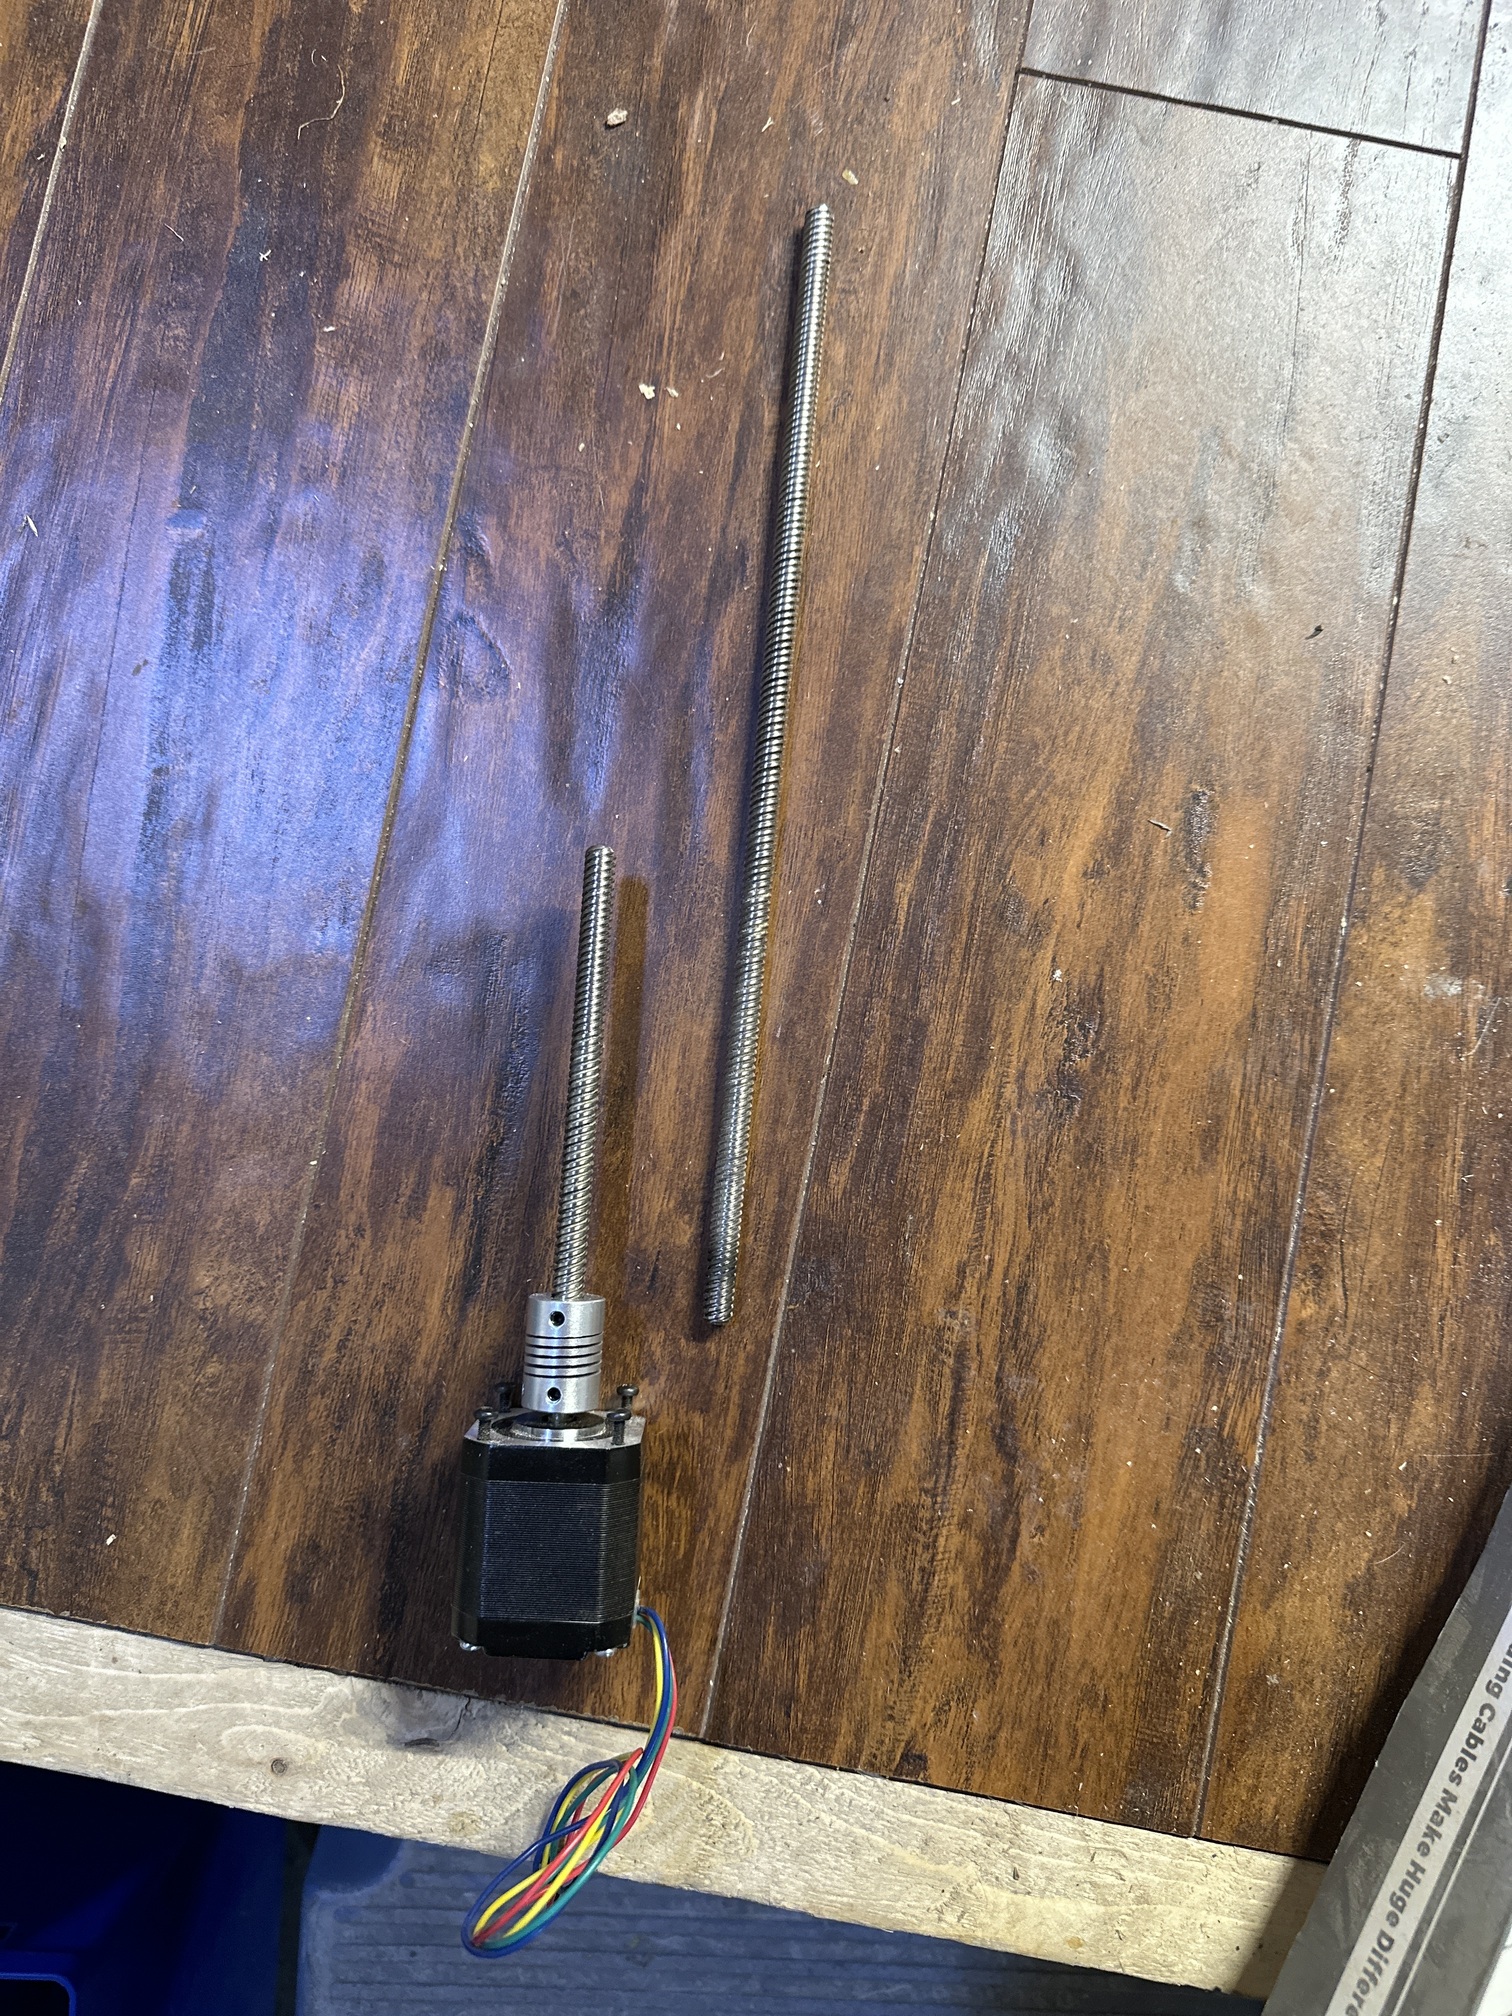
Question…in the calculator I said I’d like 2.75" of Z which told me to cut the leg tubes at 2". When I fully seat them into the feet I’m left with just shy of 1/2" of tube poking out. Is this enough for the leg locks to bite onto?
“For a Primo MPCNC, 81mm is the shortest” from the calc, Calculator - V1 Engineering Documentation
You can still use them, just push them all the way into the top part, and clamp the bottom, or add a spacer under it.
1 Like
Worked like a charm and I STILL was able to avoid having to deburr the insides of my cut side. Hahaha
1 Like
Question 2 - I have two full sets of stainless tubing here. One set thick walled (from the drop table burly) and one set thin walled/regular walled from the laser burly.
In building this aluminium-specific Primo should I use any specific combination of thick and thin wall for the rails, gantry tubes and Z tubes? Like would it be better to make sure I use thick walled for the gantry tubes so they are super rigid but use thin walled for the Z tubes to save slung weight? Or is the opposite true and I want the extra weight helping Z bite?
Tubes are roughly 22-24" in length so maybe the stiffness between thick and thin is largely identical? In which case I’ll stick to thick for the Primo so I can keep the thinner, lighter ones for the laser when it goes back together. Any thoughts?
I would use the thick walled for the cross tubes, the ones that go through the core. Those take the most abuse. All the rest have far less force on them.
1 Like
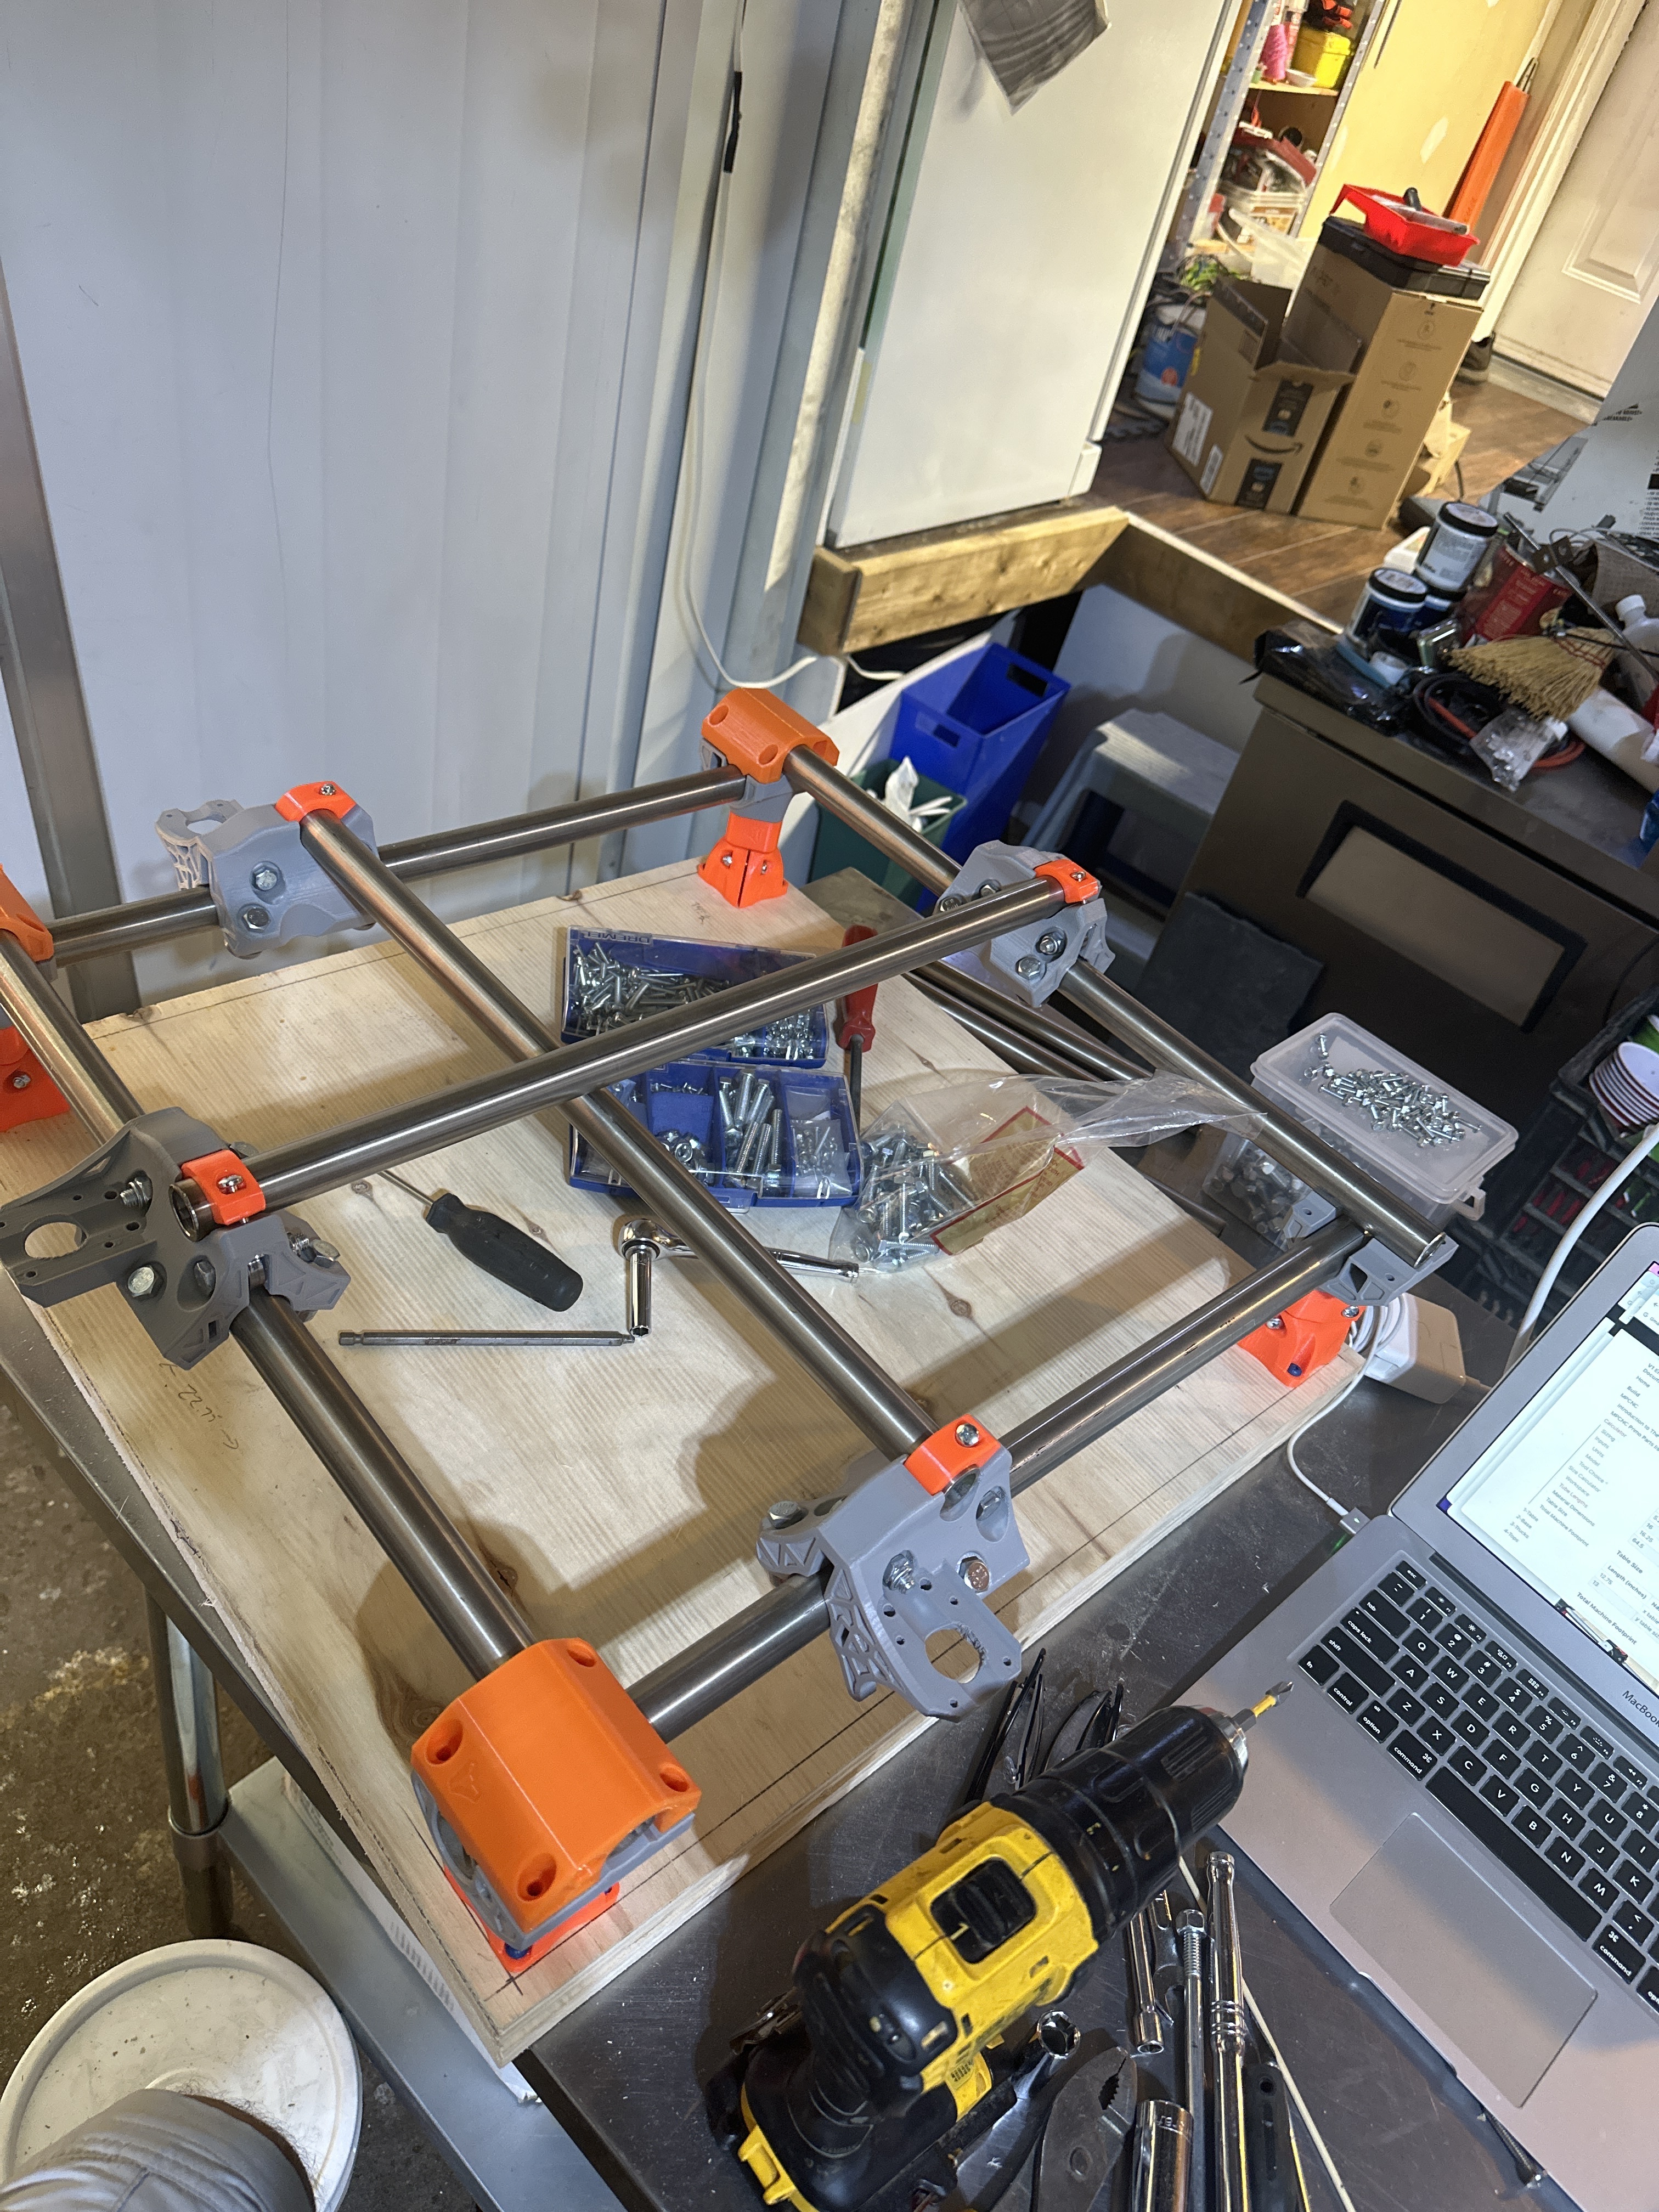
Coming along here. I discovered I printed four of the same tops, not two normal and two mirrored but the second will be off the printer in about four hours. I’m getting very close to the “now we wait for the slow boat from China” part which is where all the pulleys and idlers are right now. For a brief moment I was scared I hadn’t mirrored the trucks as well but I had. Phew!
Funny how big the machine is despite the small work area. Just for fun I plopped a 2x2 (inch) build into the calculator and it still has a table that’s about 13" square. This “table” is 2’ square for a 12x12 work area.
3 Likes
“That’s what she said”
Beat you to it. Hahaha
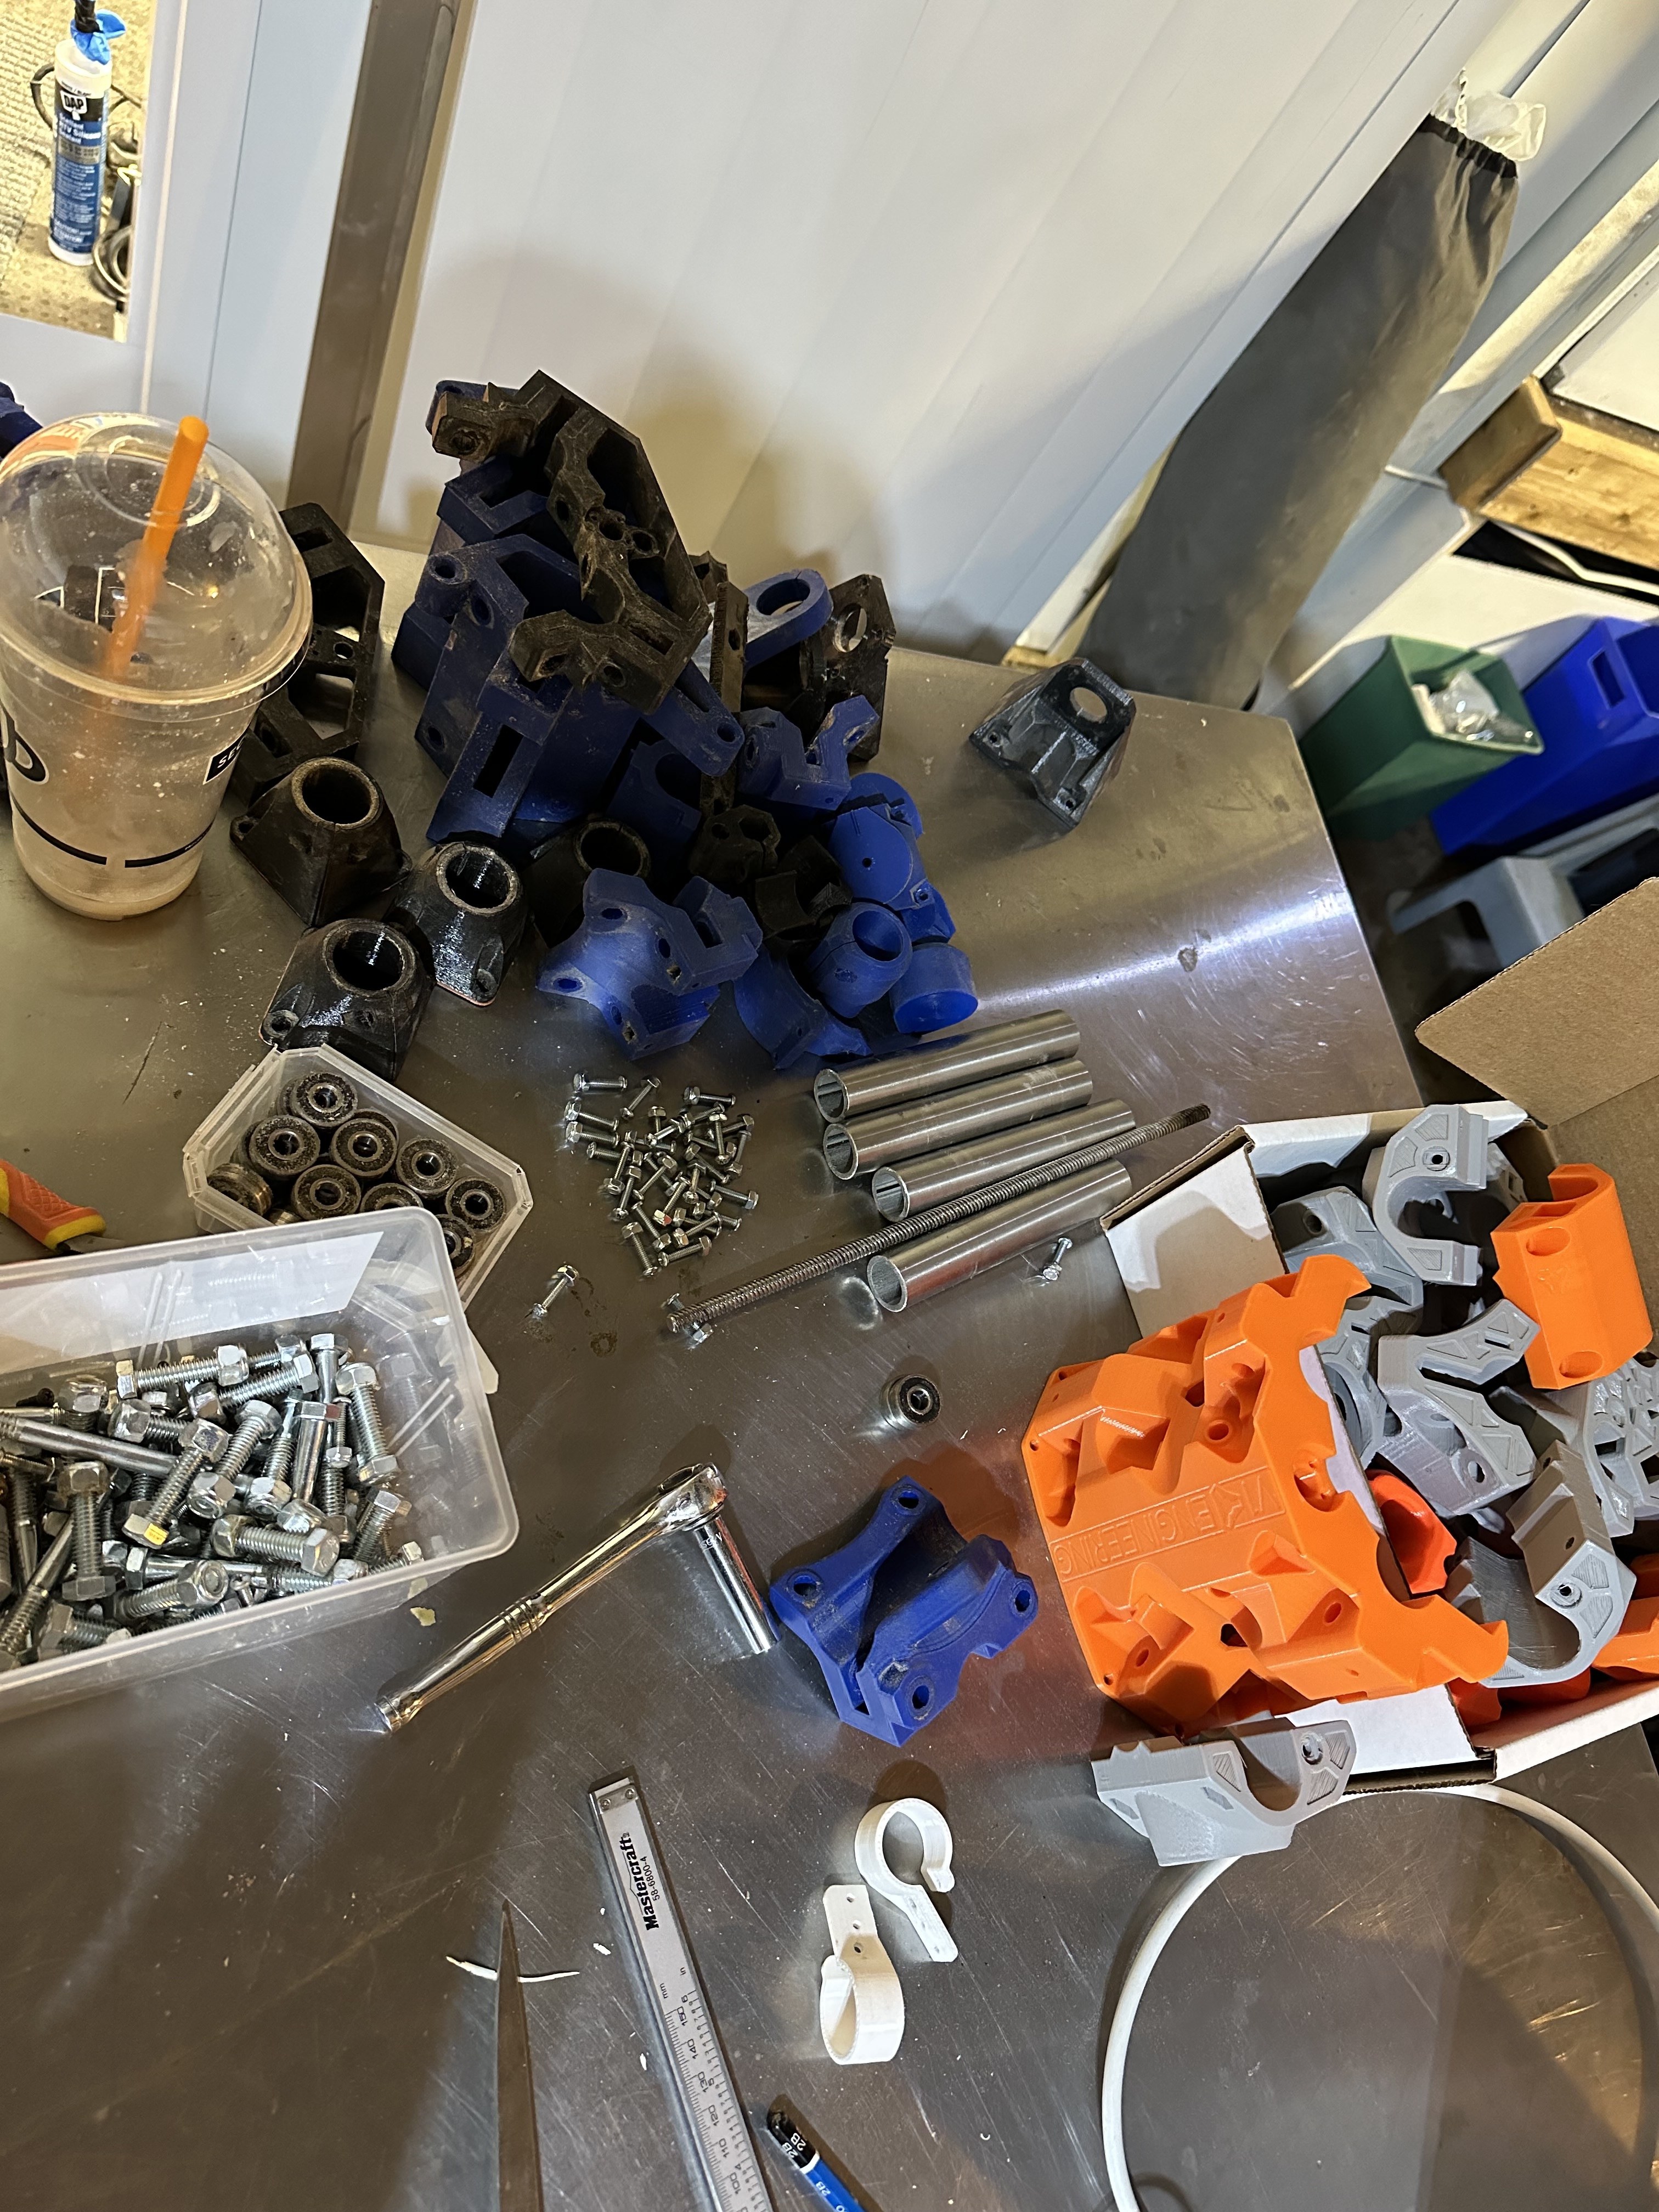
Previous Burly build on the right. New Primo on the left.
1 Like
It’s what you make of it! ![]()
1 Like
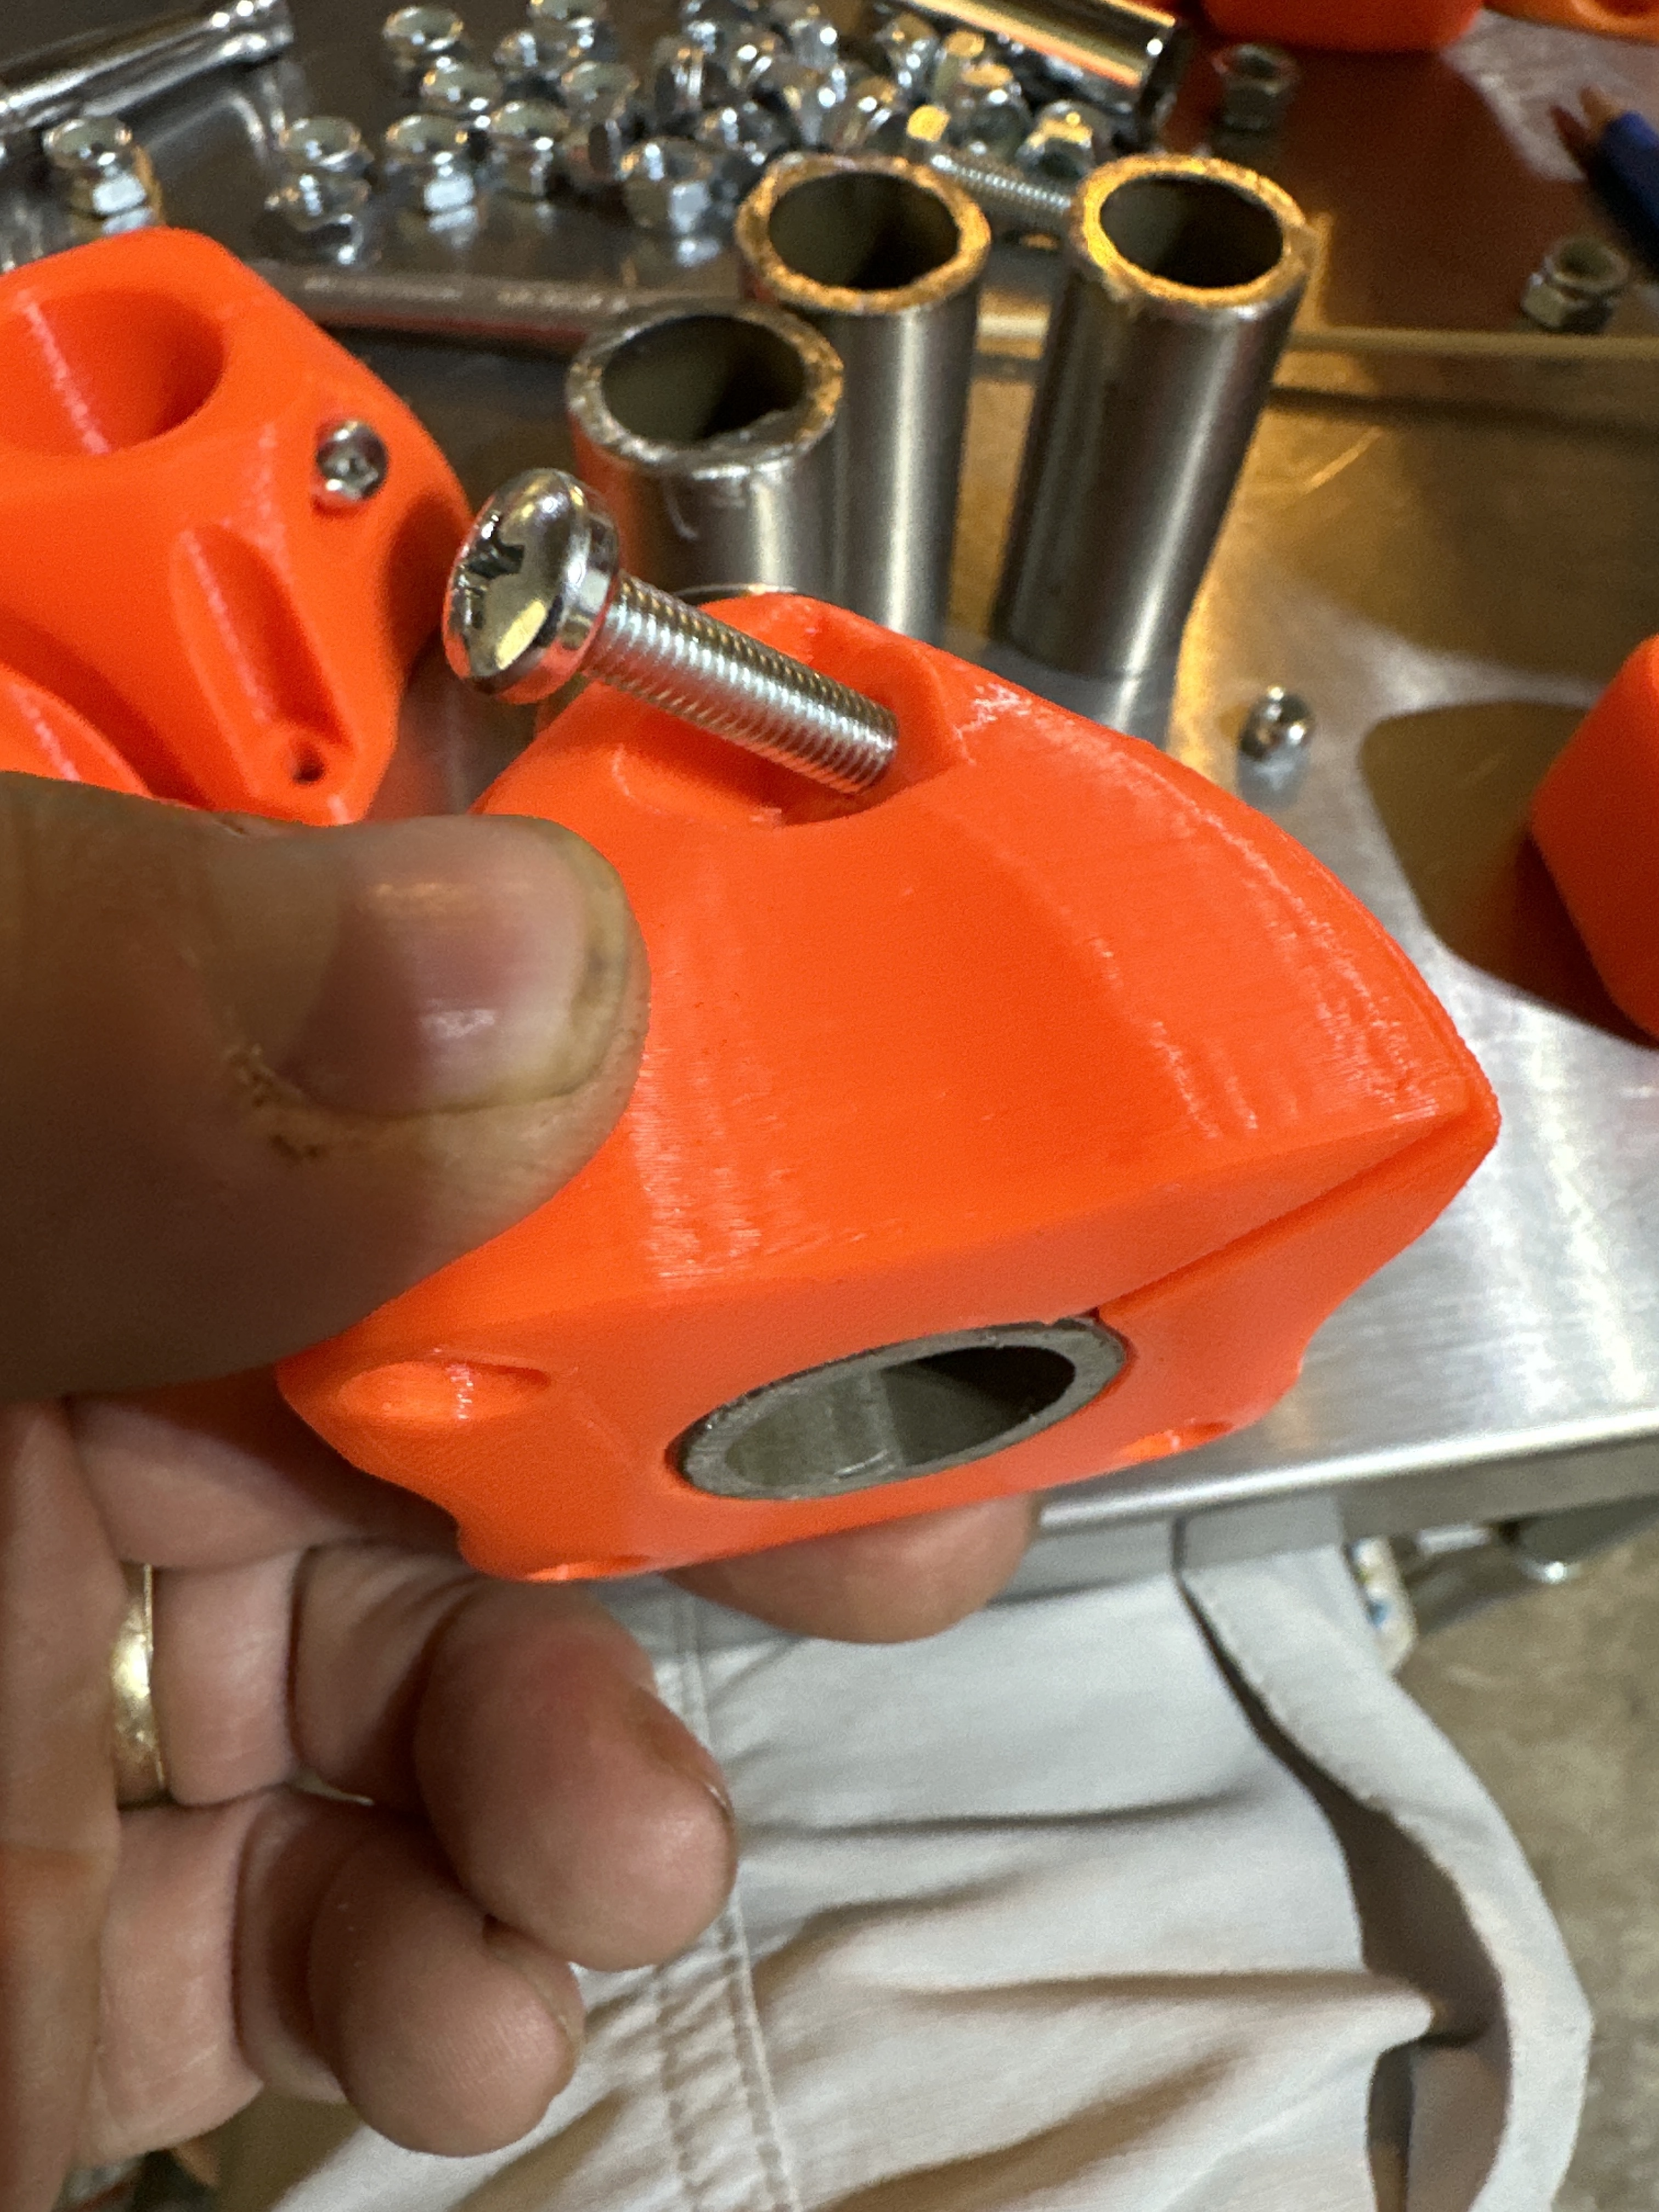
Had an idle evening waiting for ice to freeze so I started finishing la Petit Primo. Just squaring the core and not clear how “turning this should move that”. I first carefully tightened down the core clamps evenly until all play seemed to stop and then started tightening and loosening the vertical bolt/nut that holds the horizontal bearing in place but I can’t quite see what is moving when it tighten or loosen what.
Any wisdom out there on this one?
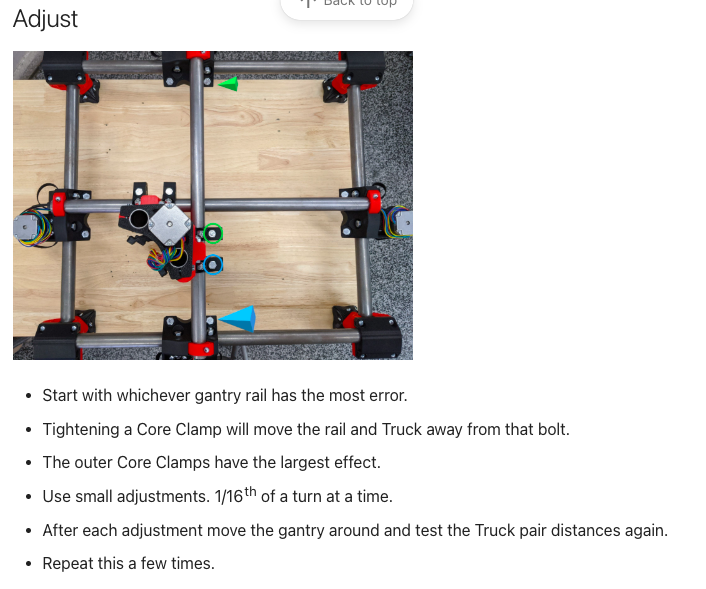
Loosen everything up, except the Z rails those need to be just right. For each 1/16th of a turn move the core around. Then check again.
If you are overtight or too loose it doesn’t change. If you get close just let the auto squaring do it’s job.
Do you think 1/8" is close enough? I had to tighten things down pretty good to take the play out of the core. It was loose like if the but met resistance the core would just rock. That’s the “kind of loose” I was tightening out of it.
1 Like
Autosquaring will resolve that issue. ![]()
1 Like
absolutely
Closing old topics to limit spambots