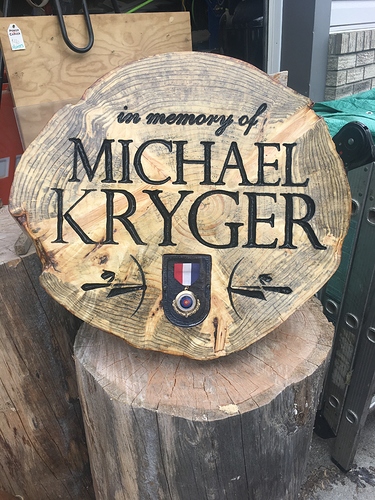
Those are wonderful very good work and flat too
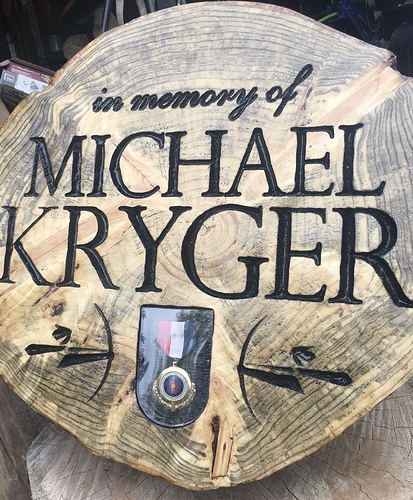
I had another piece that needed to be flattened and then machined. So some surfacing, some v carving and some pocketing. Oh and a plexi cutout. Other than the paint and sealer, 100% MPCNC. I learned that cutting end grain in the soft green woods I typically work with leaves bad fuzzies in the v carves. I tried drying the carve out with my torch and then recutting it 1/2mm deeper with a fresh bit but that didn’t work out so well either. Best success I had was using a paint stripper heat fun thing and following just ahead of the cut. It sorta helped. But ultimately there is a lot of crud in the groove. This piece is going to be installed in the middle of a forest somewhere though so it’s not going to be started at for hours on end on someone’s mantle or the like.
That is a nice big project. It looks great. I wouldn’t have noticed the texture of the carve unless you told me.
I suspect that the grain is being pushed out of the way, because it is softer when wet, and then flexing back out after the bit passes. Sort of like mowing the lawn with a dull blade pushes the grass over instead of cutting through it. Not sure how to solve it. Maybe a sharper bit, or one with a sharper angle to pull instead of a flatter bit that scrapes. But I’m just guessing 
Soak it in CA glue or epoxy… That’ll harden it up for carving. 
Cut the first time conventional cut then recut in climb cut? Cutting from both directions may clean up the cut
I’ve never looked into where to set conventional vs climb in ESTLcam. Do you know where to find it?
Open the dropdown menu under ‘Setup’ and choose ‘Basic settings’, you’ll find one of the settings is ‘Milling direction’.
Hey look at you congrats 
Yeah, given my fumbling around Estlcam I found it richly ironic being able to offer someone else assistance.  Last time I was in Lowes I picked up a 2’ x 2’ x 1" piece of foam which will hopefully help me unravel a few more mysteries (to me) about carving with Estlcam over the next few days.
I don’t think this really counts but I didn’t want to start a new thread and I knew this one was here. Now let’s see if I can remember how to post pictures…
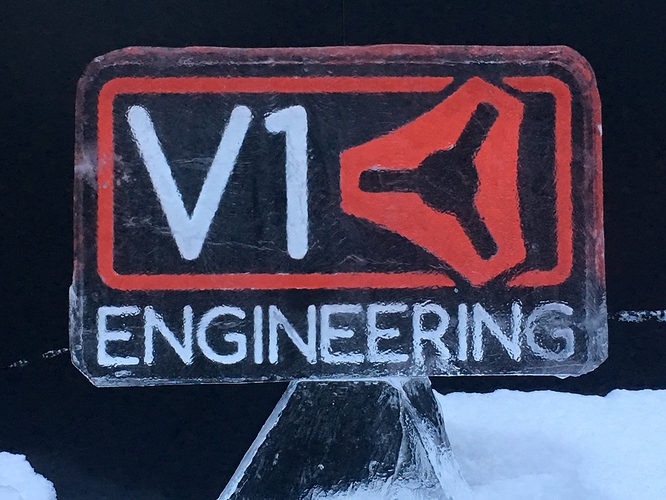
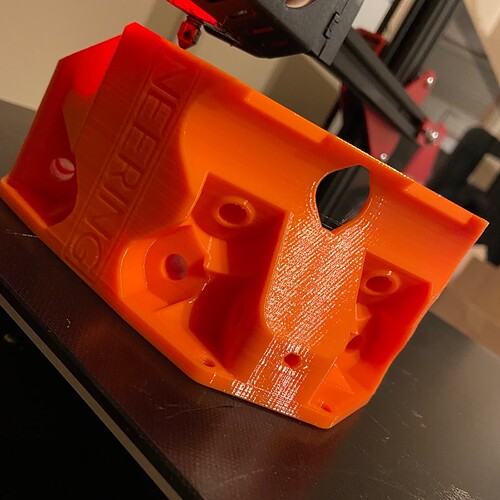
Finally upgrading. I had most of Primo printed but not the core. Found myself staring at the right colour and an idle printer so I queued it up. 24 hours in, 30-odd more to go. The hardest part is deciding what size to make the rebuild. I’m finding my 20x40 way overkill for the kinds of stuff I’m doing with it. Even the ice. As long as the bed has one 20" plus dimension so I can slide a piece of ice in I’m good. Realistically with ice the biggest I’d need is 18 inches by maybe 28-30. Also thinking about making it shorter as the thickest piece of ice I’d need to slide in would be five inches max.
Decisions, decisions.
I’m also giving some serious thought to building a dedicated lowrider to take care of the ice with just an outer frame that I can sit right over top of the ice blocks. Portable, flexible, less printed part intensive (the PLA parts really don’t like the cold so maybe I’d print in something other than PLA).
Good to be back! I’ve been lurking on and off. Miss you guys!
@macboy ! Welcome back. I like that pic of the core. But I can’t wait to see more pics of ice.
In case you missed it, there is a new LR3 in beta. Maybe building the primo will start you on a new journey. Perfect time to finish that primo.
Good t’ see ya again.
If you’re curious enough, there’s an LR3 beta build that you could probably come see if you really wanted to, lol. Or, if you want LR2 pieces, I have a complete set of LR2 printed pieces that are no longer being used…
Are you local Dan? I’d love to see the LR in person to verify whether what I’m thinking is feasible. I feel like as long as I could make the frame rigid enough it could be a perfect fit for the ice. One of the main challenges with the ice is that the snow packs into the cut so tight (even with up cut bits) that you MUST keep it clear which requires an air blast. With the long travel I have on my MPCNC there was DEFINITELY no way to attach an air nozzle - too much leverage on the end of the Z. So it was a manual, keep cool and machine task. It looks to me like the deck on the LR could handle an air line along for the ride. Now, whether it would clear enough or if it’d just be another problem of snow packing under the entire plate.
The reality is though that we find it much quicker to do them by hand. I know, I know…“but a machine is doing all the work”. It’s true. But when you have to stand there with the air hose and you’re technically paid by the hour (the more you get done faster, the more you effectively get paid) it feels like ‘there’s a better way’. That said though, when we have jobs that we need to be repeatable - there’s no better way. And it just so happens we may have a job coming up in June that will require exactly that. Partly why the reboot to finish up the Primo.
Well, considering that you did that sign for the Muttart, I assume that I’m at least local enough. I’m just a little northeast of downtown Edmonton, near the stadium.
Glad to see you poking around!
I think you could route in a small airline with any of the machine right next to the wires. I got a little air blast/mister kit and some 1/4" air line. It would fit easily. With the bendy neck it will work well on a Primo or LR3. To add a little more I think the LR3 is going to have some features you might really like considering what you are asking for.
Ryan, you and Heffe popping over to say hello right away makes me feel just like an old friend coming back from a long vacation. And it sounds to me like a look at Dan’s Beta is a must!
Edit: messaged you Dan


