As promised, an ongoing build log with updates and photo’s as things progress - I’ve got a few things going on as well as work, so I’m expecting this to take a while… bear with me 
The why: Is “because” enough? I started trying to organise my garage/workshop, wasn’t happy with the re-used kitchen drawer units I had, so built myself some new cabinets to take the drawers using a track saw and MFT table I’d picked up off marketplace. Please with the results, I build myself a new drawer unit and many drawers (plywood, rebated with a very basic DIY router table - ignore the mis-measurement  ), basic undermount metal runners. My Dad bought me some shadow foam last year, I used that for a drawer, liked it, but could be neater, could be automated…ShapesScan, I could use my 3D Printer and gridfinity, but, hmmm how about CNC cutting them, quick check on marketplace they’re small and (relatively) cheap, or not small and not cheap…
A CNC router would scratch an itch I’ve had since my teenage years to learn/play with CAD/CAM (I’ve dabbled a bit with a 3D printer I bought last year), and of course the desire to cut tool shapes into foam for storage has morphed into a whole host of projects, from bike hangers to furniture for my study
It’s also a “project” in itself too.
So here we are, I sourced and ordered all the bits over the weekend and made a start..
Printer Calibration
Sorry if this is covered in detail elsewhere…
I bought a 3d Printer (Flashforge Adventurer 5M - breifly looked with interested at @DougJoseph 's copious posts on said printers) late last year, learnt FreeCad (MangoJelly) in it’s most basic form to solve a couple of problems (cycle servicing parts), and “project” or two, nothing too sophisticated. I hadn’t really paid too much attention to calibration other than the basics of levelling and vibration etc and the output was sufficient for my needs - I never noticed anything out of scope, despite some close tolerances.
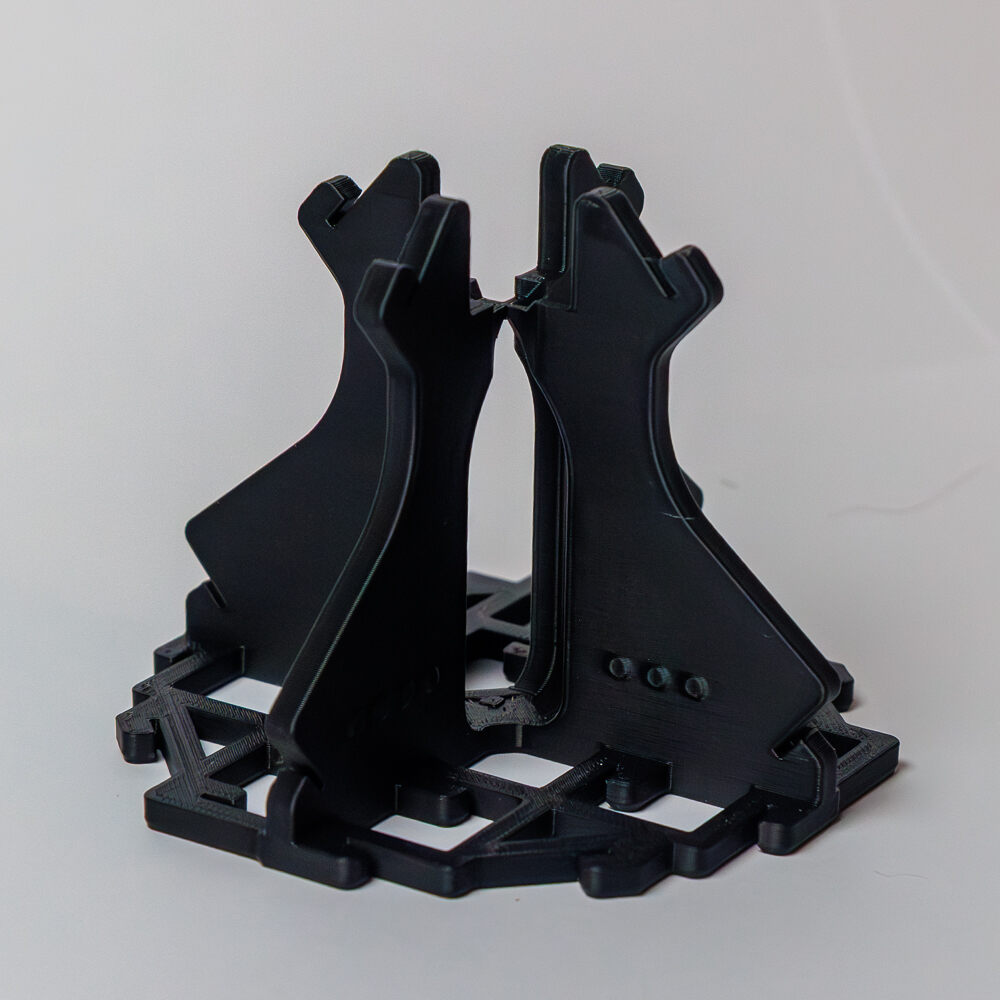
Calibrating was mostly straight forward. I’d already seen the Calilantern, so was a done deal when I saw it recommended. Followed the instructions, printed the lantern, and measured it.
The printer was running stock firmware, which doesn’t allow console access required to modify the skew settings. I installed the ZMOD firmware to the existing up to date stock firmware, downloaded and installed the Orca Slicer and switched from using the Flashforge clone.
The “Calilantern Calibration Calculator” give a percentage error and a rating on a scale of Bad → Target → Perfect. I ended up making three prints until I got everything in the Target to Perfect range:
| Print 1 | Print 2 | Print 3 | ||||
|---|---|---|---|---|---|---|
| X Error | -0.01% | Perfect | -0.09% | Target | 0.00% | Perfect |
| Y Error | 0.34% | Bad | -0.22% | Bad | -0.09% | Target |
| Skew XY | -0.18% | Bad | -0.02% | Target | 0.06% | Target |
| Skew ZX | 0.13 | Bad | 0.03% | Target | -0.06% | Target |
| Skew ZY | -0.29 | Bad | 0.02% | Target | -0.05% | Target |
| Score | 583 | Bad | 859 | Target | 877 | Target |
Test Print
Z-Stop and Z-nut - I checked these for fit, and the angles with a square and backlight (to see any gaps), and all looked good…
and so it begins
First part printed tonight - Brace_Max:
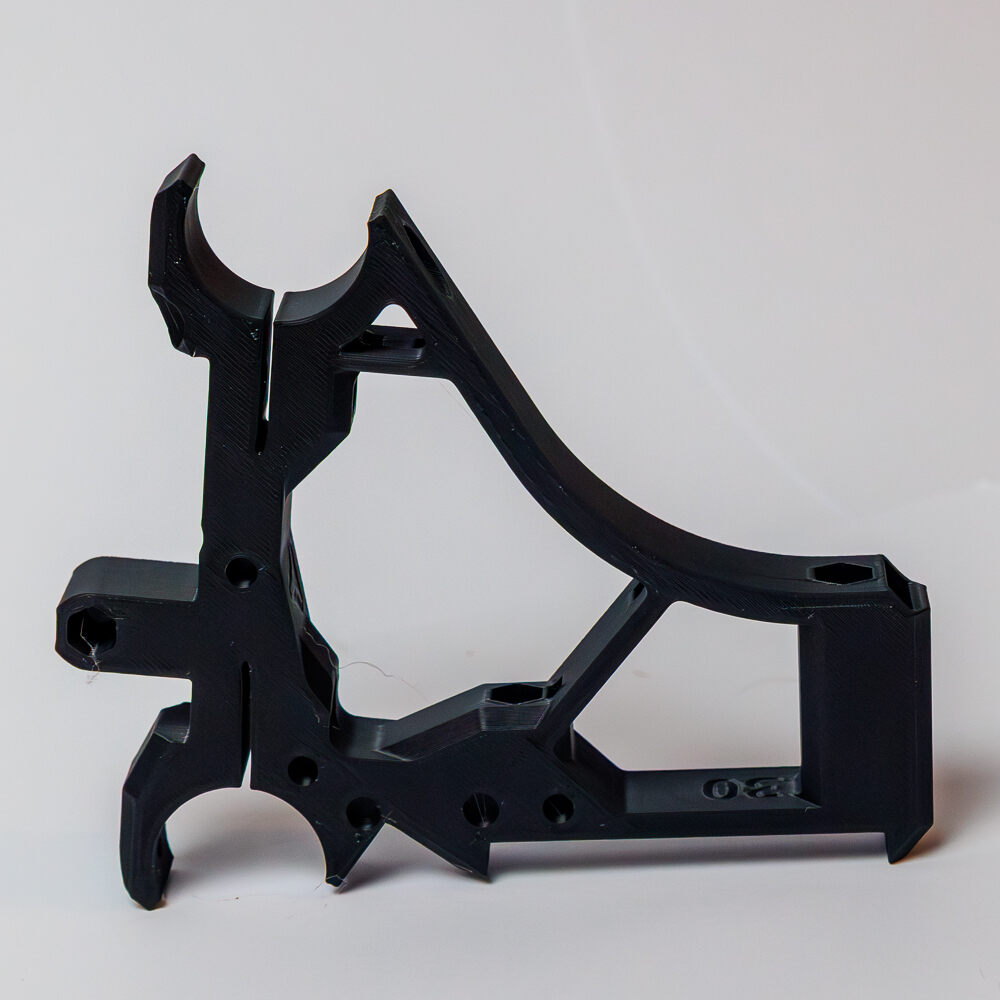
and first parts arrived too…

The excitement might be tempered by waiting for parts to print, to arrive and the free time I have available, but I’m enjoying the process and determine to continue to do so!