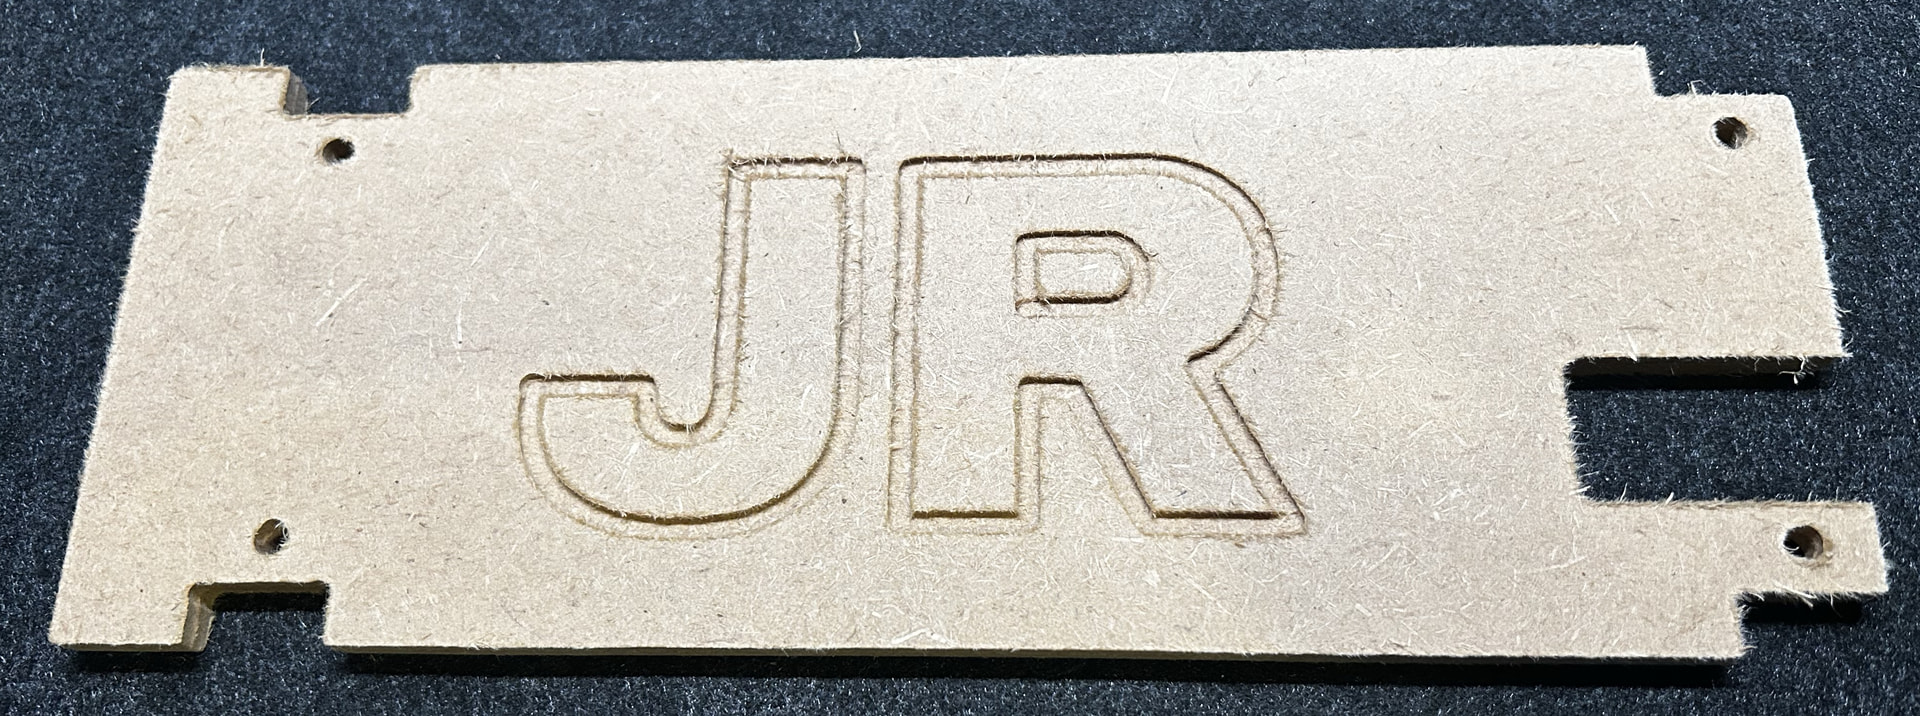
Just starting an LR4 build

Hi all,

Thought I’d introduce myself as I’m just starting an LR4 build…

I’m a total newbie to CNC, enjoy basic woodwork (tracksaw, router, few hand tools), and got myself a 3D printer last year and have been learning CAD (FreeCad) since…

How come an LR4 build… for some reason (hadn’t searched for a while) a MPCNC appeared on my facebook marketplace page… never heard of it, did a bit of research and tried to buy it - he never got back to me… but something stuck. Away on holiday last week with plenty of time, I got reading about the LR4, looked too much to take on, but after many hours reading the instructions and forum, here I am…

Looking forward to getting started… :smile:

Welcome! This is a fun build so please share your experience with a lot of pictures!

Welcome!

I hope you’ll open a build thread and document your build as you go.

What kinds of things do you plan to use your LR4 to make?

Build thread - yeah, I’ll get some photo’s of the first bits today!

It all started with the idea of foam cutting tool trays (I’m an OCD organised type) as I was building some new cabinets/drawers/storage for my garage/workshop…

But, as with all things, the tool and imagination start to run wild… I’m now thinking some plain plywood furniture for the house - I need some storage for my study that’s a bit better organised/bespoke than standard stuff…

Much as I’d love a full sheet LR4, I don’t have the space, so it’s a 1/4 sheet (610x1220) capacity…

As promised, an ongoing build log with updates and photo’s as things progress - I’ve got a few things going on as well as work, so I’m expecting this to take a while… bear with me :smiley:

The why: Is “because” enough? I started trying to organise my garage/workshop, wasn’t happy with the re-used kitchen drawer units I had, so built myself some new cabinets to take the drawers using a track saw and MFT table I’d picked up off marketplace. Please with the results, I build myself a new drawer unit and many drawers (plywood, rebated with a very basic DIY router table - ignore the mis-measurement :expressionless: ), basic undermount metal runners. My Dad bought me some shadow foam last year, I used that for a drawer, liked it, but could be neater, could be automated…ShapesScan, I could use my 3D Printer and gridfinity, but, hmmm how about CNC cutting them, quick check on marketplace they’re small and (relatively) cheap, or not small and not cheap…

A CNC router would scratch an itch I’ve had since my teenage years to learn/play with CAD/CAM (I’ve dabbled a bit with a 3D printer I bought last year), and of course the desire to cut tool shapes into foam for storage has morphed into a whole host of projects, from bike hangers to furniture for my study :smiley:

It’s also a “project” in itself too.

So here we are, I sourced and ordered all the bits over the weekend and made a start..

Printer Calibration

Sorry if this is covered in detail elsewhere…

I bought a 3d Printer (Flashforge Adventurer 5M - breifly looked with interested at @DougJoseph 's copious posts on said printers) late last year, learnt FreeCad (MangoJelly) in it’s most basic form to solve a couple of problems (cycle servicing parts), and “project” or two, nothing too sophisticated. I hadn’t really paid too much attention to calibration other than the basics of levelling and vibration etc and the output was sufficient for my needs - I never noticed anything out of scope, despite some close tolerances.

Calibrating was mostly straight forward. I’d already seen the Calilantern, so was a done deal when I saw it recommended. Followed the instructions, printed the lantern, and measured it.

The printer was running stock firmware, which doesn’t allow console access required to modify the skew settings. I installed the ZMOD firmware to the existing up to date stock firmware, downloaded and installed the Orca Slicer and switched from using the Flashforge clone.

The “Calilantern Calibration Calculator” give a percentage error and a rating on a scale of Bad → Target → Perfect. I ended up making three prints until I got everything in the Target to Perfect range:

Print 1 Print 2 Print 3
X Error -0.01% Perfect -0.09% Target 0.00% Perfect
Y Error 0.34% Bad -0.22% Bad -0.09% Target
Skew XY -0.18% Bad -0.02% Target 0.06% Target
Skew ZX 0.13 Bad 0.03% Target -0.06% Target
Skew ZY -0.29 Bad 0.02% Target -0.05% Target
Score 583 Bad 859 Target 877 Target

Test Print

Z-Stop and Z-nut - I checked these for fit, and the angles with a square and backlight (to see any gaps), and all looked good…

and so it begins

First part printed tonight - Brace_Max:

and first parts arrived too…

The excitement might be tempered by waiting for parts to print, to arrive and the free time I have available, but I’m enjoying the process and determine to continue to do so!

My general sense is that if you built both to compare, you’d say the LR4 was the choice to go with. Confession: while I have built and used LR2 router, LR3 router, LR3 plasma, and LR4 router (smaller table) and LR4 router (full size table), I never used the MPCNC that I bought from someone. It arrived, and I just never put it together.

Thanks @DougJoseph, that’s good to know - I went through a few iterations of MPCNC vs LR4, and came to the same conclusion. Similar build cost, LR4 is the later design and will have evolved from the MPCNC along with the greater flexibility in size.

Building a 1/4 sheet LR4 myself. I’ll be sure to follow along on your project!

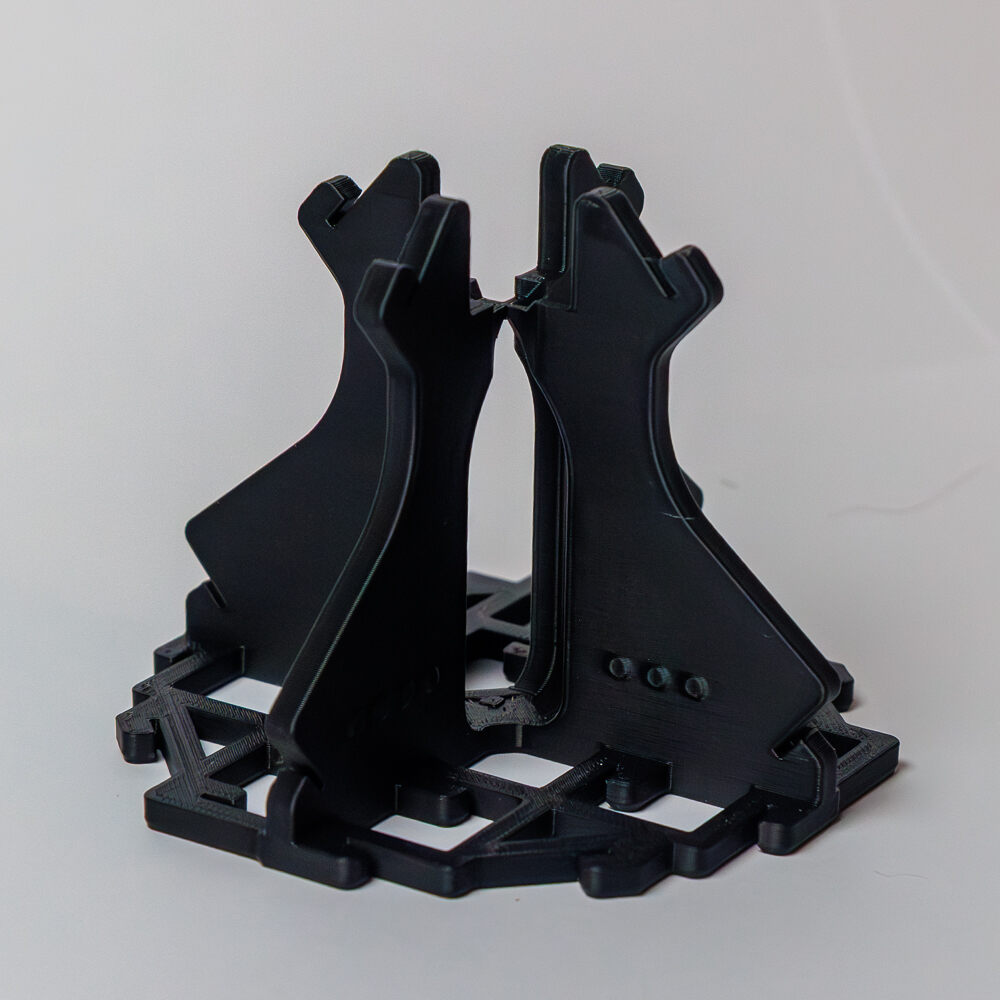
A bit more progress, smaller parts done, onto the YZ plates… and a question.

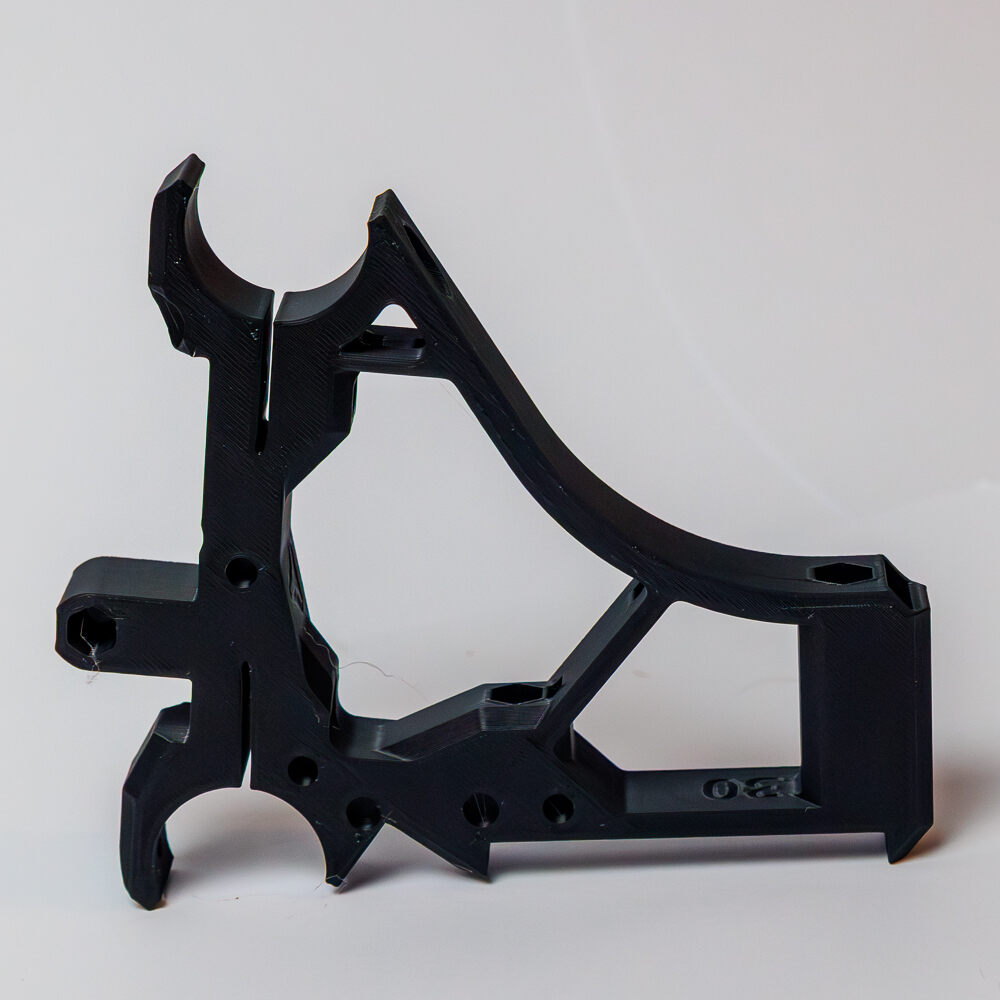
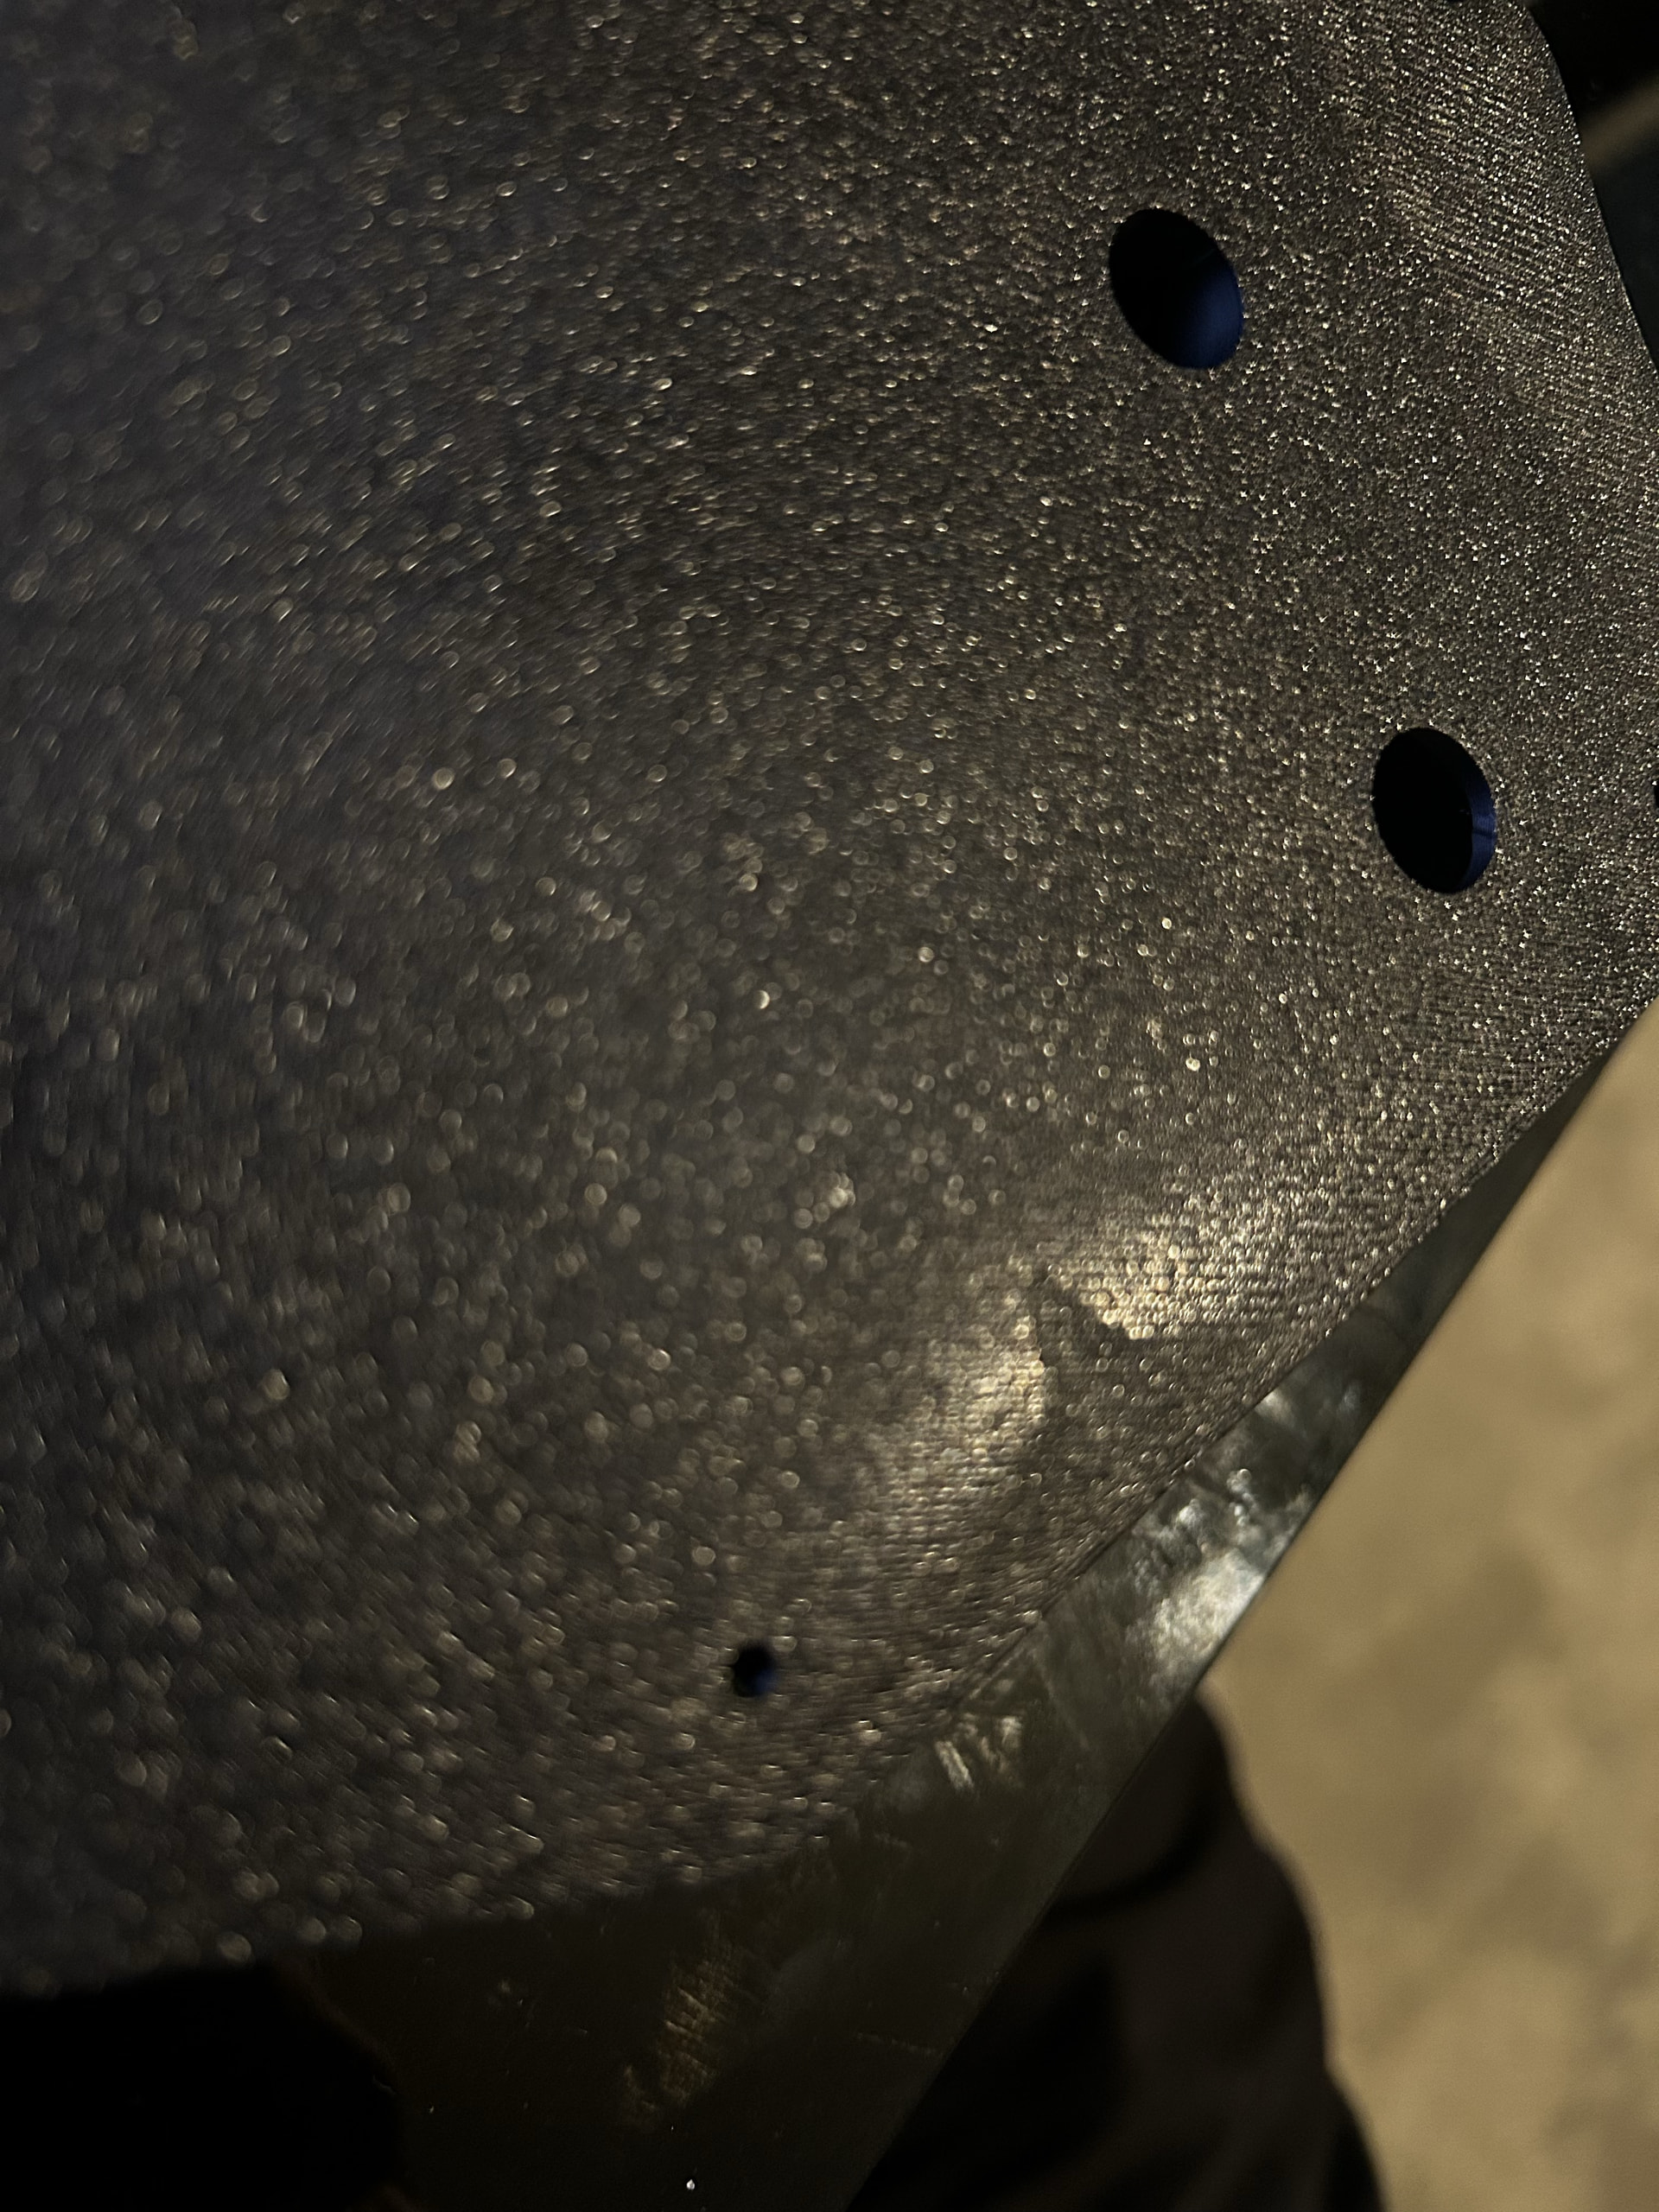
Not sure how well it can be seen in the photo, but there looks to be a “miss” / “gap” on the outside face of one of the YZ plates. Its present on the top outside edge and edge with the V1 logo.

As far I can see, the plates is all square and everything else looks good - is this something to worry about?

I believe this is because that section of the part became detached from the bed during the print, I’ve seen the same thing on some of my printed parts. Unfortunately I haven’t tried to use one of them, mostly because it’s a risk to waste a lot of time building the machine and then troubleshooting if there is a problem… compared to just printing again with some skirt loops to help it adhere better, I’d rather reprint. Maybe someone else will have better advice, but wanted to try and help where I could :slight_smile:

EDIT: I meant to say “brim” instead of “skirt loops”

Thanks Mike,

What I feared, and didn’t want to hear :expressionless: I’ve just checked for any discrepancies on a glass table and there’s some non flatness in the big pieces - both YZ plates and the Core :cry: . Not sure how to go about checking the smaller components.
I’ll go investigate “skirt loops” and how to ensure parts don’t lift while printing - guess I won’t be assembling it this weekend :expressionless:

I printed all my parts with 5-8mm brim for this exact reason. I get a bit of warping on one corner of my build plate but brim has solved that for every part.

Ah yes sorry, I meant to say “brim” and not “skirt loops”. The brim is attached to the part and helps it be stuck to the plate, while a skirt is detached. I always get them mixed up, despite using Brims and not using skirt loops. Thanks @James_Keillor for clarifying!

Yeah I used to get them confused as well. Never found much use for skirts but brims have been very useful for parts for the LR4 for me.

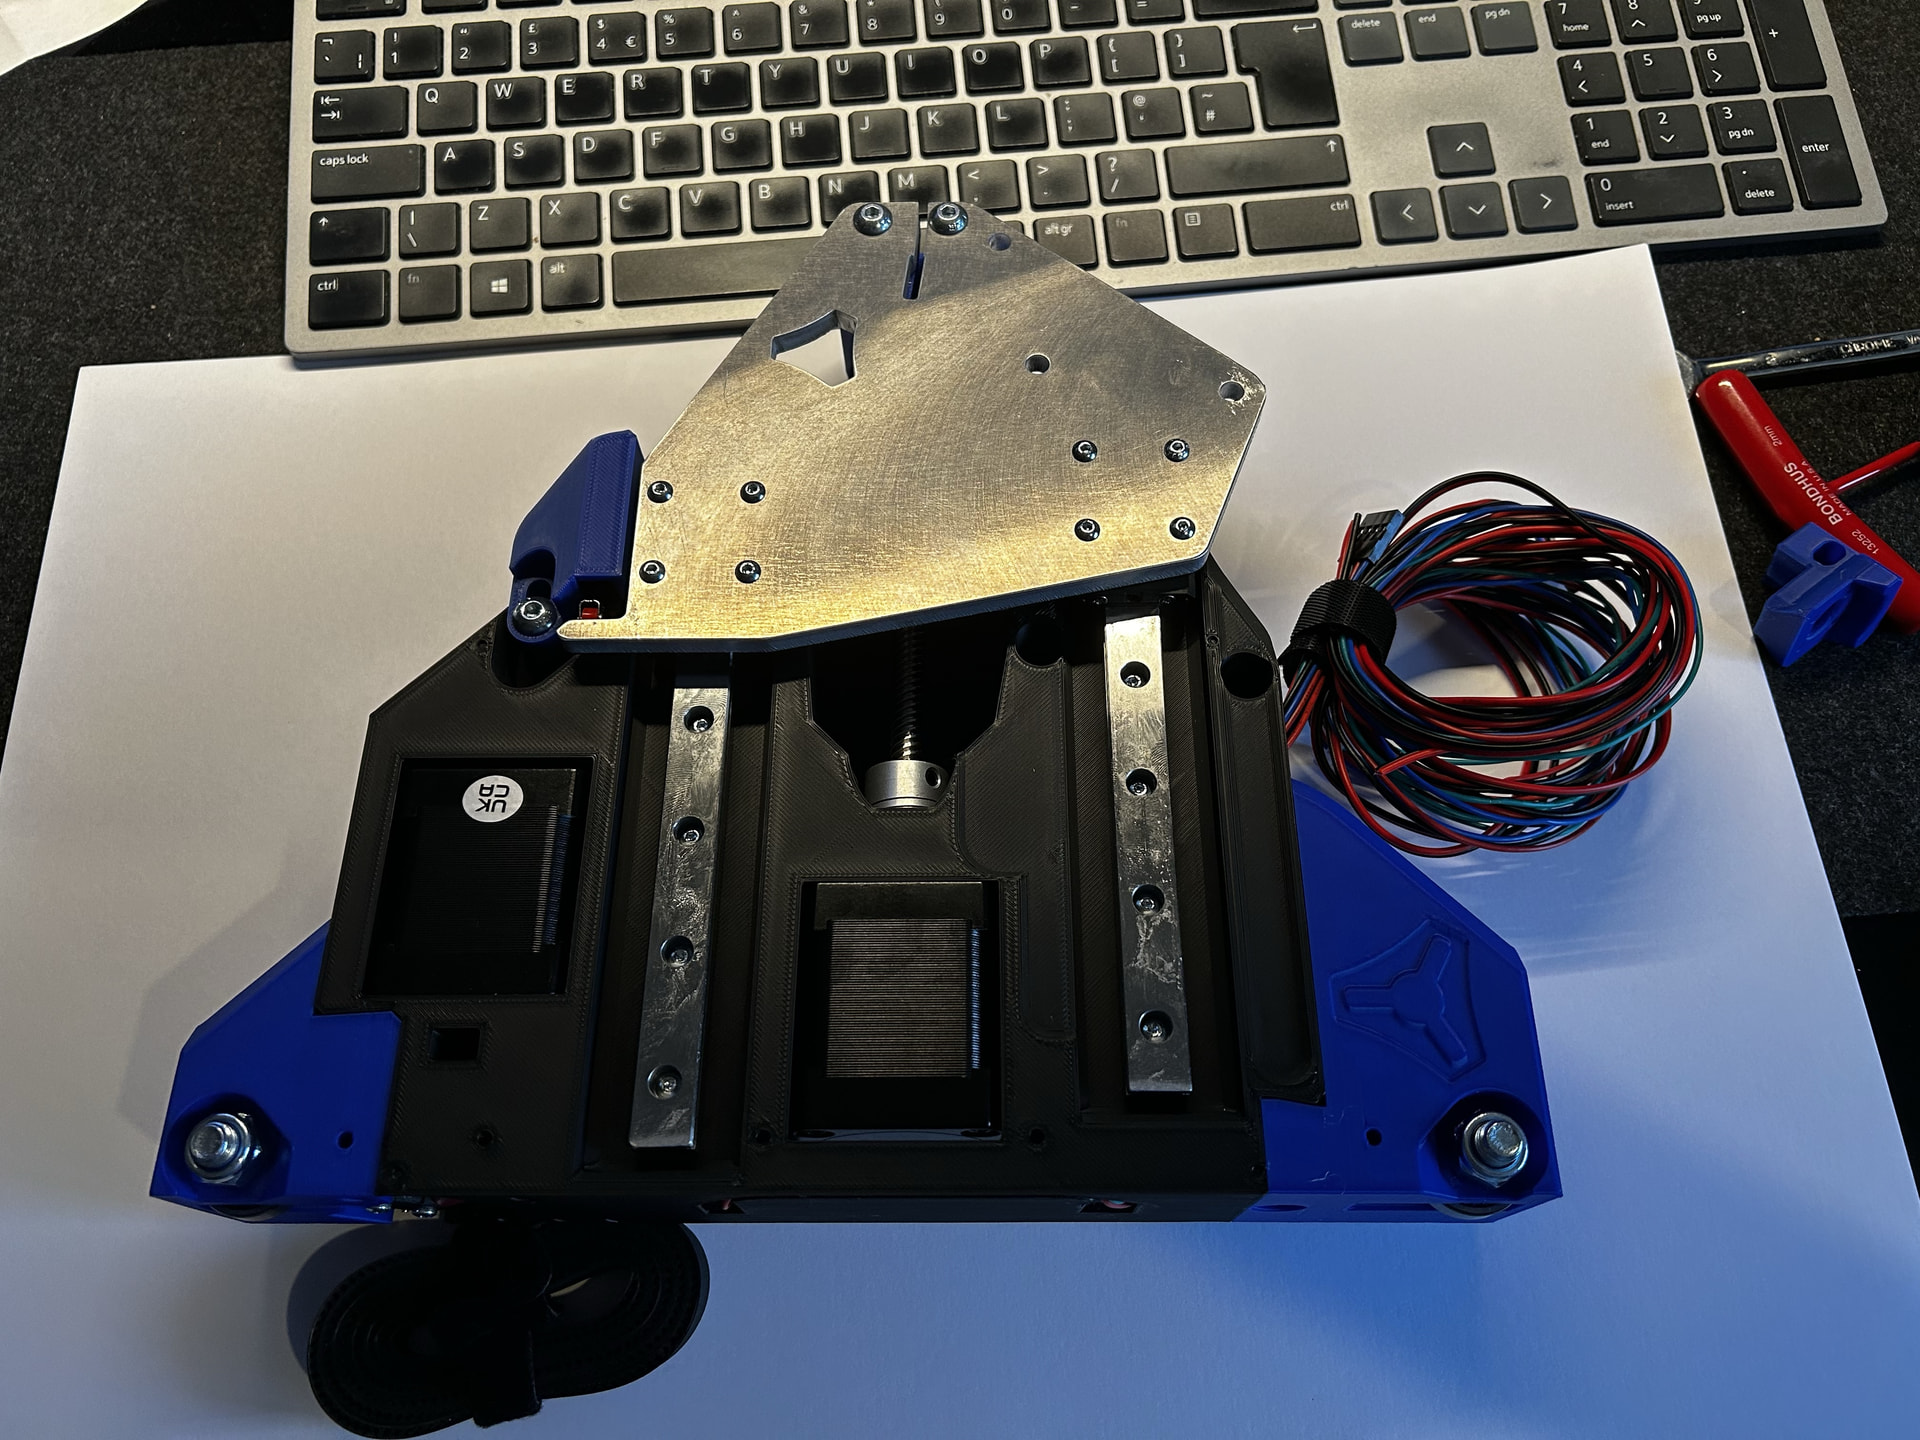
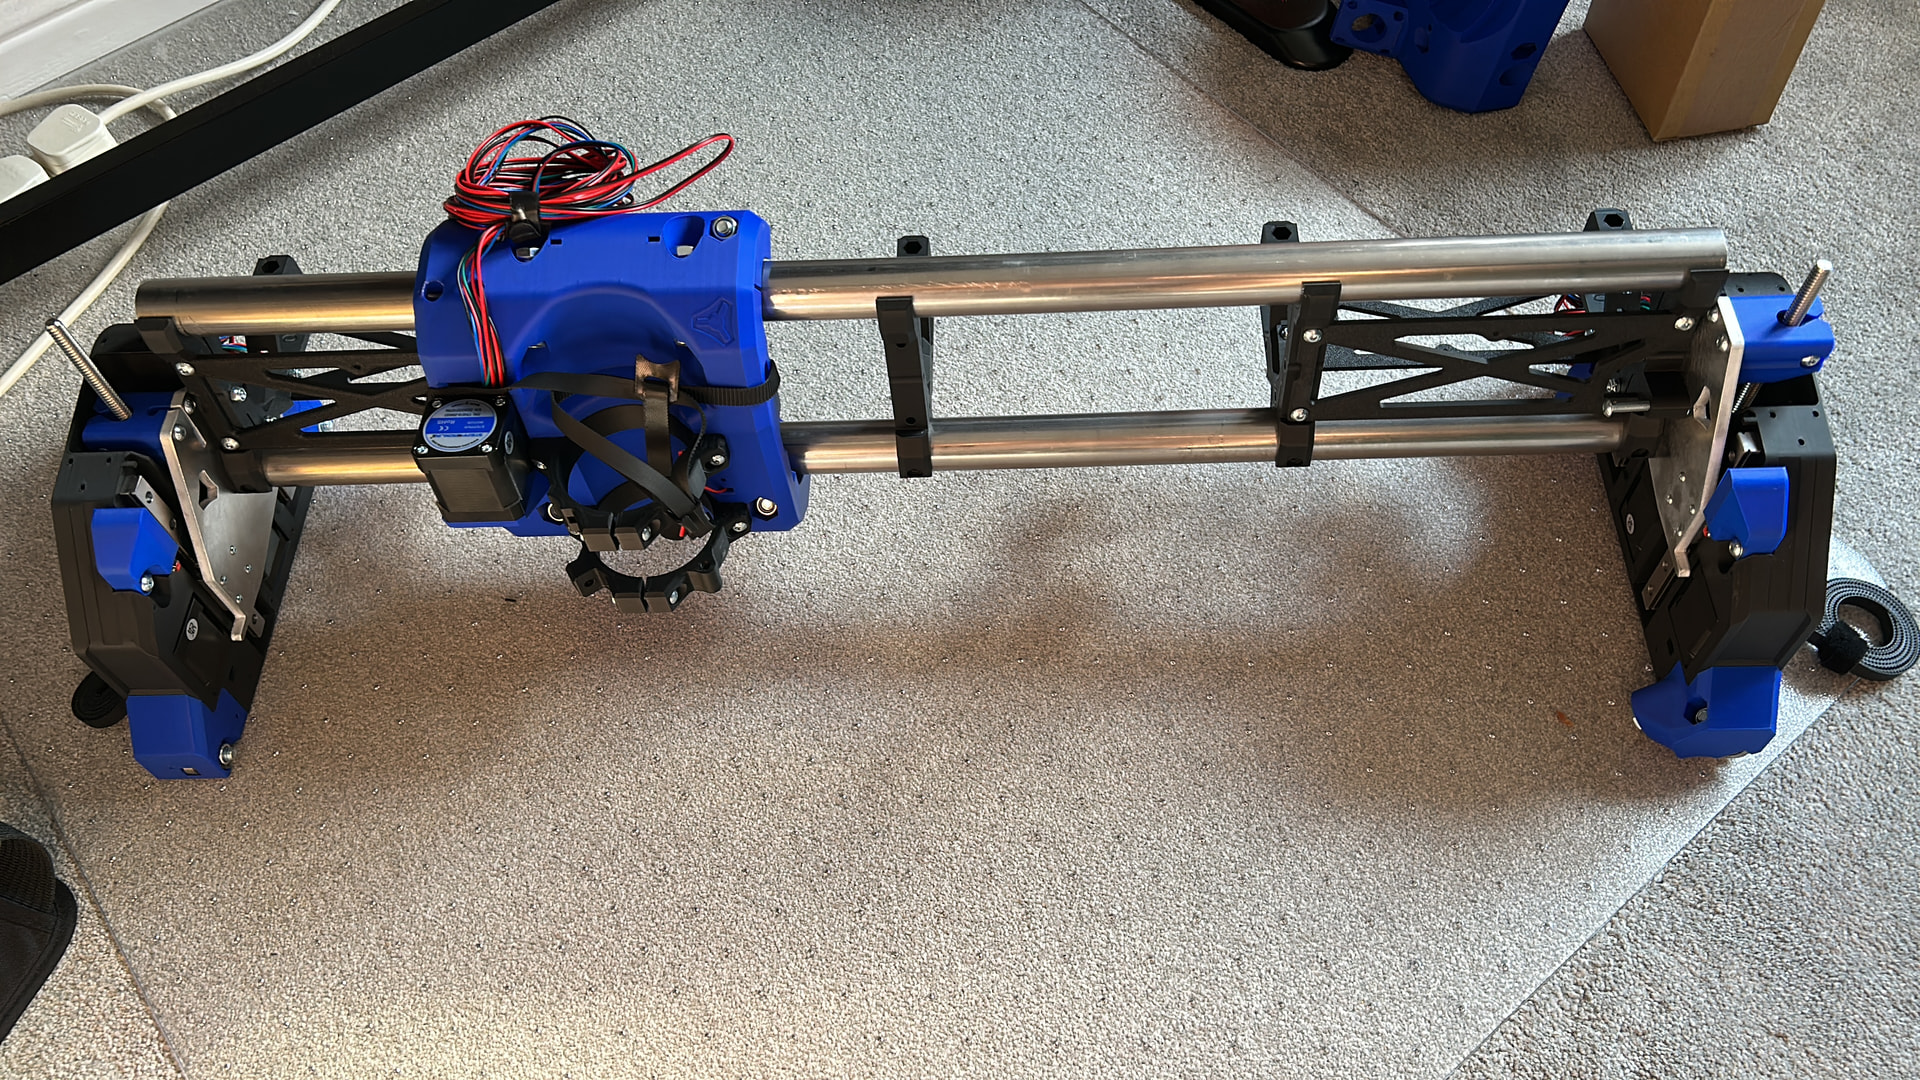
Thanks for the printing tips - learning lots :smiley: Re-printed the failed parts, and as all the bits had arrived got started on Friday putting it together… late Friday (Early Saturday actually)…

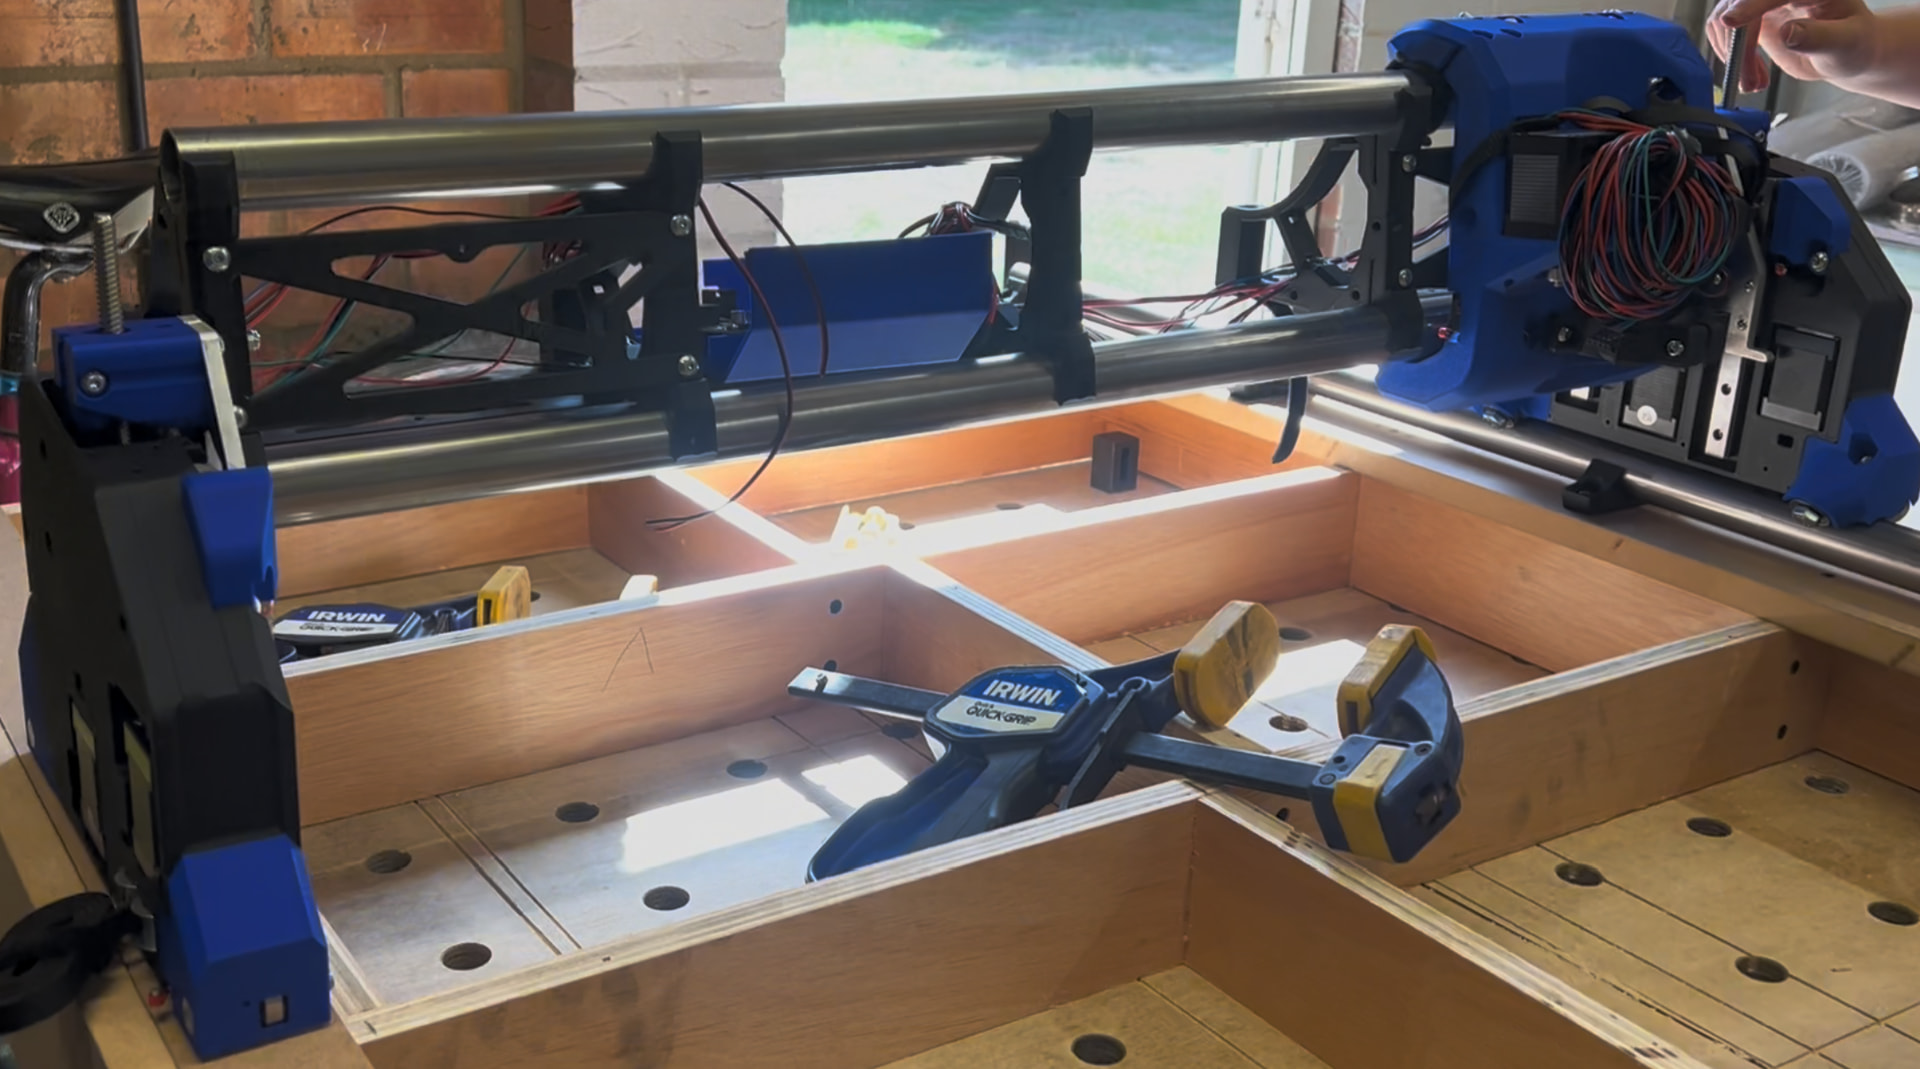
And then and with what time I’ve managed to grab over the weekend… I’m at the point of wiring it all up…

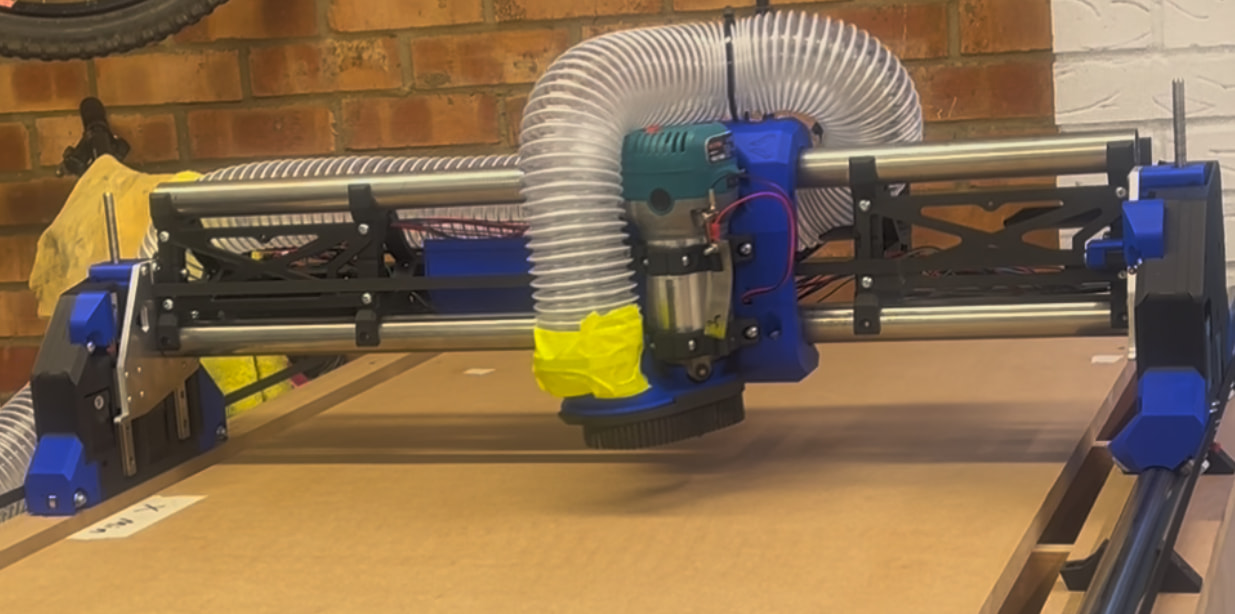
I’m well pleased with it - I can’t find the words to express how impressed I am with the components and quality of the design… everything just “fits”, it’s utterly remarkable…

Wasn’t sure whether the blue was bright enough, well happy with it!

Quick question - Temporary mounting of the jackpot3 box - the holes in the box are for the jackpot3 board, how do you mount it?

Off to build a table/base for it and may be get the rail installed…