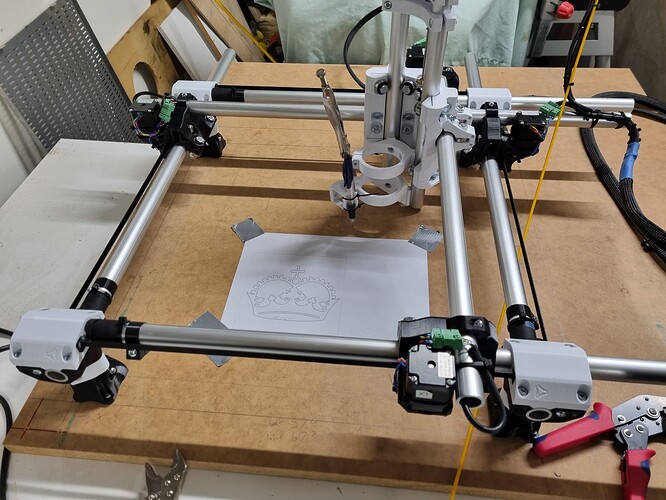
Well, a bit over 4 years later and things have moved on somewhat.
After getting a bit stuck, a bit sidetracked, breaking my printer, running into bed adhesion problems and a few other things, this project got put on the backburner.
As a COVID lockdown project, I decided to take another pass at getting this thing up and running.
In trying to figure out where I had gotten up to, I noticed there were a few things that had changed. The multiple sets of parts customised for different tube sizes is an awesome development which would have saved me a ton of time when I started. The newer Burly parts were also pretty enticing, as some utilitarian aluminium machining was always something I was hoping to be able to achieve.
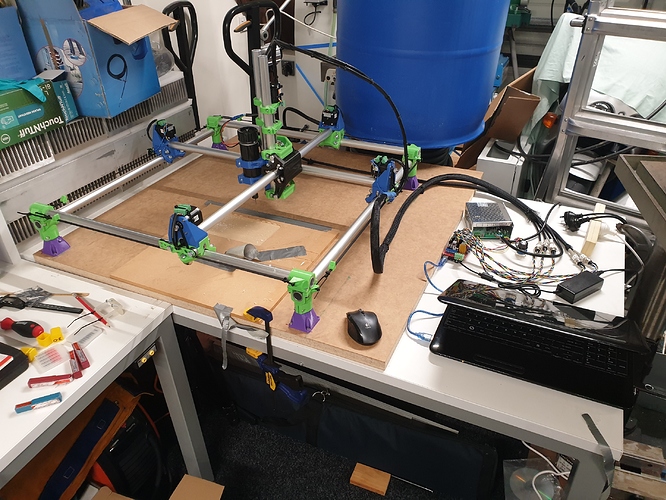
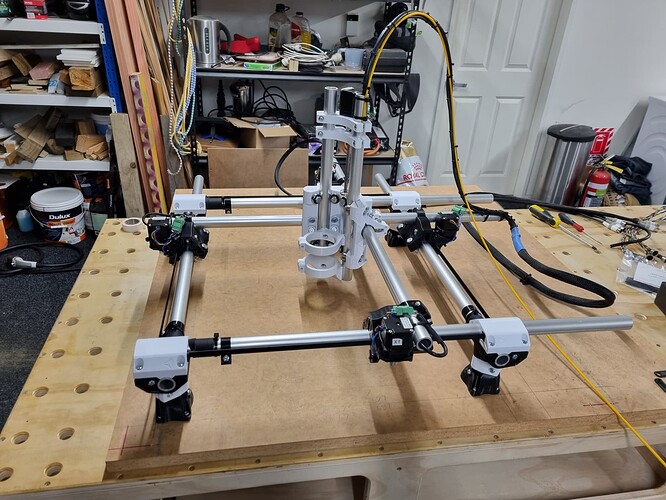
So, with that in mind, I set out and reprinted all the parts and started going through the assembly process a couple of months ago. I got most of the way there (everything assembled and movable by hand) but as my build is from one of the original kits, it needed some extra parts subbed in. I went straight for the dual endstop version so that necessitated picking up some more stepper drivers which got delayed somewhat. The T8 leadscrew arrived earlier this week after 4 months in transit (!) and I was finally able to have all 3 axes moving together. The T8 leadscrew I was sent is the wrong pitch (4mm/rev instead of 8mm/rev) but I can’t see how that would cause an issue.
So, my build is:
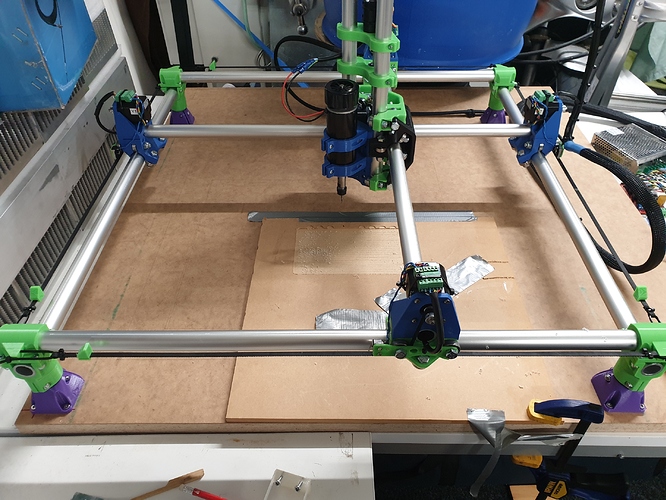
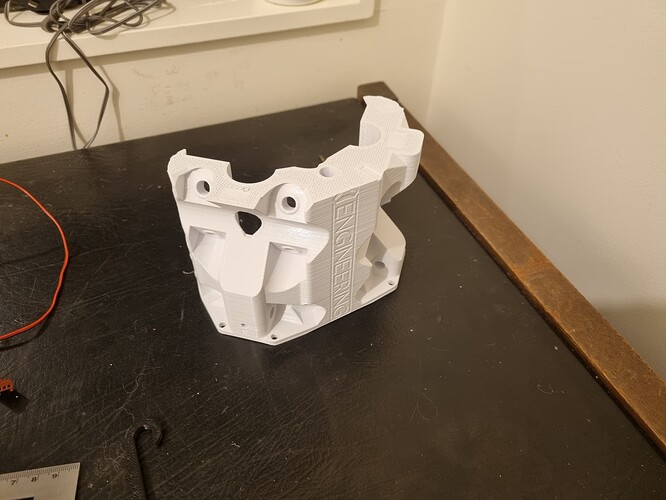
3D printed parts: Burly 25mm dual endstop, DiamondAge PLA printed on a Mendel 90
Rails: 25mm OD, 3mm wall aluminium, 25um ‘marine’ anodized, 600mm lengths.
Motors: As supplied in the original kit
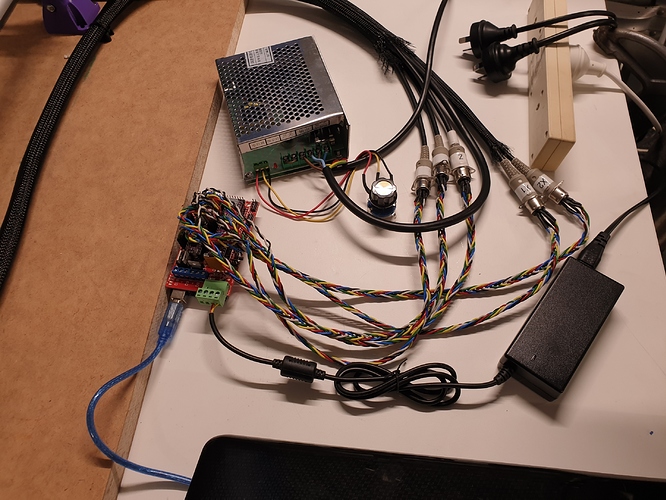
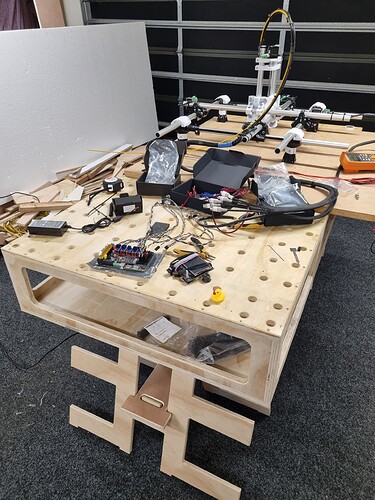
Control: RAMPS with DRV8825 drivers
Spindle: 500W air cooled AliExpress ER spindle
At the moment, I’ve got the height set at the minimum as that seemed to be the easiest option until I’ve had a bit of a play around. I’ve deliberately left the Z axis rails long and I have extra aluminium left over for the legs so I can easily adjust it all later.
Everything is wired up and moving together. I needed to add about 1mm of adjustment for the machine to square up, which was easy enough. Using the pen mount with a sharpened pencil directly onto my wooden bed, I get the diagonals of a 530mm square identical within half a mm, which is well beyond anything I’ll likely need.
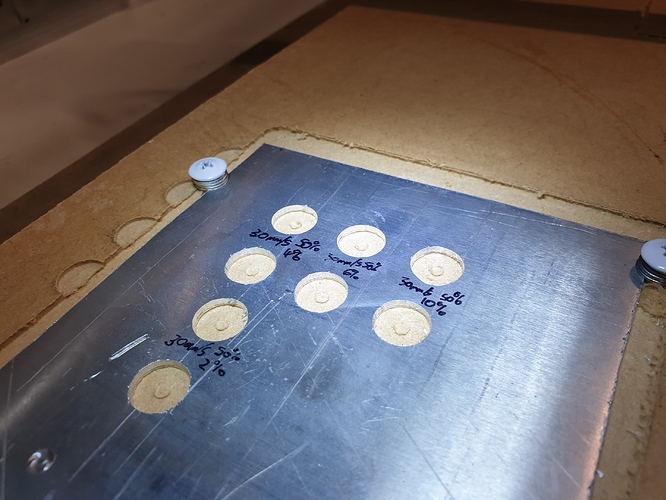
First task for the machine was to modify the lid of an ABS enclosure for a piece of test equipment I was making. So did some playing with ESTLCAM, some air cutting, a test cut in MDF, pocketed the MDF to give a nice reference for squaring the lid to, taped the lid down and ran the job. No problems, job done. Pretty happy so far and looking forward to playing with it some more.
Still a couple of things to sort out: enclosure for the electronics, spindle motor control, perhaps a dust shoe etc. but I’m calling it done enough for the moment.
Original kit order date: 21st Jan, 2016
First chips date: 19 Jun, 2020
4 years, 5 months. Yikes.


