Hi gang,
This will be my first venture into CNC, I have been looking at options for a couple of years but never found anything affordable that looked like it was good quality before I found this the other night.
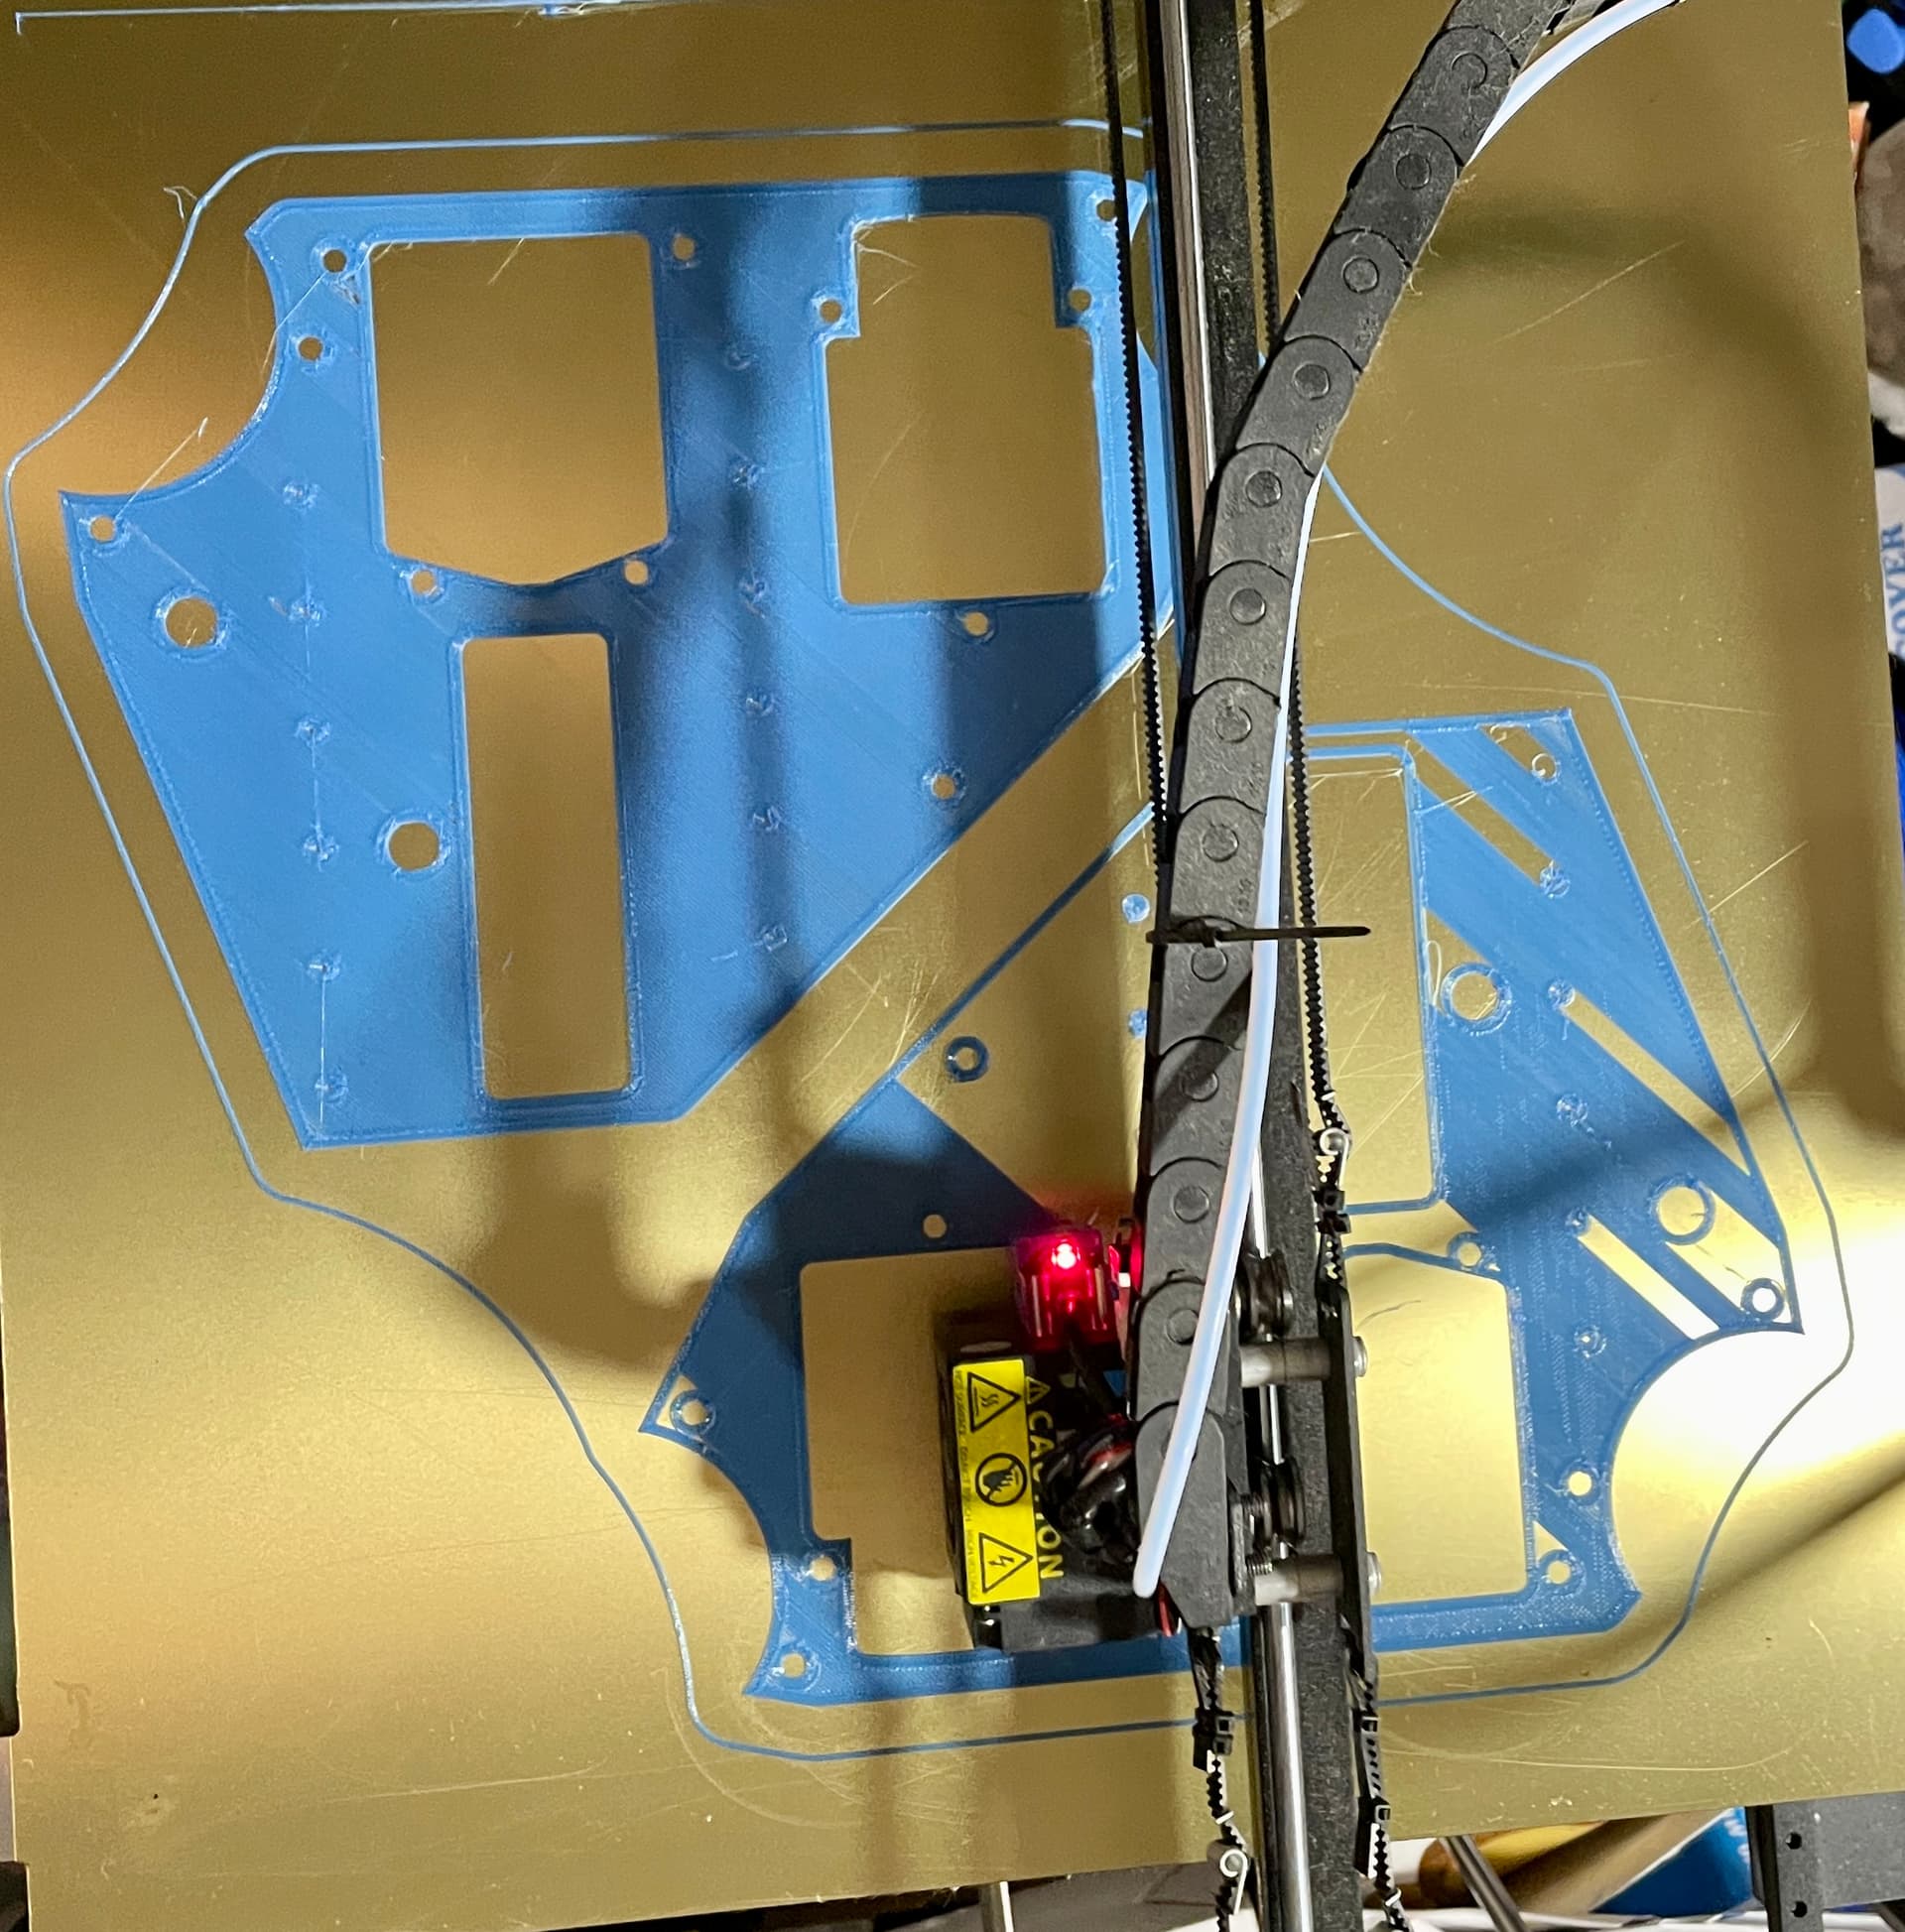
I will no be ordering the kit until after the holidays (for obvious reasons) but I figured I would get a start with the printable parts. I am printing groups of parts on my 400x400 3d printer and hope to get the Ender3 helping out as soon as I finish the upgrades.
My biggest sticking point at the moment is how to build the table to do full sheet size. I have seen a couple of solutions here but I cannot seem to find sheet products bigger than 4x8 here in Florida.
Making the table should not require sheet goods larger than 4X8. If nothing else, there is nothing saying that the top and bottom surfaces need to be all one piece. A torsion box is recommended, but the ‘skins’ on the top and bottom can still be made from separate pieces. Just take care rhat the surface is as flat as possible.
A large printer is useful, but I found that for print time reasons, I only had one plate larger than 200X200.
For strength and print time, thick layers are recommended. I use 0.33333mm layers (3 layers per mm) but larger is good, for larger nozzle diameters.
Good luck, and looking forward to seeing a test crown!
Thanks Dan,
I have some things I will be doing with 4x8 pink foamboard so I figured this could come in handy there, but knowing wood projects will likely be much smaller. Flat was my concern, I guess the “rail area” can be separate pieces with the cut area being one flat piece.
I have the big printer with a planned direct drive hot end upgrade but I do not want to take it out of service now that I am printing LOL. Currently I am at 0.3 layers with a 0.4 nozzle. I have to see if the E3D v5-v6 fit this printer, I have nozzles up to 0.8 or 1.0 that came yesterday for the new hotend.
Flat is and isn’t important. Hard to explain. I think that is why we don’t have all that much info on it, it isn’t usually much of an issue.
For a lowrider your table can be bowed in the Y (long) direction with very little issue, the machine will follow the bow. So focus on getting the X as good as you can and from there you can mount a spoil board and surface it, or even do mesh leveling. I will say in the 7+ years of me owning these machines, I just “surfaced” my LR for the first time ever a few months ago. Even then I only did it because I had a weird high spot and I just knocked it down a bit.
All comes down to the type of projects you will make. Do your best but don’t stress over it too much the machine can flatten itself.
So I was going to do a full 8’ build but after reading a couple of threads here I think I will do a bit over 4’ with the trick to index full sheets with pins and a roller to support it. It will see smaller materials much more than full sheets I would imagine.
Yeah that’s the route I’m planning on going too. The good thing is the LR3 is movable so if you need a “temporary” table for full sheet builds w/o the indexing then you could set up an ad-hoc one. That’s what I’m thinking of doing anyway.