Jackpot controller fluid nc estlcam v12
Try to find out how to set z 0 on my work piece don’t have my touch plate yet
Use the old paper trick like with a 3d printer. Zero out the z axis and you are set
Question is how do I zero
I think it’s best to provide a bit of background here. If you can post the start of the gcode file you were running that wasn’t behaving as expected, we can probably explain it a bit more.
First off, it’s good to look at the starting gcode that is recommended to setup in Estlcam. Be sure to look at the “Lowrider 3/4 - GRBL/Jackpot” version.
https://docs.v1e.com/tools/milling-basics/?h=milling+basics#gcode-start-tool-change-and-ending
You’ll see this as the starting gcode, which assumes you have a touchplate.
G21
G90
G94
G92 X0 Y0
M0 (MSG Attach probe)
G38.2 Z-110 F200 P0.5 (probe down set thickness )
G1 Z10 F900
M0 (MSG Remove probe)
M62 P1 (If used start spindle pin27 )
You’ll notice this line:
G38.2 Z-110 F200 P0.5 (probe down set thickness )
That is the code to probe to the touchplate. That says probe down up to 110 mm. When the touchplate is triggered, set Z to 0.5 mm due to the thickness of the touchplate.
After that, this line:
G1 Z10 F900
That is telling it to move up to Z10. In this case, it was at Z 0.5 and moved up 9.5mm to 10.
Now to answer your question, take note of this line:
G92 X0 Y0
That is setting the current position to X0 Y0.
You’ll just want to jog to the top of your work piece and enter this to zero Z:
G92 Z0
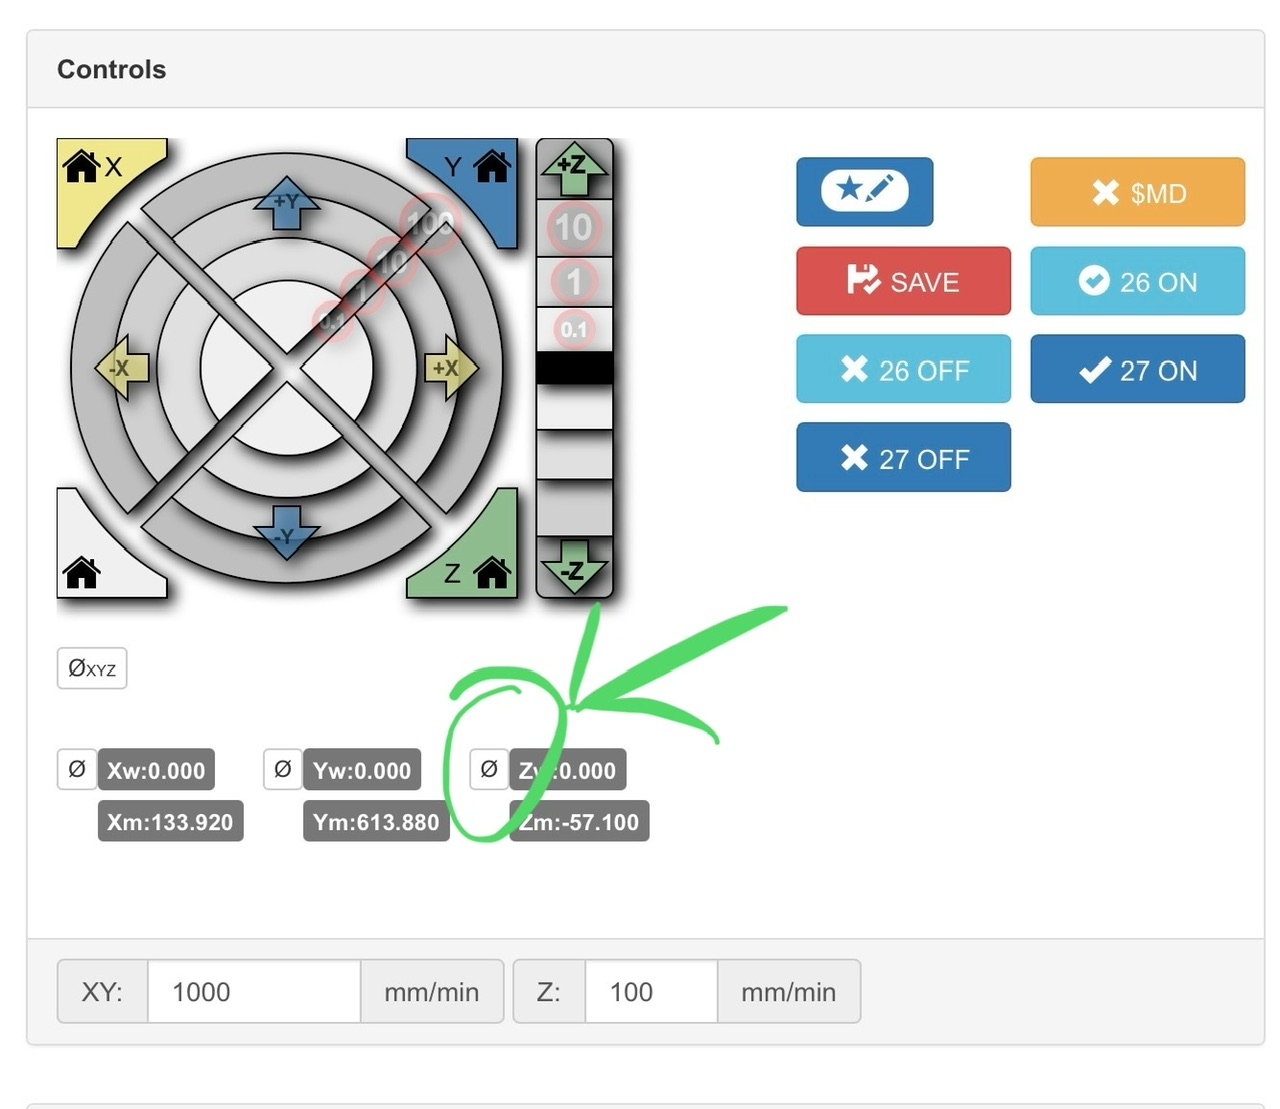
Another way is move your tool down so it juuust touches the top of your workpiece and hit the Zero button
2 Likes
Thank you this helps alot
That’s a button?