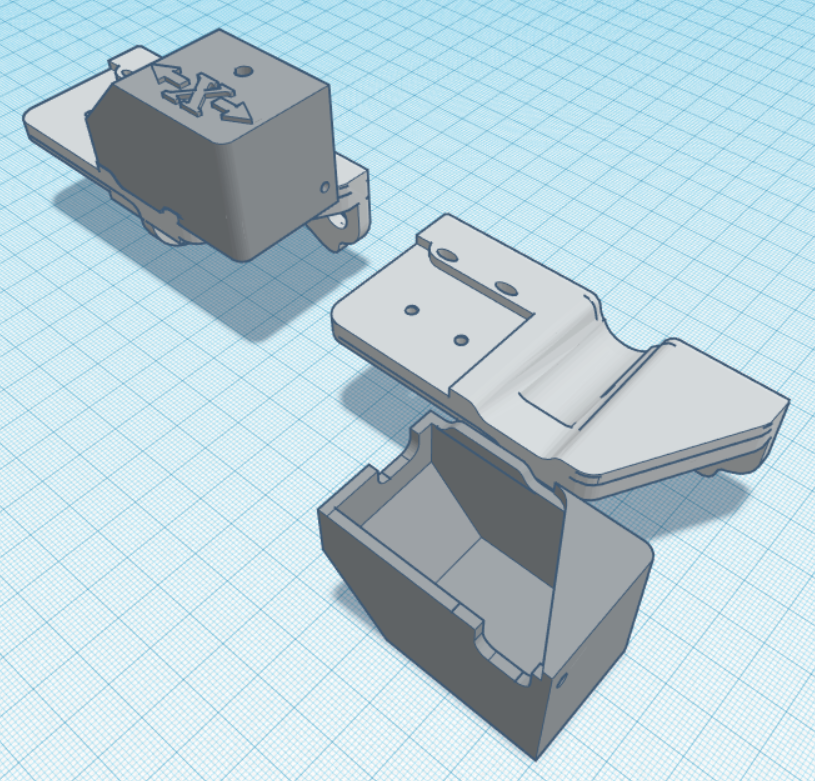
I use both… Tinkercad (for the same reasons Steve cites) when I have something really basic to print (spacers, plates, etc) or I have EXISTING STL’s to mod/merge (new mount adapter on existing cutter body). I use “real CAD” (Onshape is my preferred) when doing original designs, with more complex/precise parts/assemblies.
You are all too kind. If it helps, I just burnt my toast, so I do have limits.
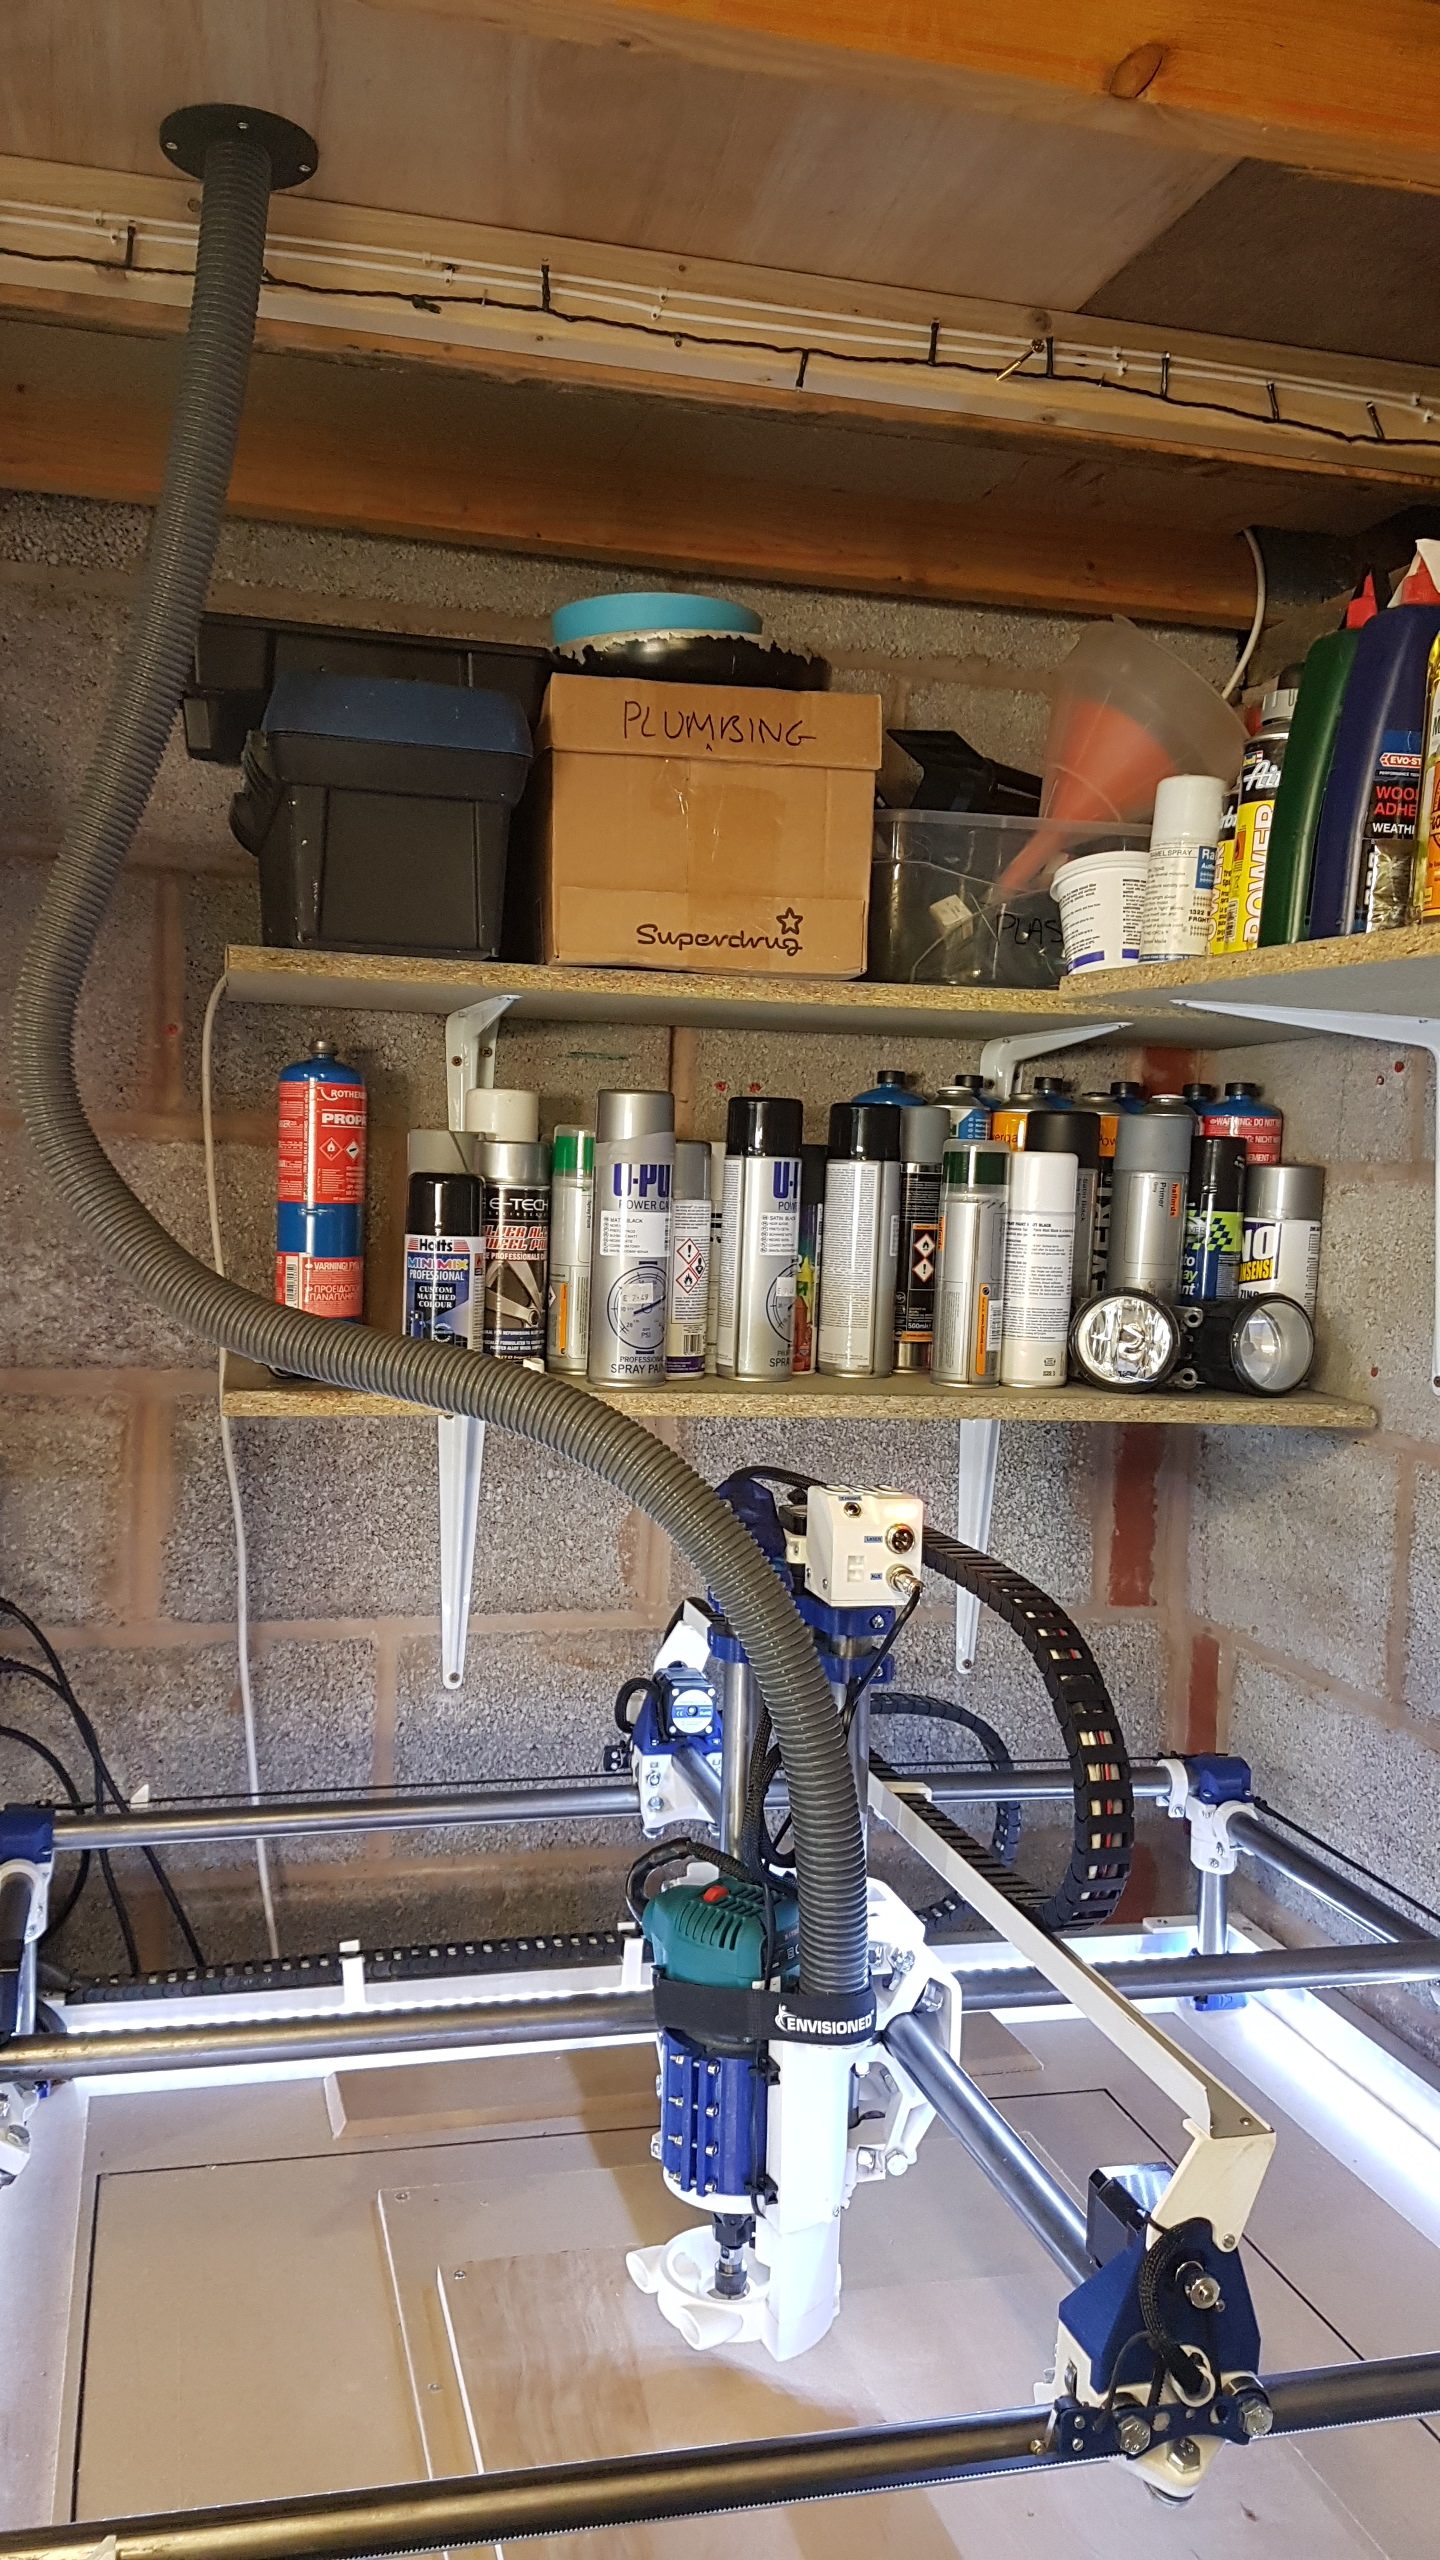
Lindsay… to answer your questions…
Controller (and all the other kit) are mounted underneath the main work bed. I was worried about vibration issues, but that doesn’t seem to be a thing.
All lighting is 5v LED strip (because I had some)
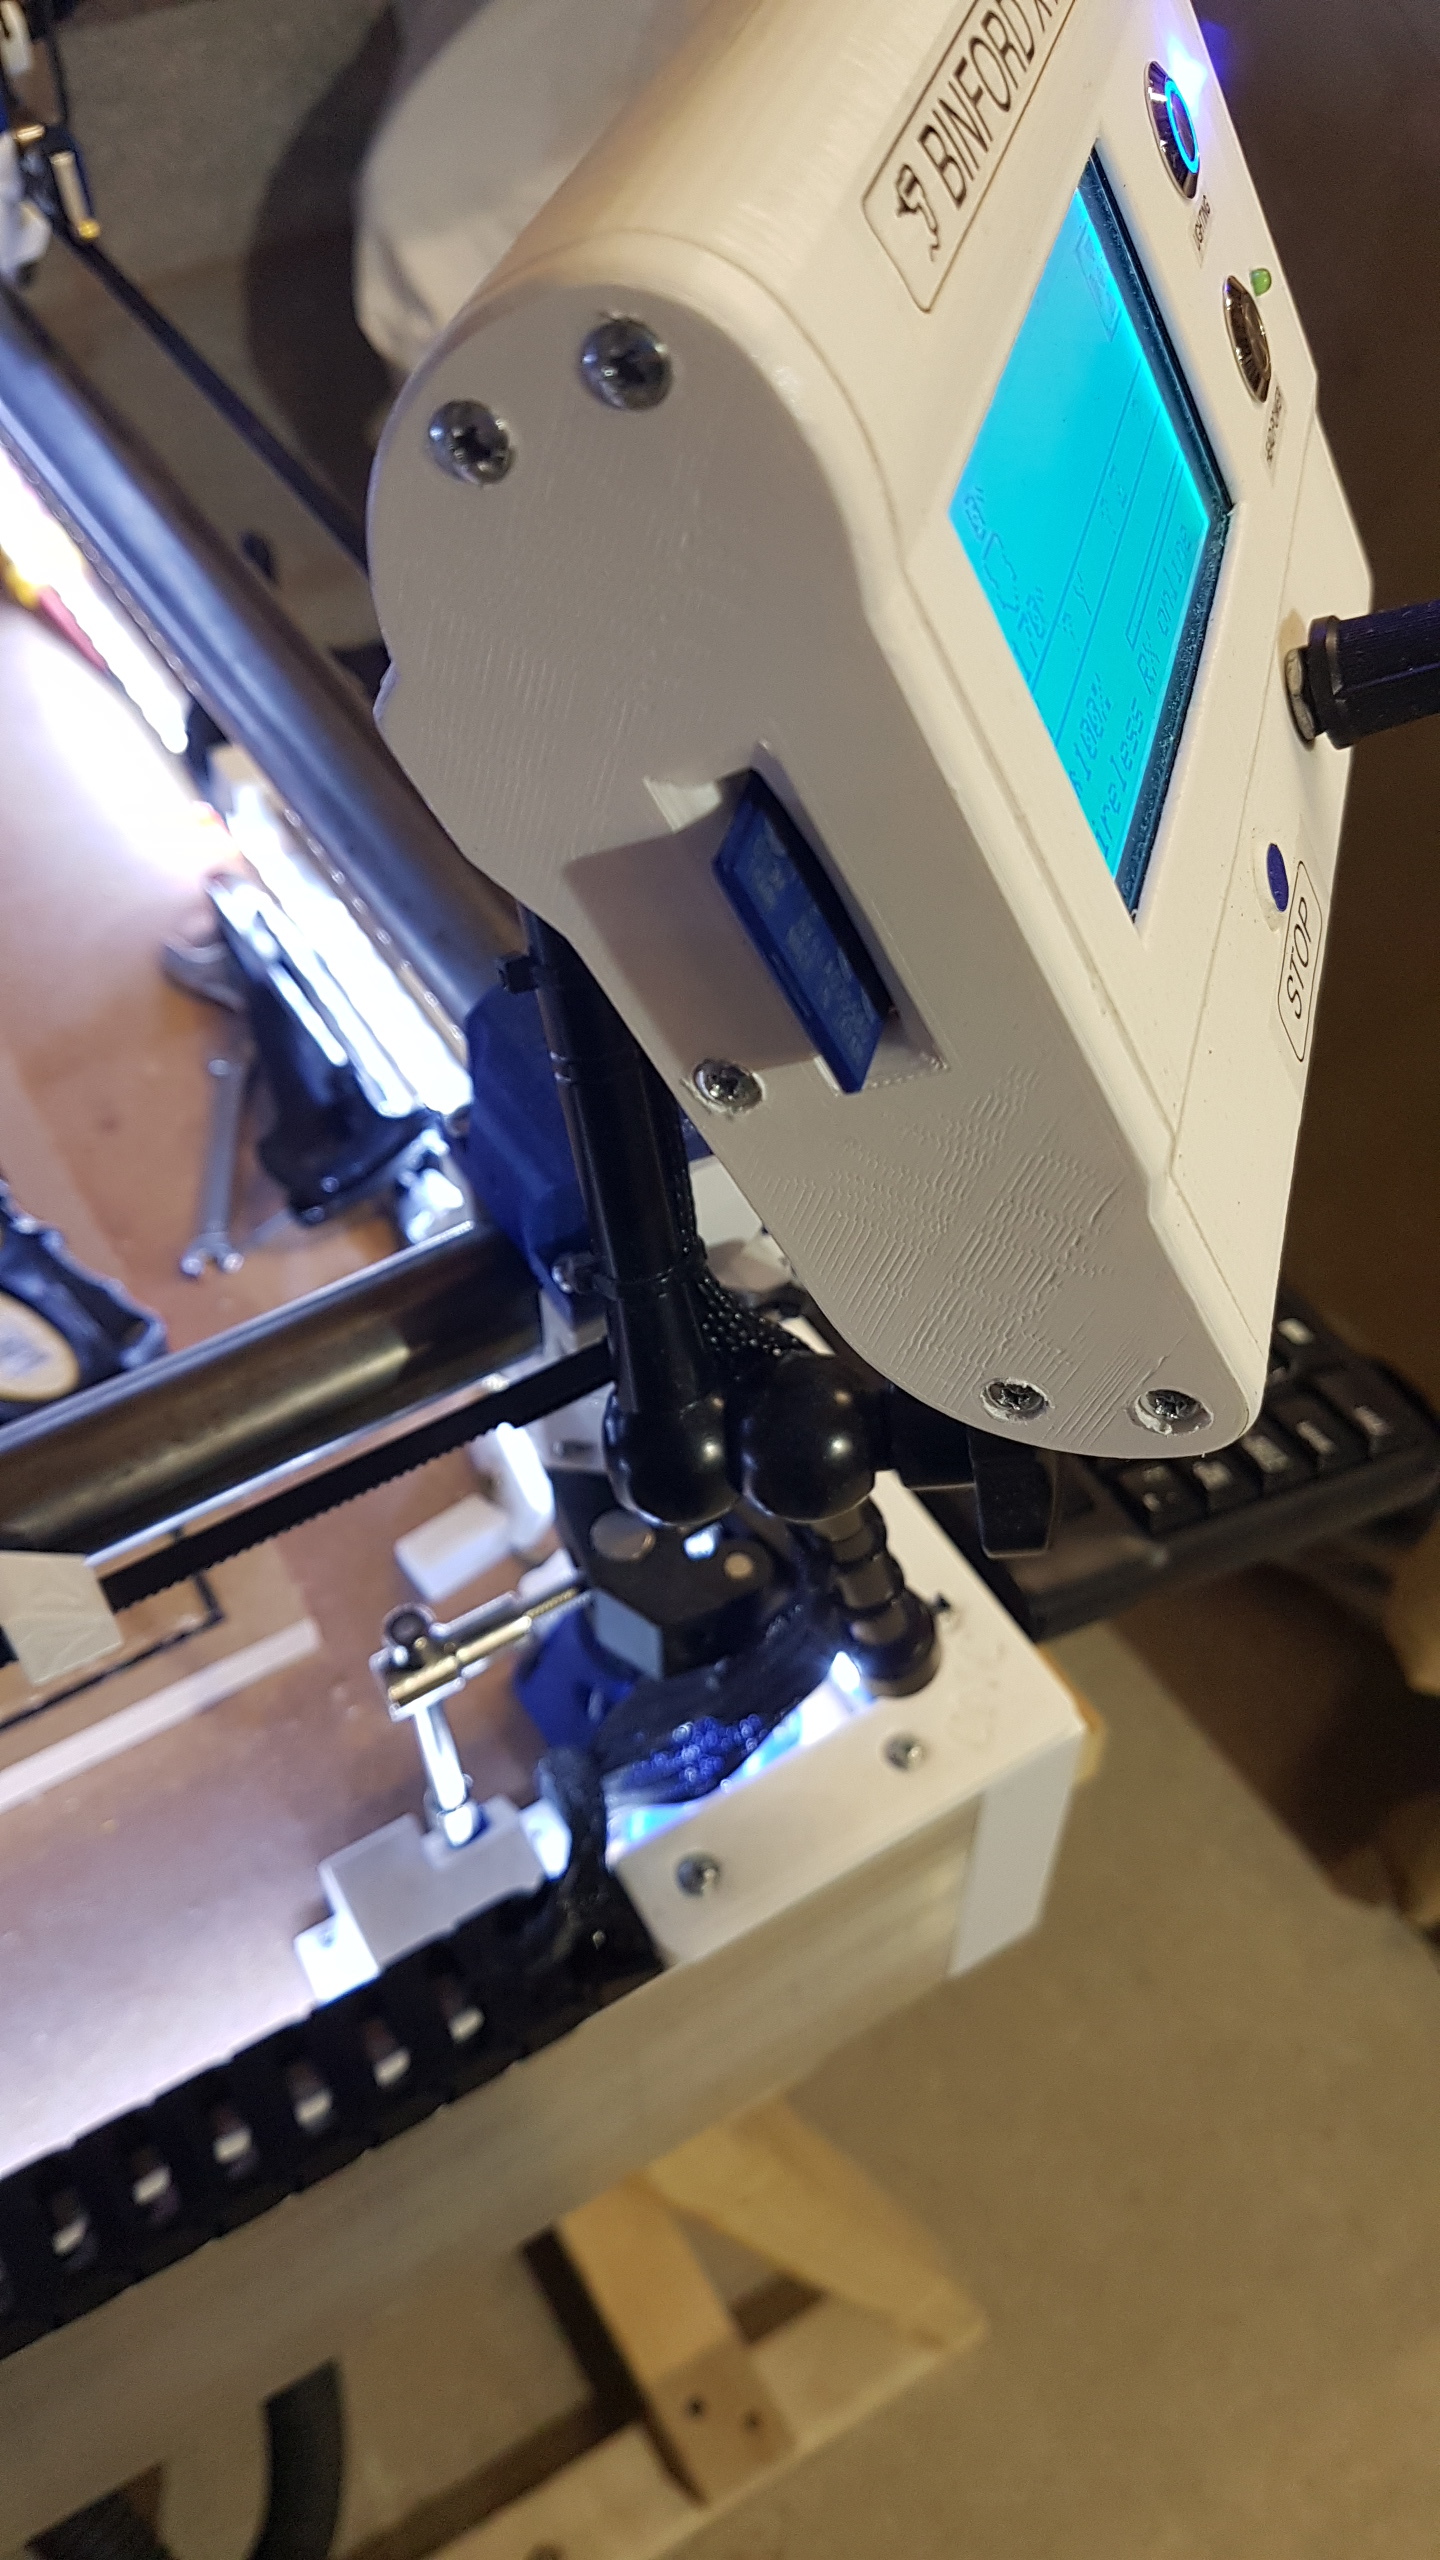
LCD is mounted on an £8 Ebay adjustable camera arm.
The vacuum is in my loft (I have a dual storey workshop). The hose comes through the ceiling centre of the work bed. Hardly any stress on the Z rails that way.
The emergency stop kills EVERYTHING. Router, laser. Rambo, Steppers etc.
There is a switch under the board that lets the Rambo remained powered upon emergency stop, but I like the stop button to kill everything (E.G. Steppers).
Full wiring diagram should be up on my website later
I get your point. Onshape is by far the best tool for doing just that, it’s super fast and intuitive.
I’m not a big fan of Fusion, I’m just using it for making renders. Too bad Onshape isn’t as easy to get for free as it used to be, and it’s just too expensive for a hobbyist to get a licence… I was lucky enough to get a free account a long time ago.
It’s not until you draw this thing out, you realise how much wiring went into it!
Wouldn’t upload (too big), so hope the compressed version is readable.
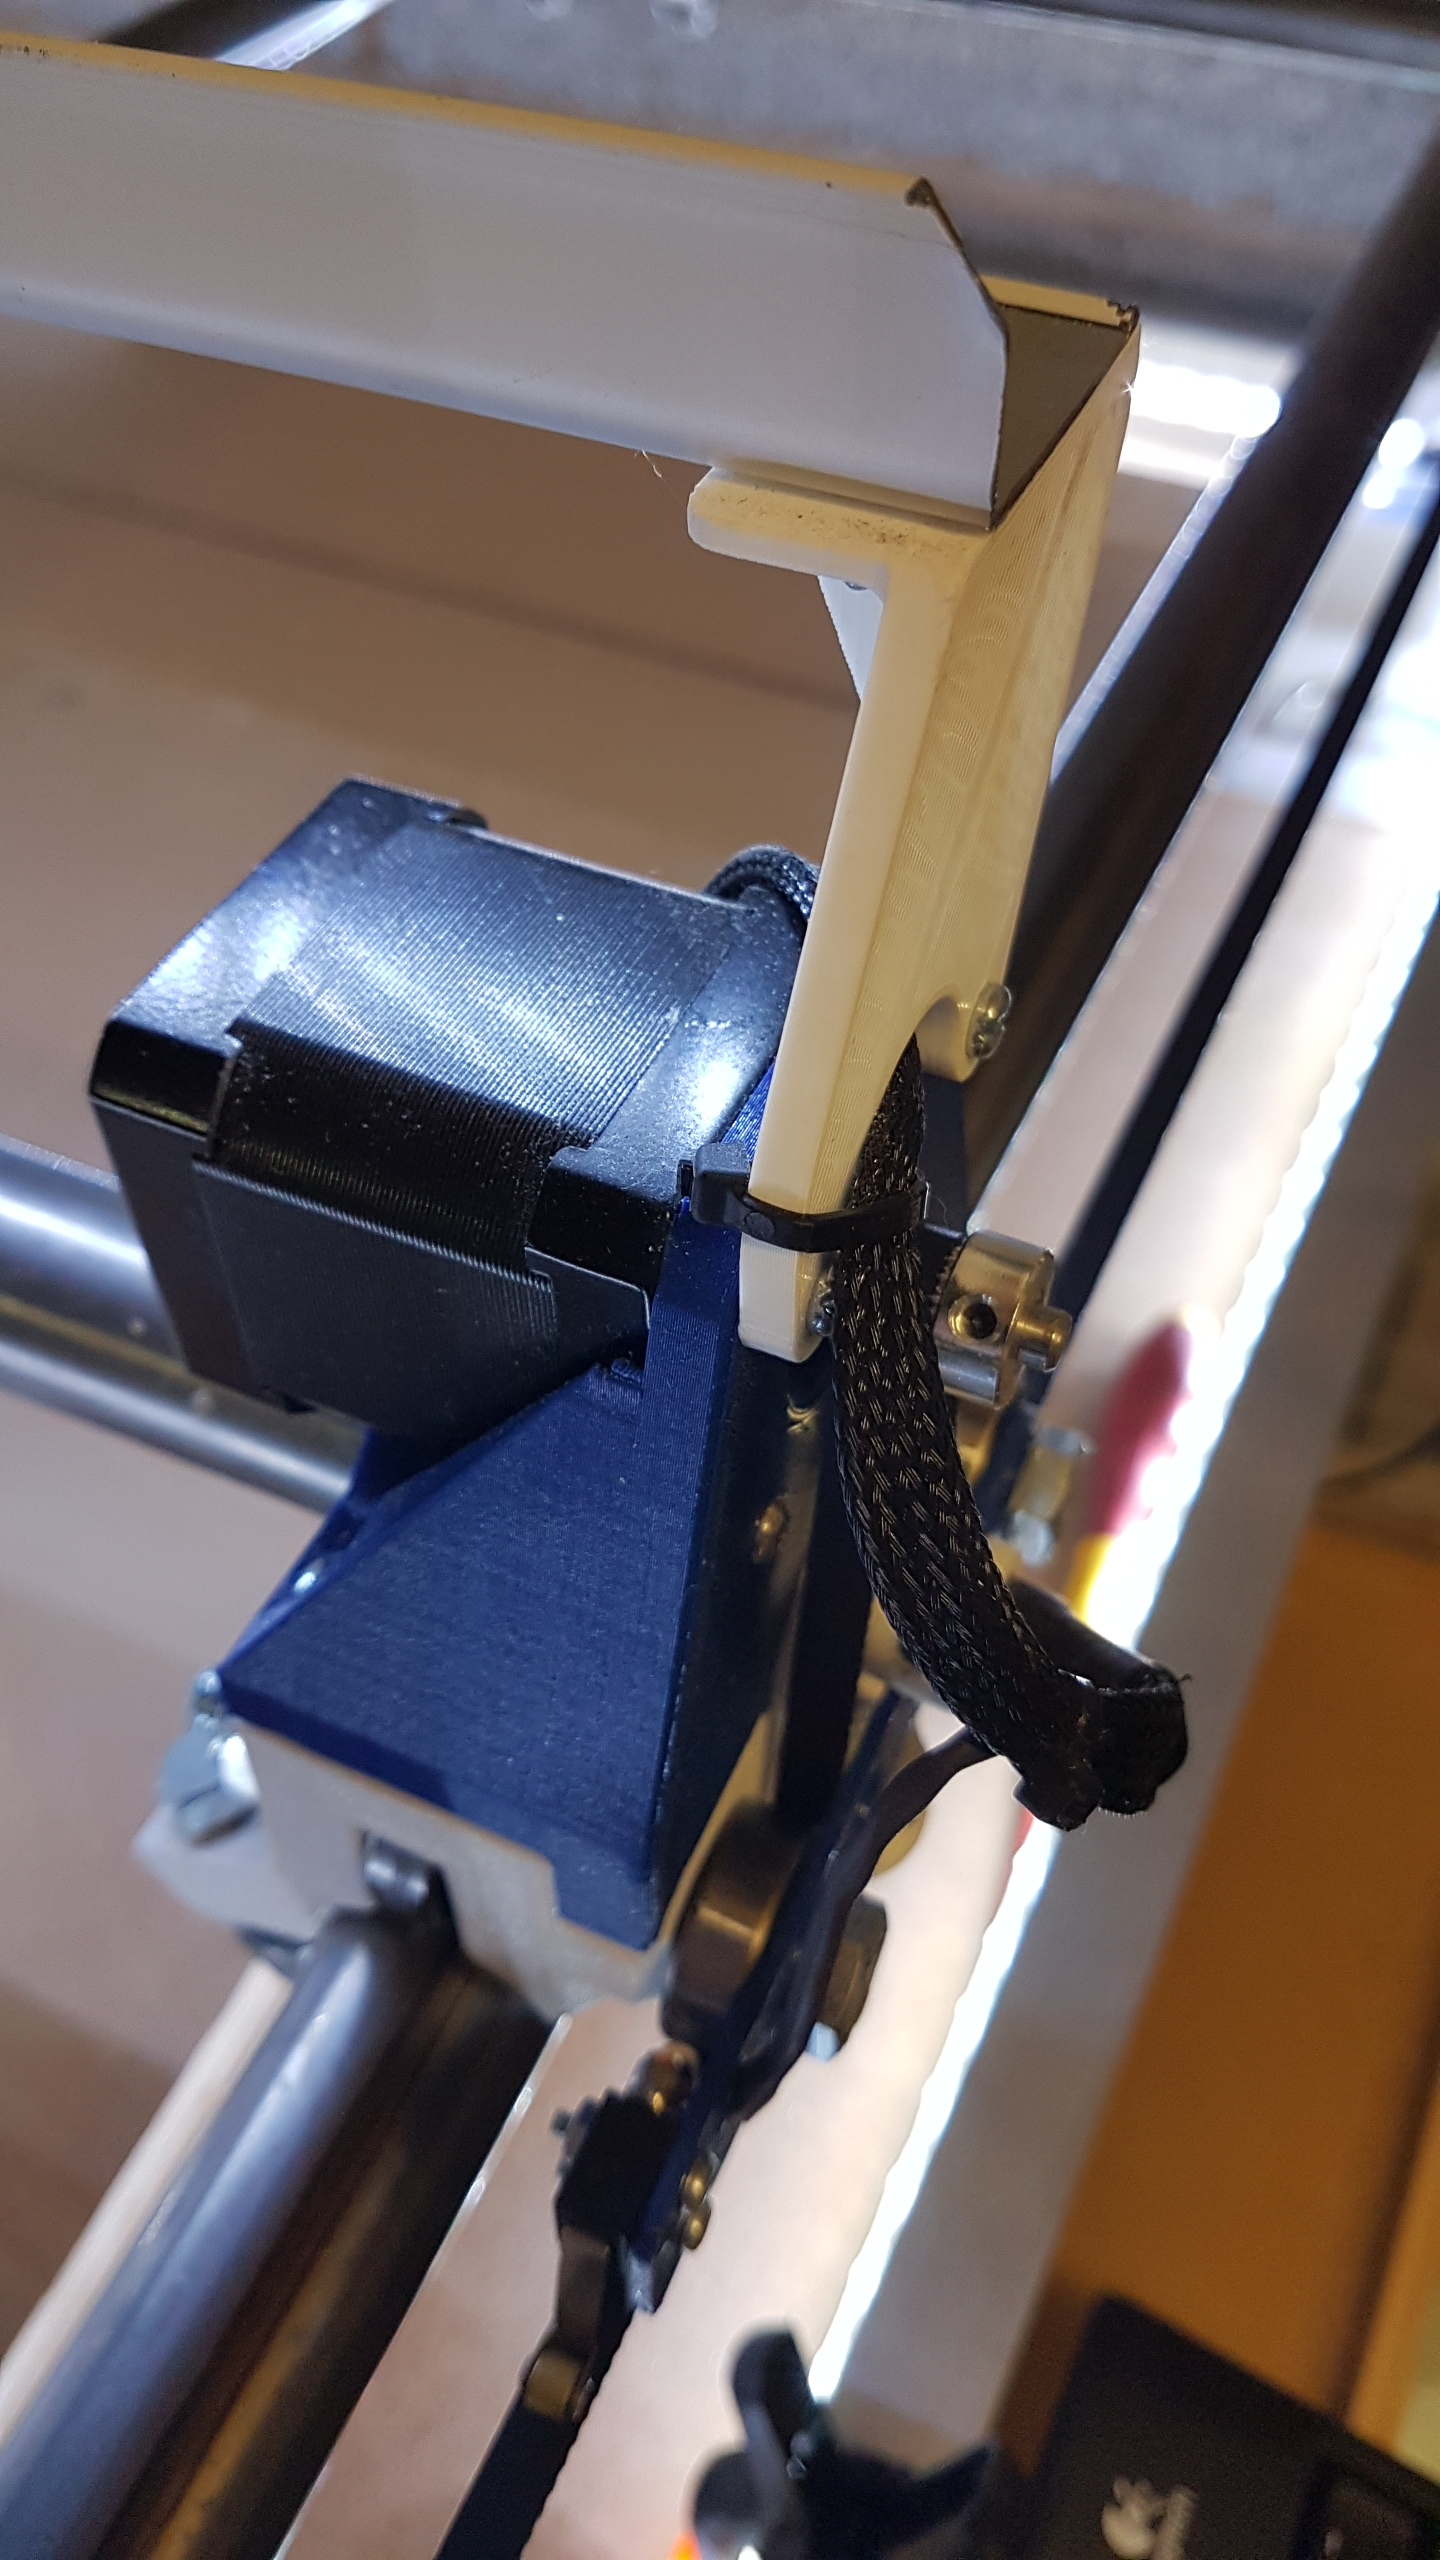
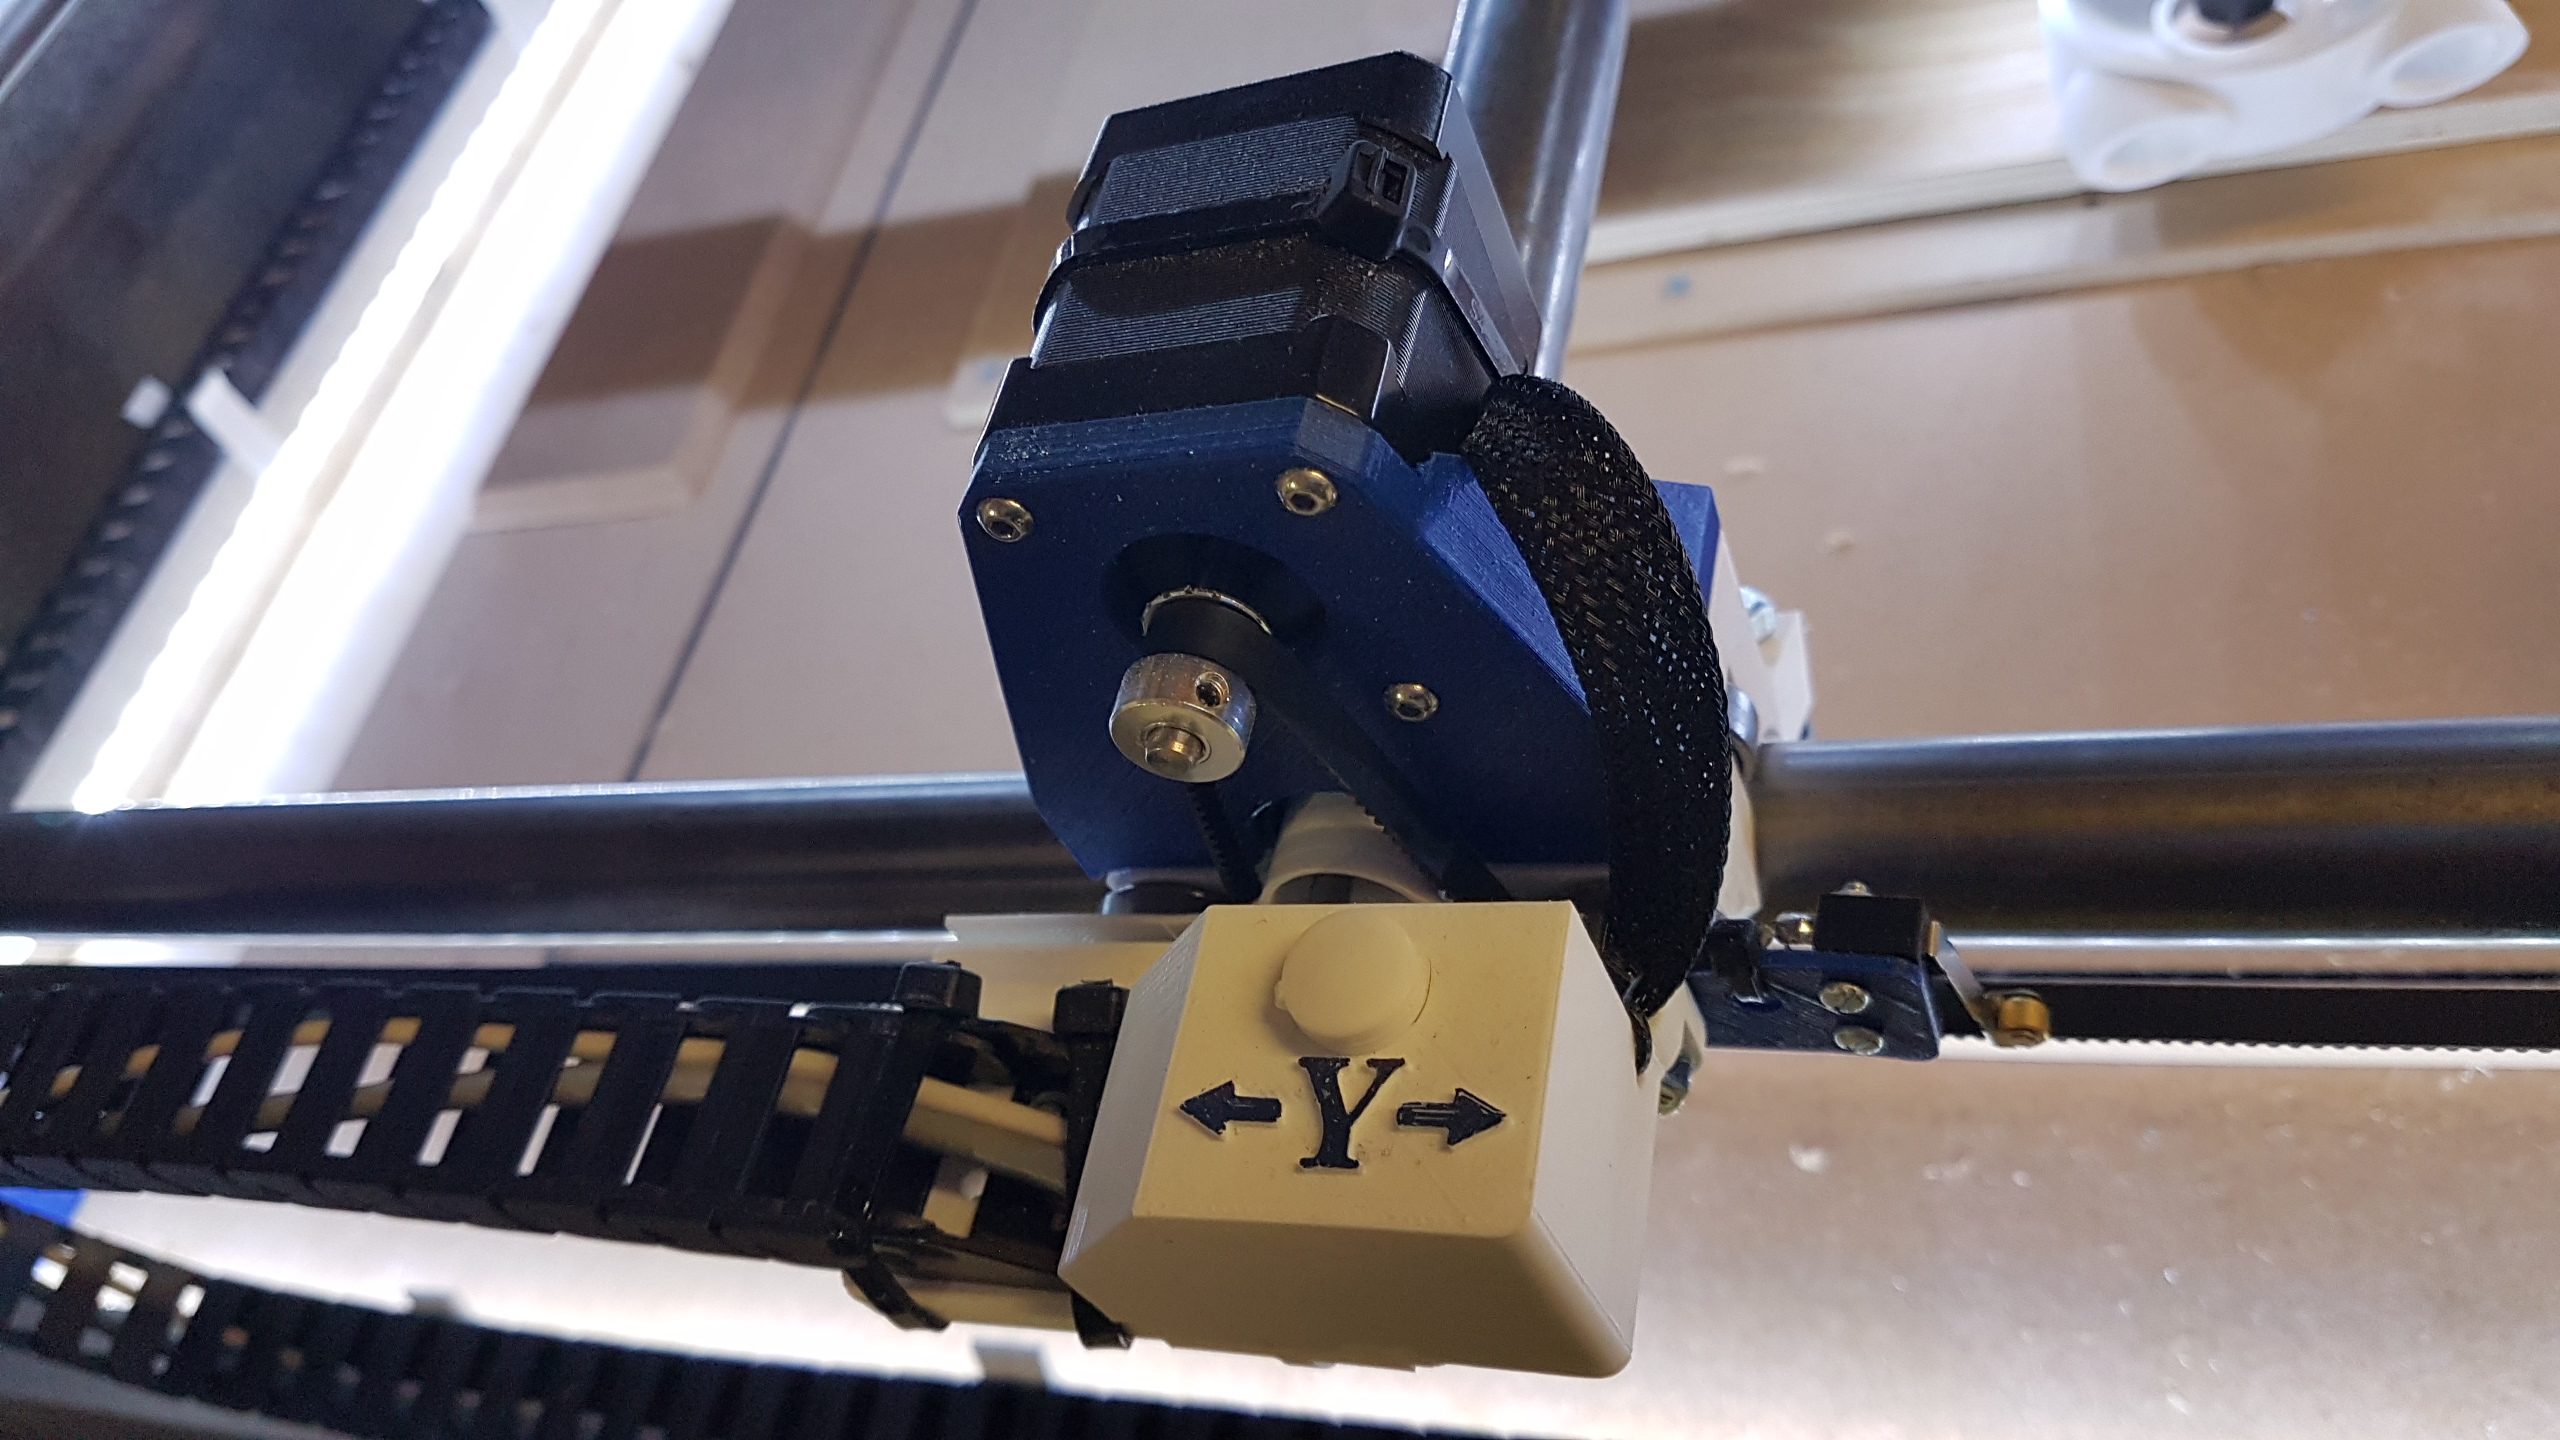
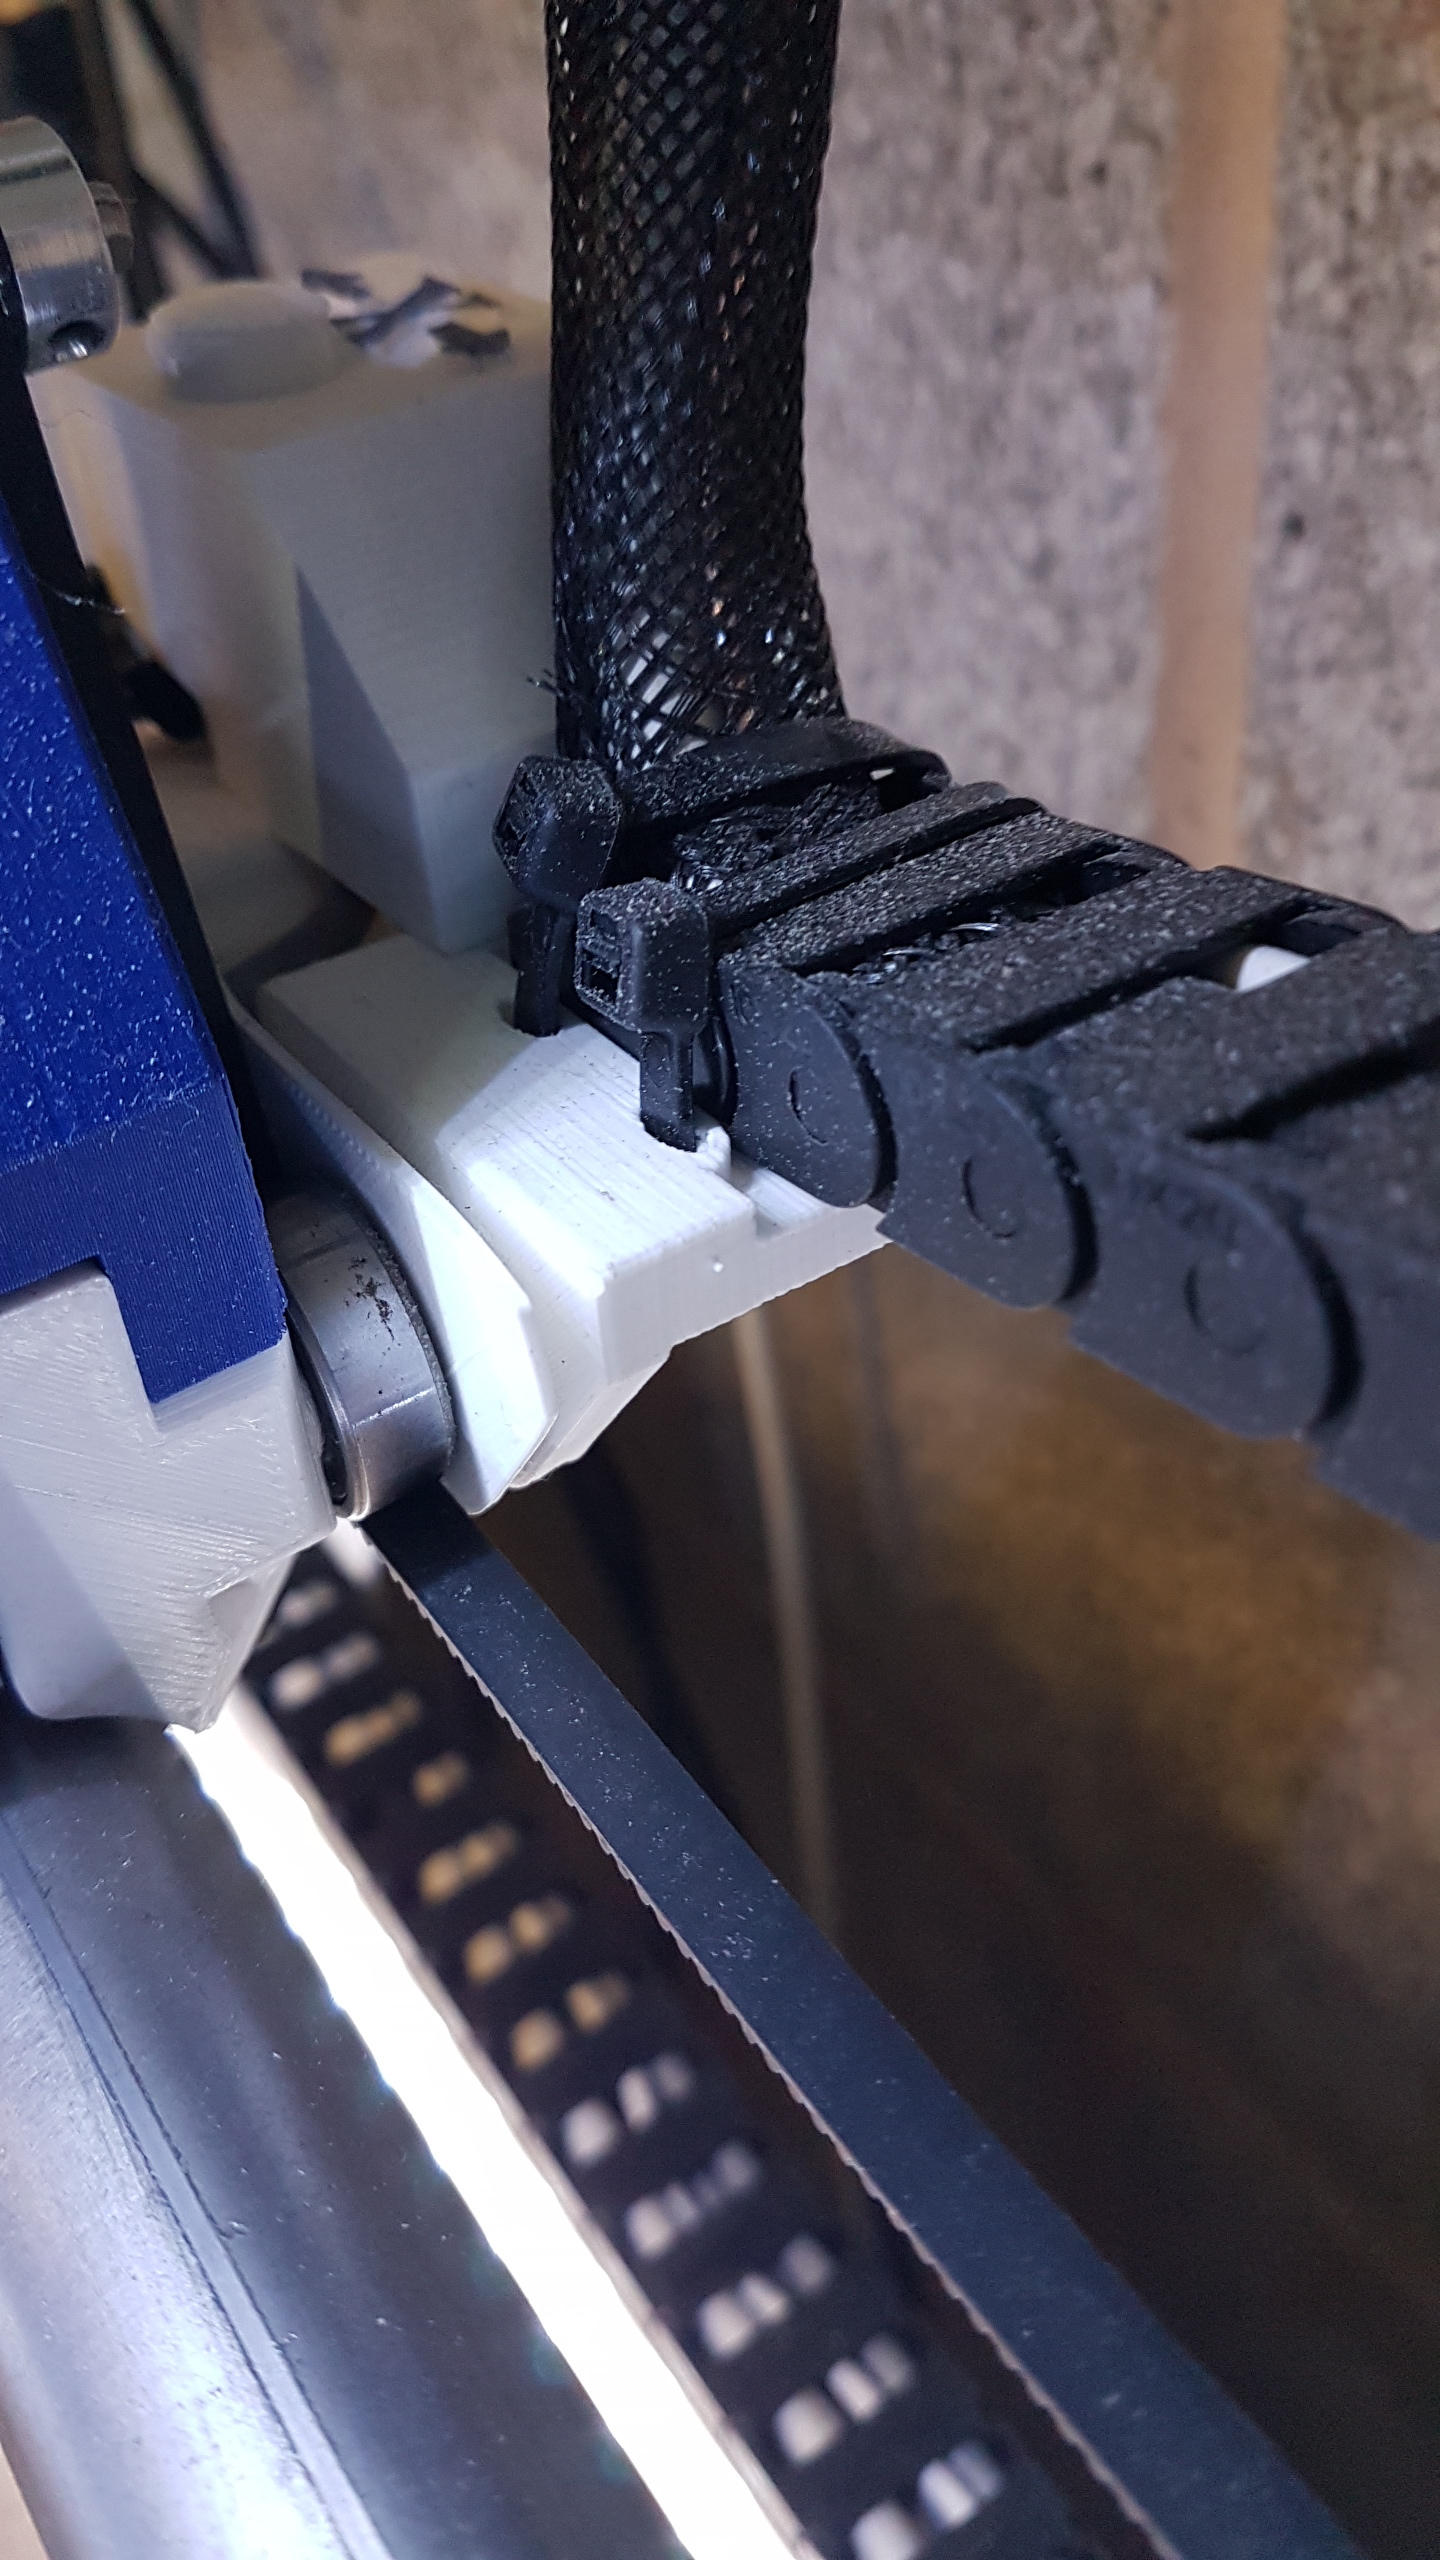
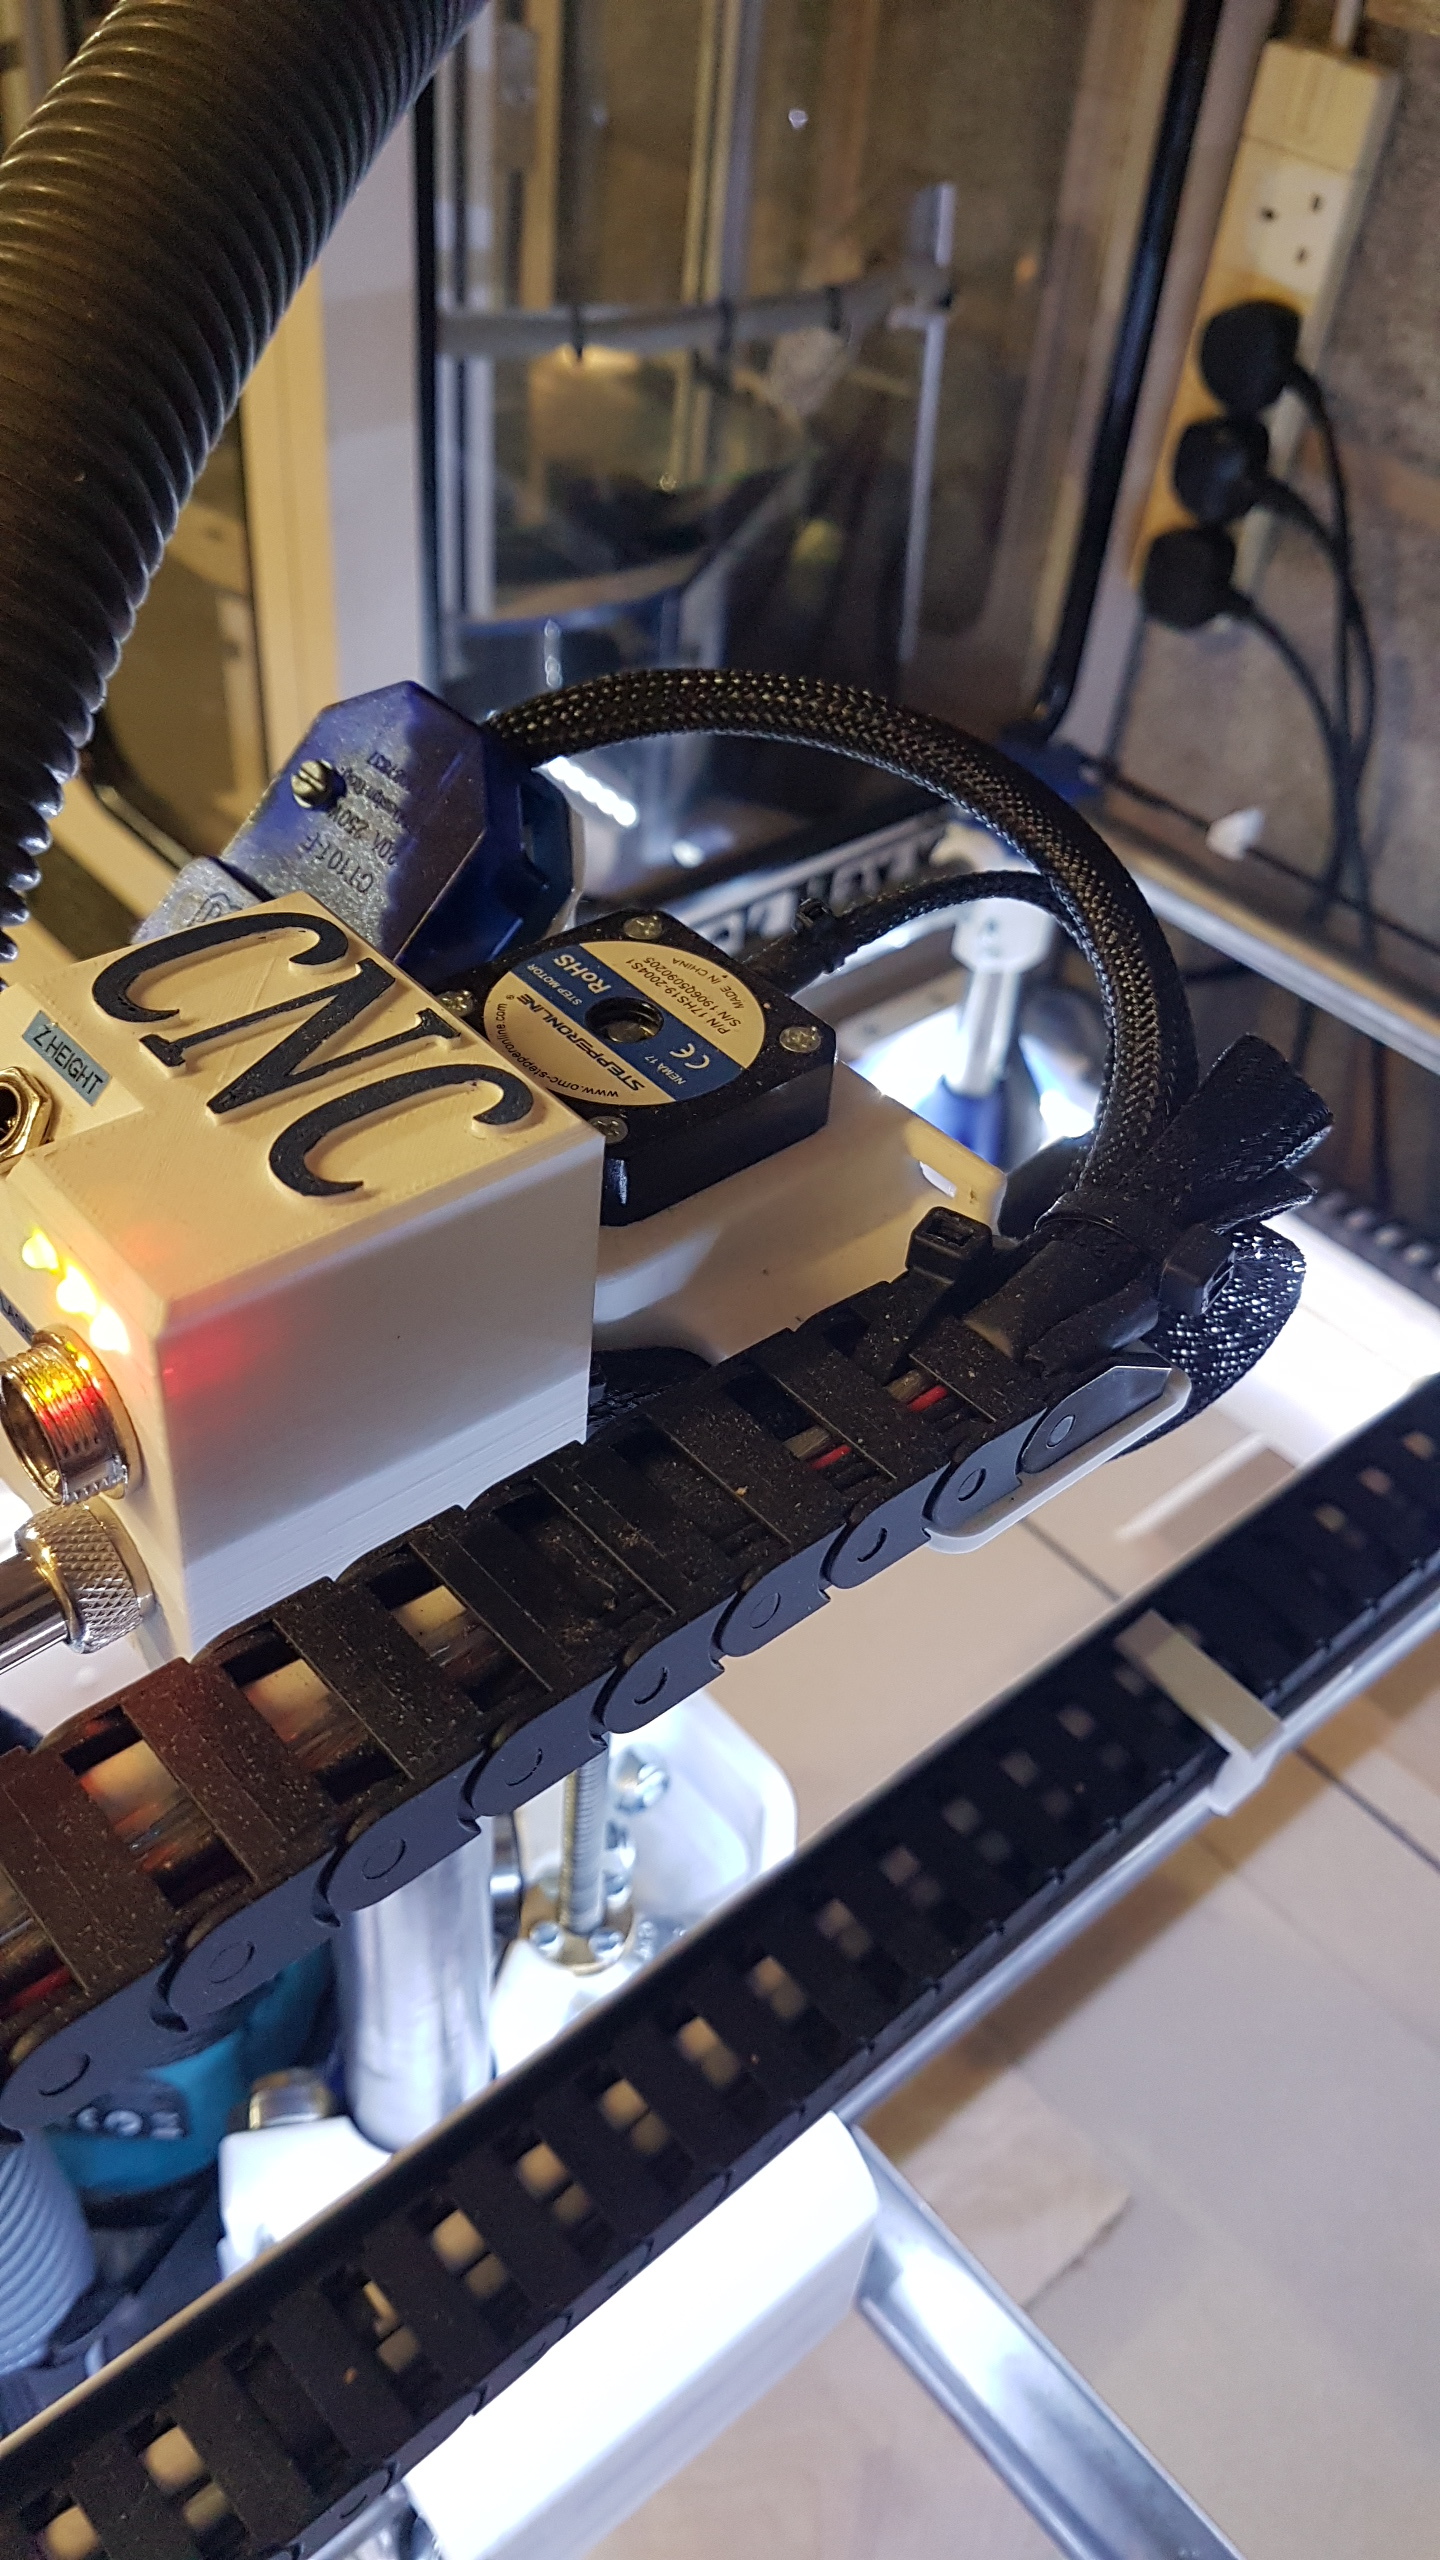
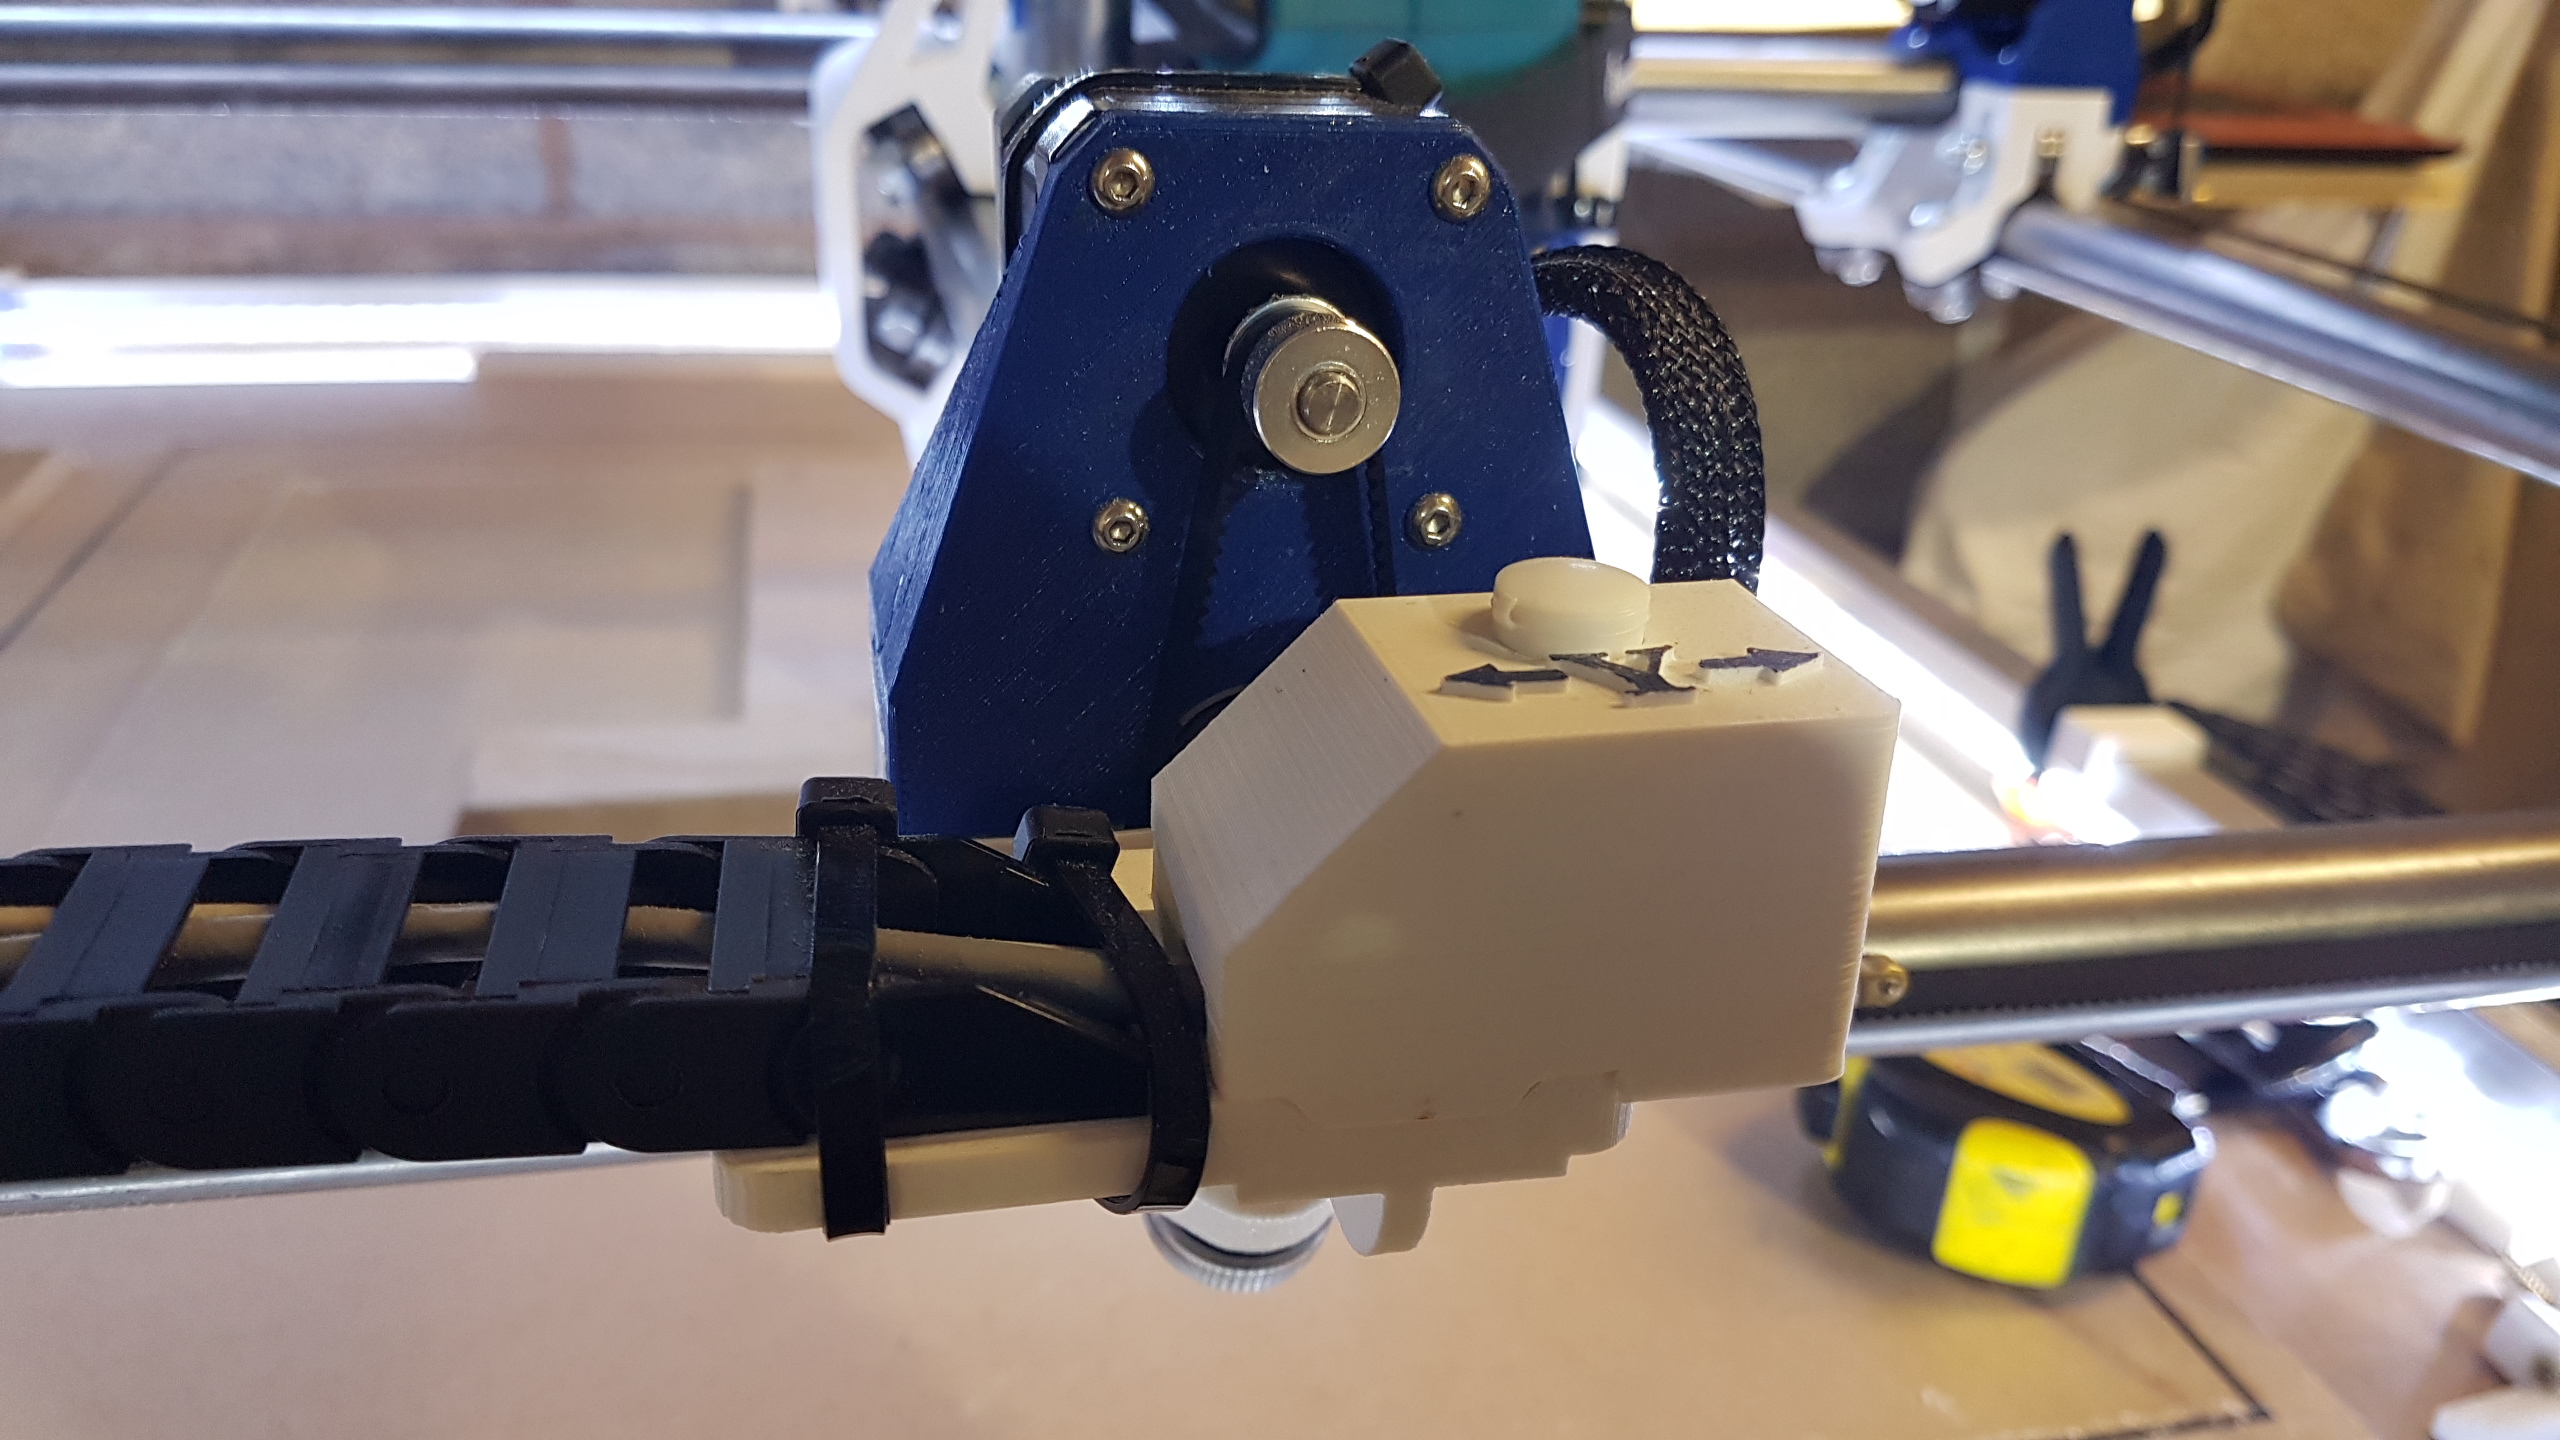
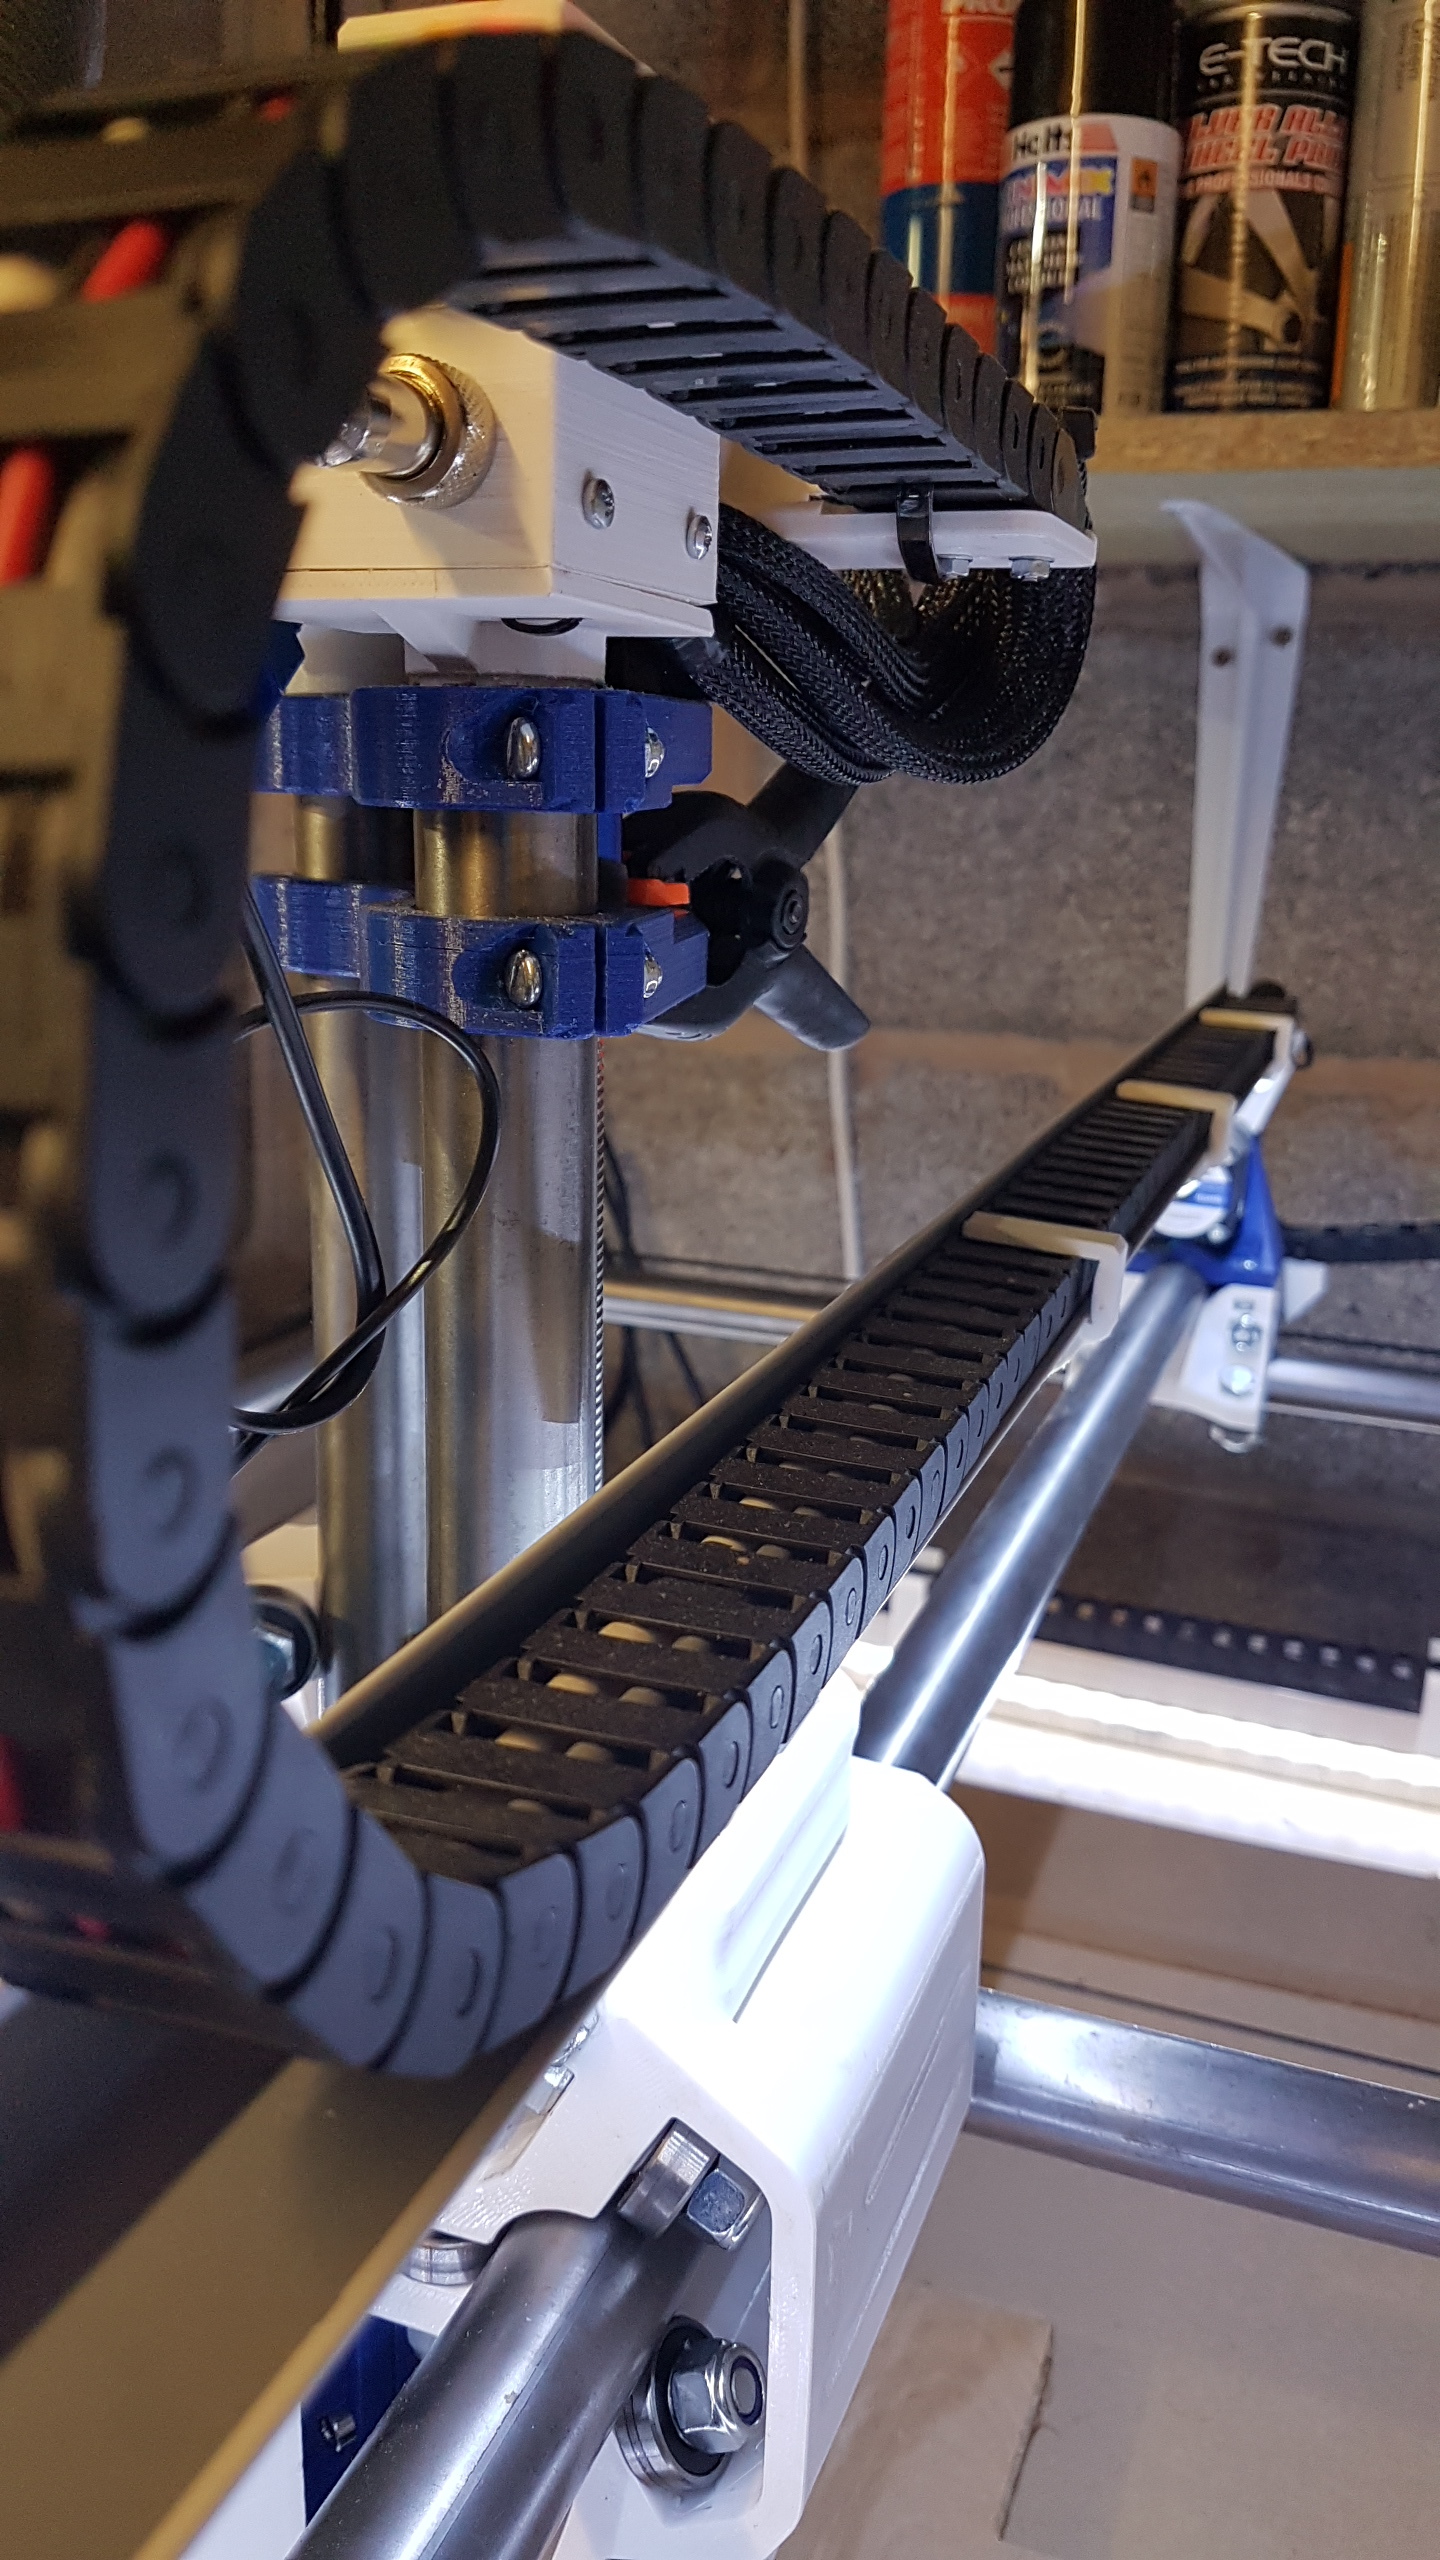
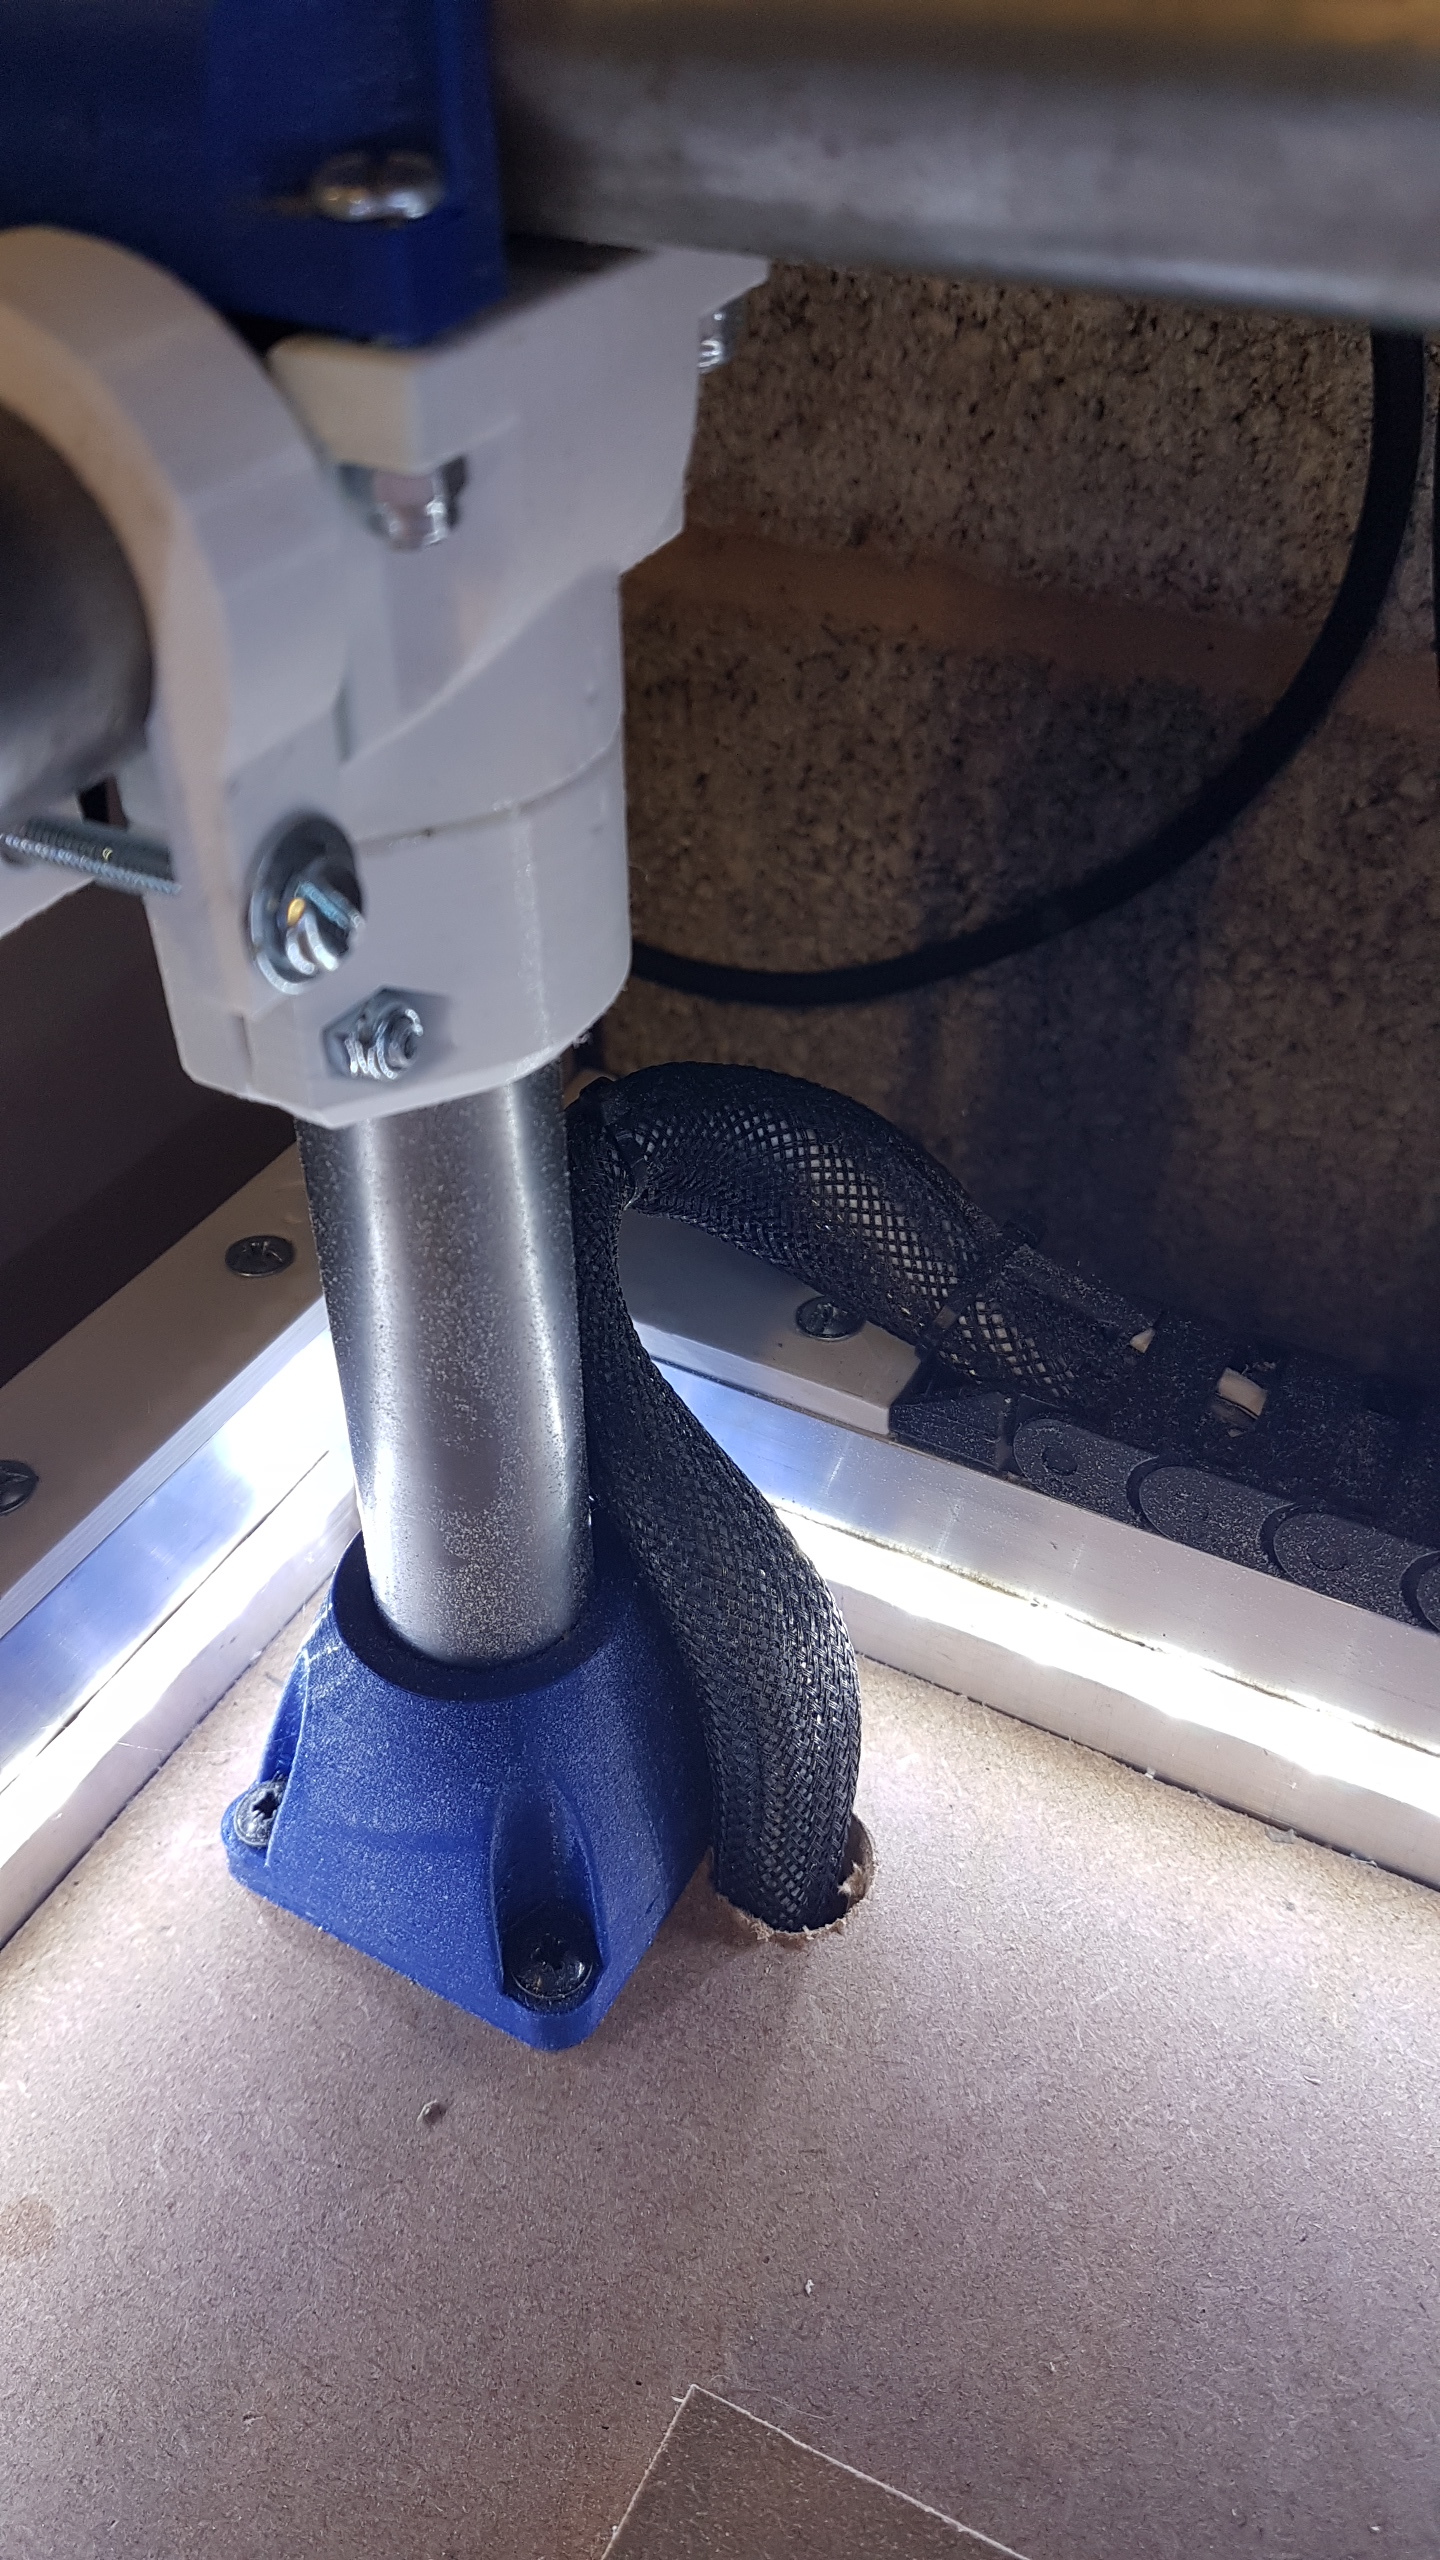
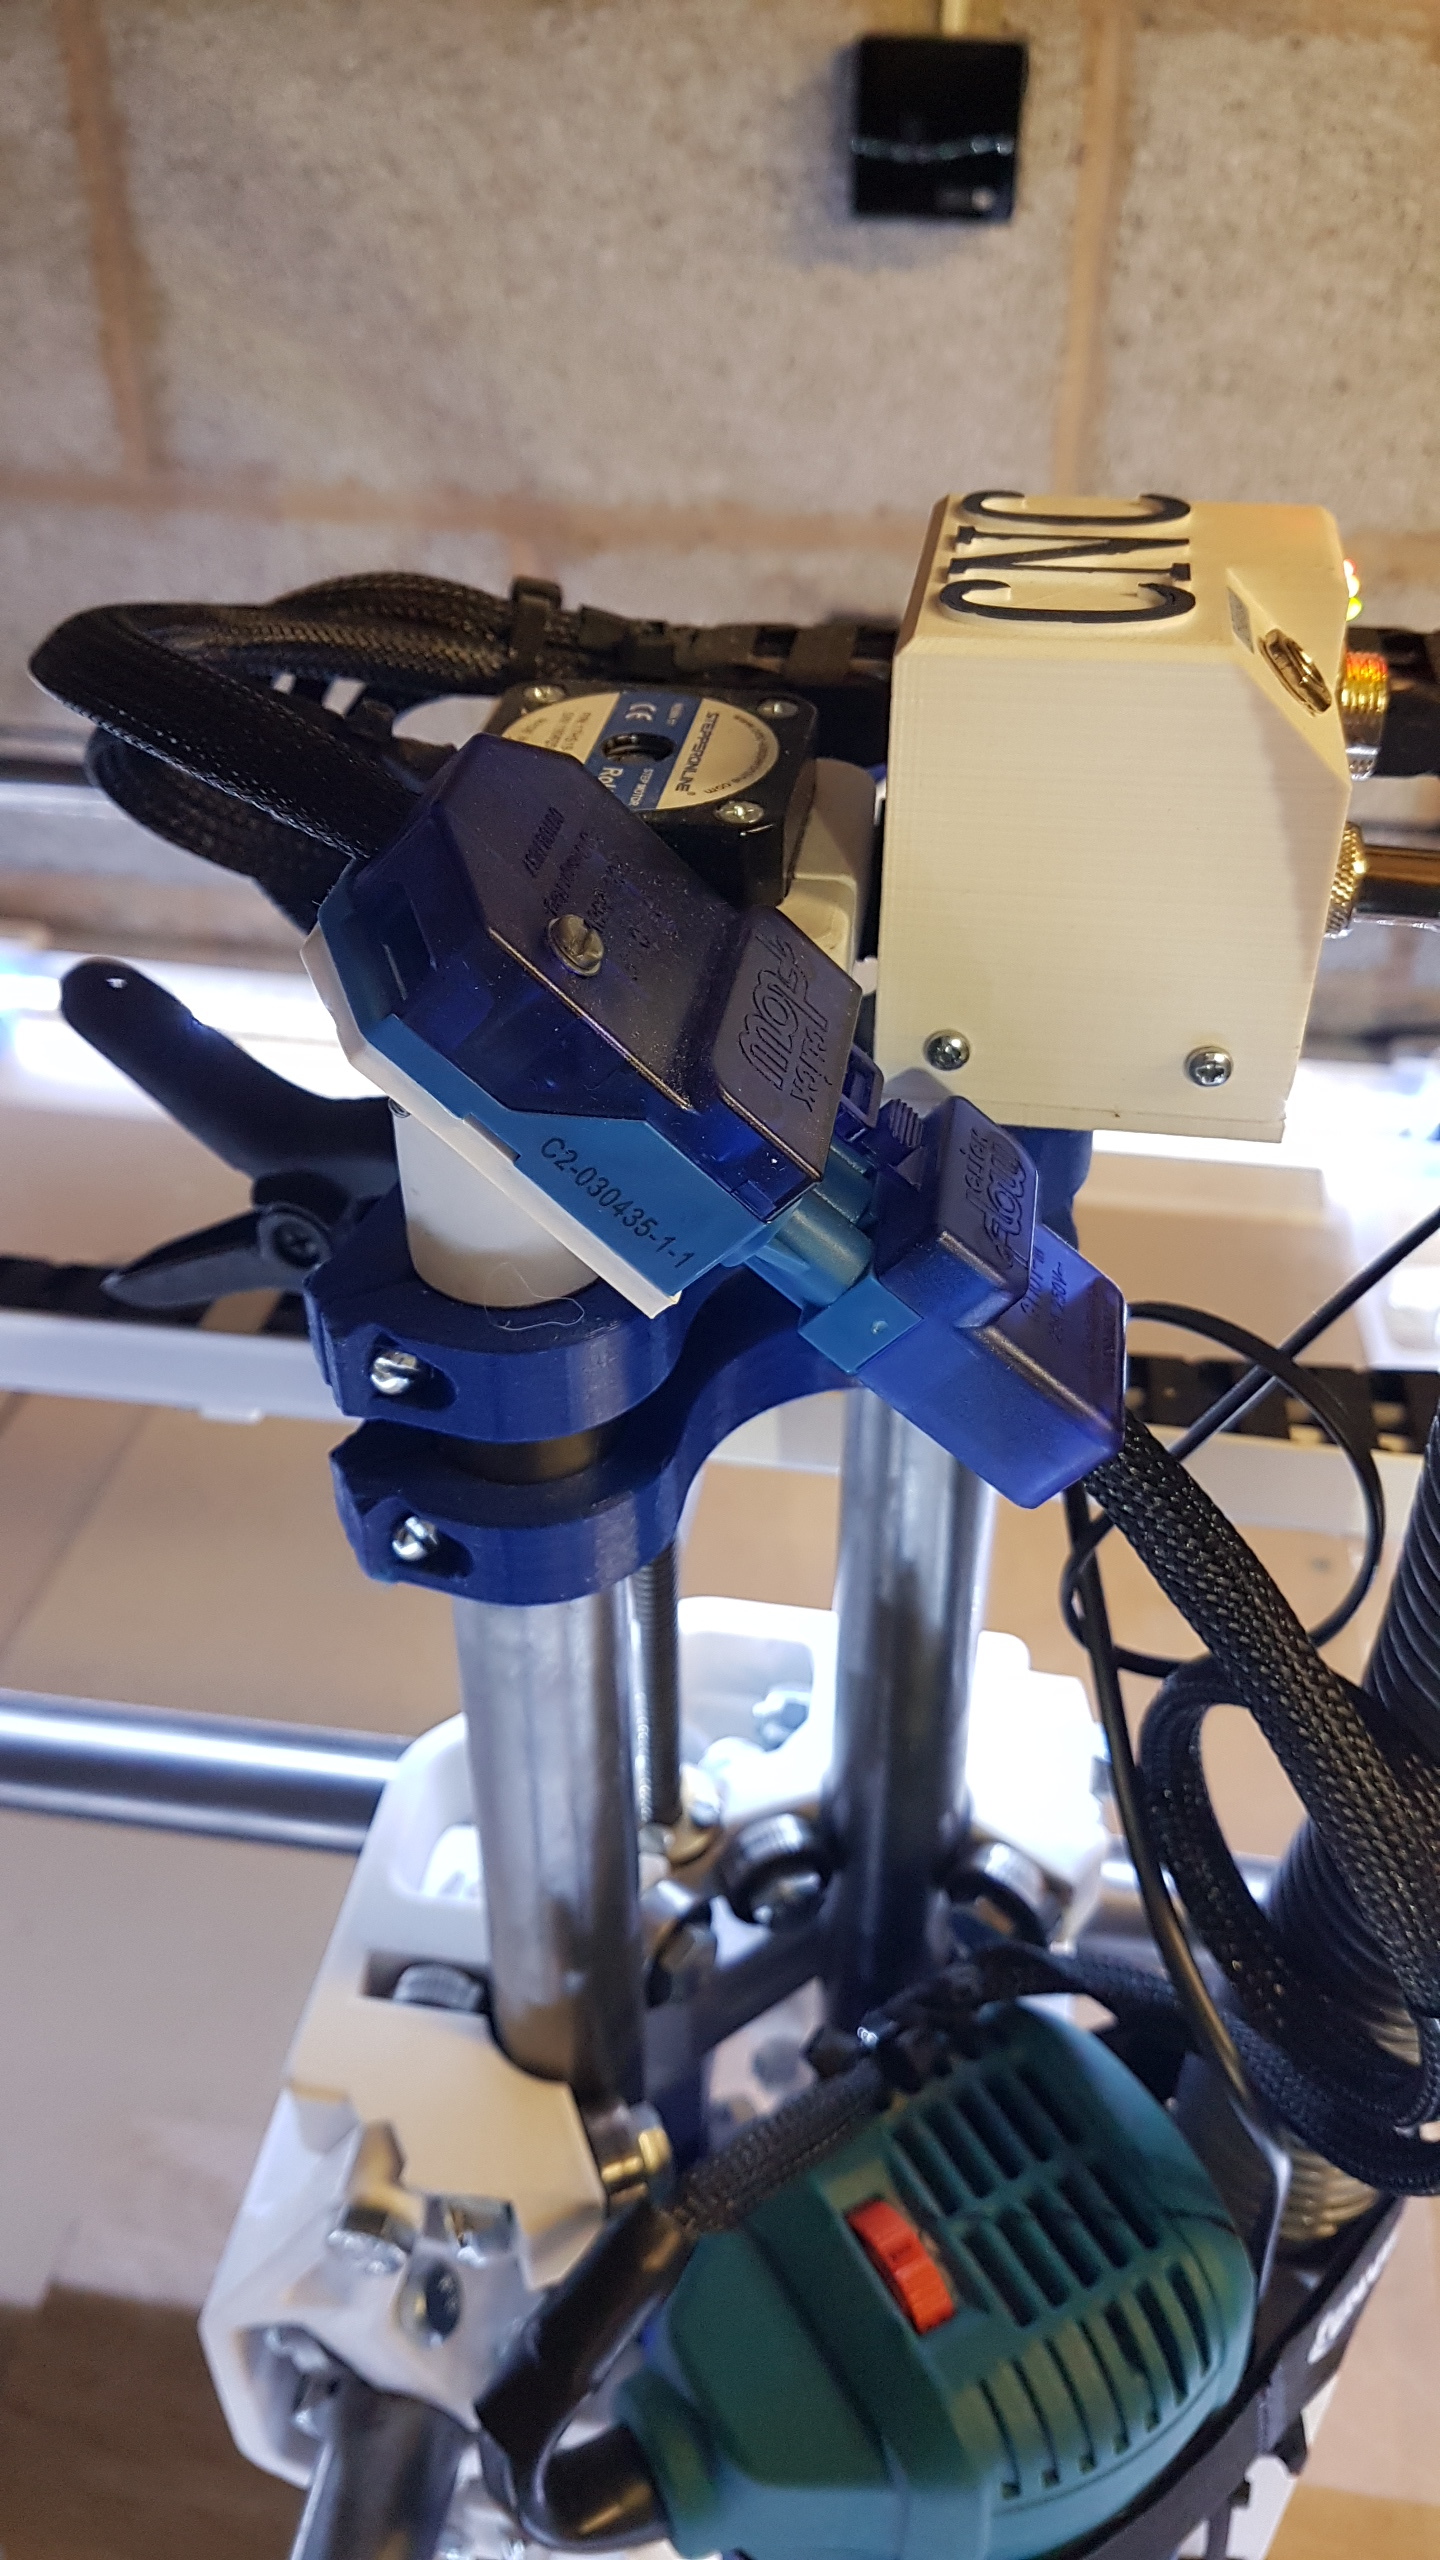
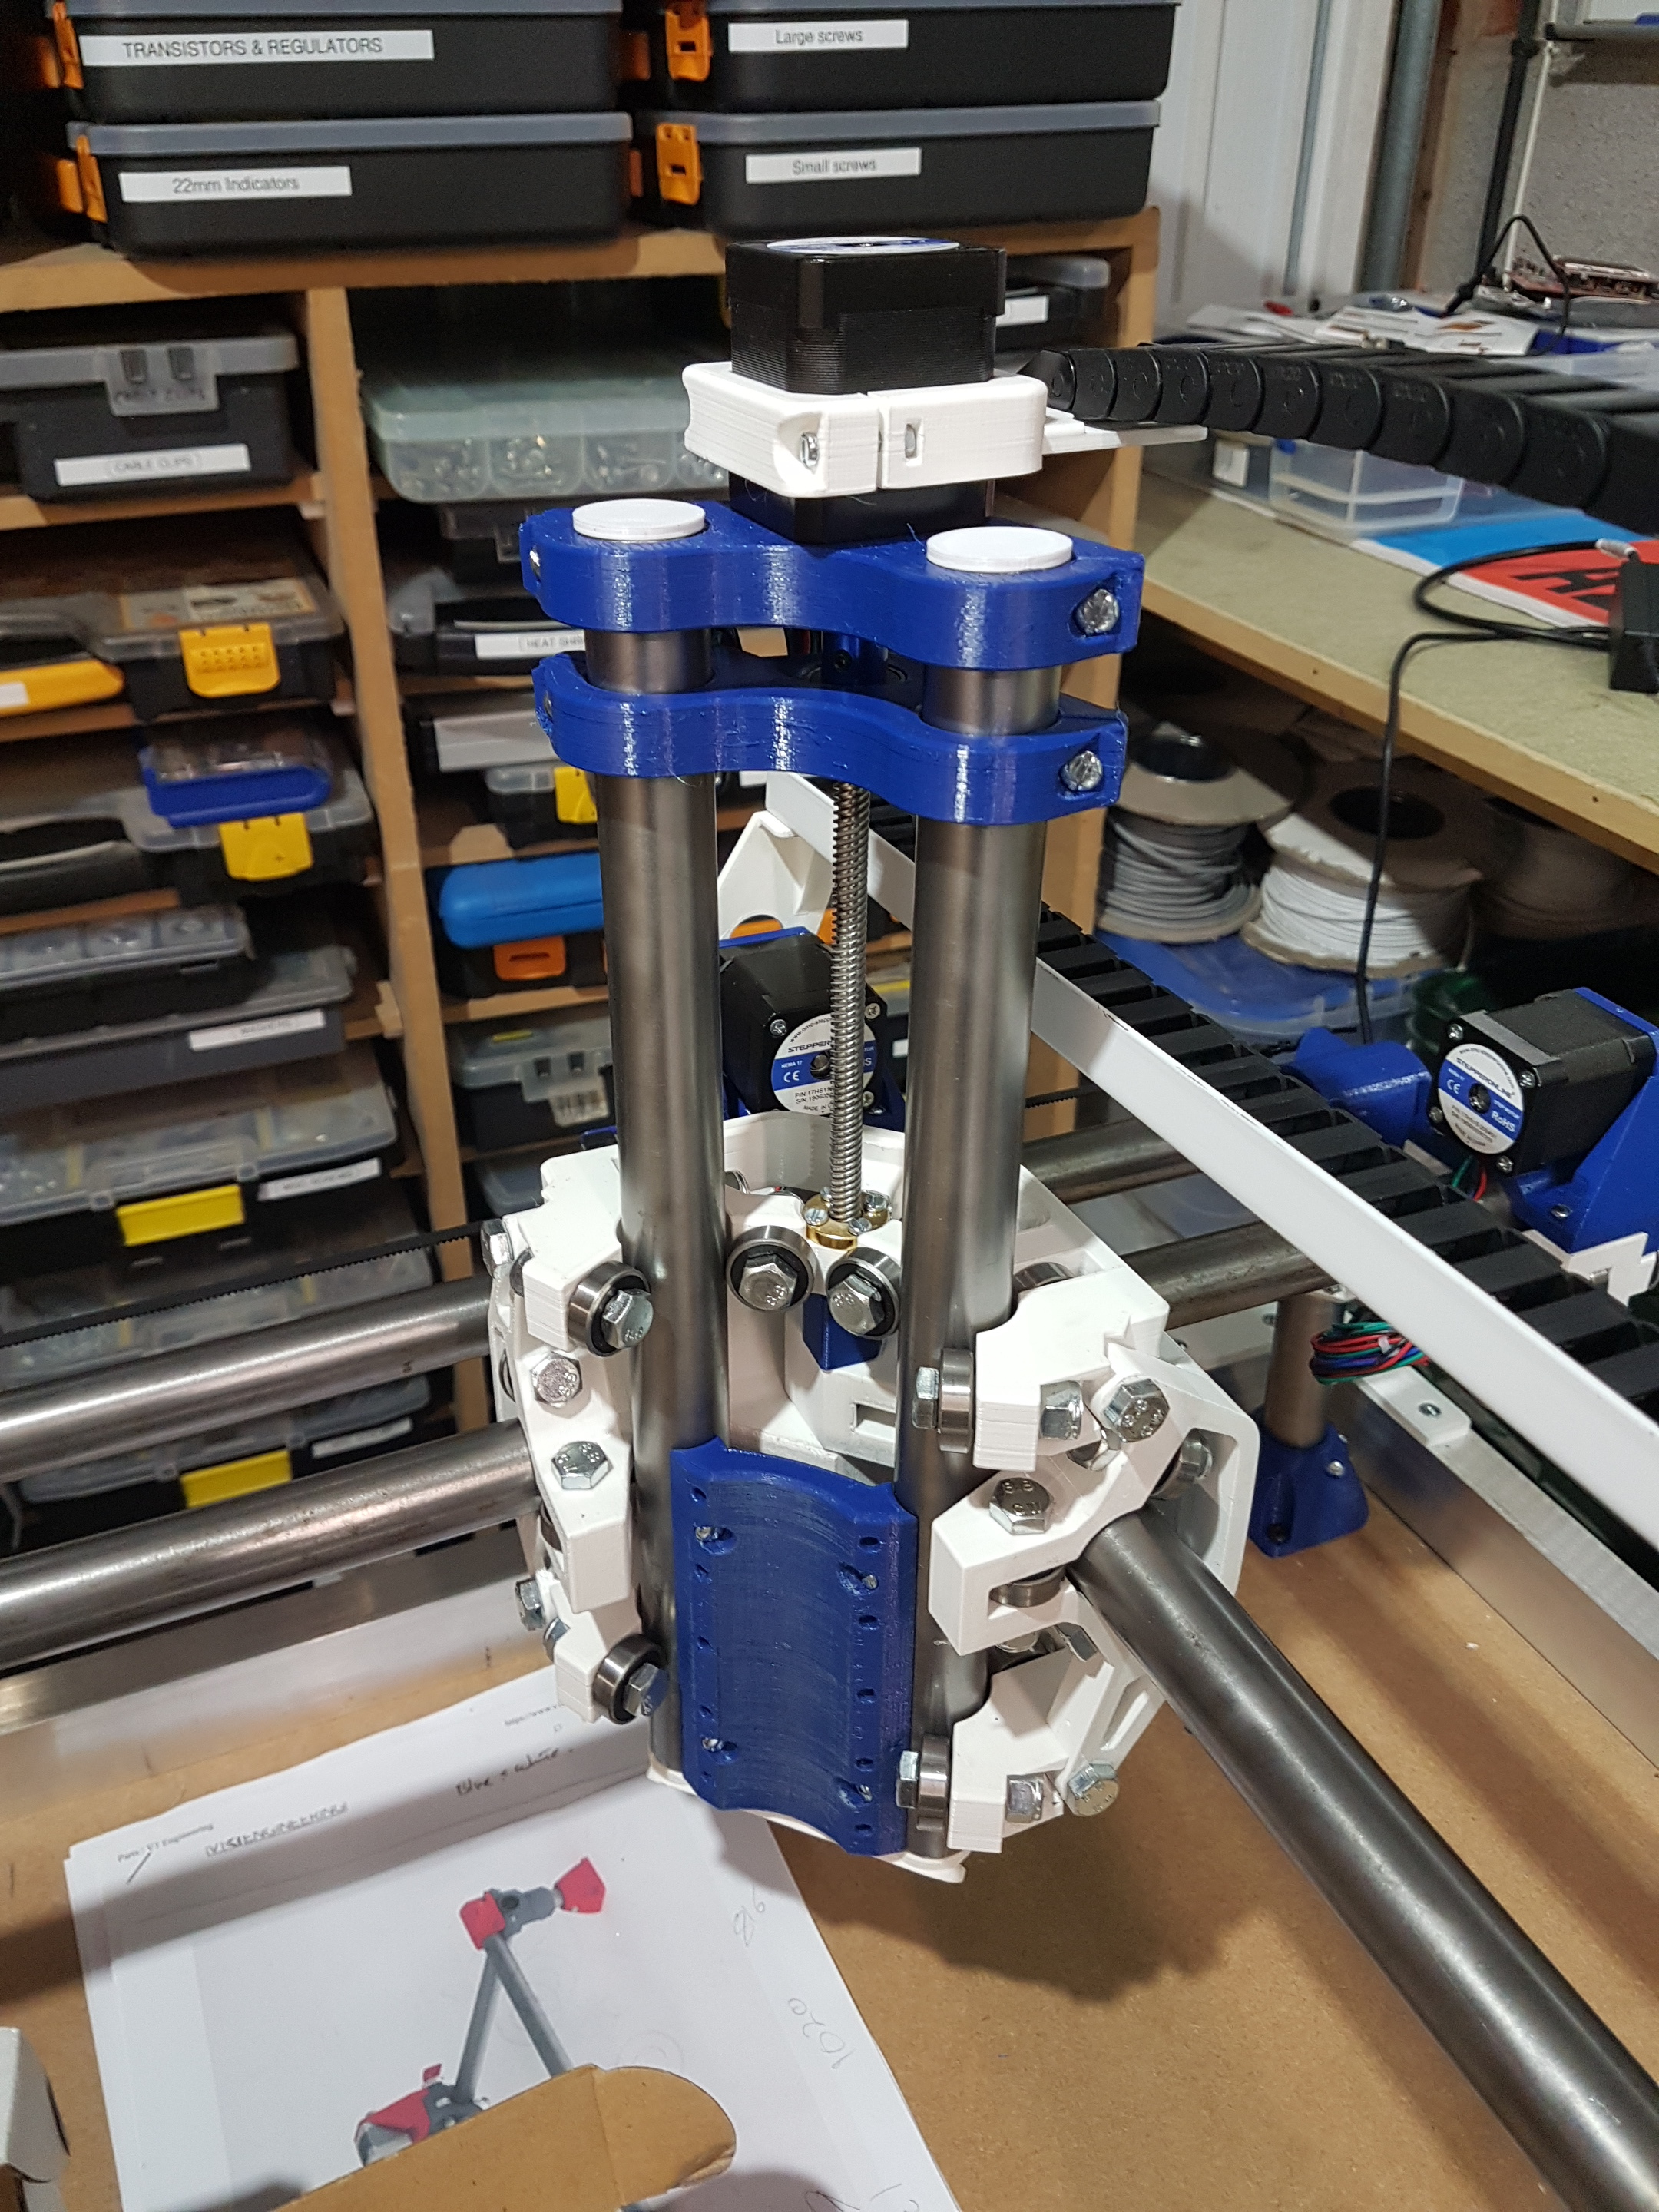
Hey @stevolution, would you be so kind as to show how you attach your cable chain for the Z Axis cables? I’m looking at a number of cable chain motor mounts and I like yours the best so far, but was unsure how your cable chain was attached at the Z Axis itself. Would also love pics of the X and Y axis cable chain assemblies as too.
Hello Spencer. Not exactly sure what you are after, so I just took a pile of photos. Hopefully one of them will answer your question.
It’s a little while back now, but if I remember rightly, I found some brackets online and adapted them to be far stronger. These mounted at the end of the rails and the drag chain is bolted to those.
No, this is great info! Your piece are so nicely engineered and so much thought was put into them that I think it’s a great thread for everyone to see what’s possible
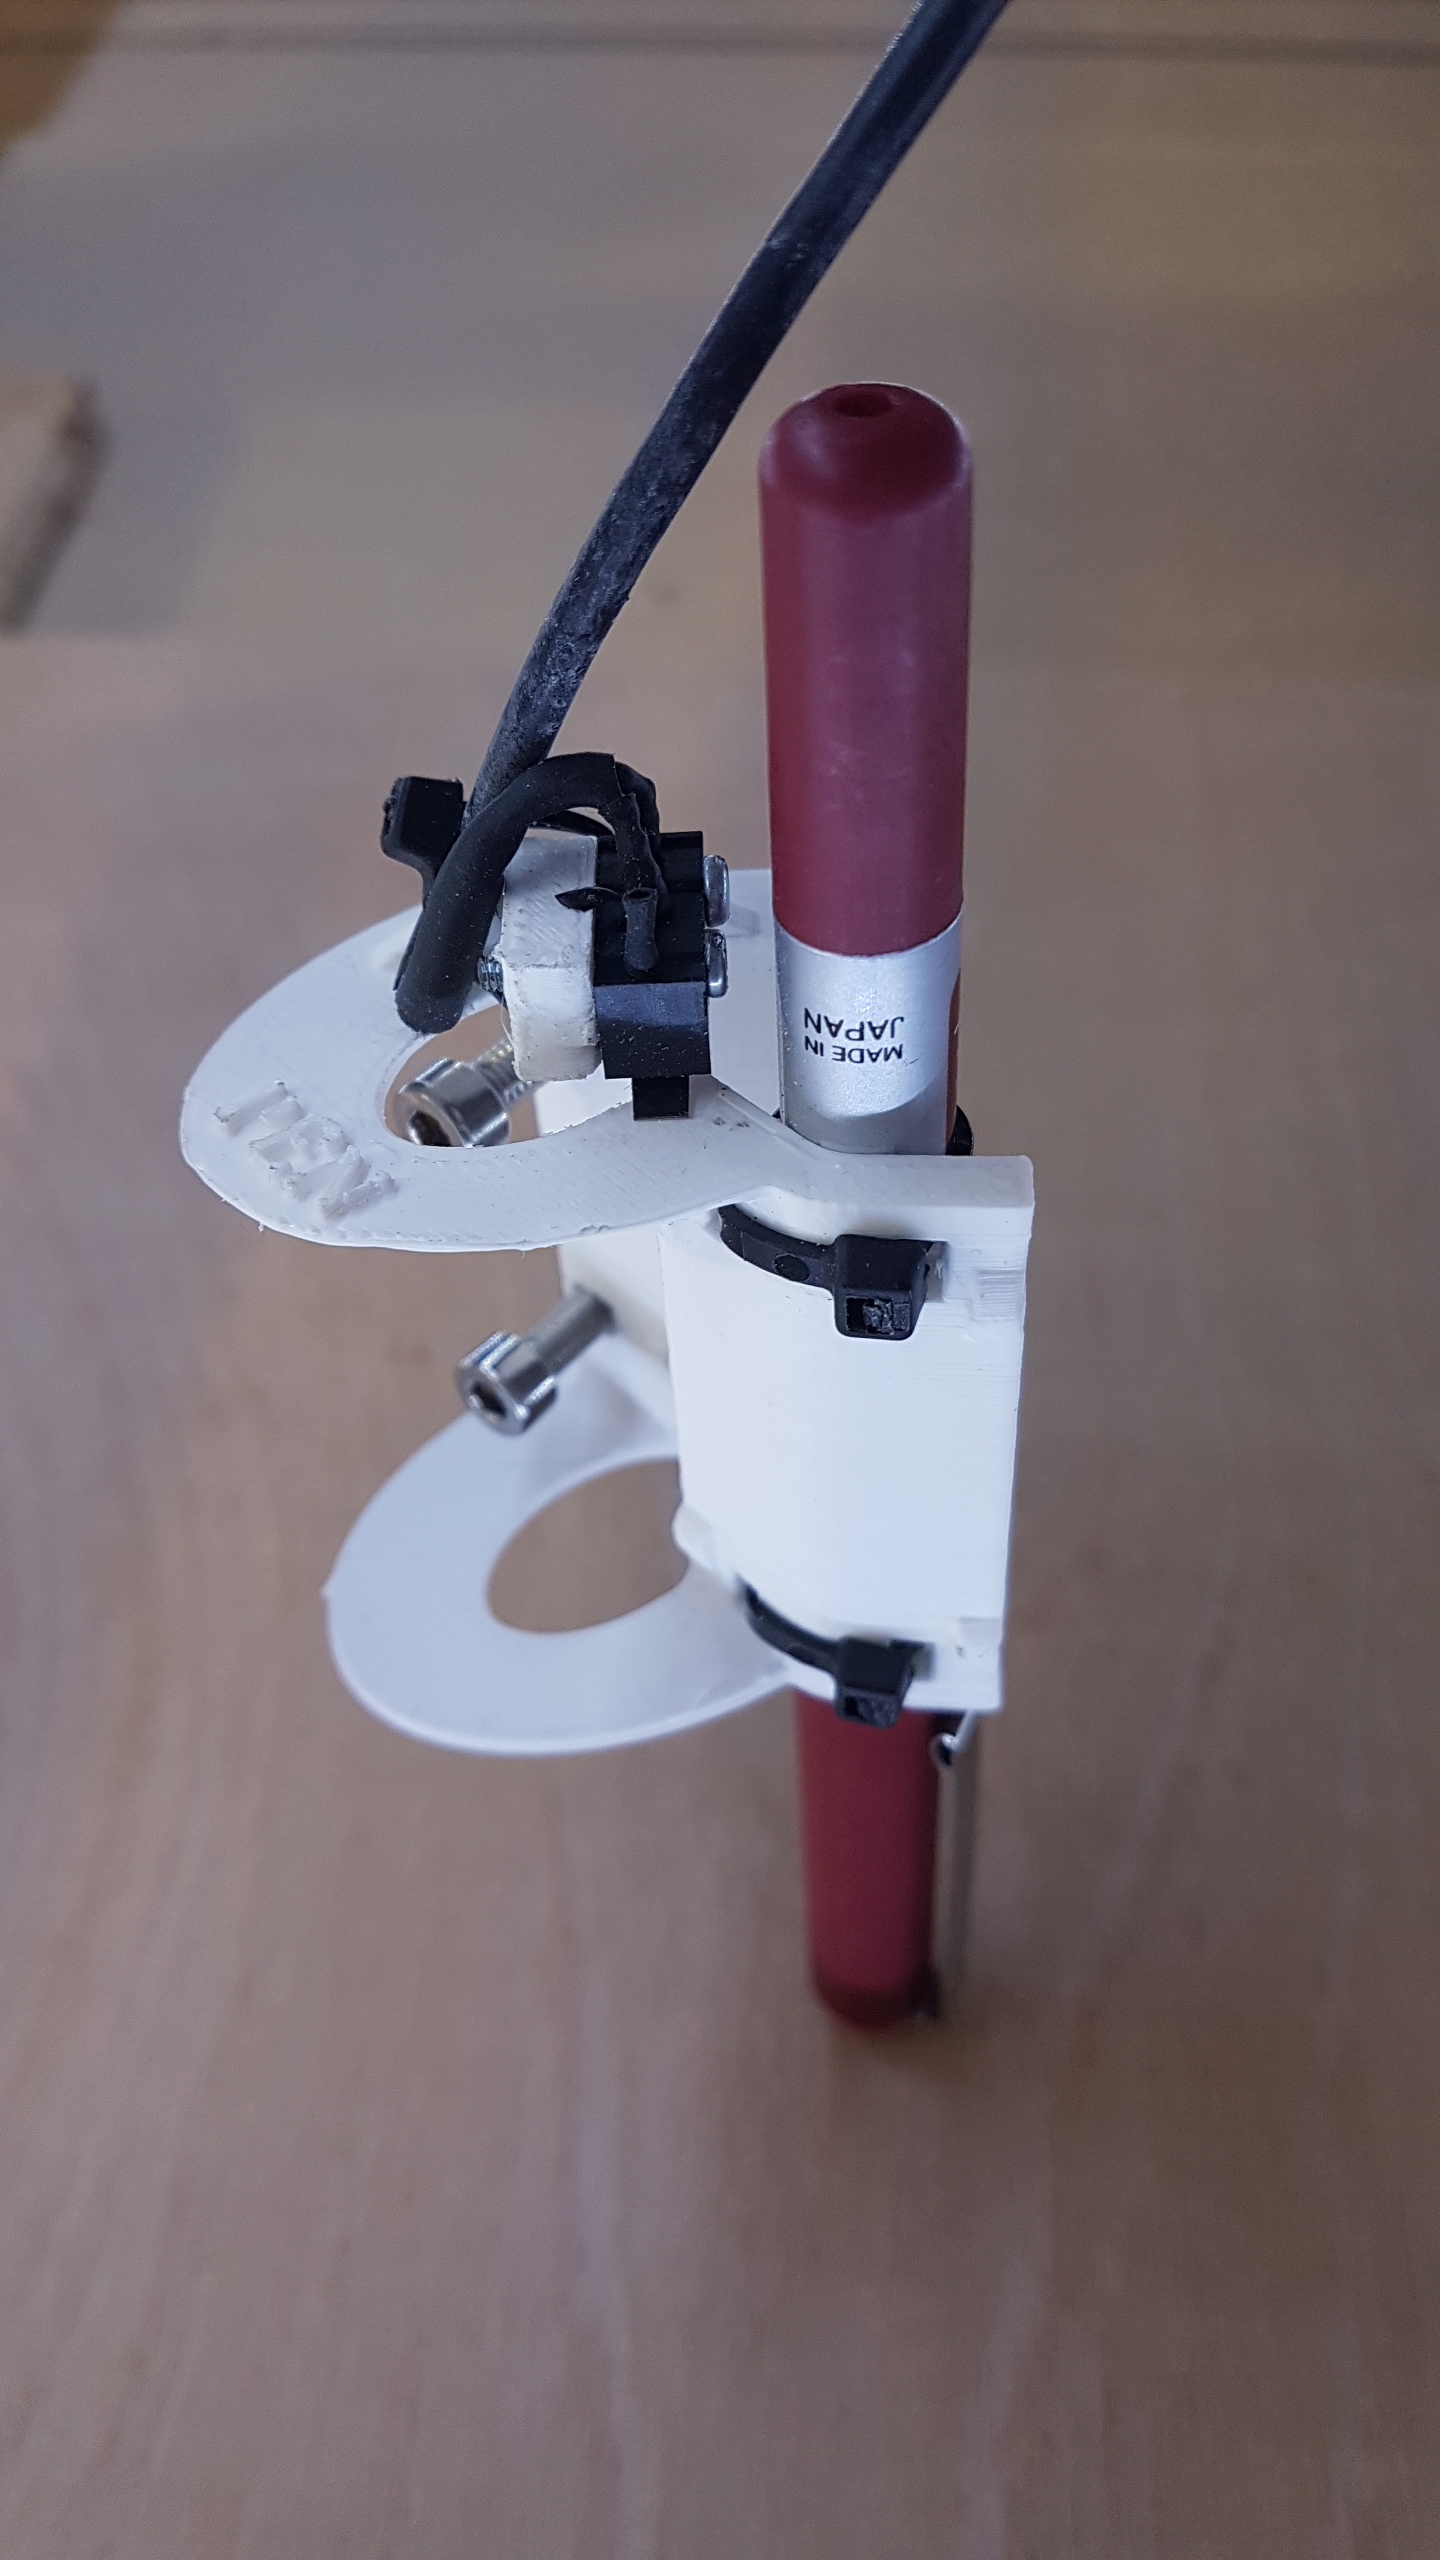
The pen holder in my files list has the facility for a small microswitch. If you have wired a Z limit to your tool head, then this sets the pen pressure perfectly.
The holder flexes up and operates the microswitch when the tip hits the paper.
Without boring everyone, this is the first test I tried using the pen. Some pen traces are darker as I was going over the same drawing twice to test accuracy.