Hey all,
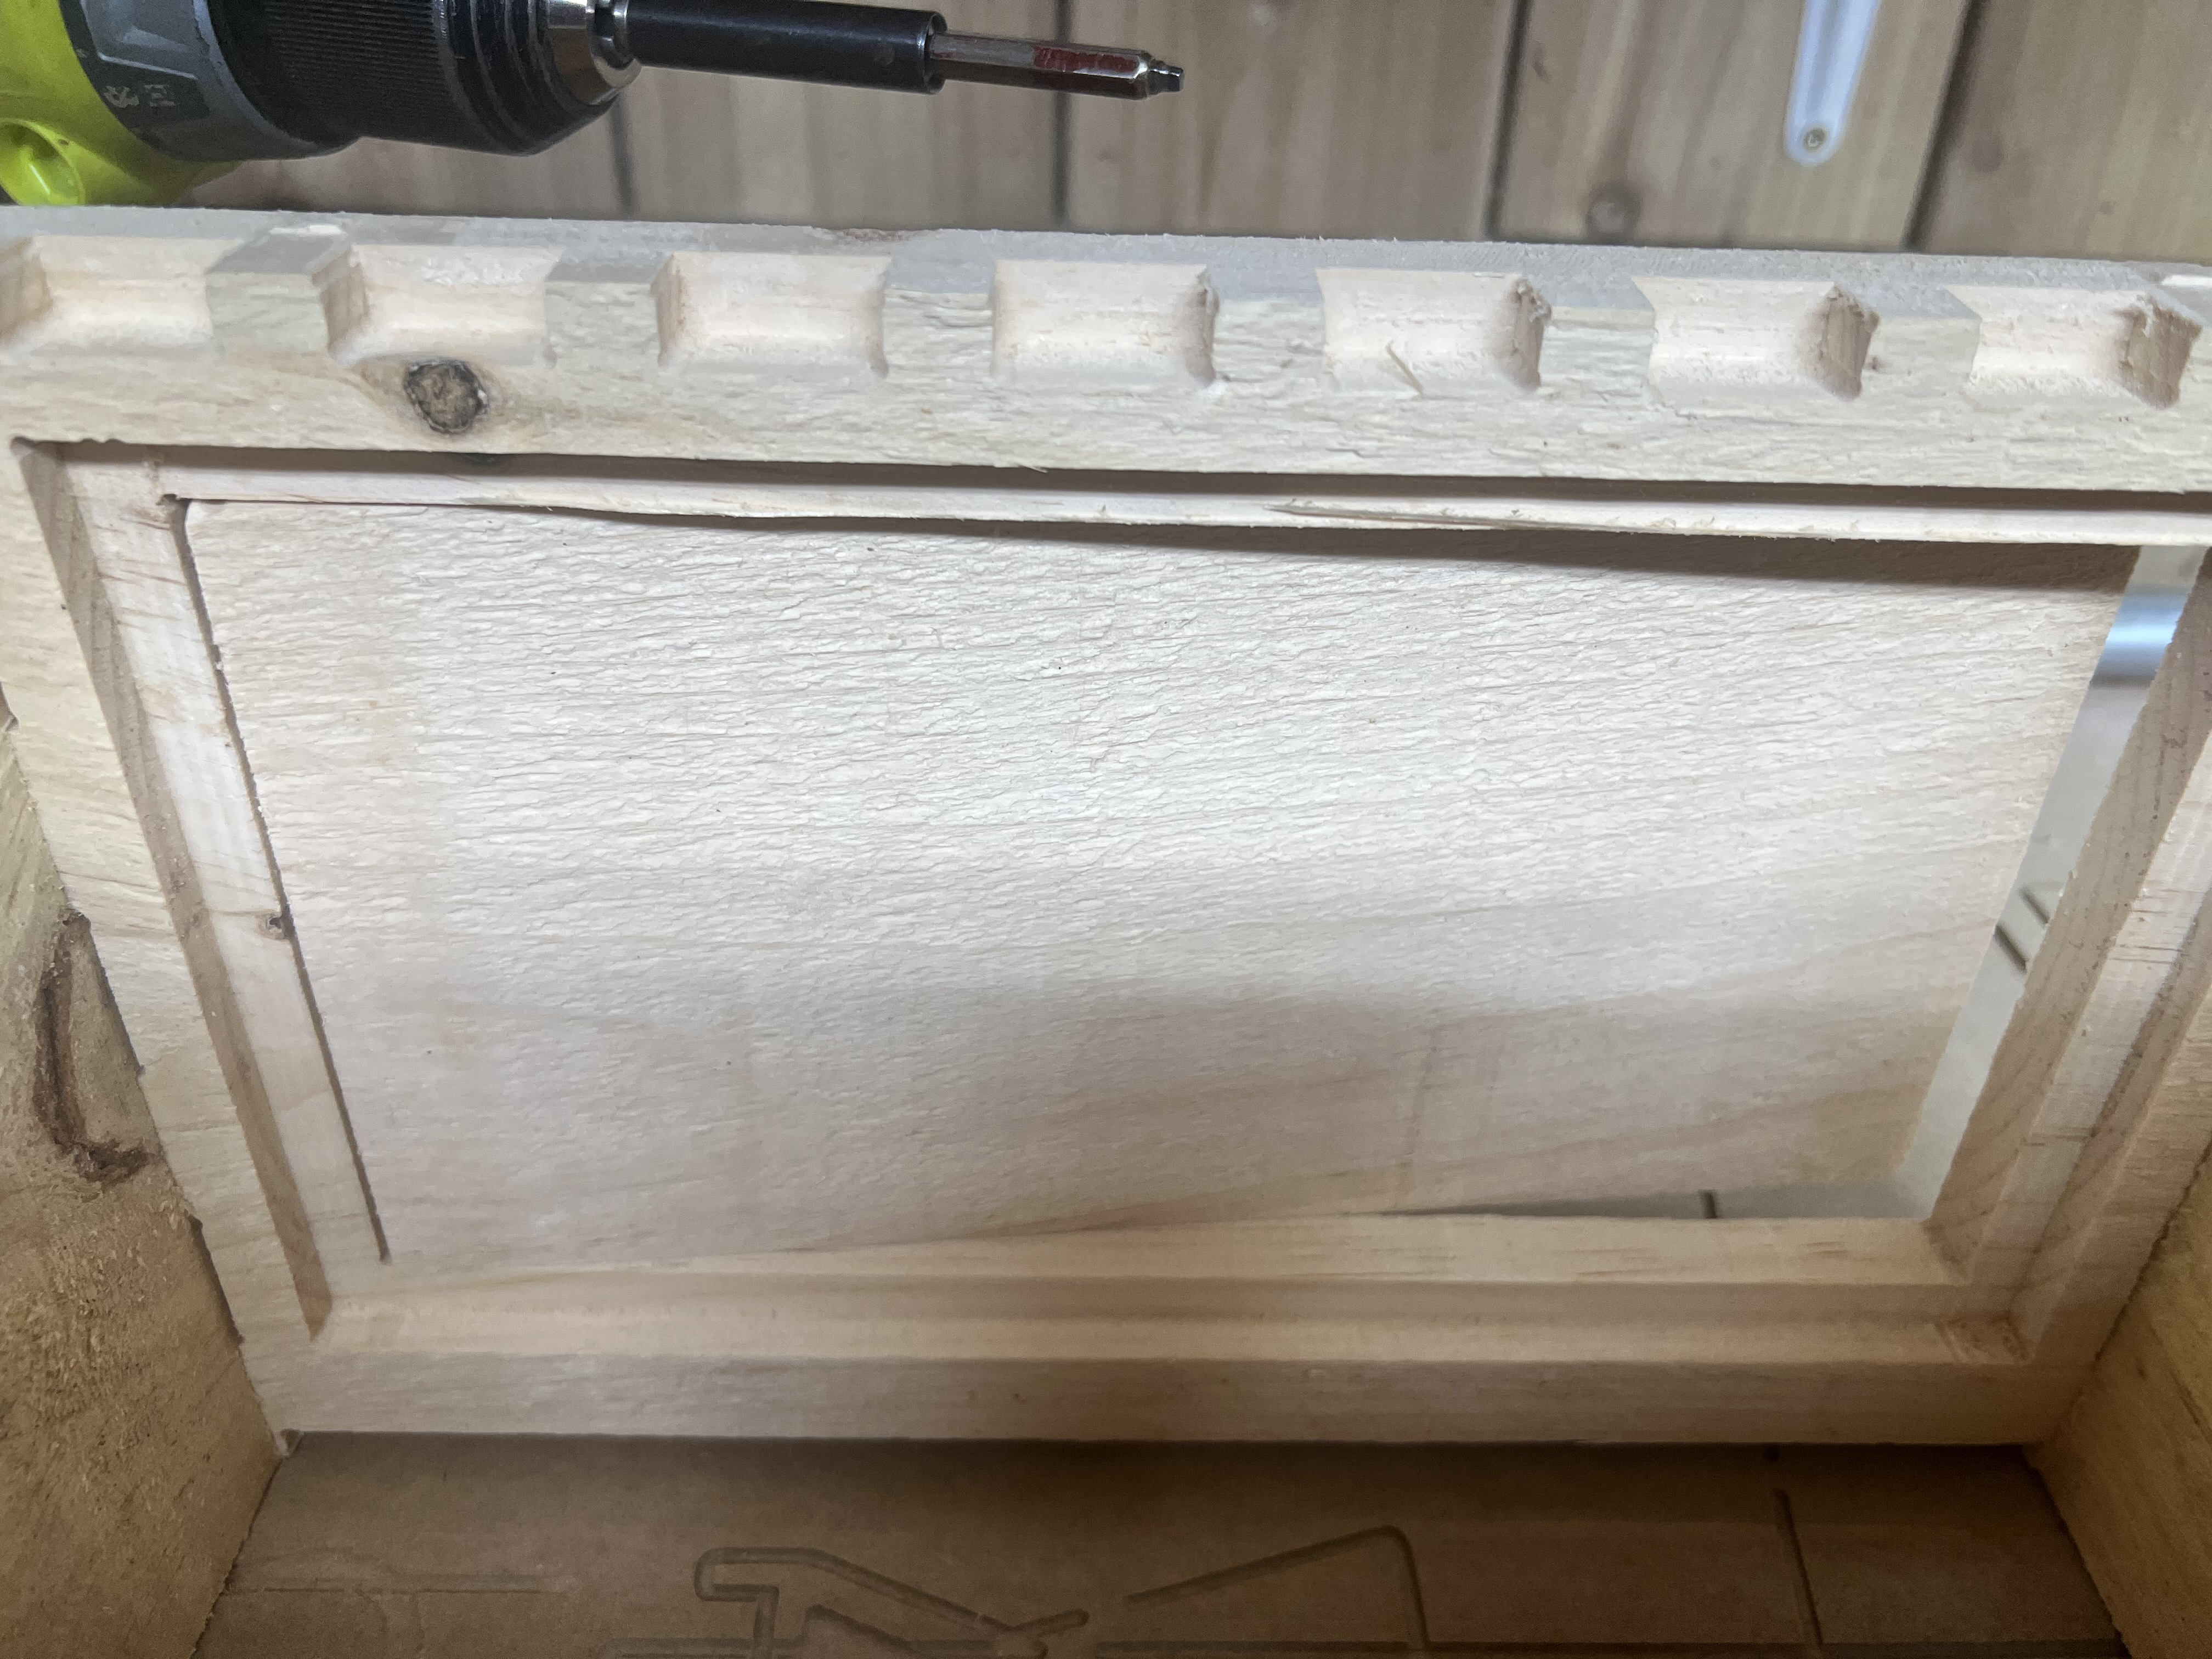
So I think I’ve got my dev flow sorted (Inkscape → Estlcam → jackpot) and my LR4 dialled in pretty well. One of the items I’m building are some beehives (a style called Warre) for spring and I feel like I can get a box completed now in around 2h using rough 1”x12” pine from one of the big box stores.
I had a primo and another CNC model previously and they were good but the stability of the LR4 is substantially better especially with finger joints and some of the intricate elements. Thanks @vicious1 for all your efforts!!
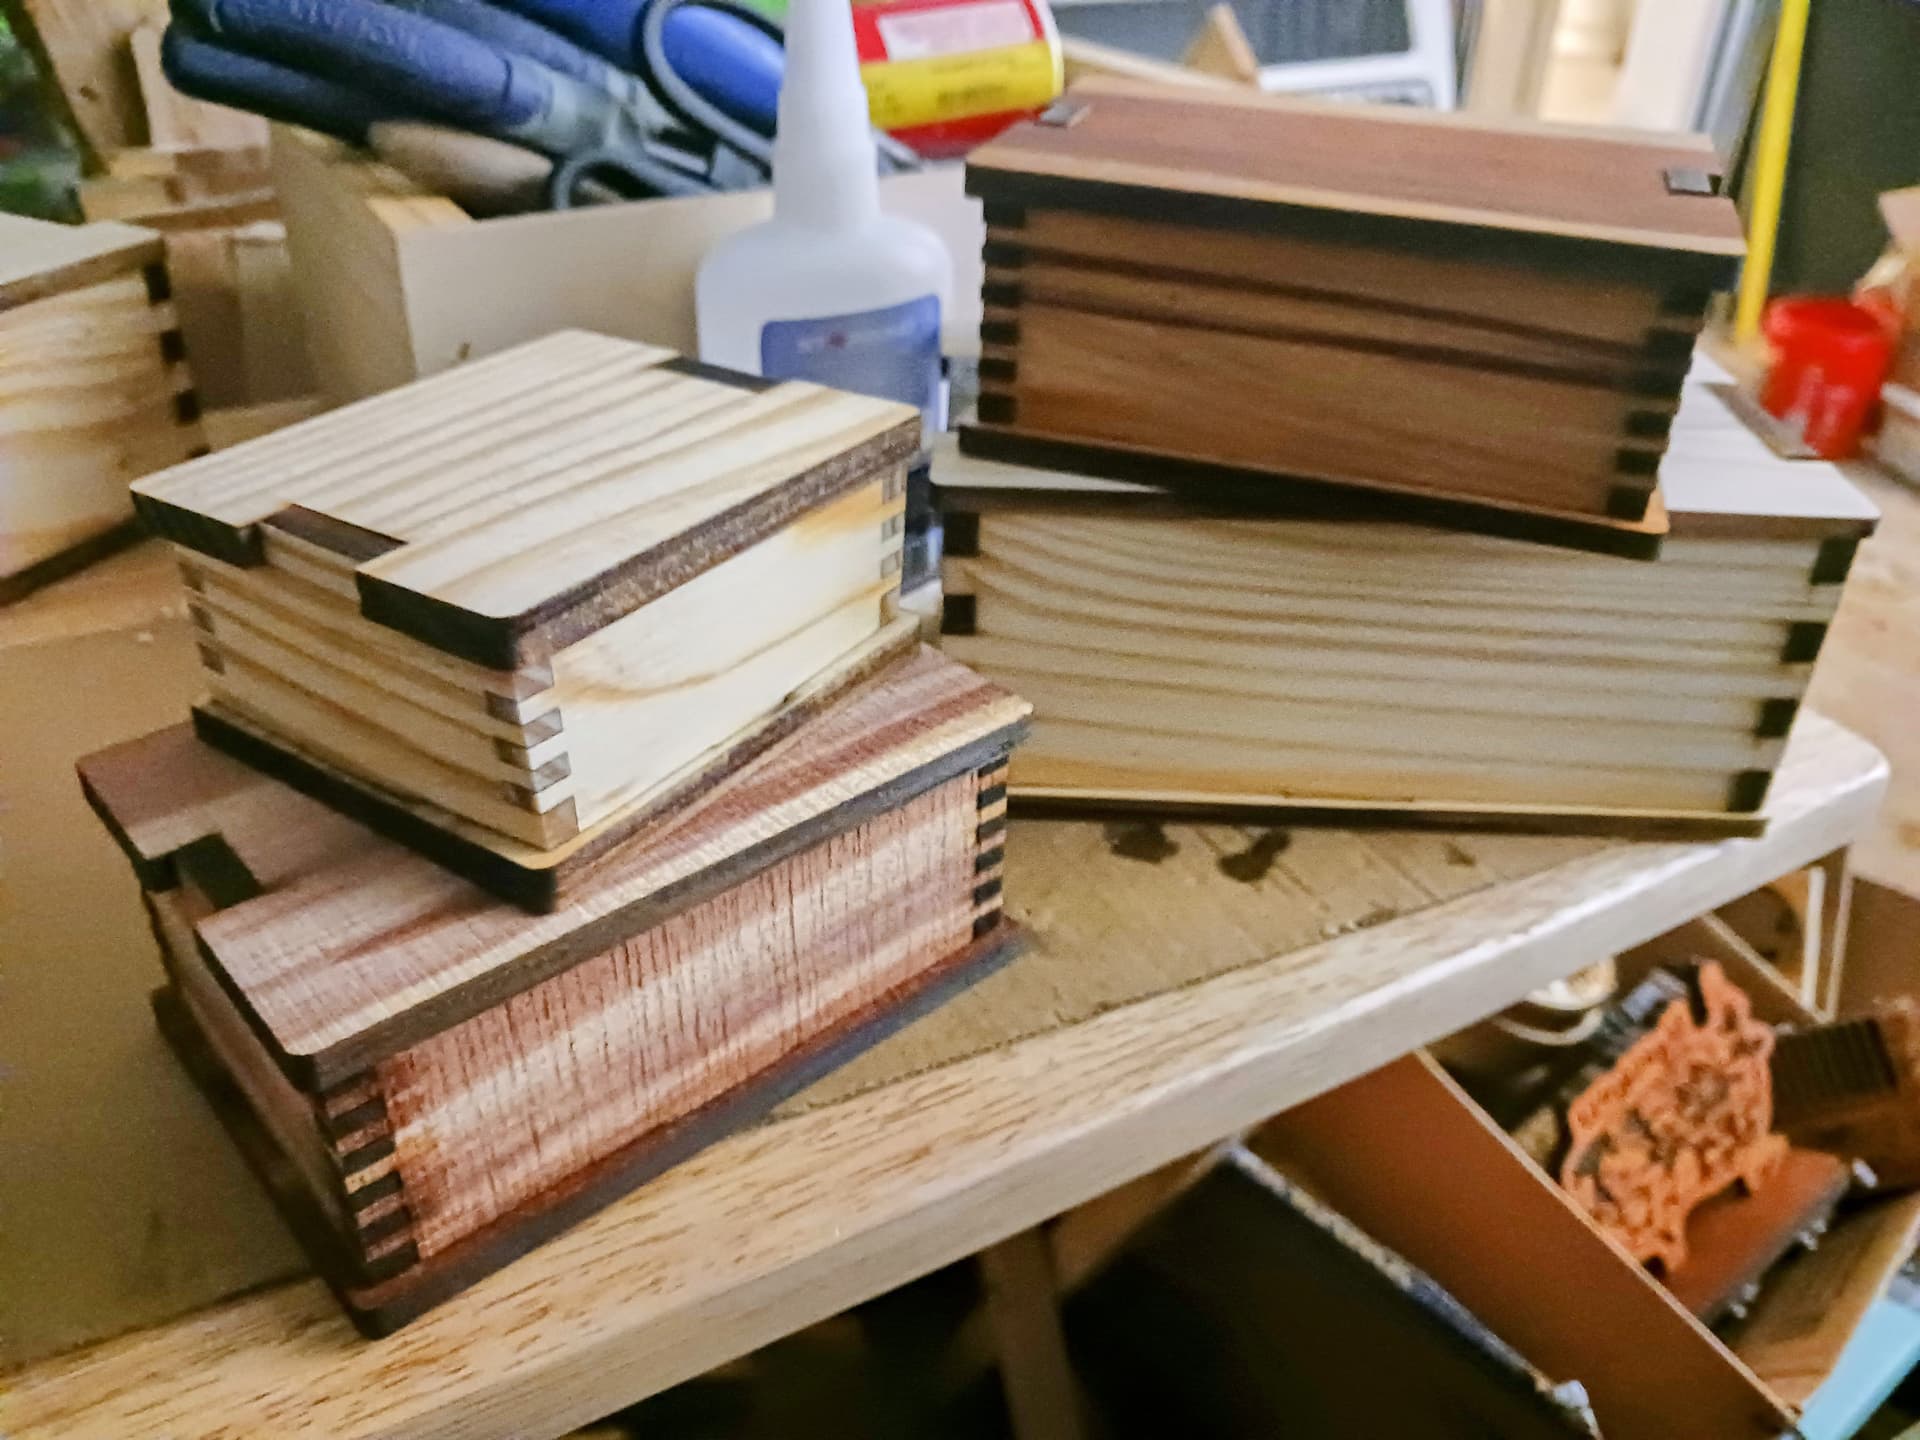
As finger-joinery seems the main subject here, I’ll share the way I’ve been making them recently. As many of you know, I like to make useful little finger-jointed boxes using laser and Lightburn… from thin bandsawn planks from small tree branches and scraps of construction lumber. Lately I’ve been using the following procedure to quickly design and fabricate quick and easy-to-assemble finger-jointed boxes.
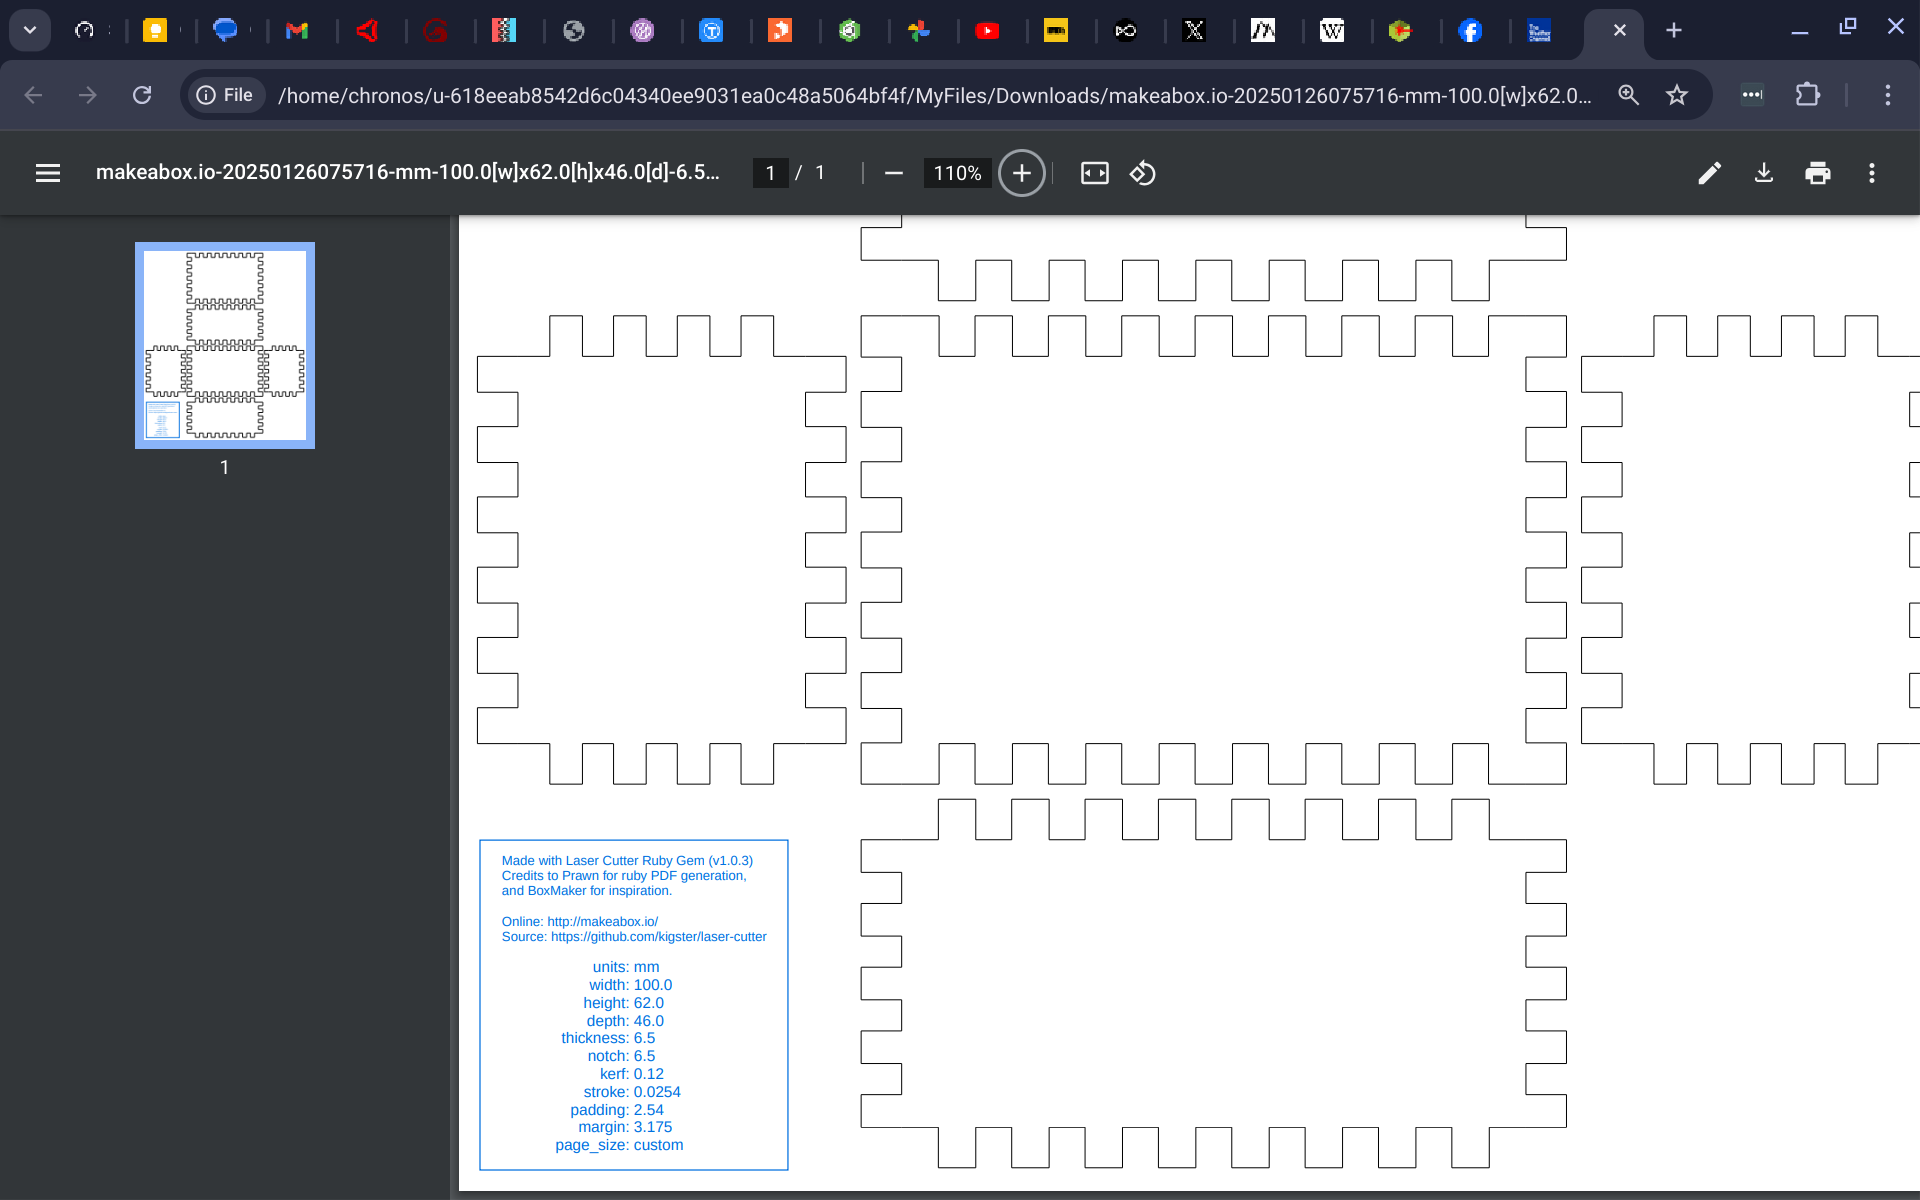
I start by using Boxes.py or MakeABox.io (others work as well, I’m sure) to make an appropriately-sized generic six-sided box with lots of fingers (use thickness or a submultiple) running along all edges. I also now apply kerf correction here… and zero out the kerf settings in Lightburn. I use 0.12mm or 0.13mm for a nice fit using the Roly 30W machine I’m using at the moment.
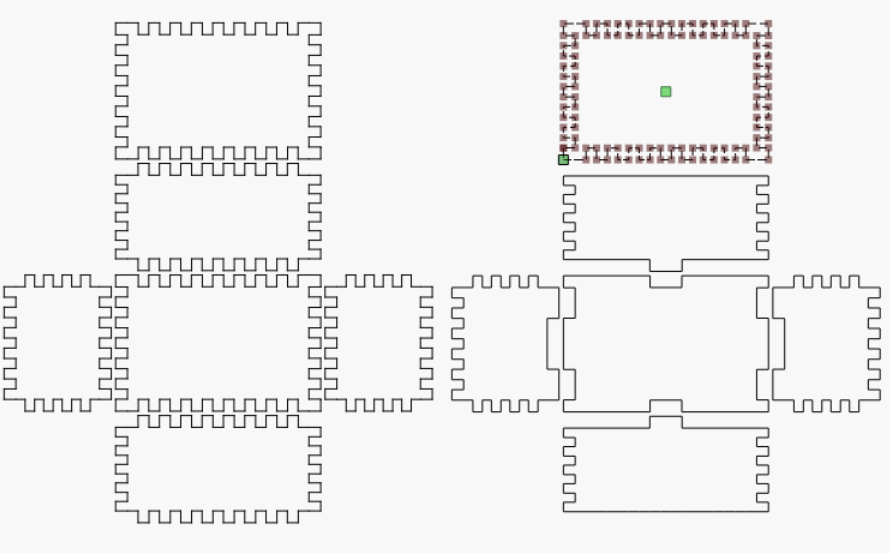
Import the SVG, PDF, or whatever into Lightburn and use the node editor to adjust the fingers and tabs to suit the design I’m looking for. This can go quite quickly by simply box-selecting and deleting/moving nodes or groups of nodes to form new tabs/fingers shapes/sizes to suit… leftmost box design (below) as imported into Lightburn and rightmost group is partially adjusted using the node editor.
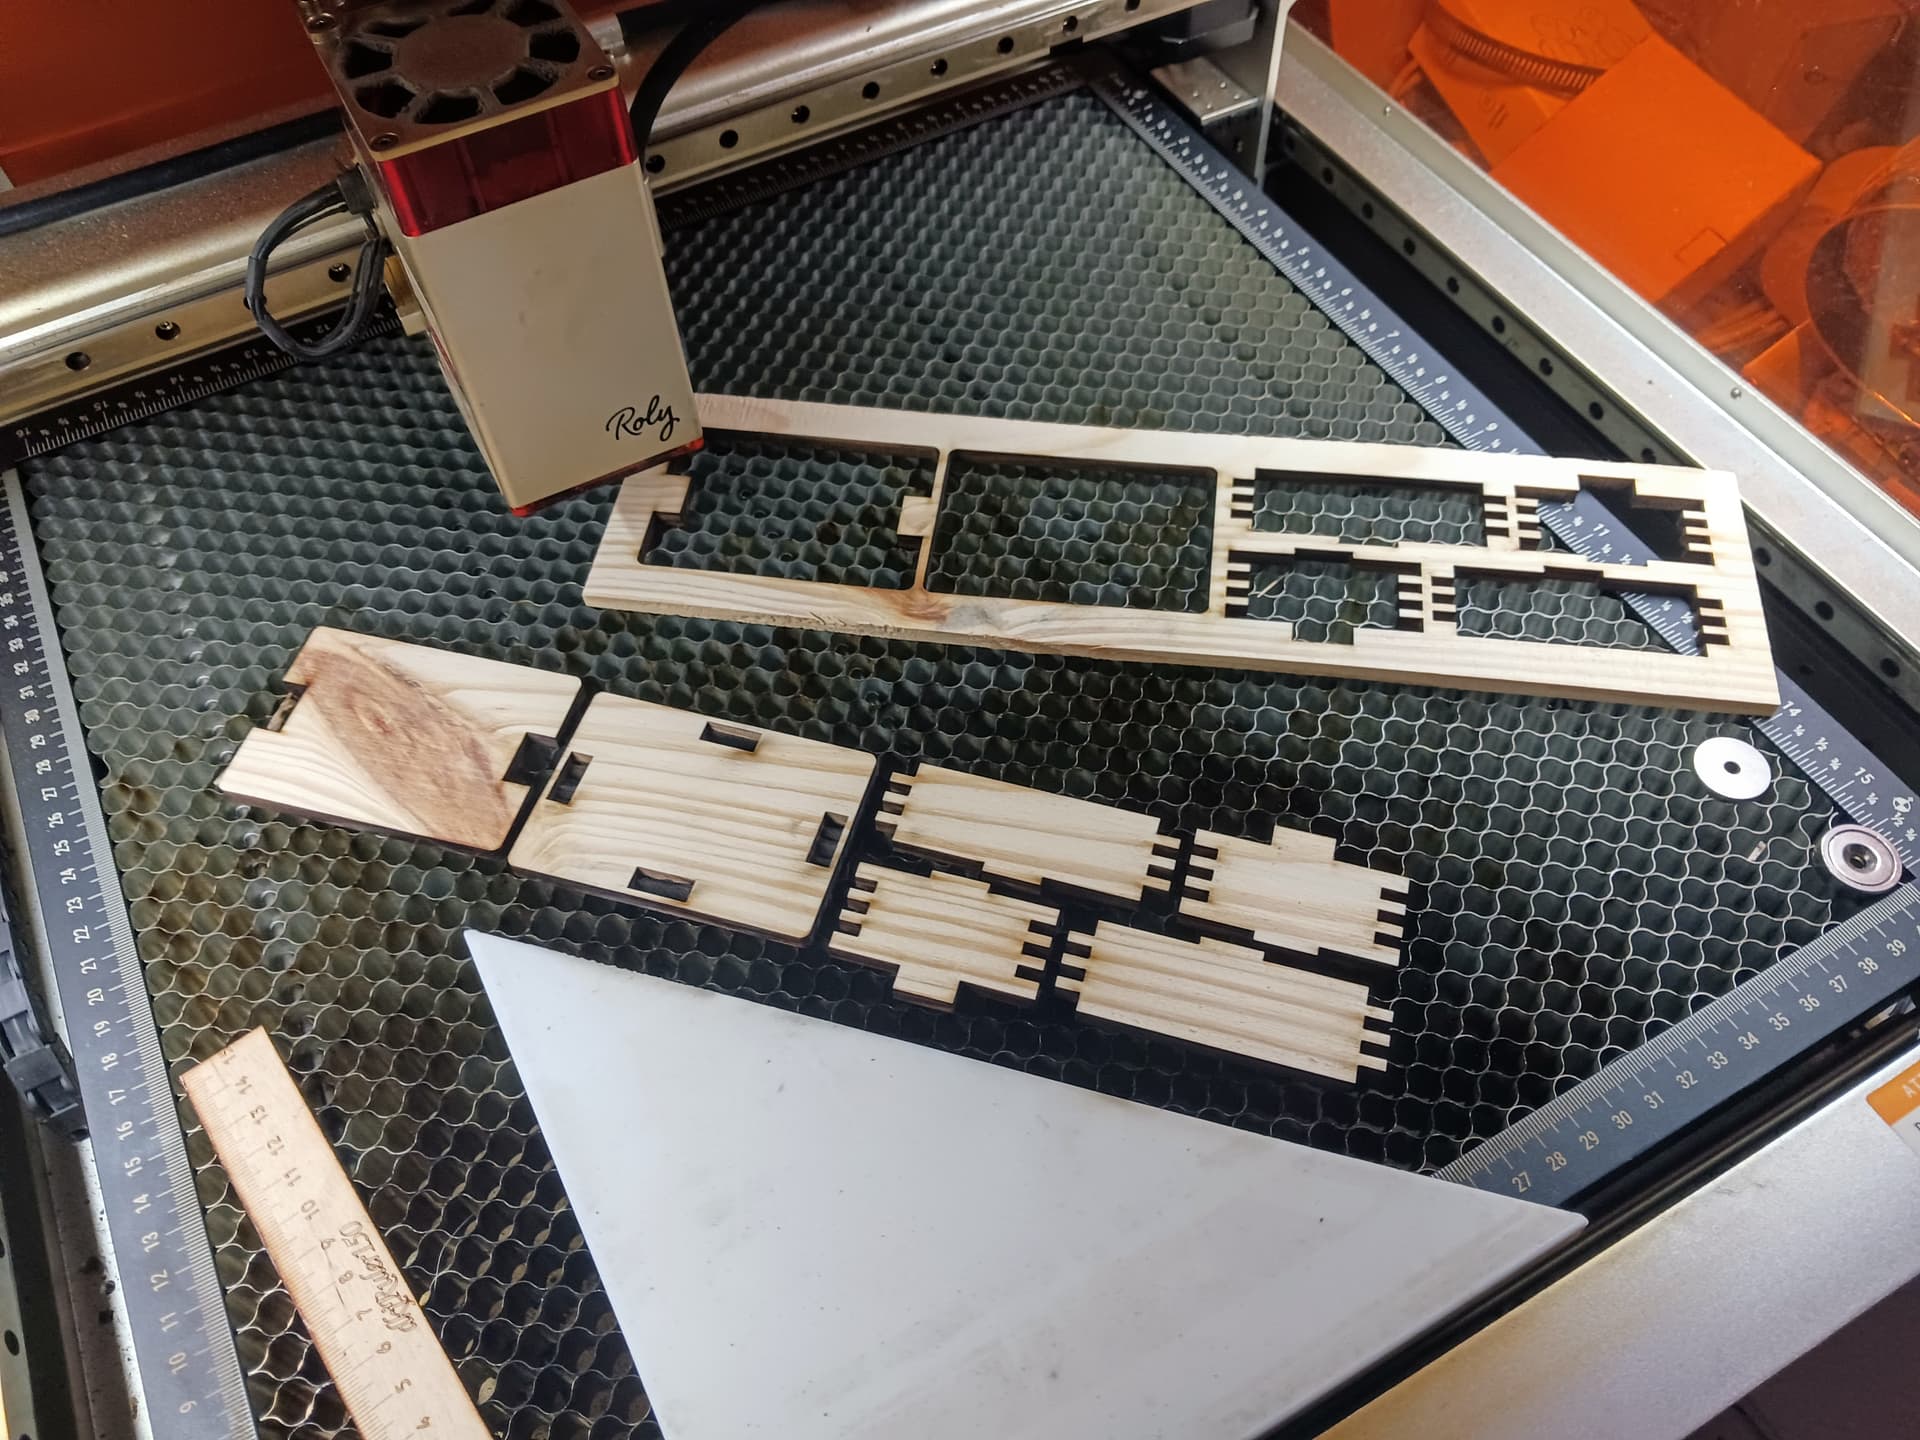
Once satisfied with the result, place material on the laser bed and laser the result. Here I’m testing a 45-degree orientation of material to compensate for the difference in X and Y kerf… but depending on your laser you may get satisfactory results without the 45-degree adjustment. It’s a bit more “fiddly” to set up for the 45-degree cut but could be helpful if your laser spot is grossly rectangular (rather than “almost square”).
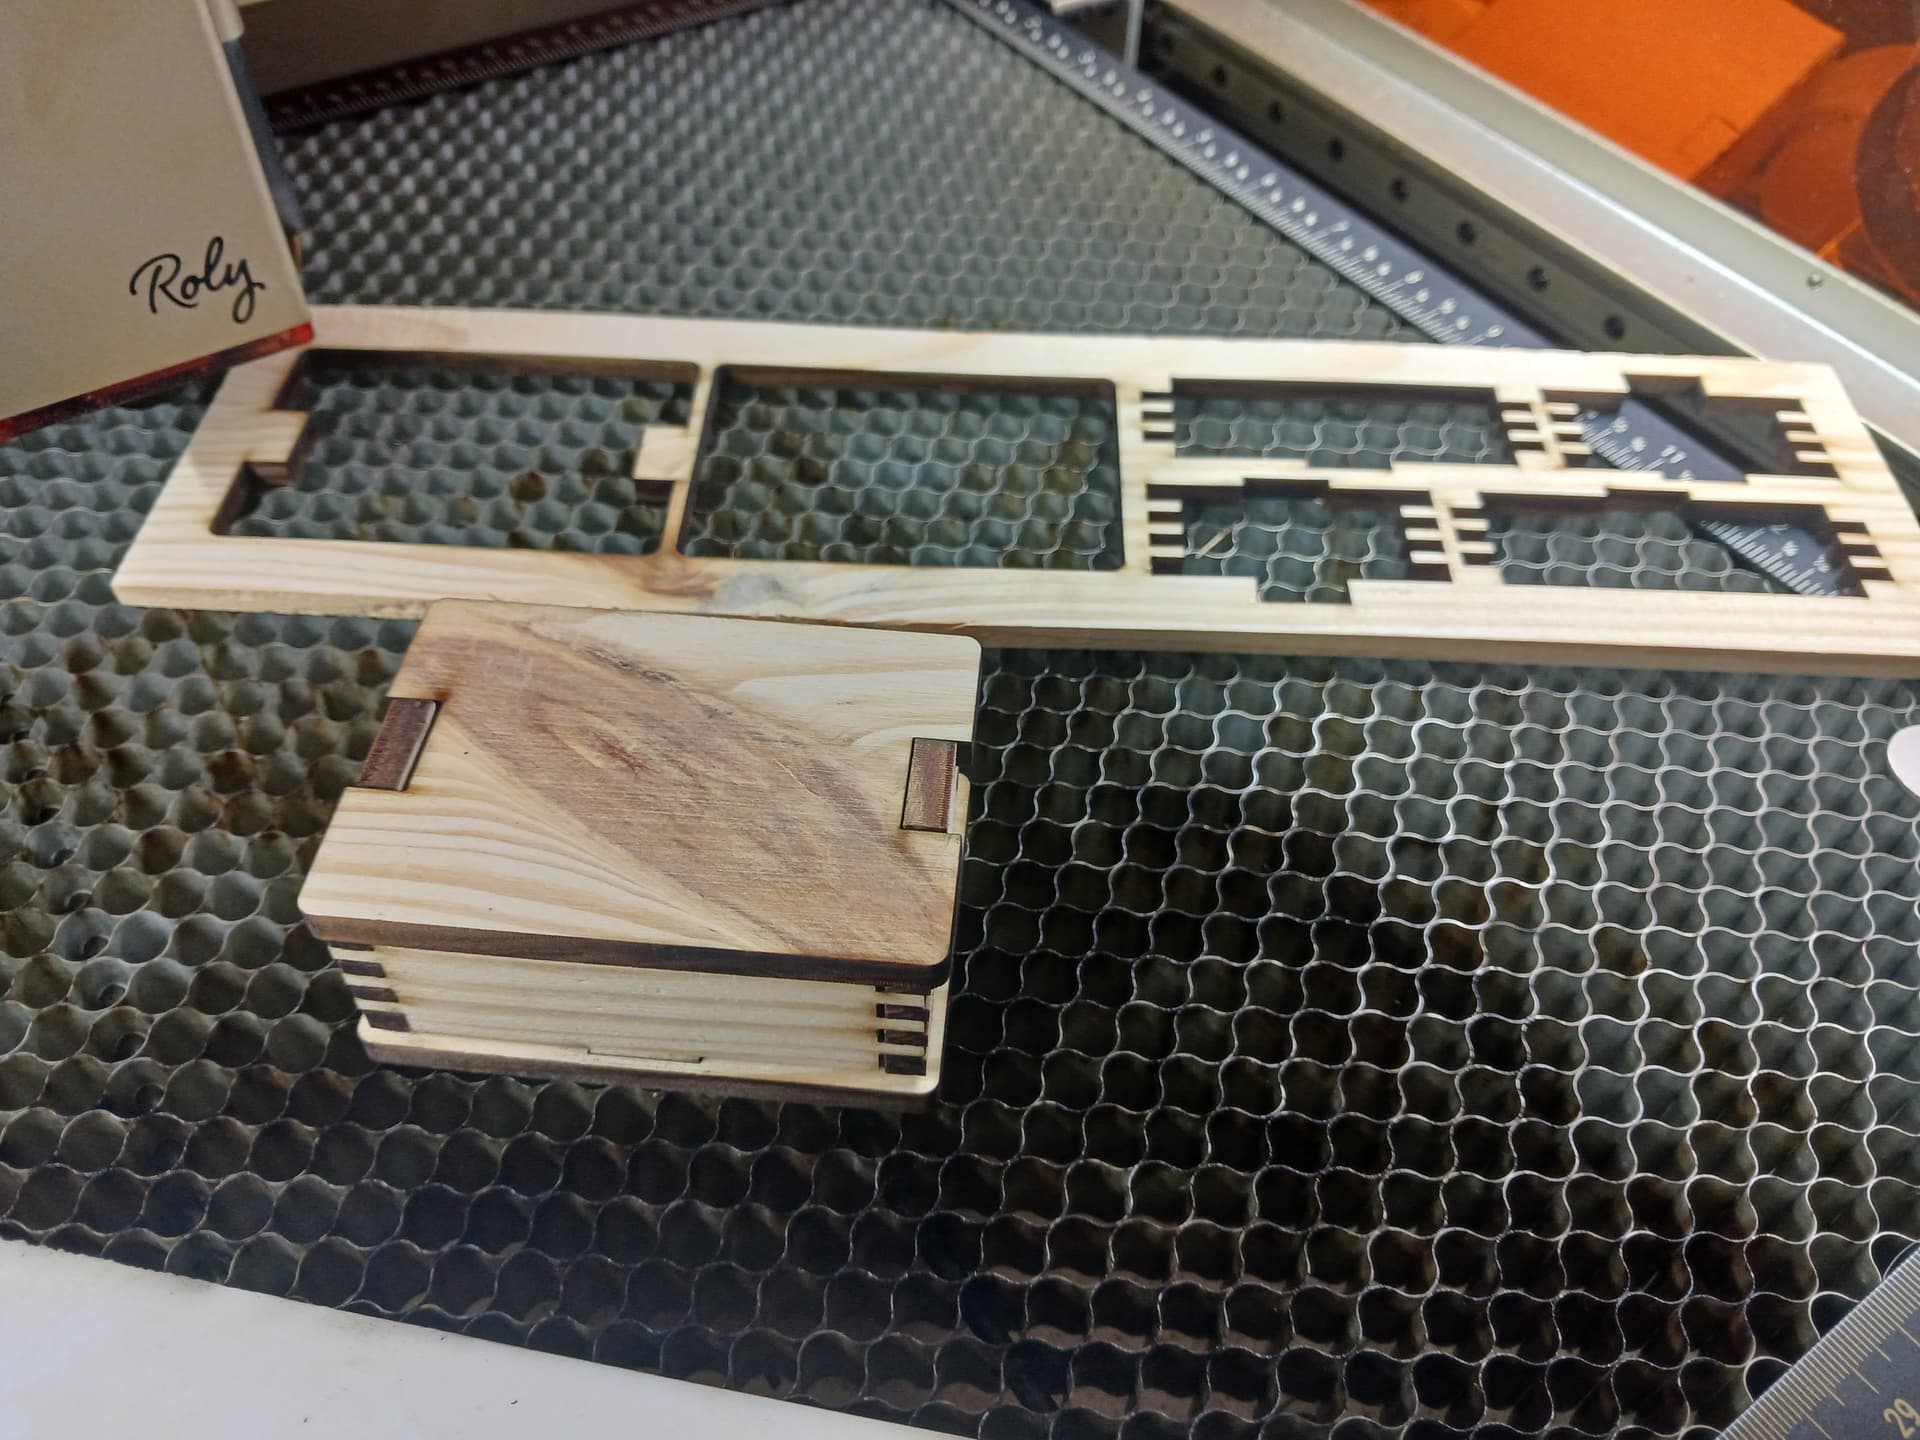
Thanks for the kind words. I’m using the procedure I described above to minimize the amount of post-processing needed after lasering. Old age, impatience, and shaky-ness now rob me of any joy when I have to fiddle with extra operations to get the result I want. Previously it was a hassle to square the box (no top/bottom edge slots/tabs), it used extra parts for alignment, and required using other hand and power tools to help fit and assemble. This newer box design allows all edges and features to be lasered… and assembly is a breeze.
I have a couple of ~35 watt lasers I use… in the photos above is a Roly Lasermatic Mk2 10W/30W that I bought for my daughter. I also have an Atezr L2 35W… nice machine but Atezr is now out of business. In my experience, running multiple passes at higher speed is preferable to trying to cut in a single pass at slower speed. Charring is minimized by not lingering too long in one spot… typically, in the ~6mm material (pine, cedar, catalpa, walnut, maple, etc) I use for these boxes, I run 4-6 passes at 1000 to 2000 mm/min, depending on the wood.
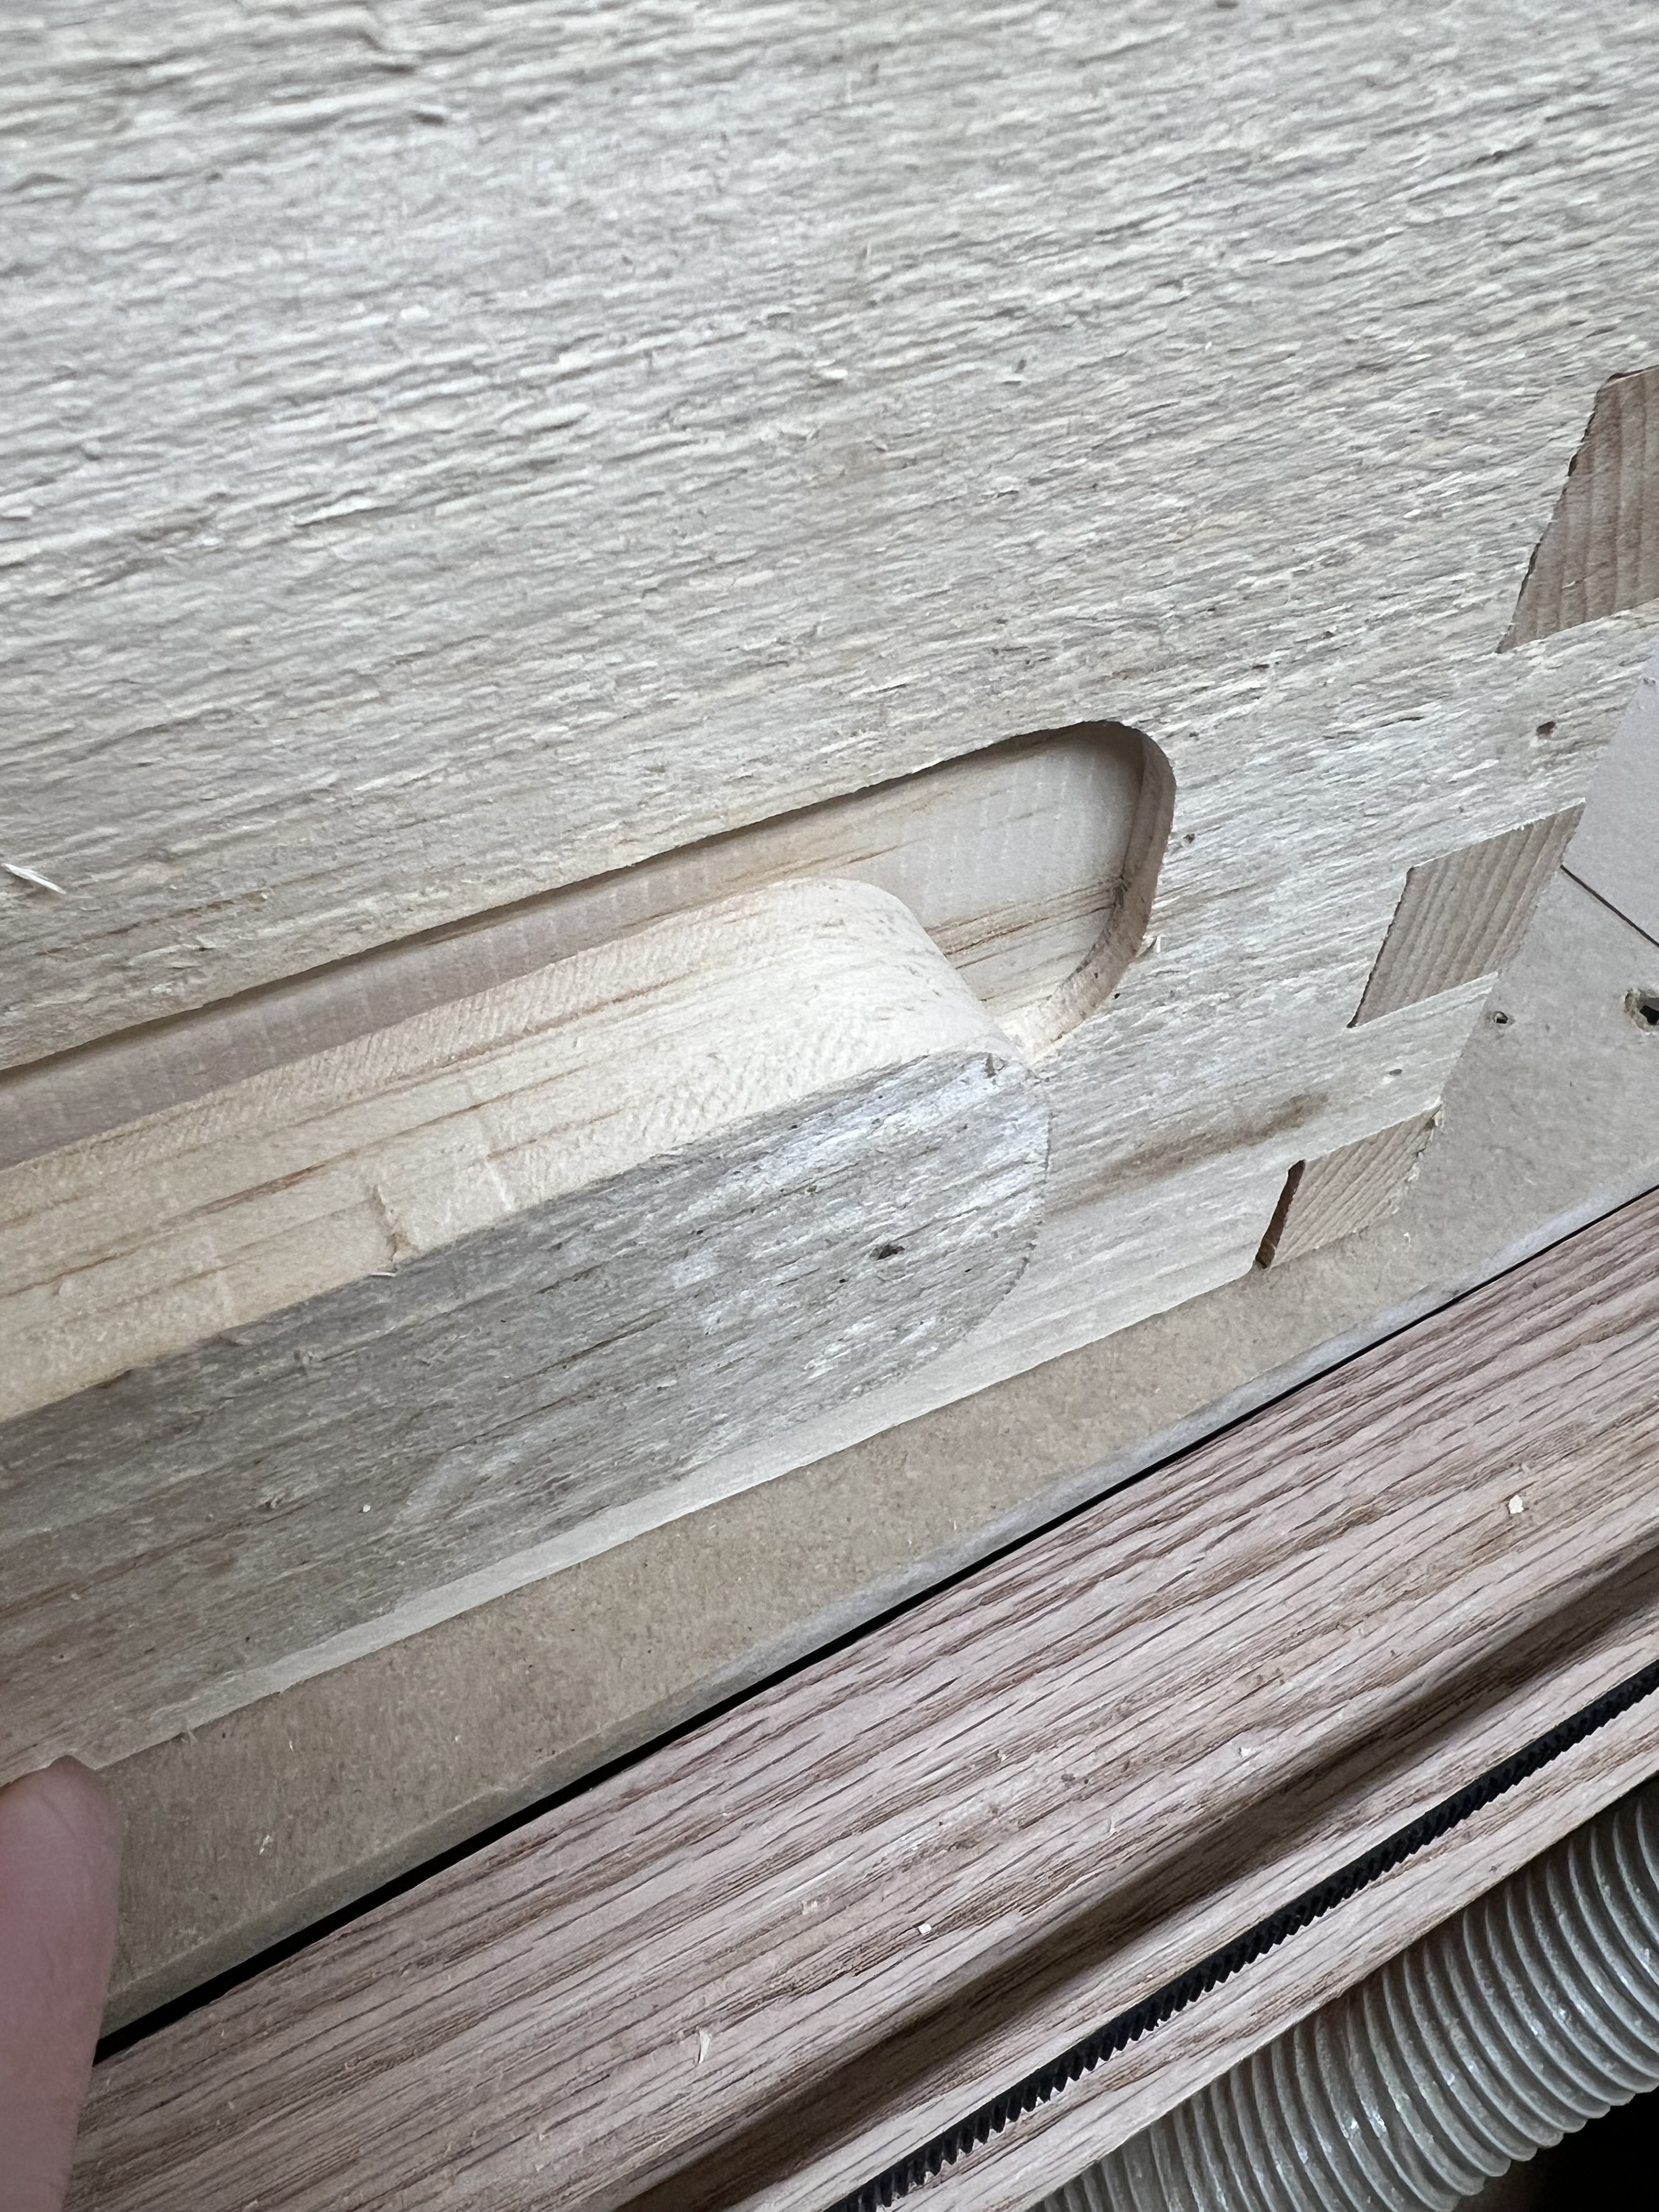
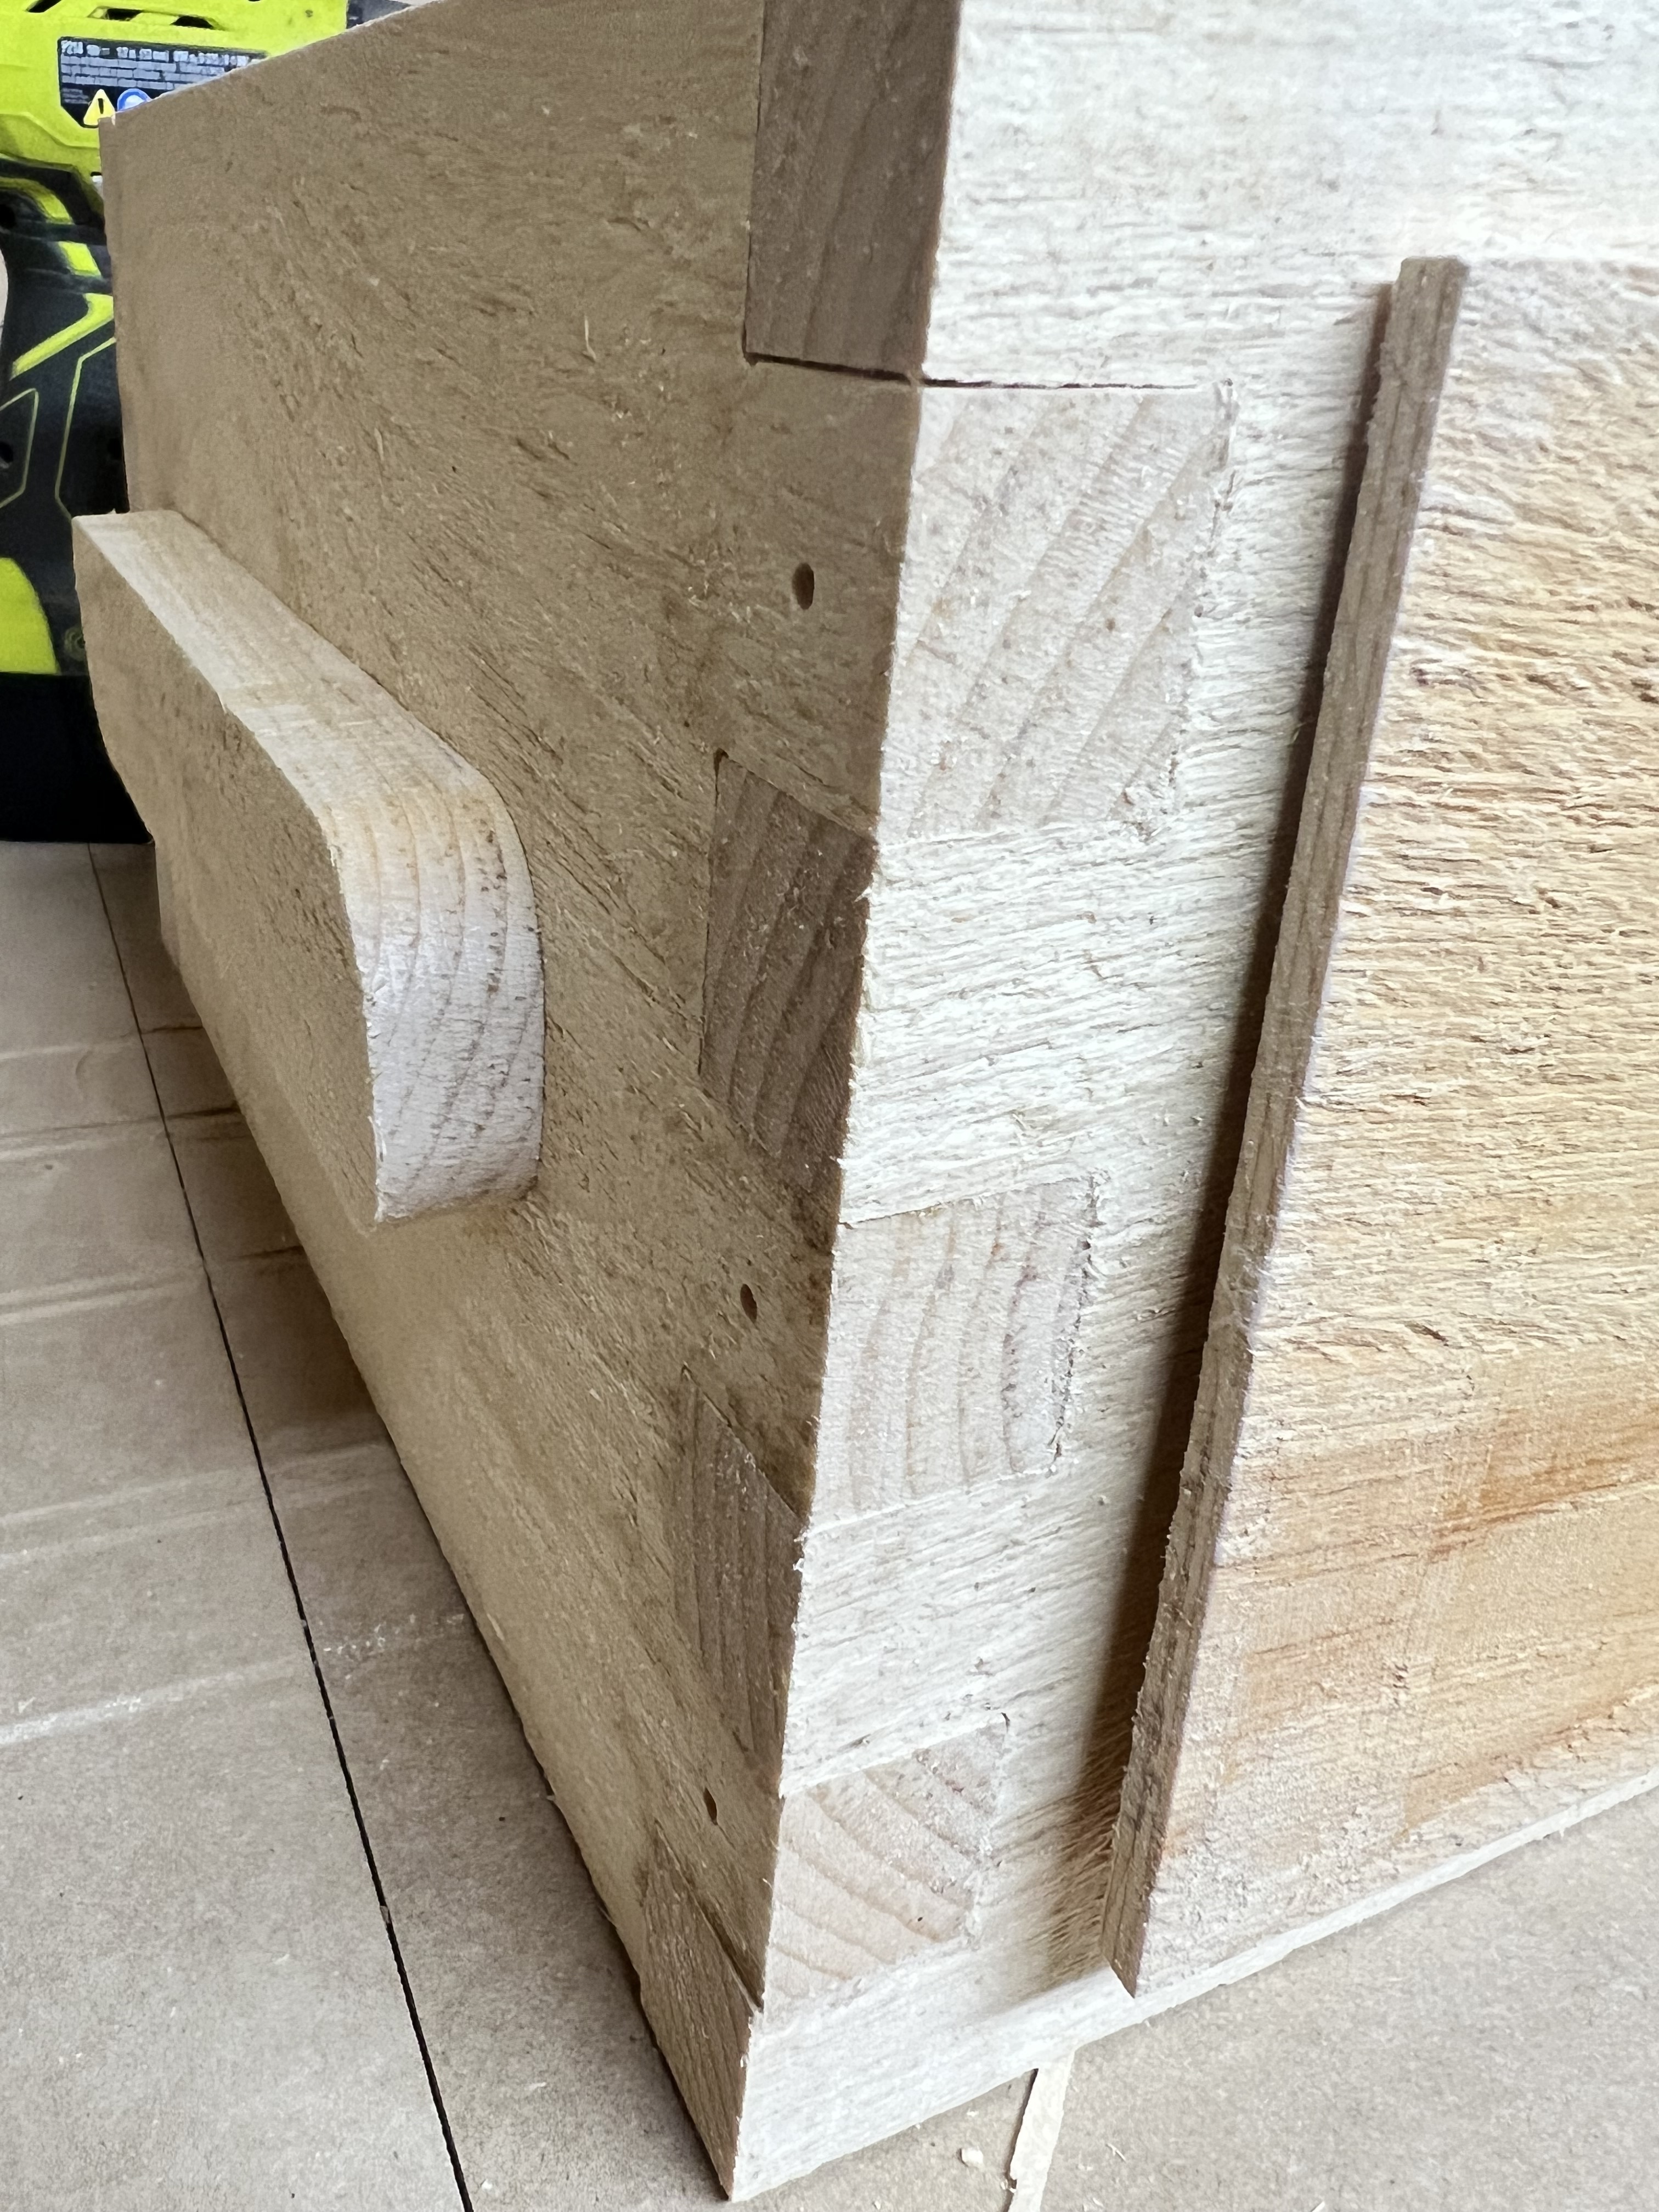
@Frank_Currie1 did you have to do any dial in of your low rider? I have a LR3 and am having all kinds of problems getting it to cut finger joints. I think I have slop in the machine somewhere because each tab has a small bulge on the sides that prevent it from mating with the opposing slot. Your results are my goal but not feeling like I can get there with the current setup I have.
Hi Mark,
Would you have a photo of what you are currently seeing? Do you have any details on you feed rates, bit type, etc.? Also the type of wood you are cutting.
Prior to the LR4 I was using the MPCNC and the ability for the joints to be both square and straight was challenging. There was movement that was hard to pinpoint that was causing issues. The LR4 doesn’t have this and I feel that the 1” conduit may have less give than the 3/4” on the MPCNC.
Still a bit more work needed to document/add some other SVG/ESTLCAM files (e.g. the larger brood box) but hopefully between the svg files and the ESTLCAM project files, you should be able to get going.