Will be using the lathe to turn some legs for the project.
There’s no way on God’s green Earth I have the ability to turn 4 identical legs. I’m hoping I can make two look somewhat similar so they can go in the front.
This is really more of a ‘wish I had’ type of post. I also don’t really have any intention of adding a 4th axis to my MPCNC at this time. Too many other sticks in the fire going on to take on a new project.
One option would be to cut a 2D template on your CNC and then use one of these drill press attachments. I haven’t bought one yet but looks like it would be worth a try for that price.
A second opinion would be to machine it in two operations (machine top then flip over to machine bottom). Then sand any mismatch by hand or using the drill press attachment above.
+1 for 2D profile. If you already have a lathe you are basically done.
The only issue is a template wouldn’t constrain the overall diameter, so you might get an offset and some legs could have the same profile but fatter than others.
If you turn a ring on each end to a known, measured diameter, then when your template reaches those rings you know that you have matched both the profile and the overall diameter.
I’ve thought about trying a 2d template. I’ve seen that done before.
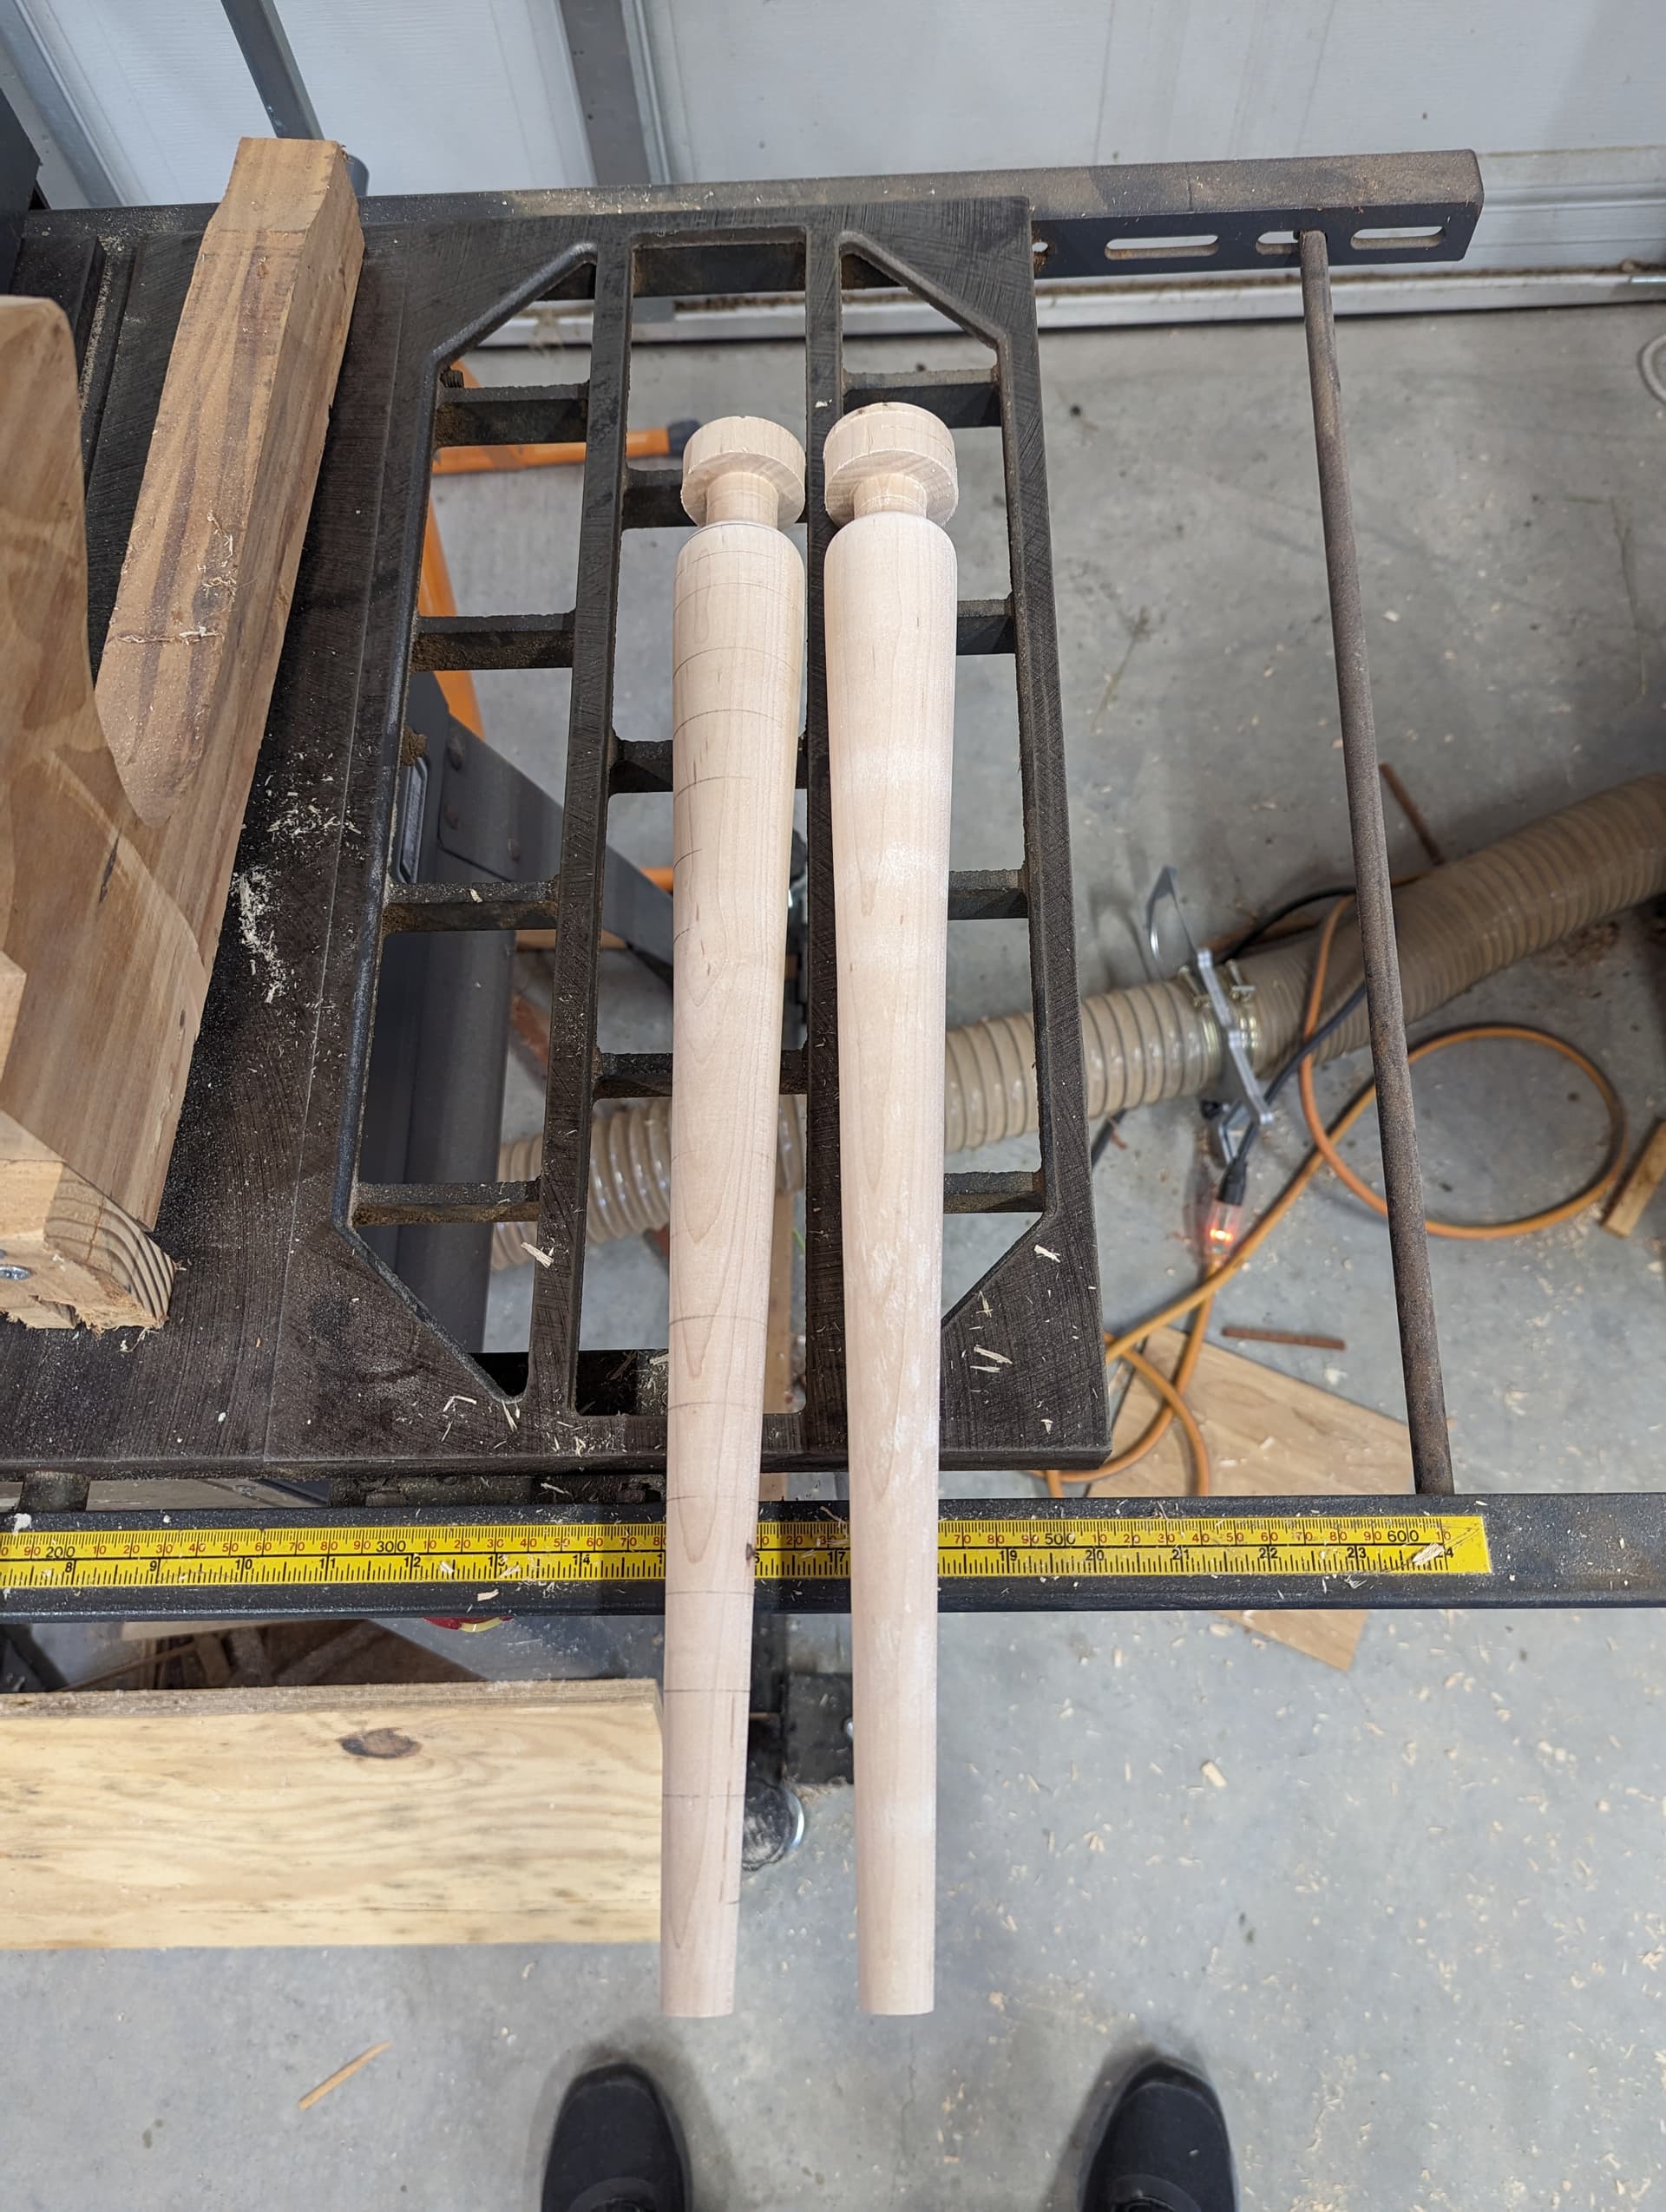
Luckily I’m not really planning on anything too difficult. 3/4" tenon on one end to go into the base. A slight bulge near the top up to around 1-1.5" and then a taper down to about 1/2" at the bottom of the leg. My stock I’m using is currently a 2" square.
The hard part will be creating the bulge and the taper so that the legs are similar enough.
Honestly, the design is mostly a box. I could probably get away with just doing a simple square taper.
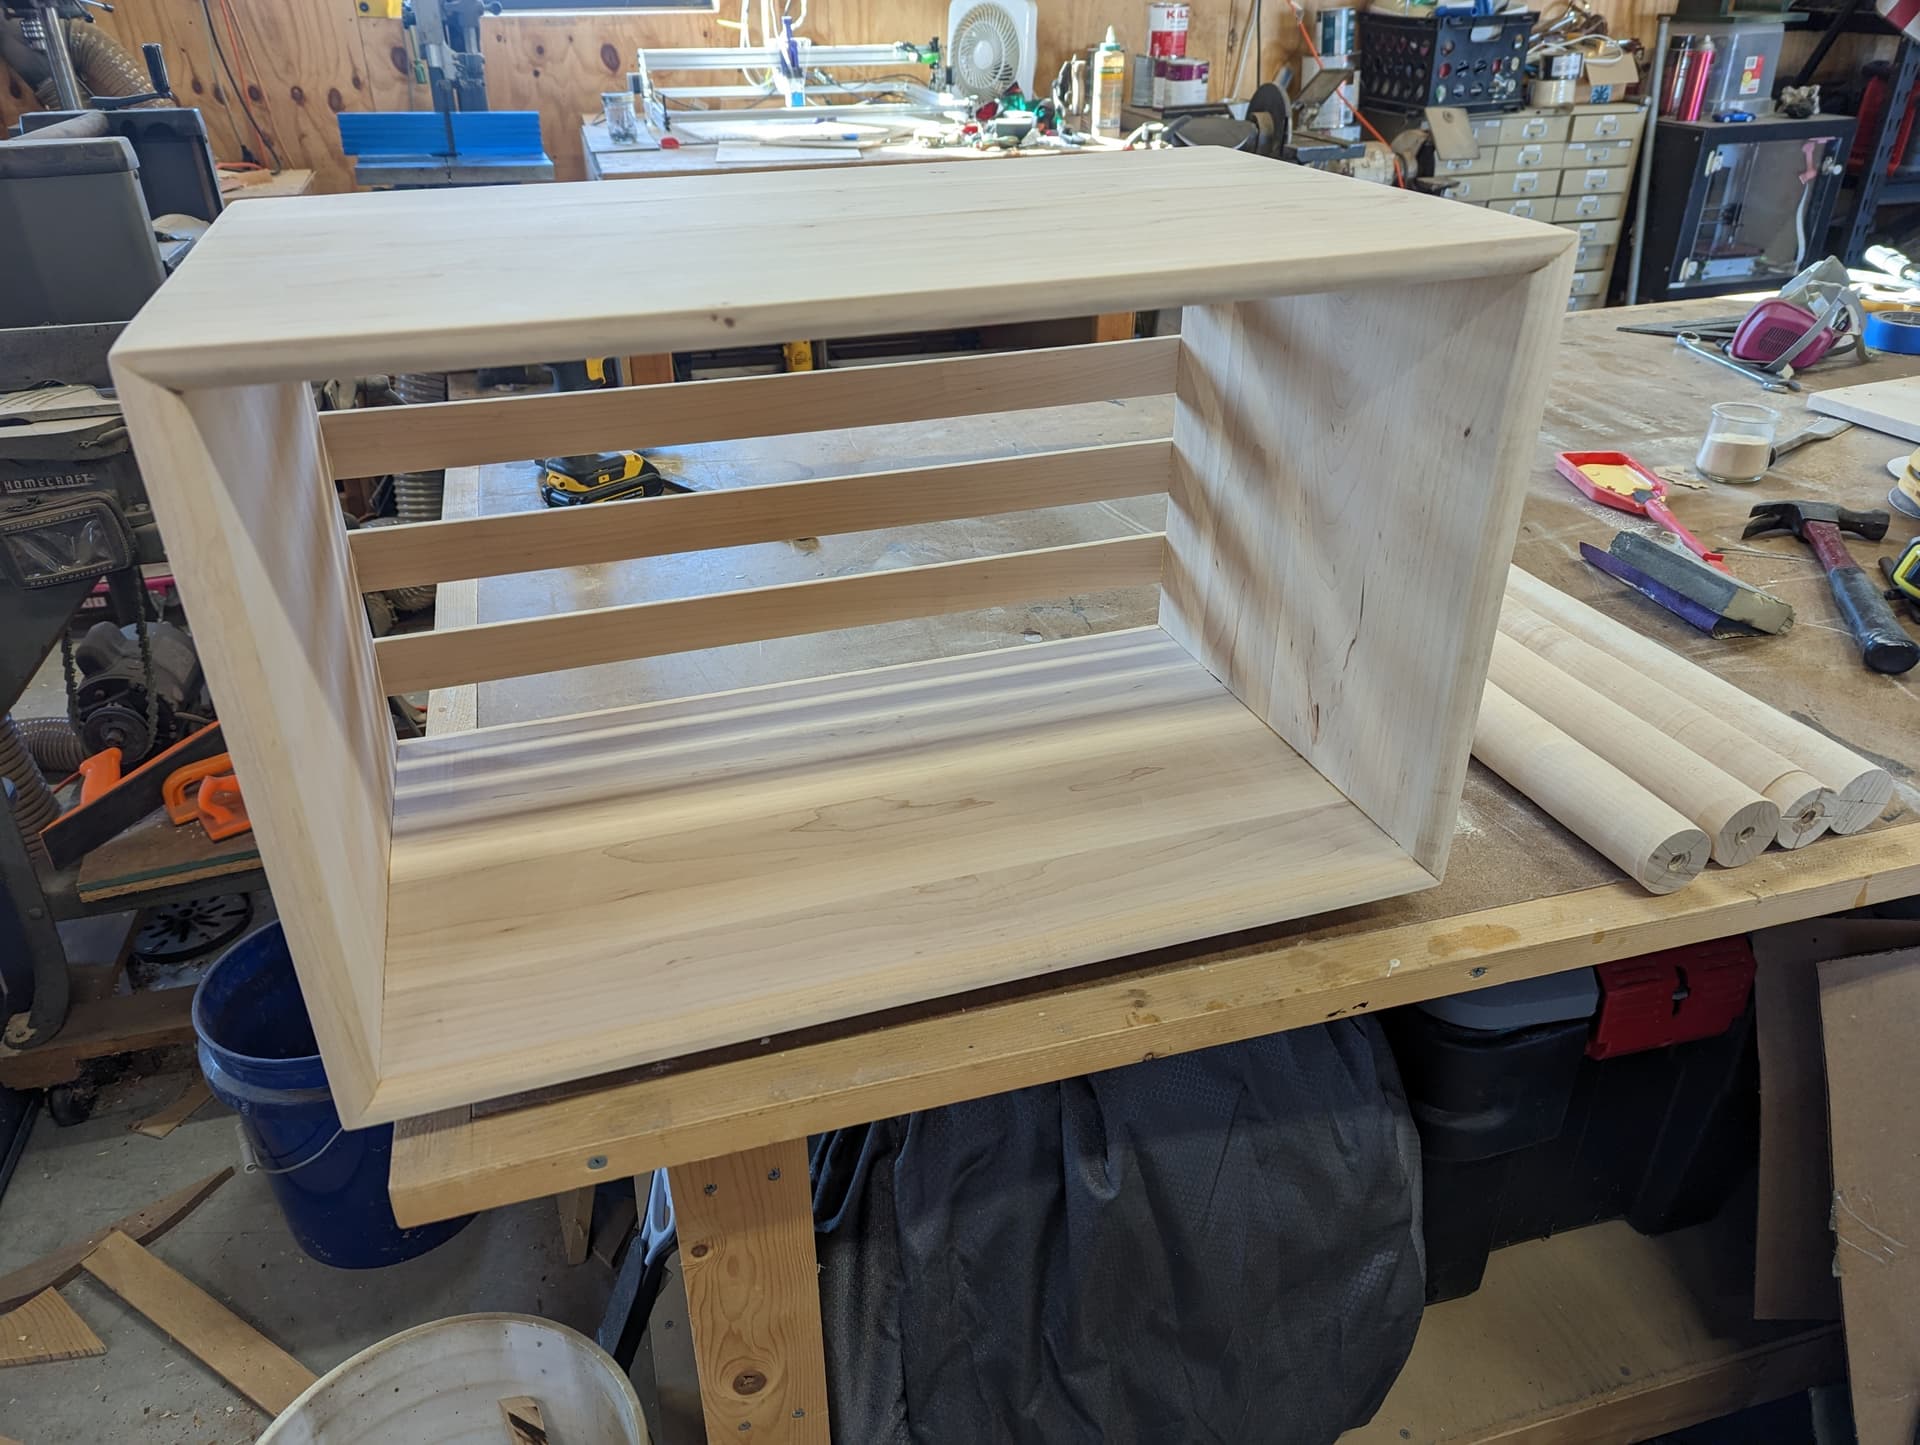
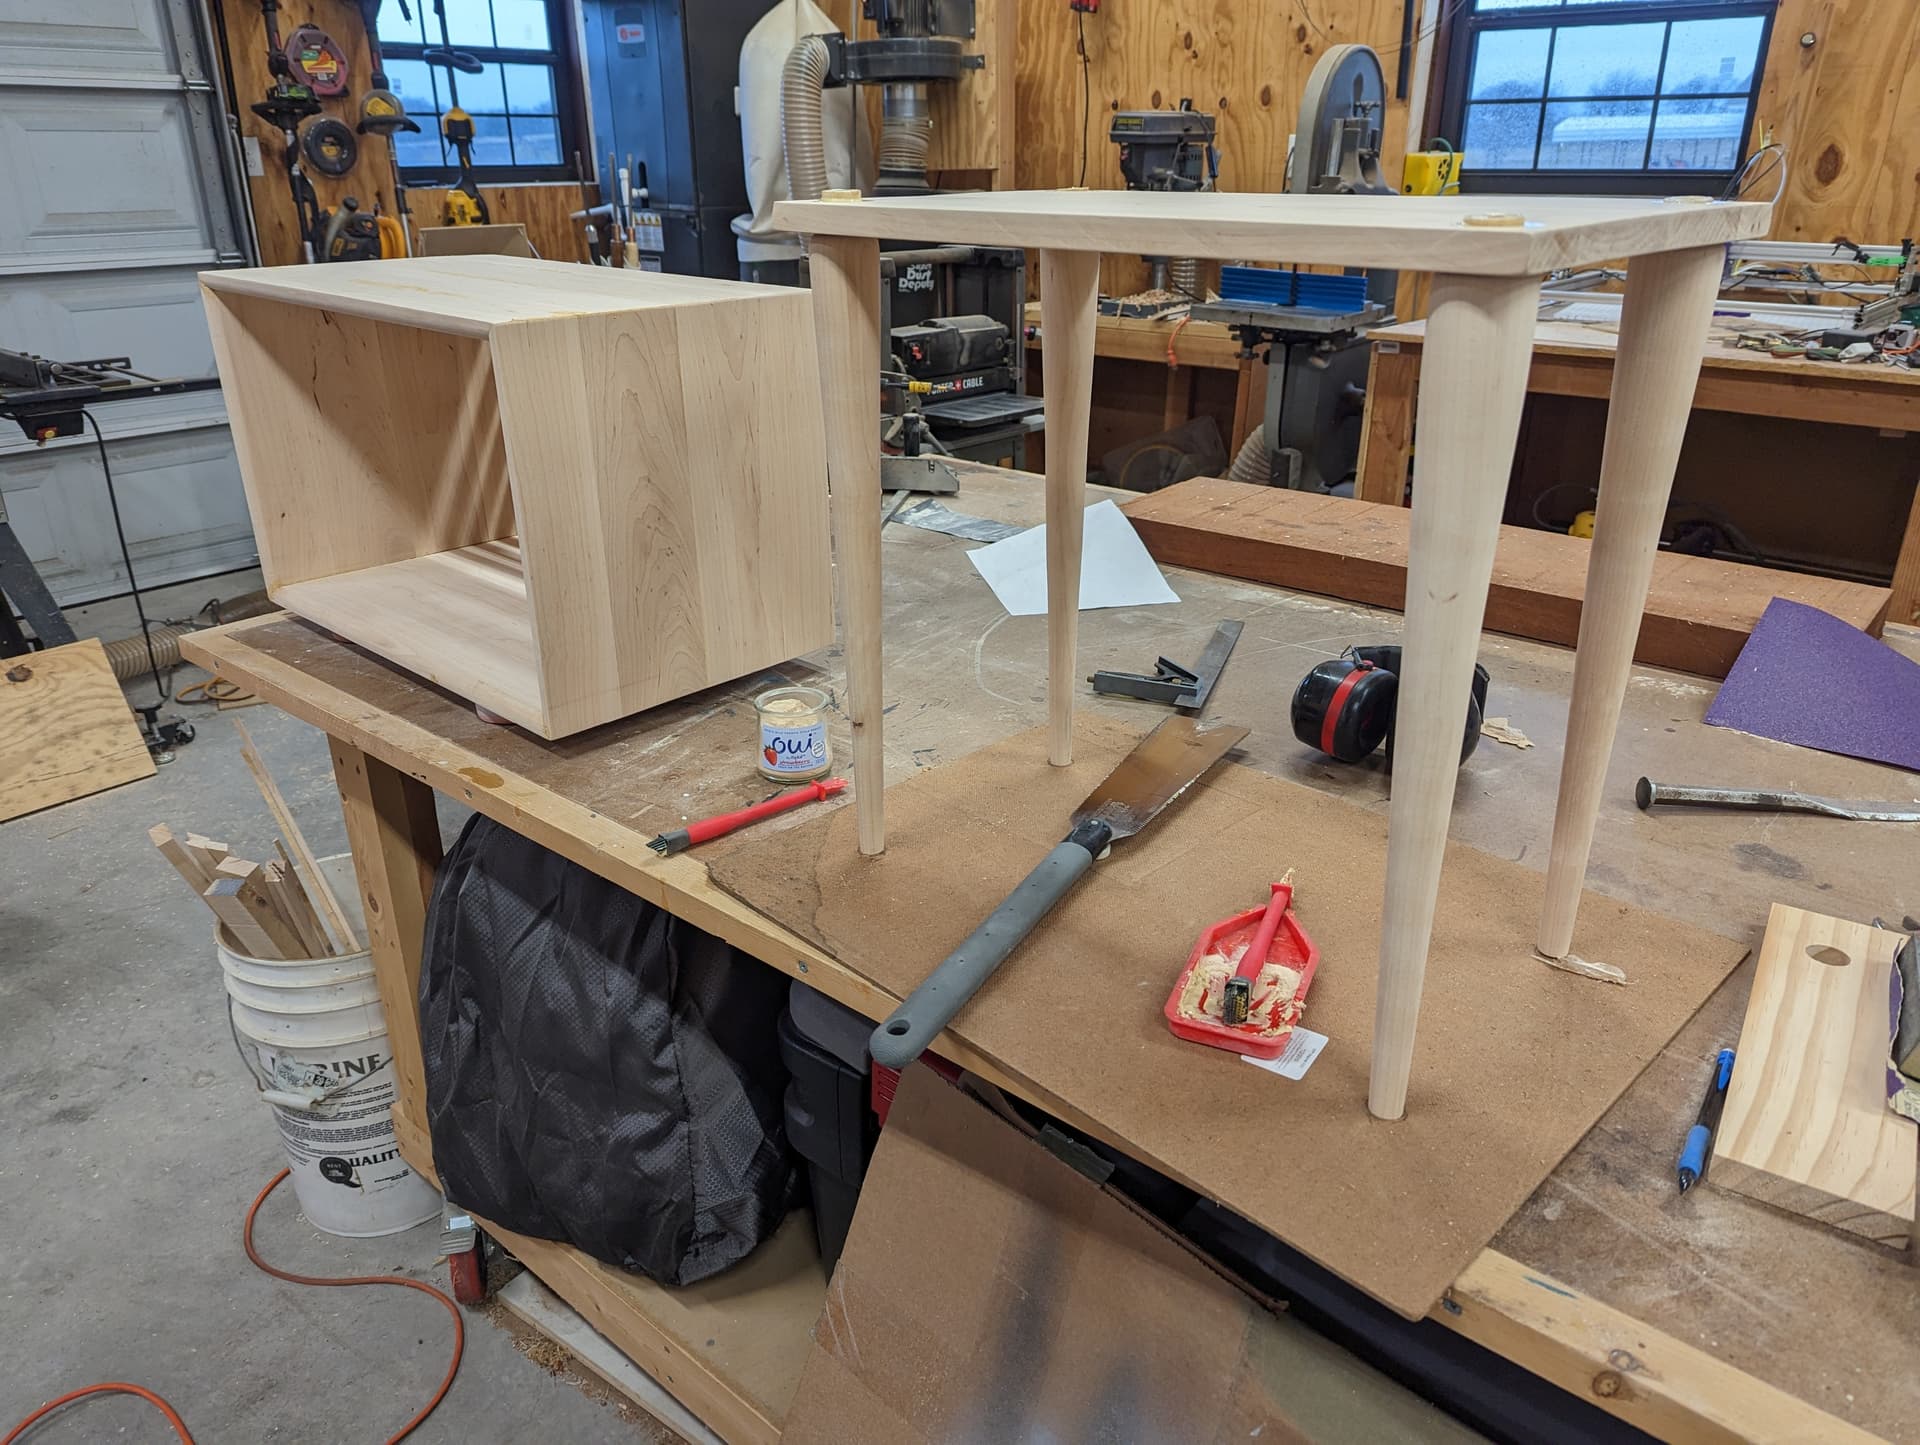
Full transparency: The project I’m working on is a record holder. The base has the legs far enough apart so that it can sit over my 12" sub. The holder itself is a box with a semi-open back and minor detail work along the front edge. Nothing too fancy.
I’m in the process of gluing up the panels for the top, bottom, and sides right now.
I don’t know anything about lathe work so this may be a silly suggestion, but could you rough out your leg blanks with contour cuts? This could be done with router and a template, or with bandsaw and a printed template, or with your CNC if it is big enough. This would give you some identical reference points when turning the legs.
It’s not really that difficult to produce somewhat similar designs.
You rough out the spindle (make the square block round). Then you use a pencil to mark reference lines along the length of the part at known locations. I typically use a parting blade to then rough in at those reference lines to whatever the diameter is the part is supposed to be at that point using a set of calipers that are set to the desired size. Then use the gouges to final cut the spindle from point to point.
Trying to make the transitions and curves similar is the only real tricky point.
It can be handy to have several pairs of calipers so that they can stay set for the reference dimensions from one spindle to the next.
Alternatively, the lathe duplicators don’t look that hard to put together (although I’ve not done one myself). You might check to see if your local library has digital resources before buying plans - many of the Woodsmith plans are adjunct to feature articles in the magazine.
What I do is a 2 step process. First I layout and make a 2D drawing of the part. I use Freecad, but any method you want. Print or cut out a full size drawing of Part , you now have a full size template and a full size part outline.
Second, You now can take a caliper and at any point you want measure the width. As Niget2002 said; now you can mark and using the parting blade cut the the proper thickess. You can now use the outside of drawing template to help you do the final form. When your template touches all the parting cuts your done.
One thing I regret is not verfying the final diameter of the rough spindles. I discovered when starting the 4th one that it was slightly smaller than the final diameter of the legs… Oops. It’s close enough that you need calipers to tell, but still.
Just need to mount the base to the top. Then final sanding and finish.
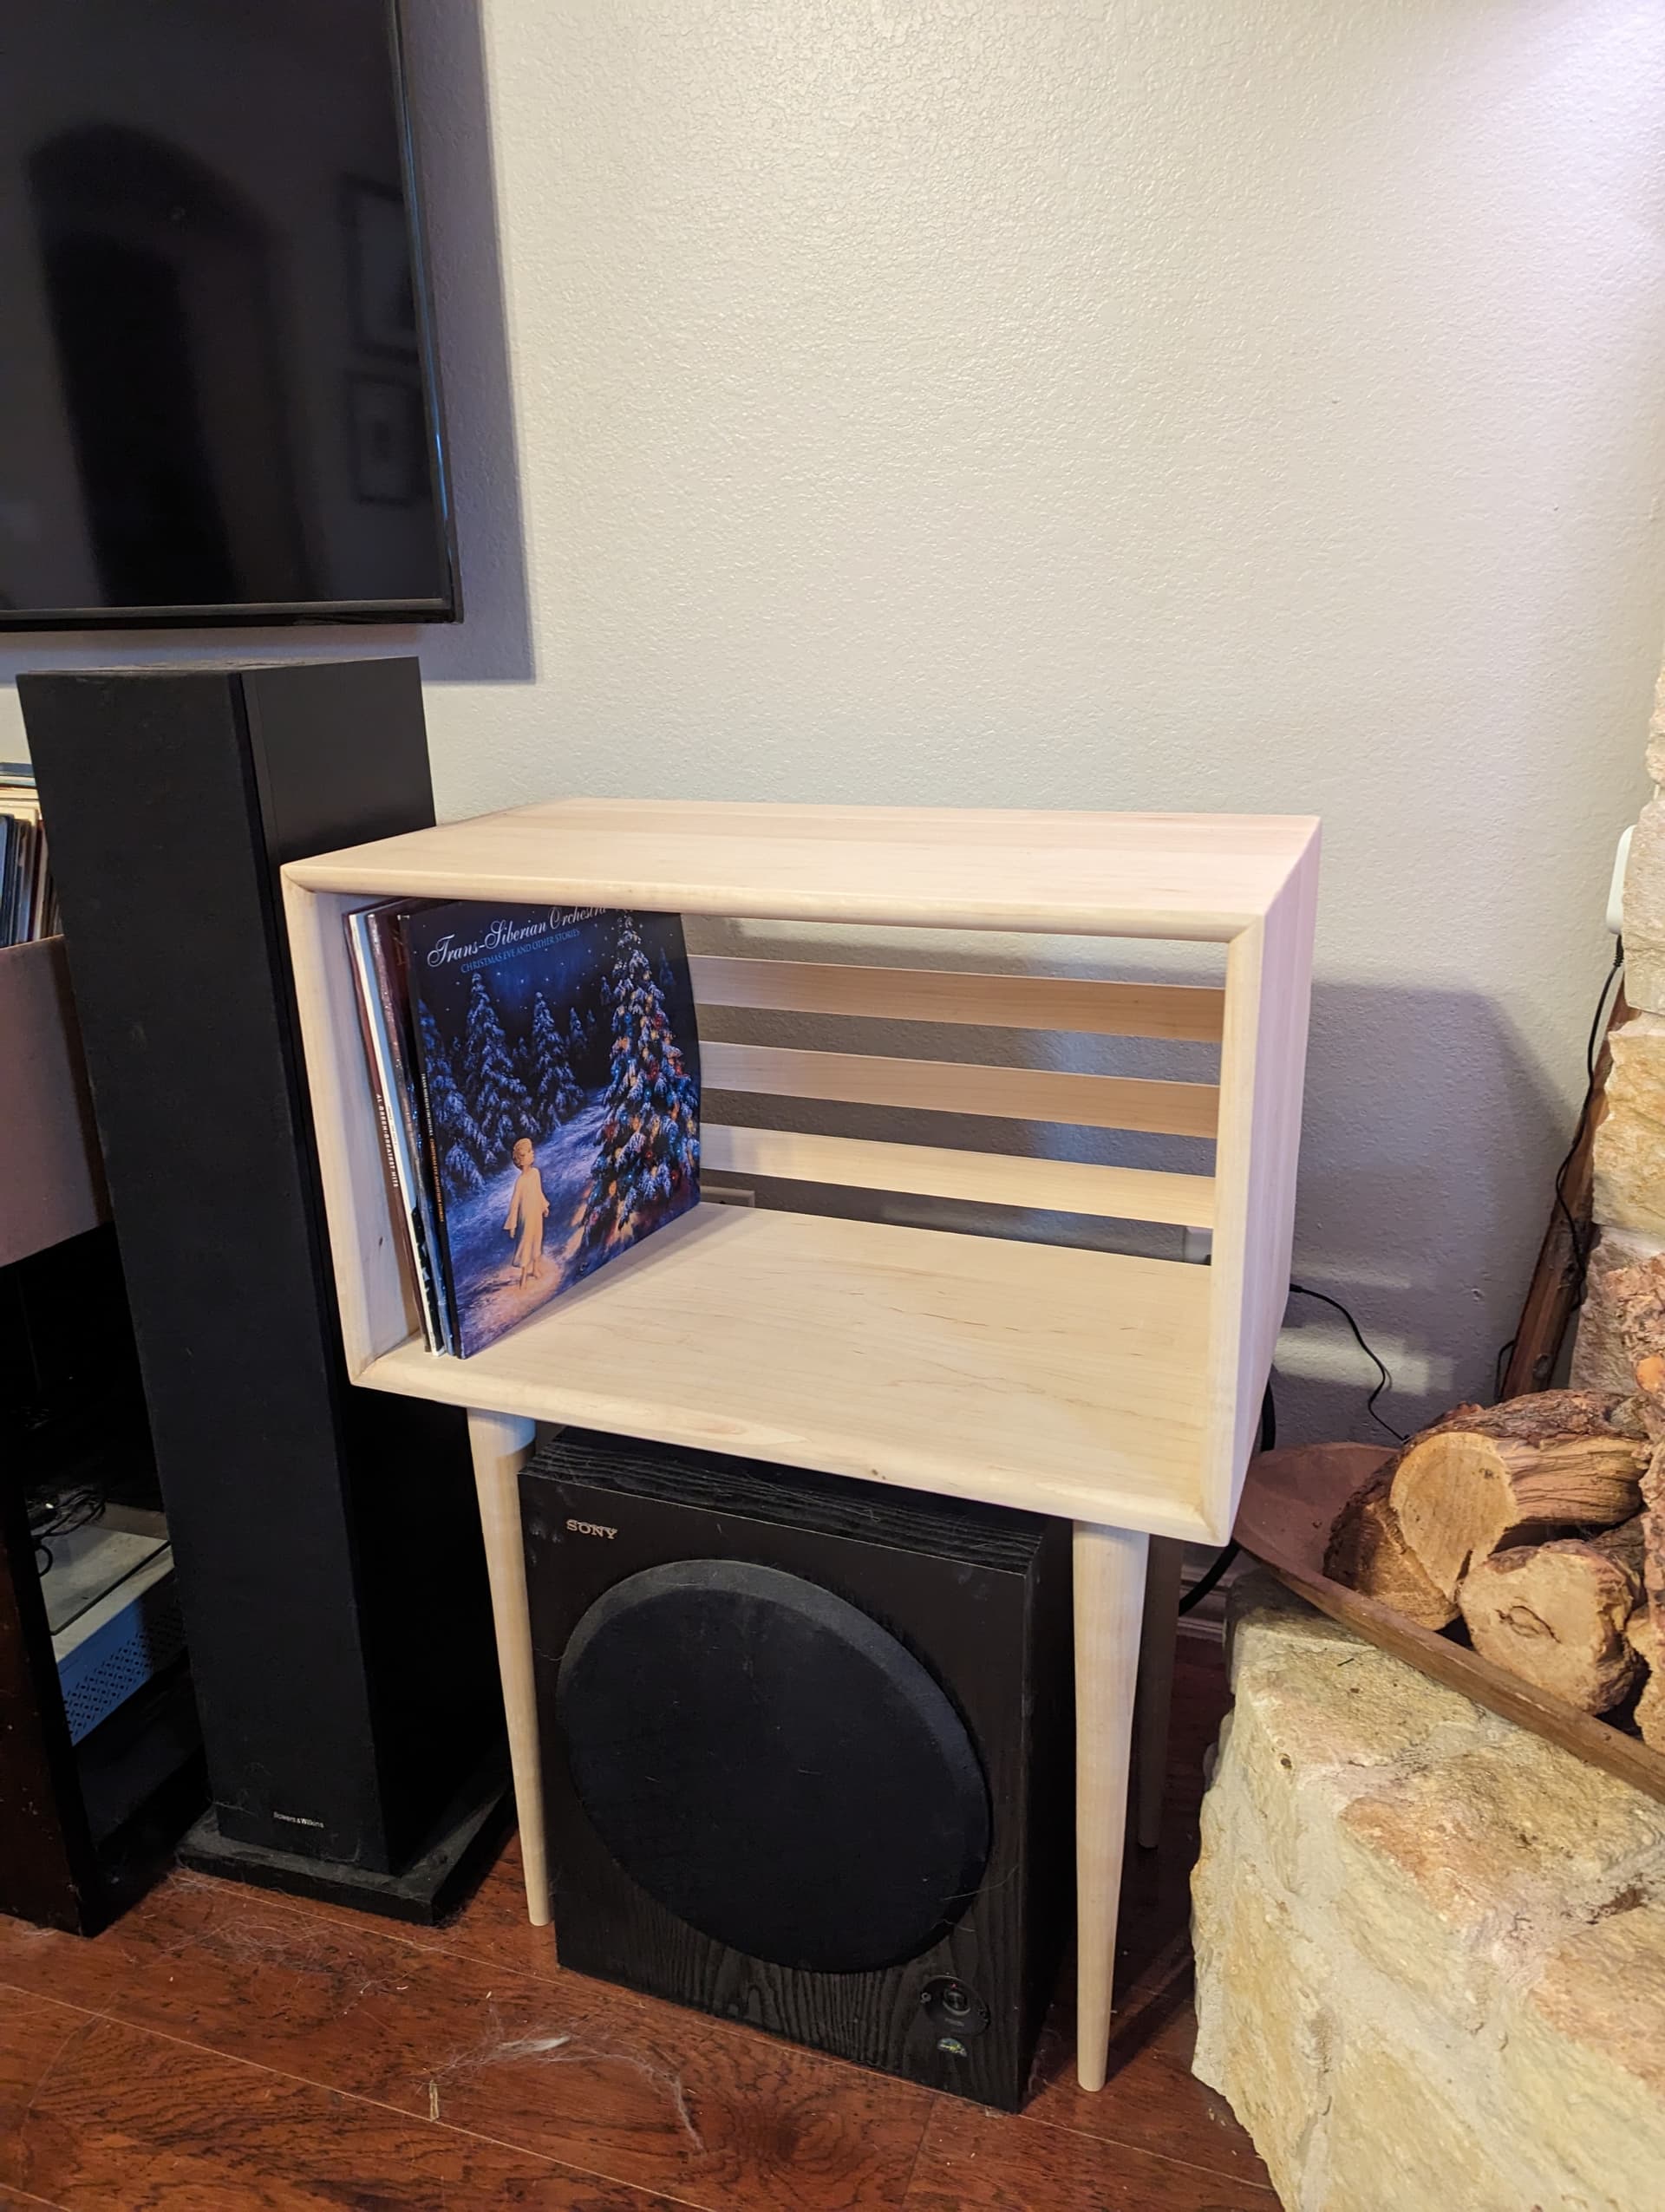
I put the last of the finish on the stand over the weekend and installed it in the house.
It came out pretty good. Most importantly, the wife likes it. Now on to the next project (dog bowl stand).
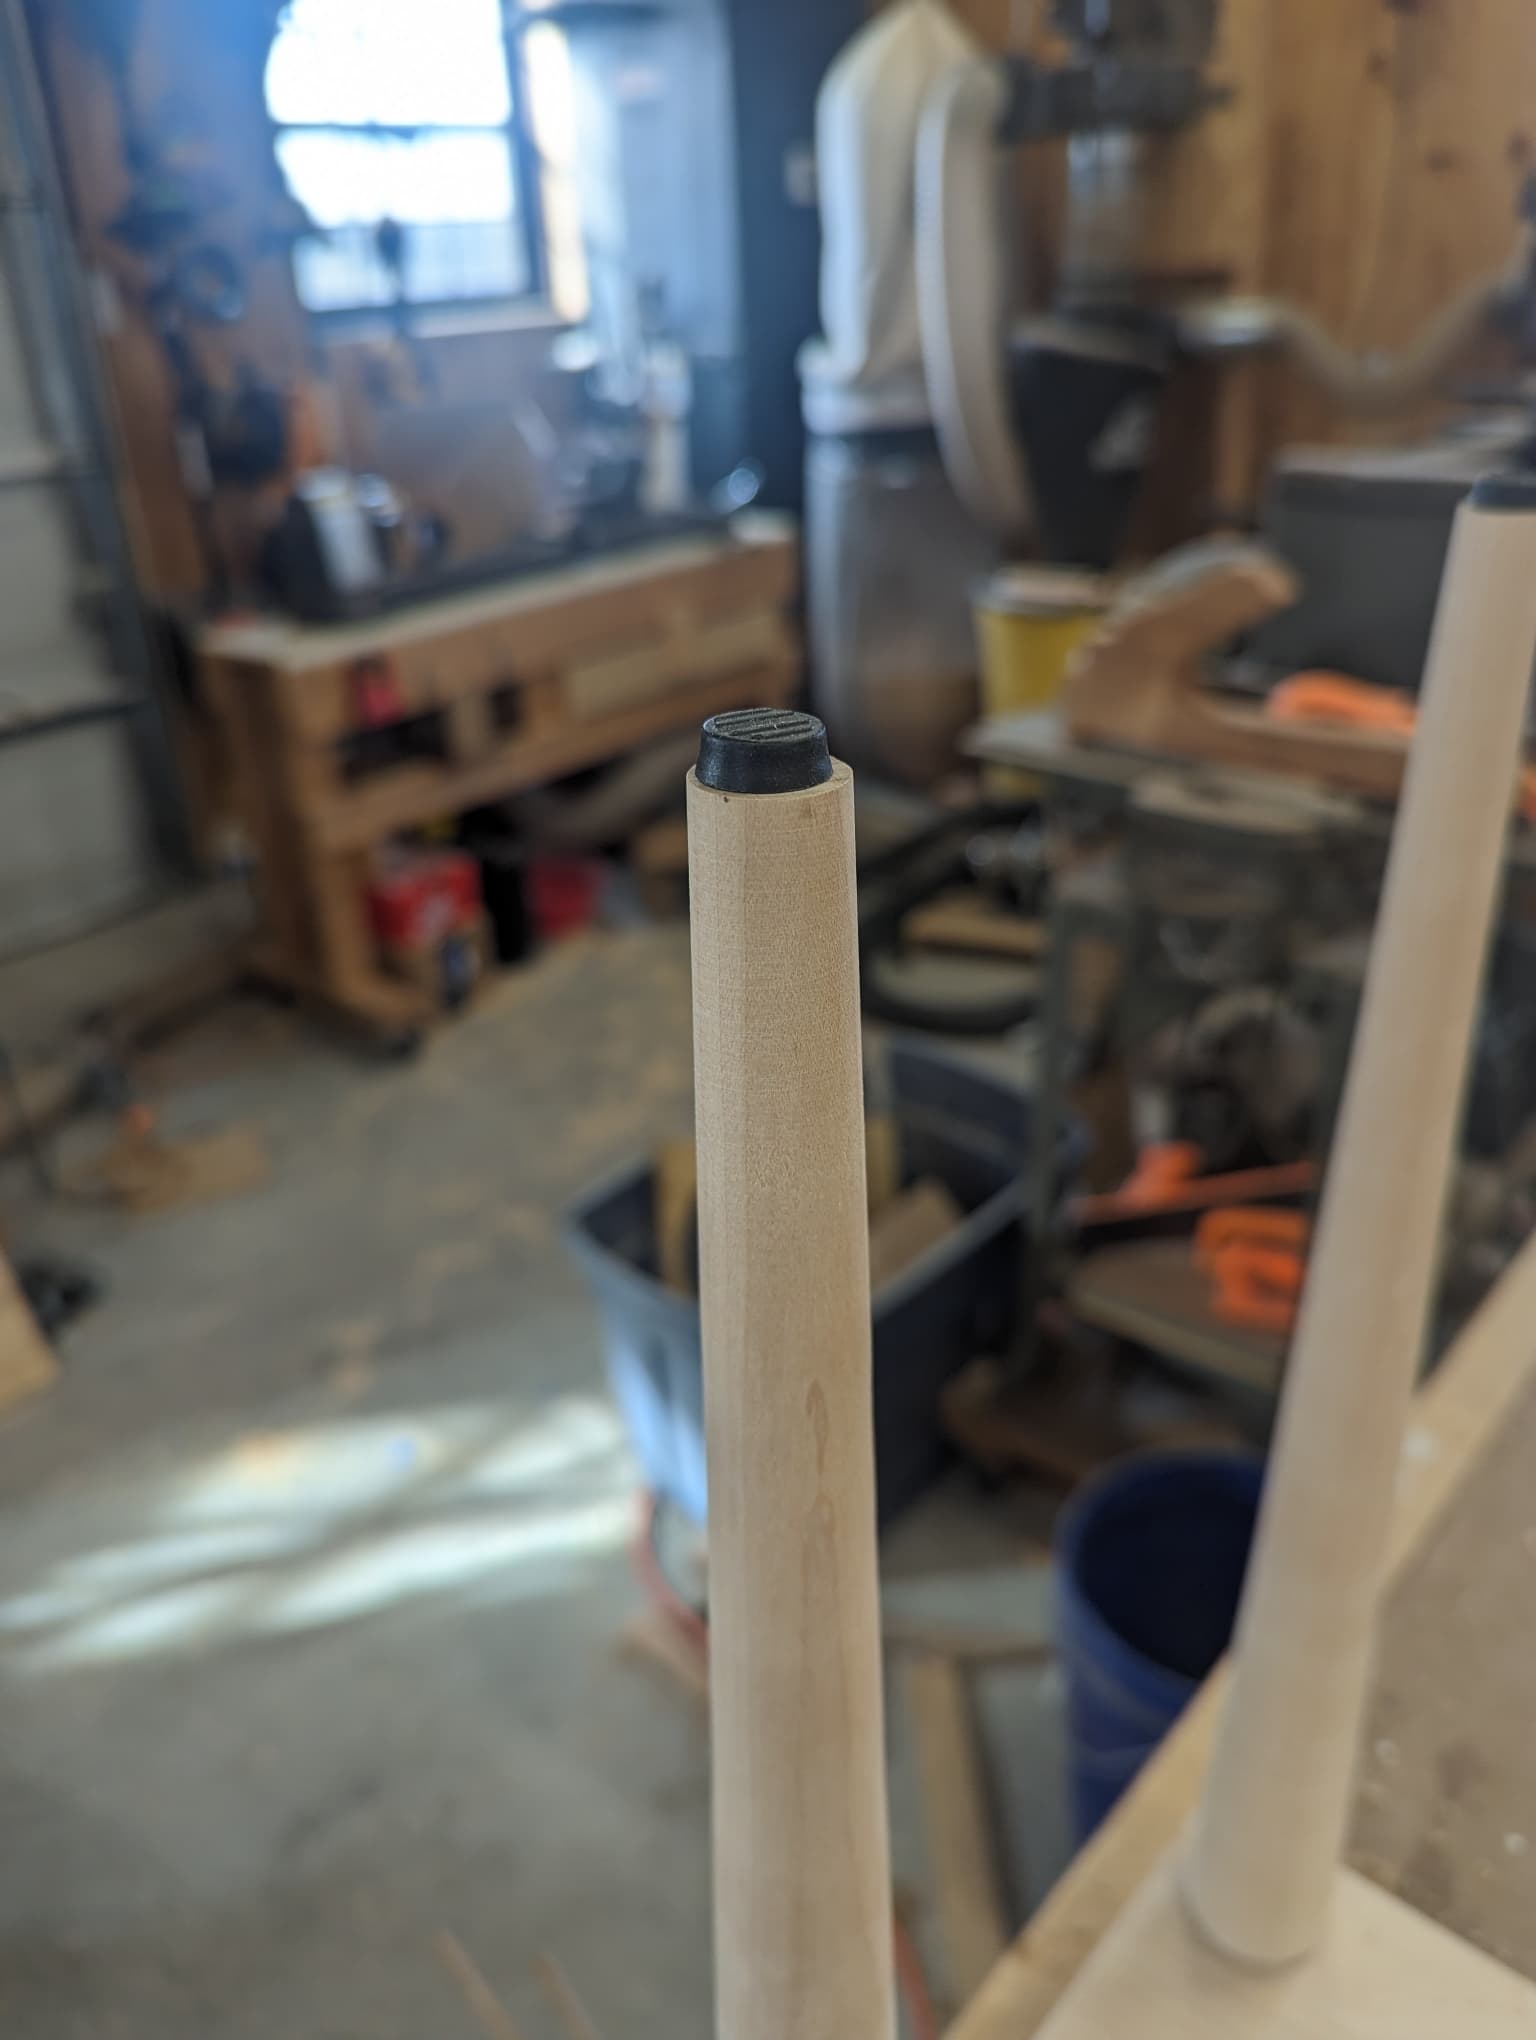
Here’s the final product. Not much different than the last one. I did install adjustable feet on the bottom of the legs for leveling. It was a little precarious drilling 5/8" holes through the bottom of the 3/4" legs to install the threaded insert that the feet screwed into. You can’t even see them in the picture.