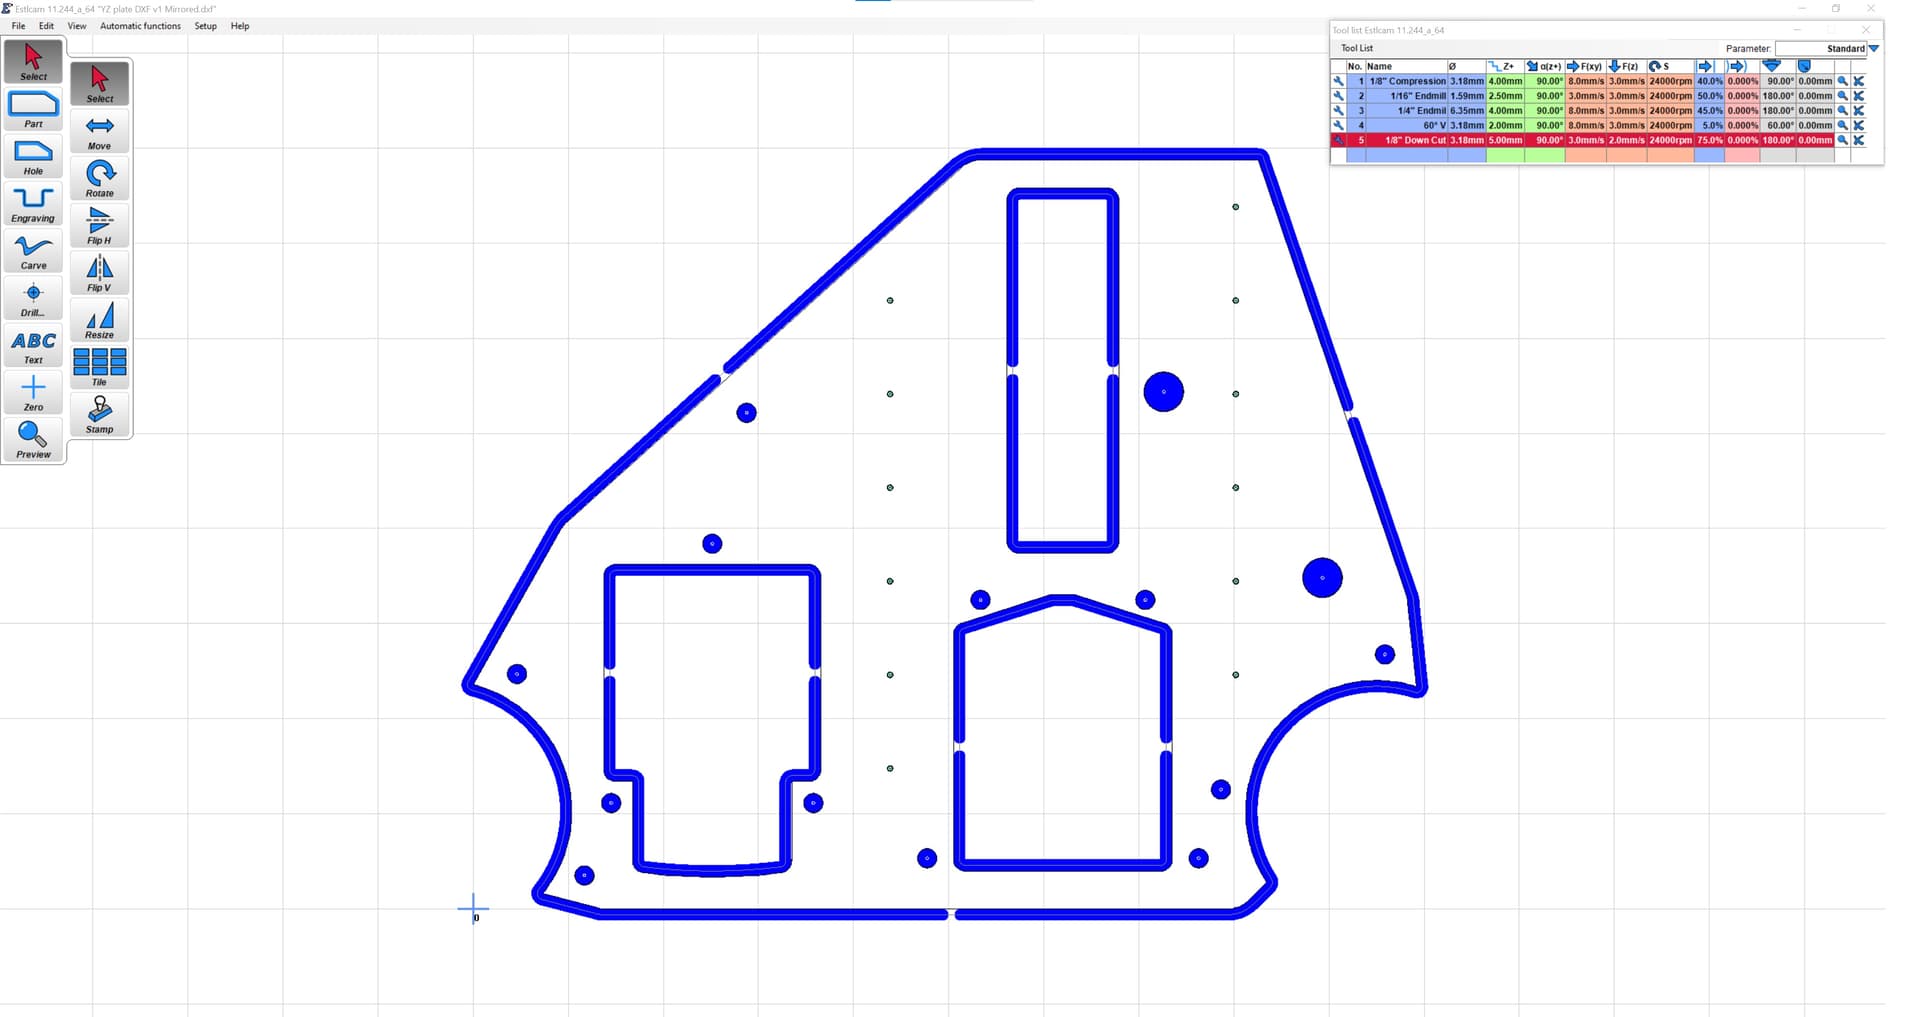
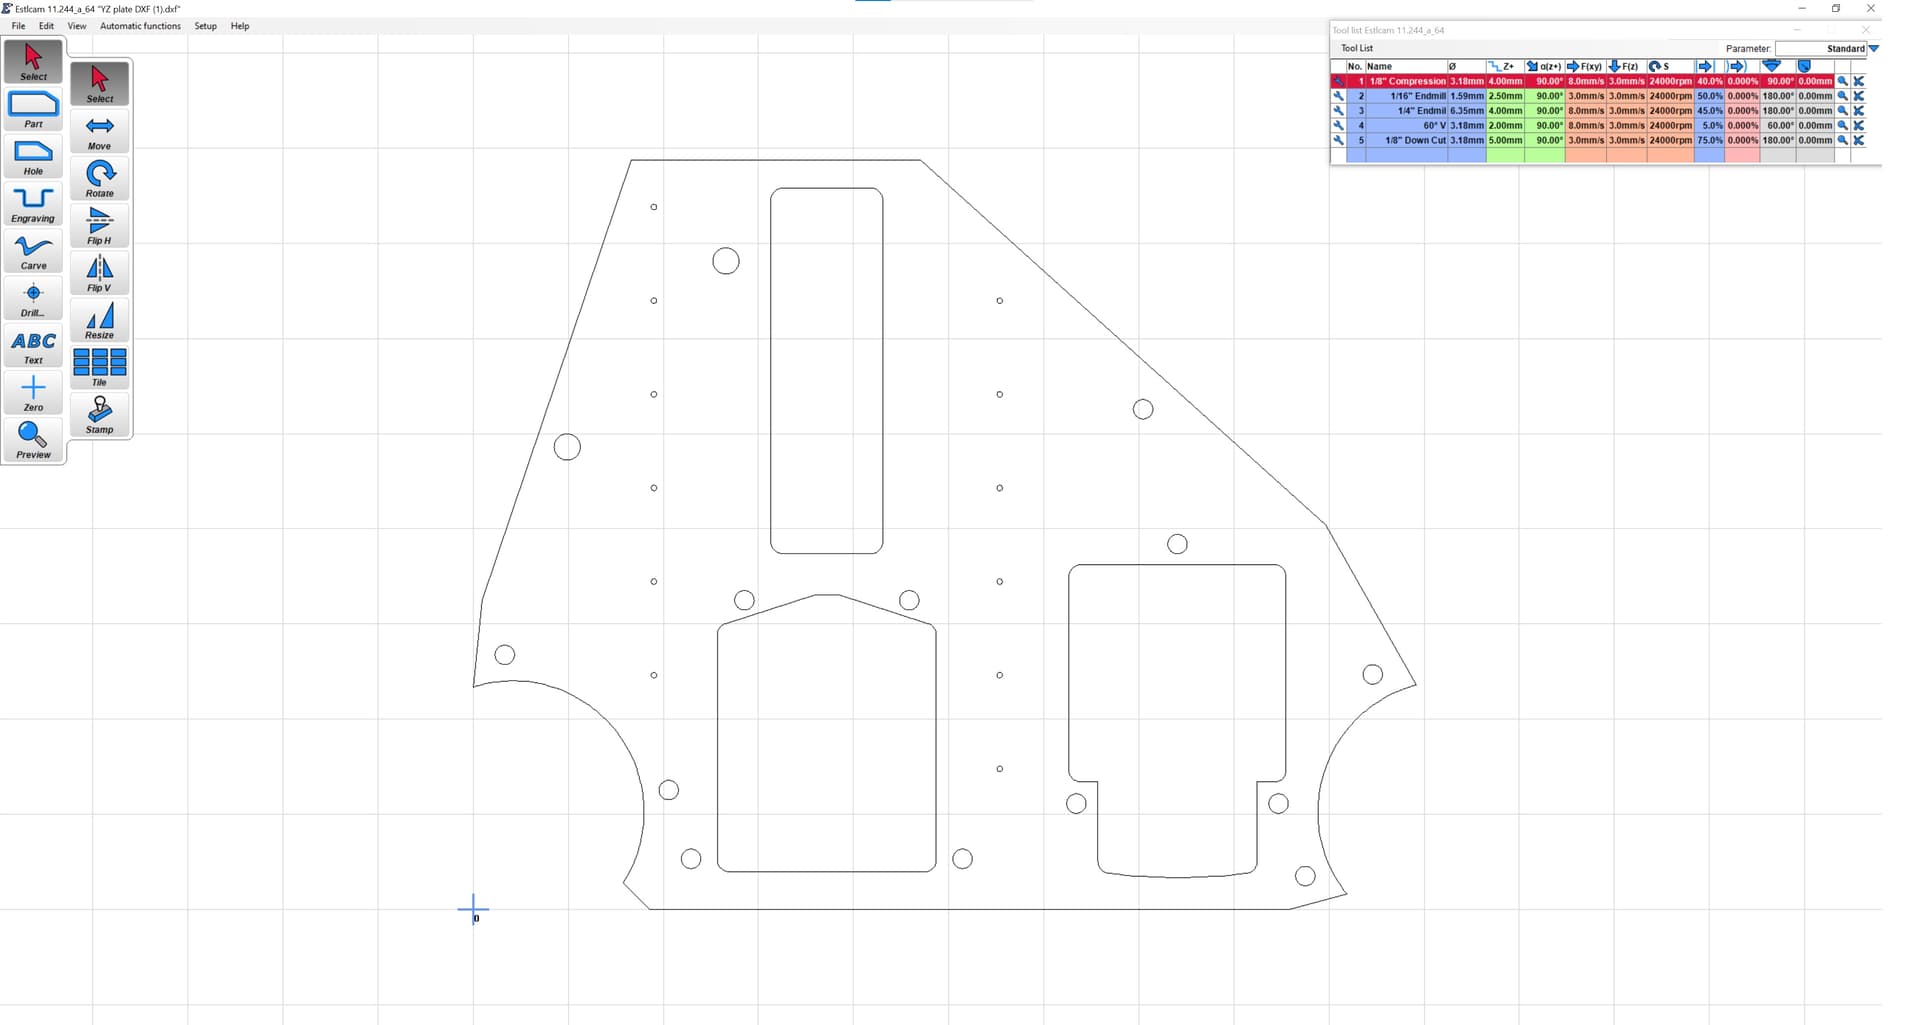
The first pic i got from the files included with the .3mf files to print. The second pic i got from the link in the docs. I cut both of them and was almost finished painting the second one when i realized the 2 larger holes were in different locations and different sizes. Does this matter??? Do i need to throw the one with smaller holes away and cut a new one??? Thanks in advance!
Doh! I honestly haven’t built an LR3 and have no idea which one is wrong or what. Good eye catching it. Hopefully it’s OK, or there is some simpler fix than scrapping and recutting it. Like maybe clamp them together and use one as a drill guide for the other?
If it wont work i will just recut a new one. This one has some chatter marks im not that happy with anyways. MDF is a killer with chatter for me for some reason. I should be getting my water jetted 1/4" steel XZ plates tomorrow so im doing my best to get everything else ready in the mean time. But sure didnt notice this tid bit until i was 3/4 of the way done painting lol.
The big holes are so that you can insert the three bolts (which attach the X rail gantry to the side assemblies) into the XZ plates after you put most of the side assemblies together.
Like Kev said: just take the one with the larger holes and clamp it to the other one and drill out the smaller holes to the larger size.
The smaller holes will be OK, but you won’t be able to pull the 5mm screw heads through the holes. You’ll also need to move the Z axis on that side to fully remove the gantry, but you can still assemble and disassemble the machine like that.
So it will work, but it will be less convenient if you want to take the machine apart later.
Chances are though this isn’t going to be a recurring need, so I’d probably just leave it be.
Thanks for all the help! I know i didnt need to but i ended up cutting a new one this morning. Stupid mistakes like this eat me up and i would have seen that every time i used the machine.
The smaller holes are from an earlier version where they were large enough to get a tool tip in to reach the screws, but not large enough to allow the heads of the screws to be pulled out or inserted in through the holes. So that necessitated a certain order of assembly in which the screws were installed in advance. I then originally had the idea of drilling mine out larger so that the screws could be applied after the fact without having to tear things apart if that step had been missed, and also to ease for disassembly and reassembly if any additional work needed done. I think that idea got picked up by Ryan and included later in the official files, which may mean that an older version and the newer version still exist in different places.
Thanks Doug. I ended up cutting another one just to have things match. and they did work getting the screws through so it was great. Just finished printing your 2.5" dust shoe and hose hangers. hoping it will work for my dust collection hose.