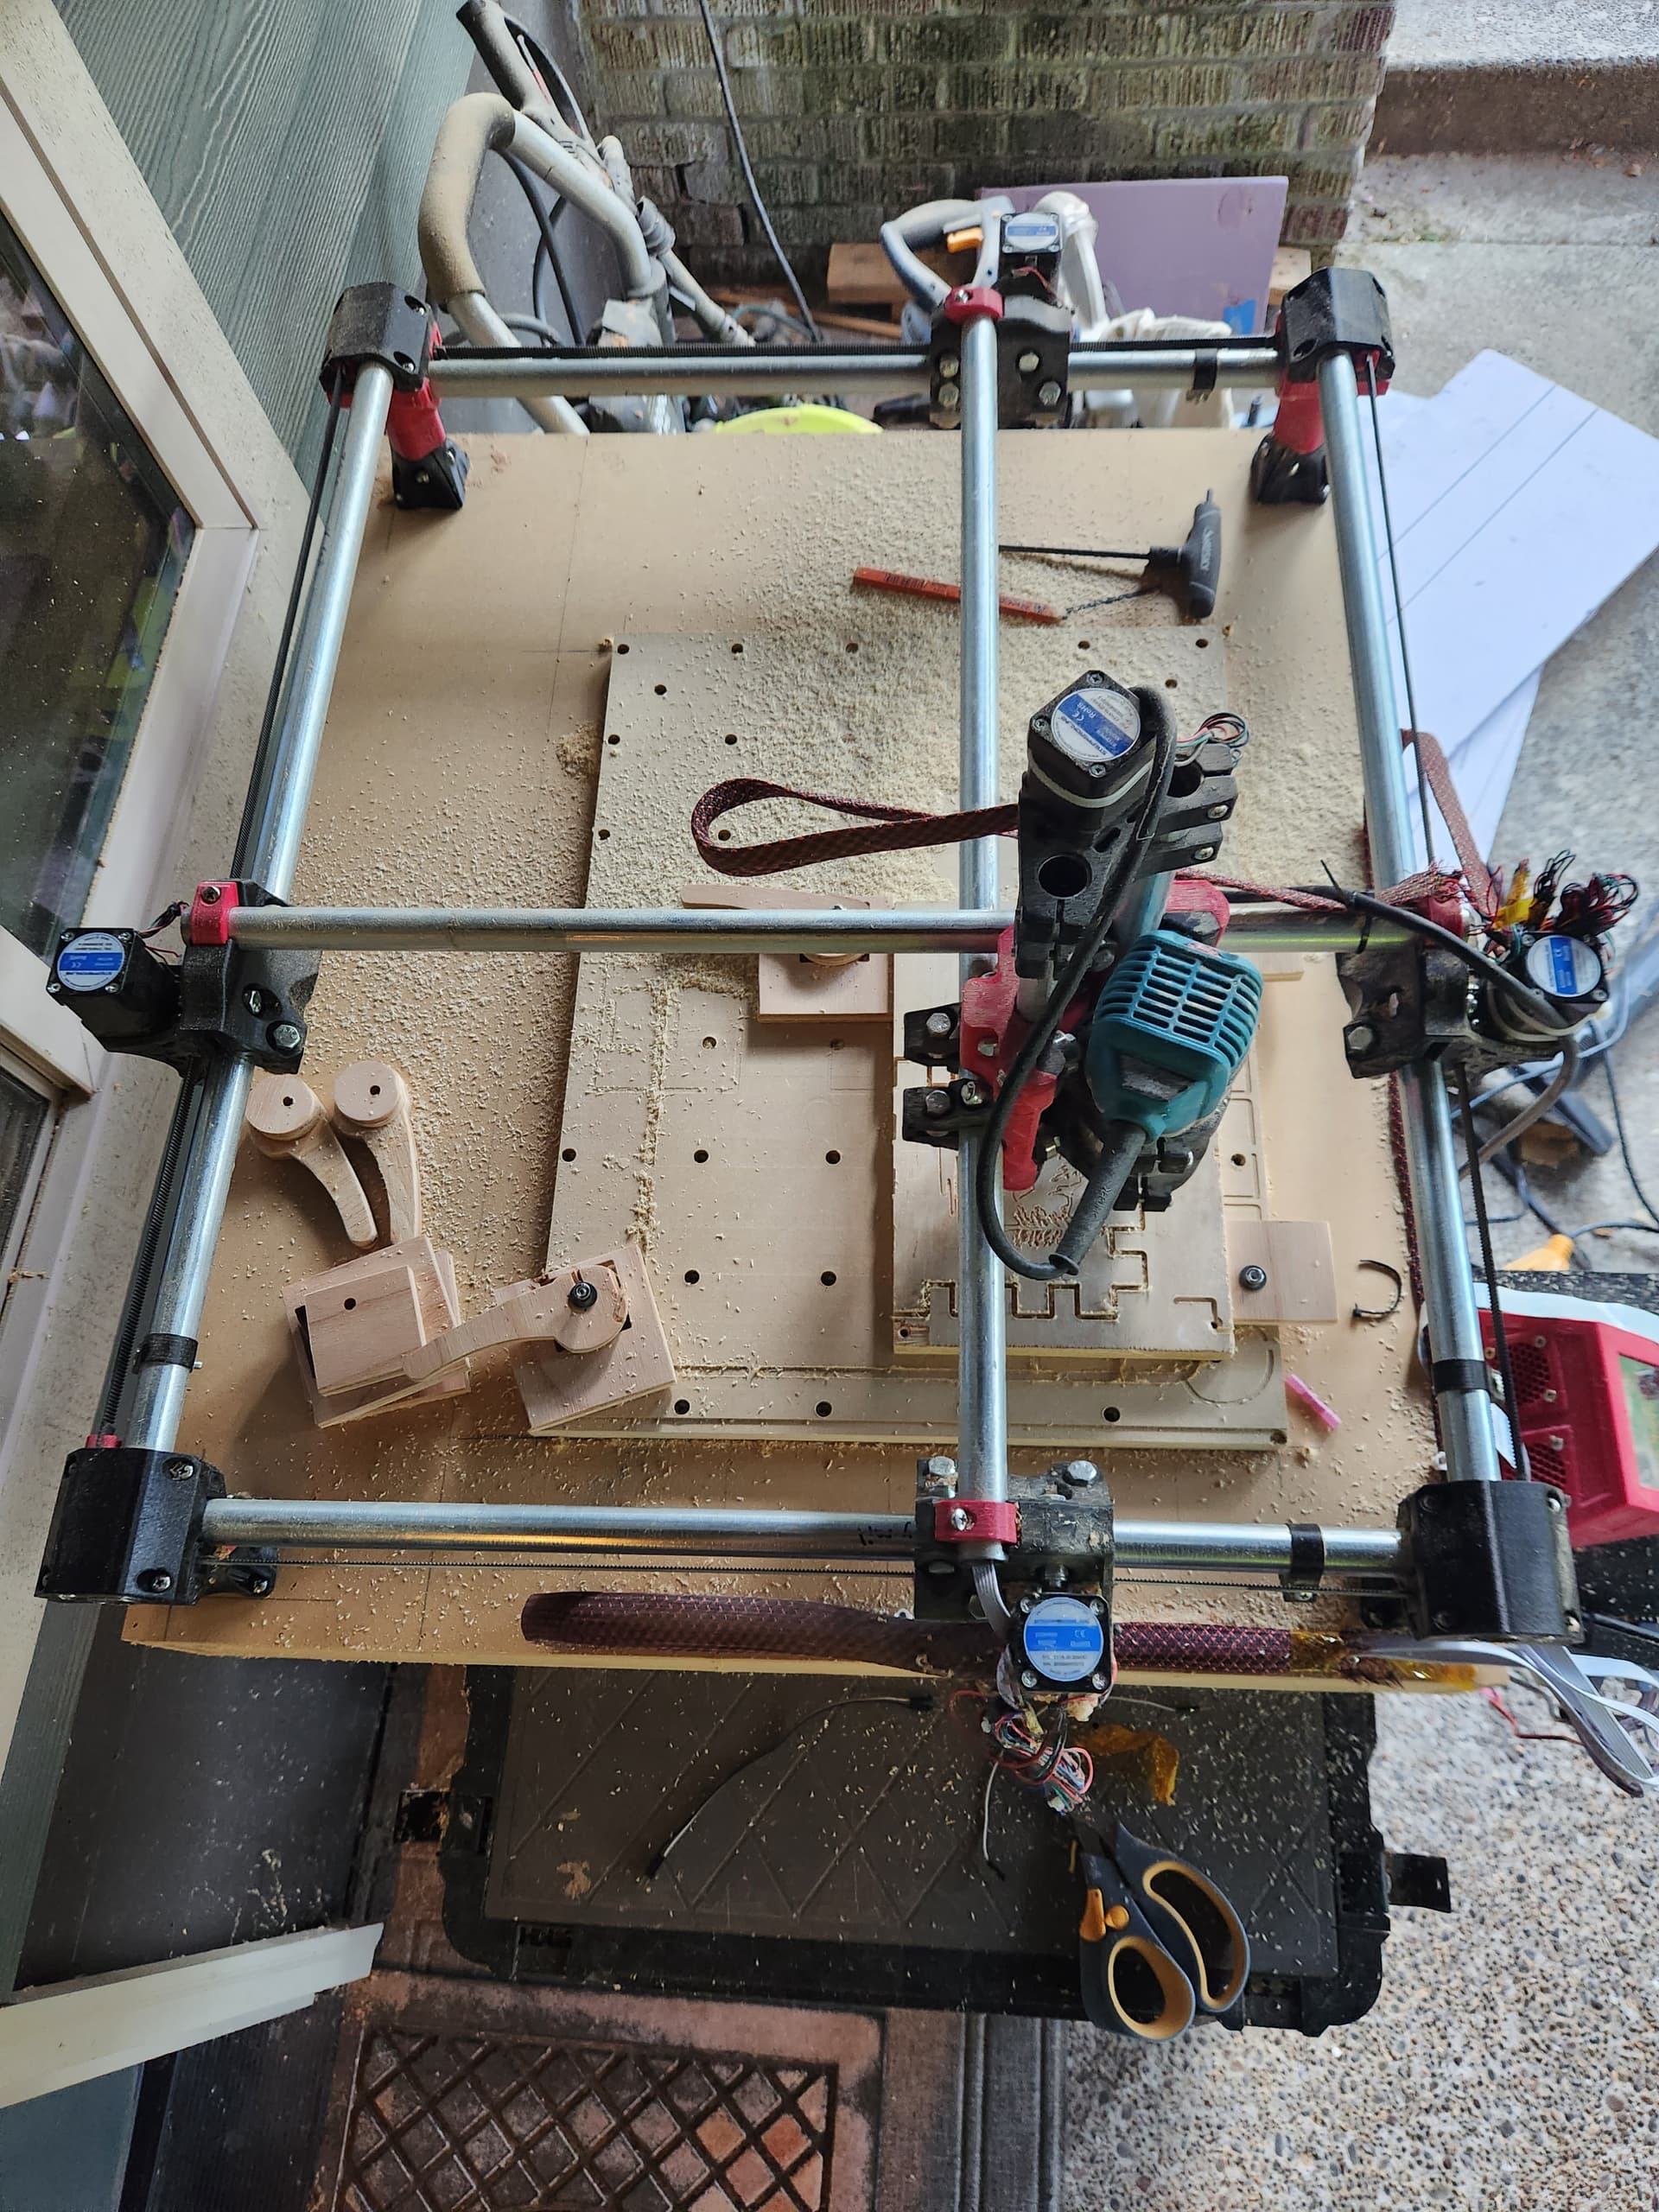
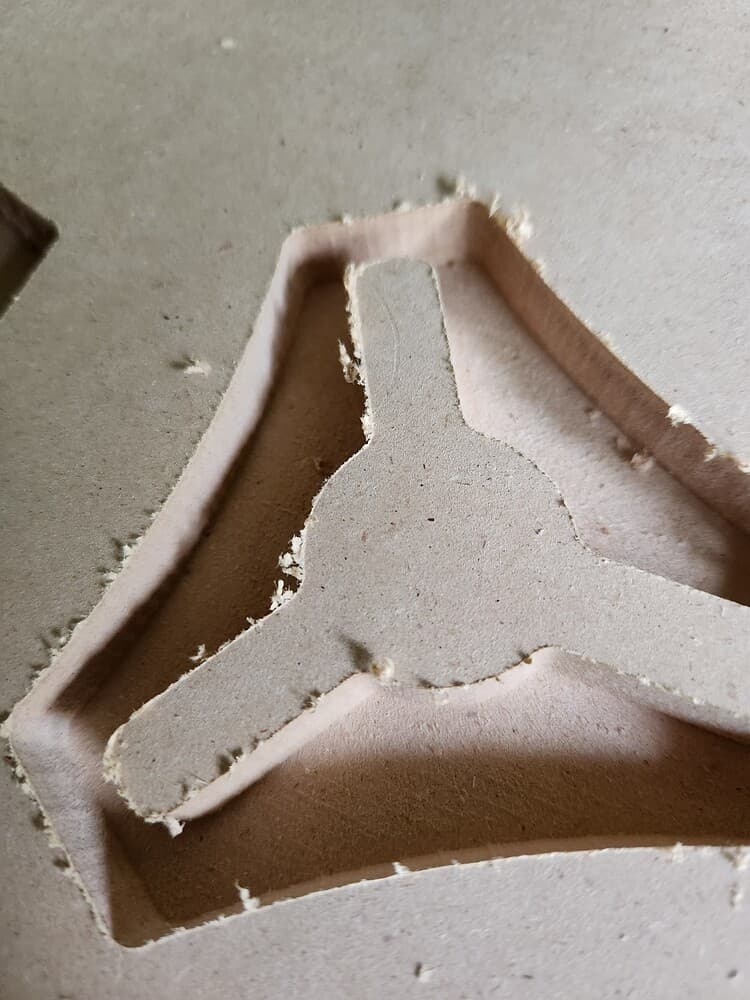
I have been doing a lot of plywood cutout projects, building french cleat tool holders. My cuts sound awful to me, but I don’t have a lot of experience in what they should sound like, so I want to set up some testing. I am using Baltic birch plywood, 12 and 18mm. One of V1E single flute upcut 1/8 bit (for the 12mm). I am cutting at 800-1000mm/min with a Makita router set at 3-4. The sound is hard to describe, but chattering, shuddering, bogging down come to mind; overall, it just sounds like it is working hard. It is not the high pitched resonance some people talk about. The cuts end up fine. After a little sanding I have nice press fit joints for shelf slots and pin and tail joints. Dimensions are pretty consistent and good enough for what I am doing, especially if I do a separate last pass.
I would like to set up some test cuts to dial things in and see if I can make is better. So far, I started with the “milling basic” recommendations and continued up’ing the feedrate and DOC to get where I am today, but nothing systematic has been done. I was thinking of drawing some lines or L’s and cutting at different feedrate and depth of cut. Sounds like I should also be looking at rpm. What is your advise on how to set this up optimize my cuts?
It is best to start your own thread please. In that thread please specify some machine basics (what parts vary from mine, what machine you have, and how large of a cutting surface.
Plywood is a little different, you are fighting glue…so that can vary depending on manufacturer. MDf is super consistent for repeatable testing but ply is fine it will just vary a bit.
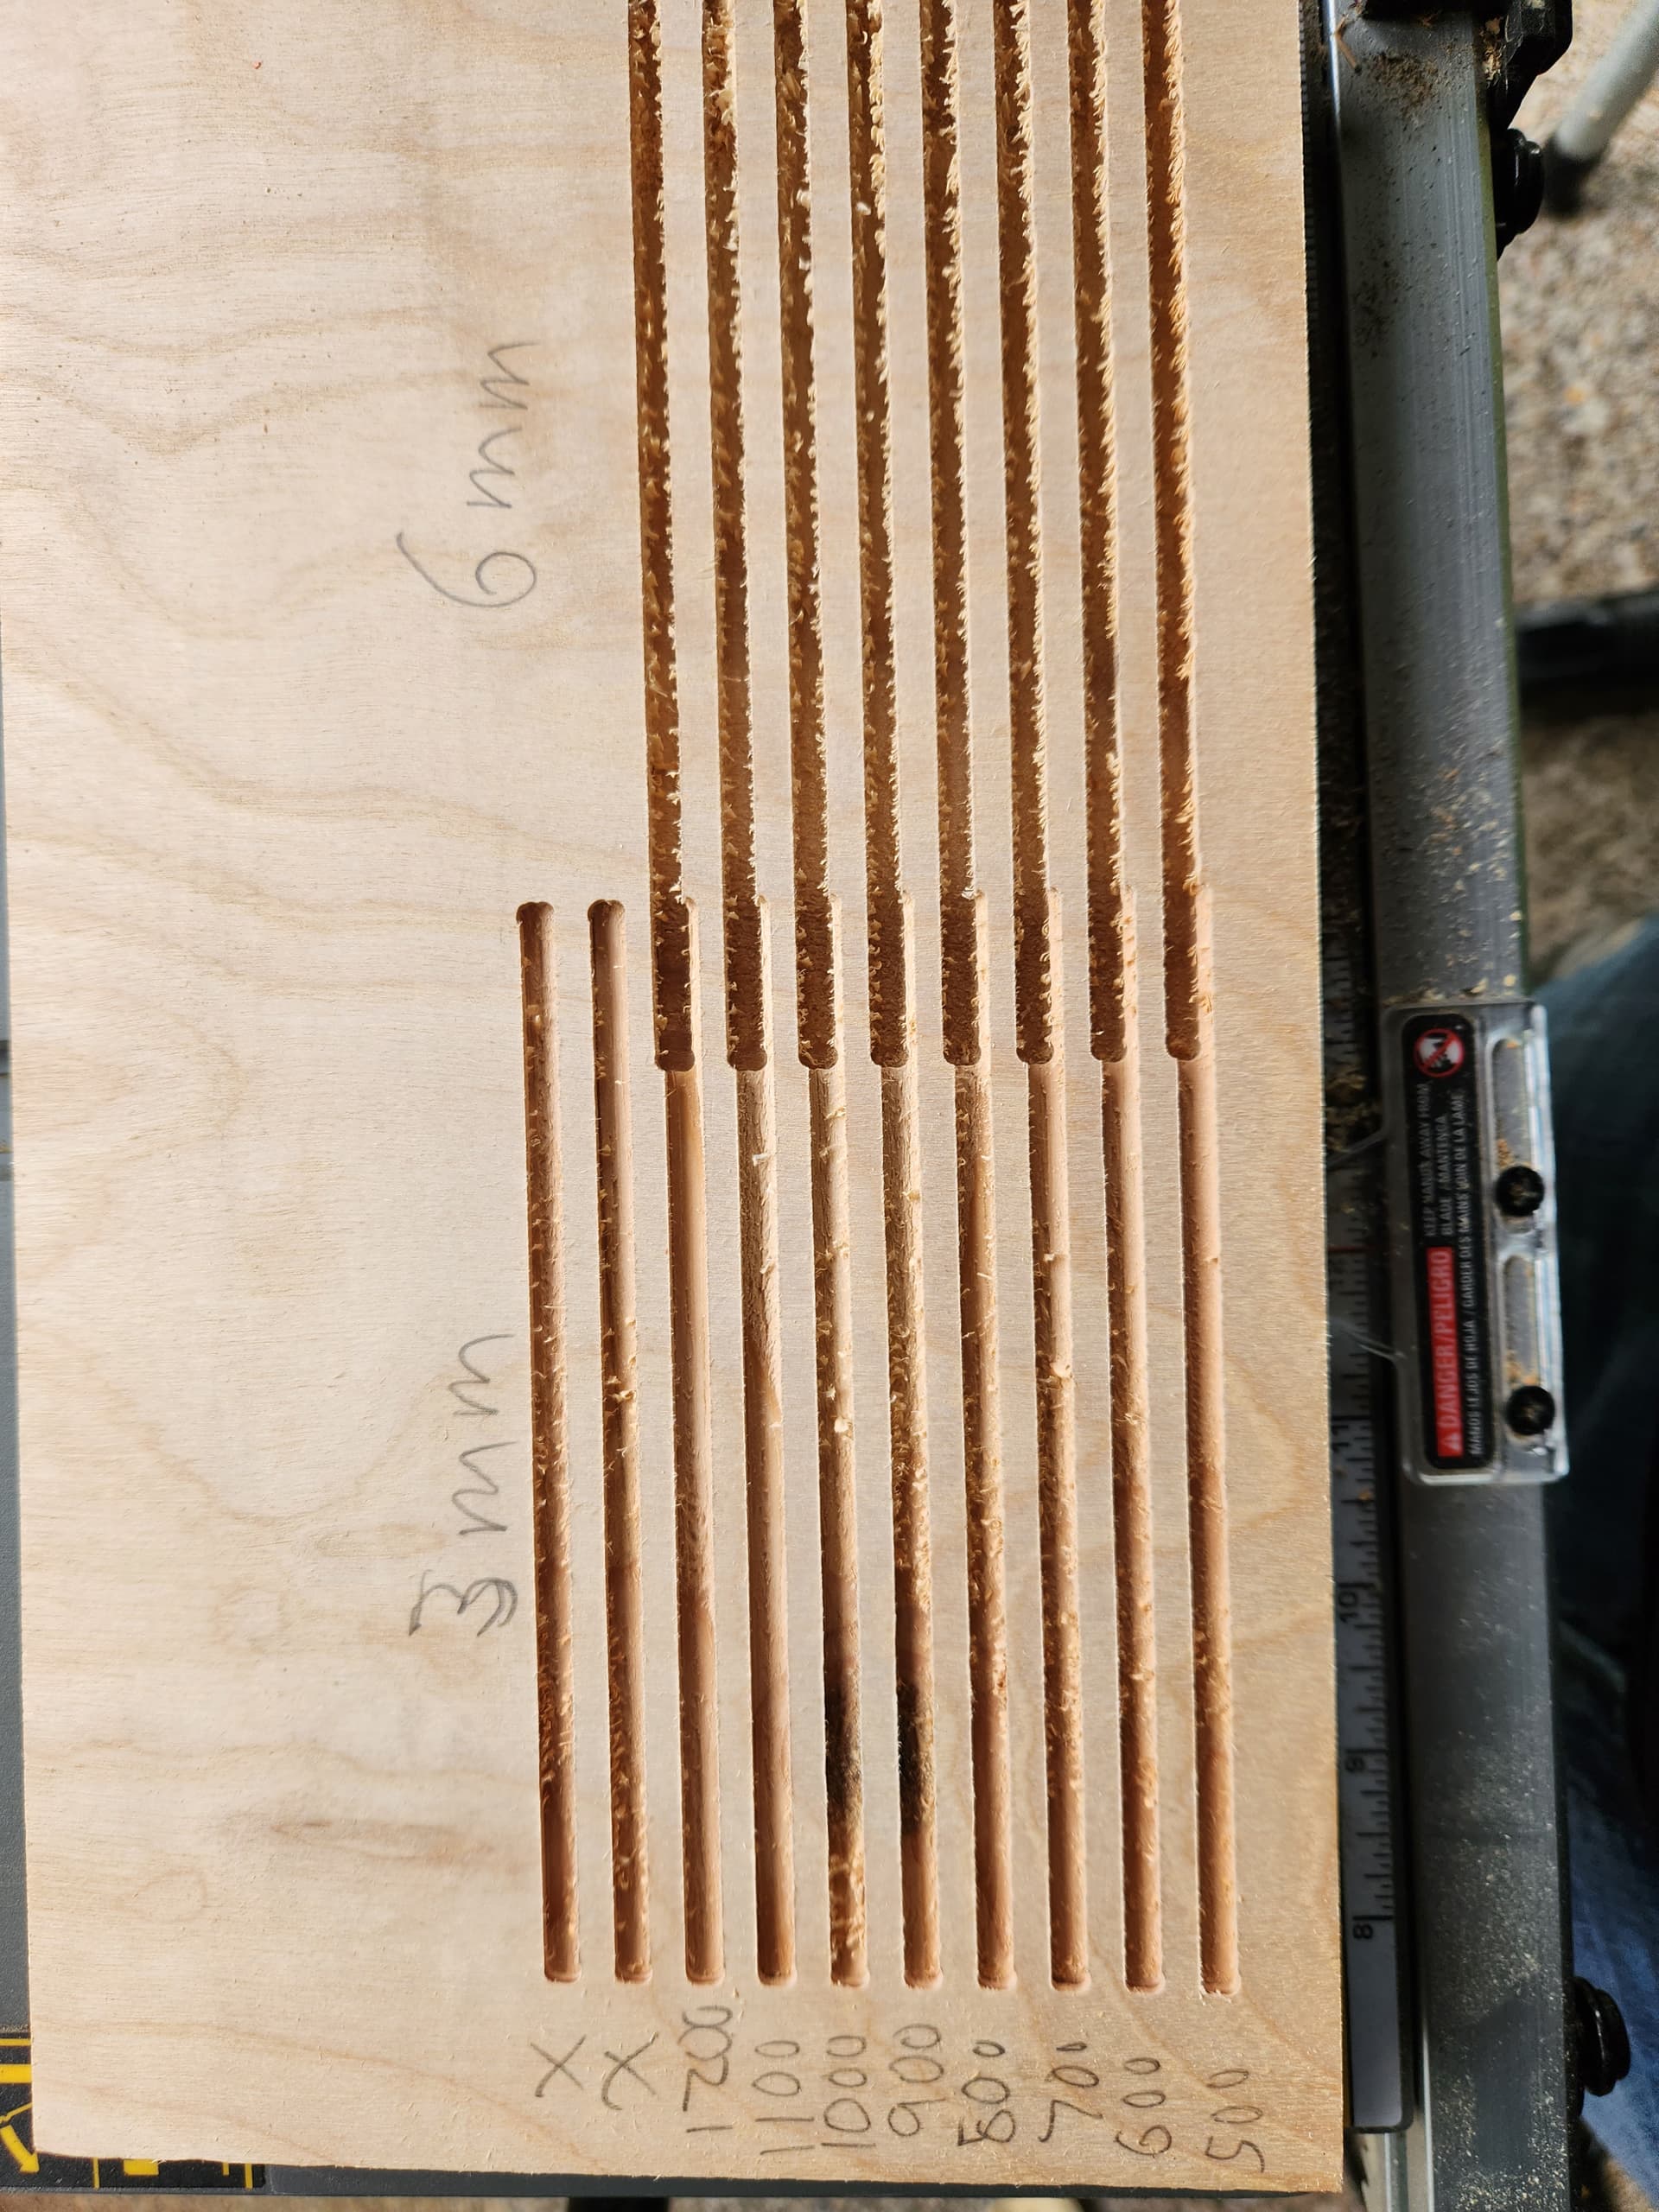
Do 3mm DOC at 8mm/s 10, 12, 14 16 18 20mm/s. With your RPM at 1-2 on your router just one click above minimum. Best to do two passes first will be a slot and the second widens it up, you so cut a 5mm wide slot about 50-100mm long.
If that all goes well, do it again at 6mm DOC.
Then full depth.
You will hear and see a difference at some point. None of those should starin your machine at all.
I built a fairly standard Primo. The machinable area is ~22" x 16". I started with a SKR board with TFT and recently upgraded to the Jackpot. I have a Makita router.
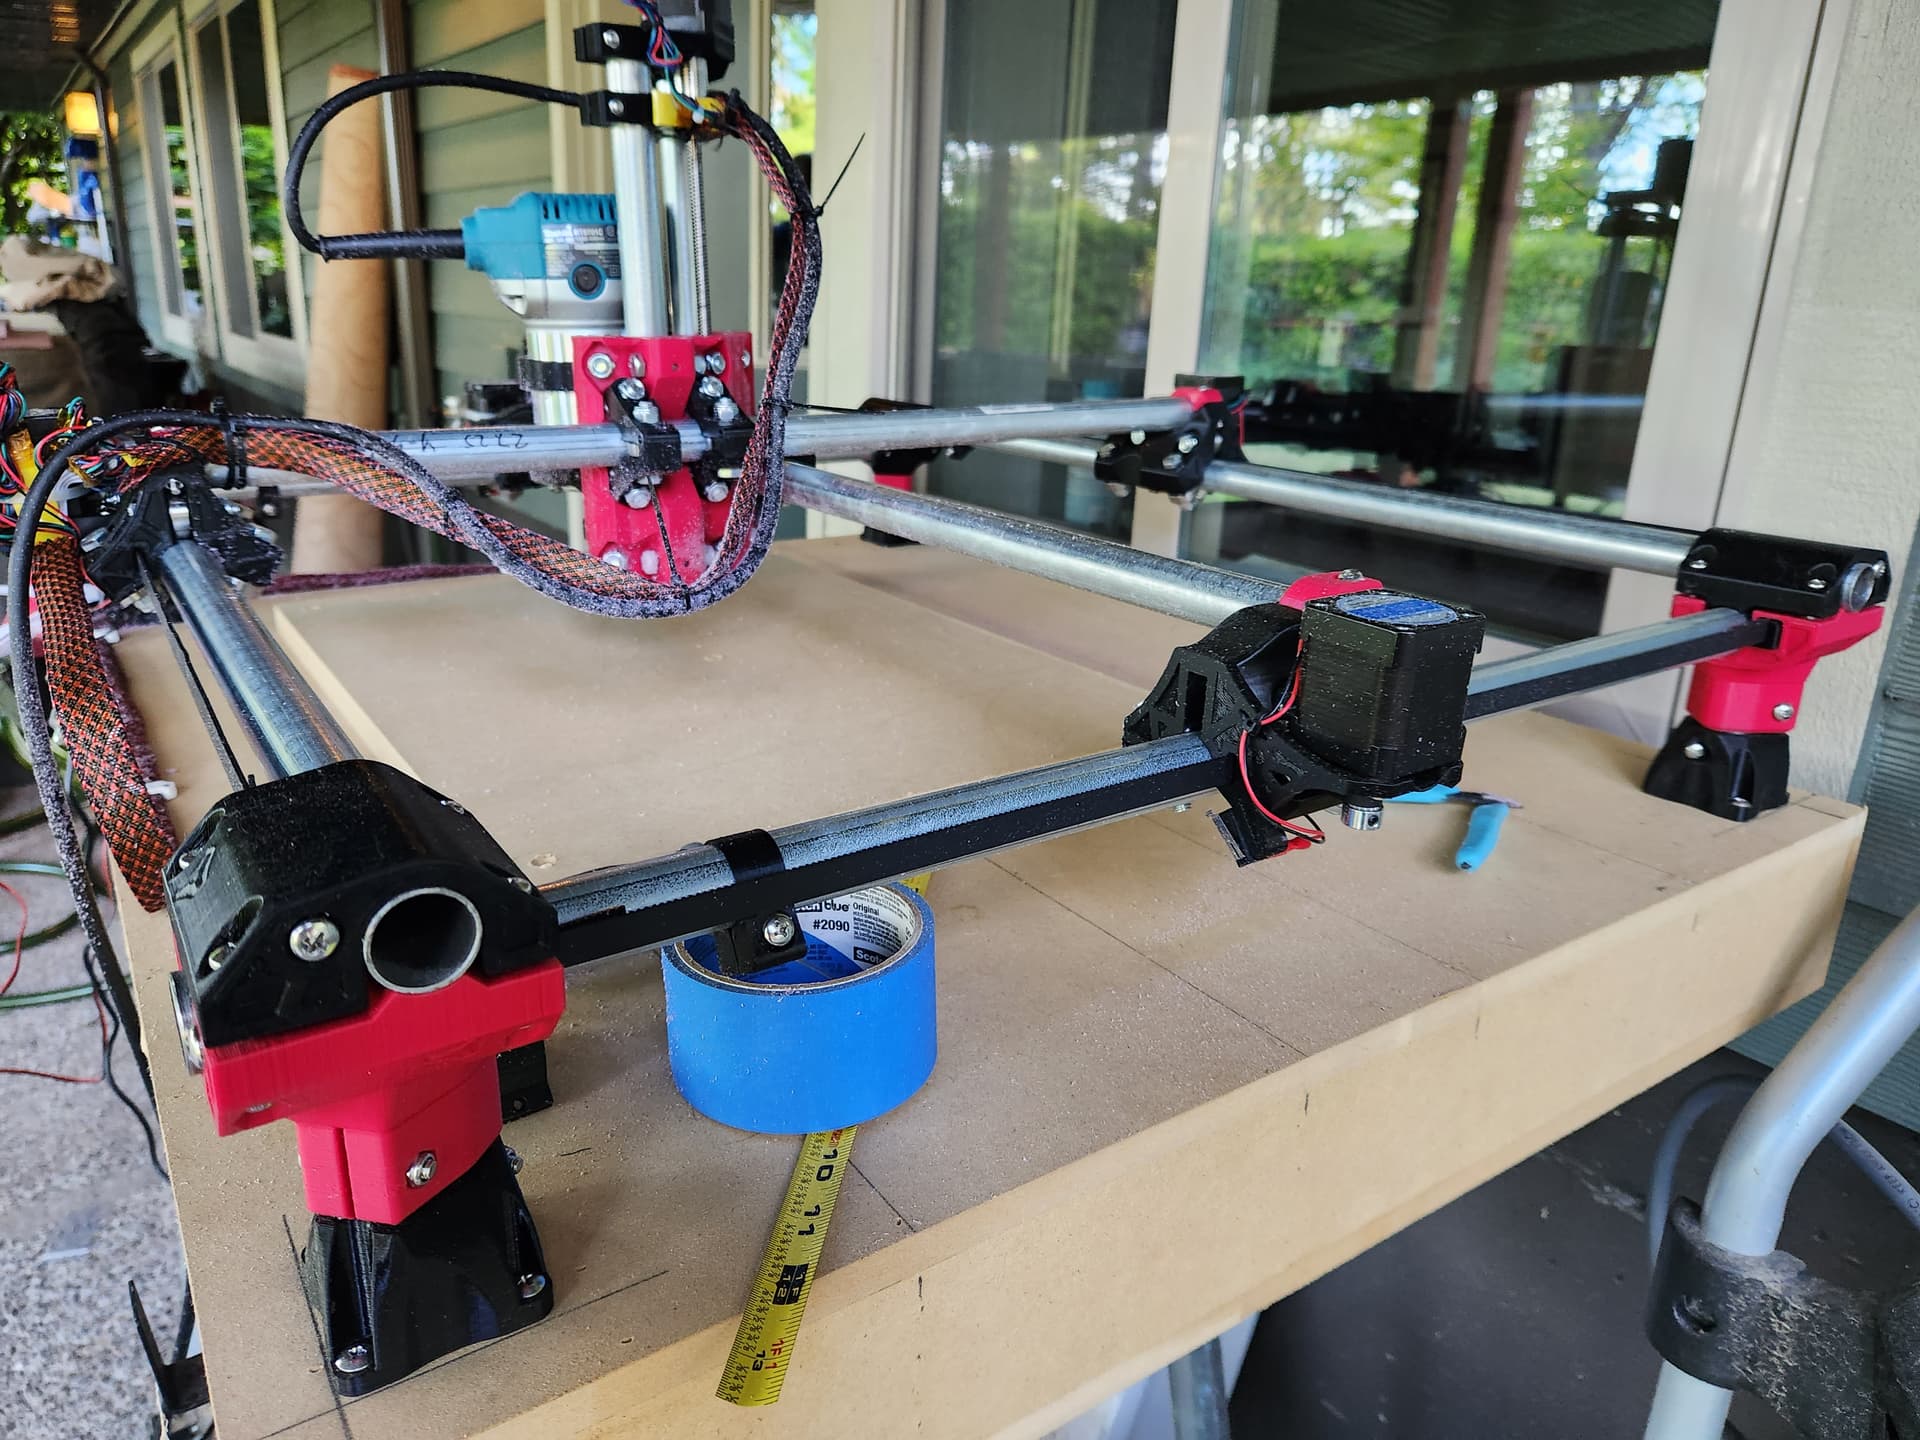
Here is my build log. The only change I have made since then is to move to the Jackpot board. The Jackpot made the stepper movements quieter, but not the cutting.
Looking at your build log did you solve the issue you were having? It looks like you have a stepper that might not be connected properly. That would explain why it is acting like it is super loose.
If you power on the jackpot, can you move any of the XY steppers a little bit?
This should not happen at all. This is a sign of a loose grub screw, a stepper that is not running properly (at all or a bad connection), or a gantry that is very loose.