I built a Lowrider last year and ran it until COVID took me out…
I’m back now, and the LR2 is being replaced by a large NEMA34 powered monster in the very near future.
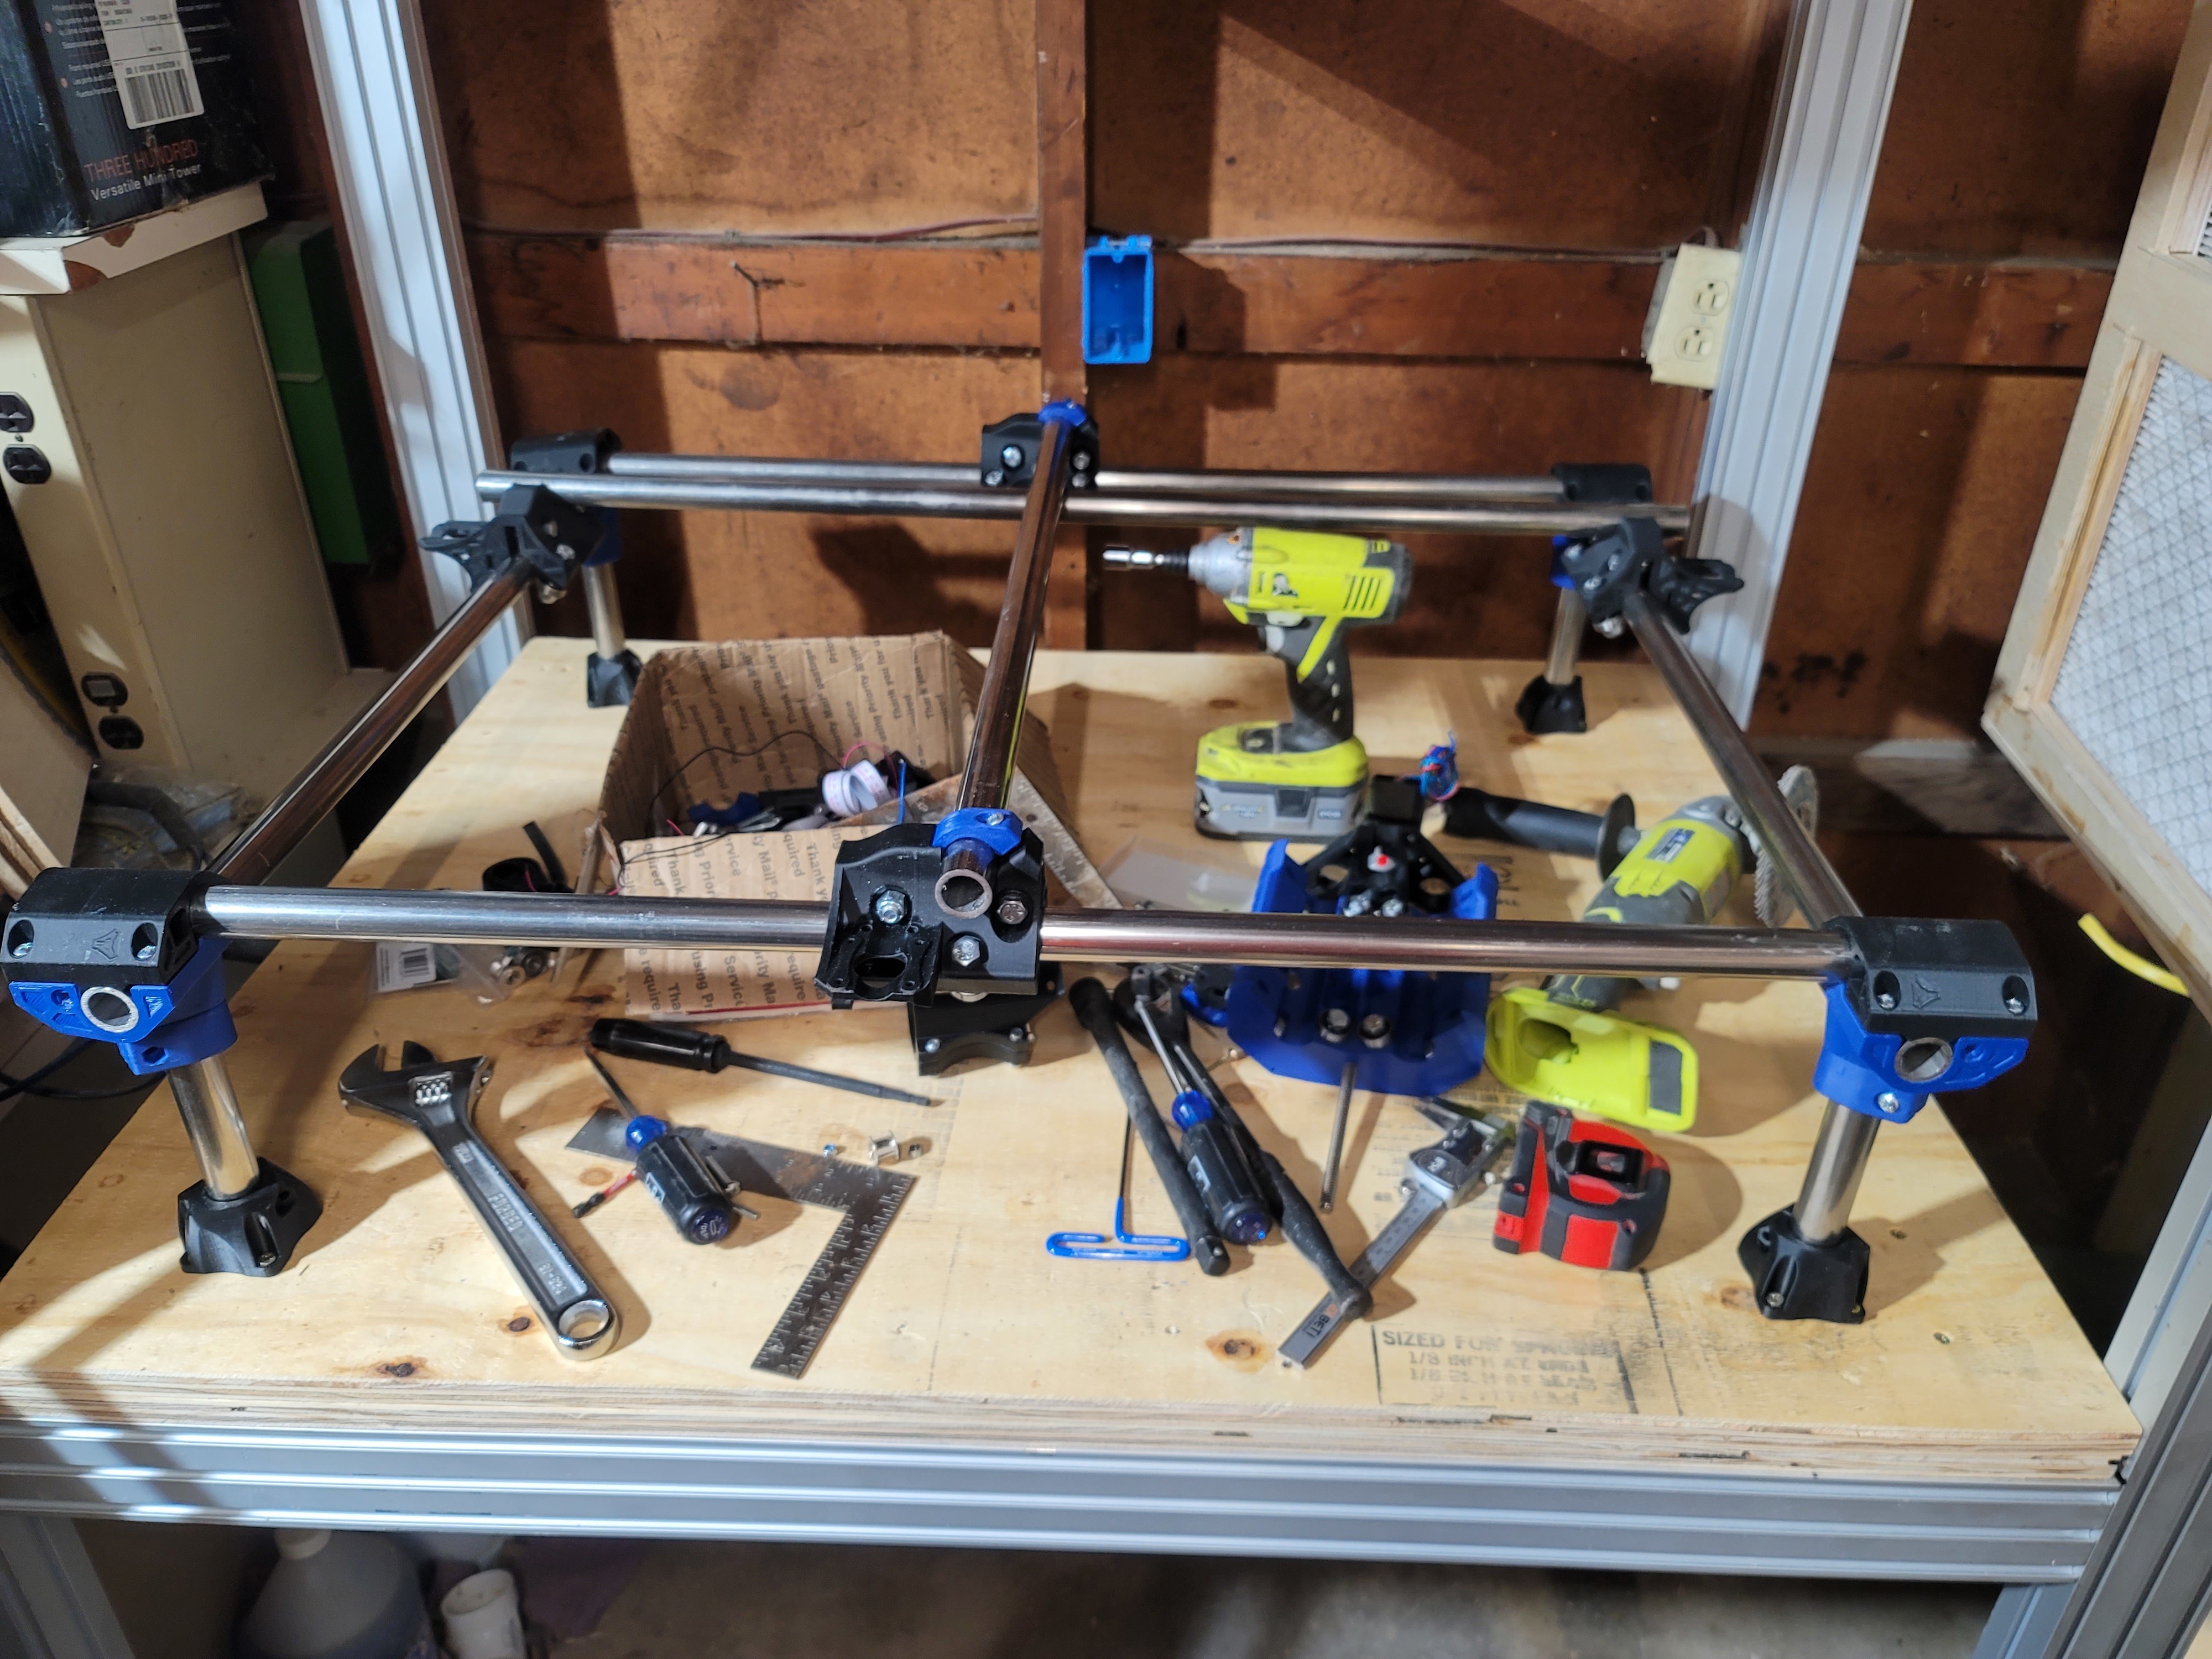
Until then, I need a small machine to do some highly repetitive work for Christmas, and what better machine than one I already have most of the parts for with my LR2?
A quick order from Ryan, and printed parts and hardware arrived on my doorstep on Thursday.
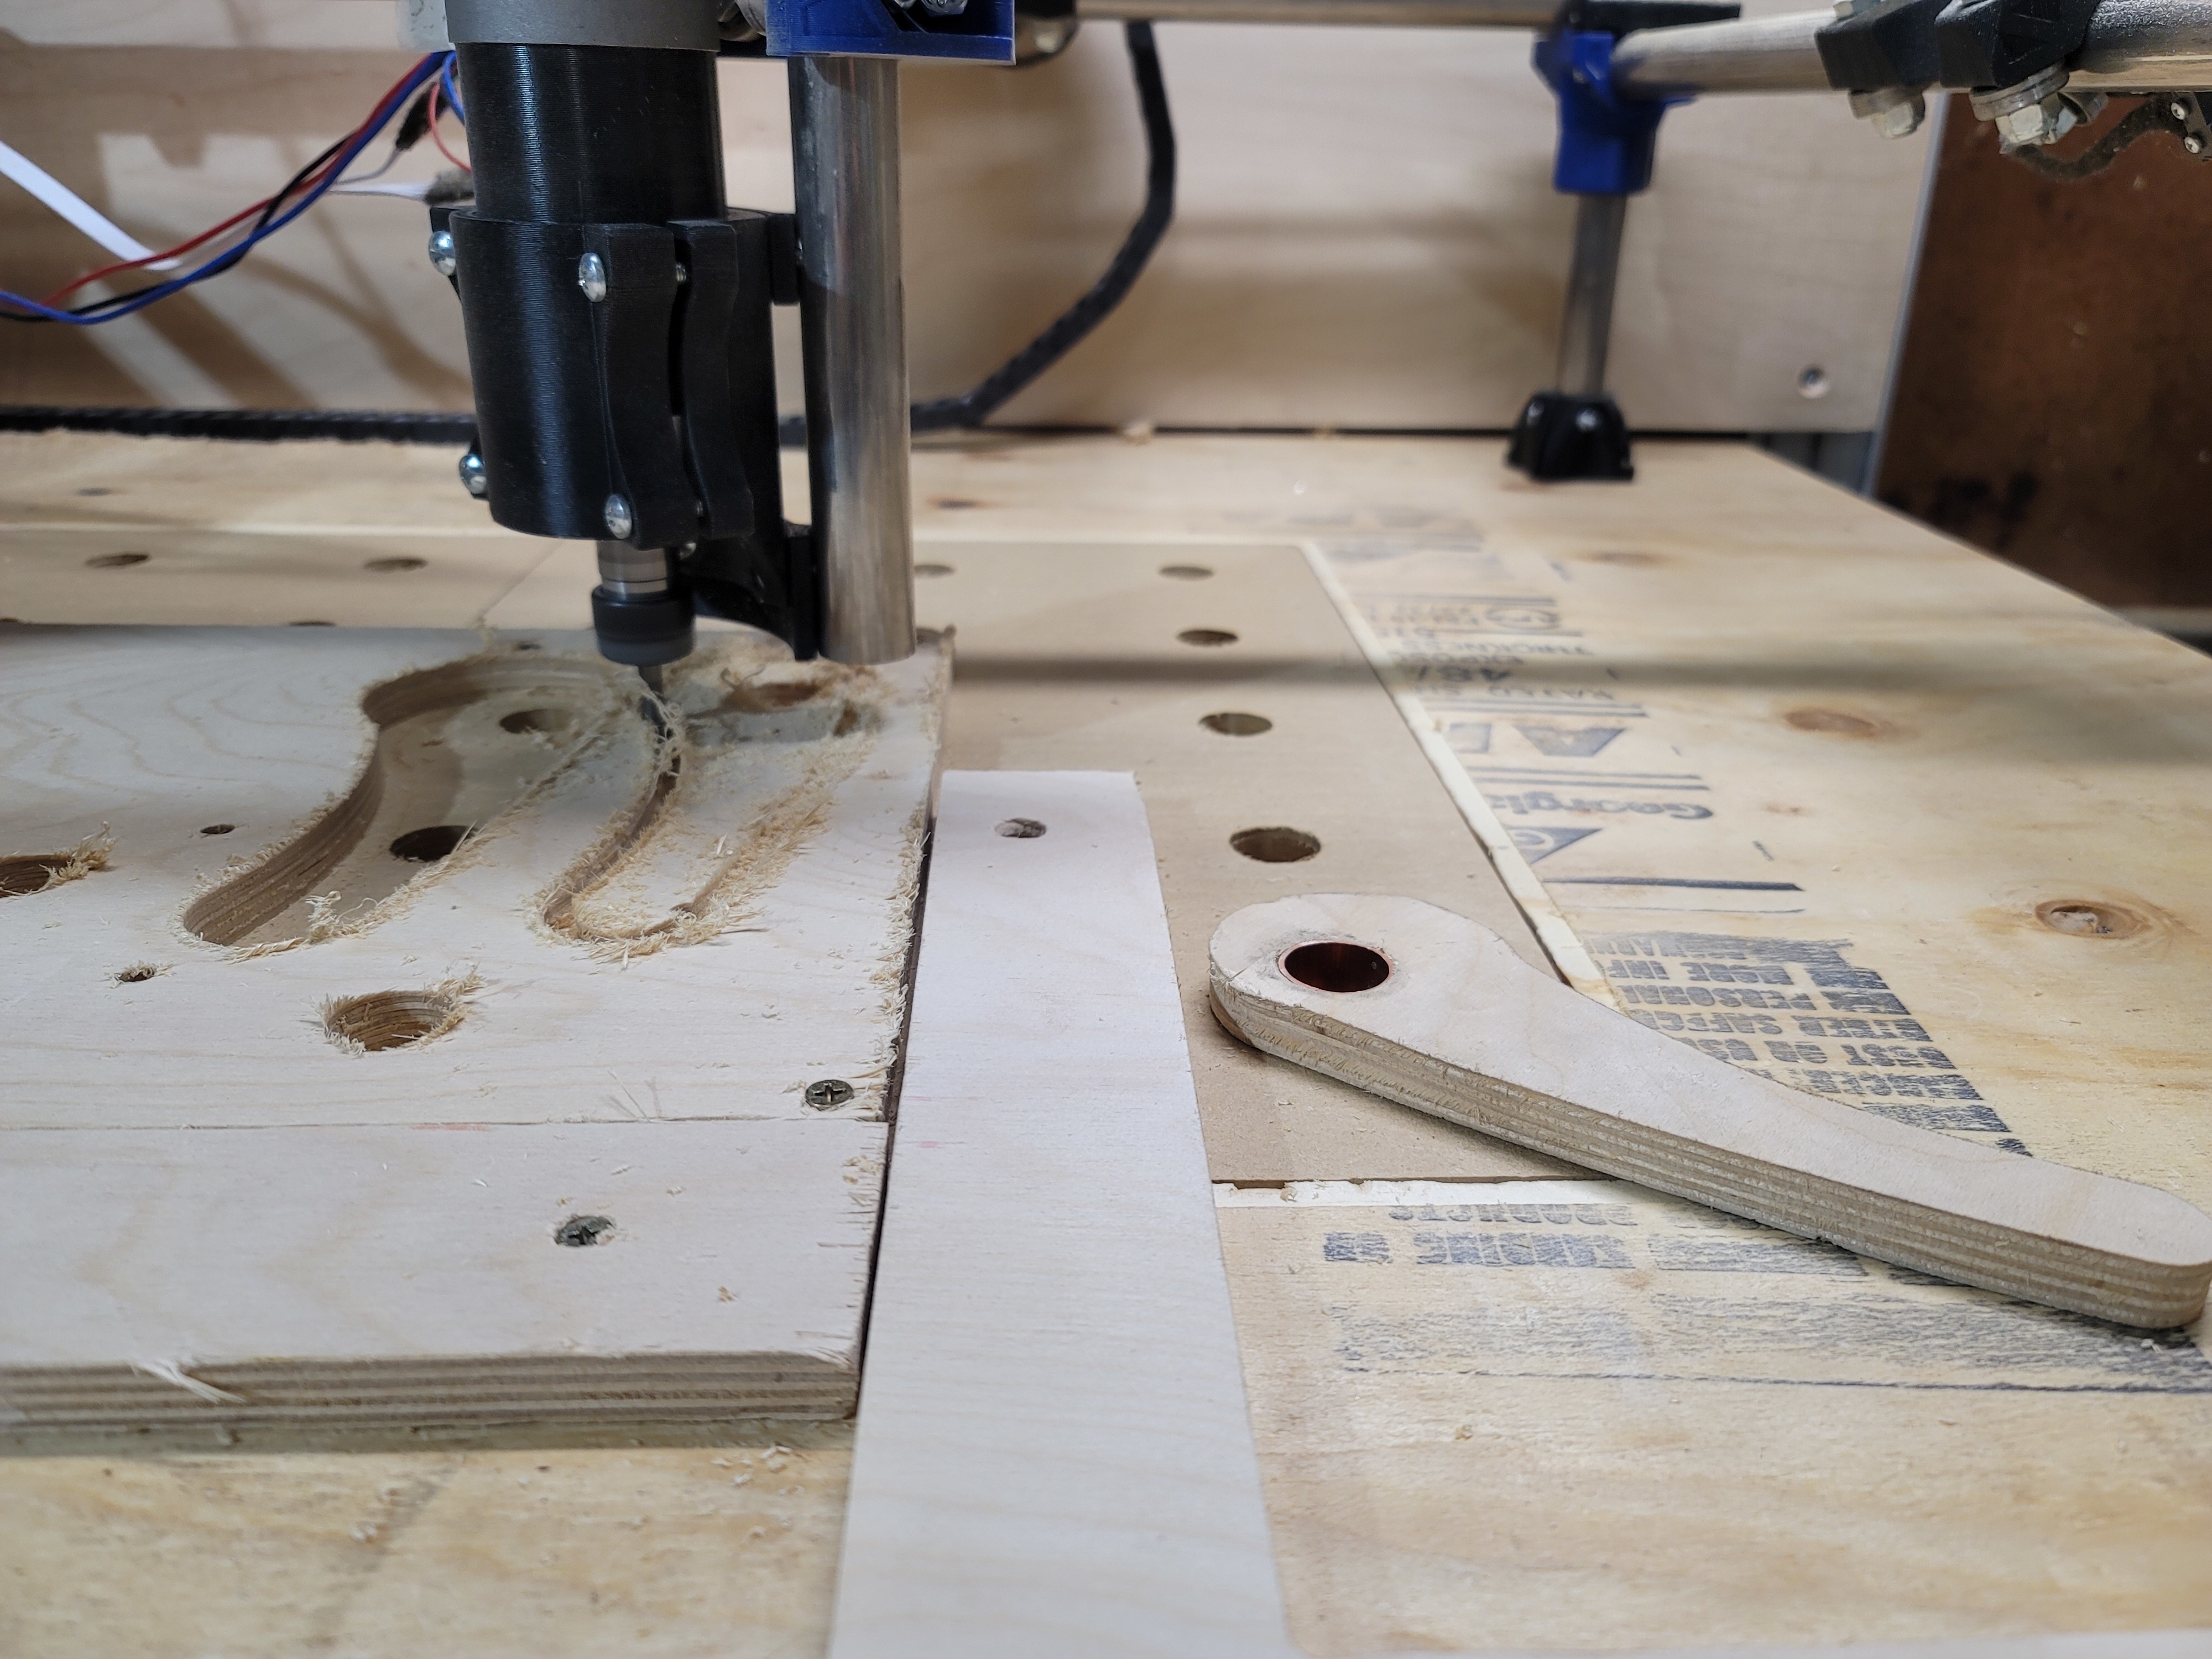
Today, I started assembling the enclosure for the CNC, with my goal to have chips being made in under 36 hours.
This is my journey.
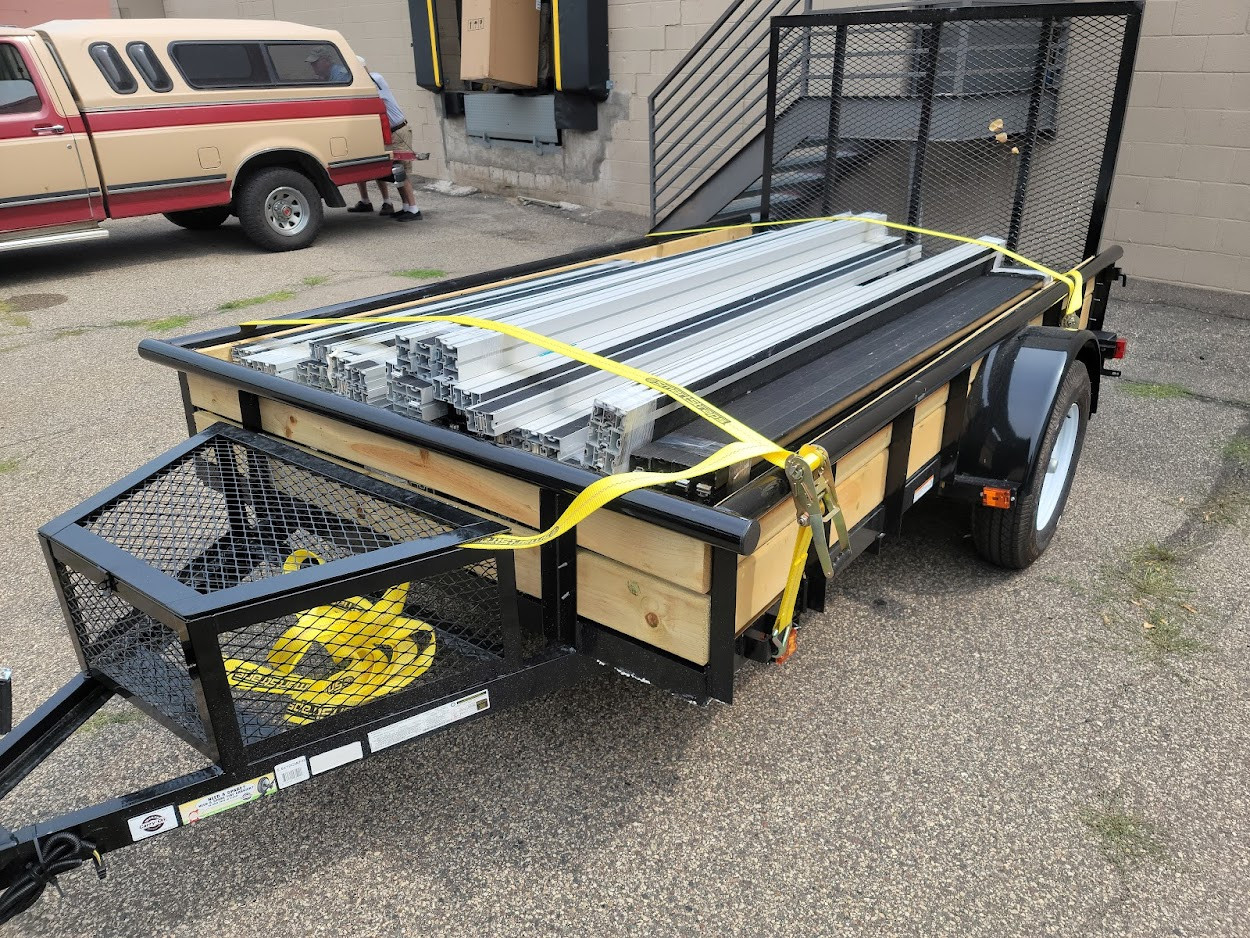
I won an auction several months back for a trailer full of ~2"x3" structural aluminum extrusion with t-slots. The pieces are all about 8 feet long with some exceptions in the 6 foot and 10 foot ranges. They came with all of the appropriate connectors to tie everything together, as well as the anchor blocks used for casters and/or leveling feet that insert into the ends of the extrusions.
I paid 107 bucks for this entire trailer load.
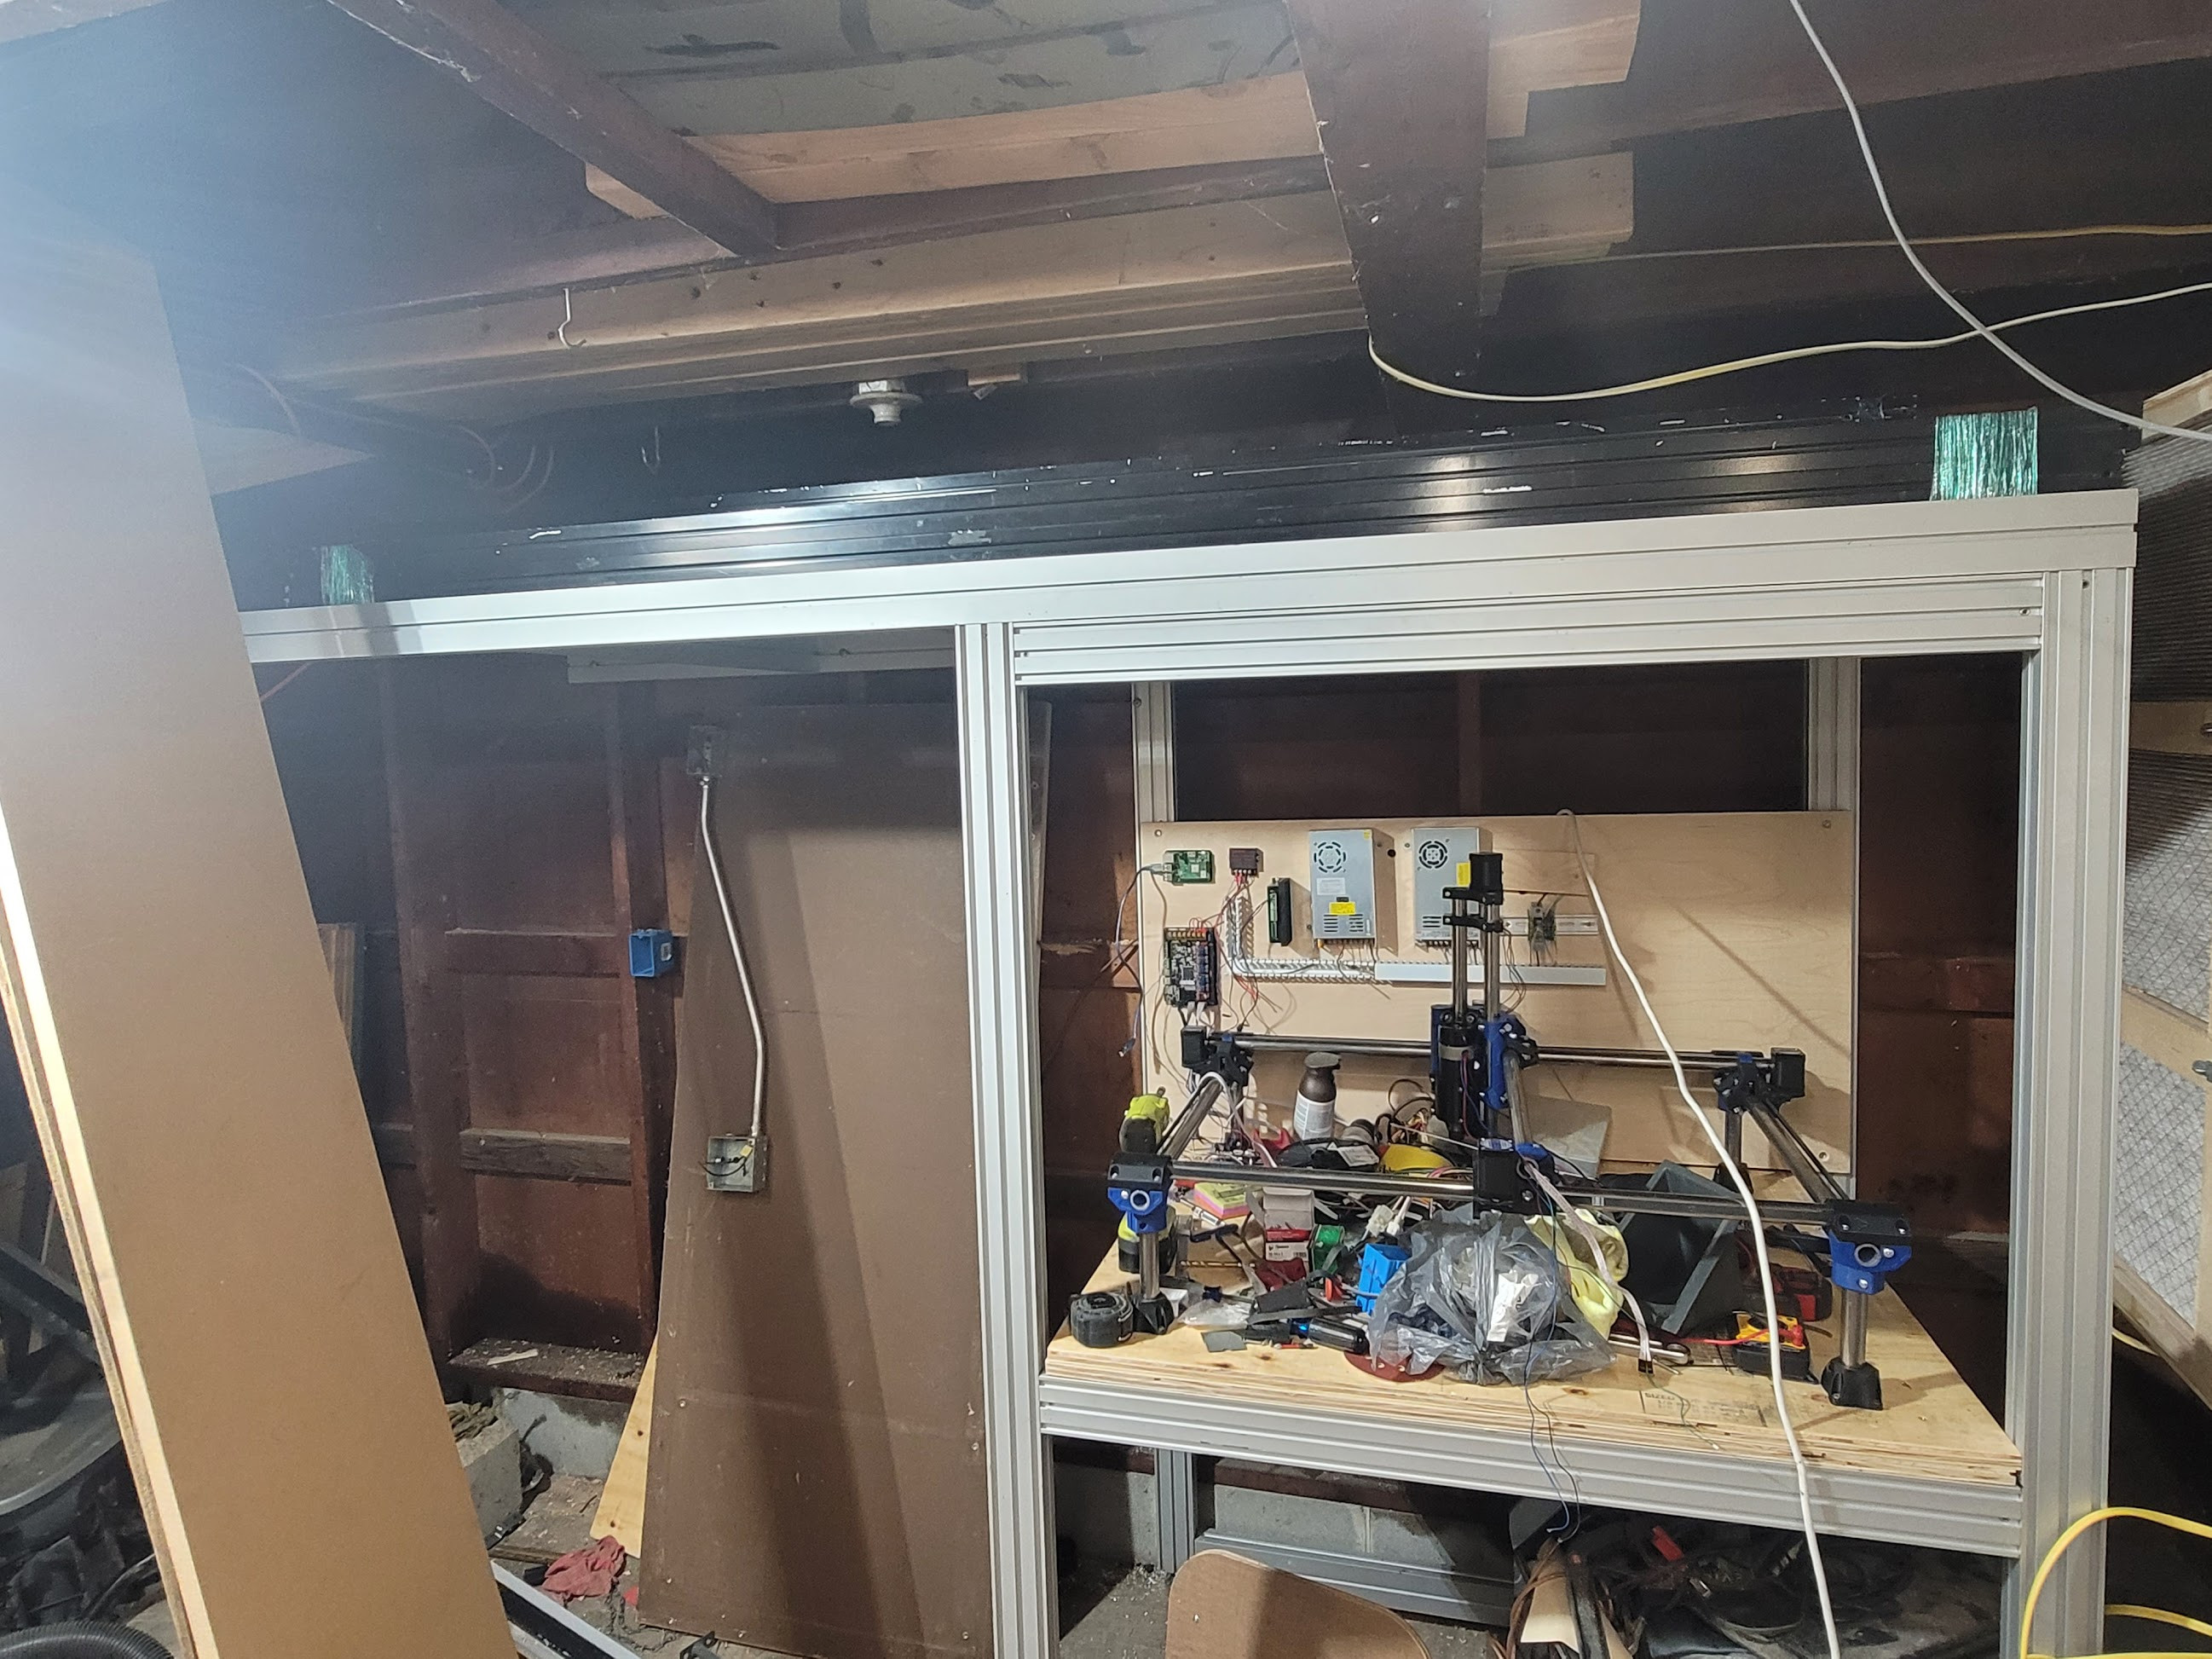
After my COVID hospitalization and subsequent long-haul symptoms, I was not able to spend time in the garage with the Lowrider, so it turned into storage and became a place to just throw any old junk into it. Recently, my wife approved a garage to wood shop conversion for the space, so I have been insulating and sheathing the interior walls with plywood. Cleaning the space is like those sliding number puzzles, where you have to move a number into the only open space in order to open a space to slide another number… I’m almost done, and just need to tear down the work bench to the left of where I’m assembling this as it has become a catch-all during the renovation and cleaning of the garage. Forgive the mess in the following photos.
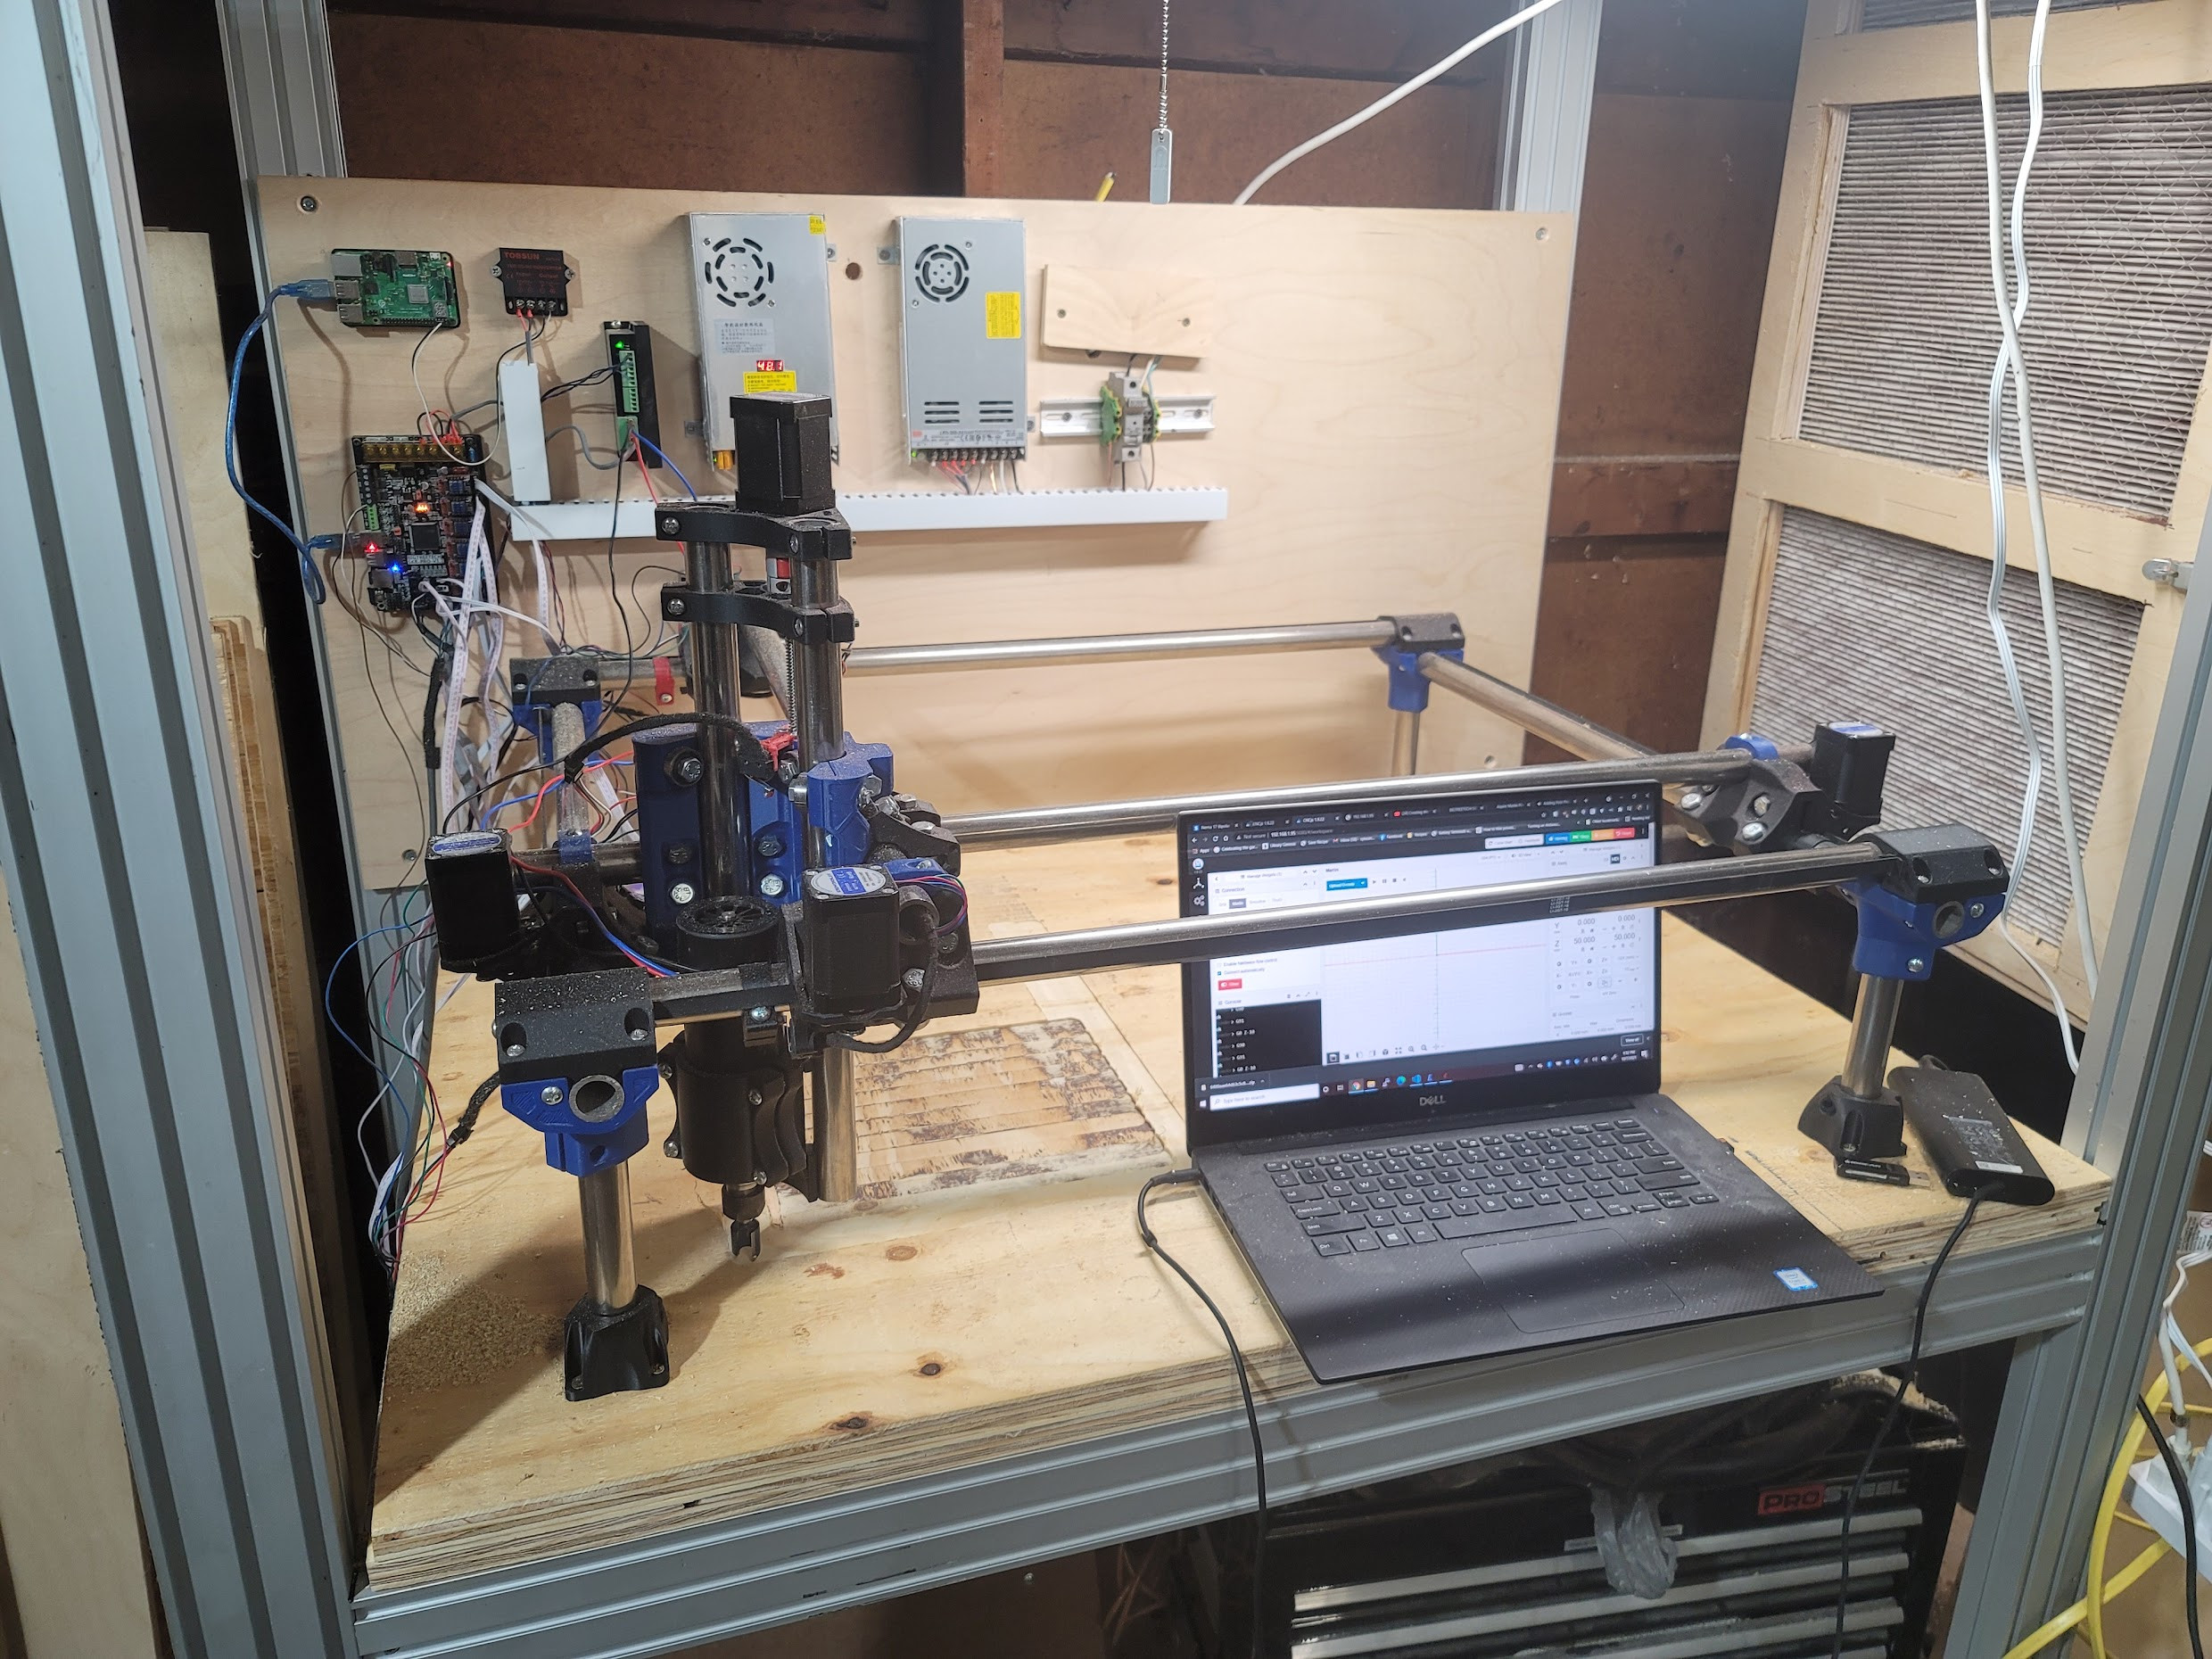
The new table frame will go against the west wall, which has not yet been insulated and sheathed, next to the dust collector and air filter box. In the final placement, I will have about two feet between the filter box and the edge of the CNC. See aforementioned workbench comment.
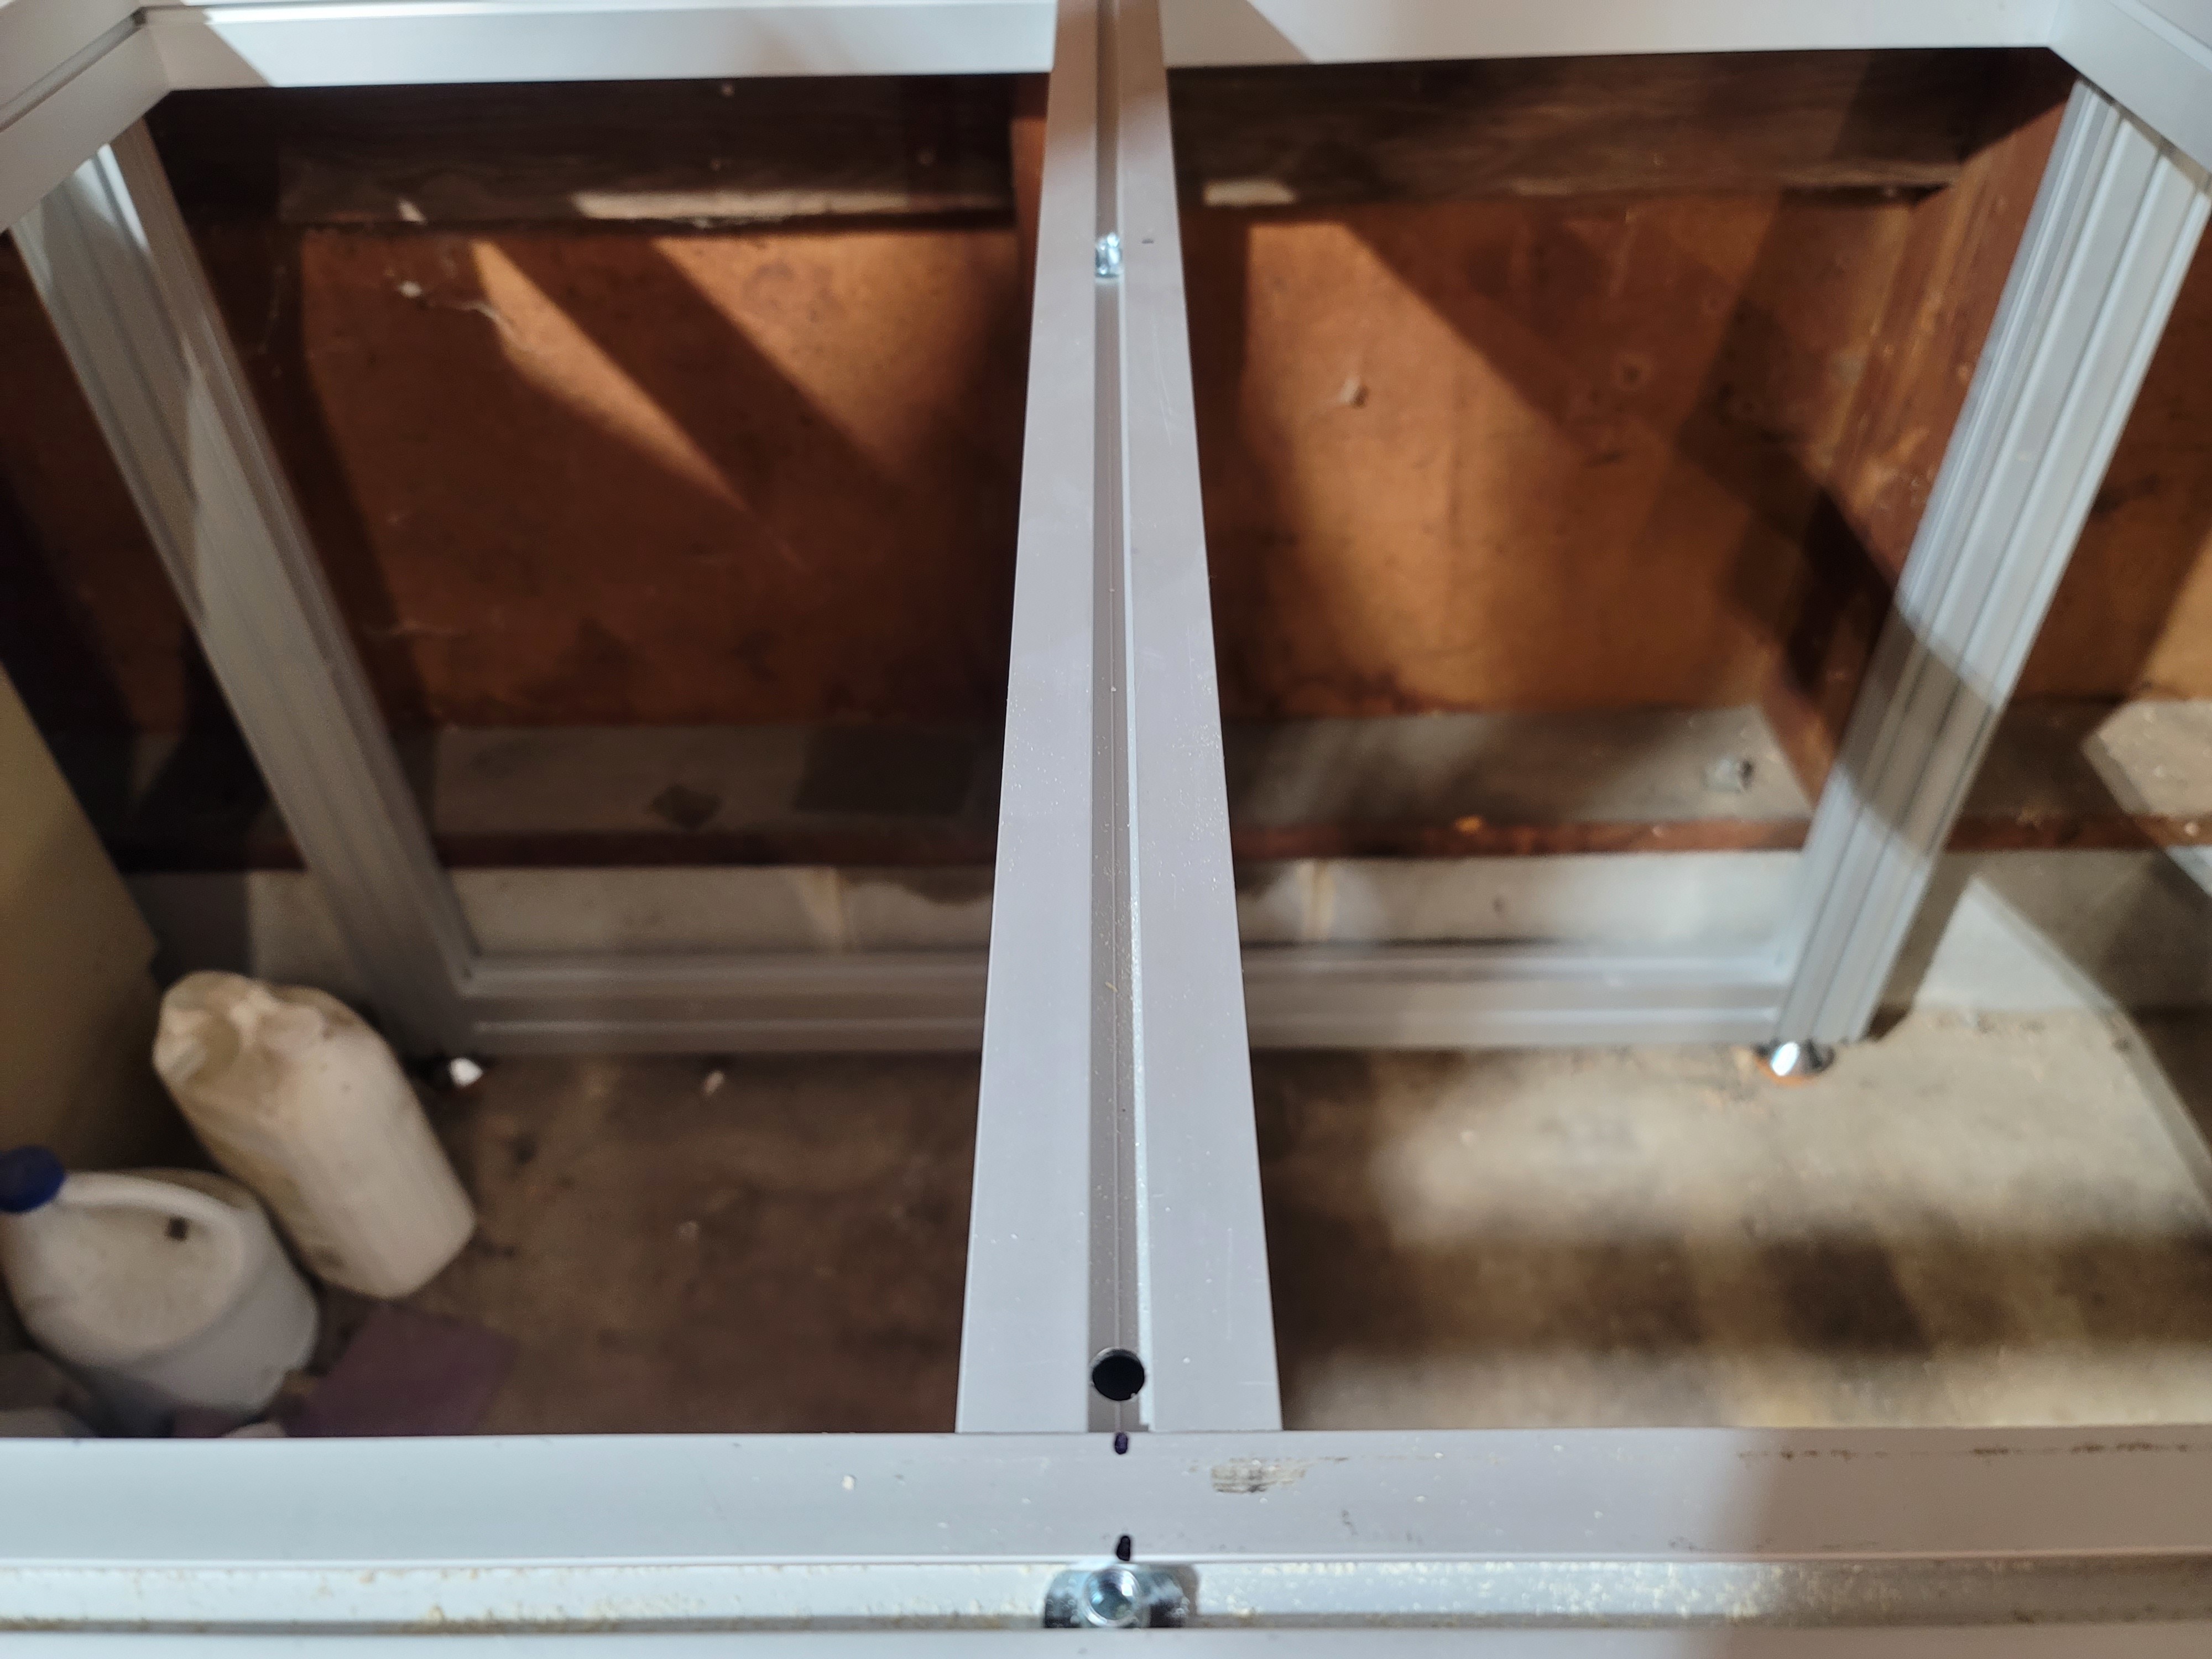
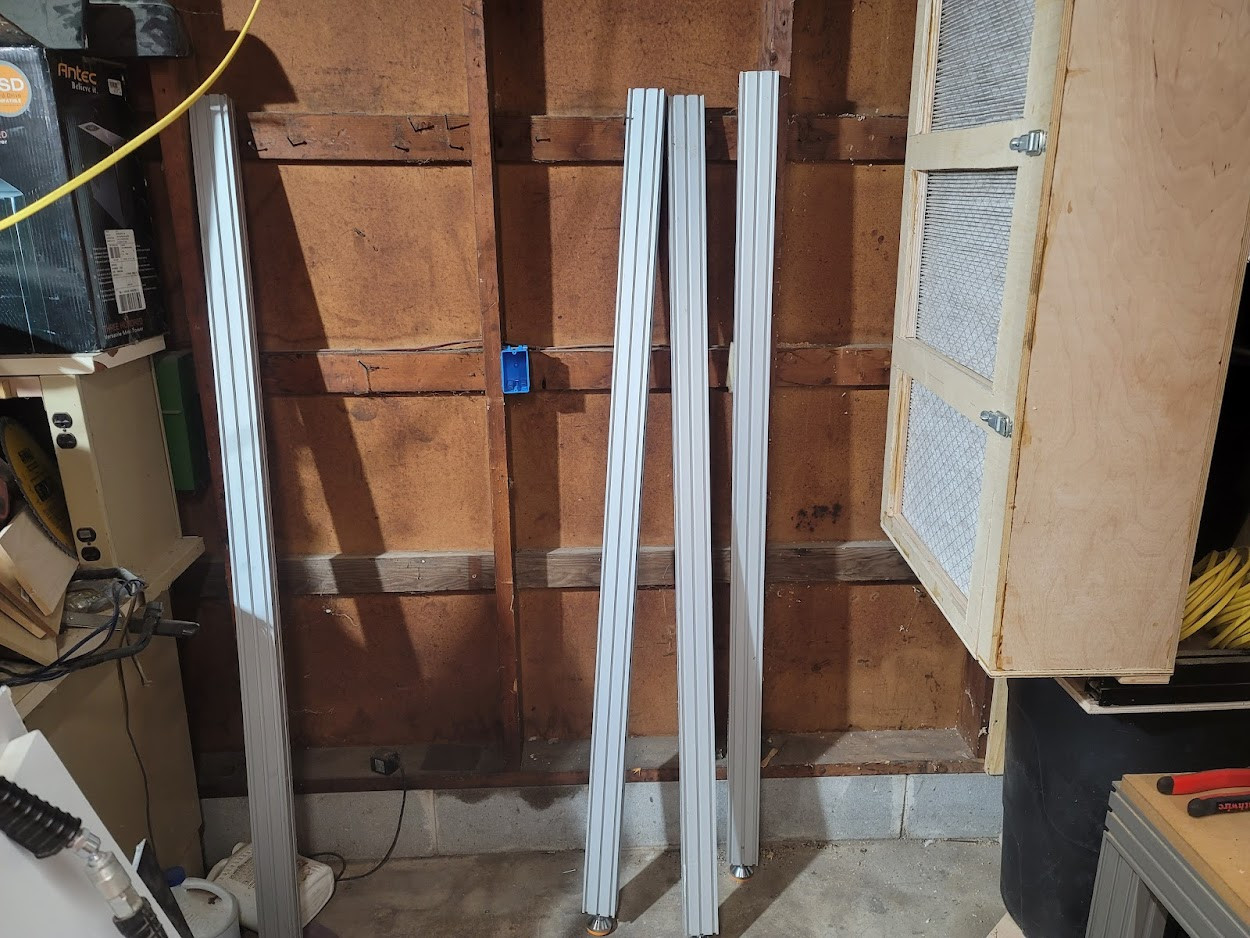
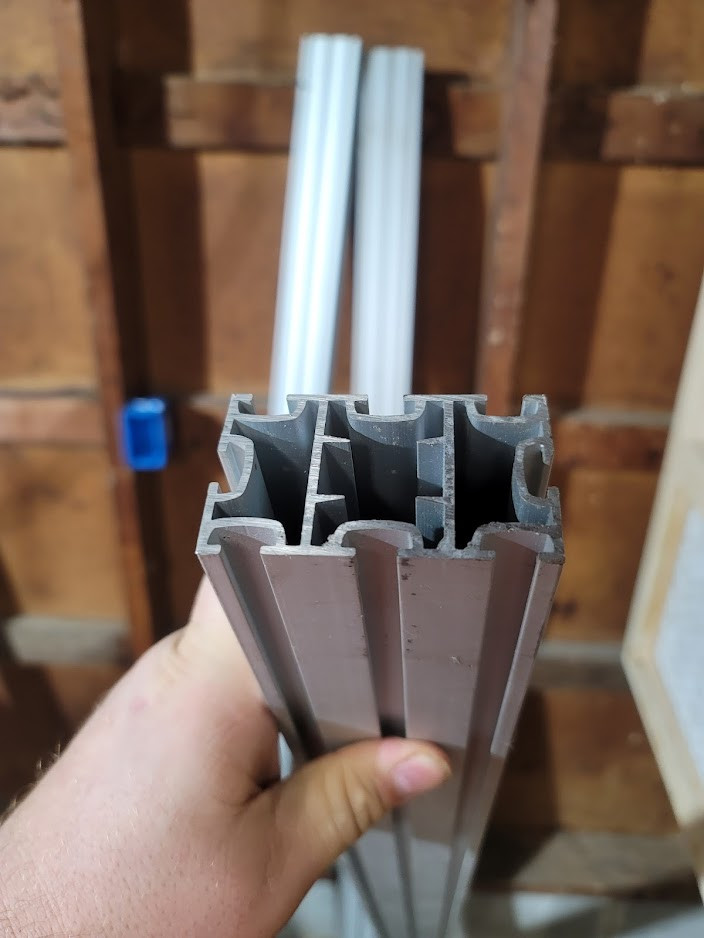
I have already assembled the four legs and leveling feet using the multi-slot extrusion.
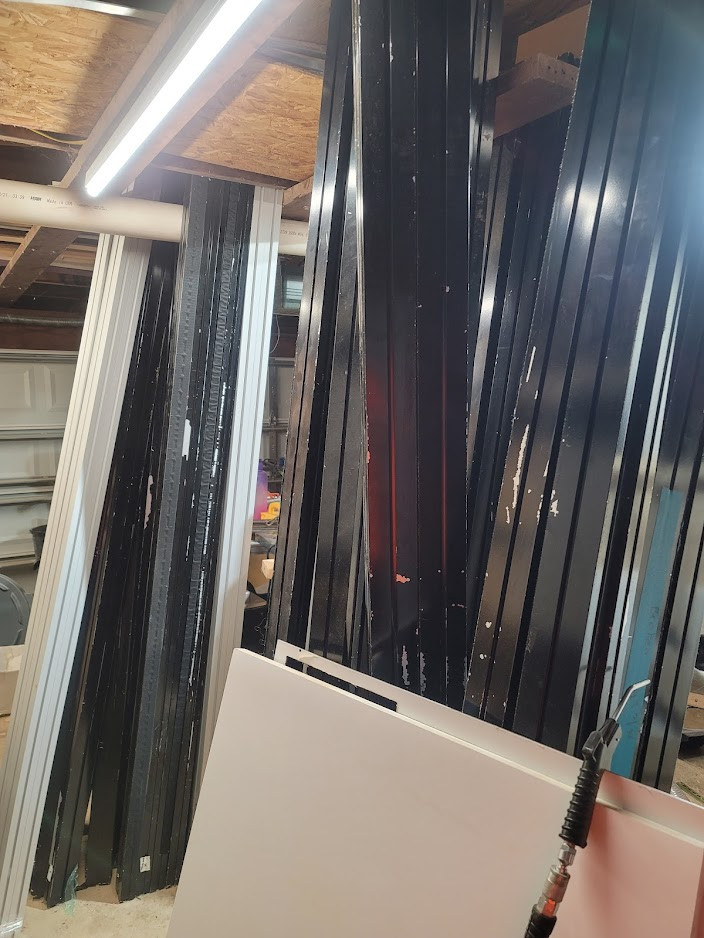
I still have so much of this stuff, that when I am done with the large table, I’m not quite sure what to do with all of it.
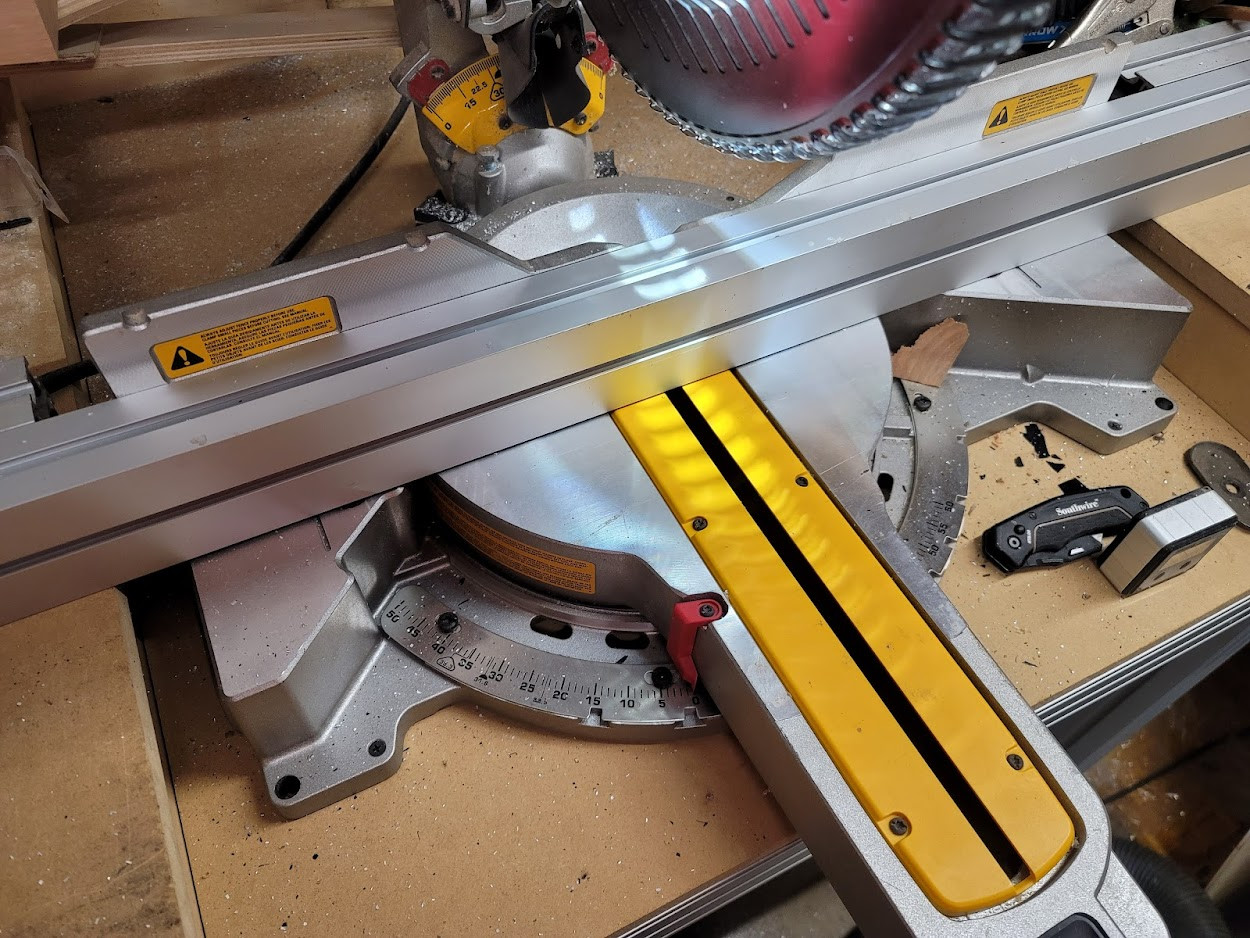
I used some extrusion to build my miter saw table, and in this shot you can see the workbench and the stop block I made which allows repeatable cuts. It cuts beautifully on my miter saw.

And of course, a gratuitous safety gear shot…
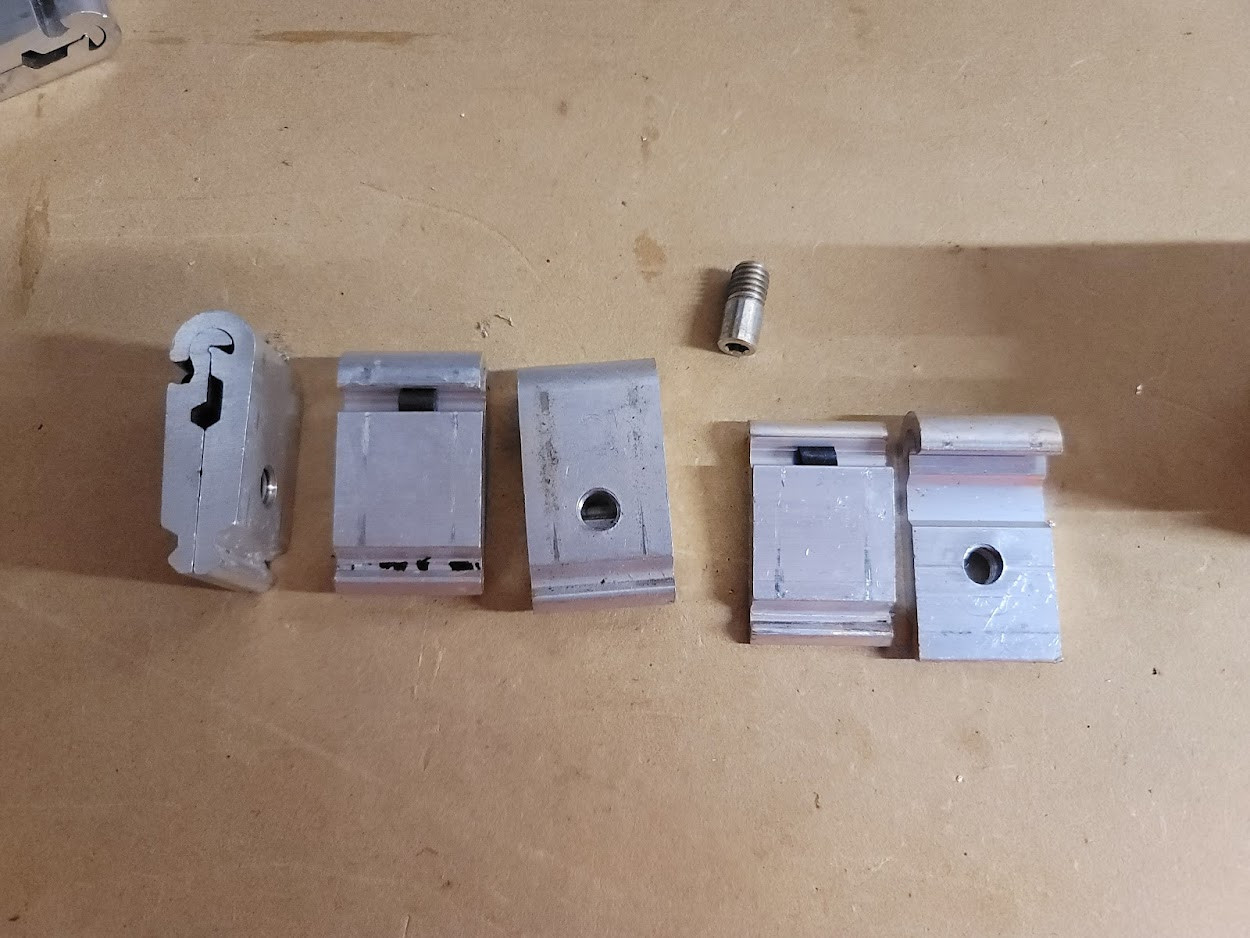
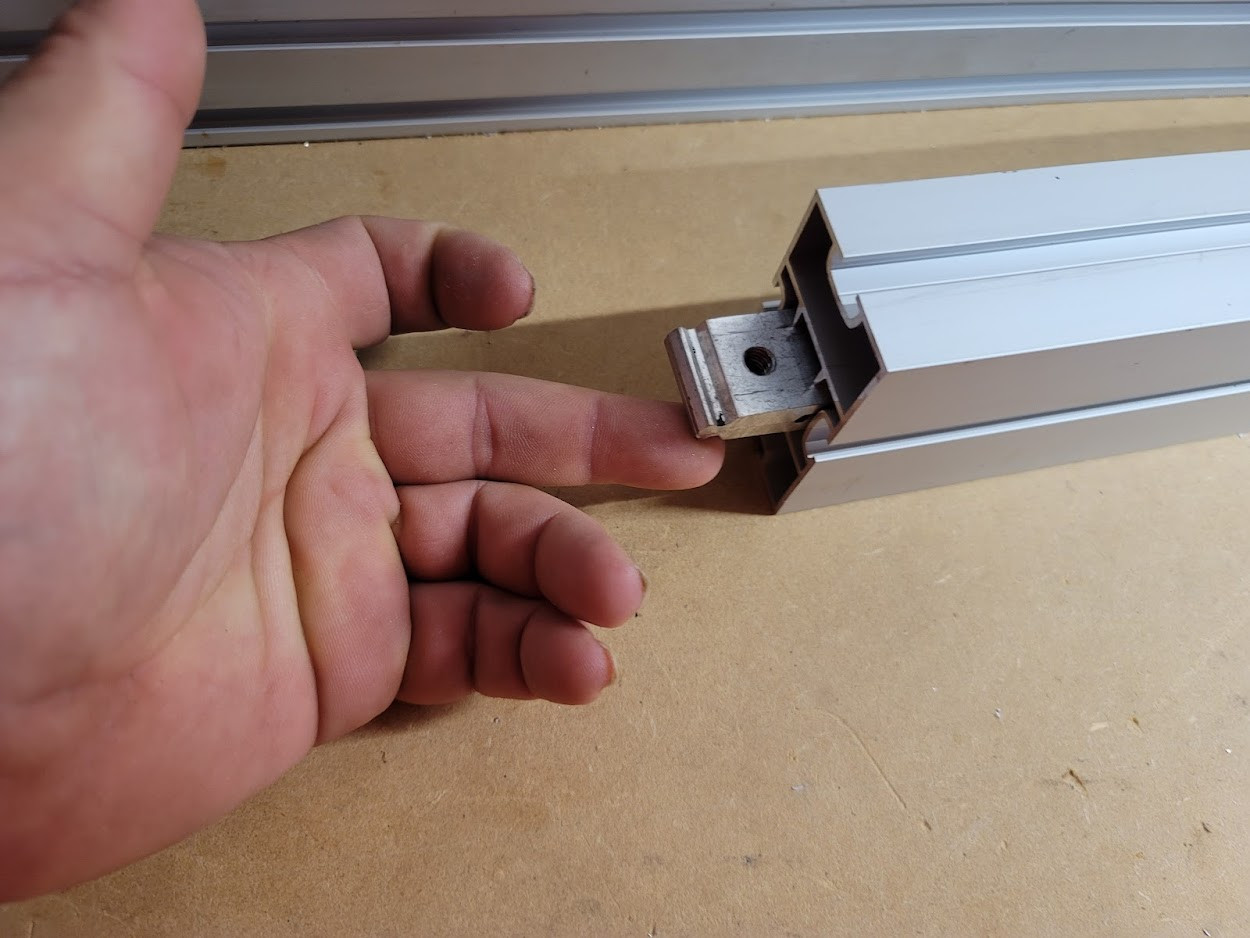
These are the connectors used in the extrusion.
From left to right: Side, bottom, top, screw, and a disassembled connector. The black piece is a small strip of silicone rubber that adds tension to the connector, forcing it closed.
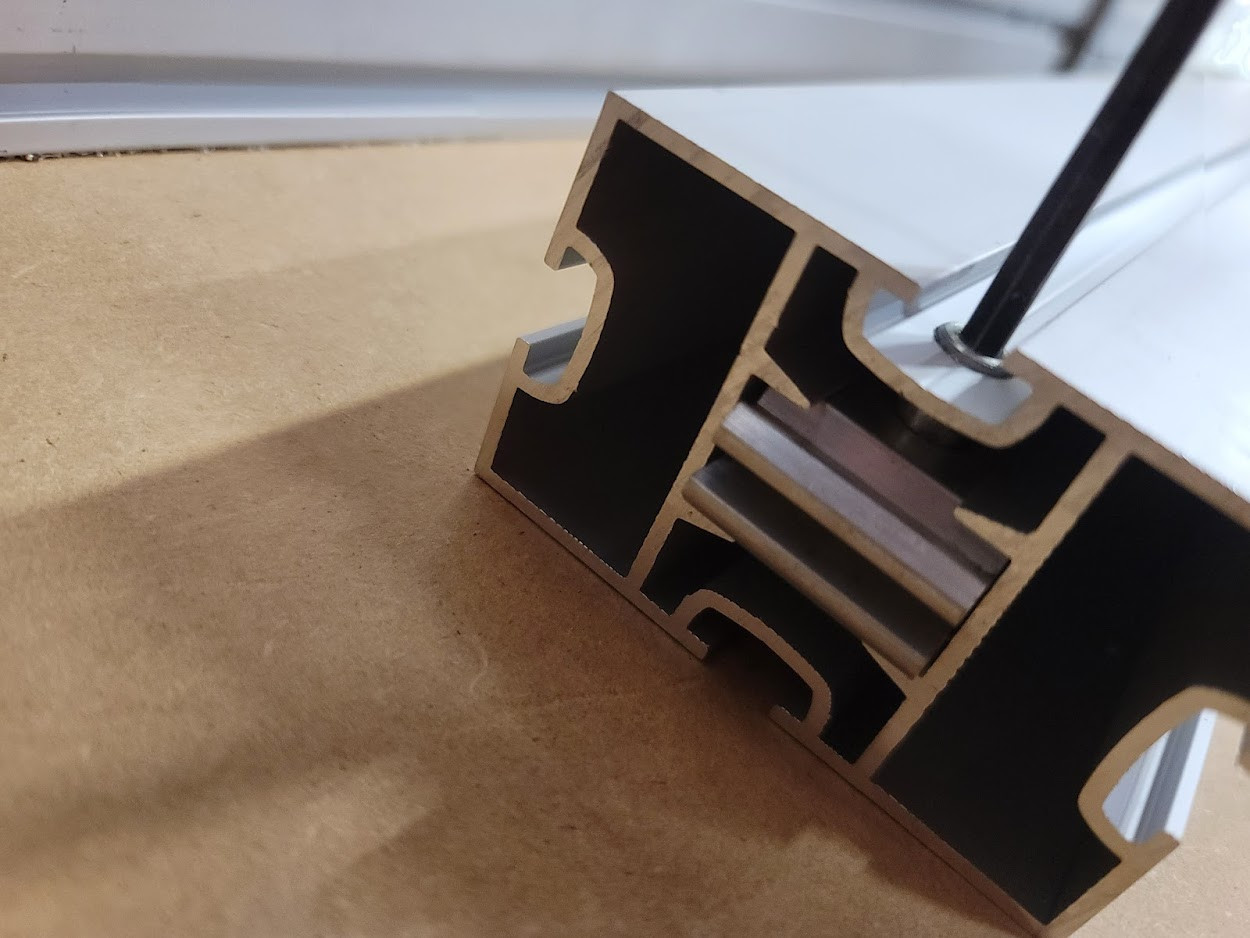
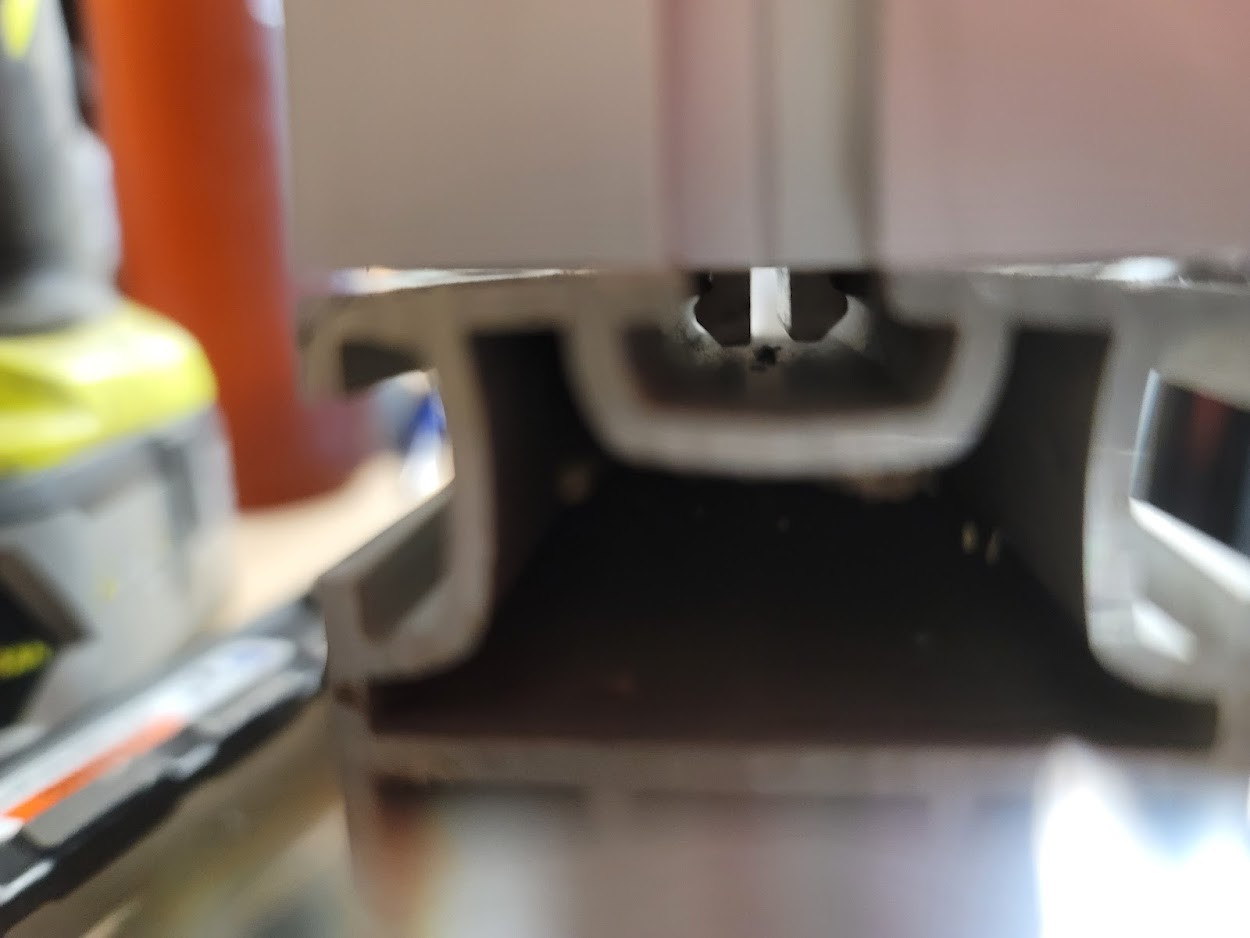
When you insert the screw in the top of the connector and thread it in clockwise, it pushes against the other half and spreads the jaws, visible on the top connector, left side.
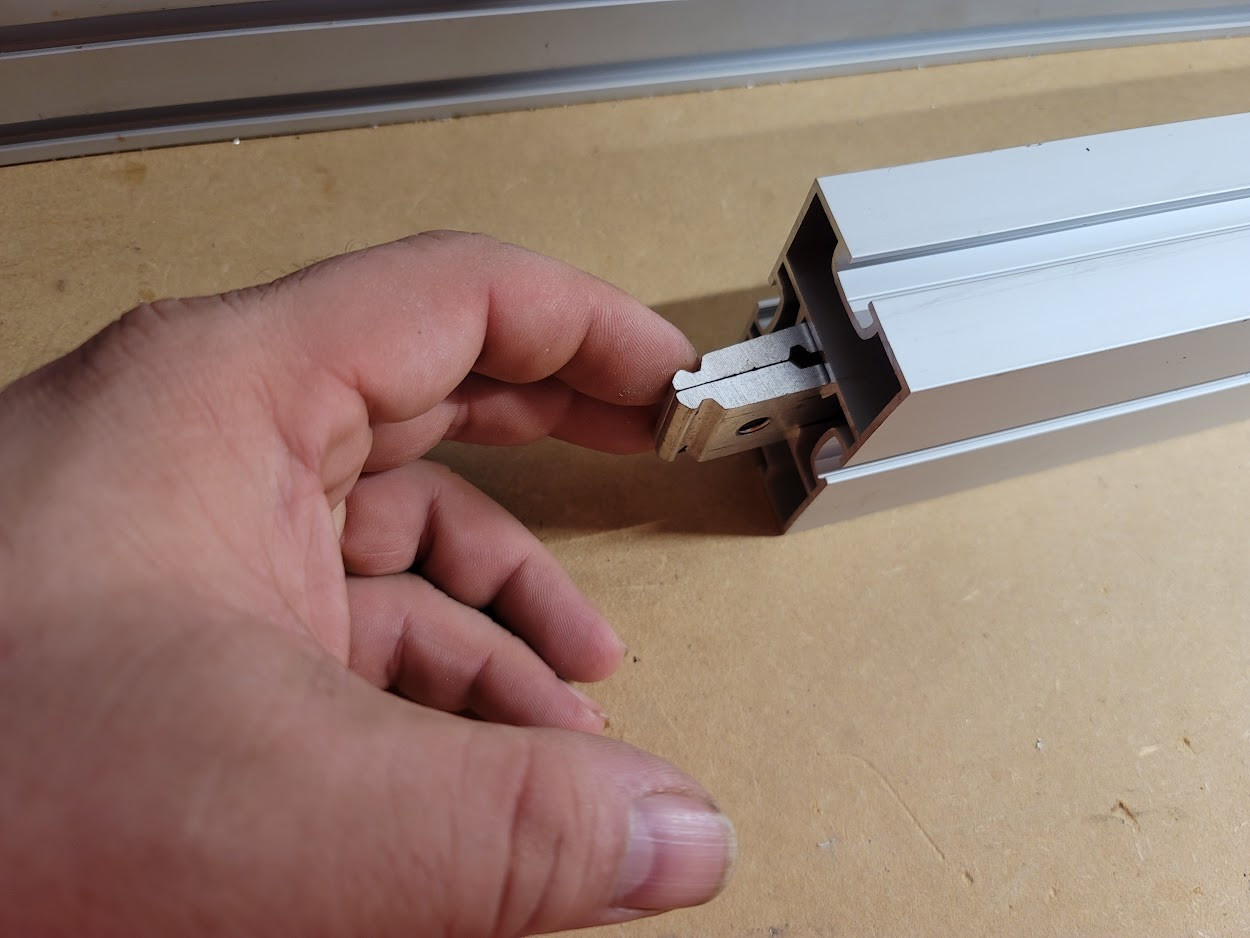
The extrusion supports inserting the connector in two different orientations.
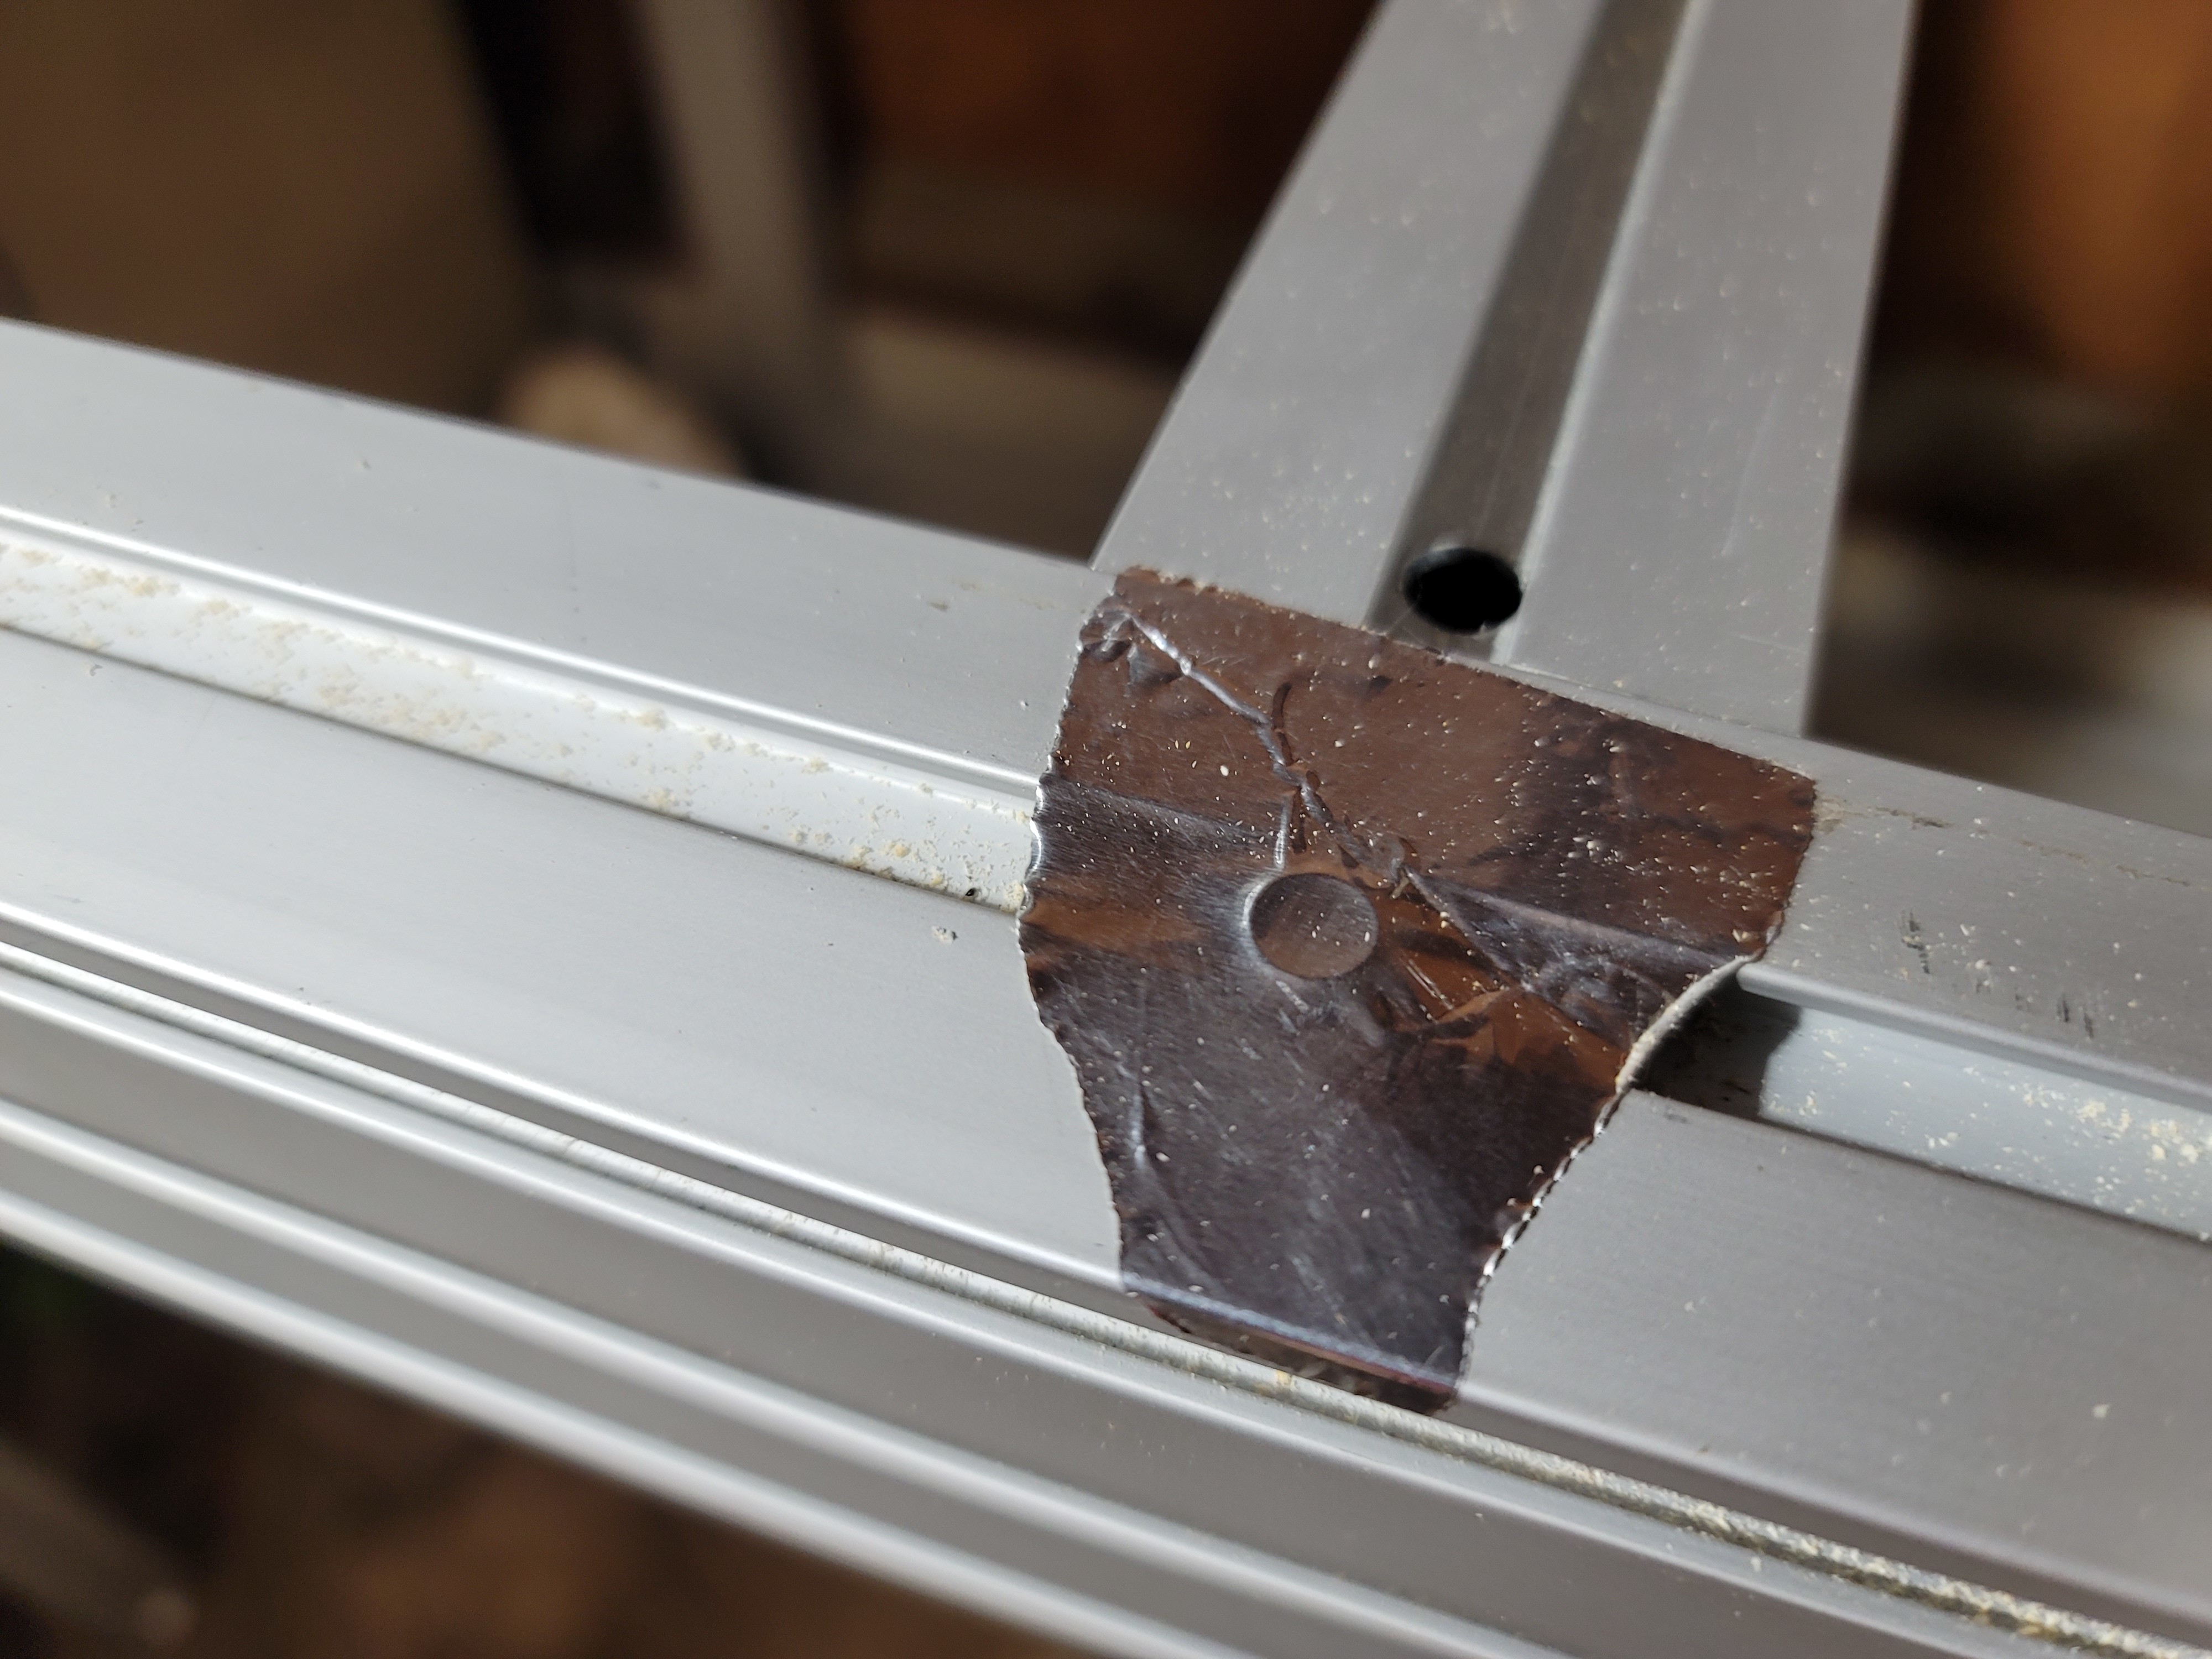
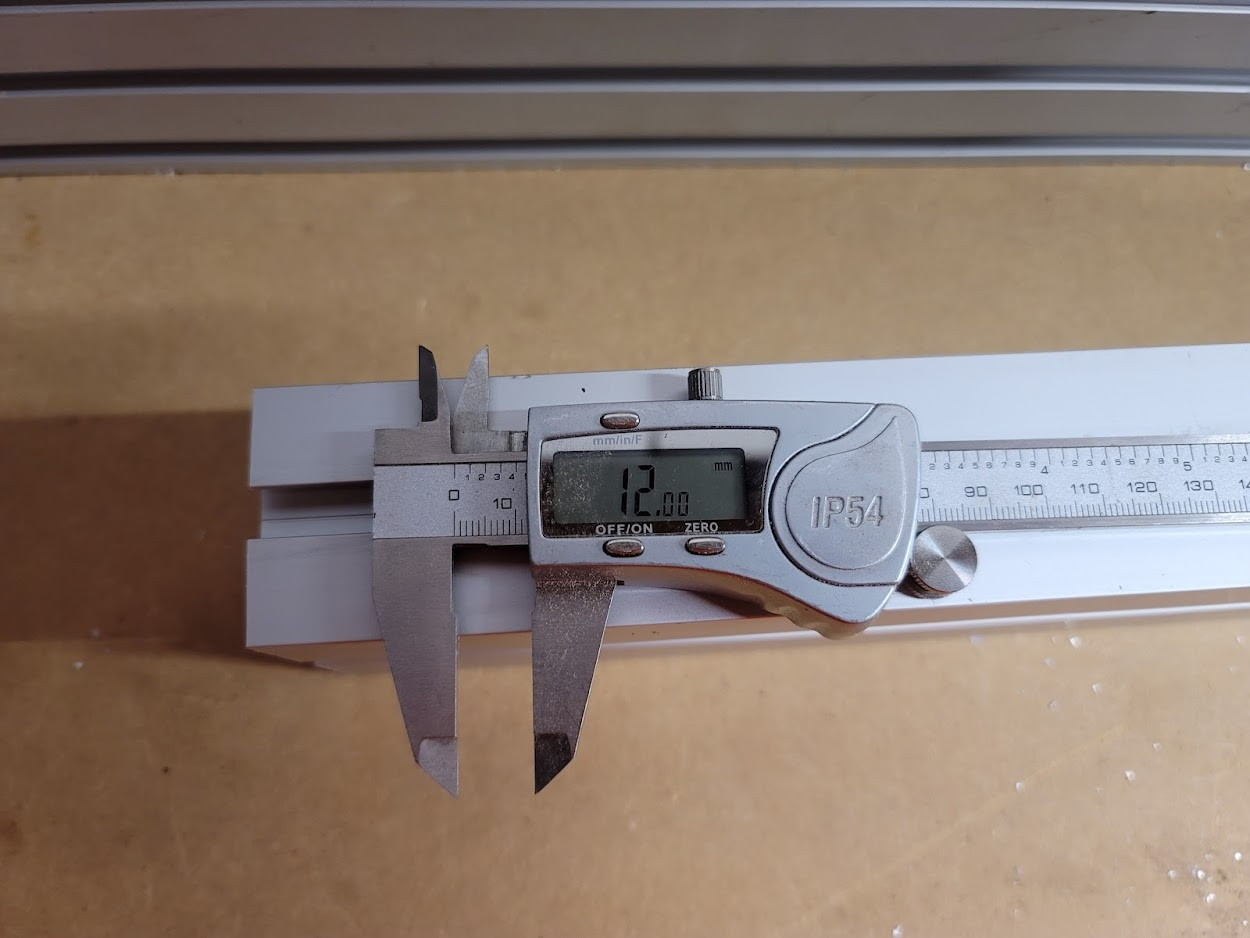
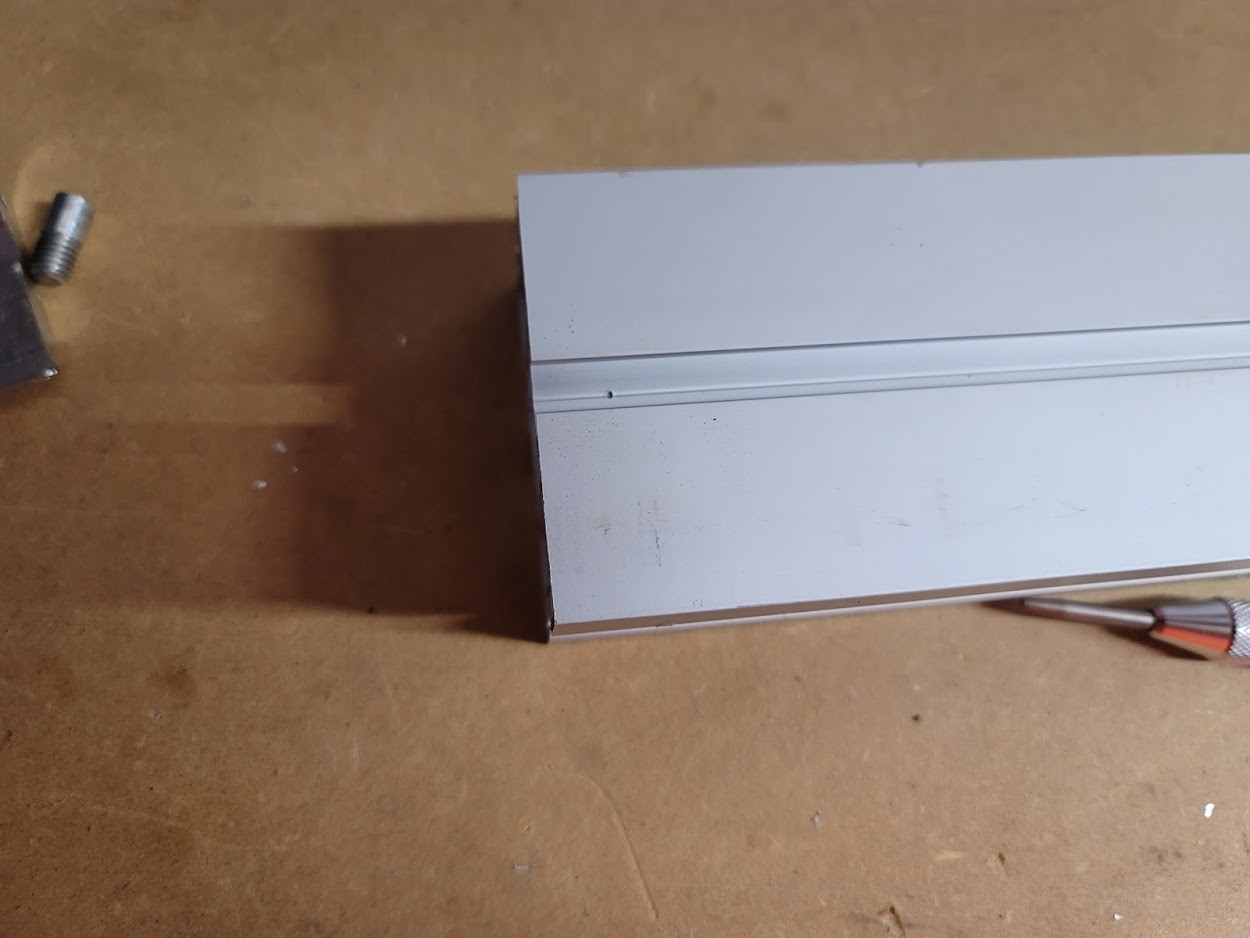
The hole for the screw needs to be 8mm, and the setback for the center of the hole from the end of the cut is 12mm.
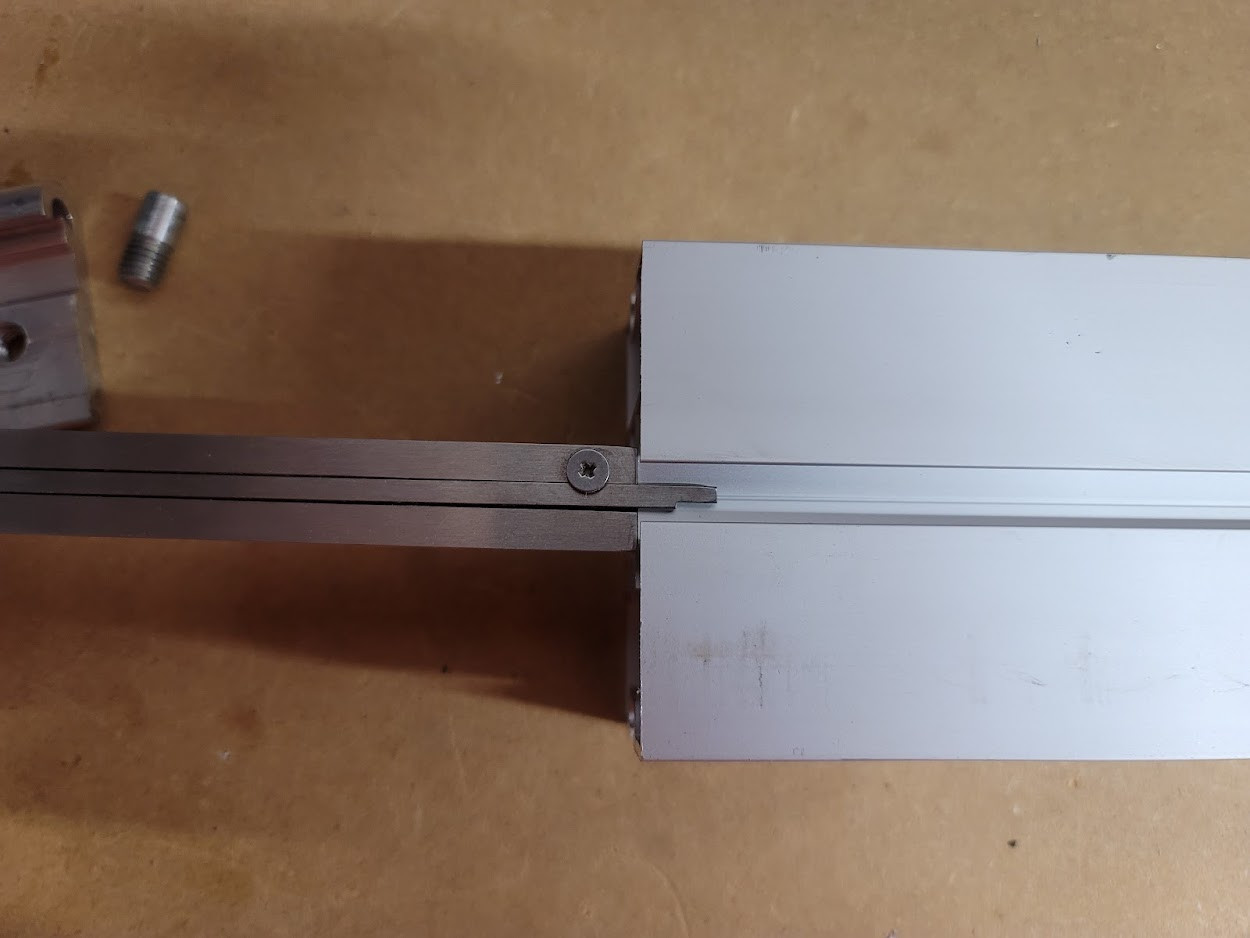
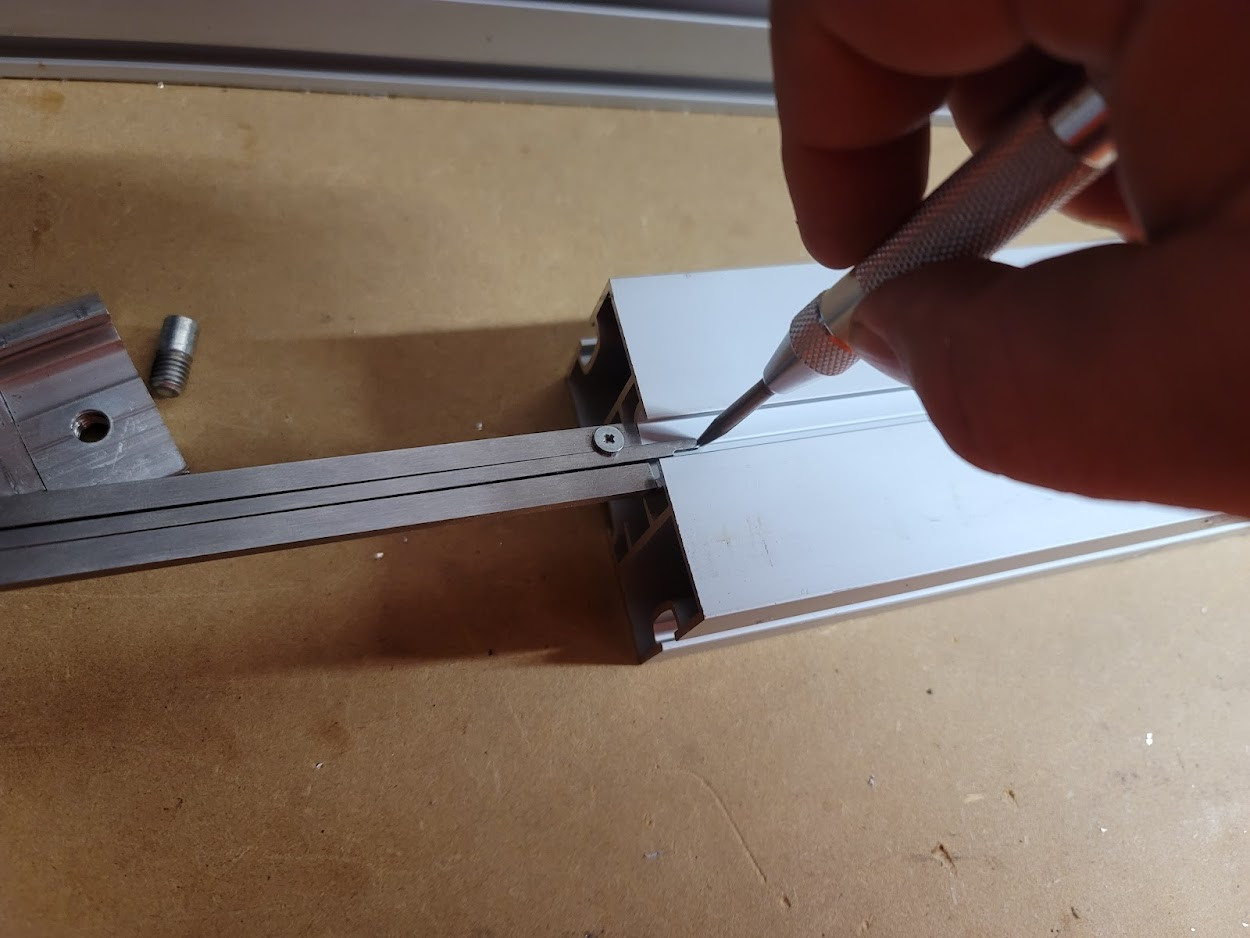
With a punch tool, make a mark right at the end of the caliper and drill it out.
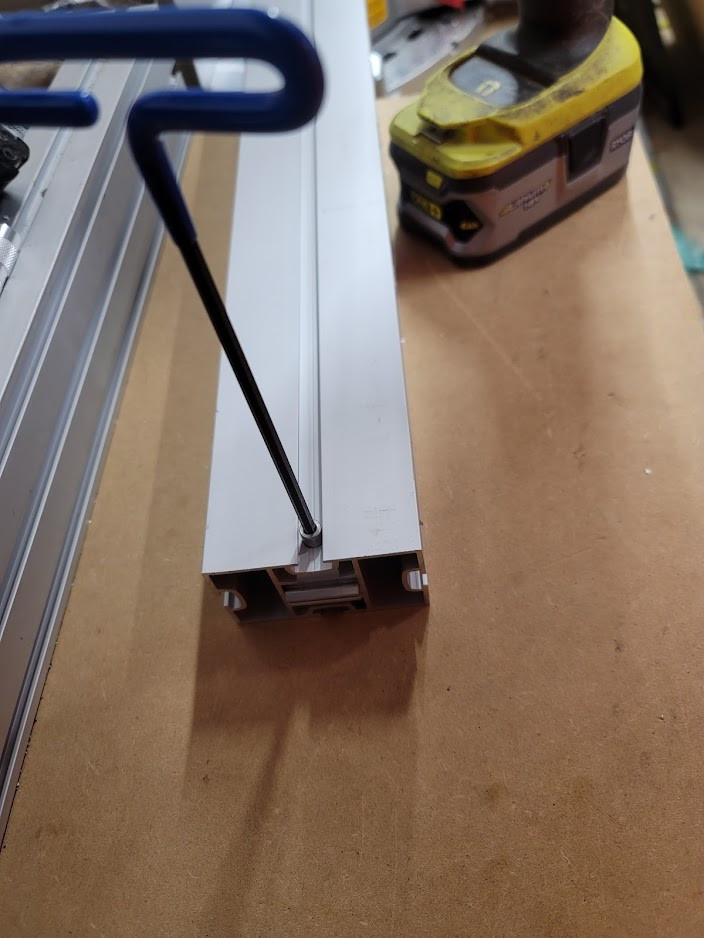
Here’s the connector in place with a screw and the Allen wrench.
Connector unlocked:
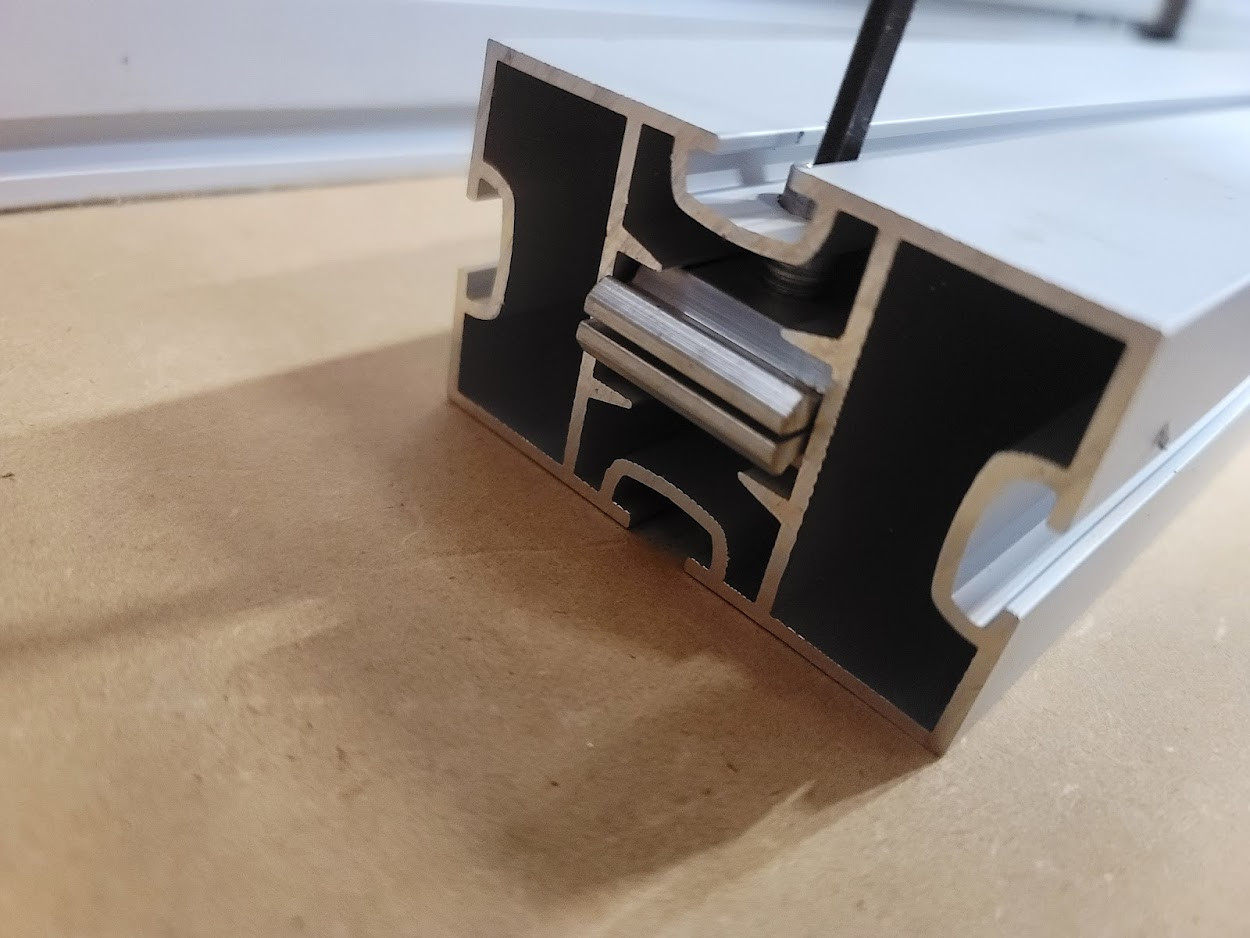
Connector locked:
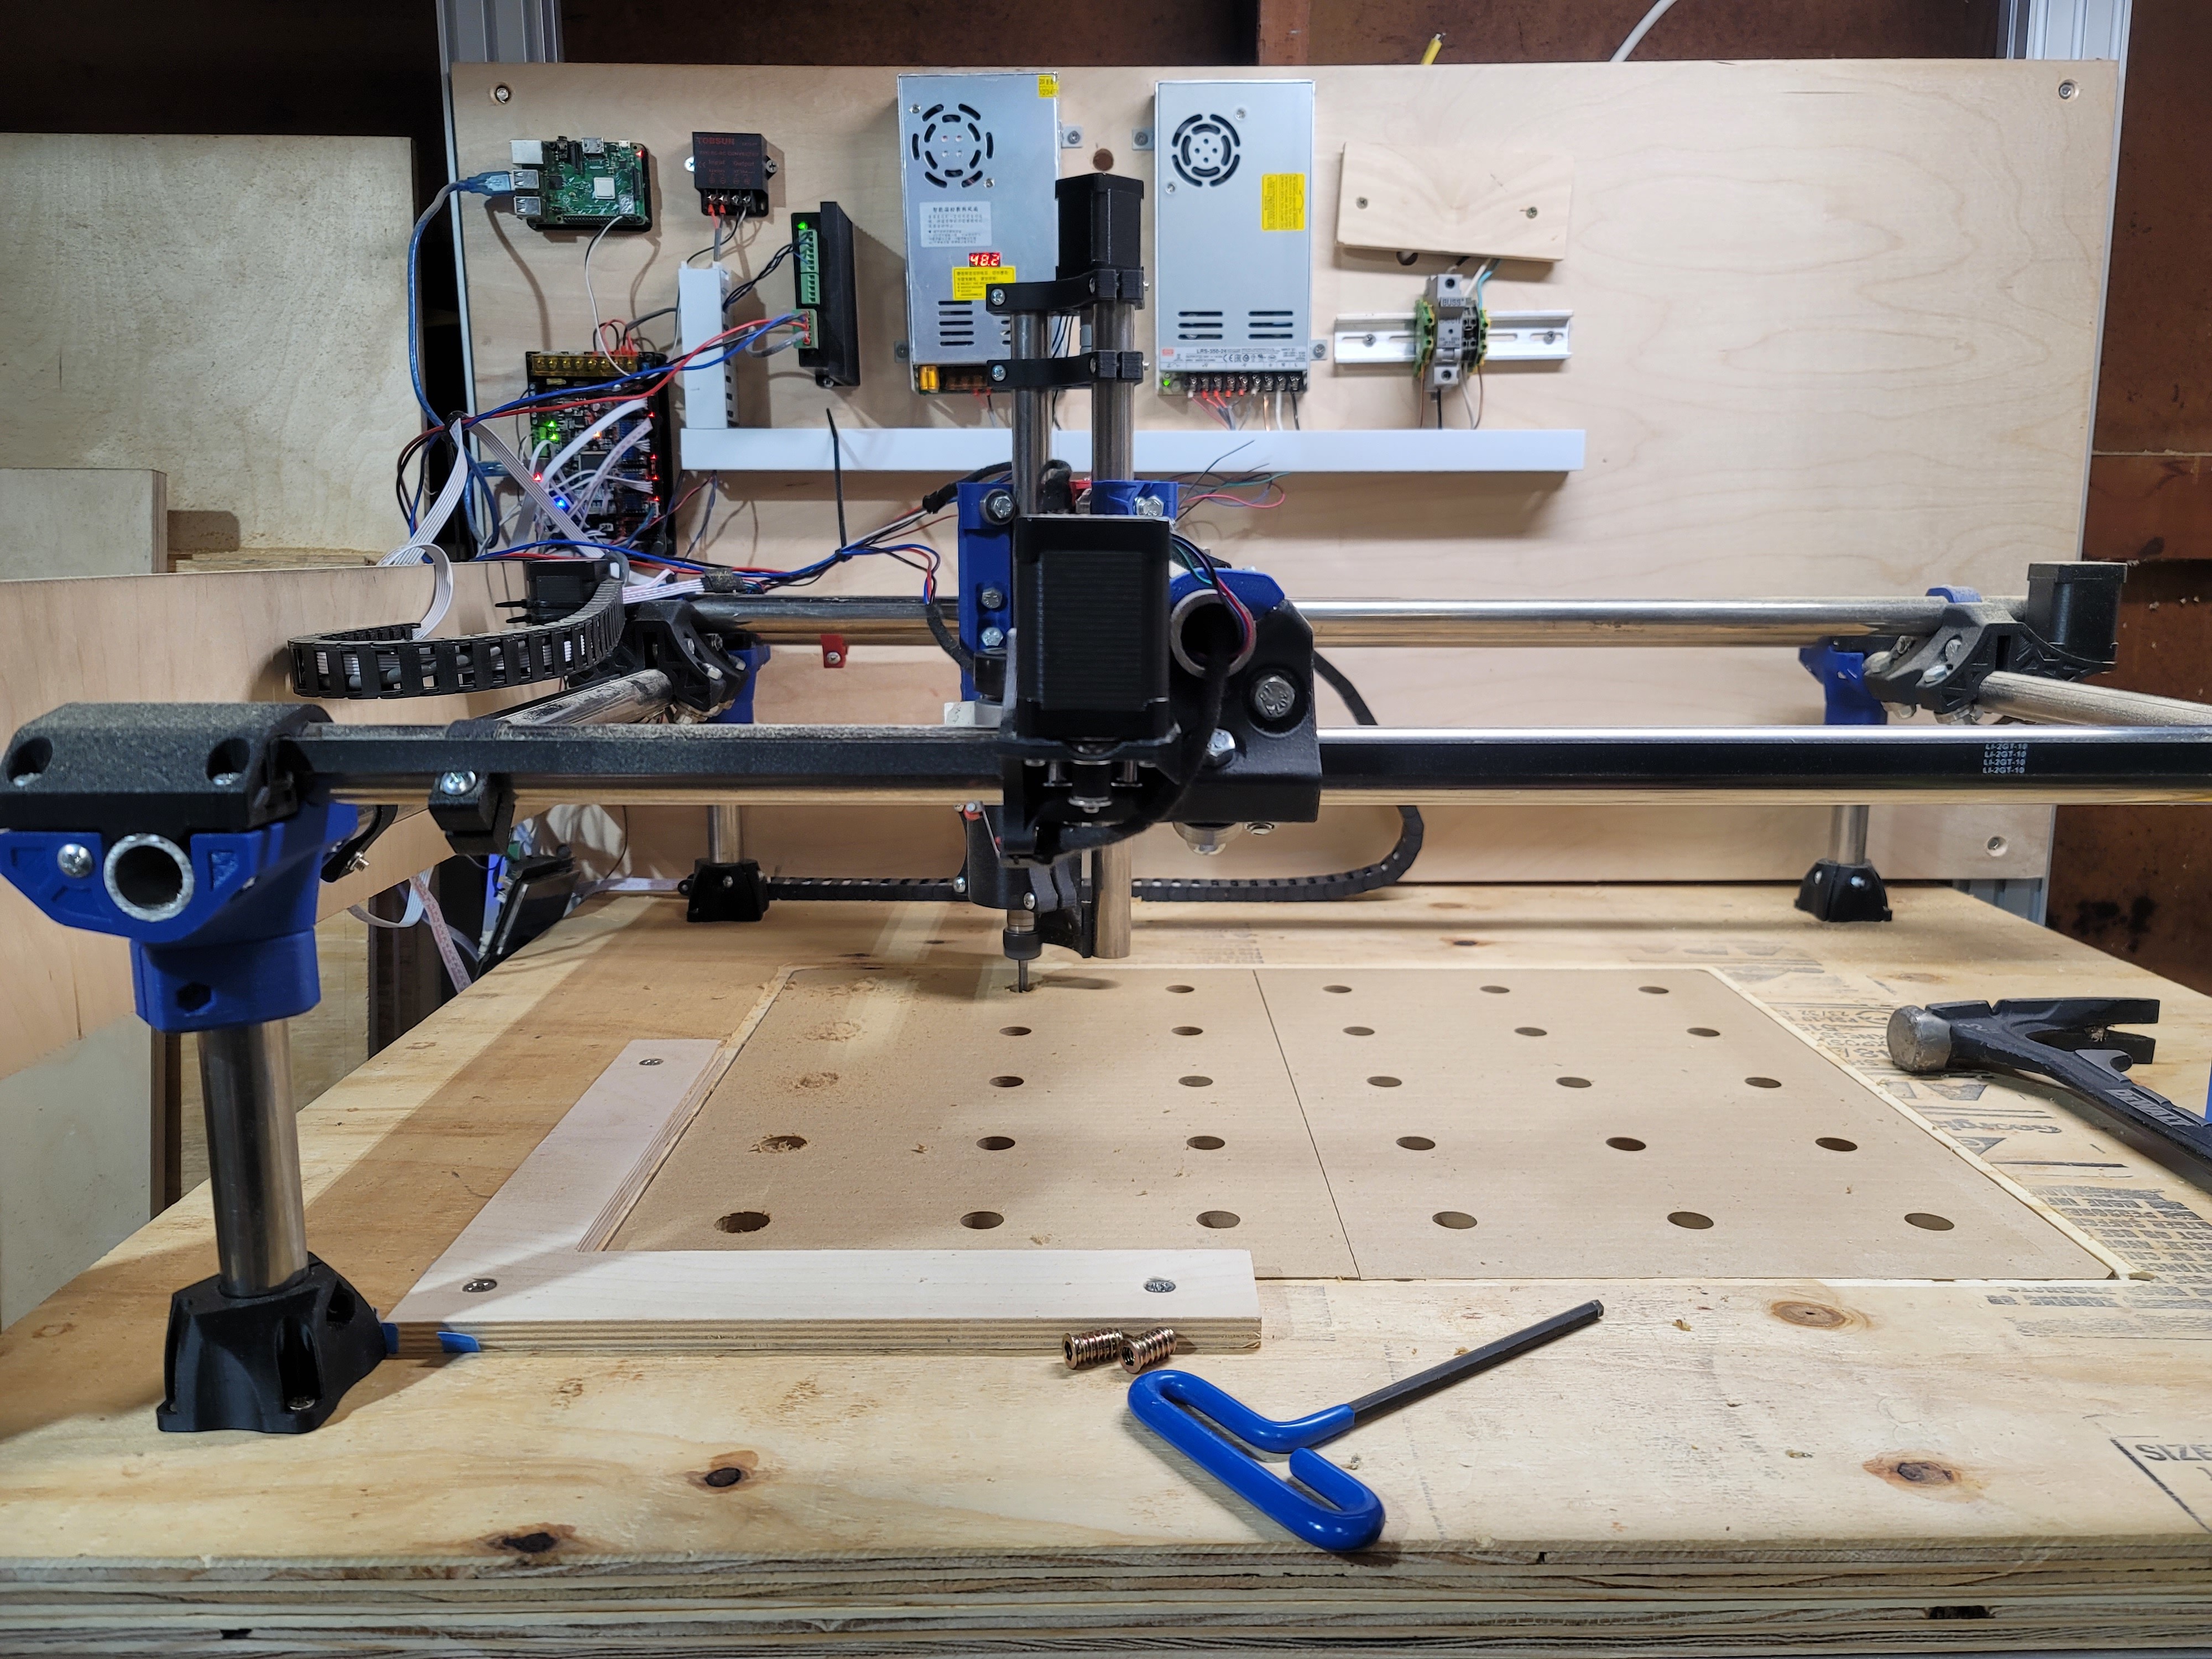
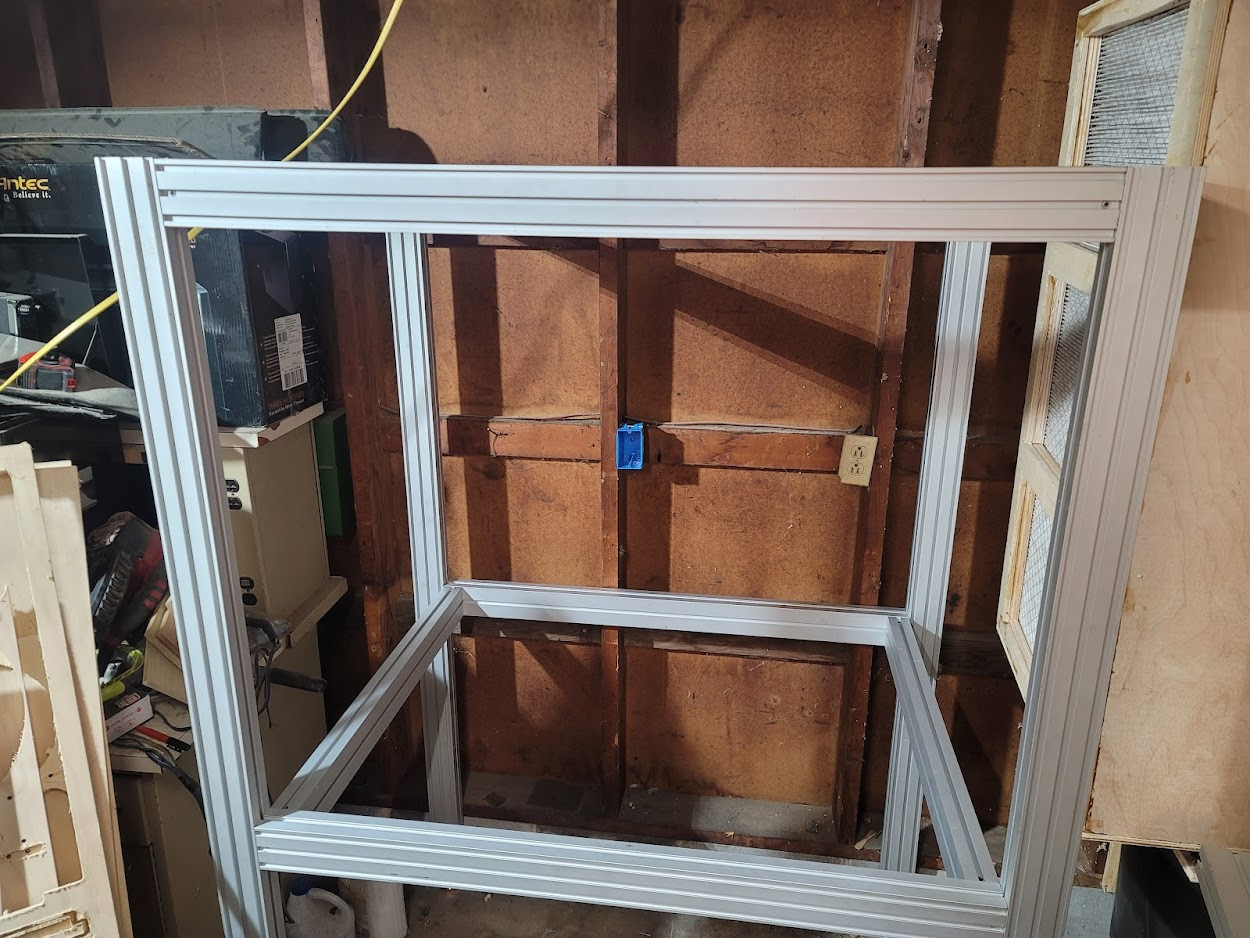
Assemble the frame and add one more center crossmember and I’m ready for putting the table surface in. Table height will be 37.5 inches, and the sides and top will be enclosed. Overall outside dimensions are 46" w by 36" d x 74" height for a CNC machine that will be 36x30.
I’ll have the table surface in today, I just need to go get materials.
The enclosure will also be used as a storage rack by adding some crossmembers on top that extend to the left about 8 feet with support legs under it at the end. I’ll build a ladder rack style frame, and use that frame to hold the remainder of the extrusion so that it is up and out of the way. The rack will easily hold 2,000 lbs, so the ~600 lbs of aluminum I still have should easily sit on top of it once this frame is anchored to the wall with cap style lag screws.