That’s removing imperfections from the top of the surface. If the base coat is rough, you’ll still see the imperfections under it.
He would obviously need to do it to both sides to make it clear, but the assumption here has to be that it is printed solid and imperfections on the inside of the plastic are minimal, if any.
If the imperfections are internal, then no, epoxy won’t help, but neither would an acetone bath.
true
Absolutely. I used to use a lot of it, but my prints were never good enough to come clear back in those days.
Don’t “bath” the print, just put it in a chamber with acetone underneath (not touching the print) and it smooths out nicely. The vapours melt away the high spots and fill in the low spots.
This reminds me … my sheets of 1mm PETg are in, and the Goodwill store toaster oven is here, so time to make my vacuum table.
1 Like
![]()
Yup. That’s what I meant. I thought people were calling that process bathing or vapor smoothing.
1 Like
Clear window!!!
1 Like
Um what’s happening is cool stuff and someone being stingy with their stl lol
3 Likes
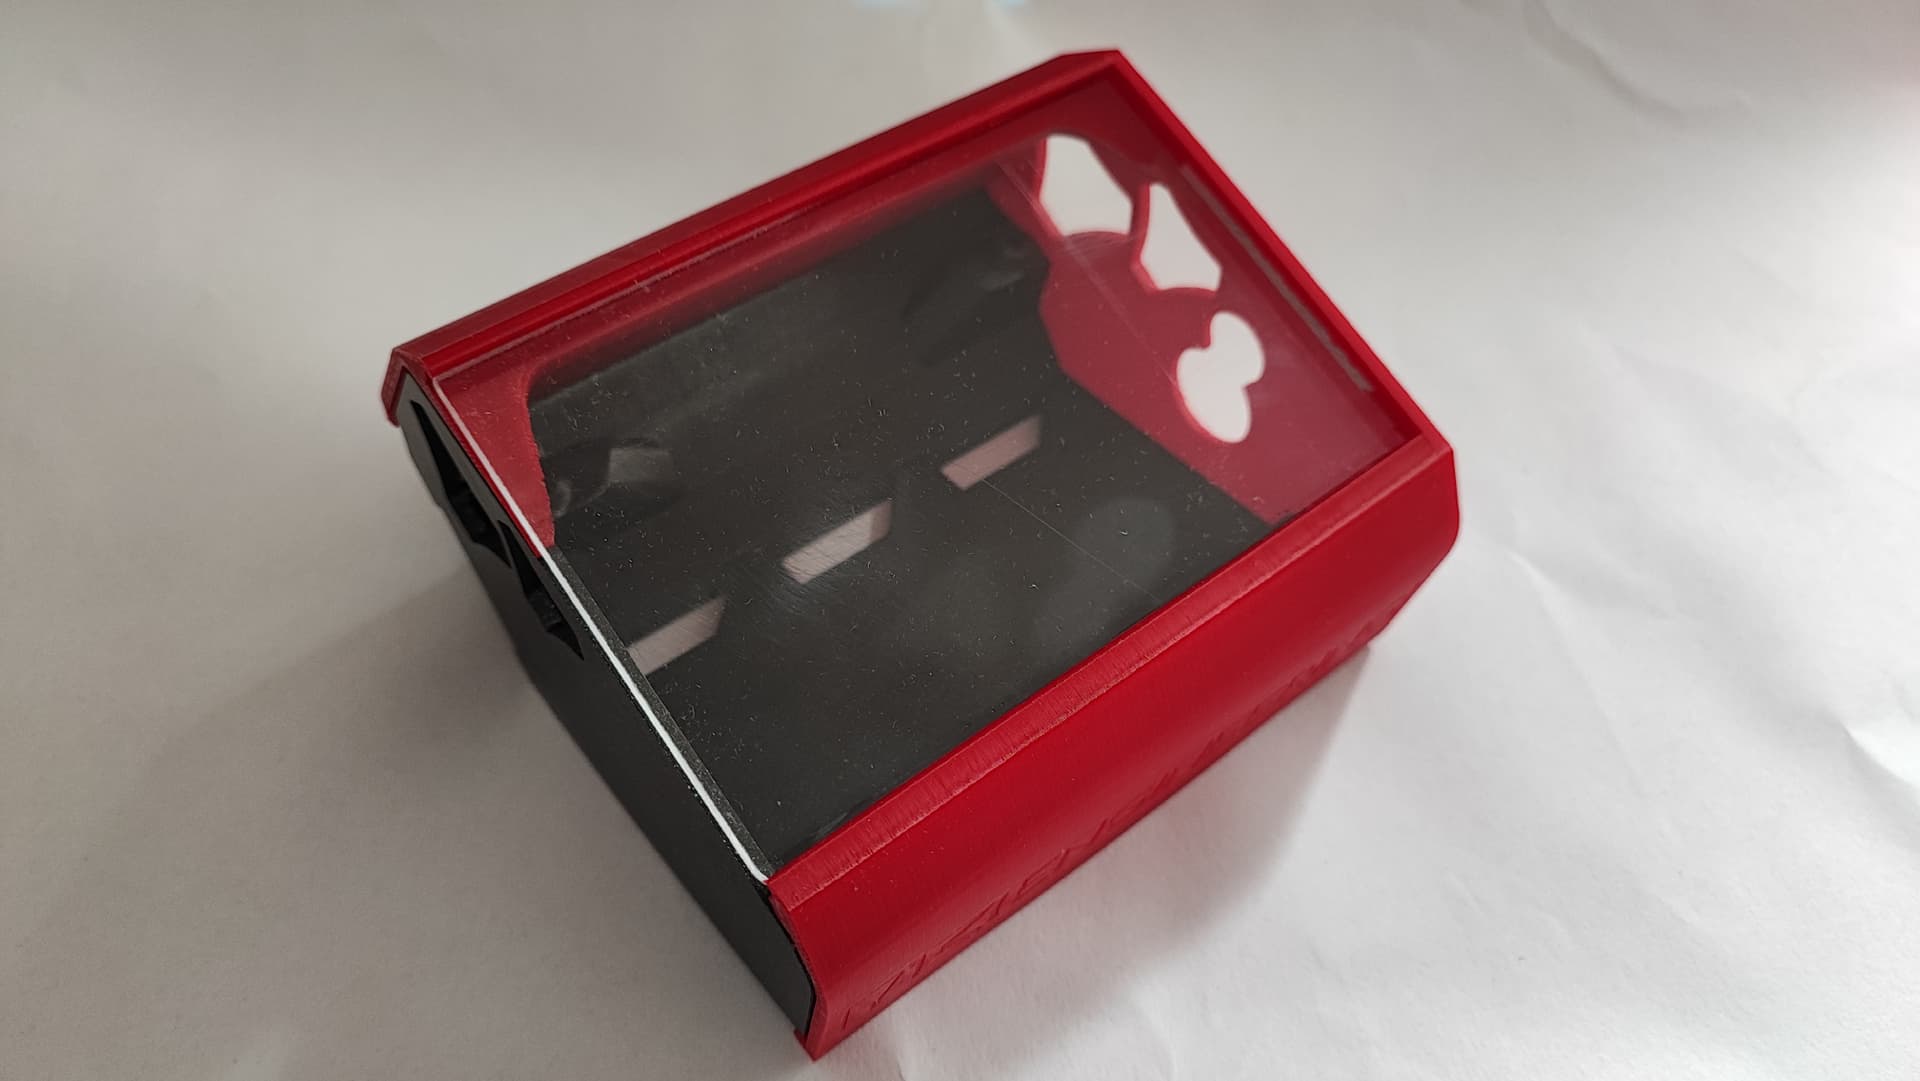
Disclaimer: I am really not good at remixing! It took me an hour and a half and I was not able to cut 2.5mm away from one of the noses holding the window, so I had to cut it out with a chisel after printing… It also needs supports. Sorry, Ryan! ![]() Maybe you can, having the original files, alter it better than I can. I would also, for instance, alter the bottom to hold the window on the “open” side and get rid of that nose that needs the support. But that was too much for me for the time being.
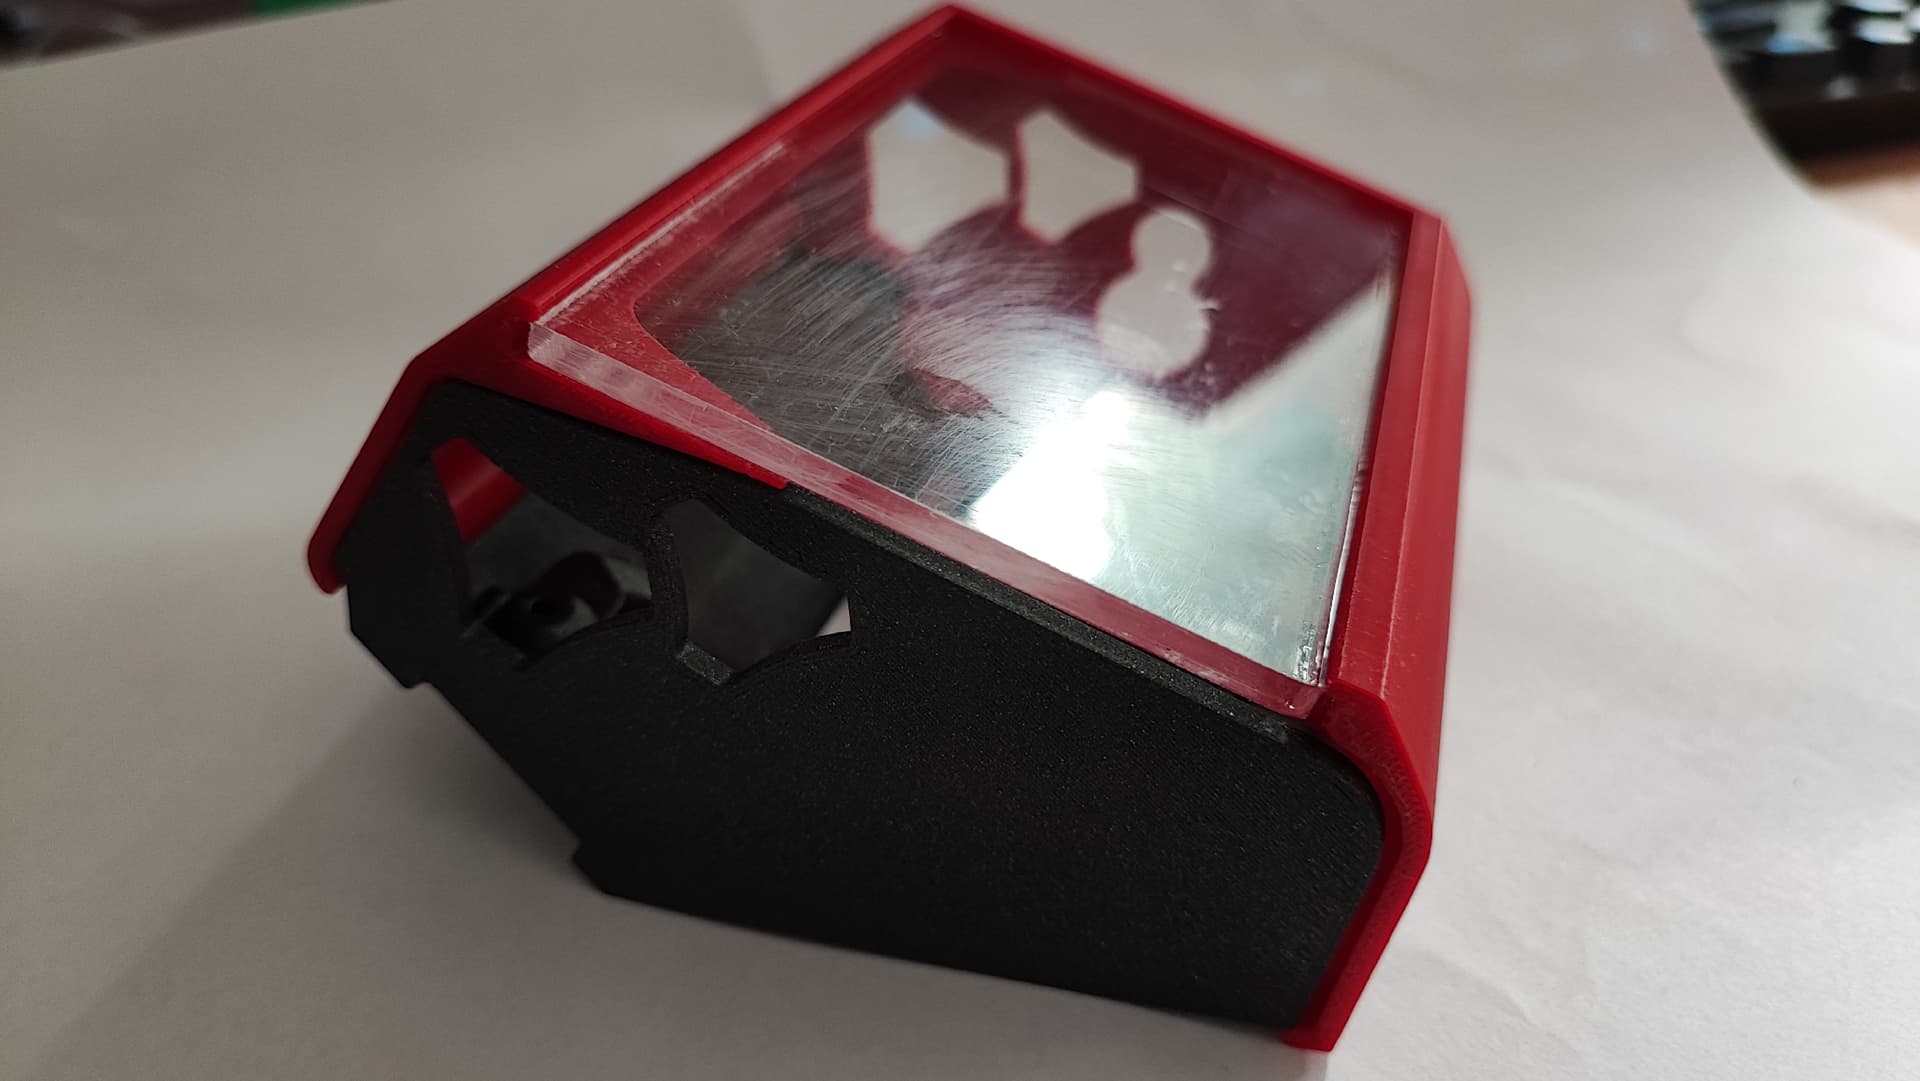
Maybe you can, having the original files, alter it better than I can. I would also, for instance, alter the bottom to hold the window on the “open” side and get rid of that nose that needs the support. But that was too much for me for the time being. ![]() The window is 4mm thick and a little scratched, but I guess that’s okay for a workshop. Maybe it would make sense to have versions for 3 and 4mm acryllic.
The window is 4mm thick and a little scratched, but I guess that’s okay for a workshop. Maybe it would make sense to have versions for 3 and 4mm acryllic.
Jackpot Lid Remix.zip (285.4 KB)
8 Likes
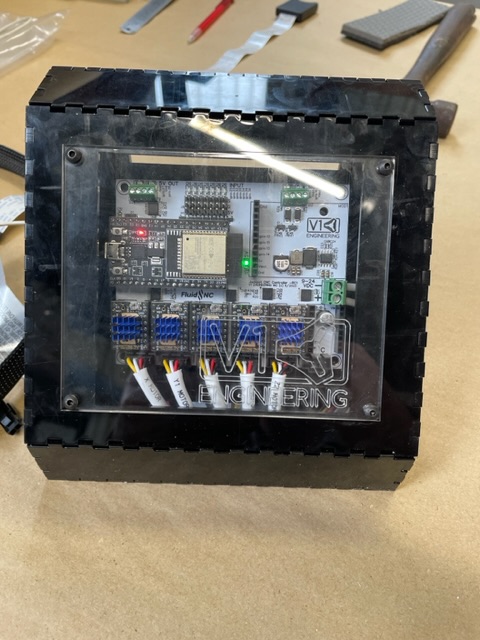
That looks awesome. And being able to see in and see the endstop lights is a big plus for me.
1 Like
OOOOOOOHHHhhhh I love them both
2 Likes
@vicious1 I remember mention of a .step file for the Jackpot, where is that located? I have an idea that I want to try something with…
Edit: nevermind. It’s on the docs.page, duh.
1 Like
So apparently my CAD skills aren’t up to this as well as I’d hoped, I will keep on working on it, but the basic idea is a pair of 2.5d milled endcaps, providing access to the USB and SD card slots on one end, and power on the other. Make it similar in assembly to the 12864 case, I think, and provide for a clear panel on top, possibly bent with a heat gun. The former for the bent panel can be milled (3D printed would probably not handle temperatures that would bend acrylic) in sections. I was considering making the top clear panel hinged for access, but I’ve never opened my Duet case since I installed the laser PWM module. (I should though, I want to change some of the wiring to the core.)
Edit: I did complete a holder for the LR3 style controller cases that can be used with a Primo… or for that matter, the MP3DP… that was pretty quick and easy…
I didn’t try mine yet because I haven’t gotten neither the board nor a table yet. ![]() Do you have a link for yours?
Do you have a link for yours?
I want to print it before I publish it.
2 Likes