Just a bit more

I seemed to have misplaced the timing belt so I had to order new… always something… lol 
Just a bit more
I seemed to have misplaced the timing belt so I had to order new… always something… lol
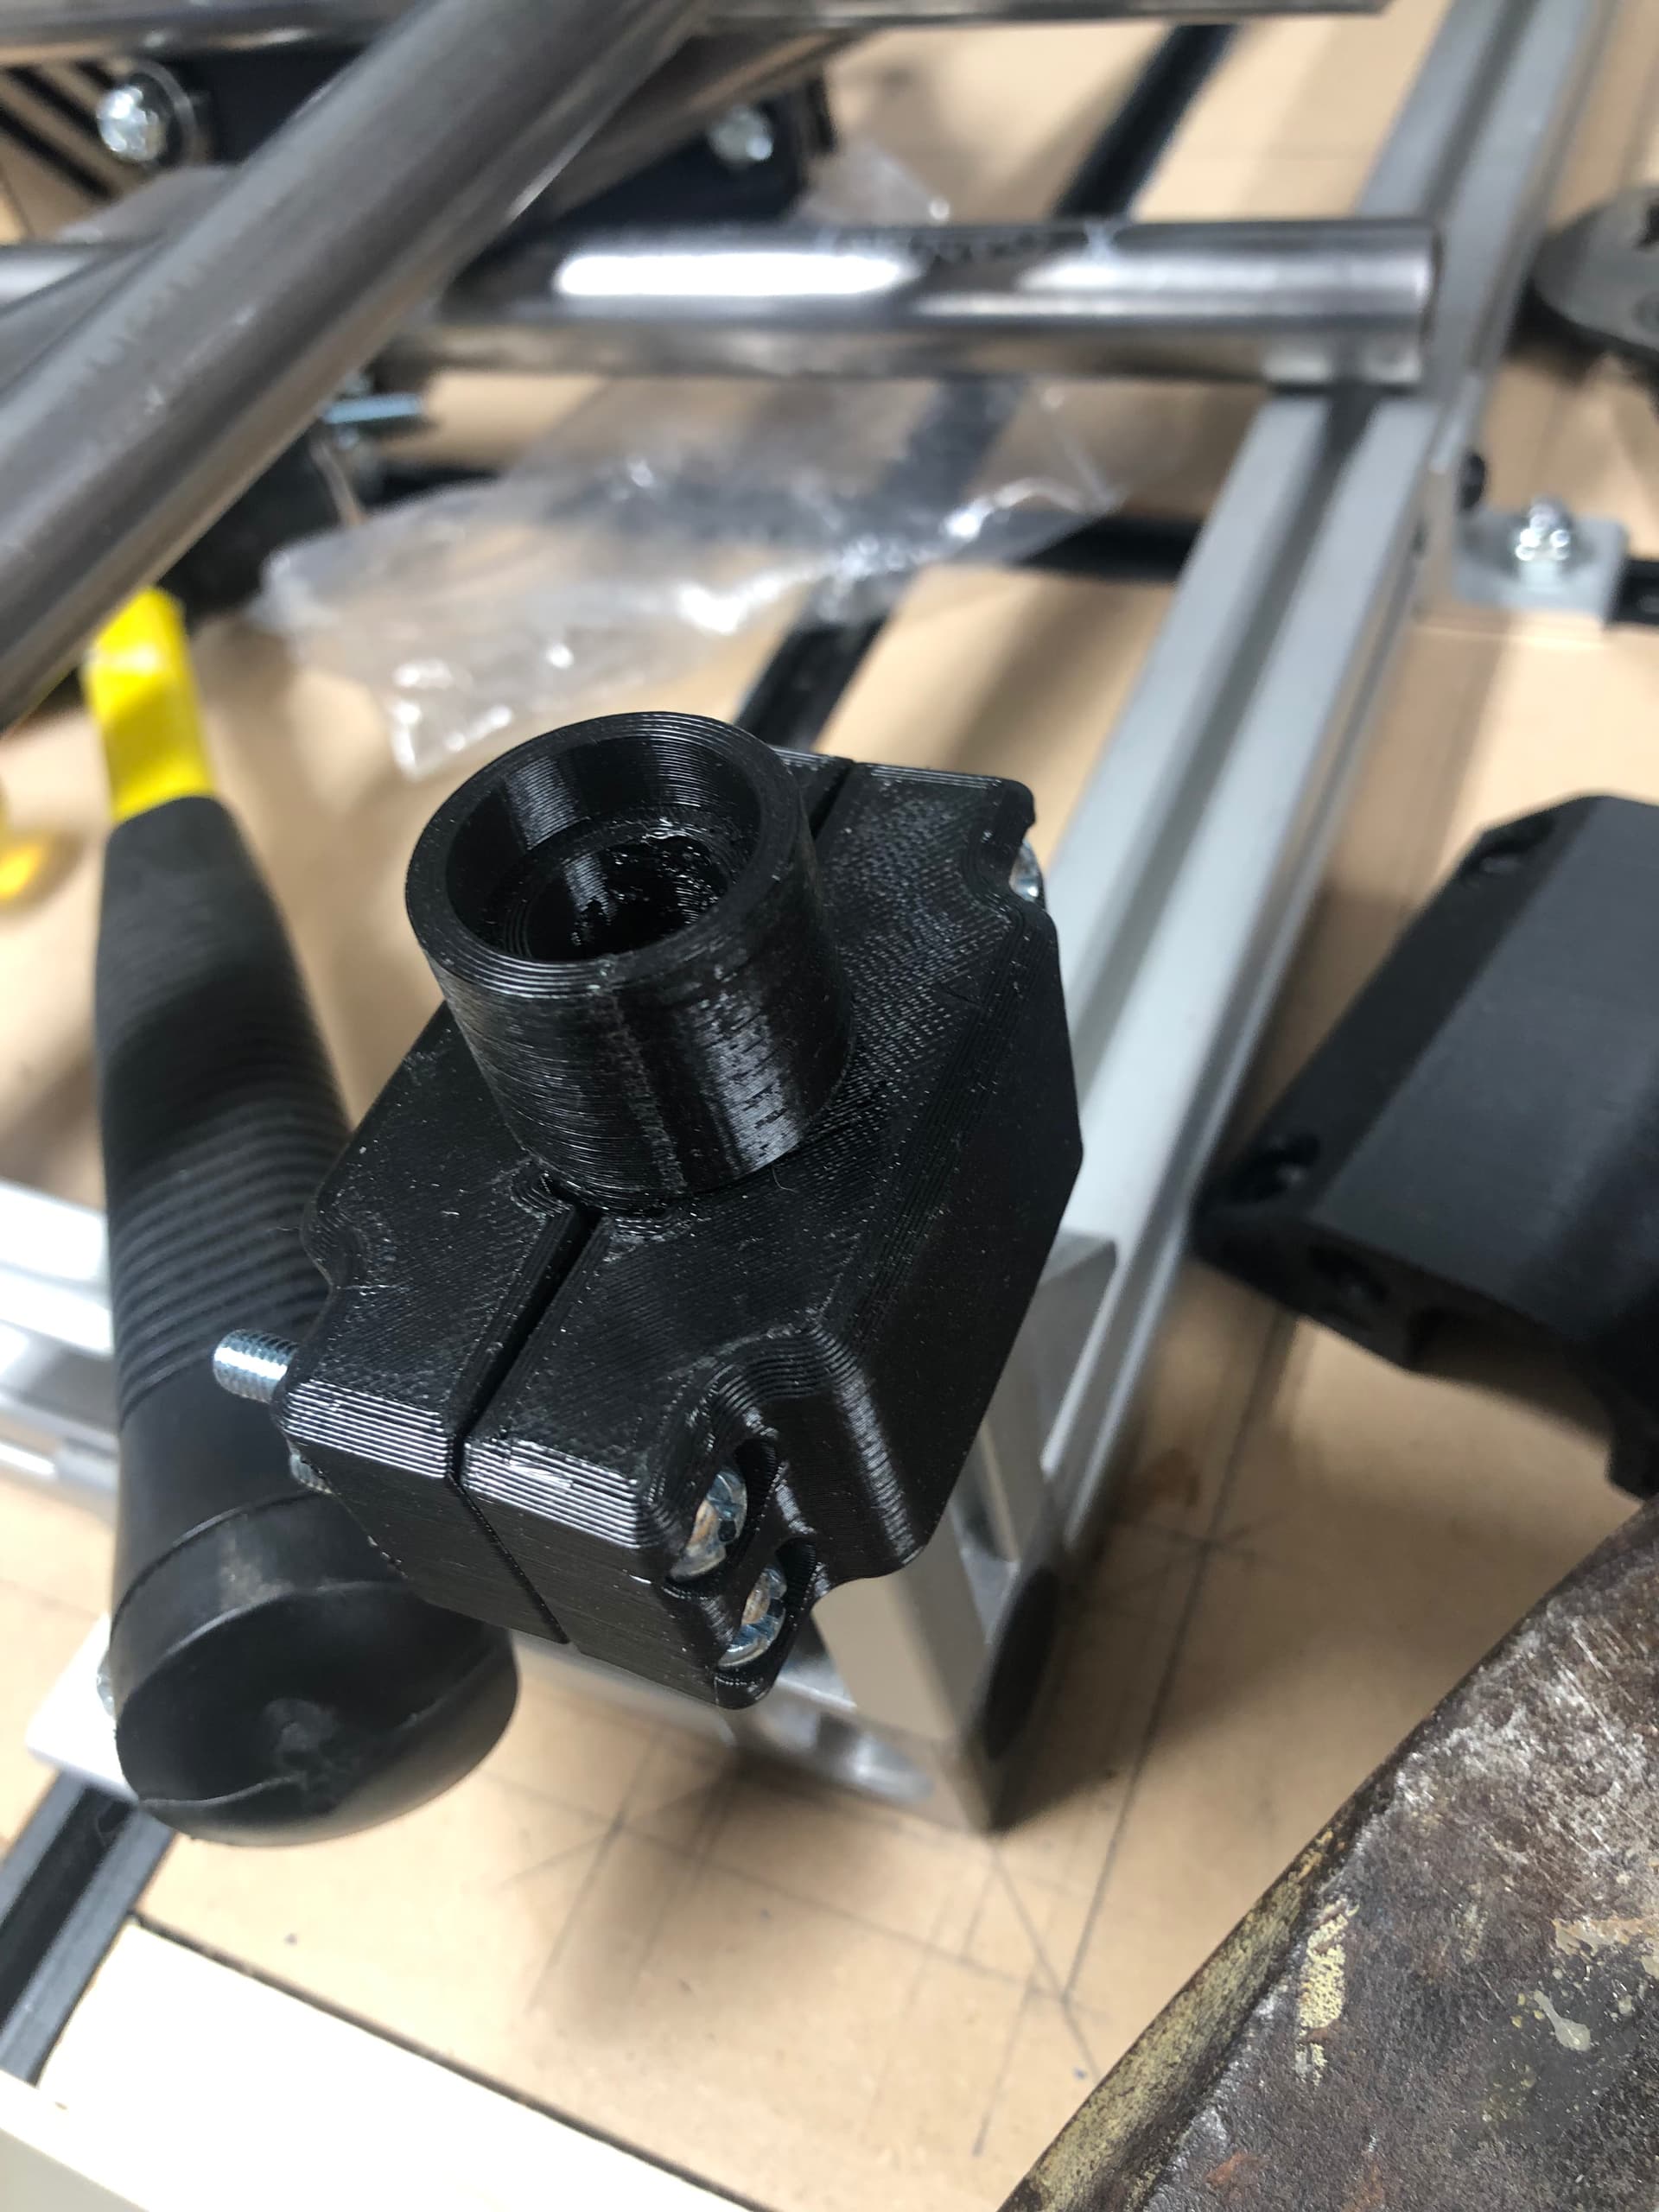
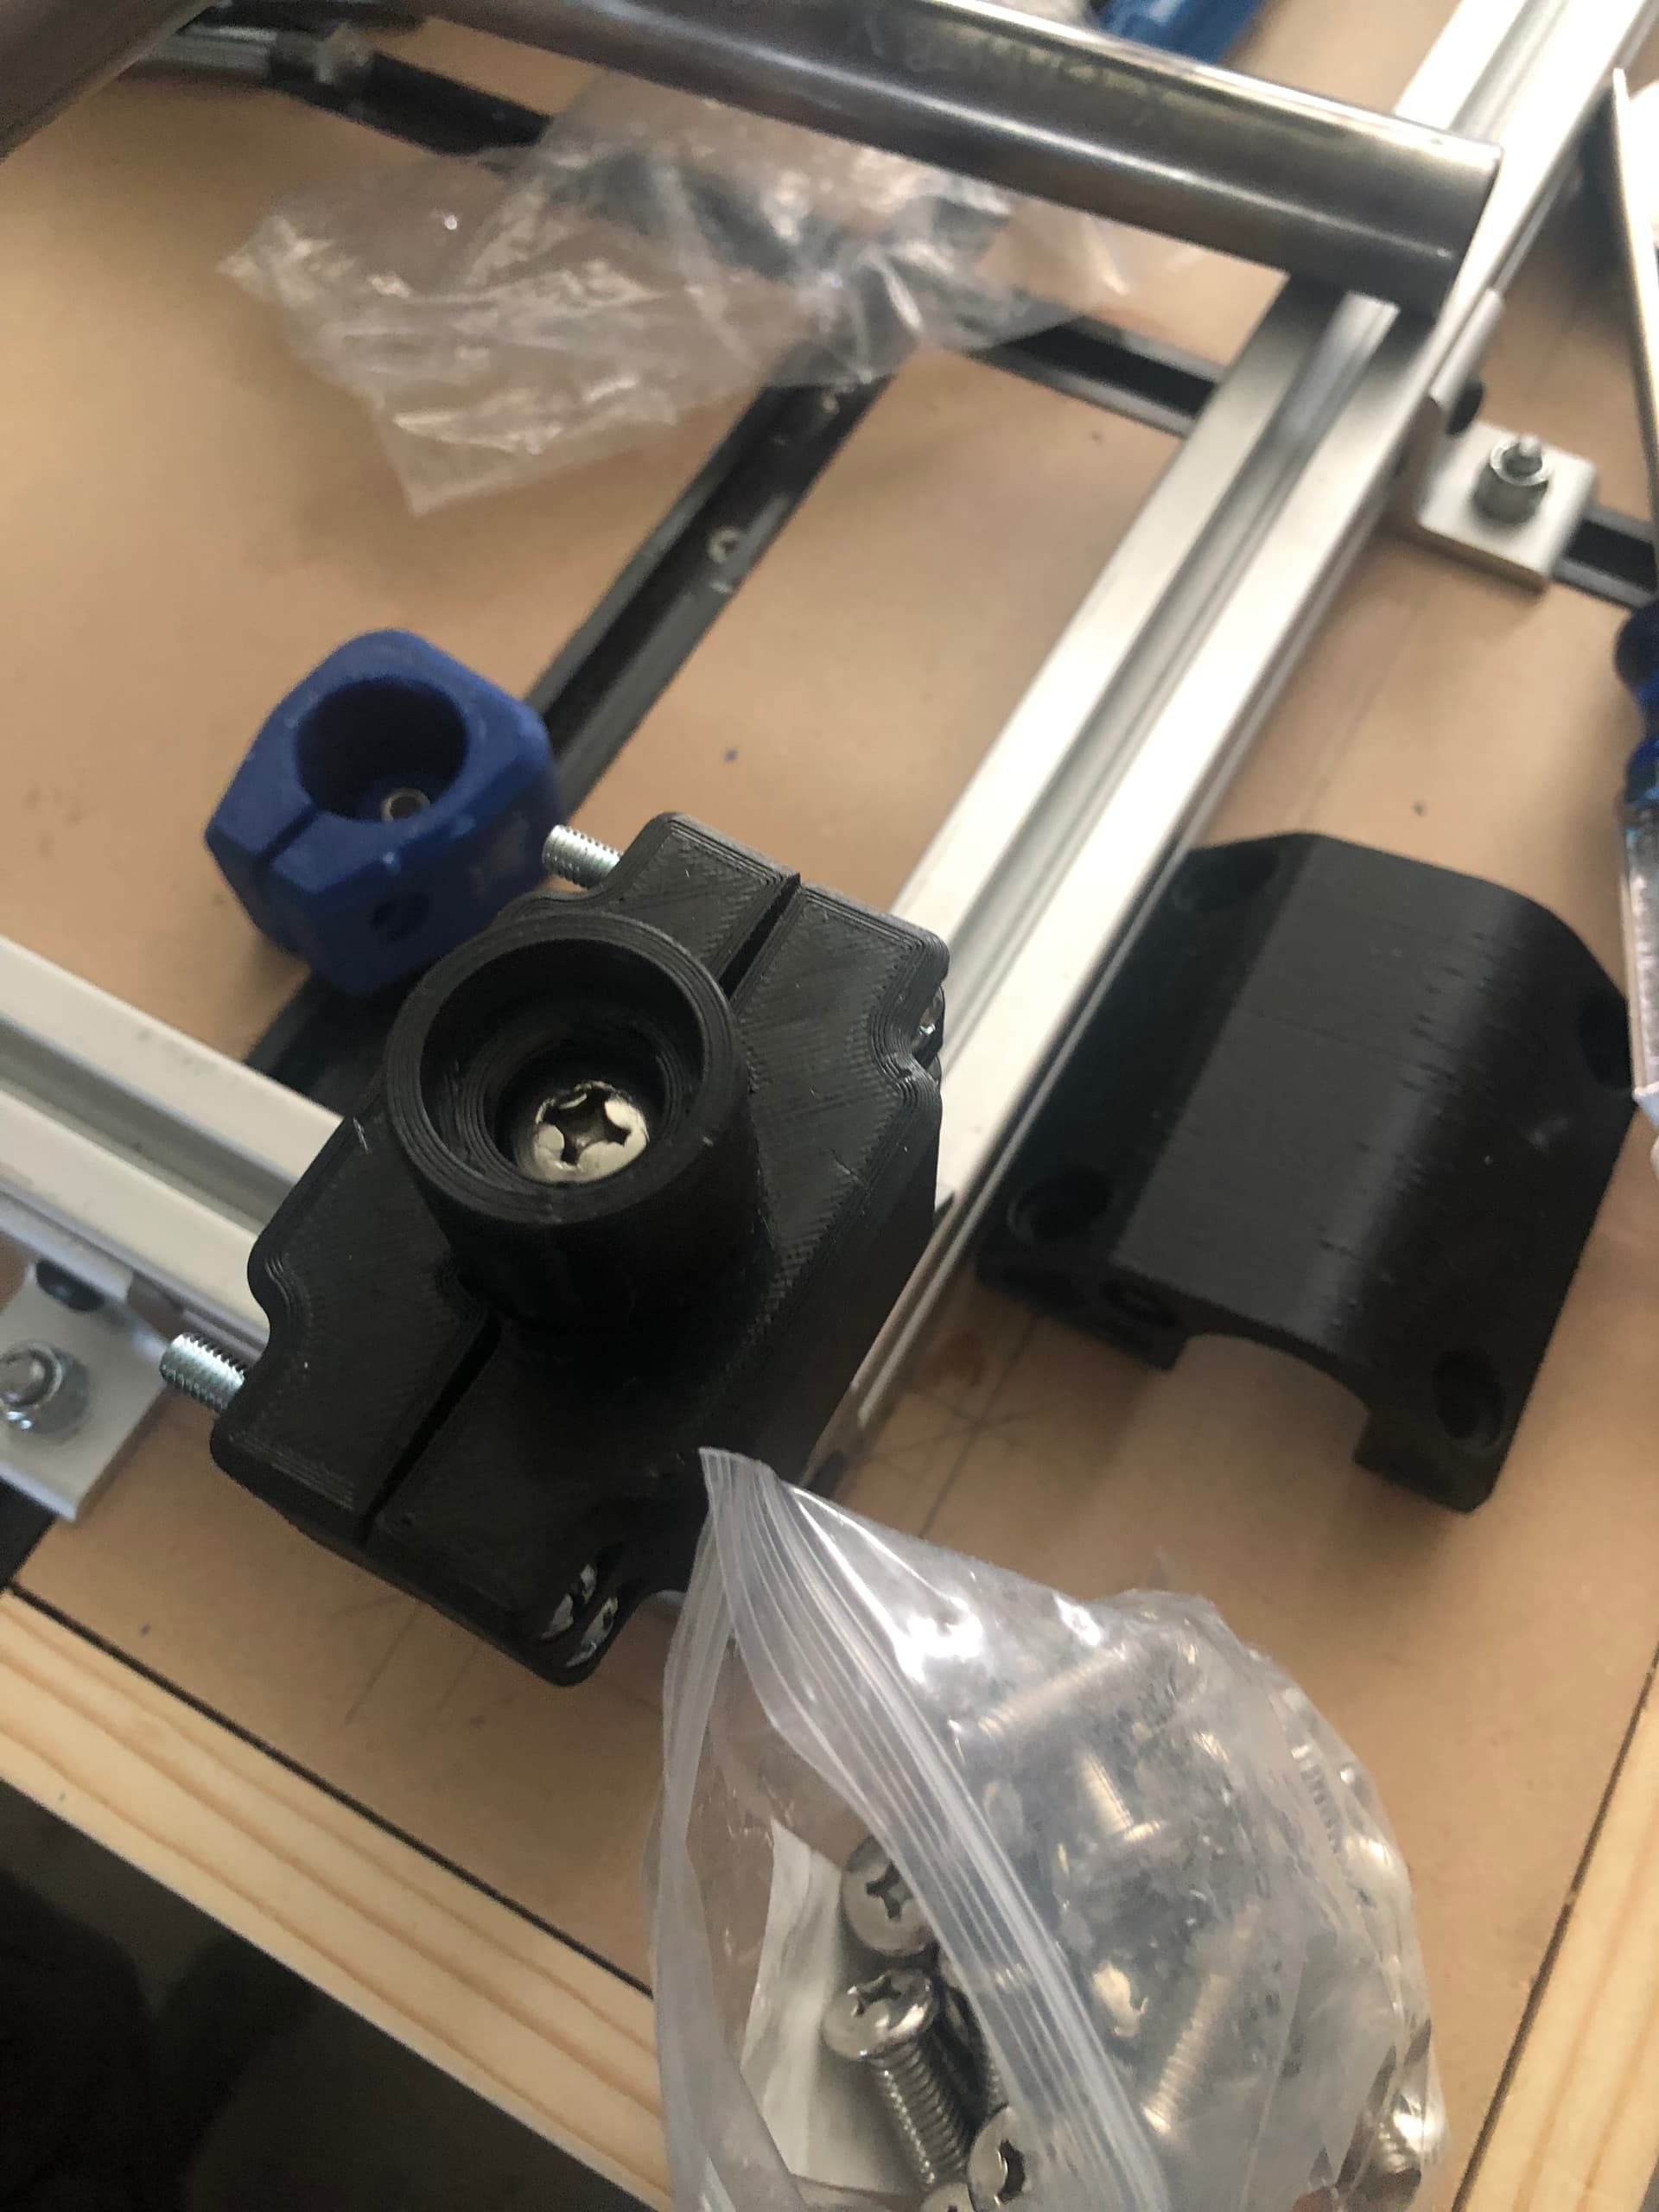
Well, all projects are not without their hiccups… so i broke the post off the germansteel124’s 3030 leg adapter. Might have been a weakness in the printing as the other three seem to be just fine.
I superglued it back and am waiting on 8m screws to arrive 1” long to secure it to the top of the tapped extruded leg… hope that will be enough to hold (as I wait for my printer friend to send the replacement just in case it is still needed).
This has got to be the longest build time of an MPCNC router. LOL.
Additionally, i seemed to have misplaced the timing belts sent with the kit so i had to order more and that was a good thing since i enlarged the footprint as well as added a few inches to the Z so also waiting on the 5meters of correct belt to arrive.
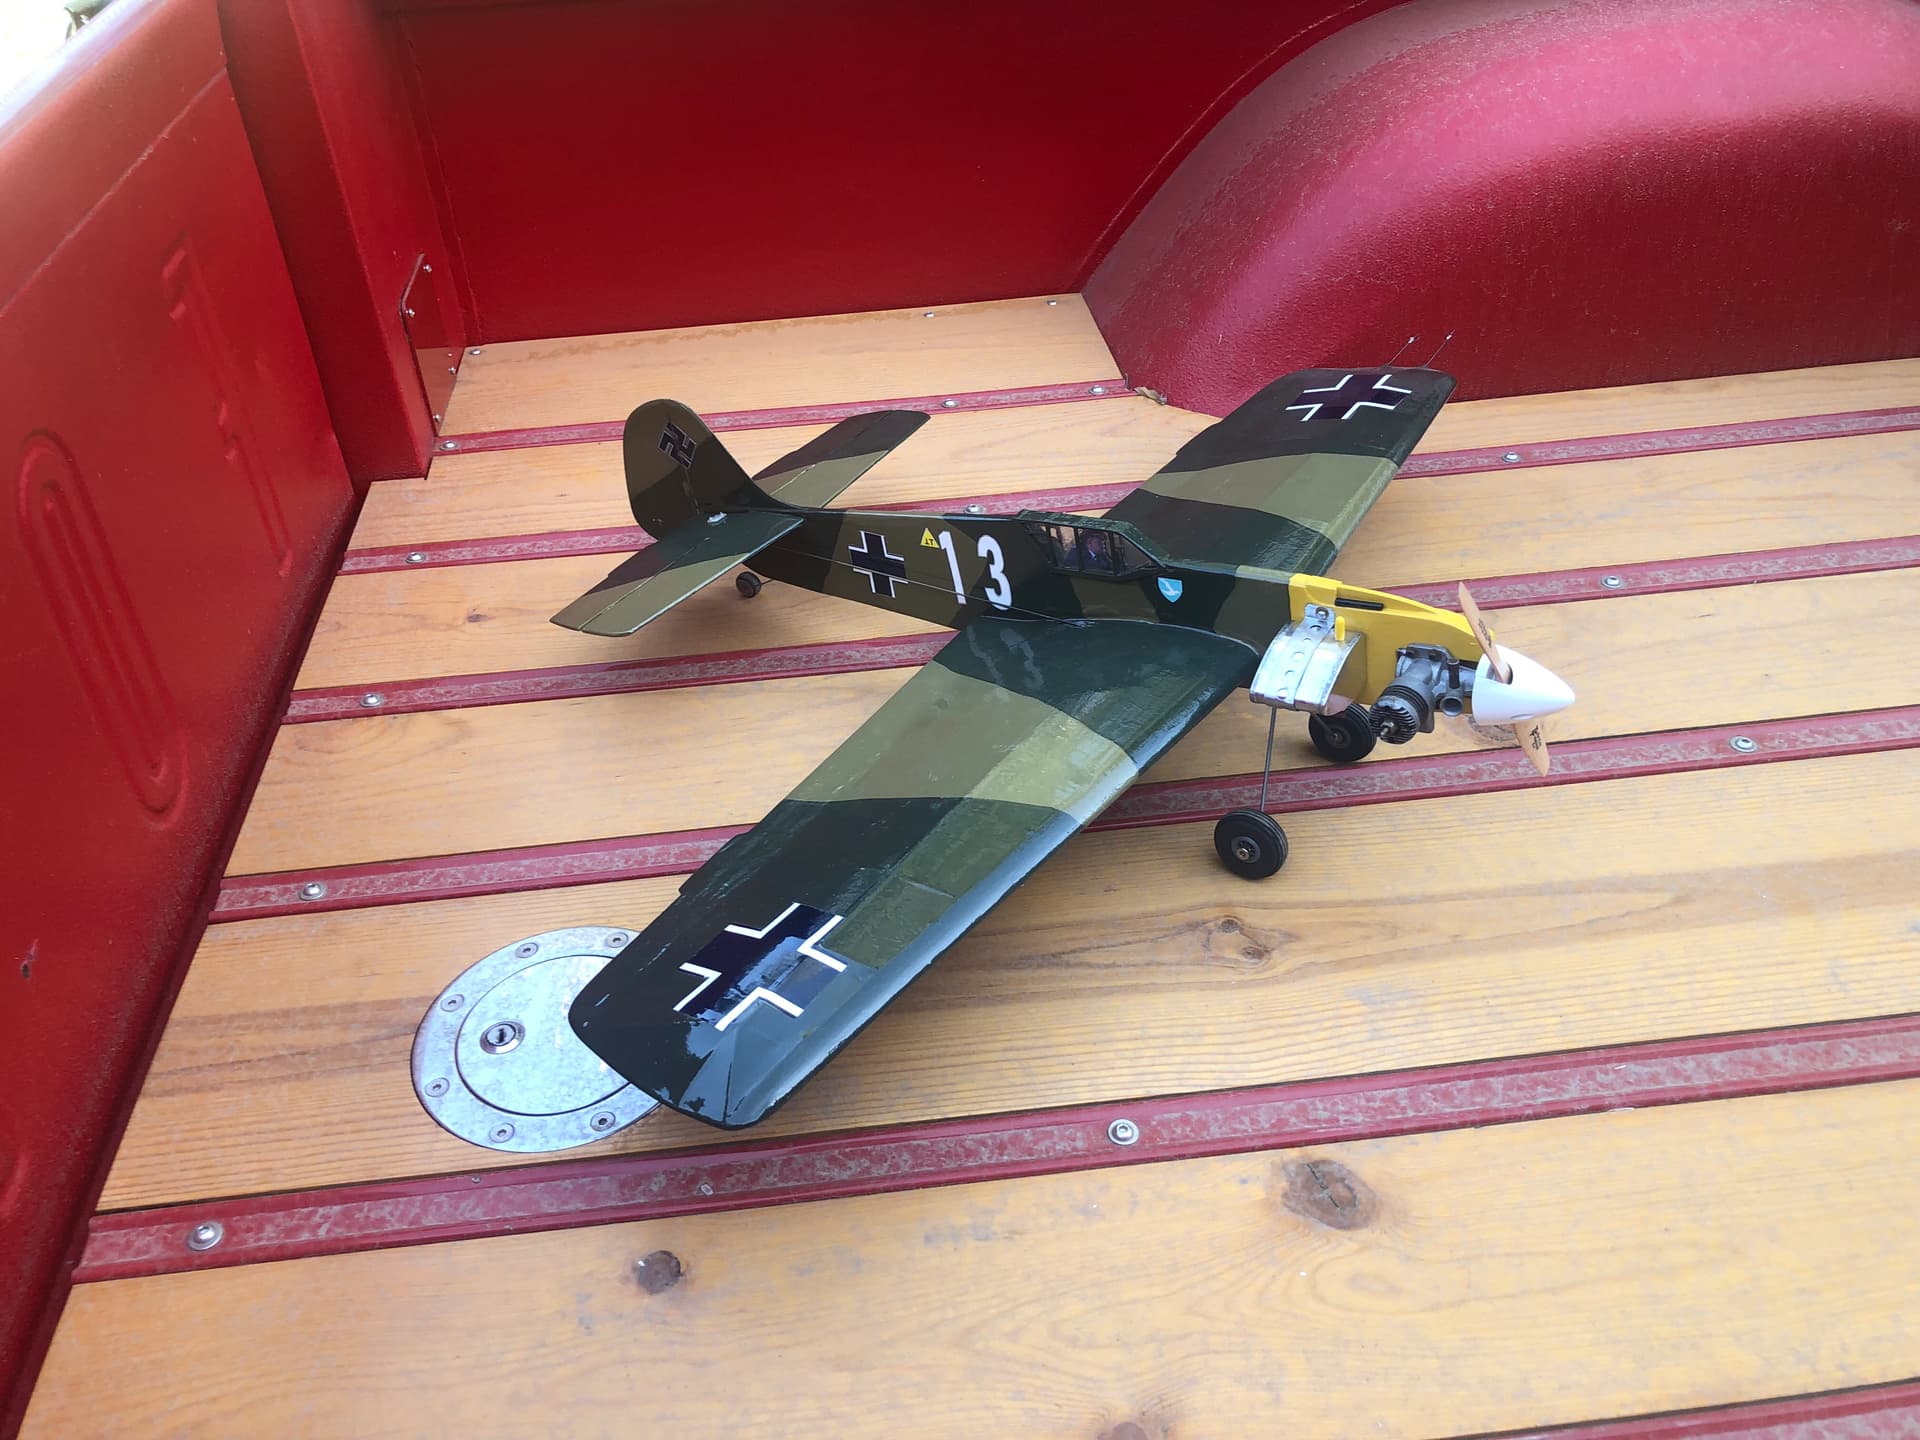
Time to work on my old school control line airplane Messerschmidt 109ME while I wait for stuff to arrive.
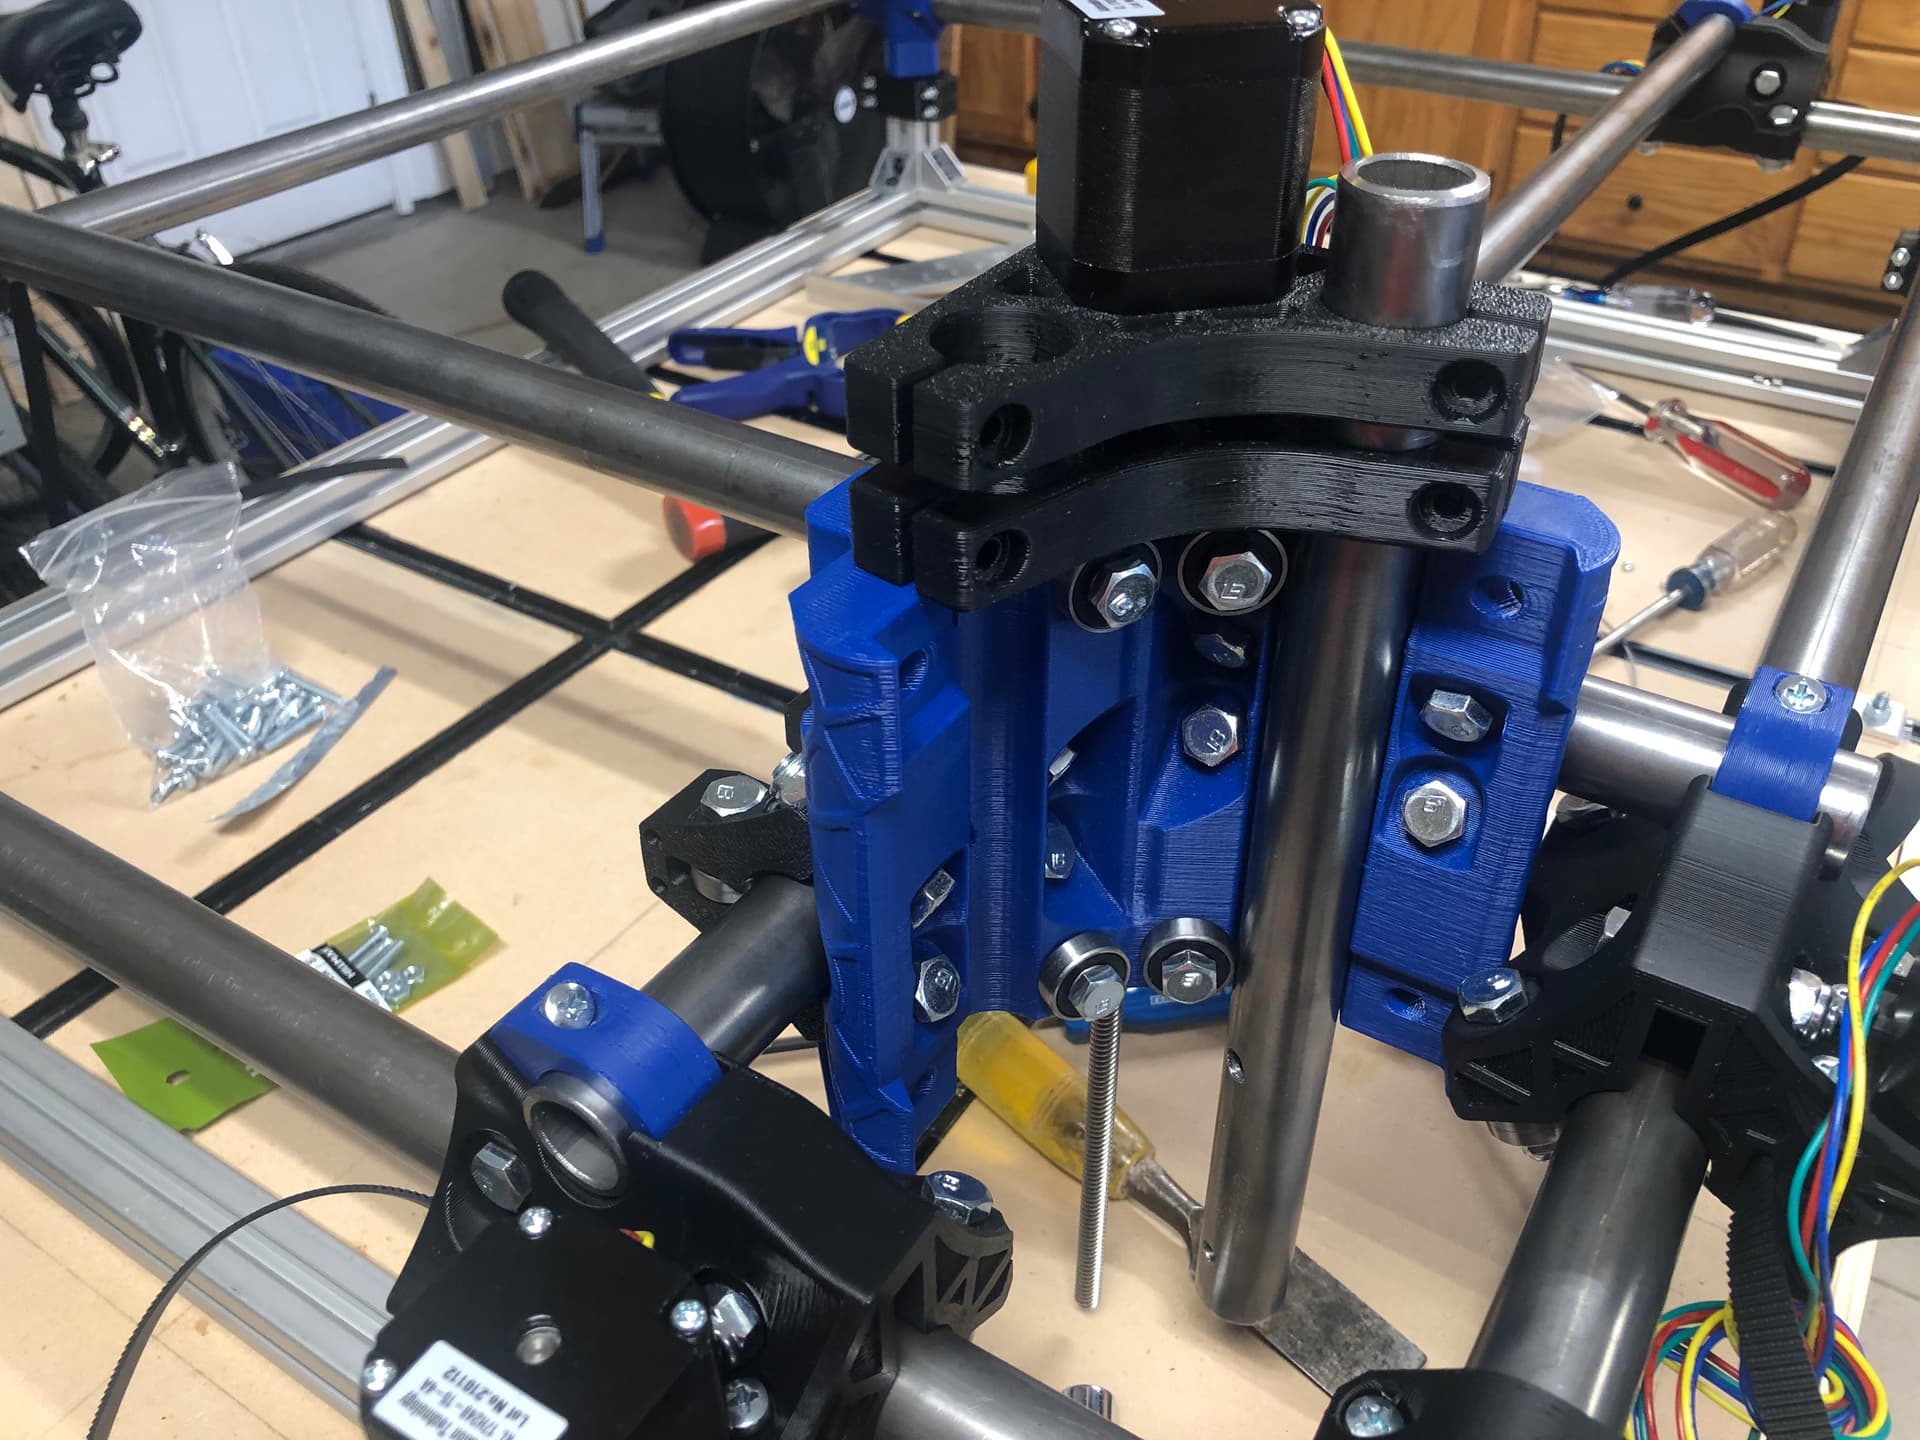
Although i glued on the top, once the 8m bolt was secured, it seems very strong. I put the three other 8m bolts in the other corners just in case they cracked during use. Good thing GermanSteel124 suggested putting in the bolts even though they were secured onto the 3030 legs with 4 mounting screws…can’t be too ‘built’
Those are a lot of fun, and reasonably simple.
I’m surprised it broke, I printed mine in PETG with with a 0.6 nozzle, are yours printed in PLA, must be an inter-layer adhesion issue? I tried to break one of mine with my hands and couldn’t.
Might have been a fluke… we used PETG as well. No worries, CA glue and the 8m screw on top into the 3030 leg post is quite stout and I believe it will hold just fine (but having one printed again just in case).
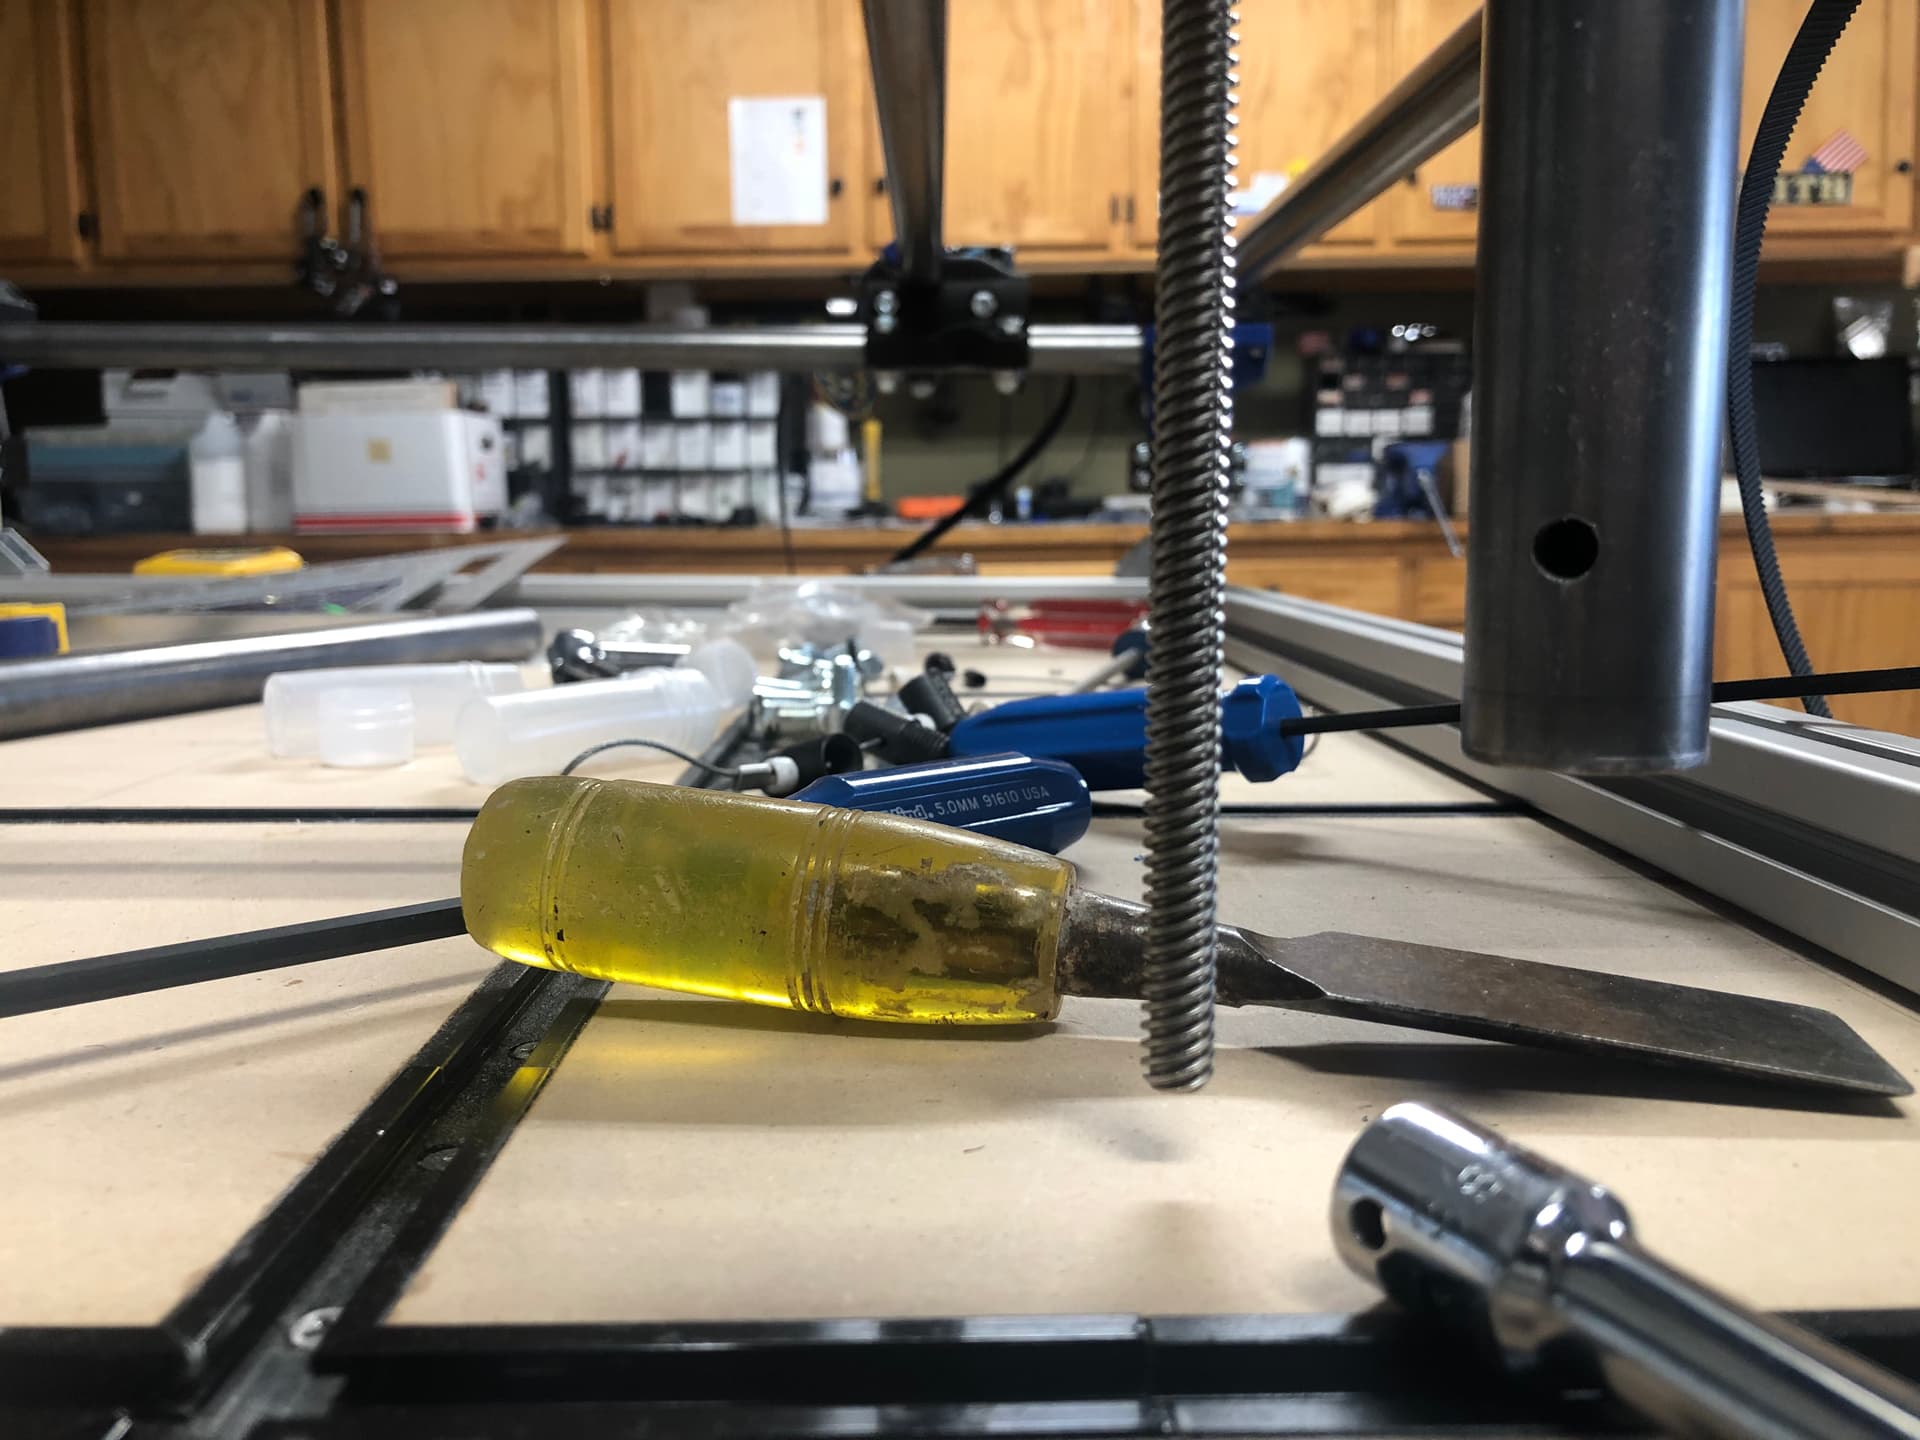
Moving right along, to my next question, i see on the calculator on my build the z screw is minimum at 6.75” long… but that being the minimum, what is the ideal length of this screw?
Is there a general rule of thumb… so many inches or mm added to the minimum length?
The Z motor and screw rise up when the Z axis is lifted, and the nut stays at the same height (relative to the gantry tubes and work surface). 1/4" - 1/2" longer than the bottom of the lead screw nut when the Z carriage is at its highest point should be plenty.
(edit to correct direction)
Pretty much the minimum is the ideal length of this screw.
It should not protrude below the Z tubes. The whole assembly of the motor, screw and Z tubes raises and lowers, so if the screw protrudes below the Z tubes, it will ALWAYS be below the Z tubes, and that means less clearance for the tool.
This is something that is best matched. The machine Z height determines the length of the legs (Shorter is more rigid for the Primo. Always.) The length of the Z tubes, and the Z screw. These should all be matched
What I found with my assembly is that the Z screw can actually be MUCH shorter. Mine is about 2" above the bottom of the Z tubes. It only needs to reach the nut on the top of the core with the Z at maximum height.
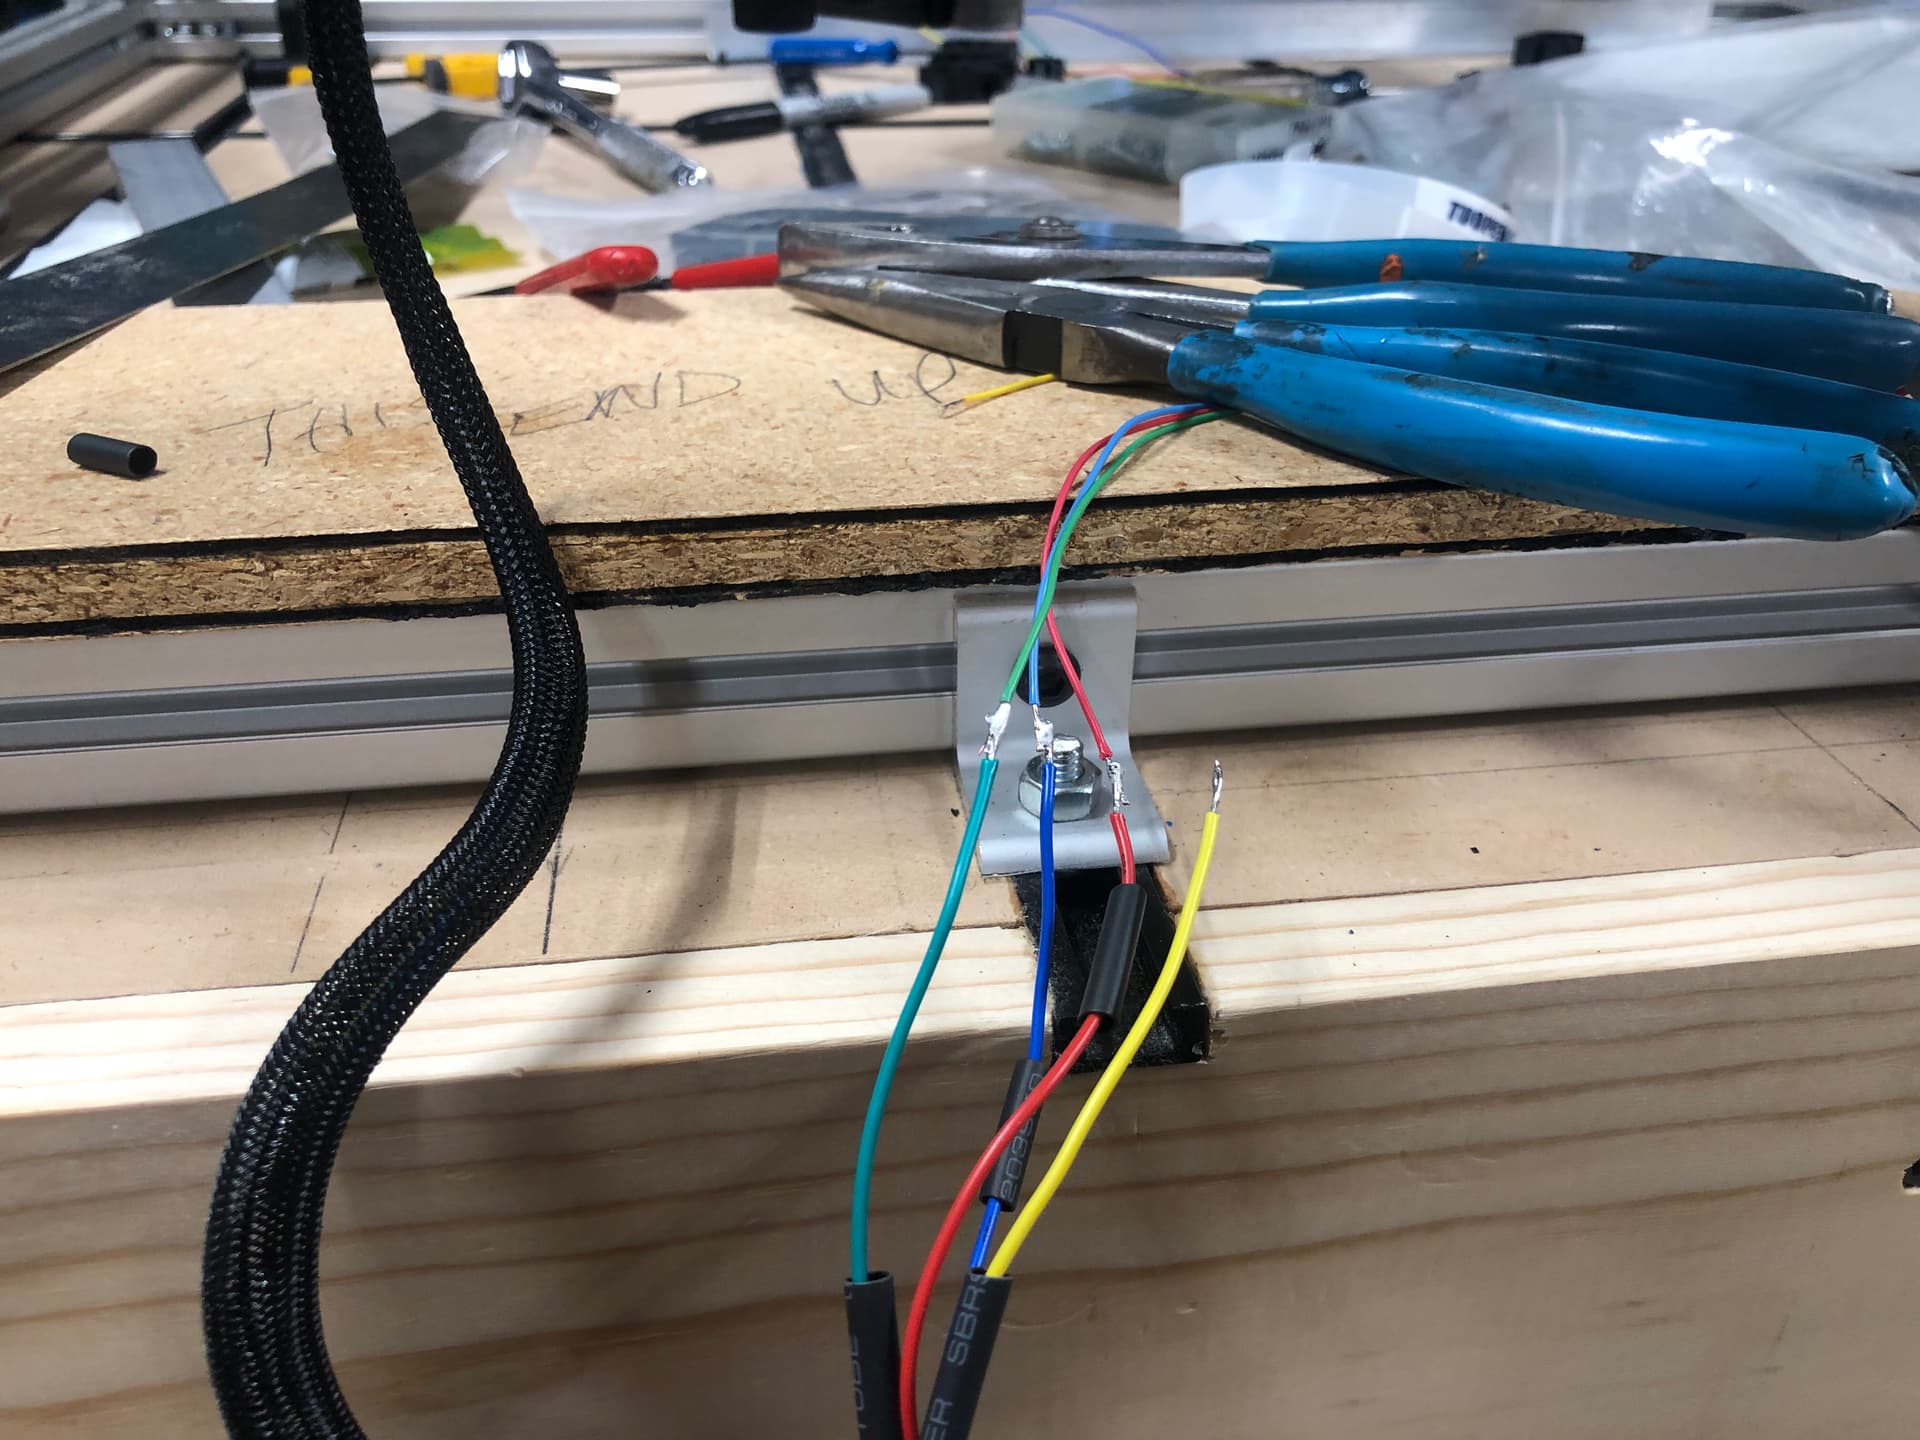
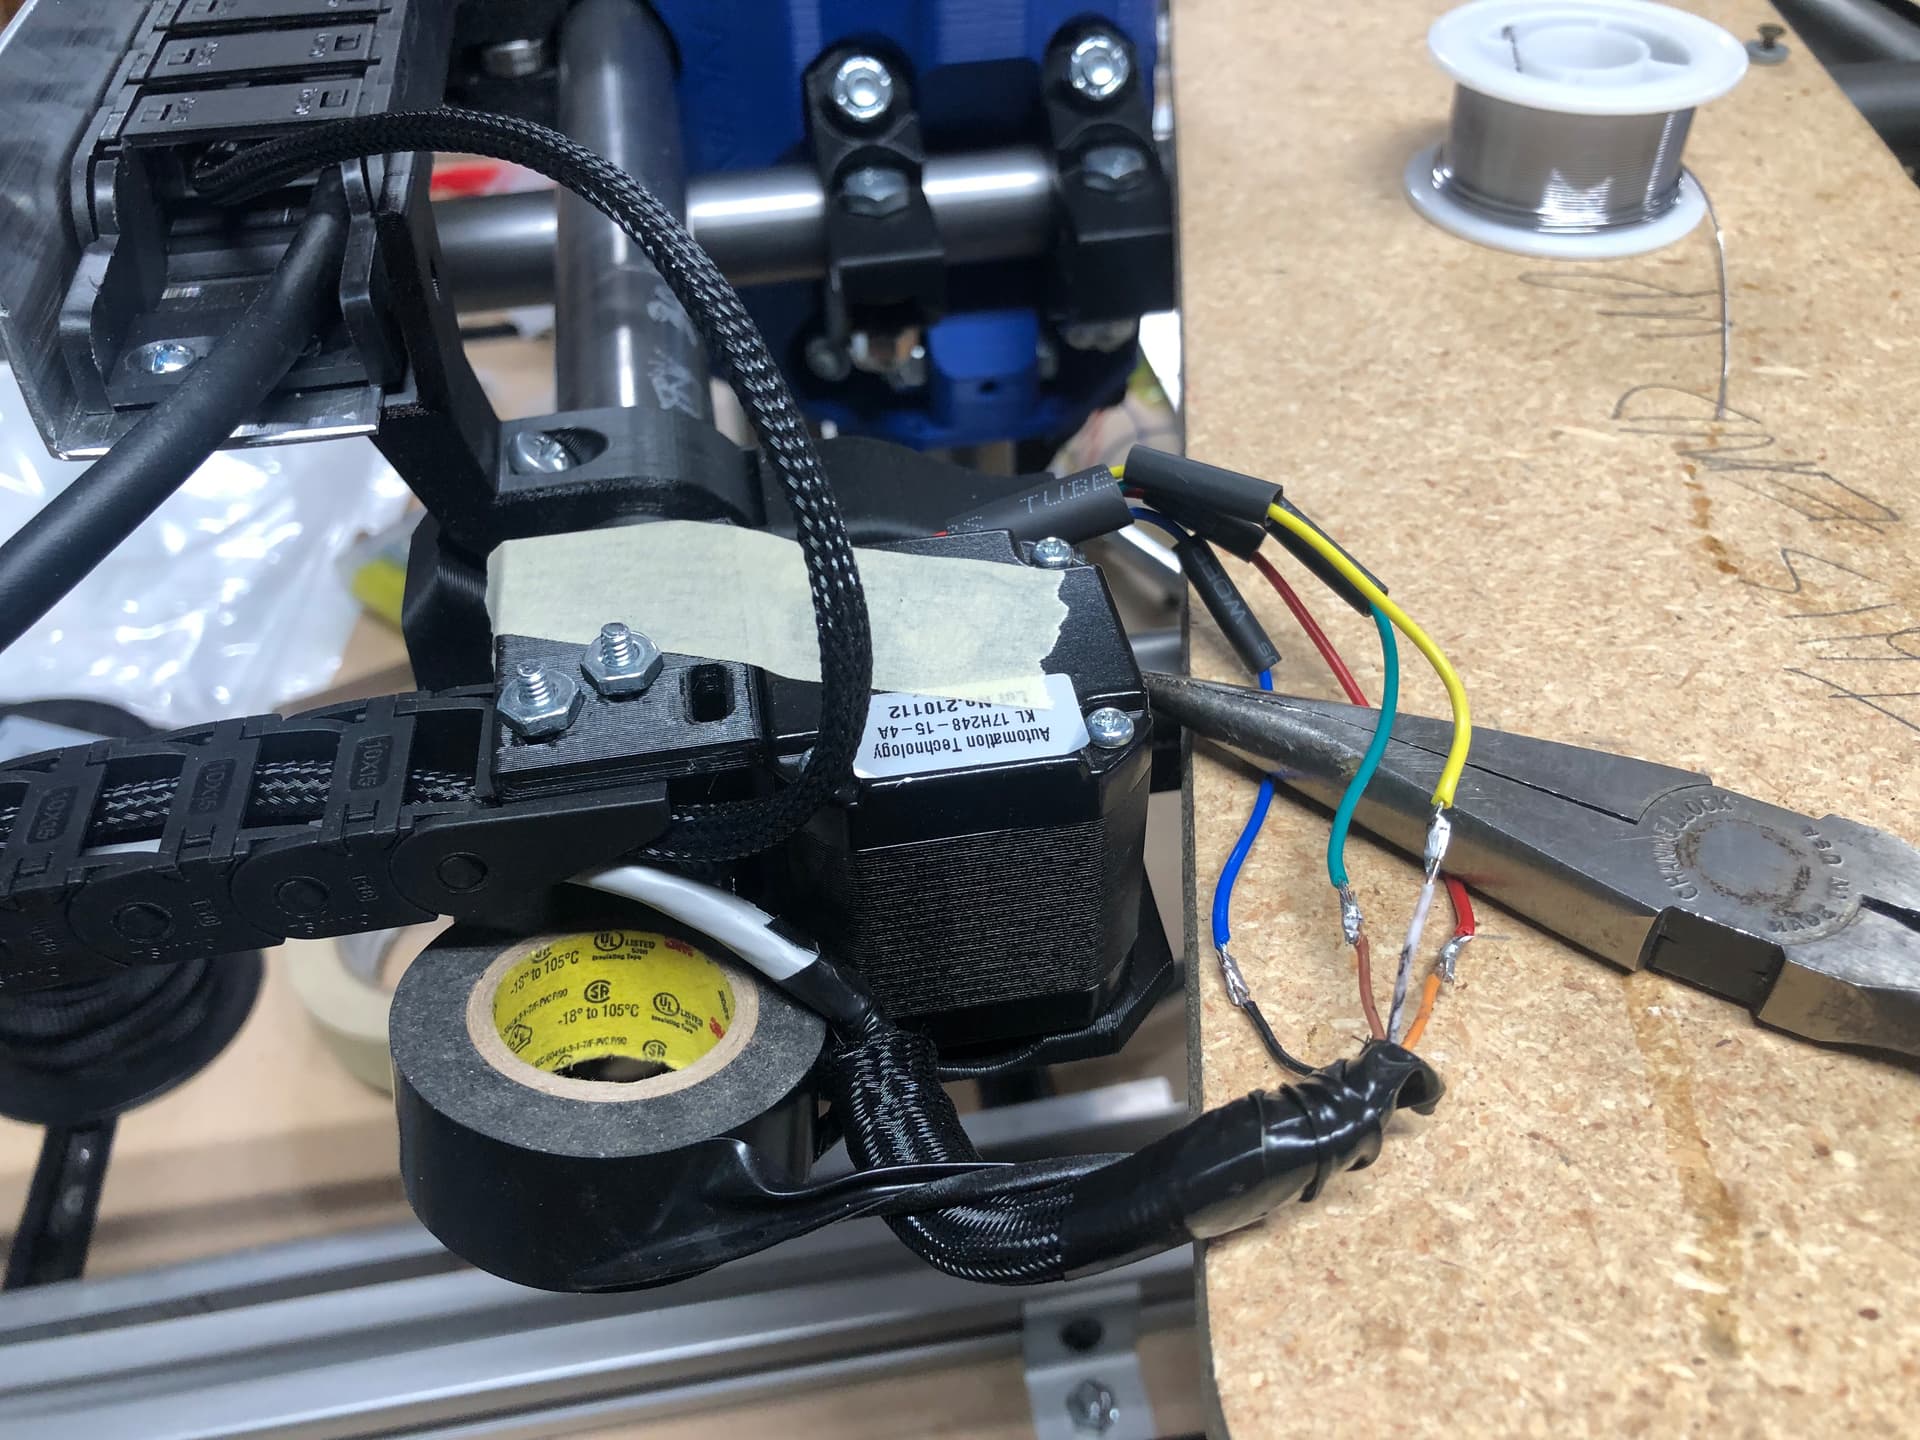
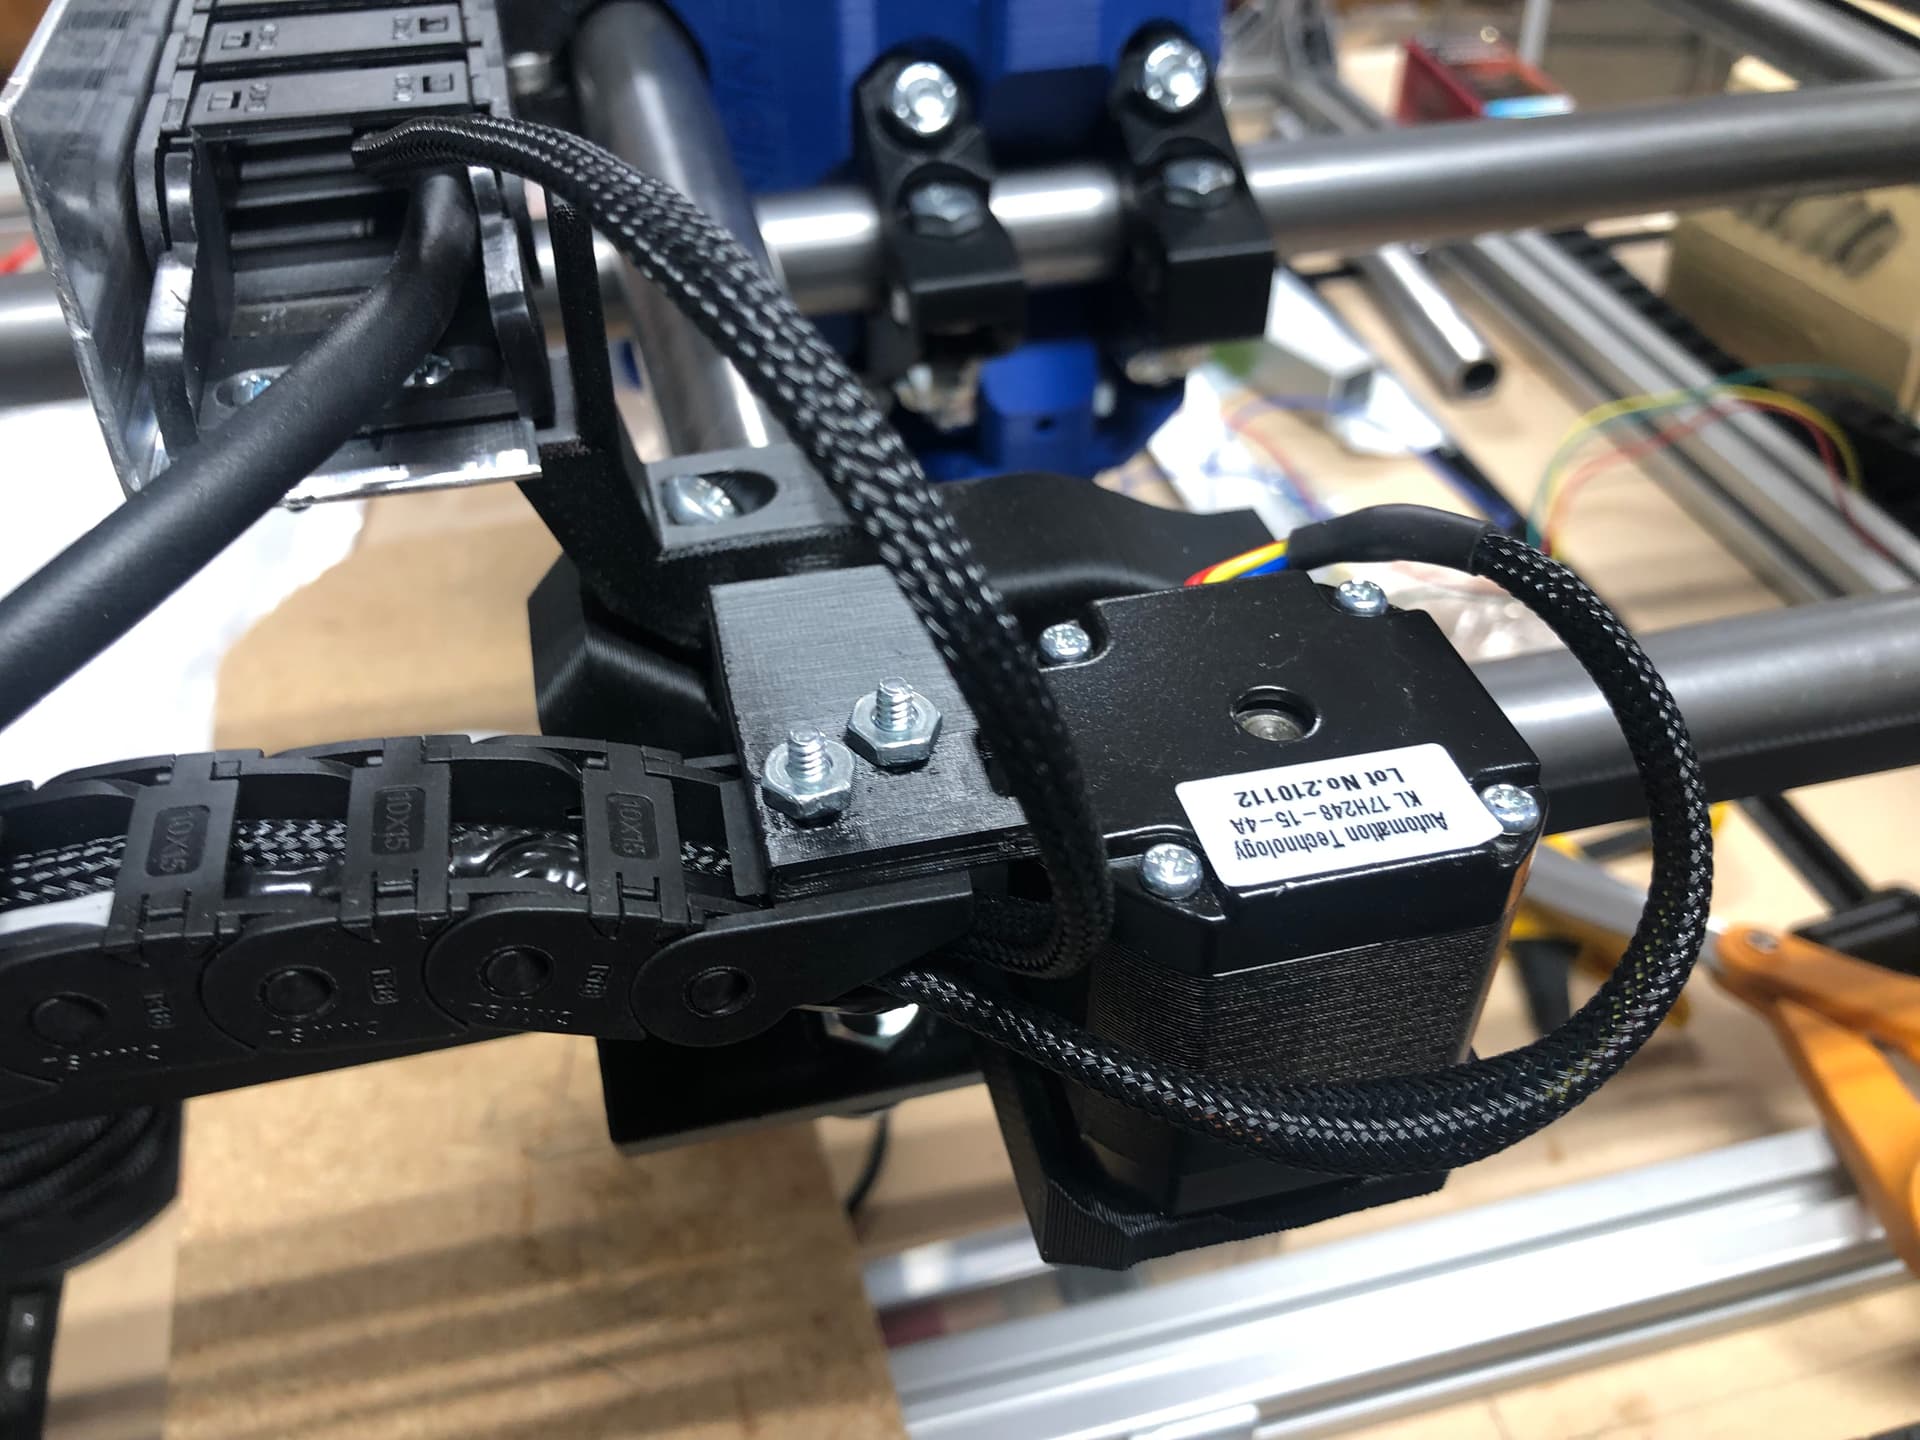
Moving slowly, but moving. This morning whilst the fam slept, I rough-wired the Primo. Had extra brackets printed to hold the drag chains, soldered all wires and ran through the pipes. May come back and put connectors if one of the motors fail for ease of replacement, but until then I kept it simple. Will likely be reaching out during the final wiring… thanks in advance to all that have made many suggestions along the way.
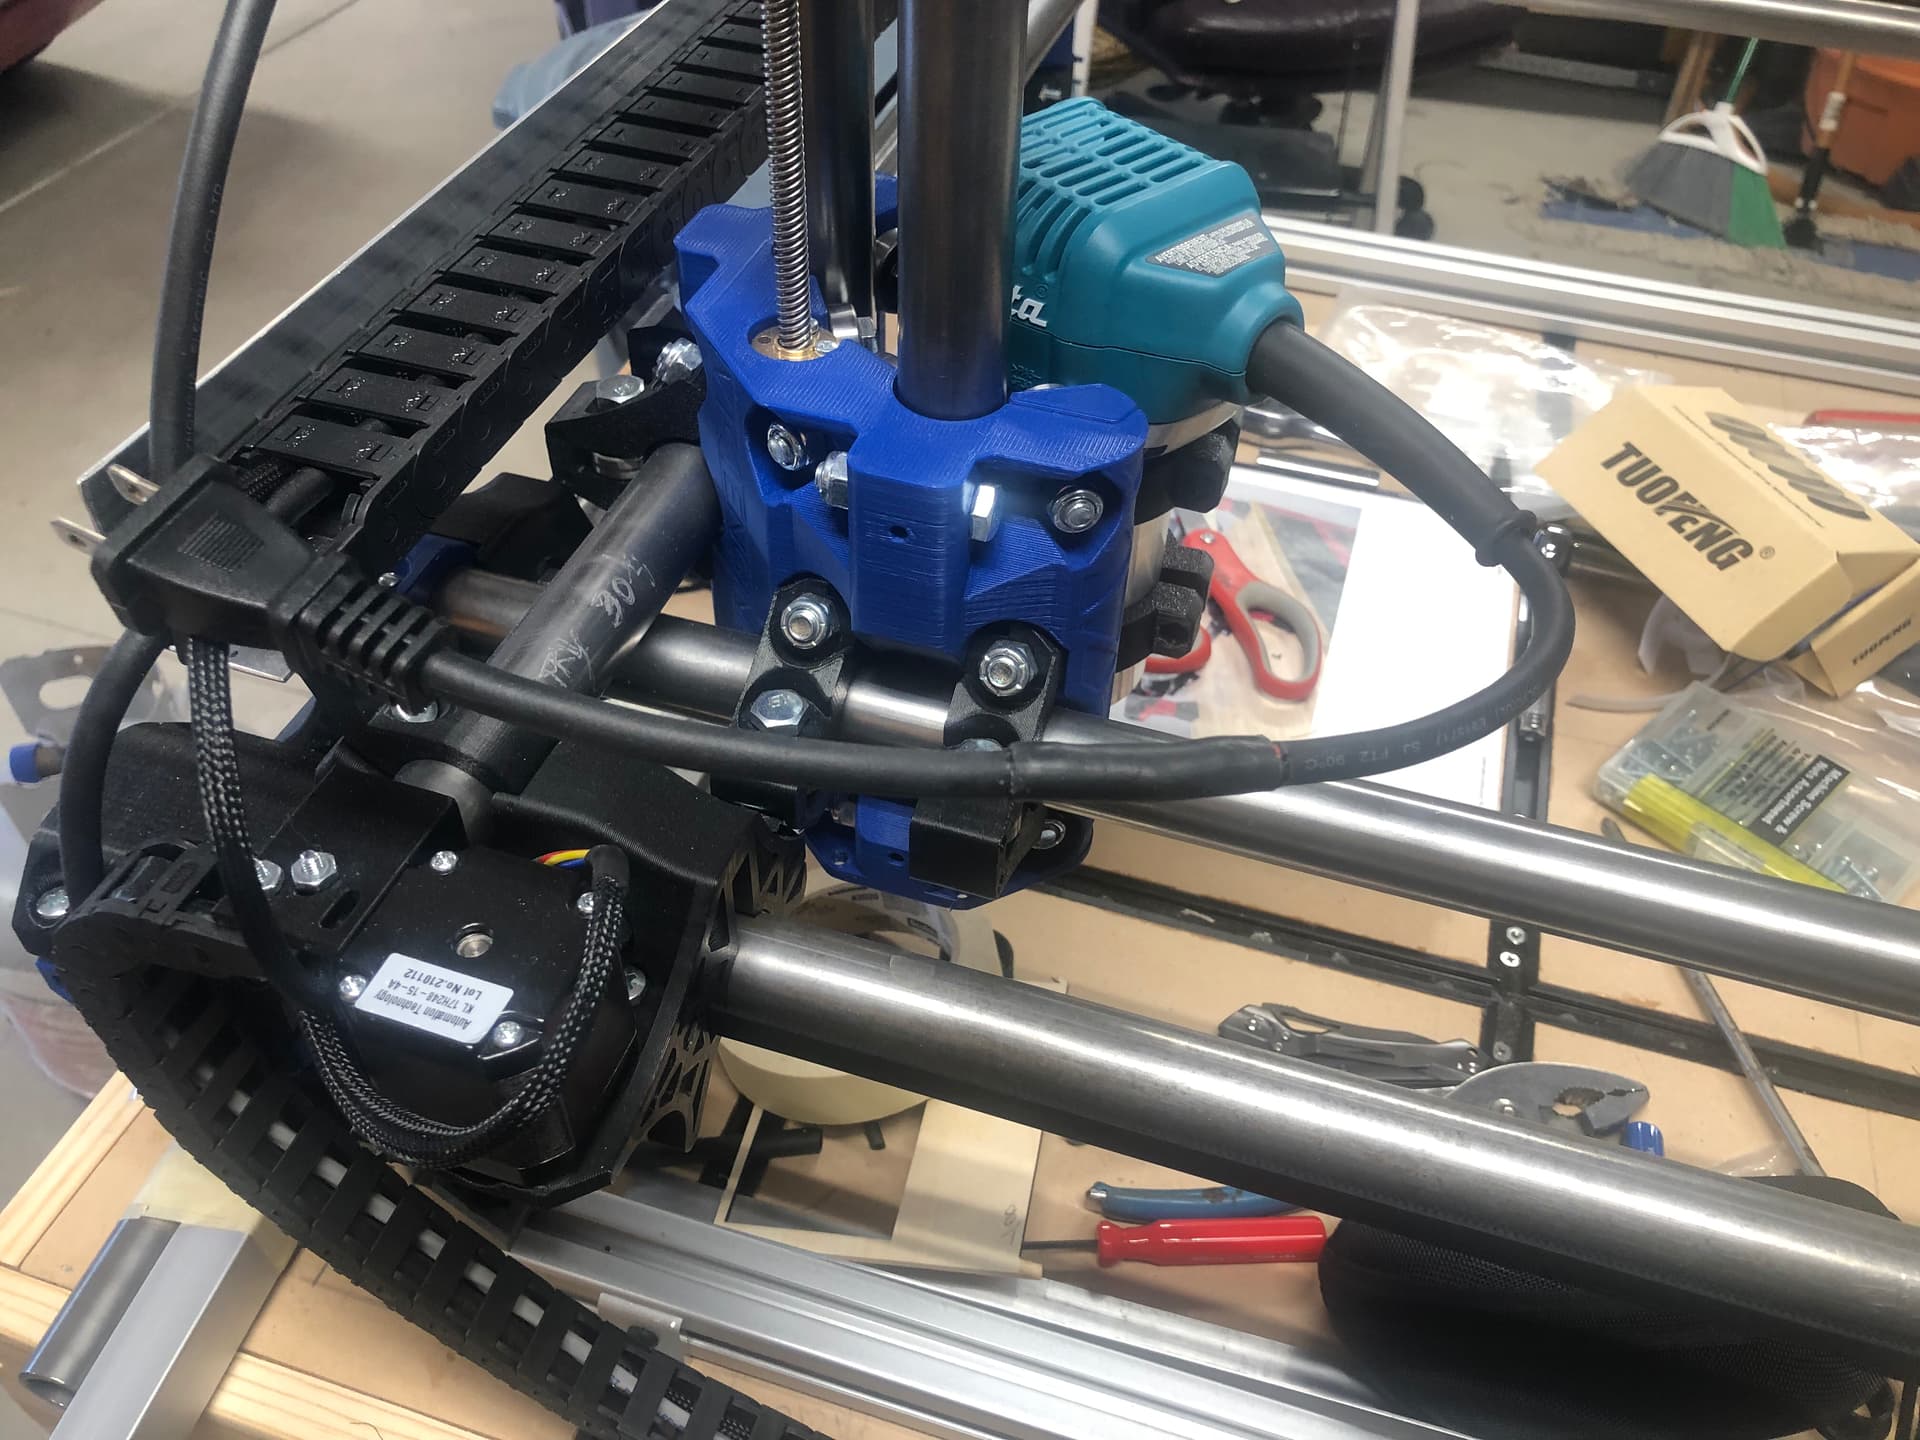
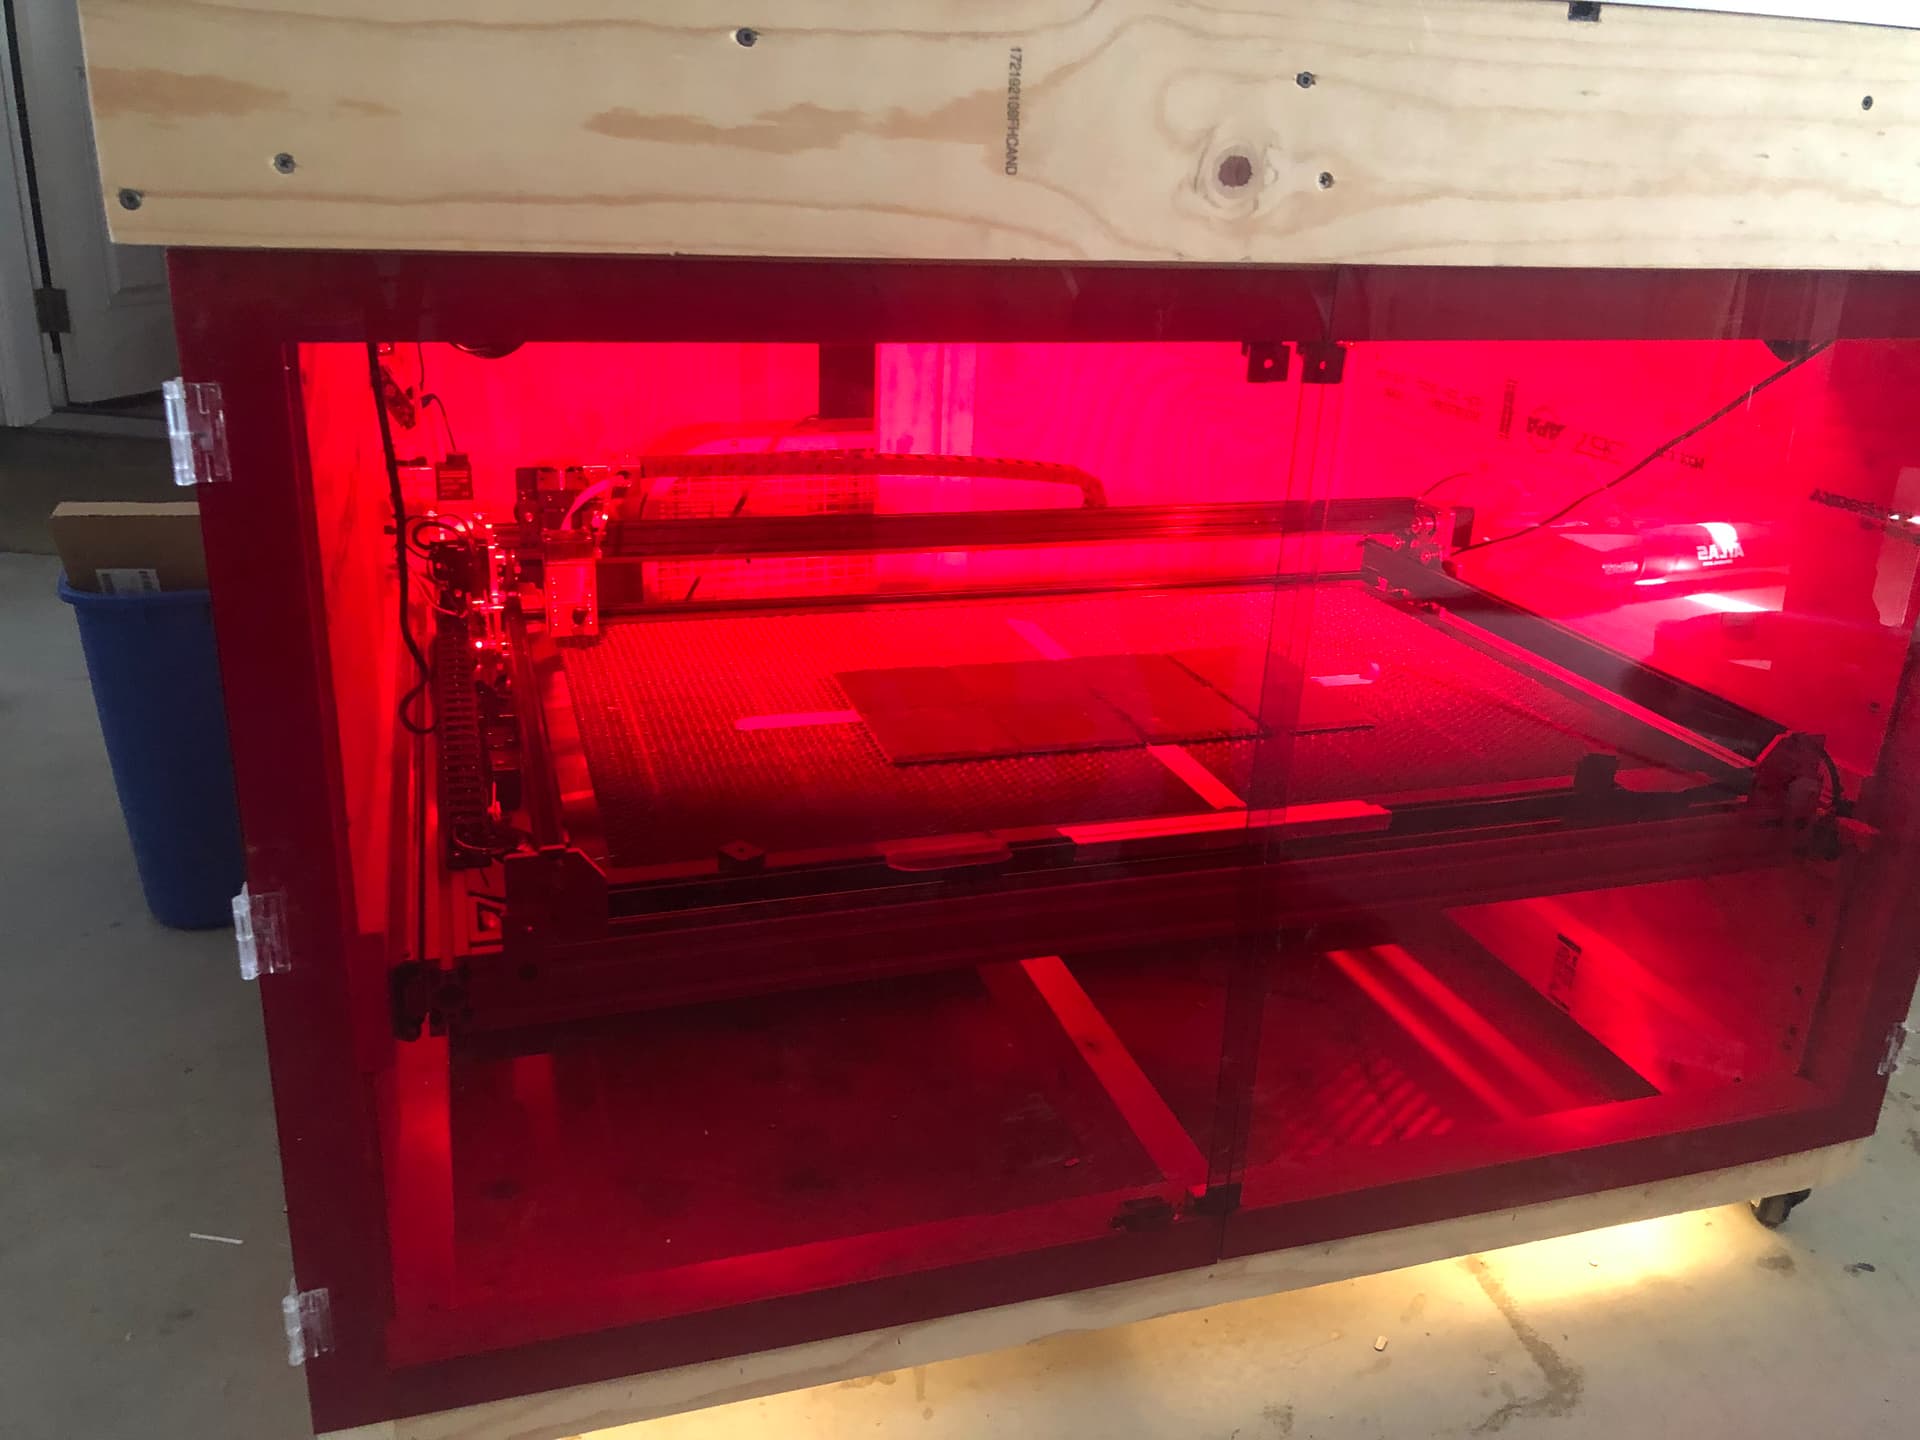
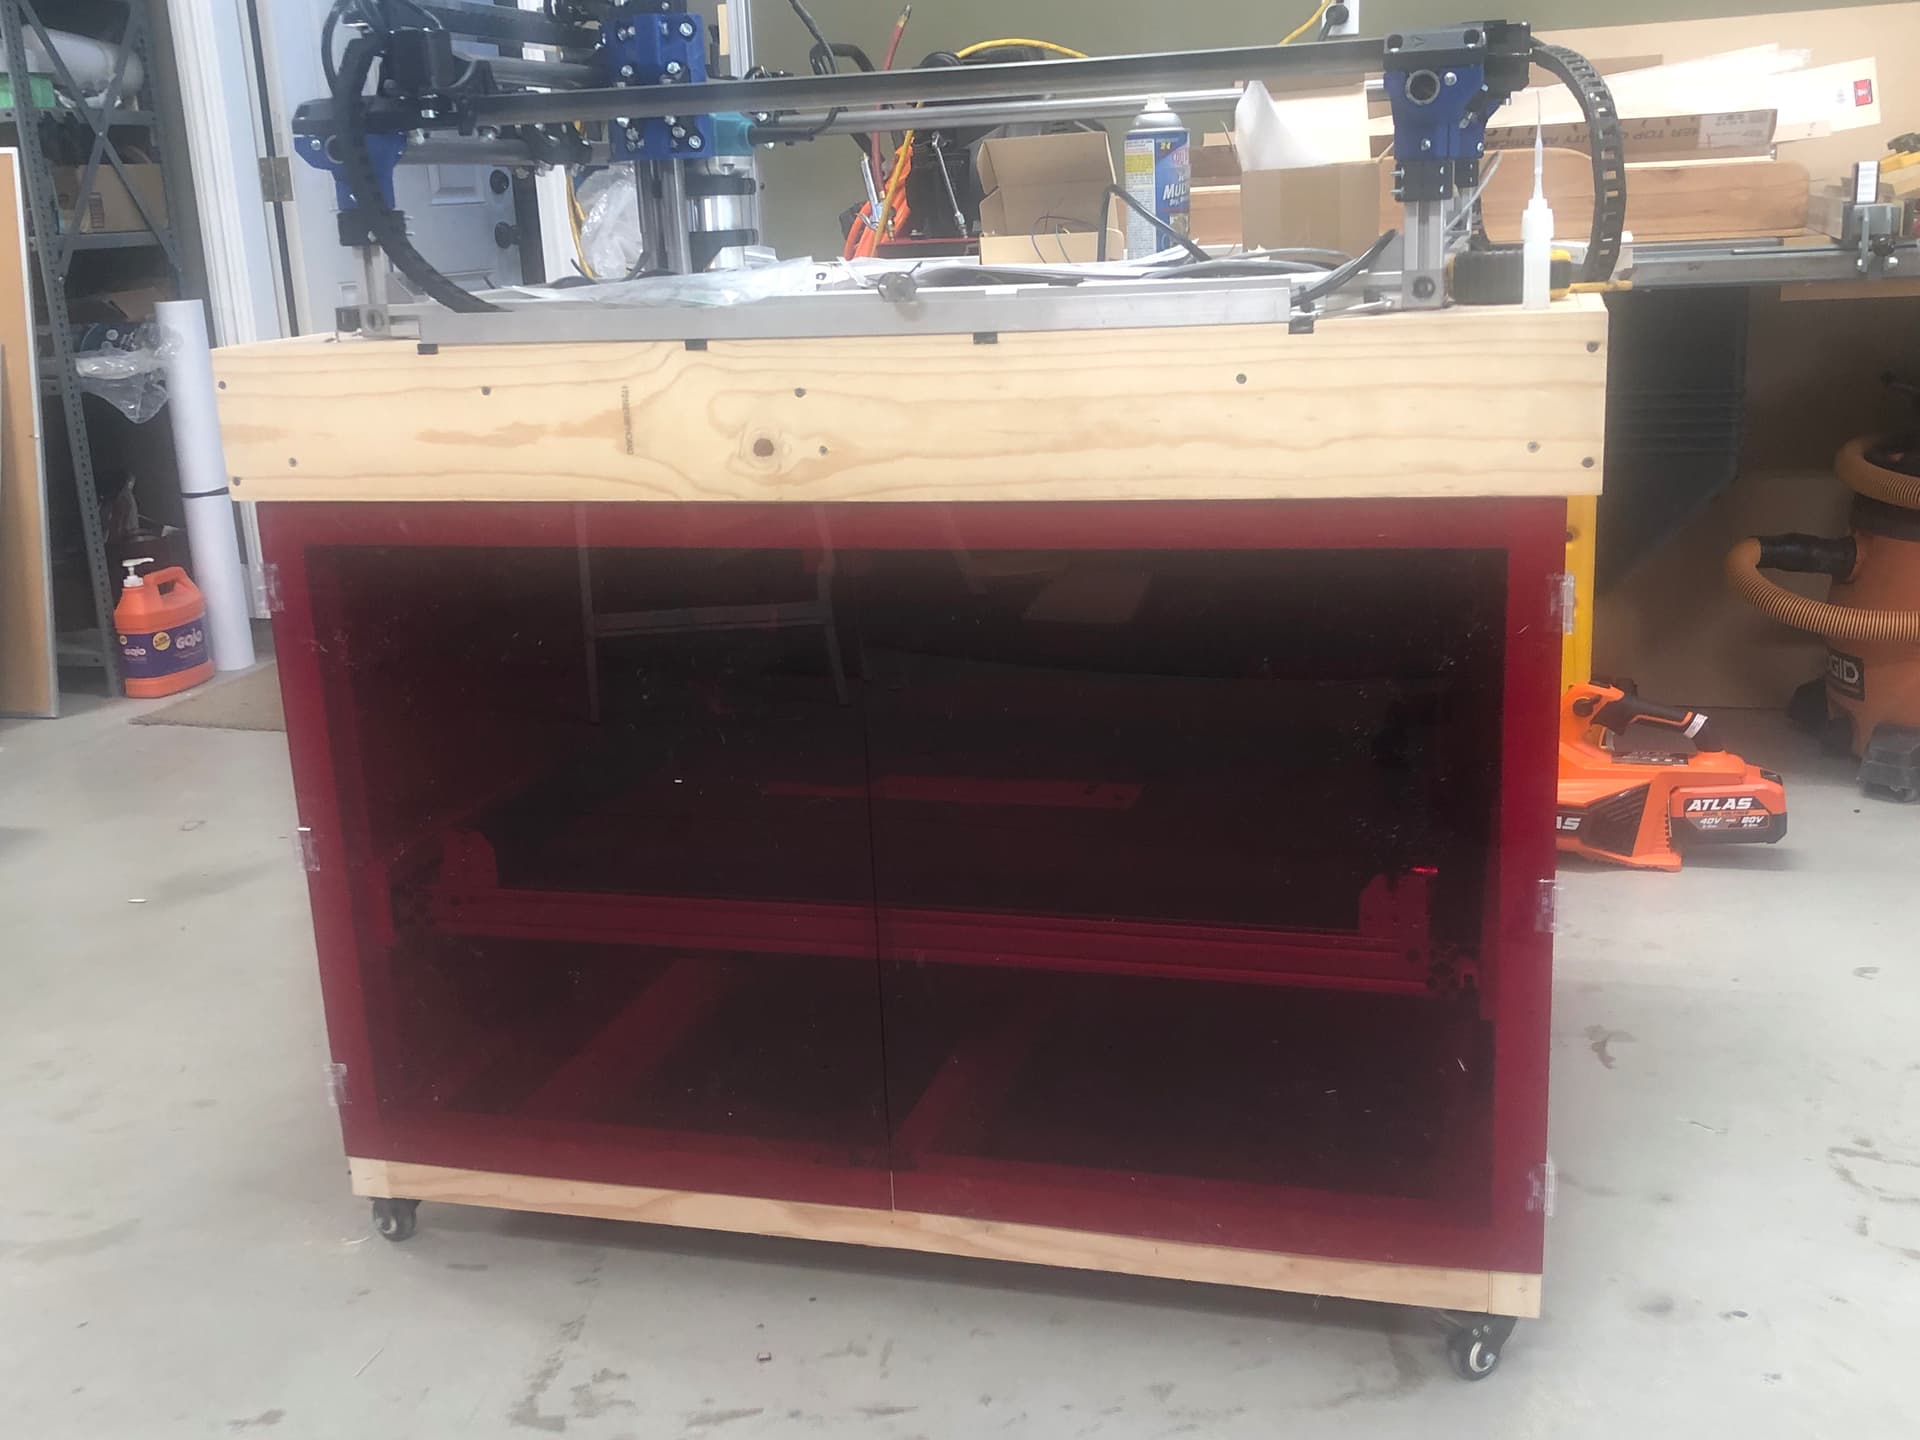
The slowest MPCNC build ever….LOL. But progress has been made, albeit slowly. I have decided rather than to use the Primo as a router and laser cutter, to use it just as a router… trimmed up the cord for easy removal and will run an extension cord though the drag-chain. With this cabinet and all the space below, i will install a heave duty full extension 26” shelf that I will then build a laser cutting machine on. (Slide out for easy access placing and retrieving stuff).
I just picked up a new laser cutter/engraver and on the MB it has an M7 and M8 that when directed by the software (GRBL) will turn on and off when complete. This is primarily used to activate a relay that delivers power to fans, air extractors or even a power strip. Does the motherboard we have from V1 have these ‘ports’ and can it be made to turn on and off the router at the beginning and end of each cut? It would be most convenient to have the machine turn on the router rather than having to remember to flip the switch on the router itself. ???
Gcode M7 and M8 commands are often described as “mist coolant” and “flood coolant” with M9 being turning them both off. I’ve used relays for these to control air assist on my grbl-controlled laser cutter and vacuum on/off on an older (pre-MPCNC) home-built CNC machine. I’m guessing whoever designed the board is trying to keep the labelling simple.
gcode M3/M4/M5 commands are used to control spindle ClockwiseOn/CounterclockwiseOn/SpindleOff respectively. A relay can be used for simple spindle on/off, or PWM can be used if you have a variable-speed spindle or a laser that can fire at varying intensities.
A digital pin is all that’s needed for on/off control of a relay. You can remap pins in the Marlin and V1 source code files, but it may not be necessary to do so. I’m not using a V1-supported board (CNC shields on both my Burly and my K40), so I can’t say if one is set for the Rambo or any of the SKR boards, but SpindleEnable is the pin on the CNC shield that would be used for a Spindle relay, and it is also used as the PWM pin (for later versions of grbl). I feel like pin 45 on the Rambo has been discussed in the past as the spindle speed pin, and I seem to recall that PWM is enabled by default. I expect that pin would probably work as well for relay on/off as long as you choose more than 50% speed for the “on” value. Alternatively you could check the config files and disable spindle PWM to get simple on/off.
You’ll want to get an authoritative opinion. Mine is not one since I’m not using that hardware.
Skimming over this thread I thought wow that’s a properly designed table… when I saw the Me109 I realized where the inspiration comes from. The first time you glue on the LE sheating over a balsa wing and feel the difference in stiffness (with feather weight gains), you realize the magic of monocoque.
Anyhow, looking good. Your build shares a lot of specs with mine… 1/8 DOM, 24x24x6, monocoque table, T-tracks… I bet it works very good! 
Kev
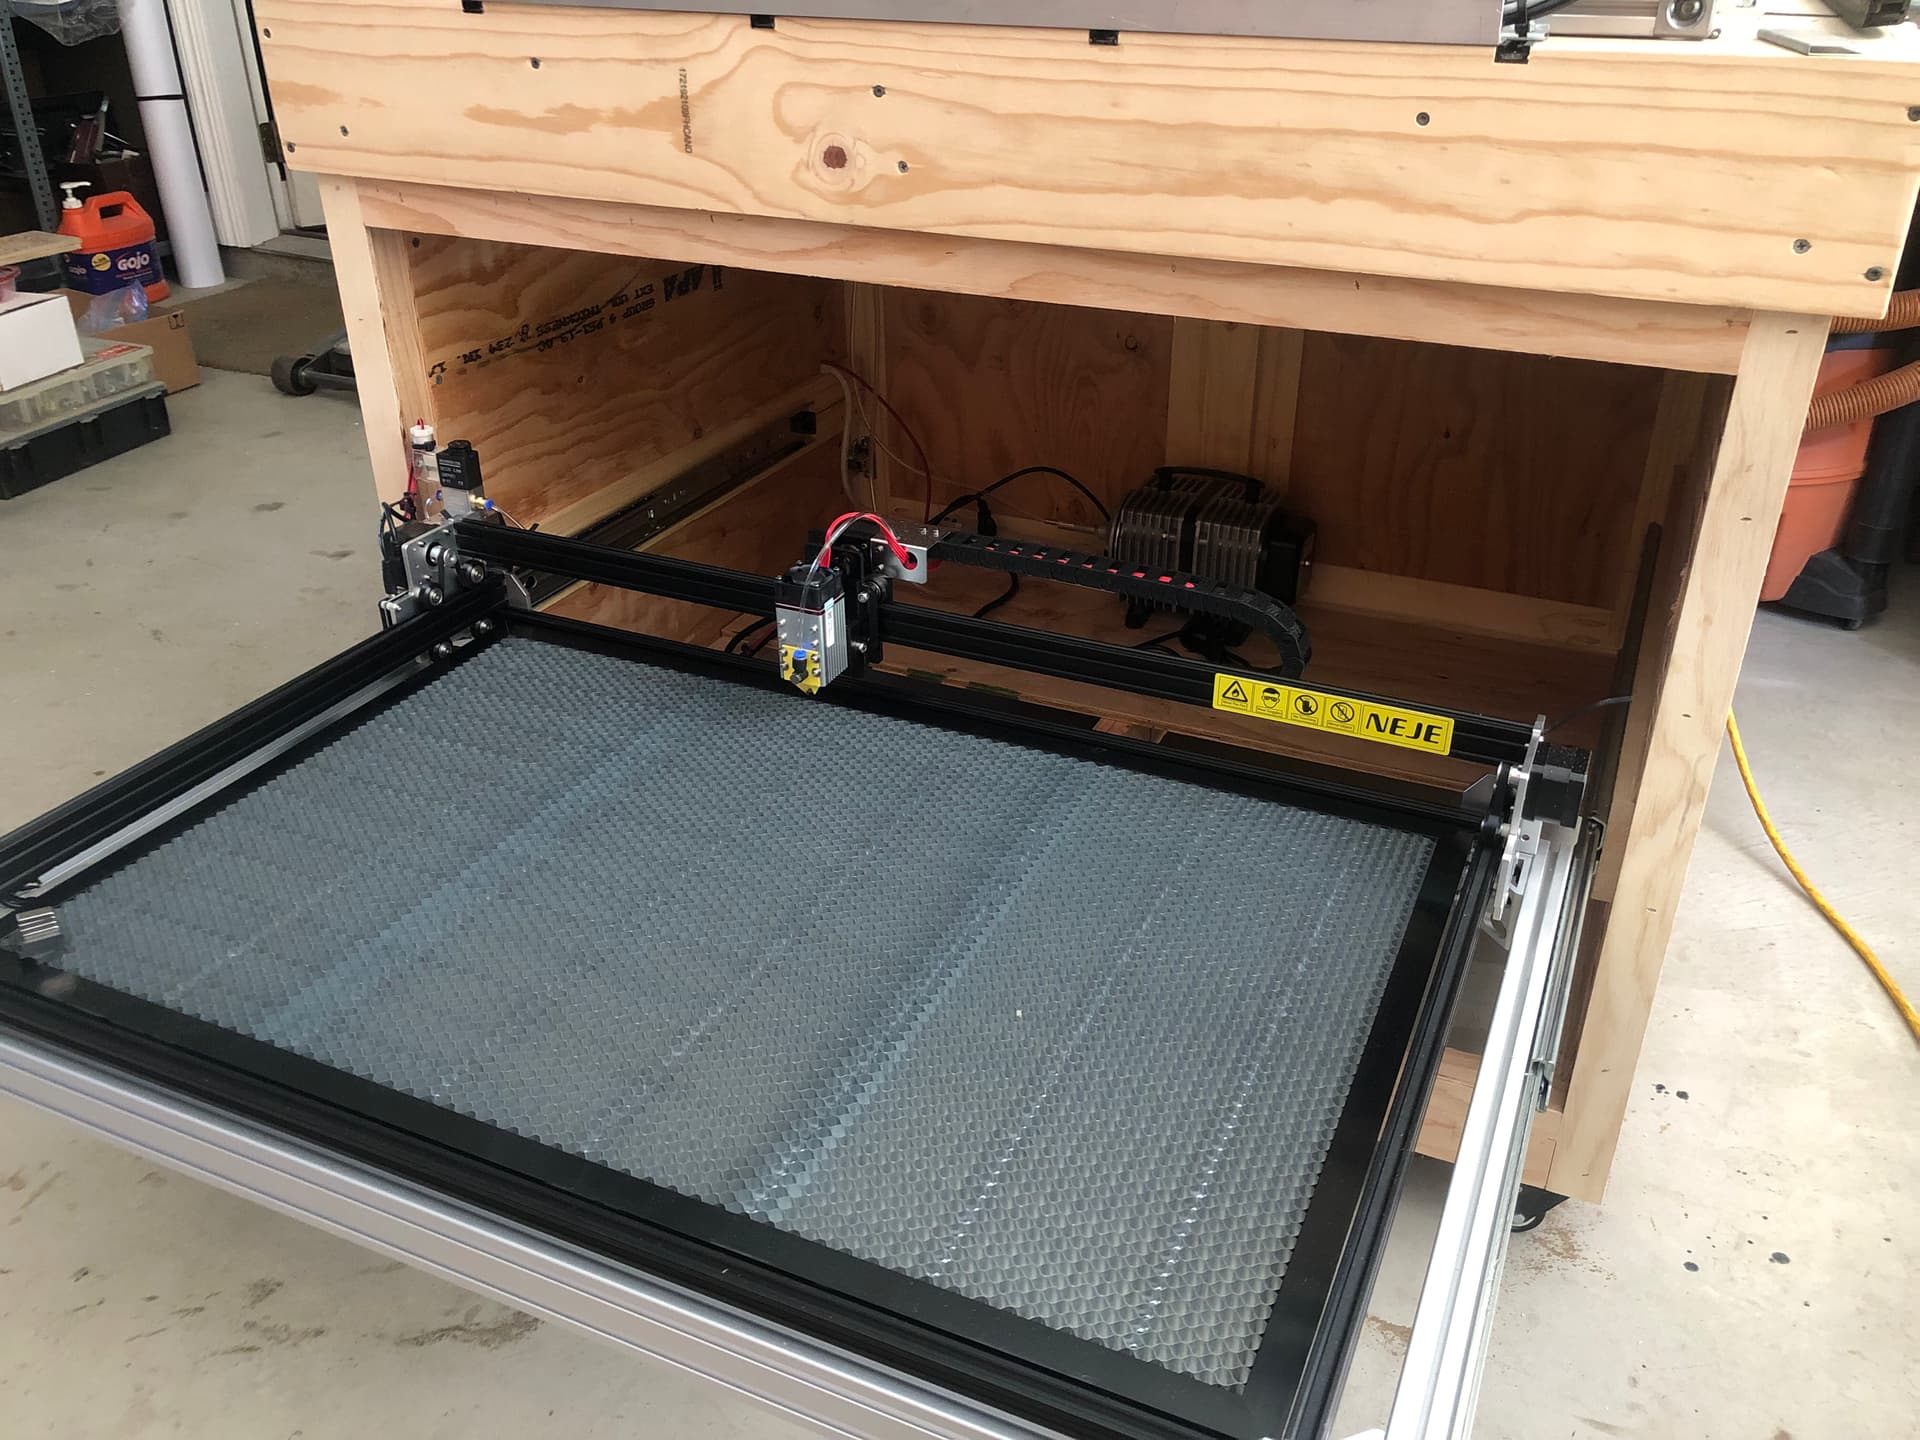
I have not done a thing to complete my MPCNC router build project… I did, however find the cabinet built for the router to be the perfect home to the NEJE 3 Max laser cutter. With full extension severely heavy duty drawer tracks, it was the perfect size to house the laser frame.
I have spent the last 6 months cutting balsa wood parts for model airplanes with the laser, and that has taken all my time and then today, it dawned on me, I need to finish the CNC router to give me even more ability to cut model airplane parts. I wonder if the Lightburn software that controls the CNC laser cutter (where i do all my 2D CAD drawing in) will also be able to control the router? I assume the control of the x and y axis are similar between the two cnc machines using grbl… or would i simply export the cut file in DXF format and import to another program to cut with the cnc router?
And by the way, here is the finished ME109
Peter,
You can take the DXF file to EstlCAM and produce the gcode to cut with the Primo.
Then use Repetier-host to send the file, or put it on an SD card and read it with the Controller board directly.
EstlCAM Setup - V1 Engineering Documentation
Mike
Thanks Mike… sounds like that is the ticket. much obliged.
now I need to get my butt back to work and finish this puppy… been over a year in the making
Here is another question while I get ready to finish the build… I have it set up for the Makita mini router (as recommended) but what would y’all recommend for cutting mostly balsa wood. Like 1/2”. I plan to make a lot of obsolete plane kits given my ‘new talent’ for drawing in 2D cad for parts. (Everyone LOL). Might a Dremel tool be better situated for routing out balsa parts?
With the Makita you can adjust the RPM, you only need to buy the collet for 1/8 bits, Balsa should not be a problem. I don’t think the Dremel has got anything over the Makita.
The Dremel will be worse. More runout, more tearing.
A router or spindle is kind of sub-optimal for balsa, I think. I have a stack of balsa sheets here after Christmas, and plan on laser cutting for some model planes. Many of those models need room for small square spars and slots, which are problematic with a round cutting tool, so I plan to use a laser.