I really like it, even though it’s quite pricey. I have vcarve desktop and I use it for every carve I do. Even though my stuff isn’t insanely complex, being able to plan out a set of 3-4 toolpaths with different bits and see the output in advance is really the killer feature for me. I also like that I can spend most of my time designing and less trying to fight some complex software to make it do what I want.
Thankyou, that’s helpful. When you do multiple toolpaths and different tools do you export that all as one file or can you export a file for each tool?
I do a file per tool. i have a board with a web ui that lets me upload them, plus the web ui has all the macros for zeroing with all the different bit diameters. All I need to worry about is zeroing once then unless I do something dumb I can use the same zero between tool changes.
The other useful thing in vcarve is the time estimate. You can play around for a while getting the optimal toolpath vs time taken and because you get to emulate it you can see if it actually makes a visible difference. I use that feature a ton once I’ve worked out my design, particularly for the multi tool carvings.
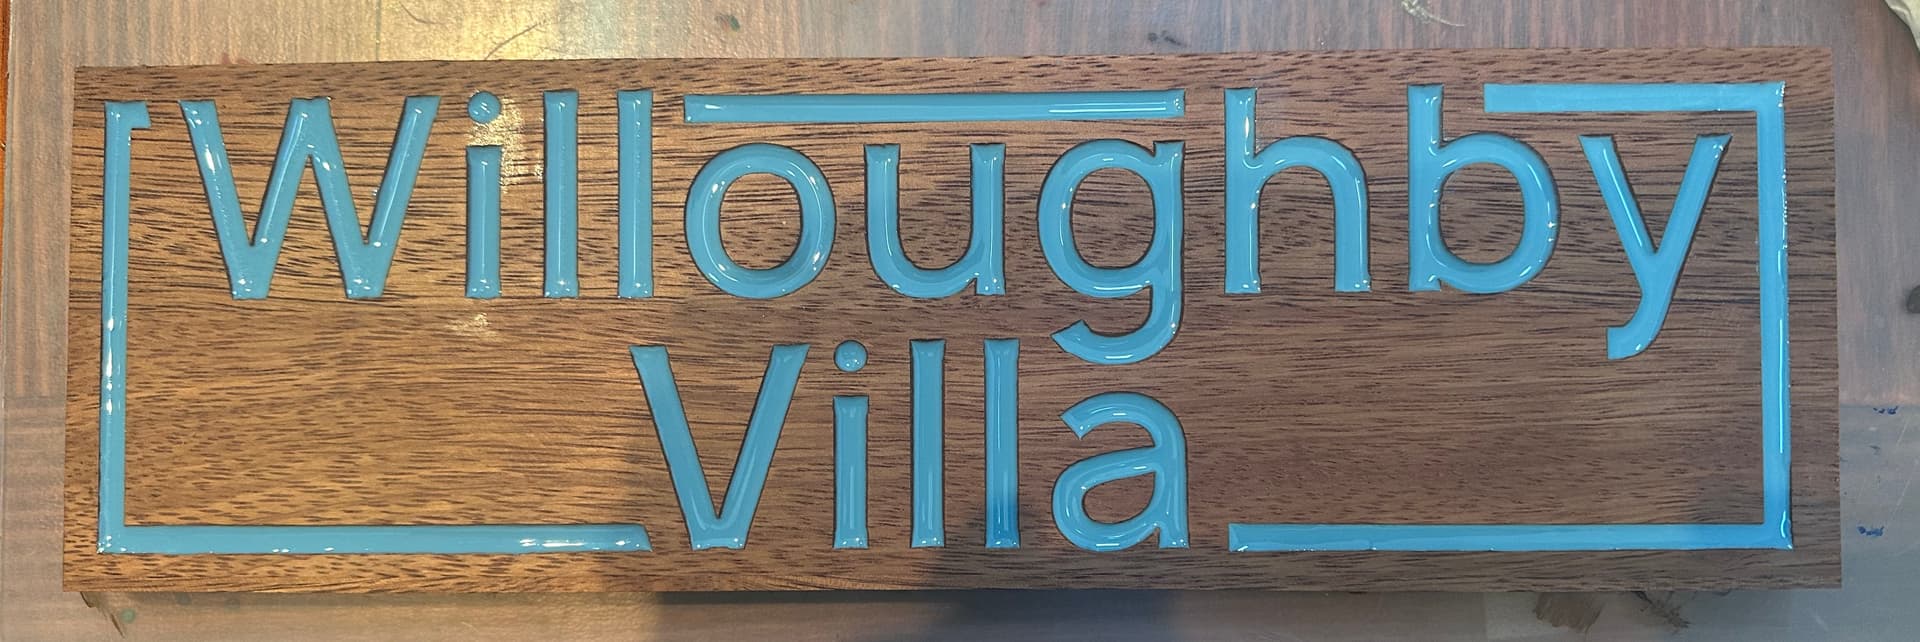
Interesting approach to resin. I always overfill it and make the carves a mm deeper (starting level -1mm) so I can just plane down the top layer. Eliminates the need for bubble hunting and makes one completely even surface in the end. Also, you don’t have to pour that precisely. I do like your method as well though.
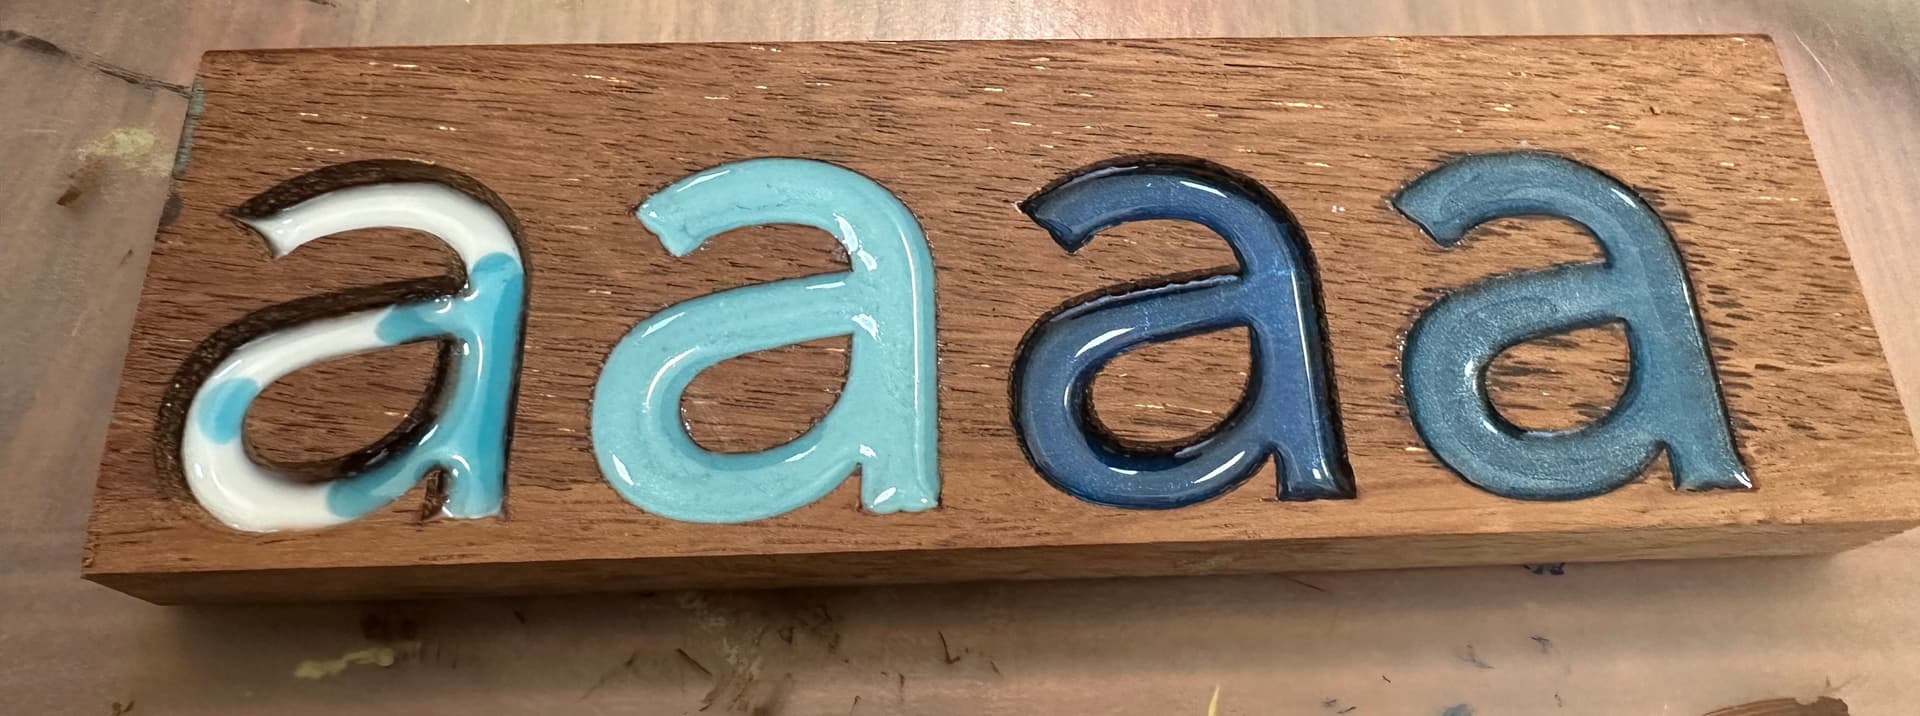
i’ve never had much luck getting the shine back when i fill up and sand back. it’s possibly the colouring i’m using. i actually like the slightly under filled look though - it gave a nice mini shadow to the sign and looks like it’s expected plus it stays nice and shiny!
I like that idea. I can’t get the same shine either. As long as it is not a cutting board I think I will do a slight underfill as well from here on out. I like the look it gives.
Don’t use Epoxy for a cutting board. It’s not food safe. I don’t want to cut into it and a) have the grooves there and b) eat the little plastic remnants. Ugh.