Yes, and this is no doubt why when I saw such “practices”/designs/methods as found in lots of videos of making hot wire foam cutters, I did not think much of it, and why I did it “like” what I saw in some. In other words, I knew it was a shock risk, even if I did not consider that minor changes could restrict/contain the area of the shock risk. I am nowhere near knowledgable enough or confident enough to make yet another video about making one. I’ll be happy if I get something that works, and will be careful to try to not shock myself, and if I can make tweaks to the design to reduce odds of getting shocked, I will do that.
That’s really cool. I used one of these in middle school tech class. I can’t remember why. But we cut foam with it.
What is the voltage? Is it DC? I am sure the foam cutting xommunity knows more than my armchair speculation. There must be some common practice to make it safer. Even the heat seems pretty dangerous. But a pair of gloves might be all you need to make it safe. Maybe instead of making it electically isolated, just put some yellow tape on it so you know to not touch it.
1 Like
Thanks!
As I mentioned in the original post,
and…
There are free online calculators that allow targeting both a certain temp, a certain length of wire at a certain gauge, and a certain DC power supply so no controller is needed. However, that disallows adjusting the temp for different types of foam. So, I think being able to adjust the temp is nice. However, another approach is to use an alligator clip to change the location of the “termination” so thus changing the effective length of wire, and thus changing the temp. I think the trick there is to have more than enough amps for the longest wire length.
Running long wire in a horizontal plane would allow template based cutting for wing foils (is foils the right word?). But this vertical wire is a common choice for profile cuts with a 90 degree angle, or other angle if the wire’s orientation is adjustable. My design choice here allows for me to retrofit it later with “miter” style angles of the wire.
To control the temp reasonably you have to be able to measure the temp of your cutter. Lowering the power delivered to the cutter via voltage but that will be a crude control. Likely something you can manage but very very crude.
With a 12V supply, you’re going to find it difficult to manage this as you just don’t have very many good options (my opinion) for limiting the power you deliver to the wire.
Be careful if you use resistive loads as they will likely get very hot as their resistance will be similar to that of the wire, which means the power dissipated in them will be similar to the wire.
1 Like
You could go all in and make it a CNC version ![]() .
.
1 Like
If my control device on order will allow me to reduce the power just enough to get some things cut without the wire overheating too much I’ll be happy. I have a small box full of mystery AC to DC power supplies, and I went rummaging through it, trying to find some thing that had a little bit lower voltage, and still enough amps, and I discovered in testing that several of them are either non-functional or at least don’t do anything regarding this wire cutter.
Mine is very bare bones, but I use a brushed esc for RC cars with a servo tester & watt meter to dial in the desired current.
1 Like
I have one of those really neat Charsoon Anti-Matter 250w/10a battery charger units from Banggood back in my RC flying days… that has a foam-cutter mode and timer built in. I used it to power the nichrome wire on my TimSavX2 hot-wire cutter… built it to help my SIL decorate the children’s area in his church.
TimSavX2 in action…

David
7 Likes
Well, here’s the very first foam cutting I’ve ever done. Feather boards for table saw fence setup.
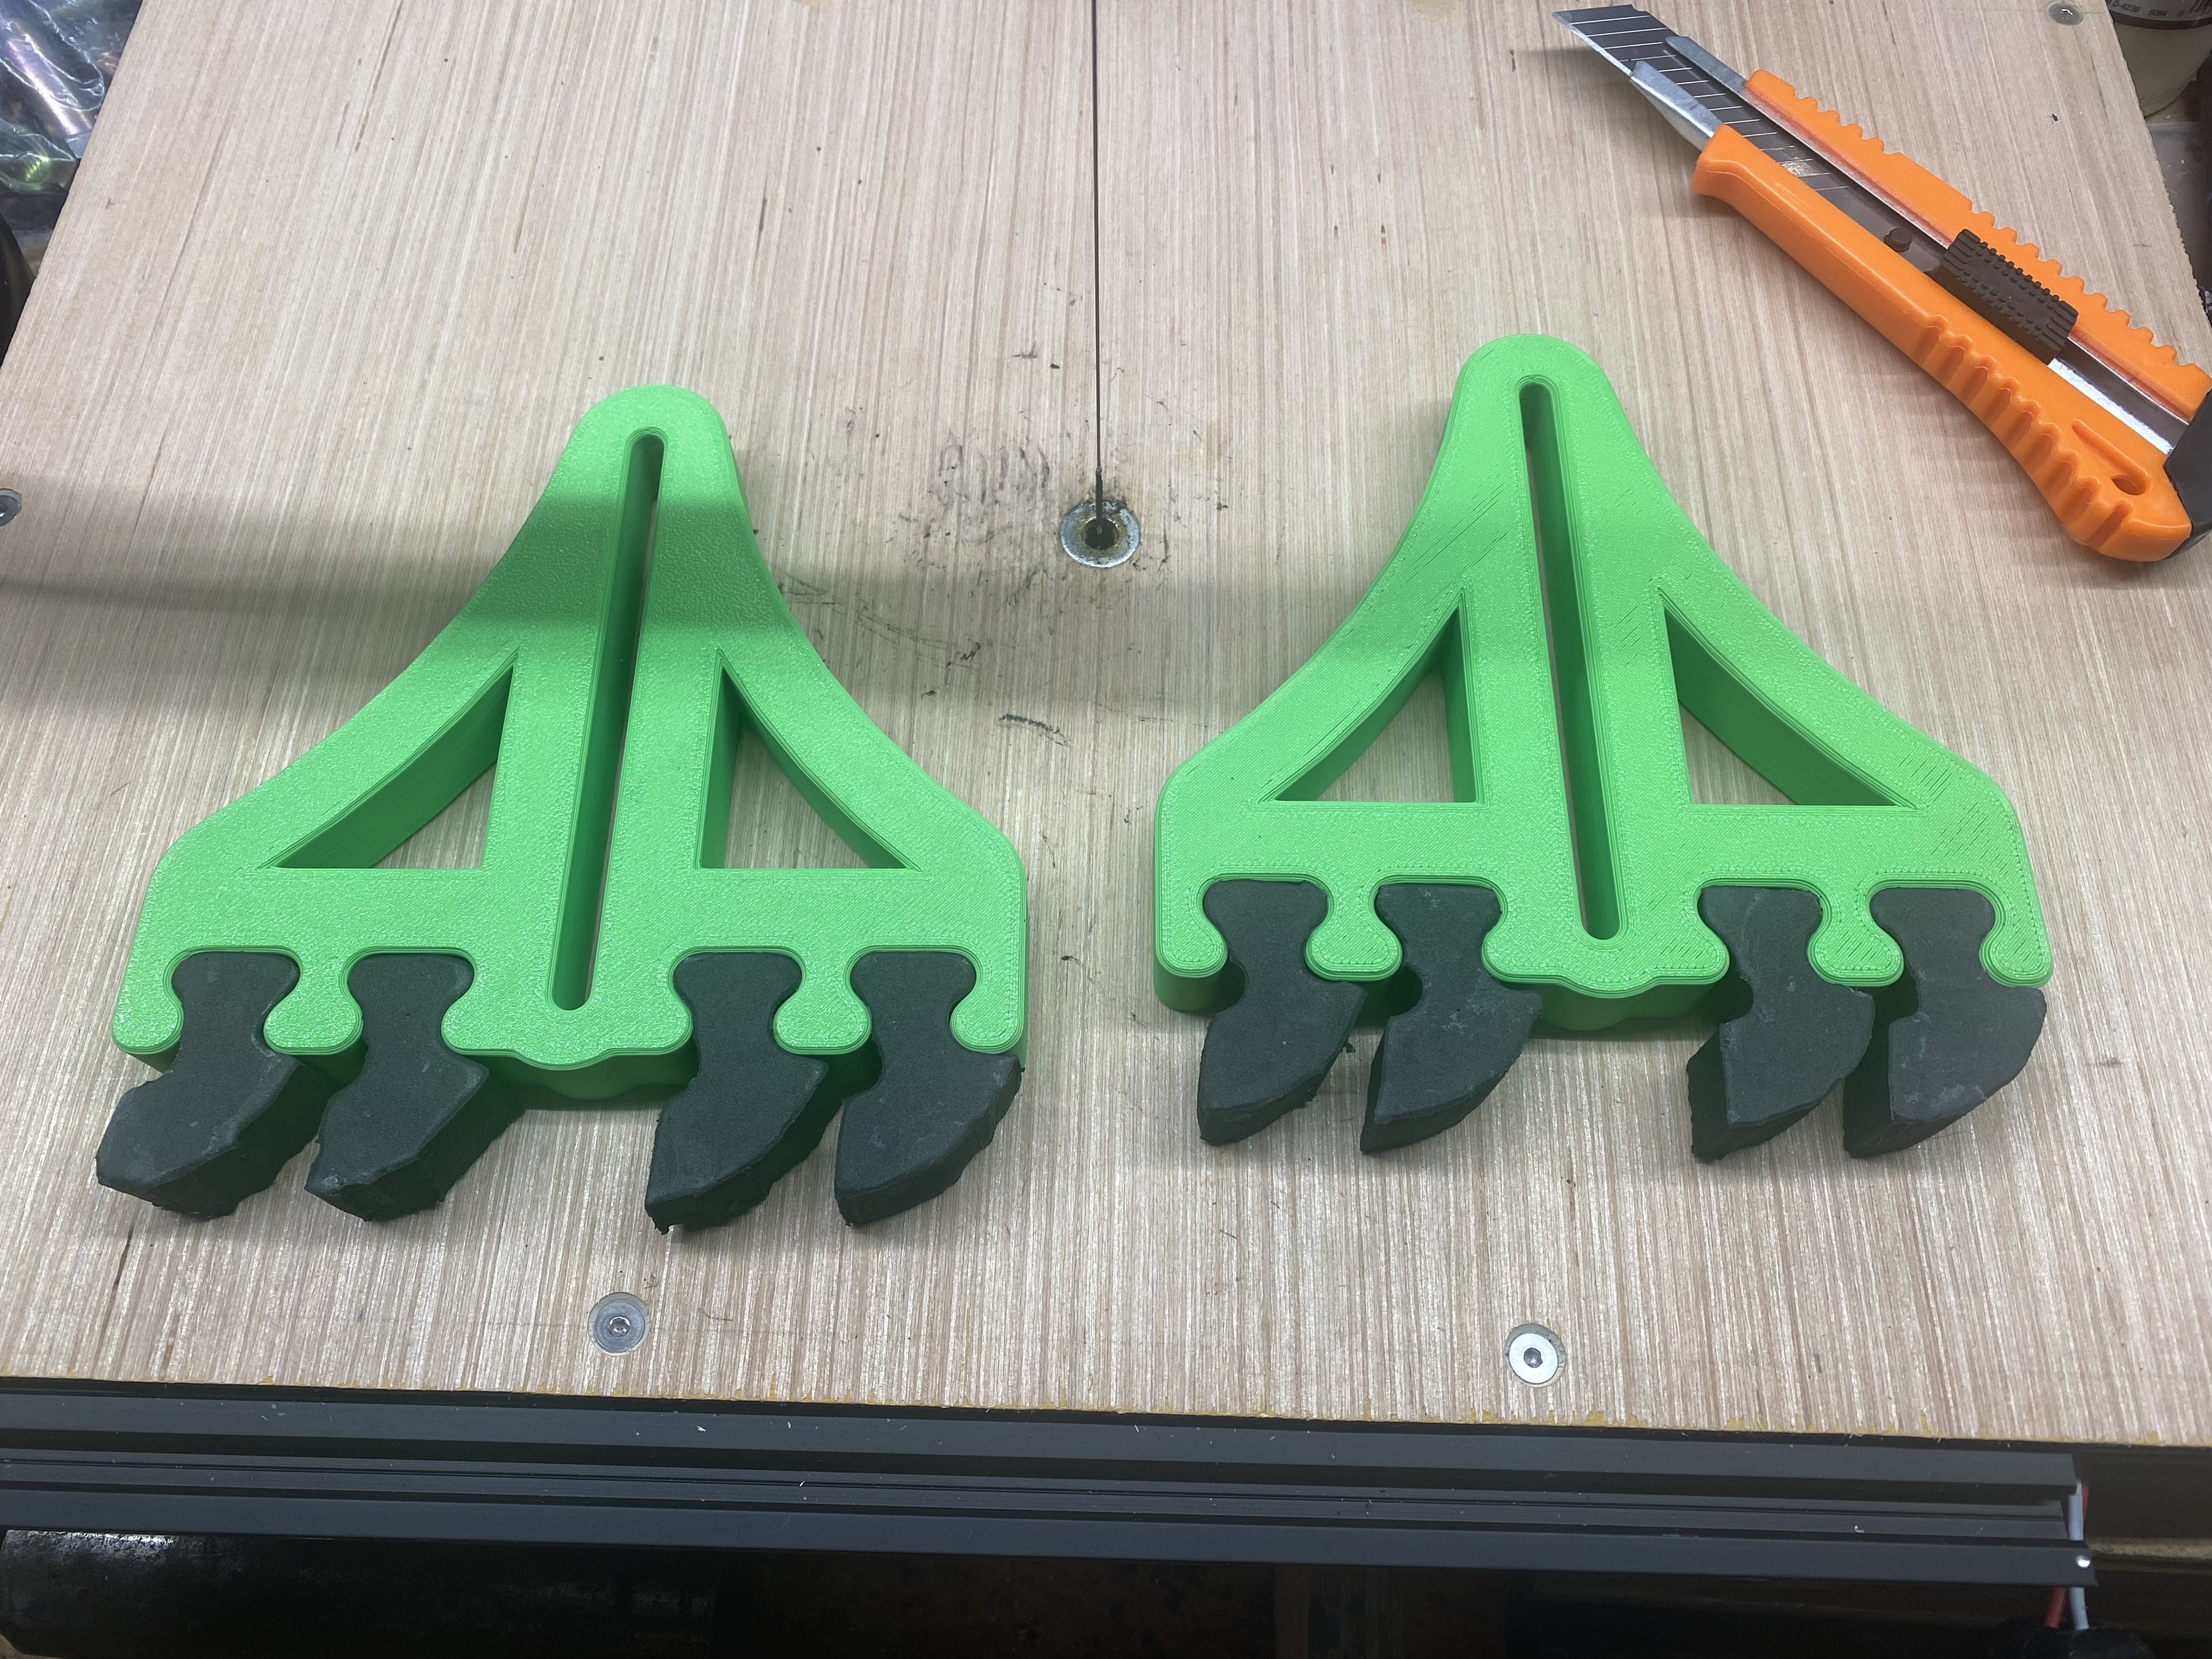

The motor controller I ordered has not arrived, but I just moved quickly, and used the on/off switch frequently to try to keep the wire from getting too hot.
8 Likes
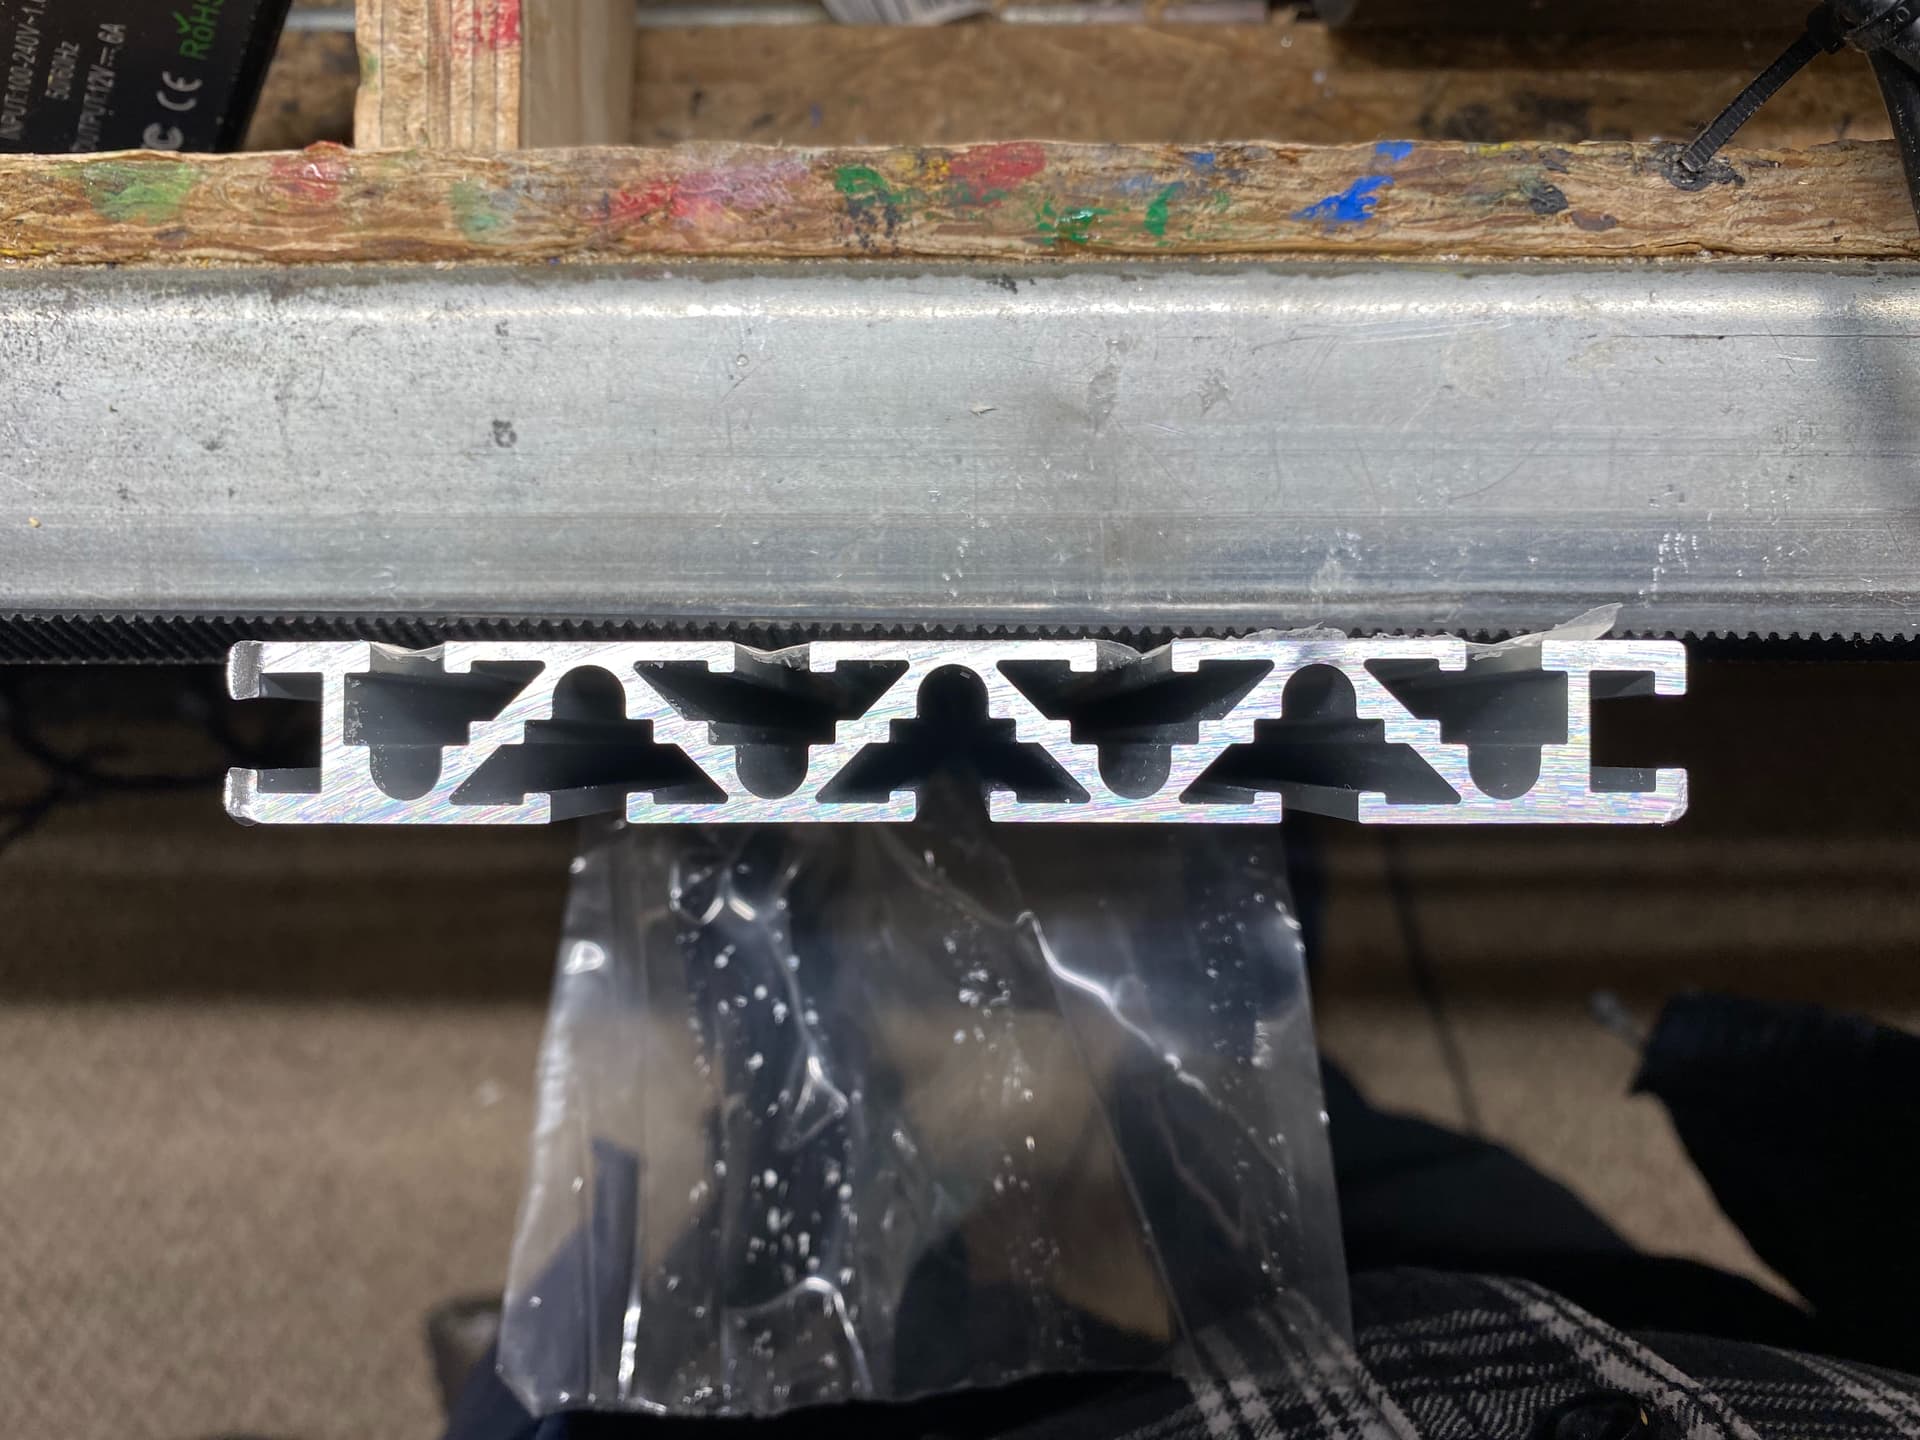
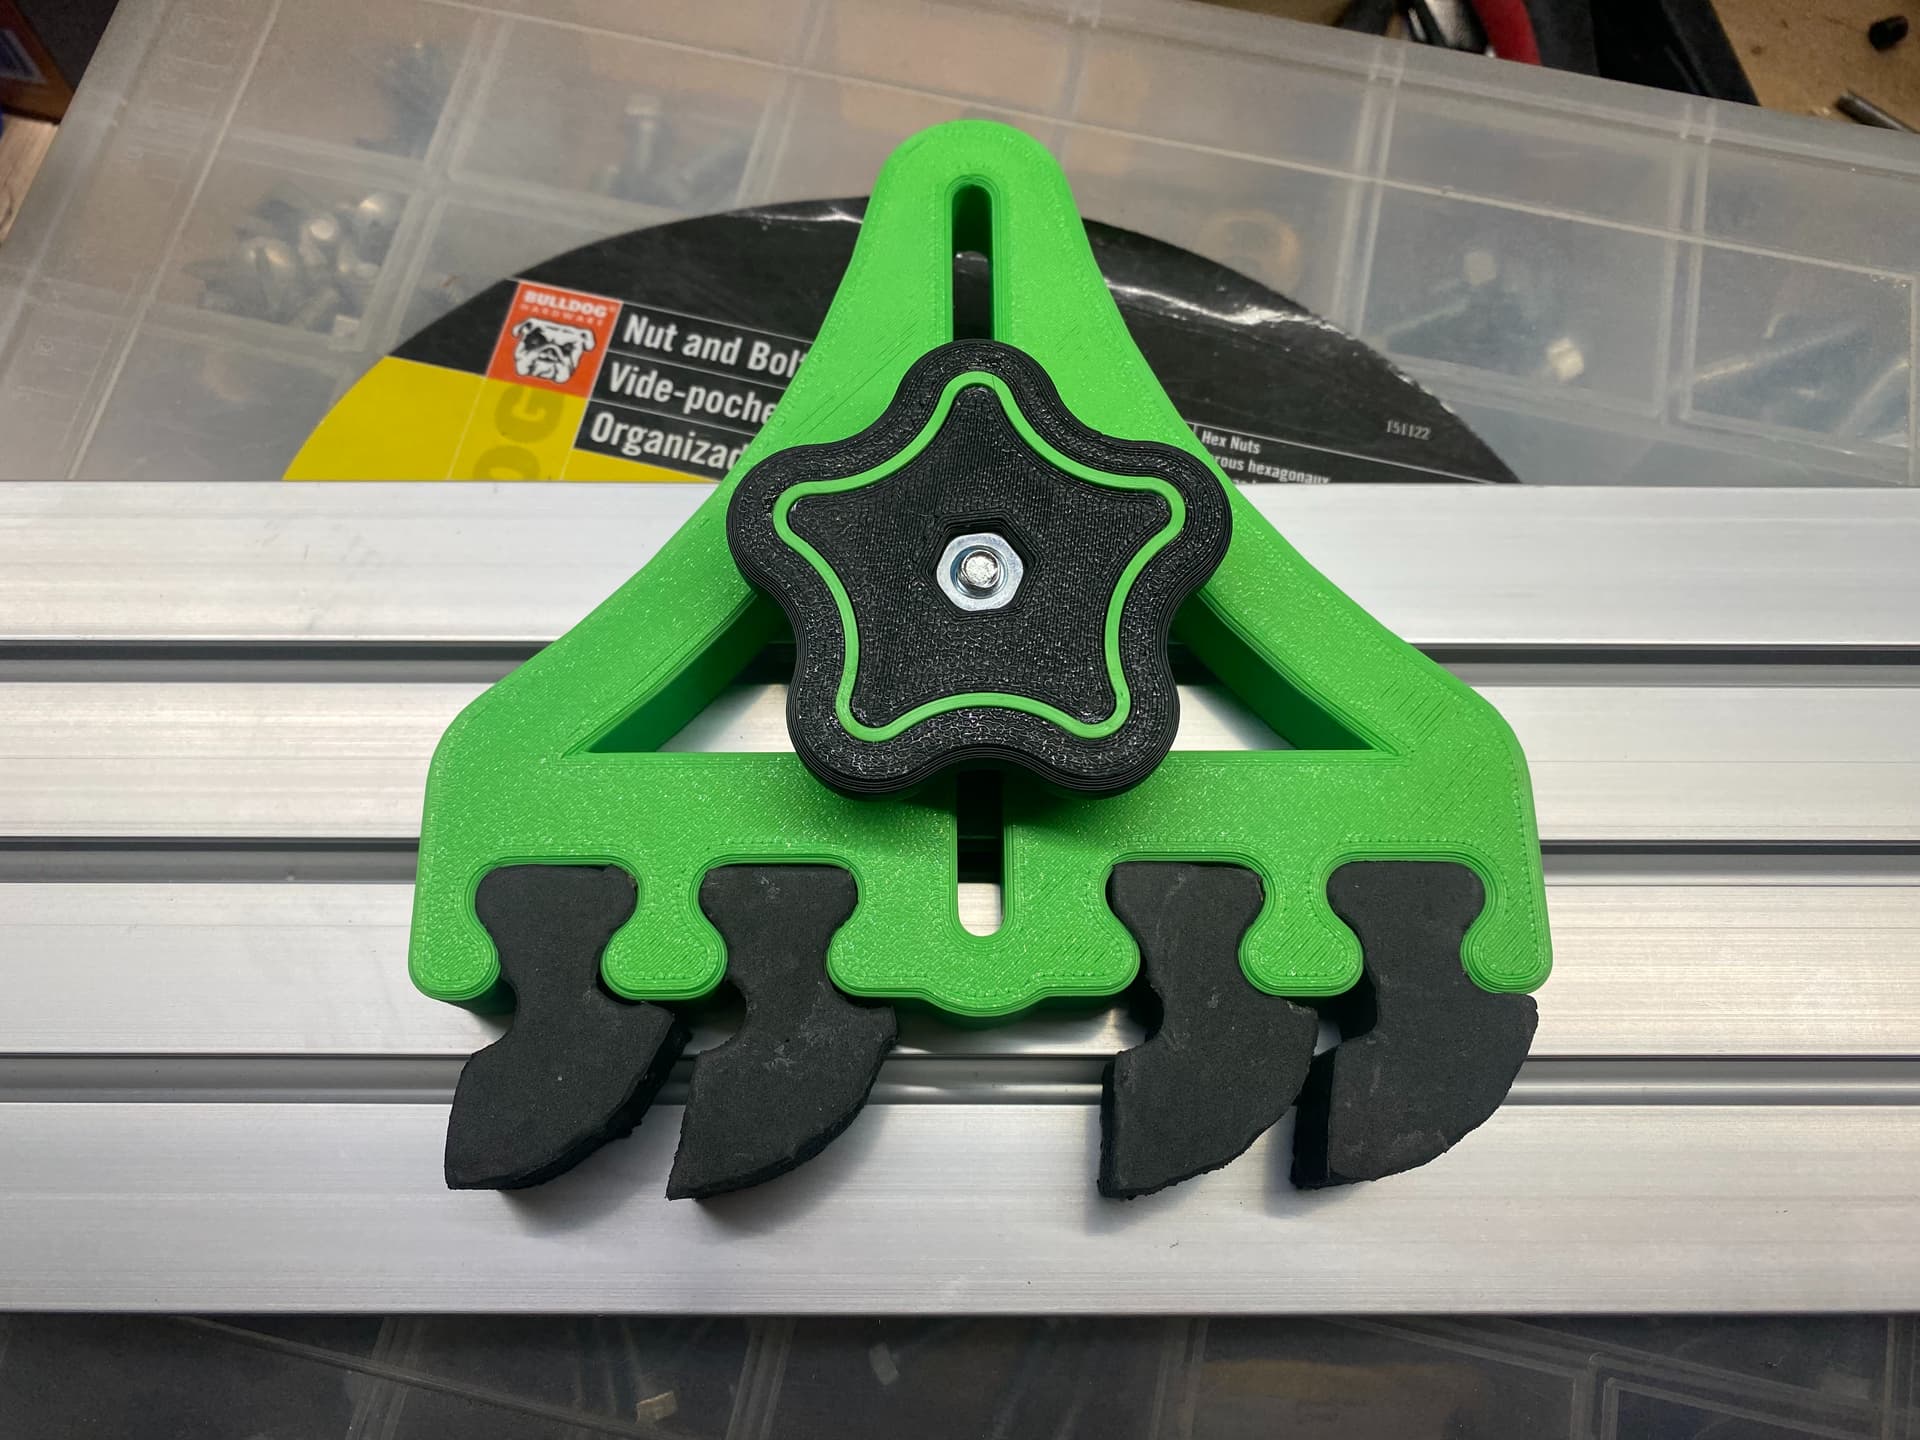
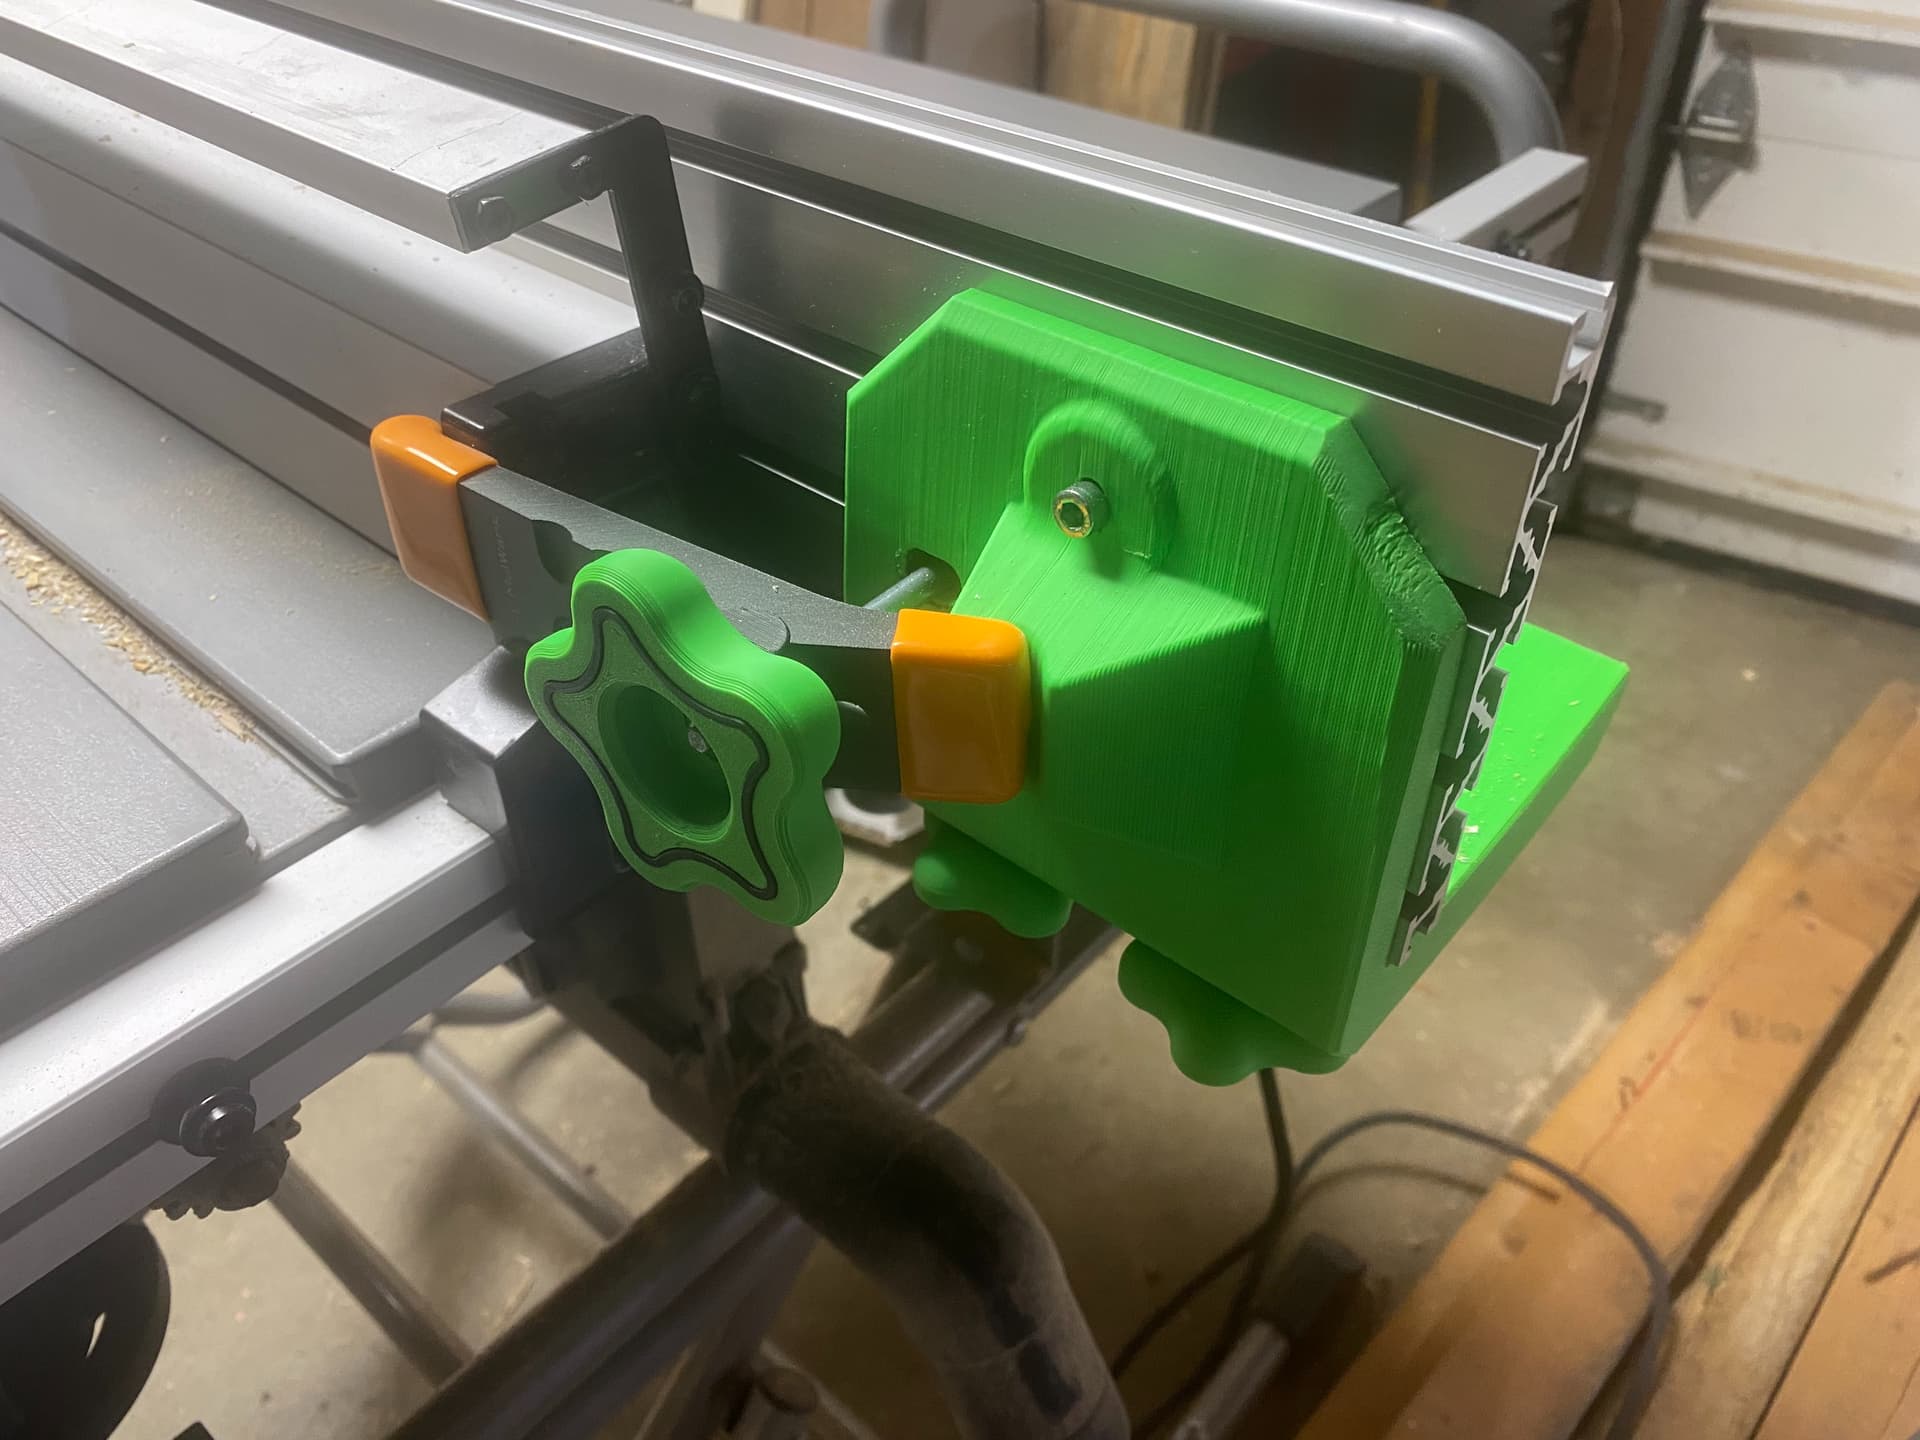
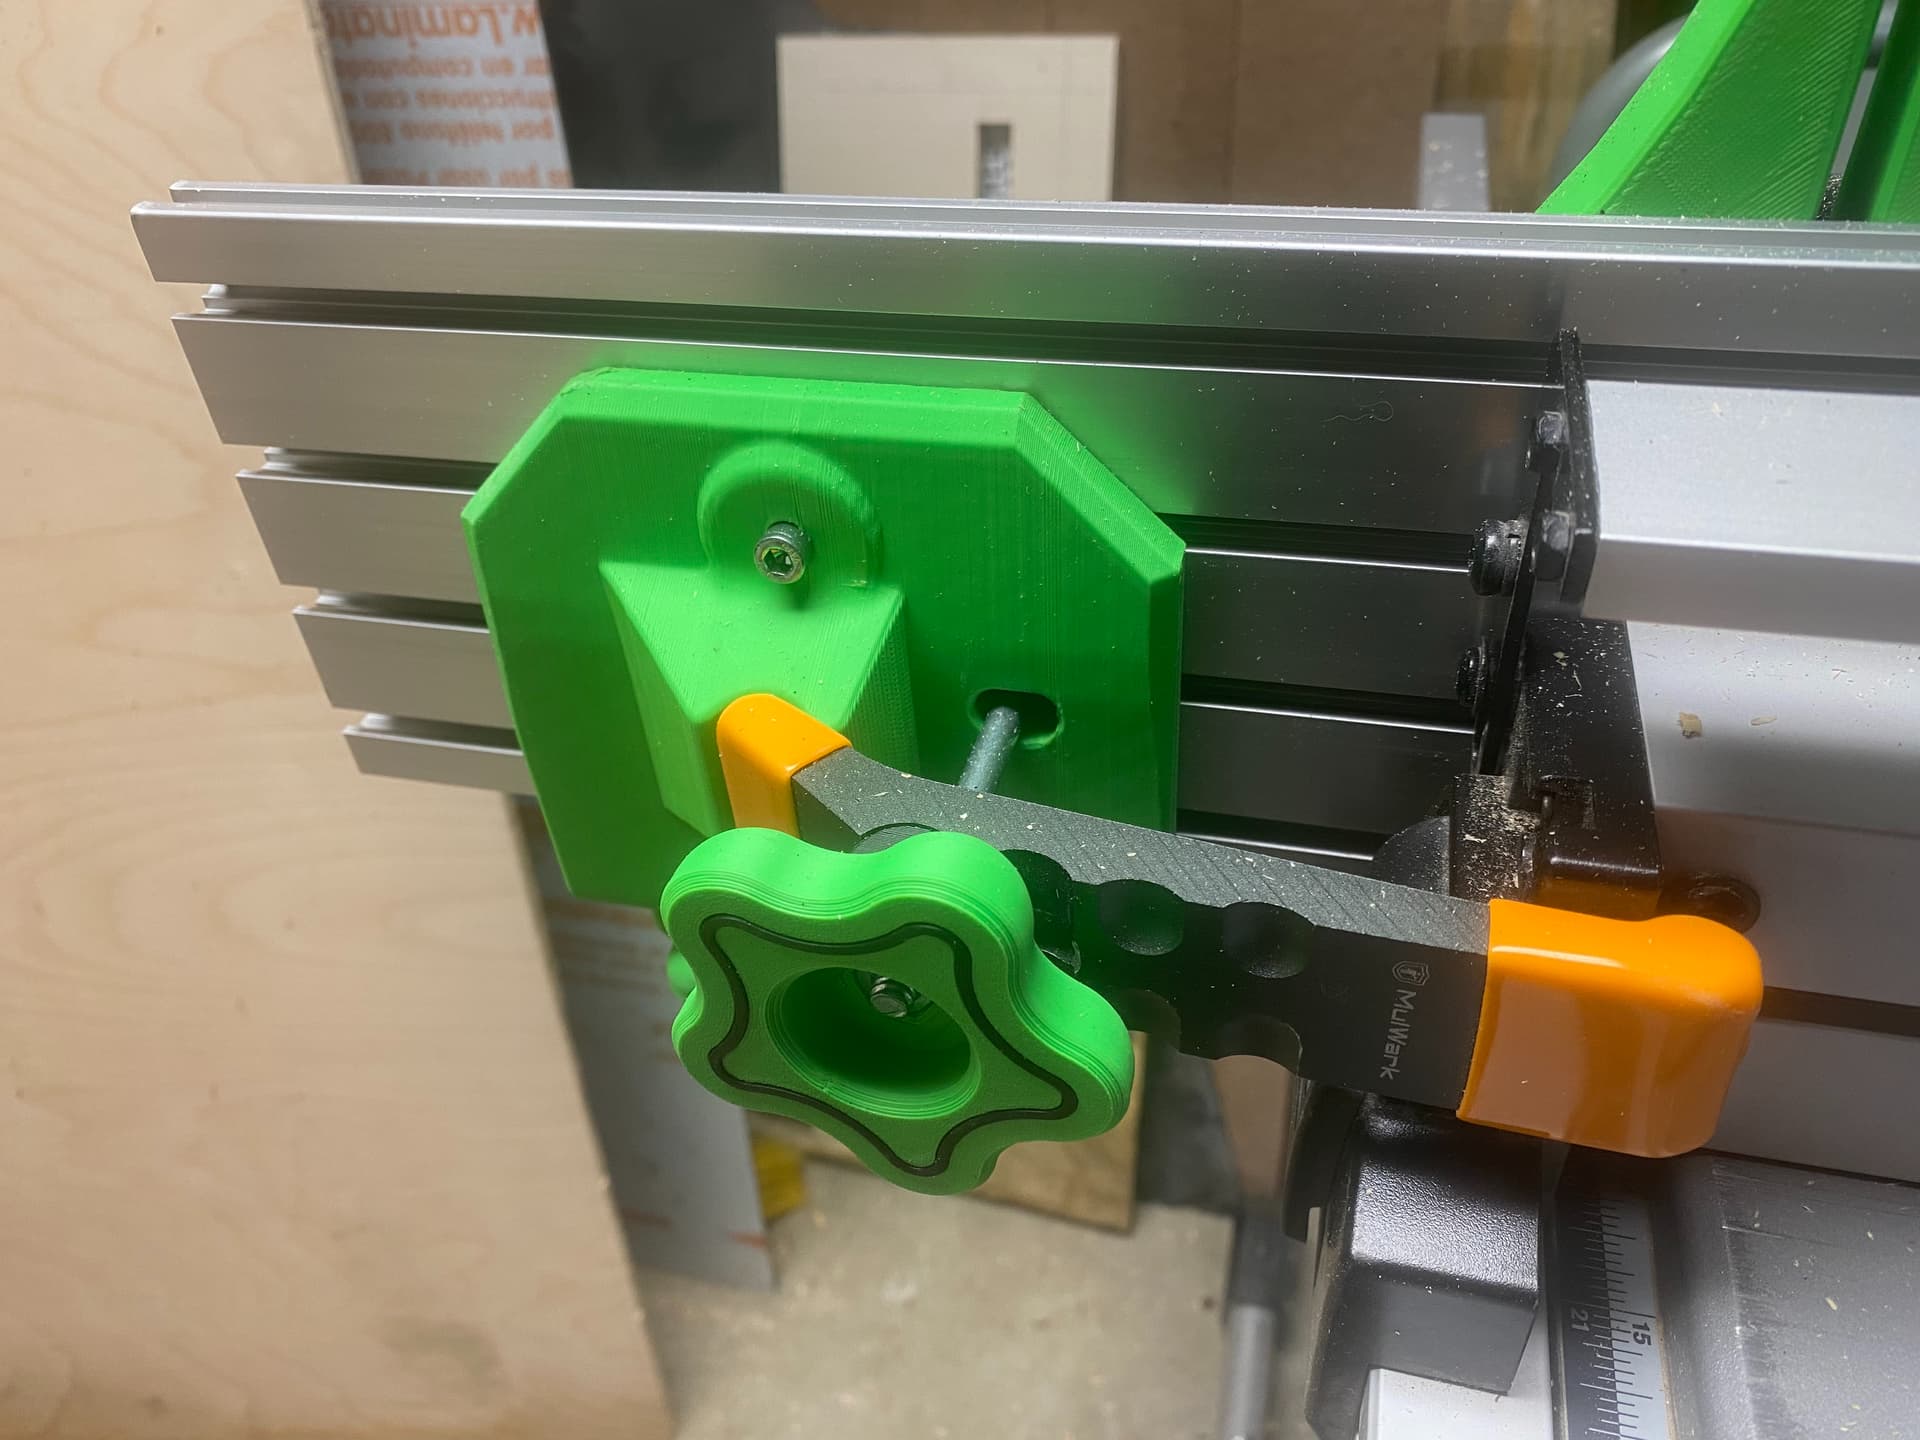
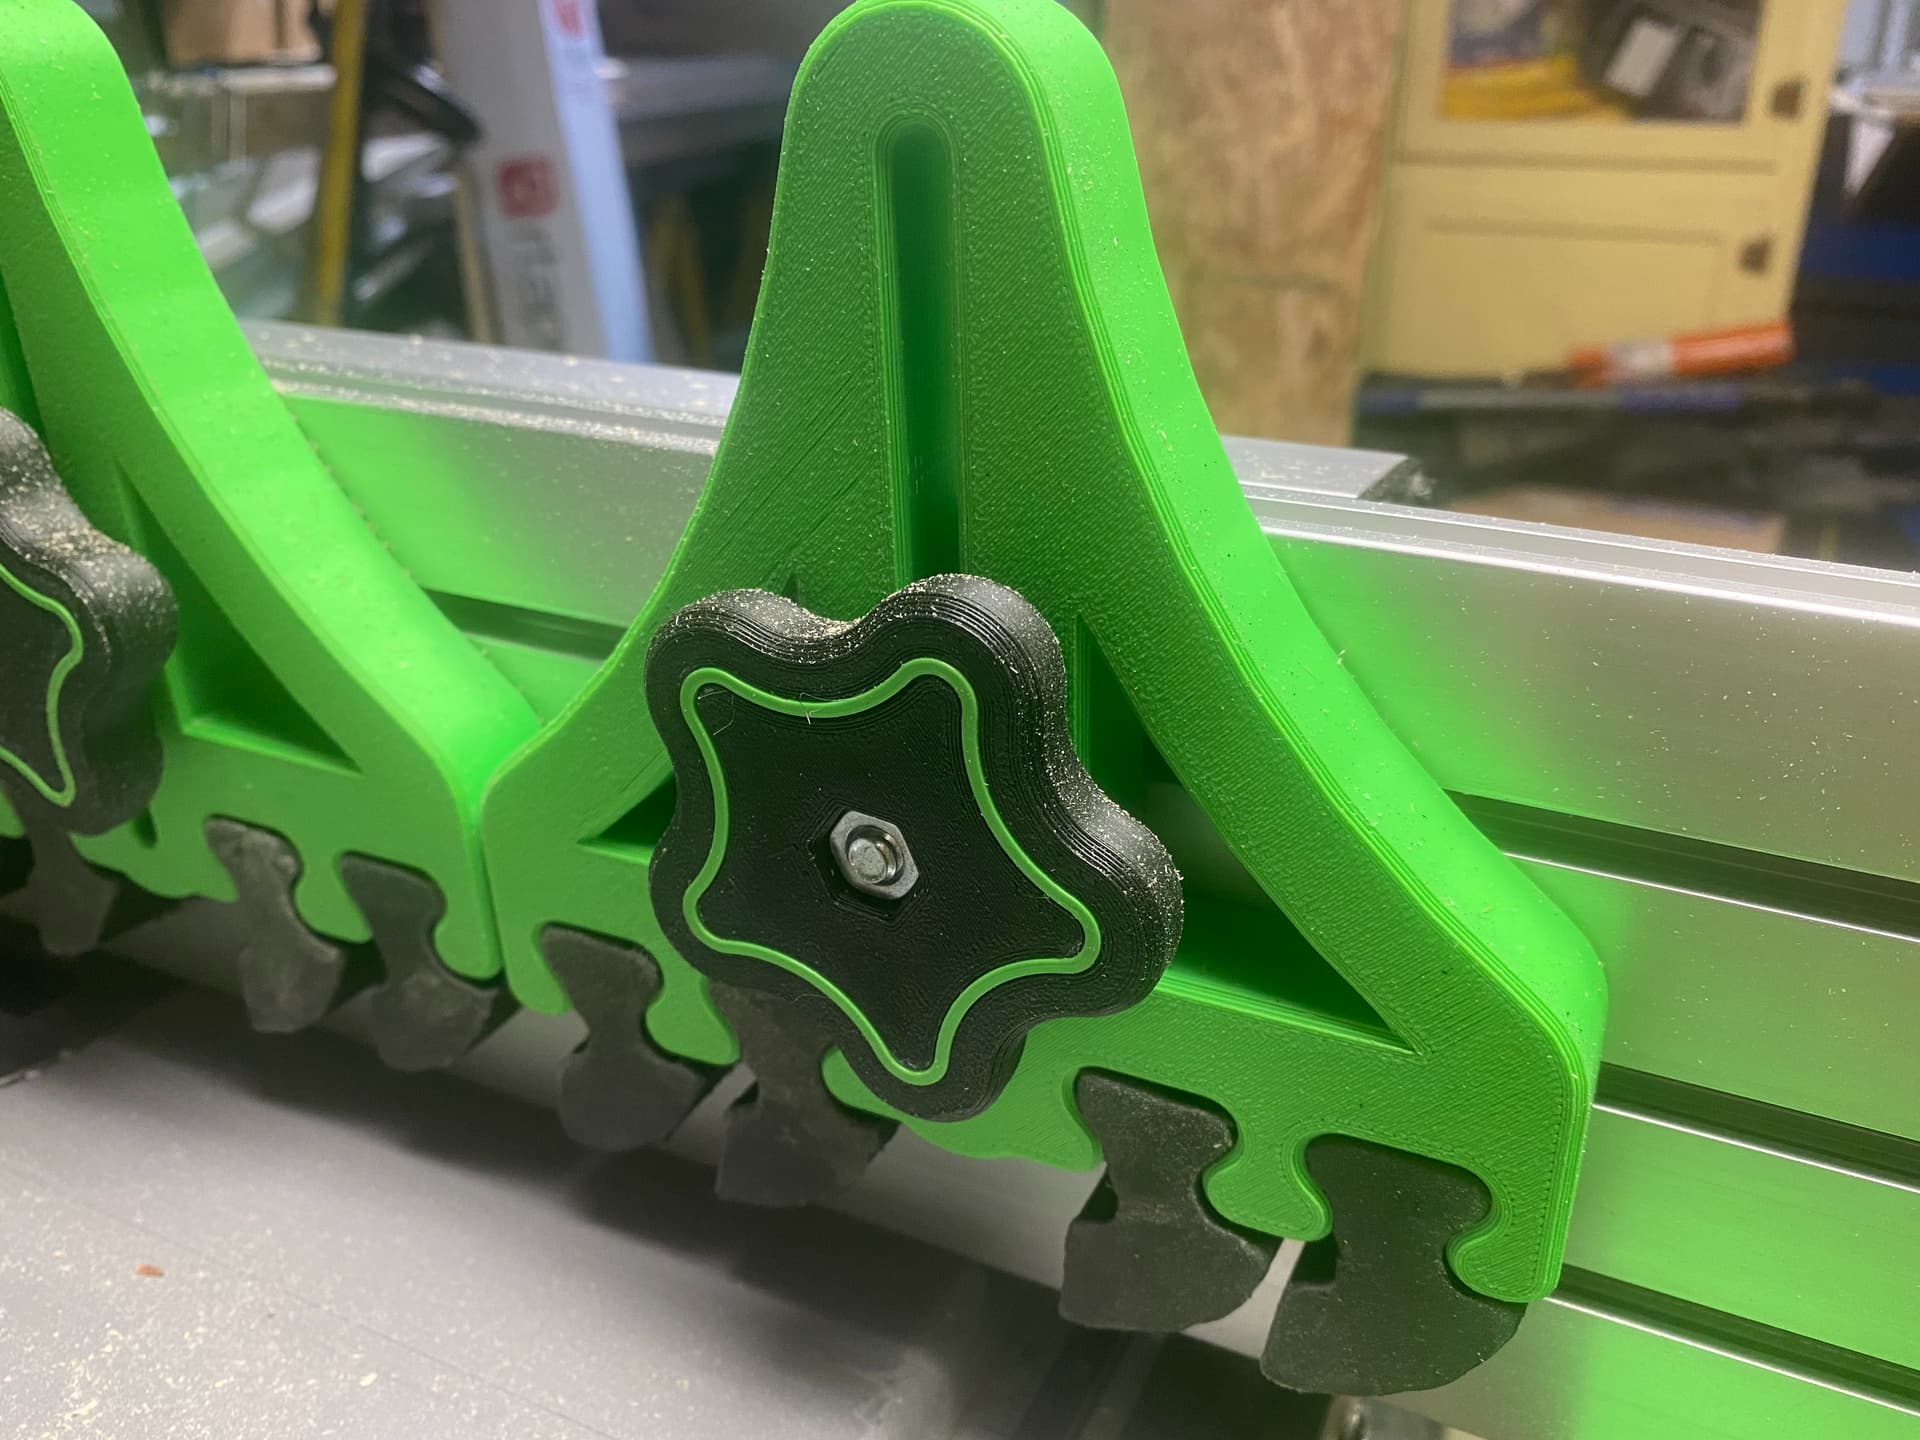
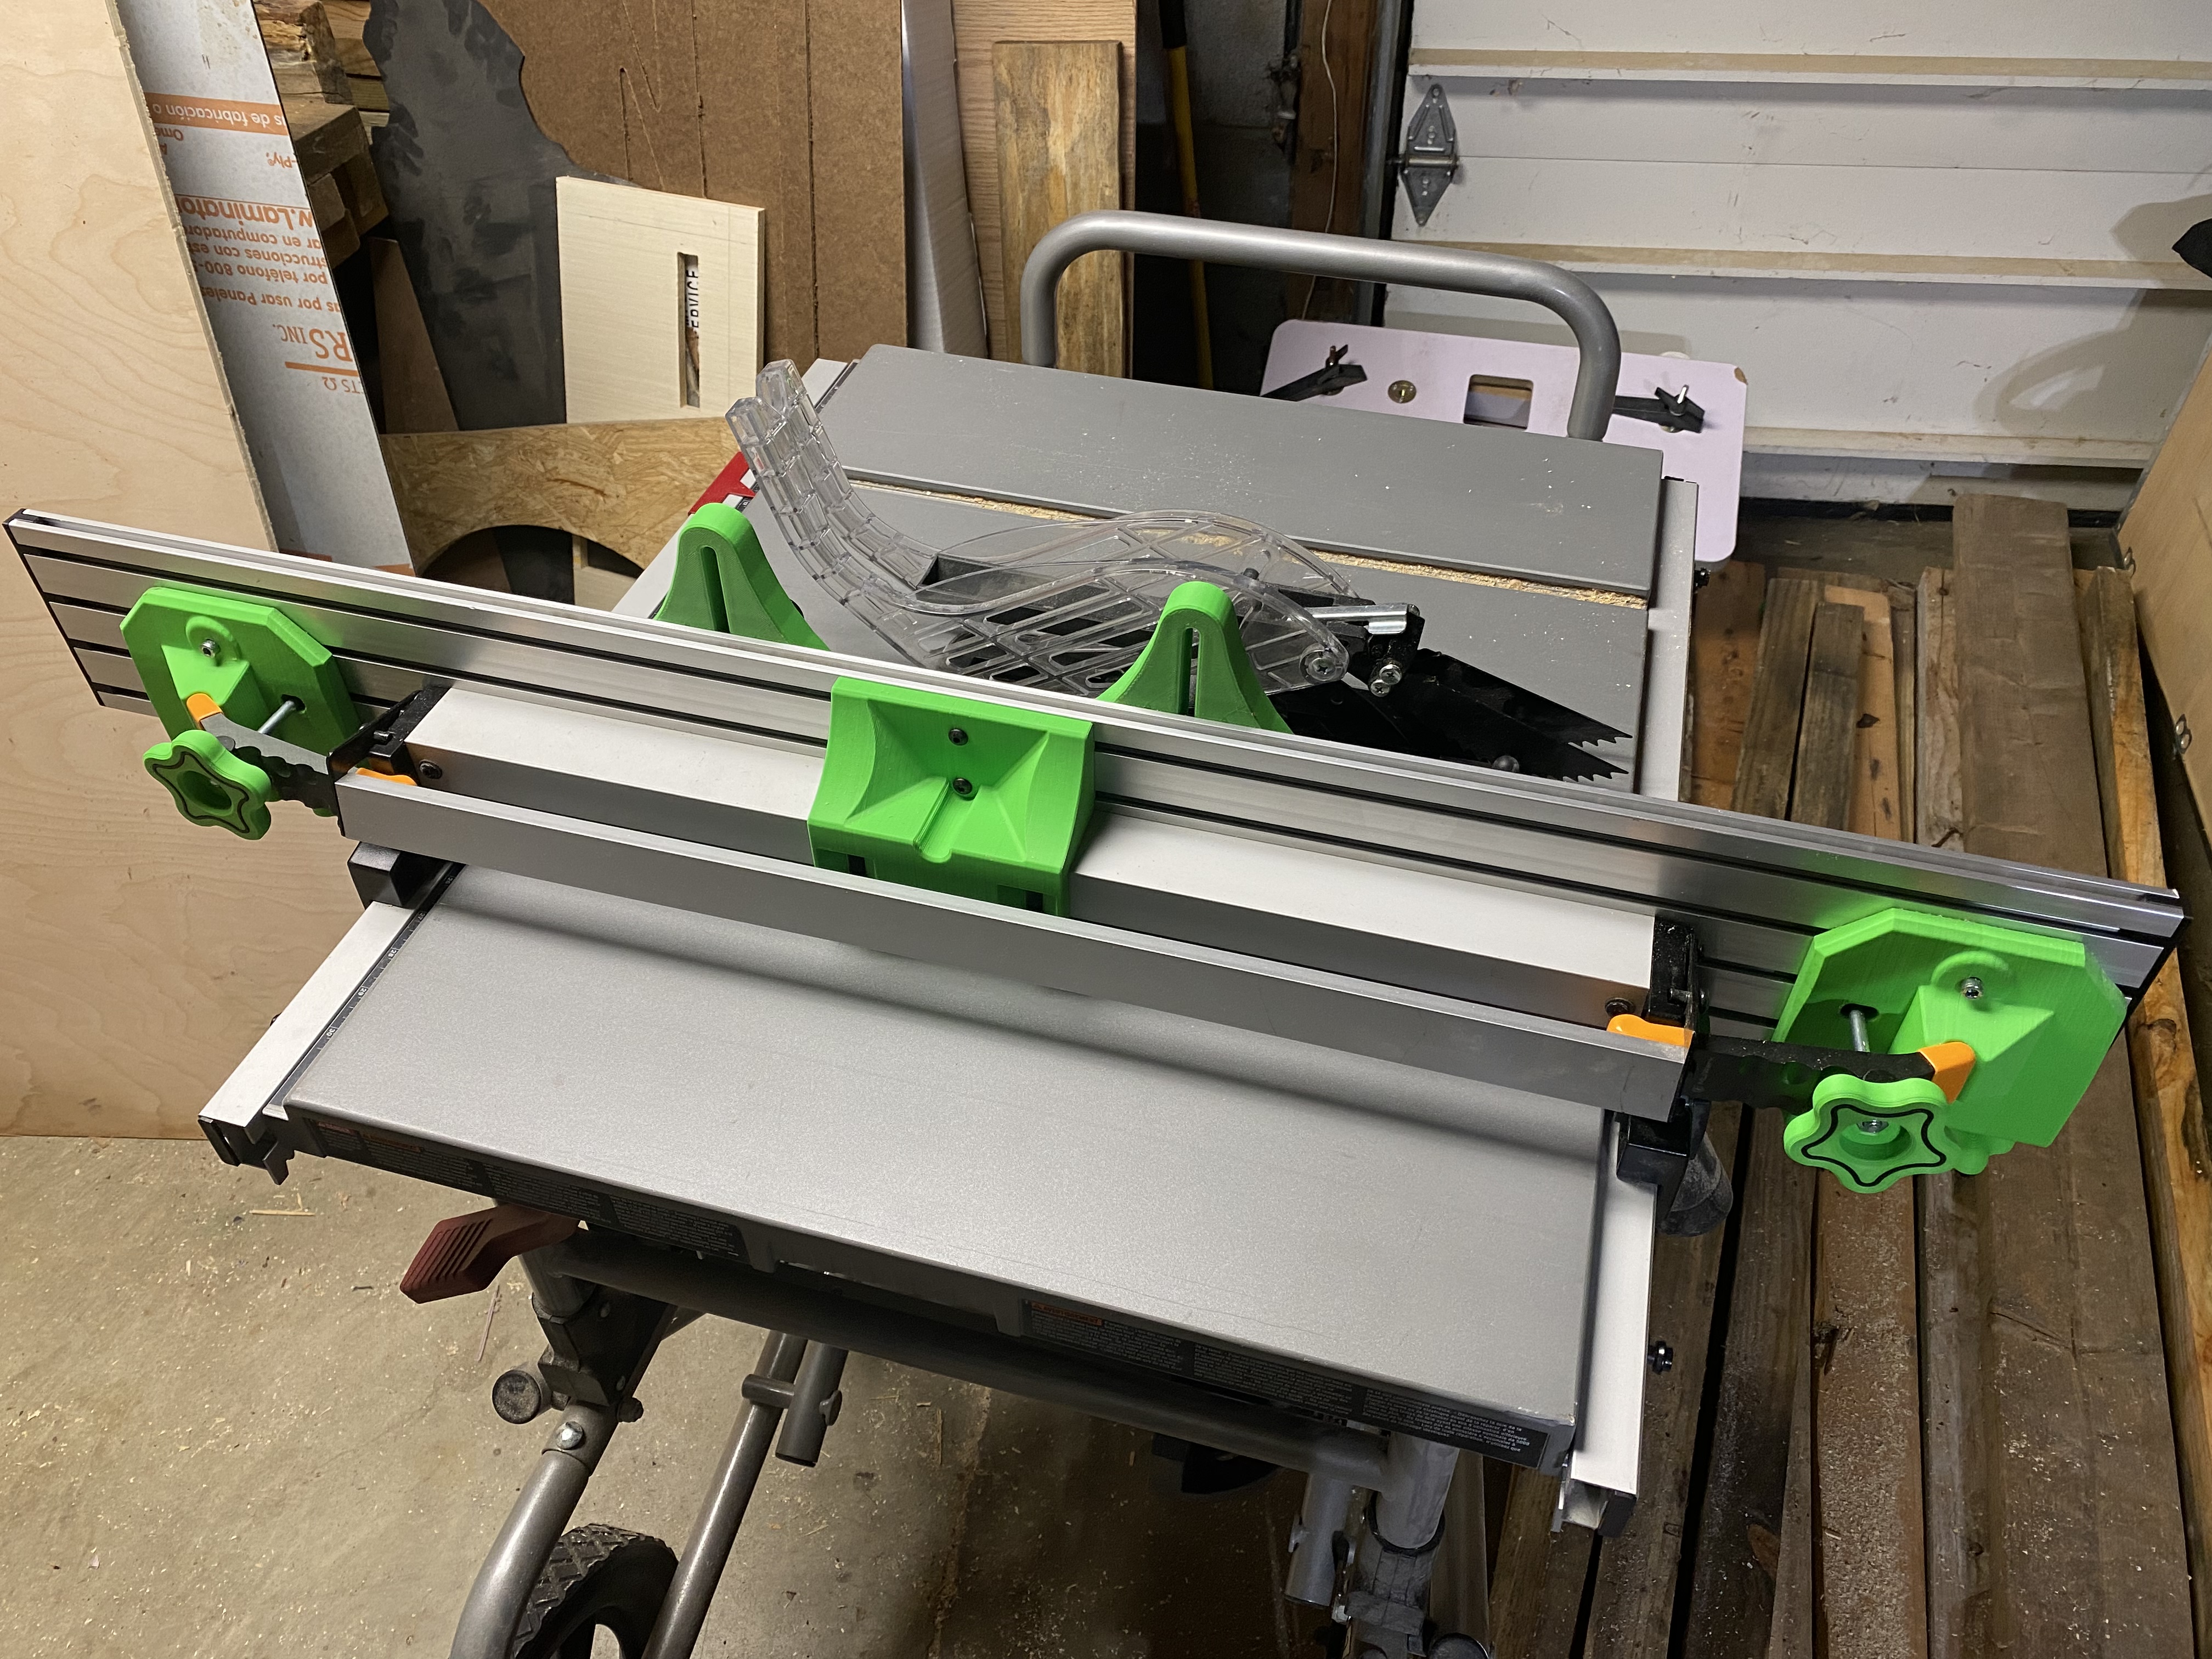
Here’s the 15120 aluminum extrusion (profile view) that I bought via Aliexpress to use as a mod’d fence giving more support for cuts on table saw:
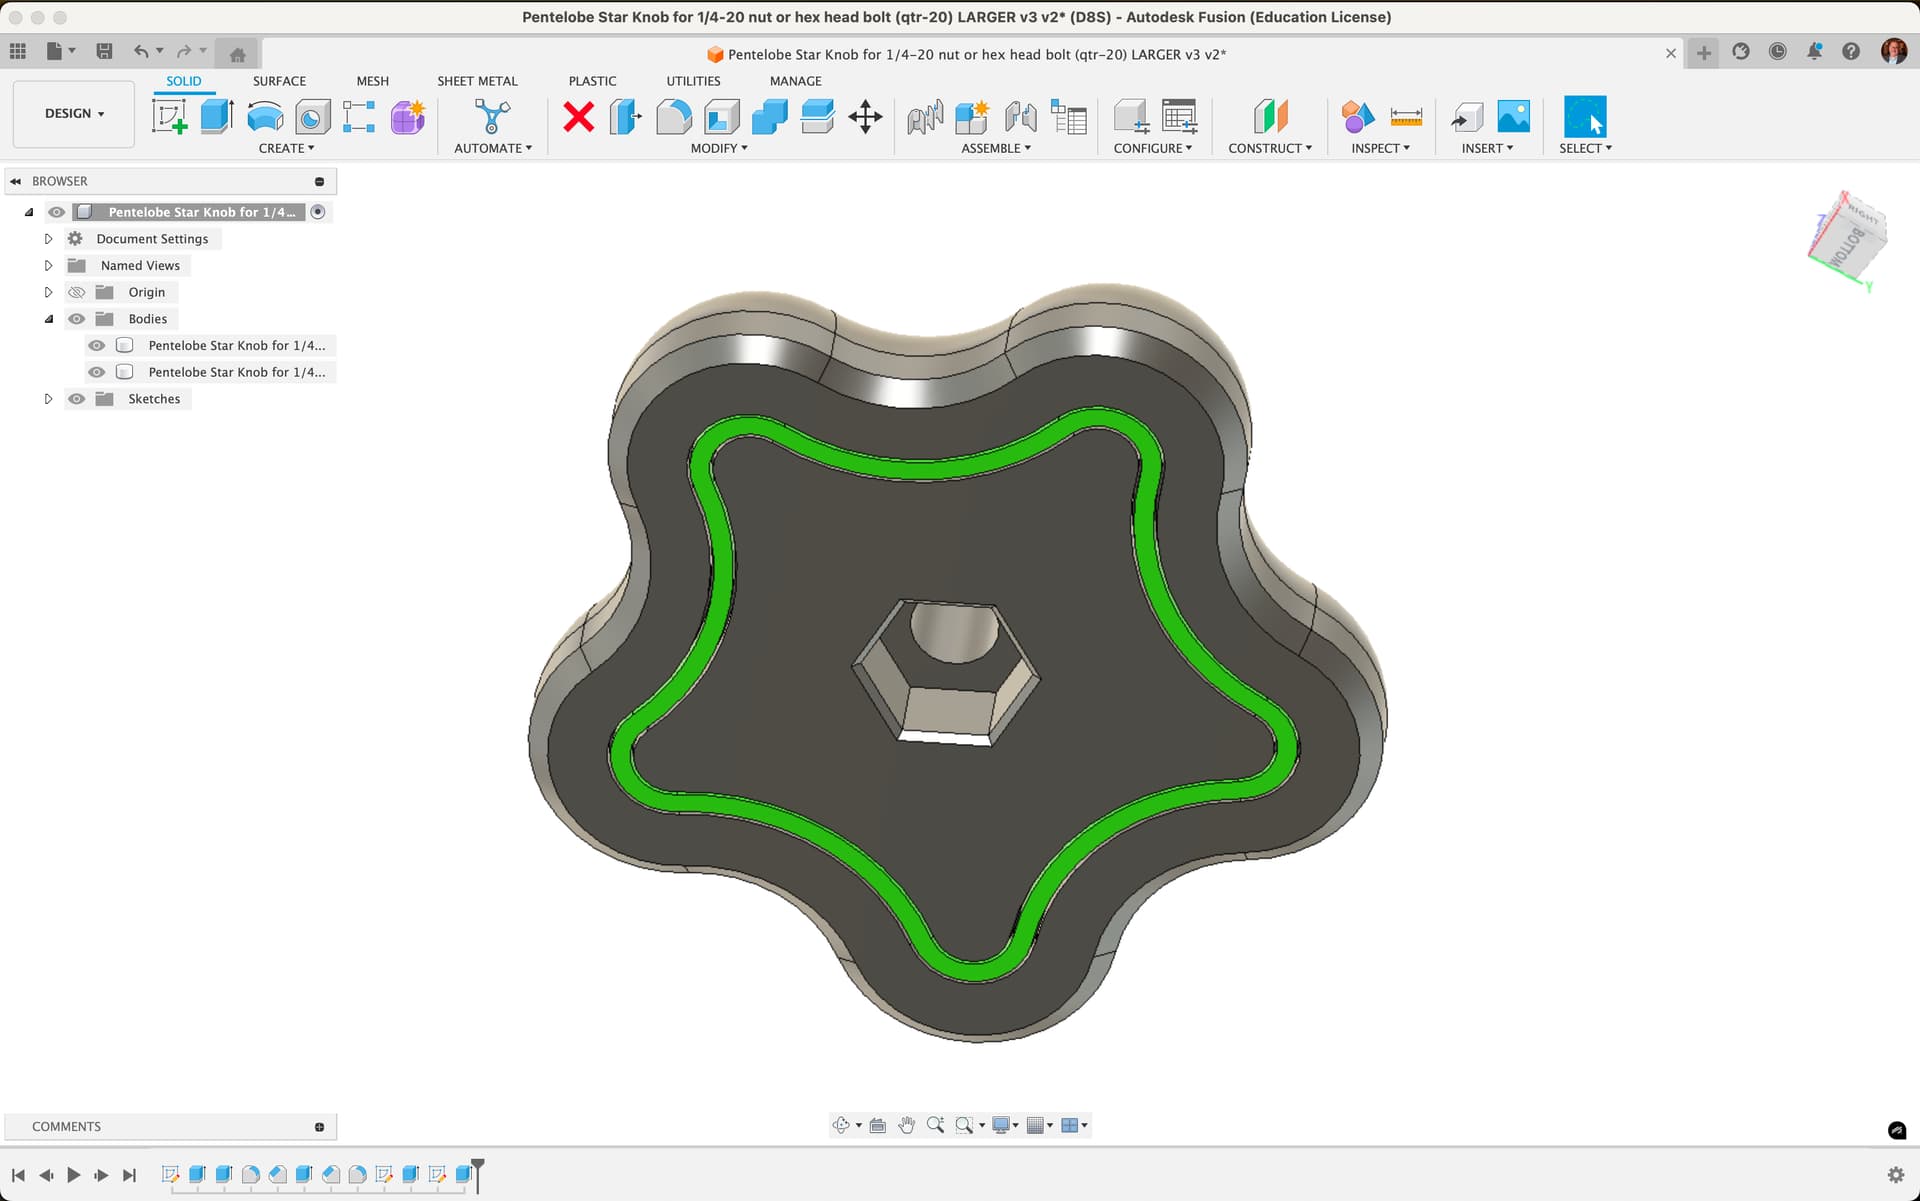
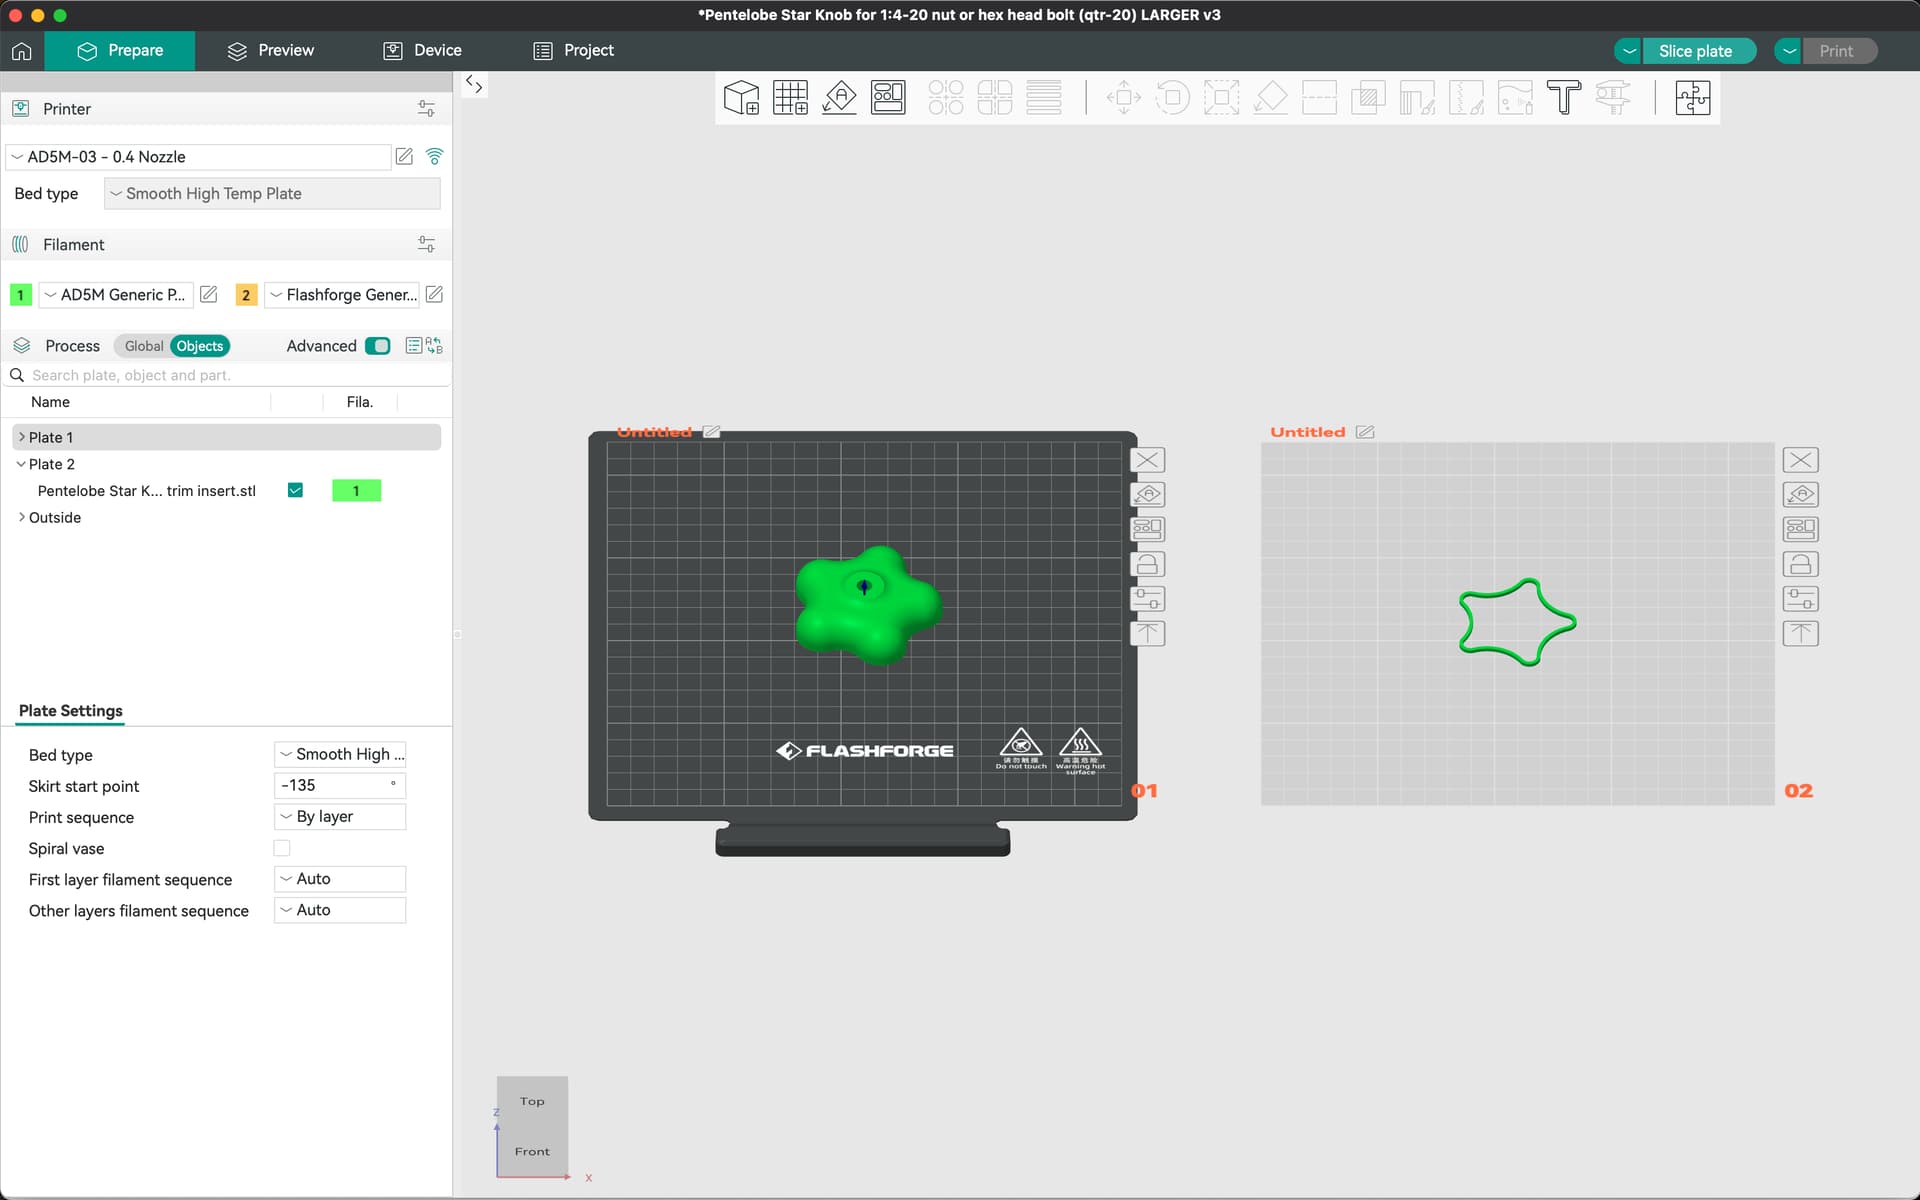
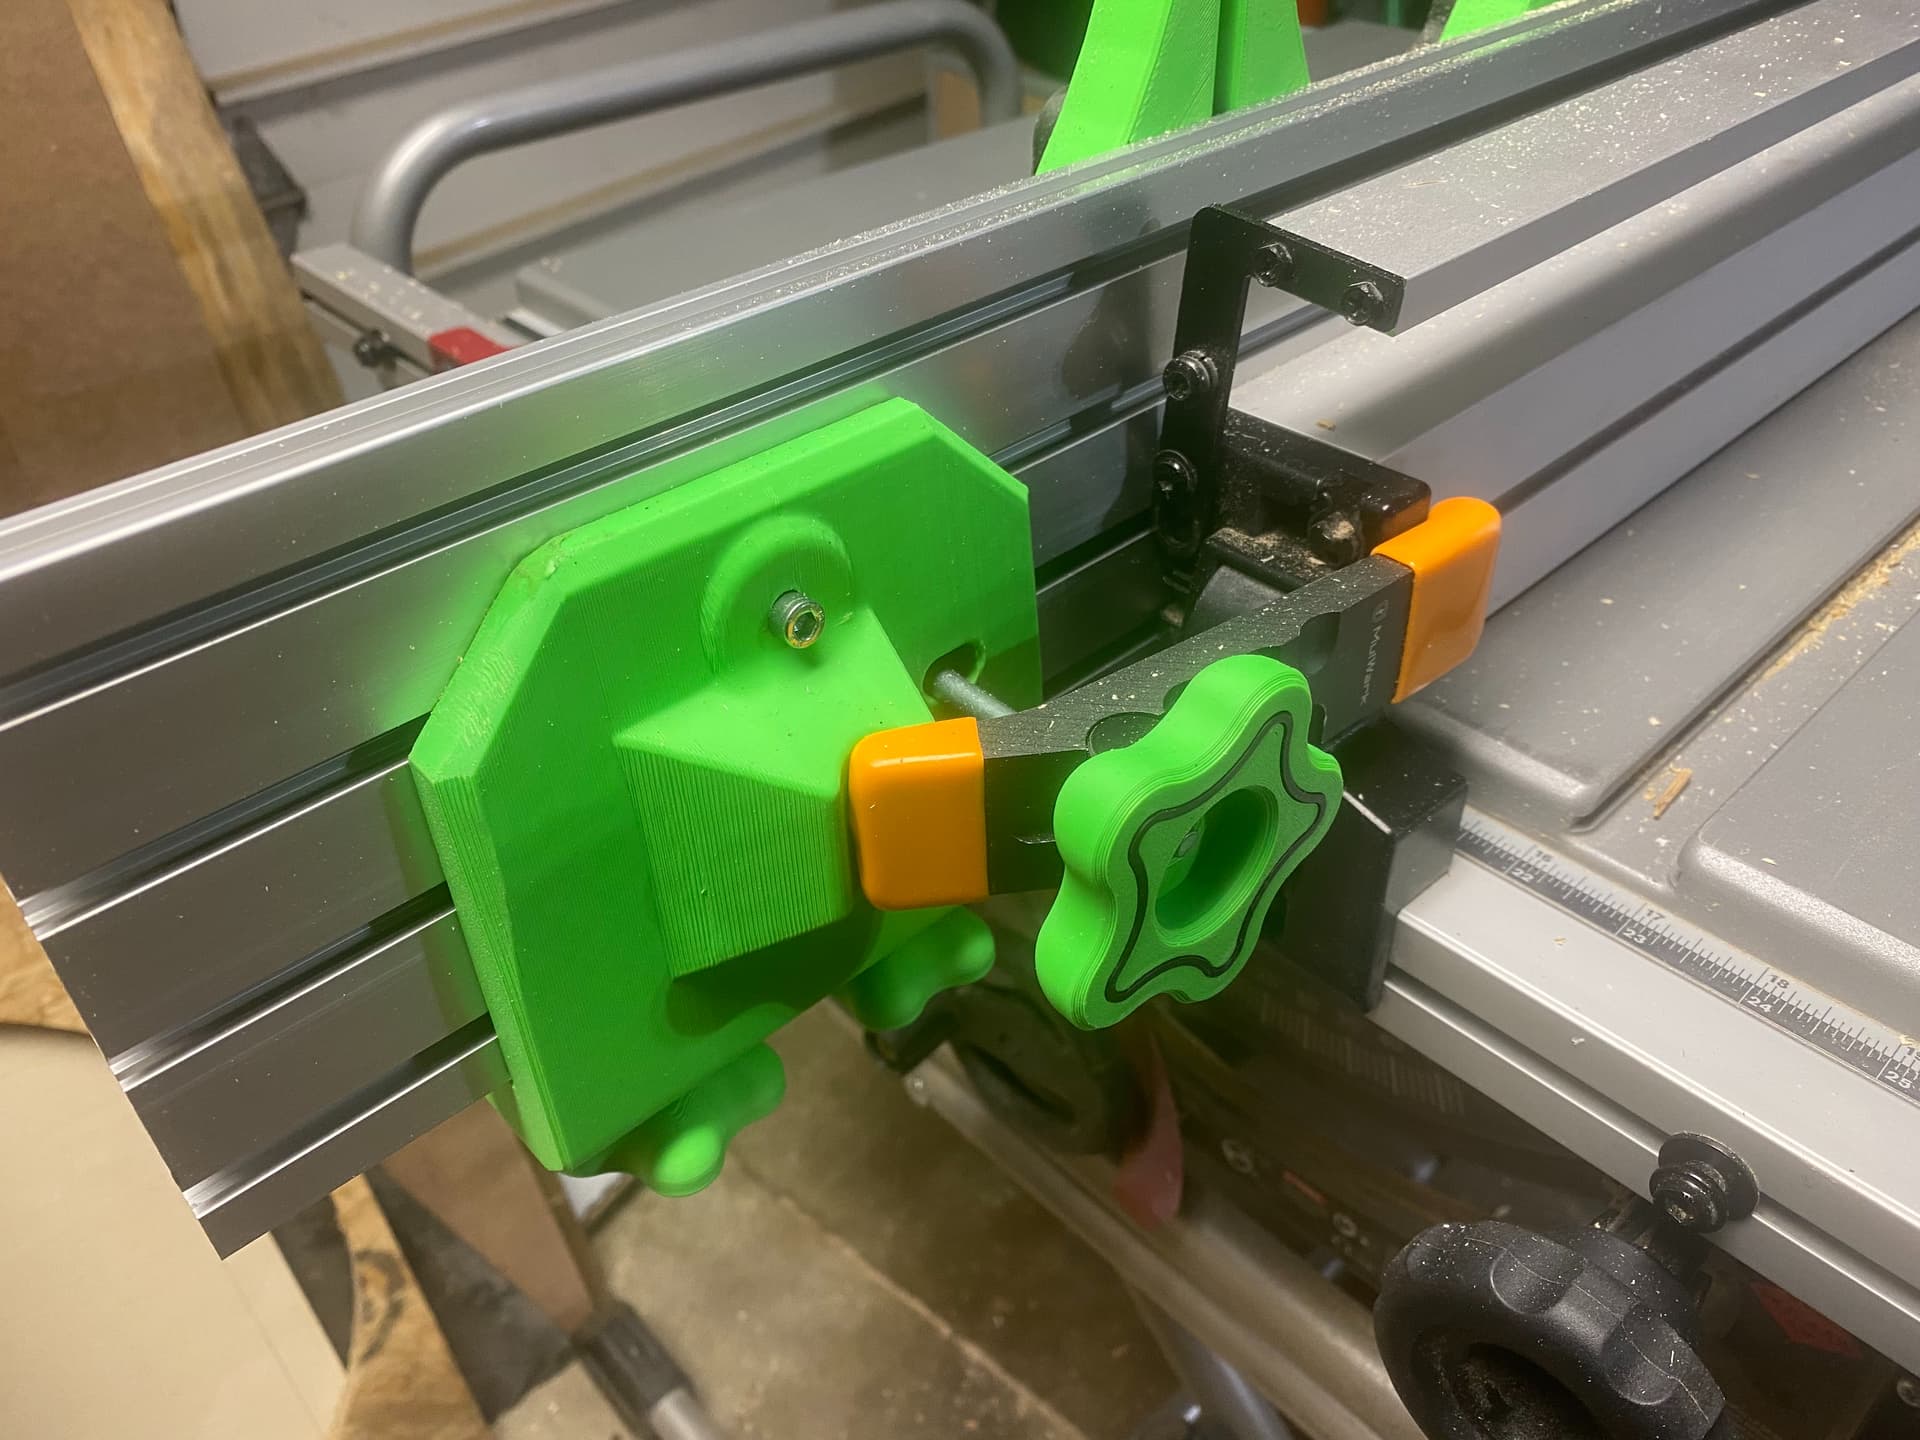
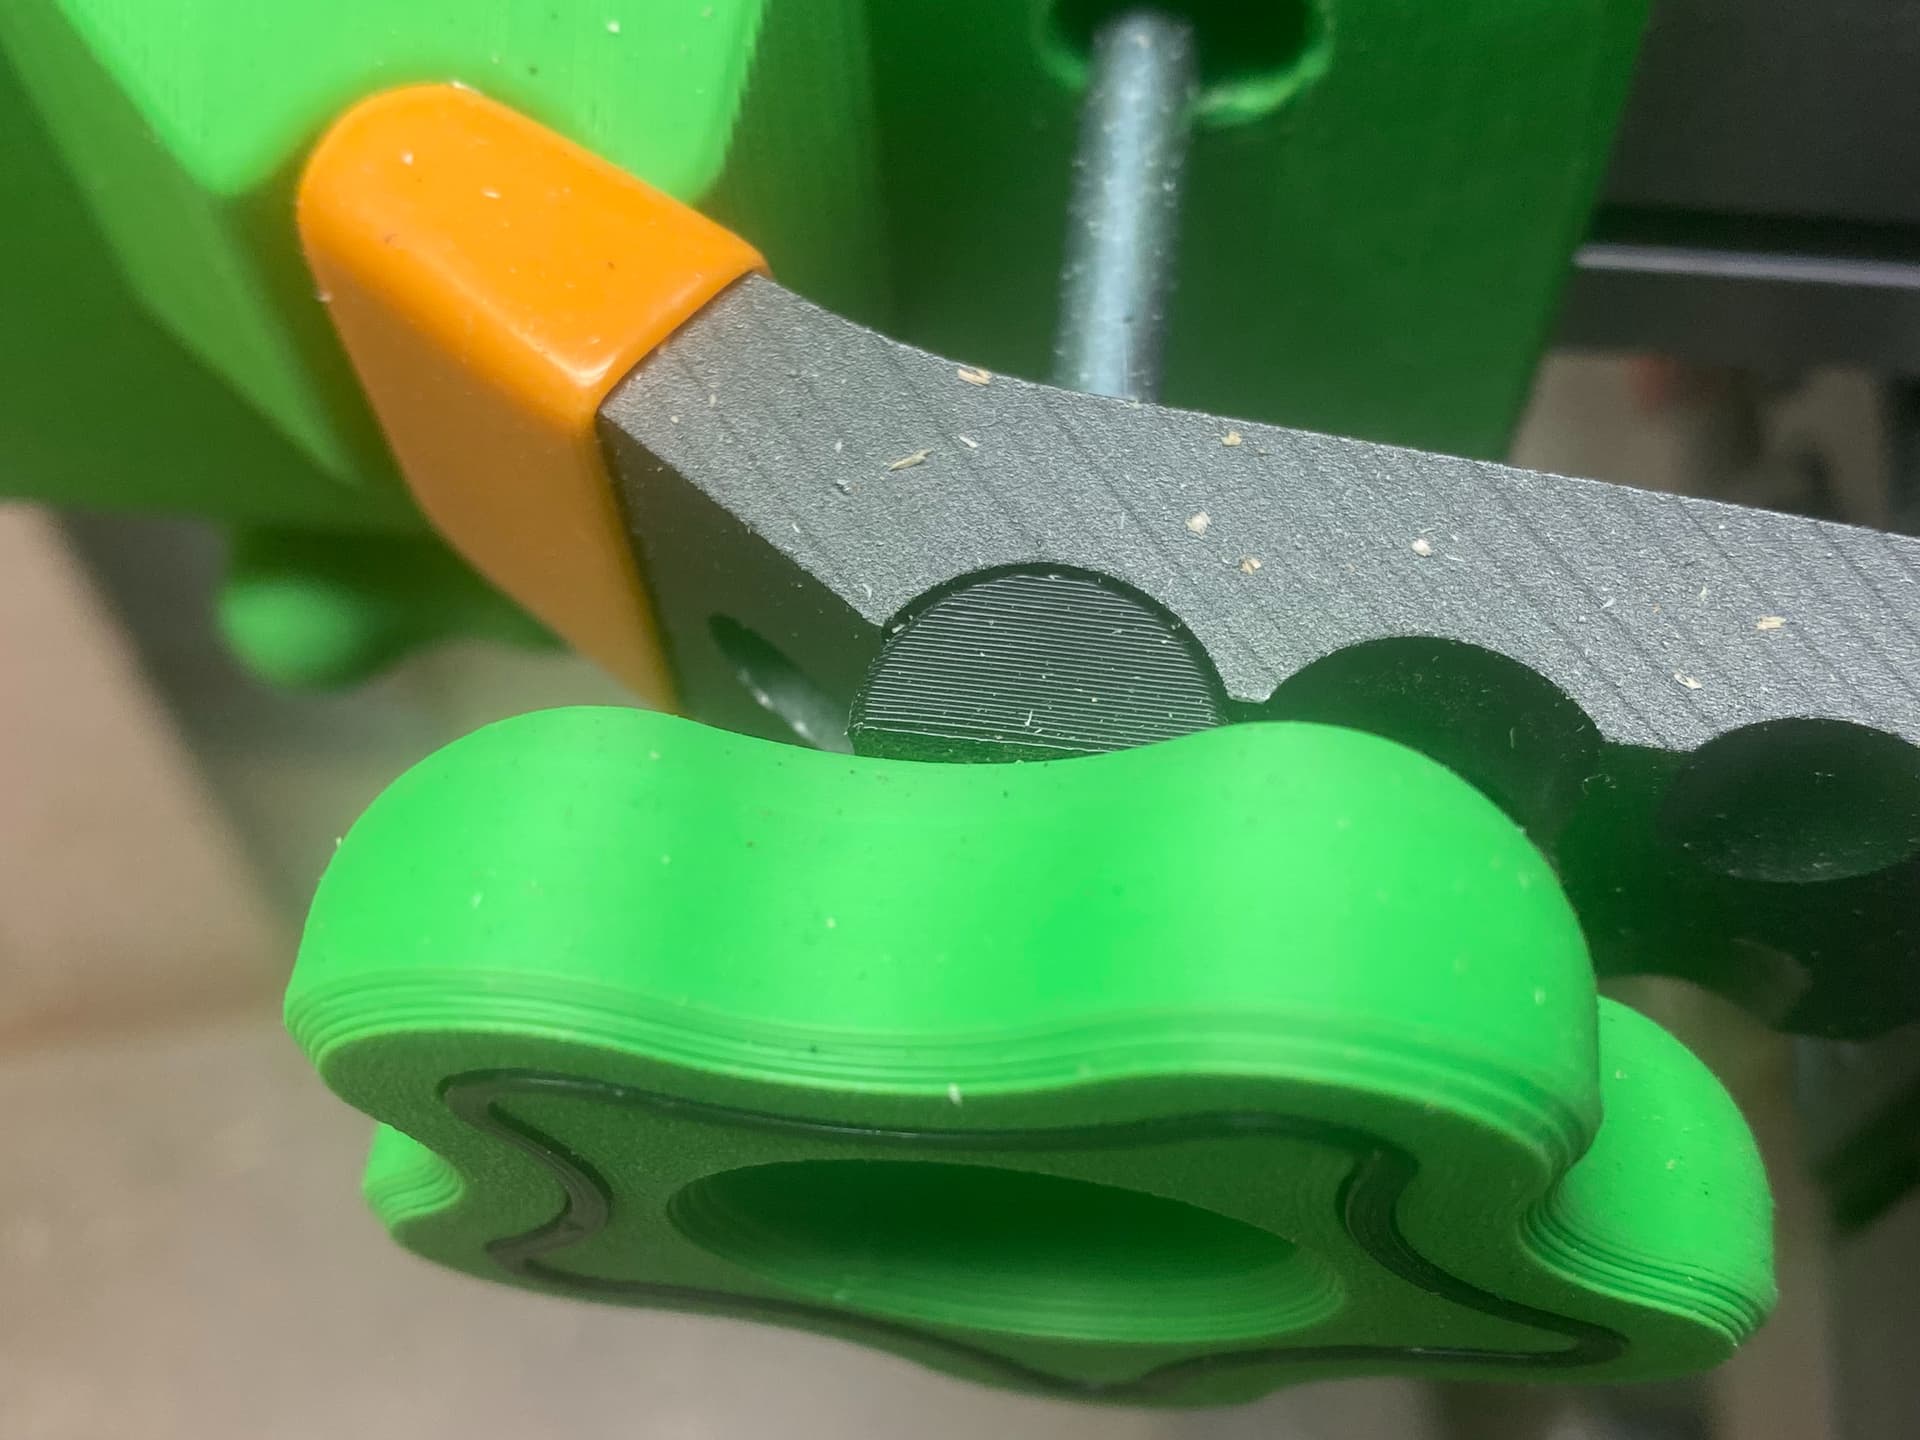
I designed (in Fusion 360) a “pentelobe” star knob compatible with 1/4-20 bolts and nuts, and even though I don’t have an MMU, it was super easy to add a splash of color with a pre-planned trench and filler trim piece:
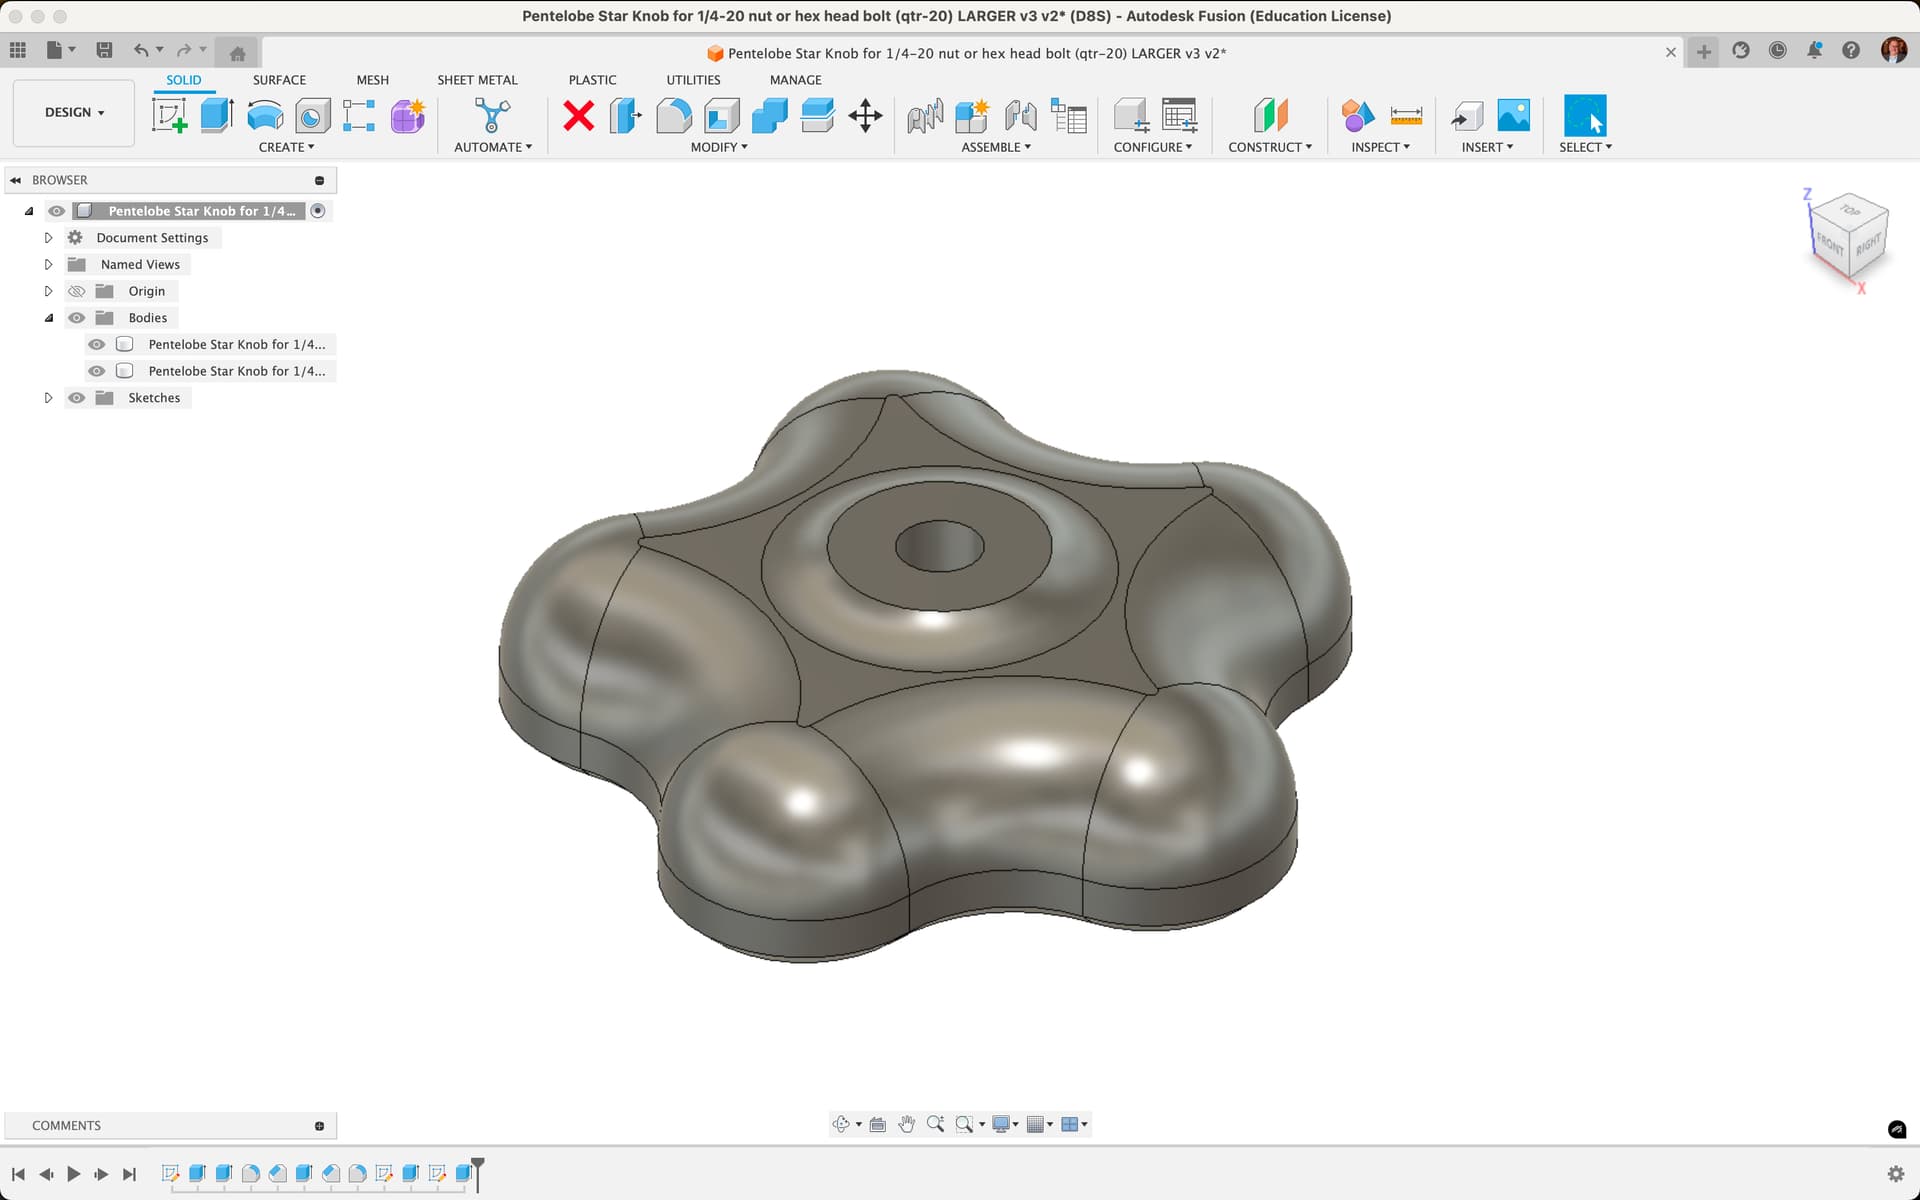
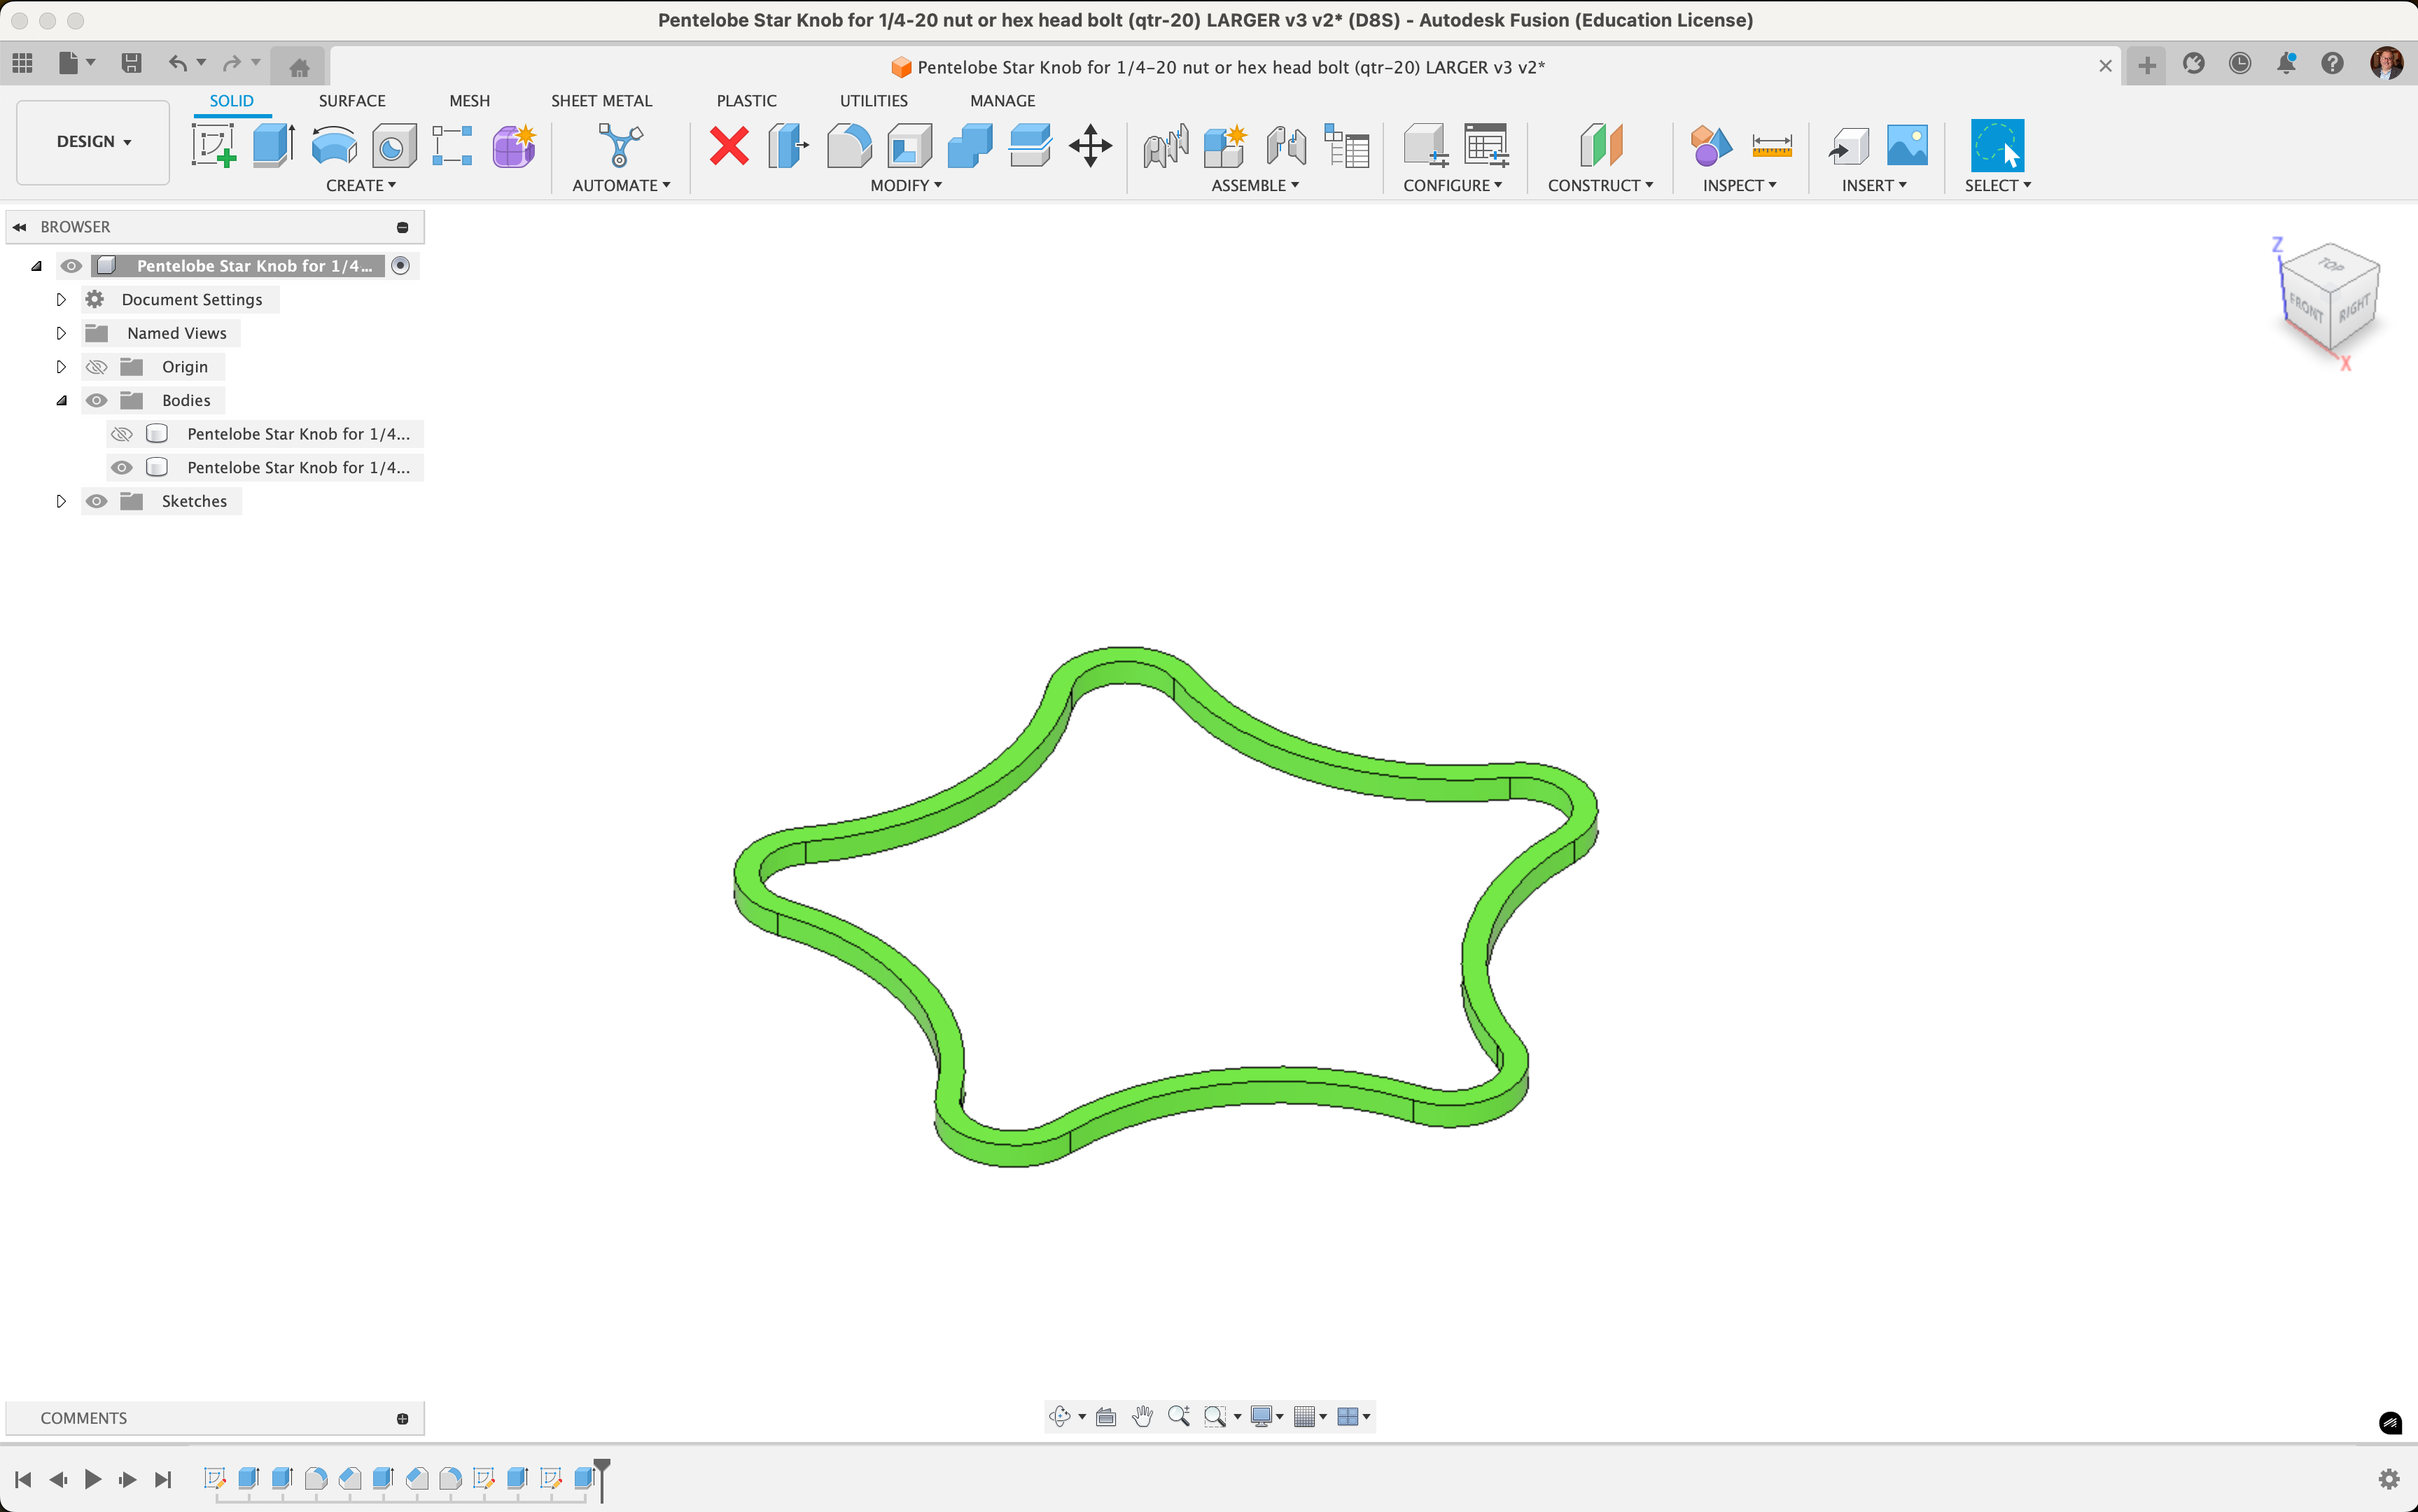
2 Likes
I really want one. I hate milling styrofoam. My whole barn/shed (whatever you call is) is littered with styrofoam pieces/debris. I am on the lookout for one where the wire can be set in an angle by the machine itself.
I have a 1.3 meter horizontal hotwire cutter that is underpowered at the moment, I need a bigger power unit. I had a vertical one, it did’t survive a falling stage prop.
2 Likes
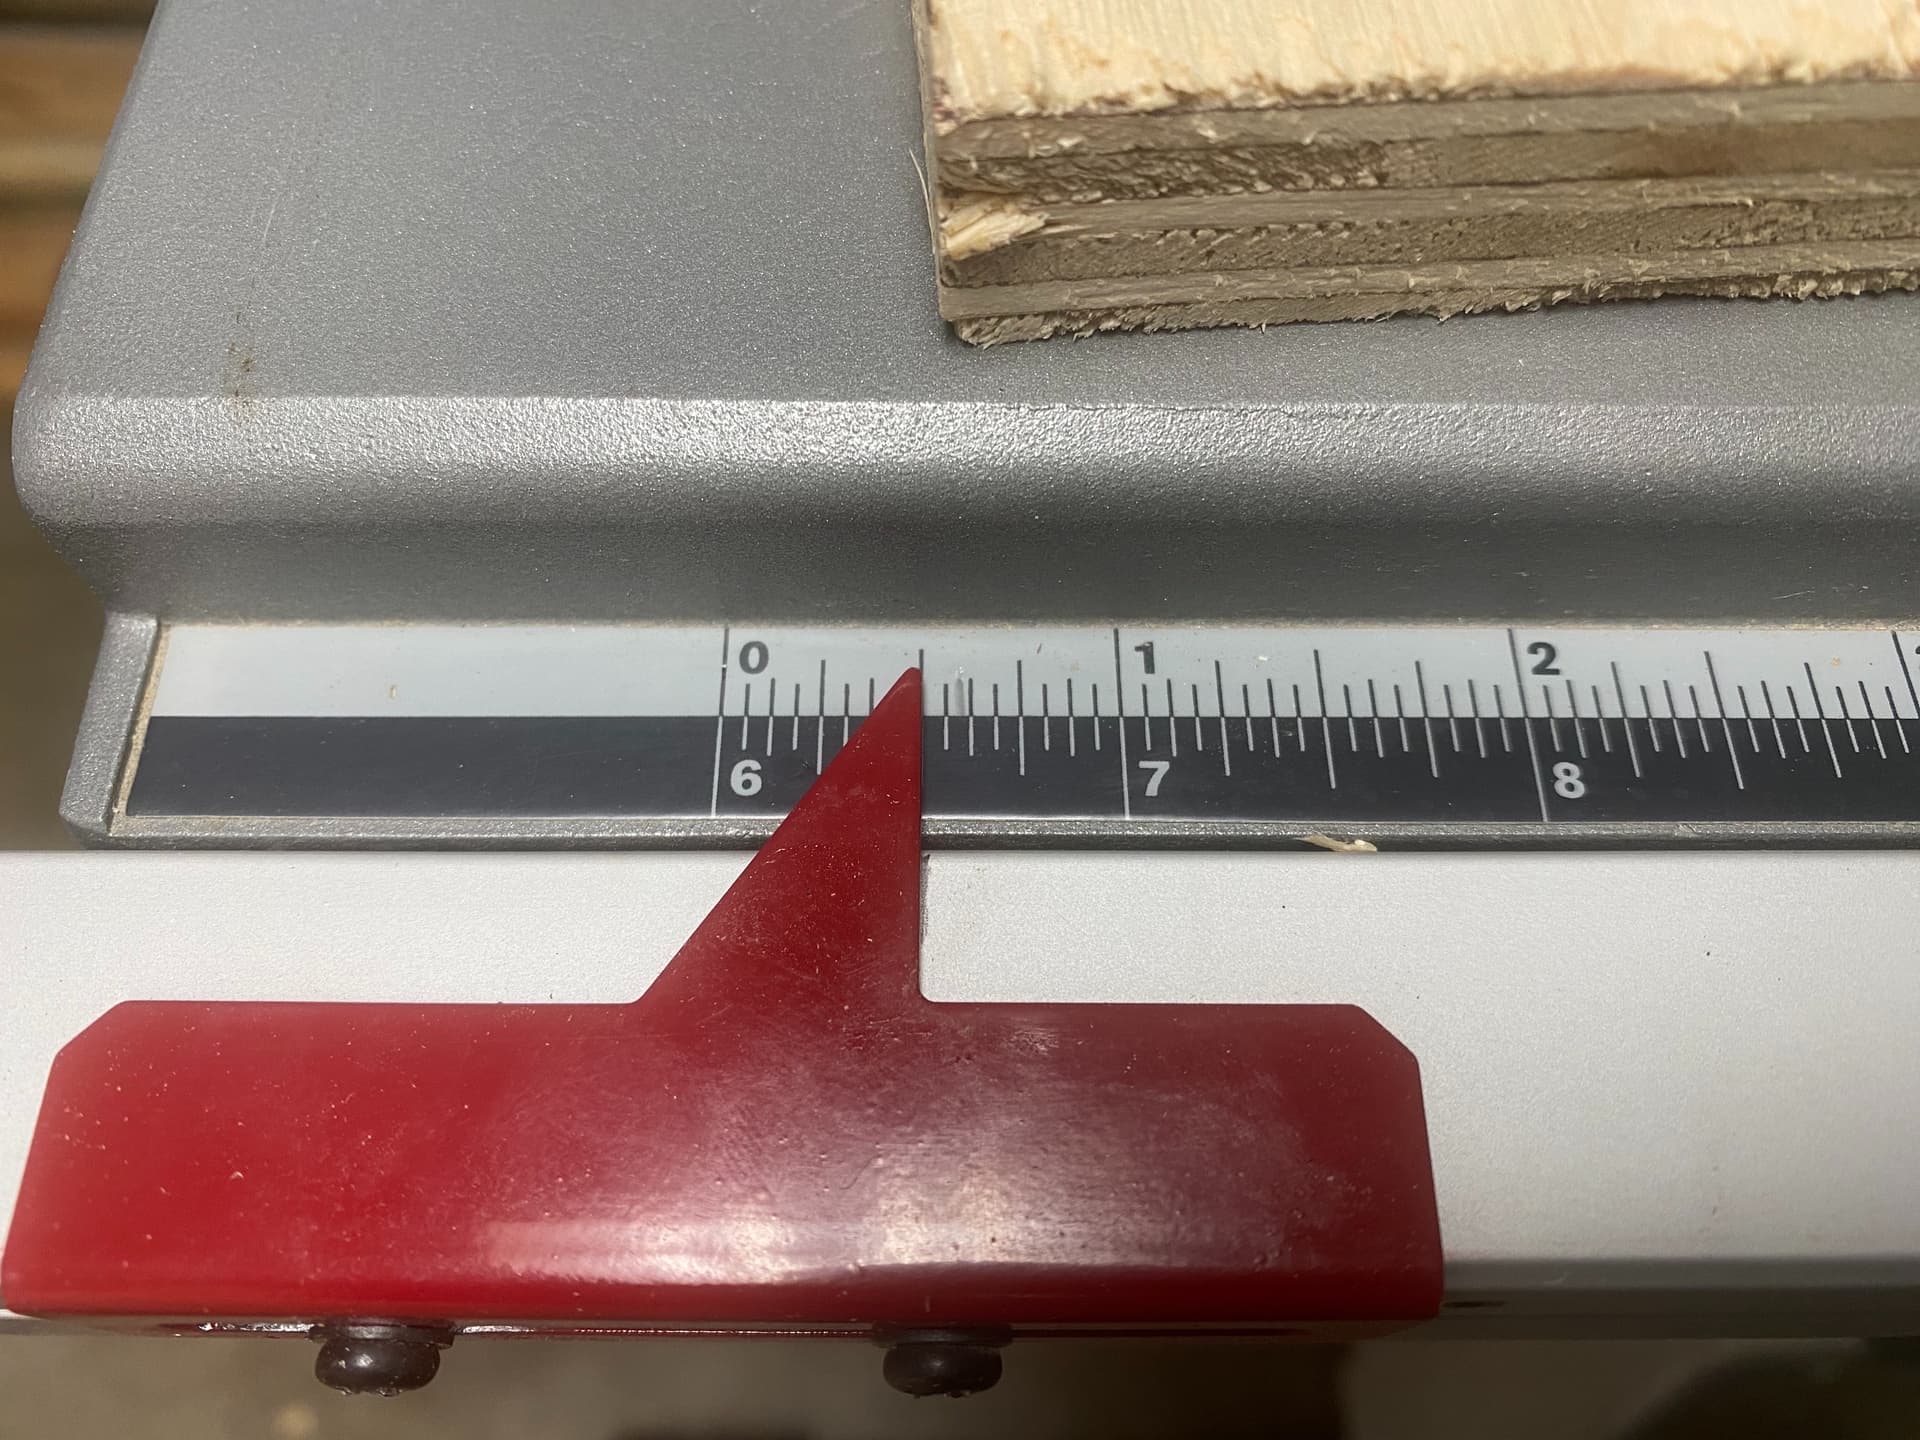
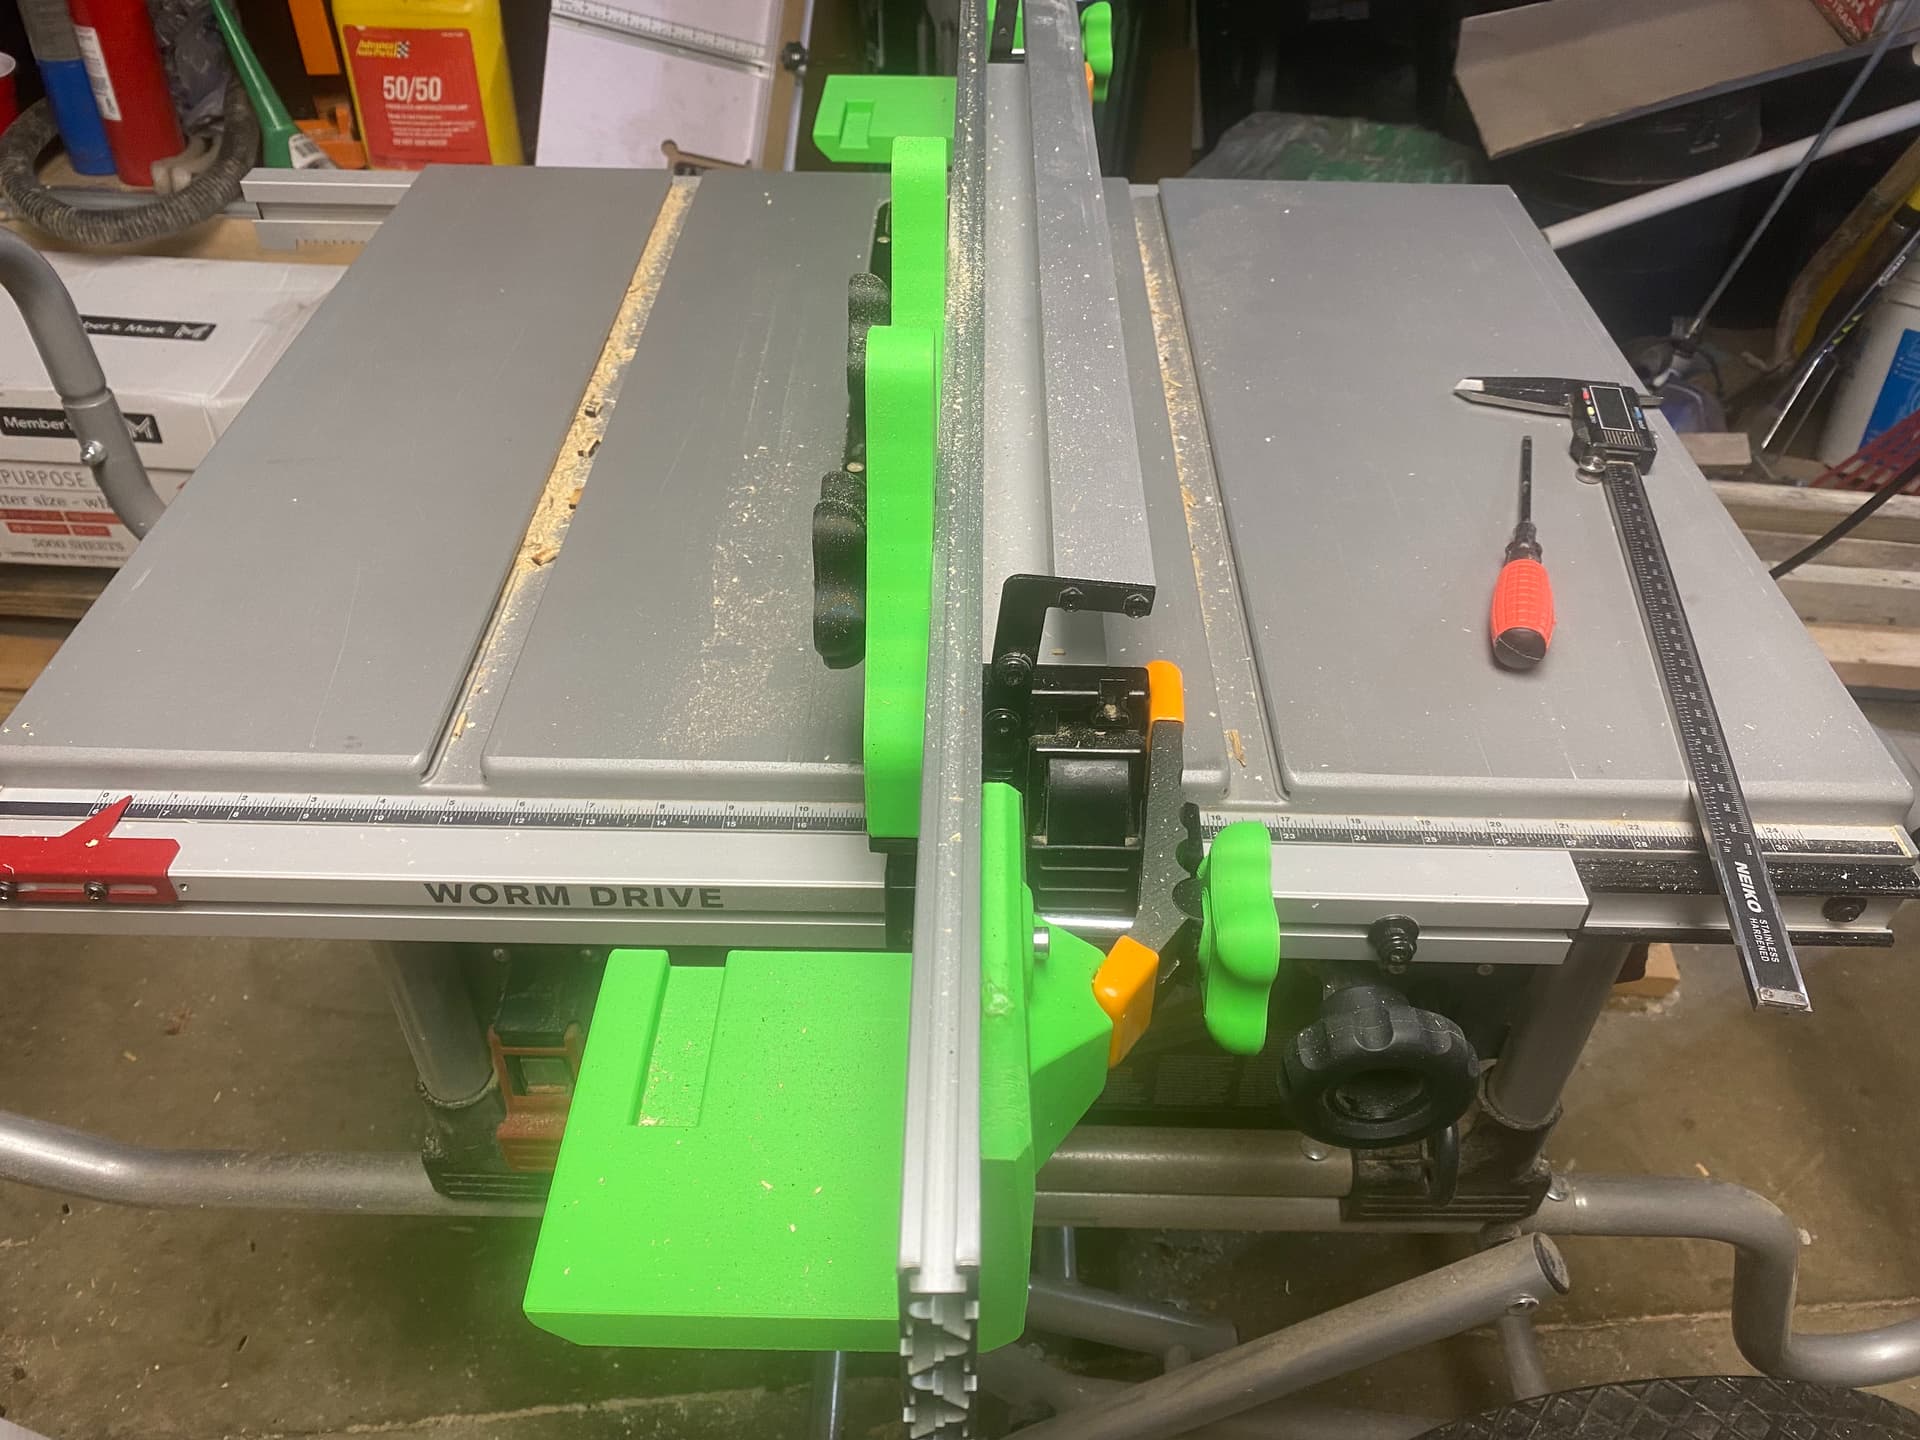
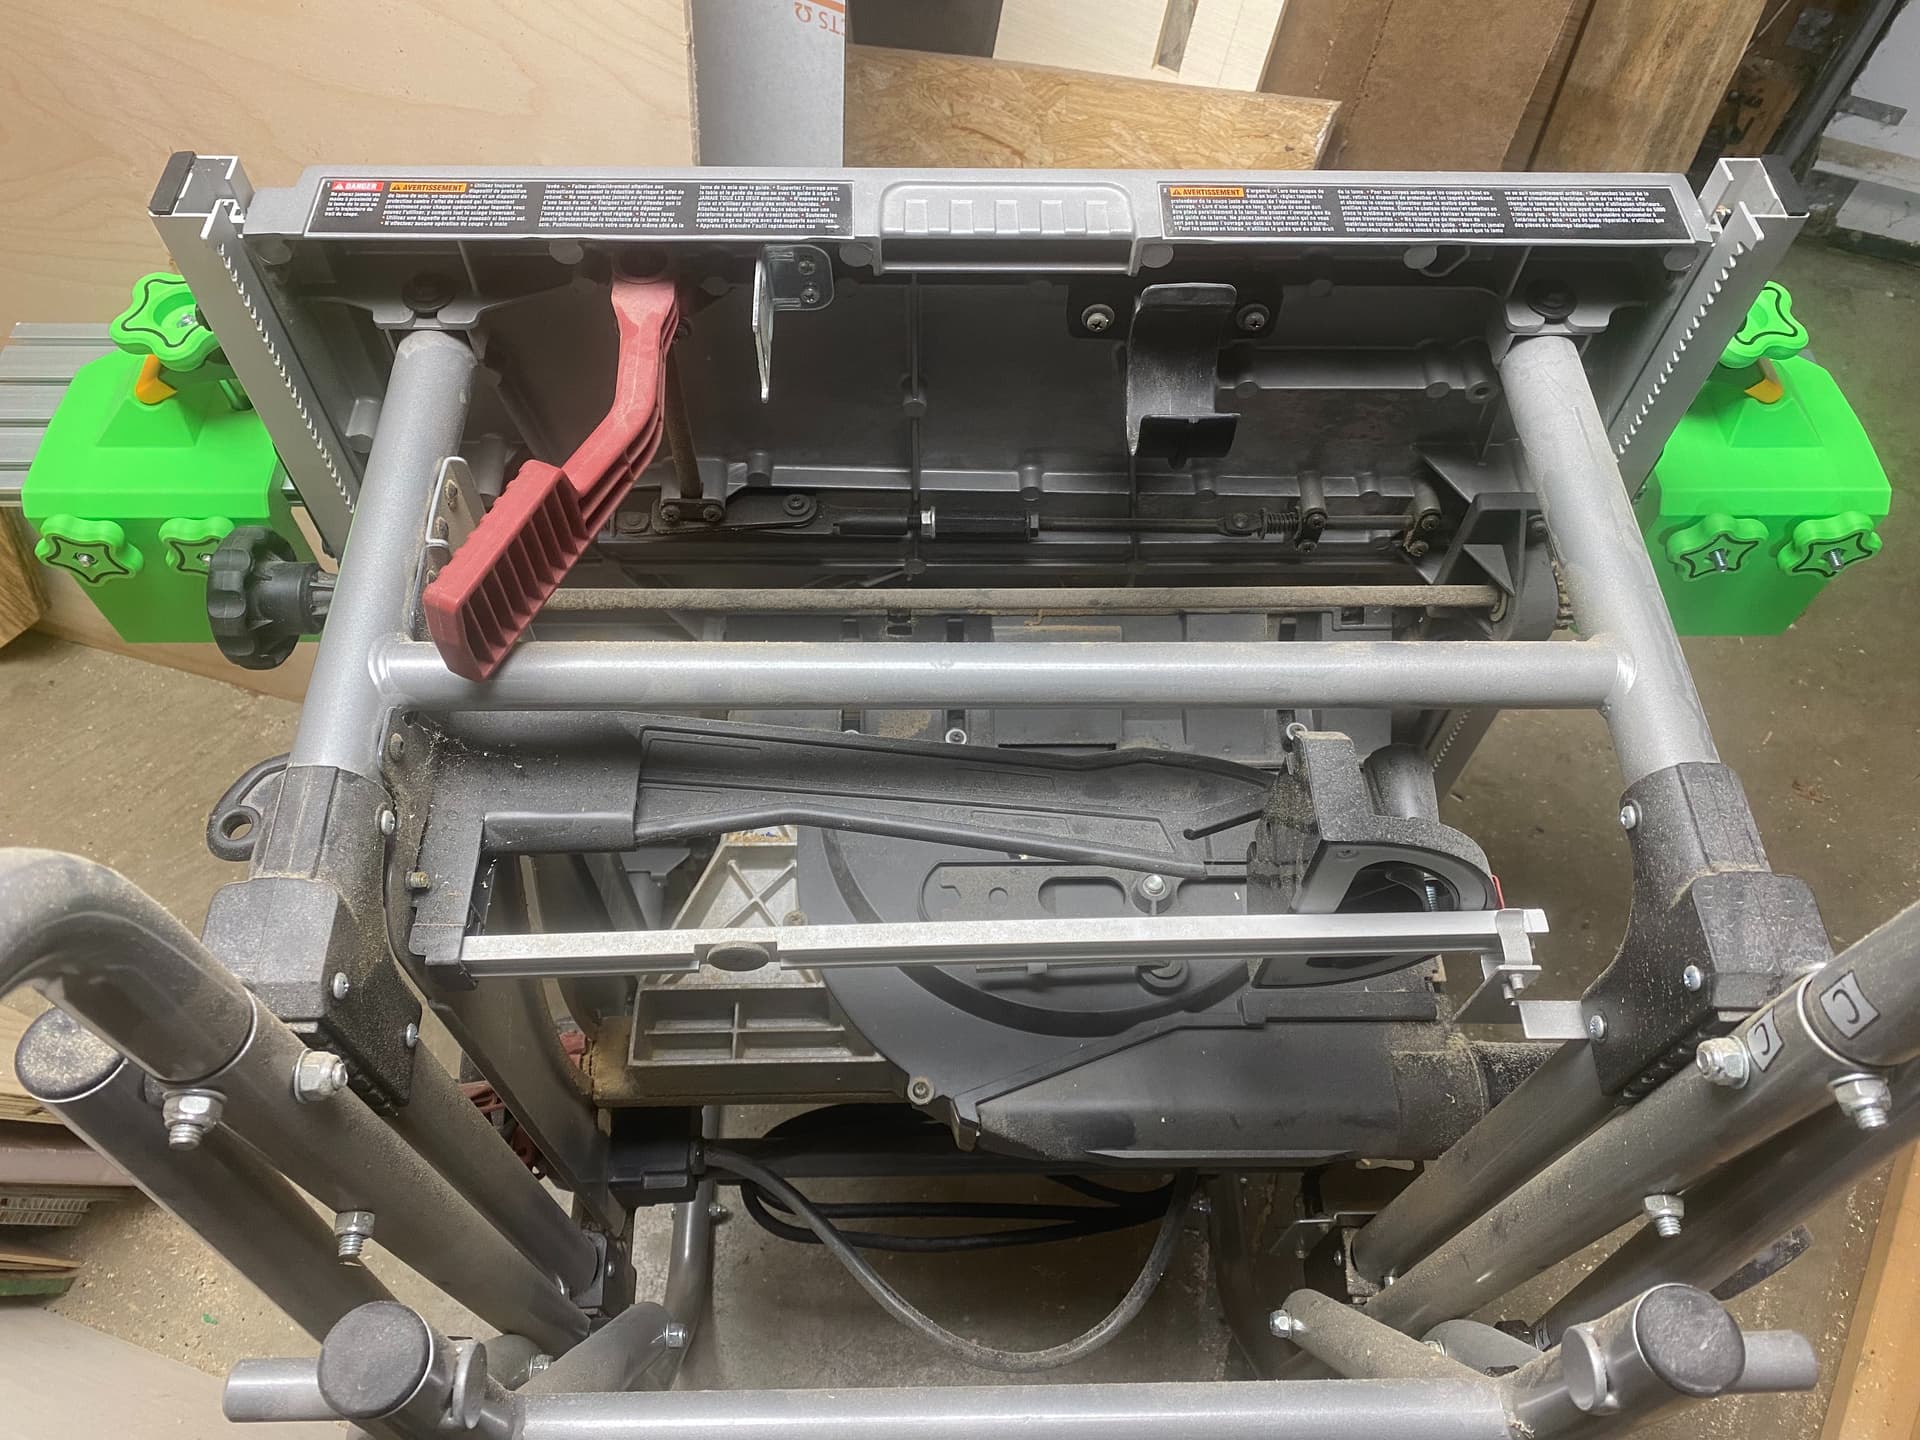
Got the neat rip-fence mod done for my table saw. Works great, and because the calibration of the fence measurement is as easy as loosening a couple of screws and moving the little pointer part, I was able to adjust for the 15mm of added thickness quite easily. I
2 Likes
That looks great Doug. I’m always amazed by your mod designs!
The pics I showed contain a mixture of designs I made from scratch, and designs by someone else that I tweaked / remixed to fit my table saw’s differences from his, and to alter some aspects that I remixed just because I wanted to change the print orientation for better strength, etc. So, not everything here is without credit to another designer, whose channel / store is named “StuffIMade”. I will add a link to the page where I bought his files: DIY Tablesaw Fence Systems - 3D Print files
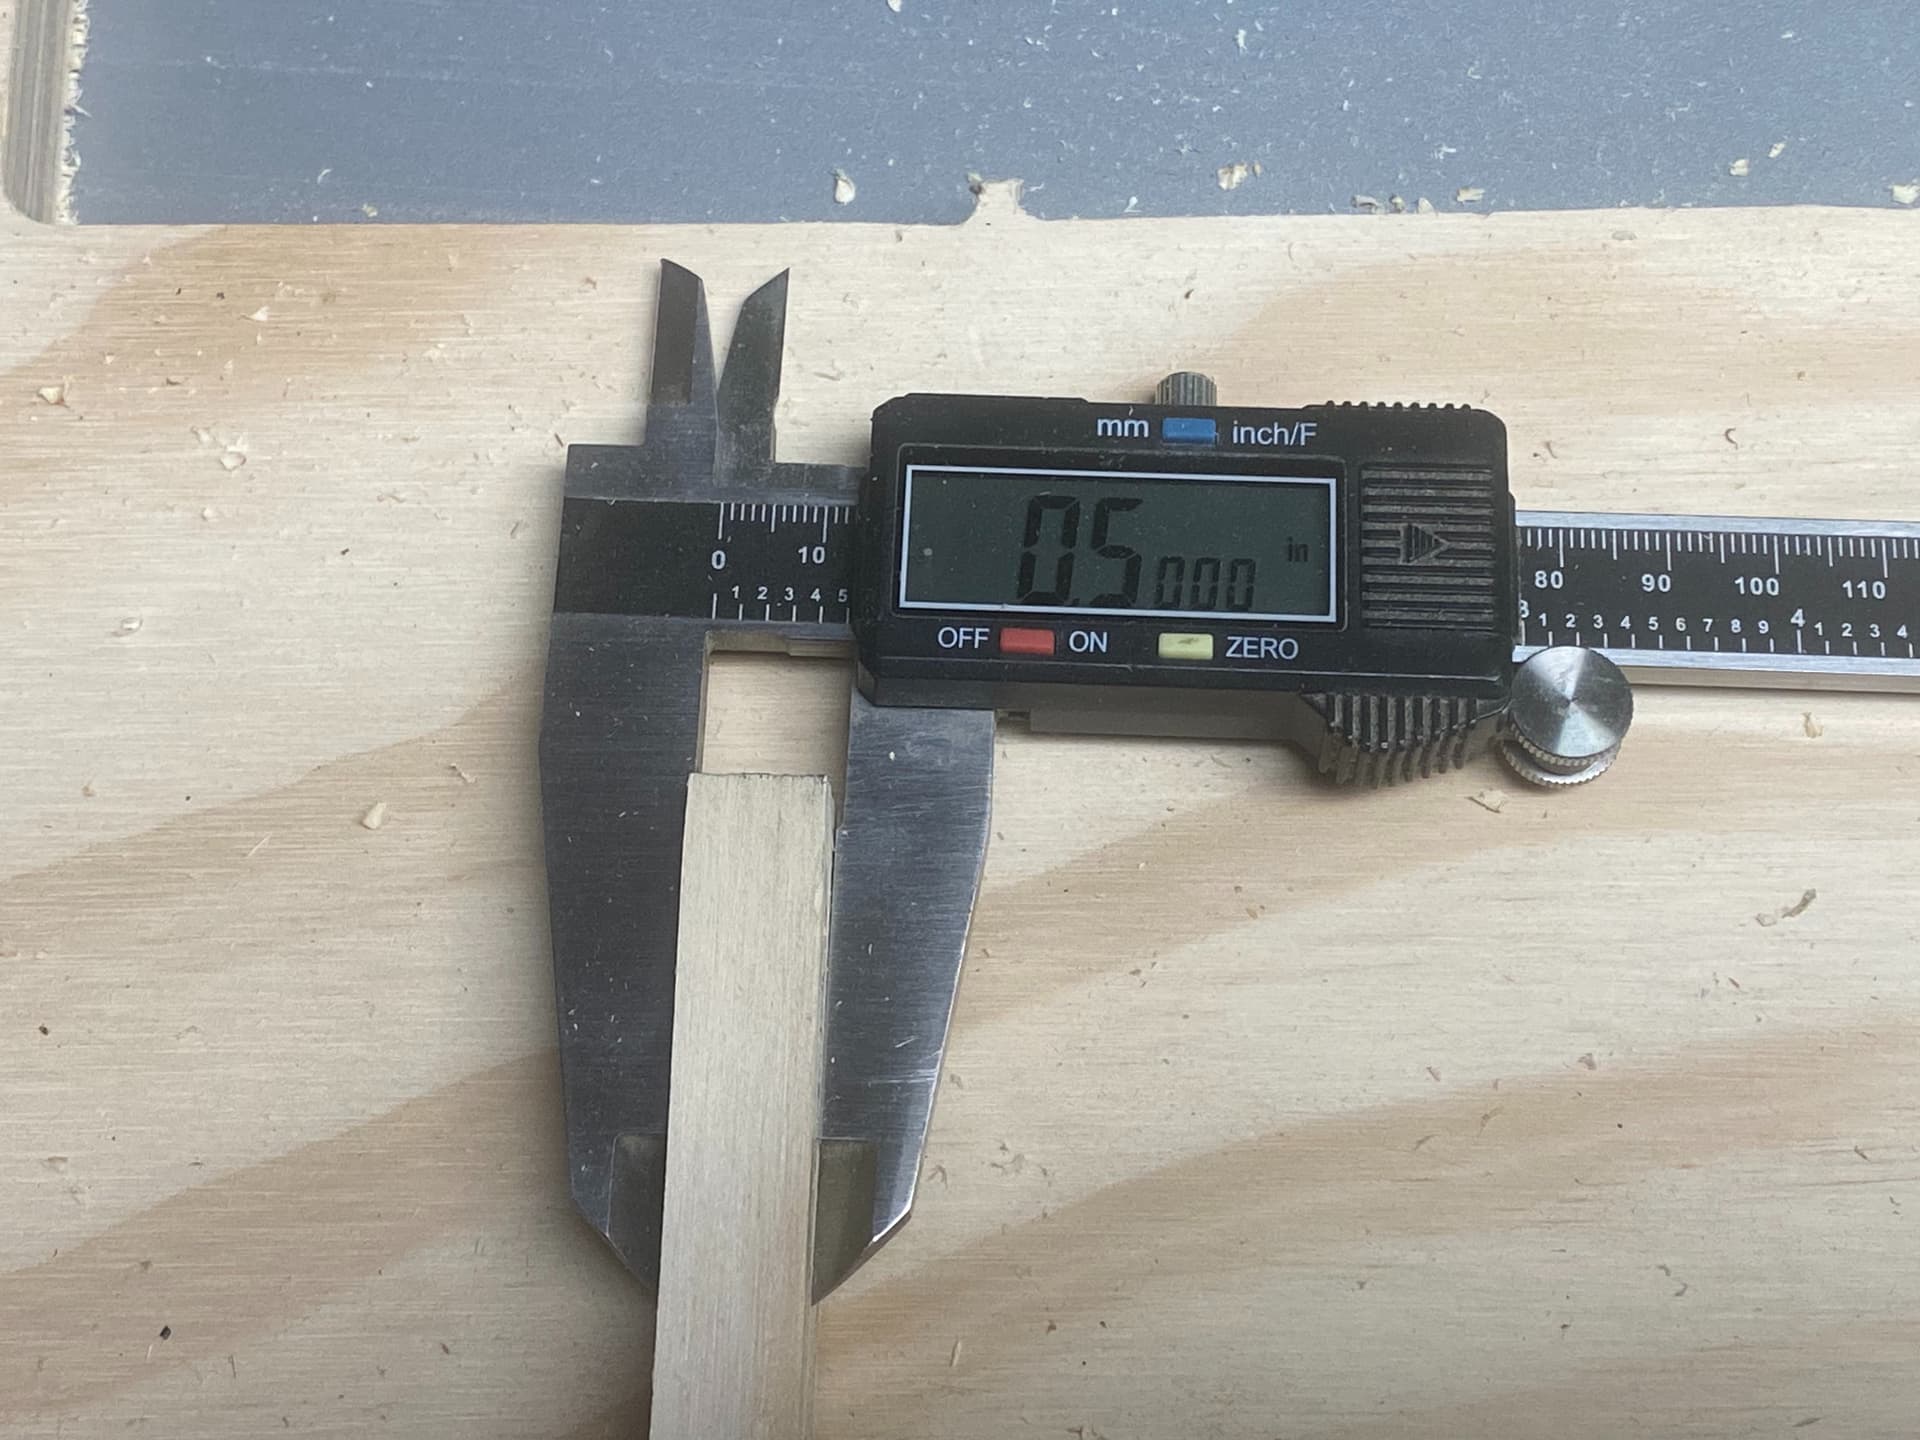
PS: in at least one case, the end caps, which I had already done but forgot to put them on before taking those photos, the other designer (“StuffIMade”) designed them by taking a photo and (if I understood him correctly in his YT video about it) traced out the profile of the aluminum extrusion based on the image. I eschewed use of his file, and instead used digital calipers to take measurements, and designed my own mockup of the extrusion profile and my own end cap file, and when I compared his to mine, it seemed clear his had suffered from perspective related skewing, and while his end caps obviously do still fit, it was not as proper and tight as a better mockup would yield, and I think mine is a better mockup and tighter fit. Where this helps me down the road is now I am modeling and making parts from scratch that were never in his set, and having a better extrusion mockup makes getting good results so easy.
1 Like
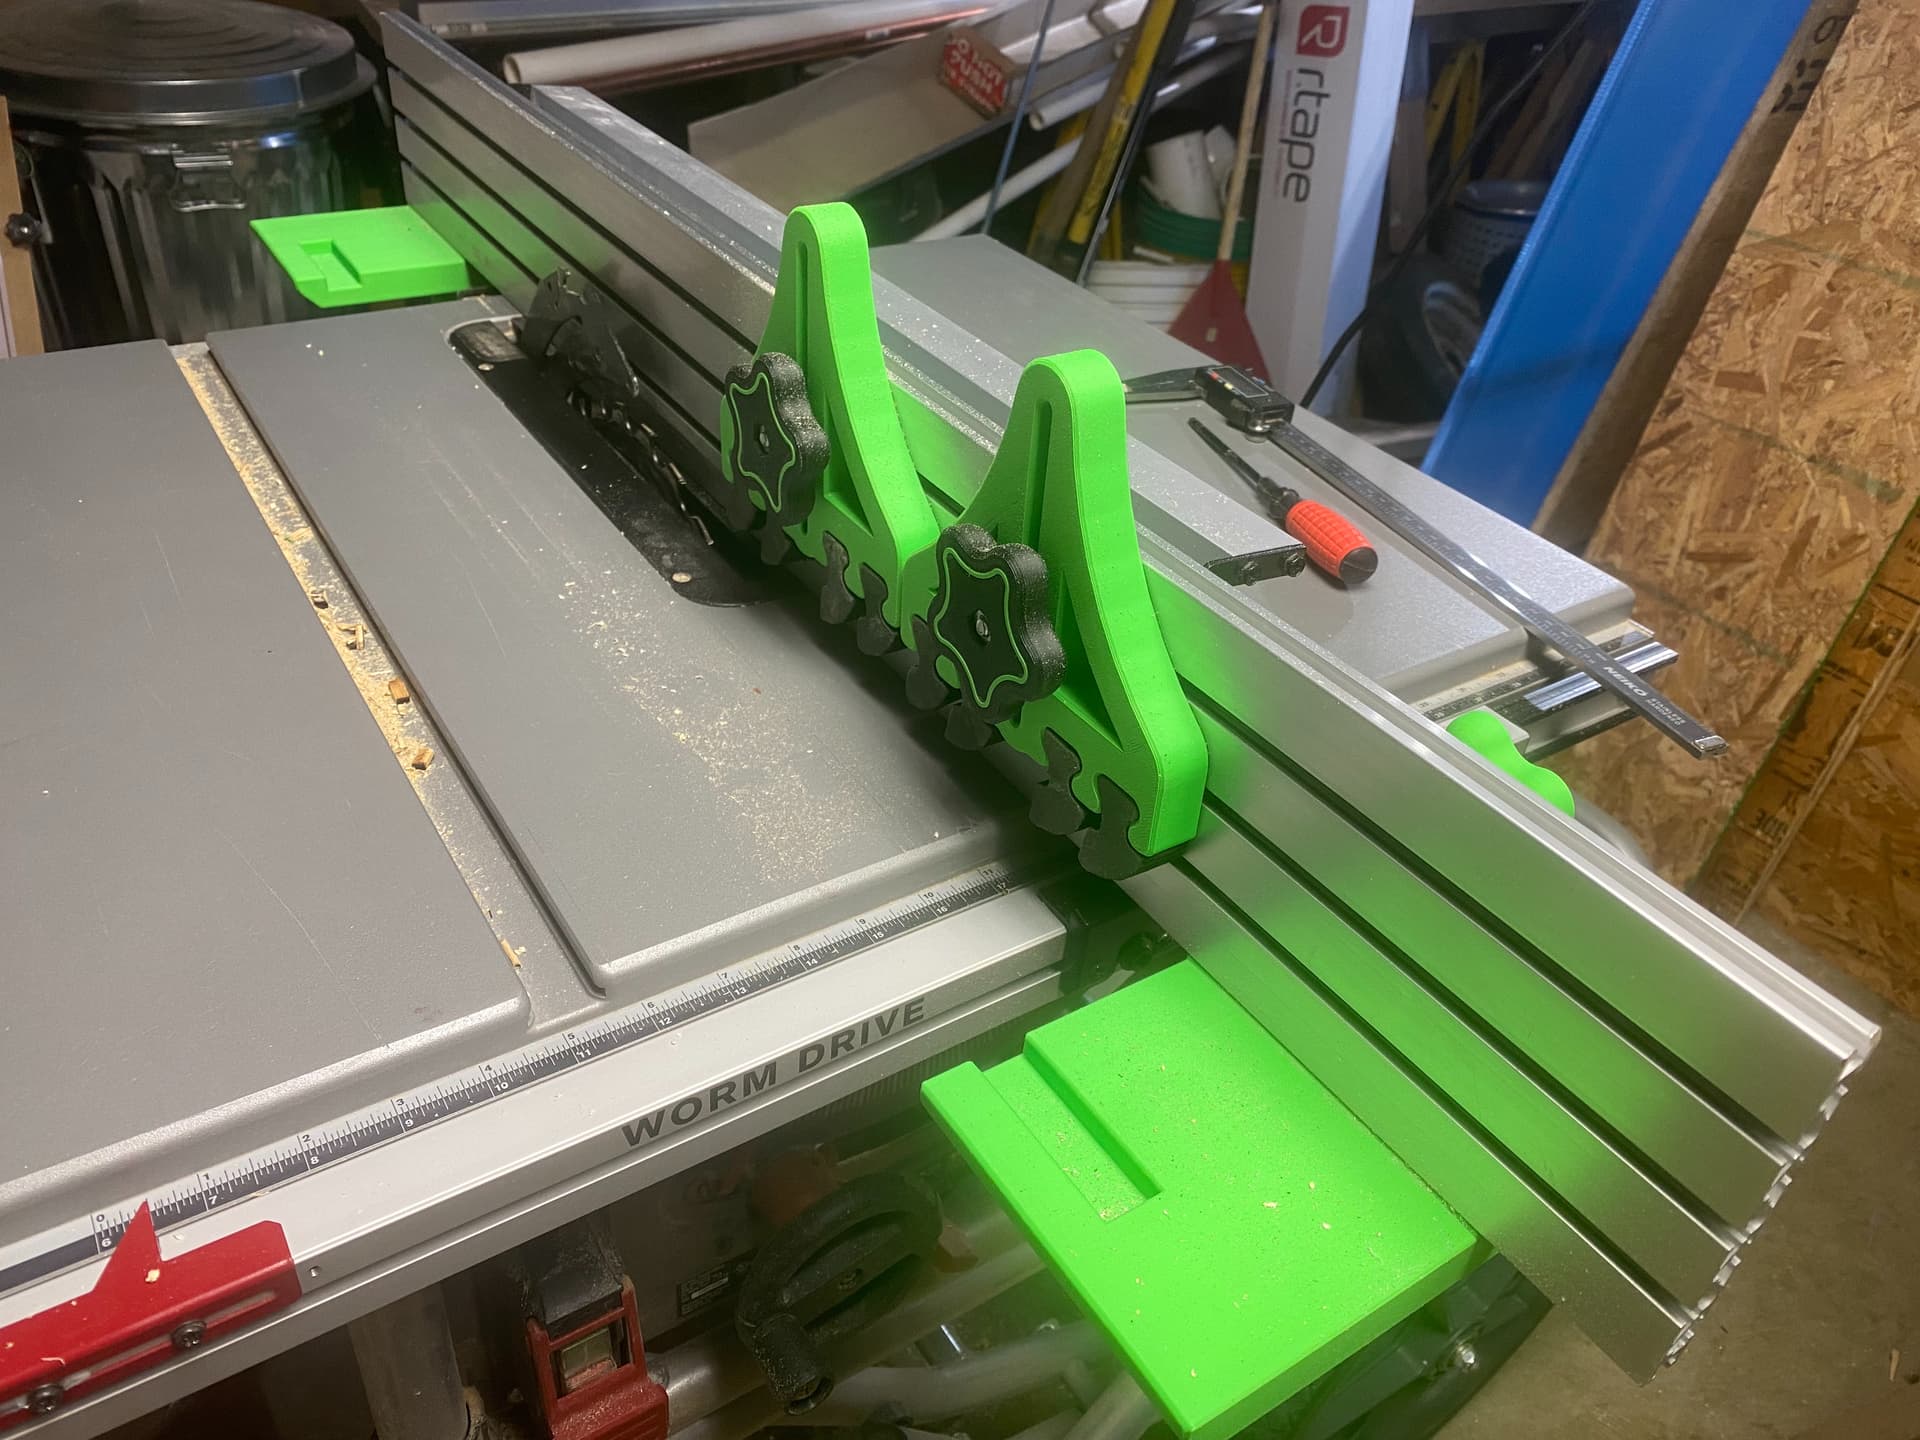
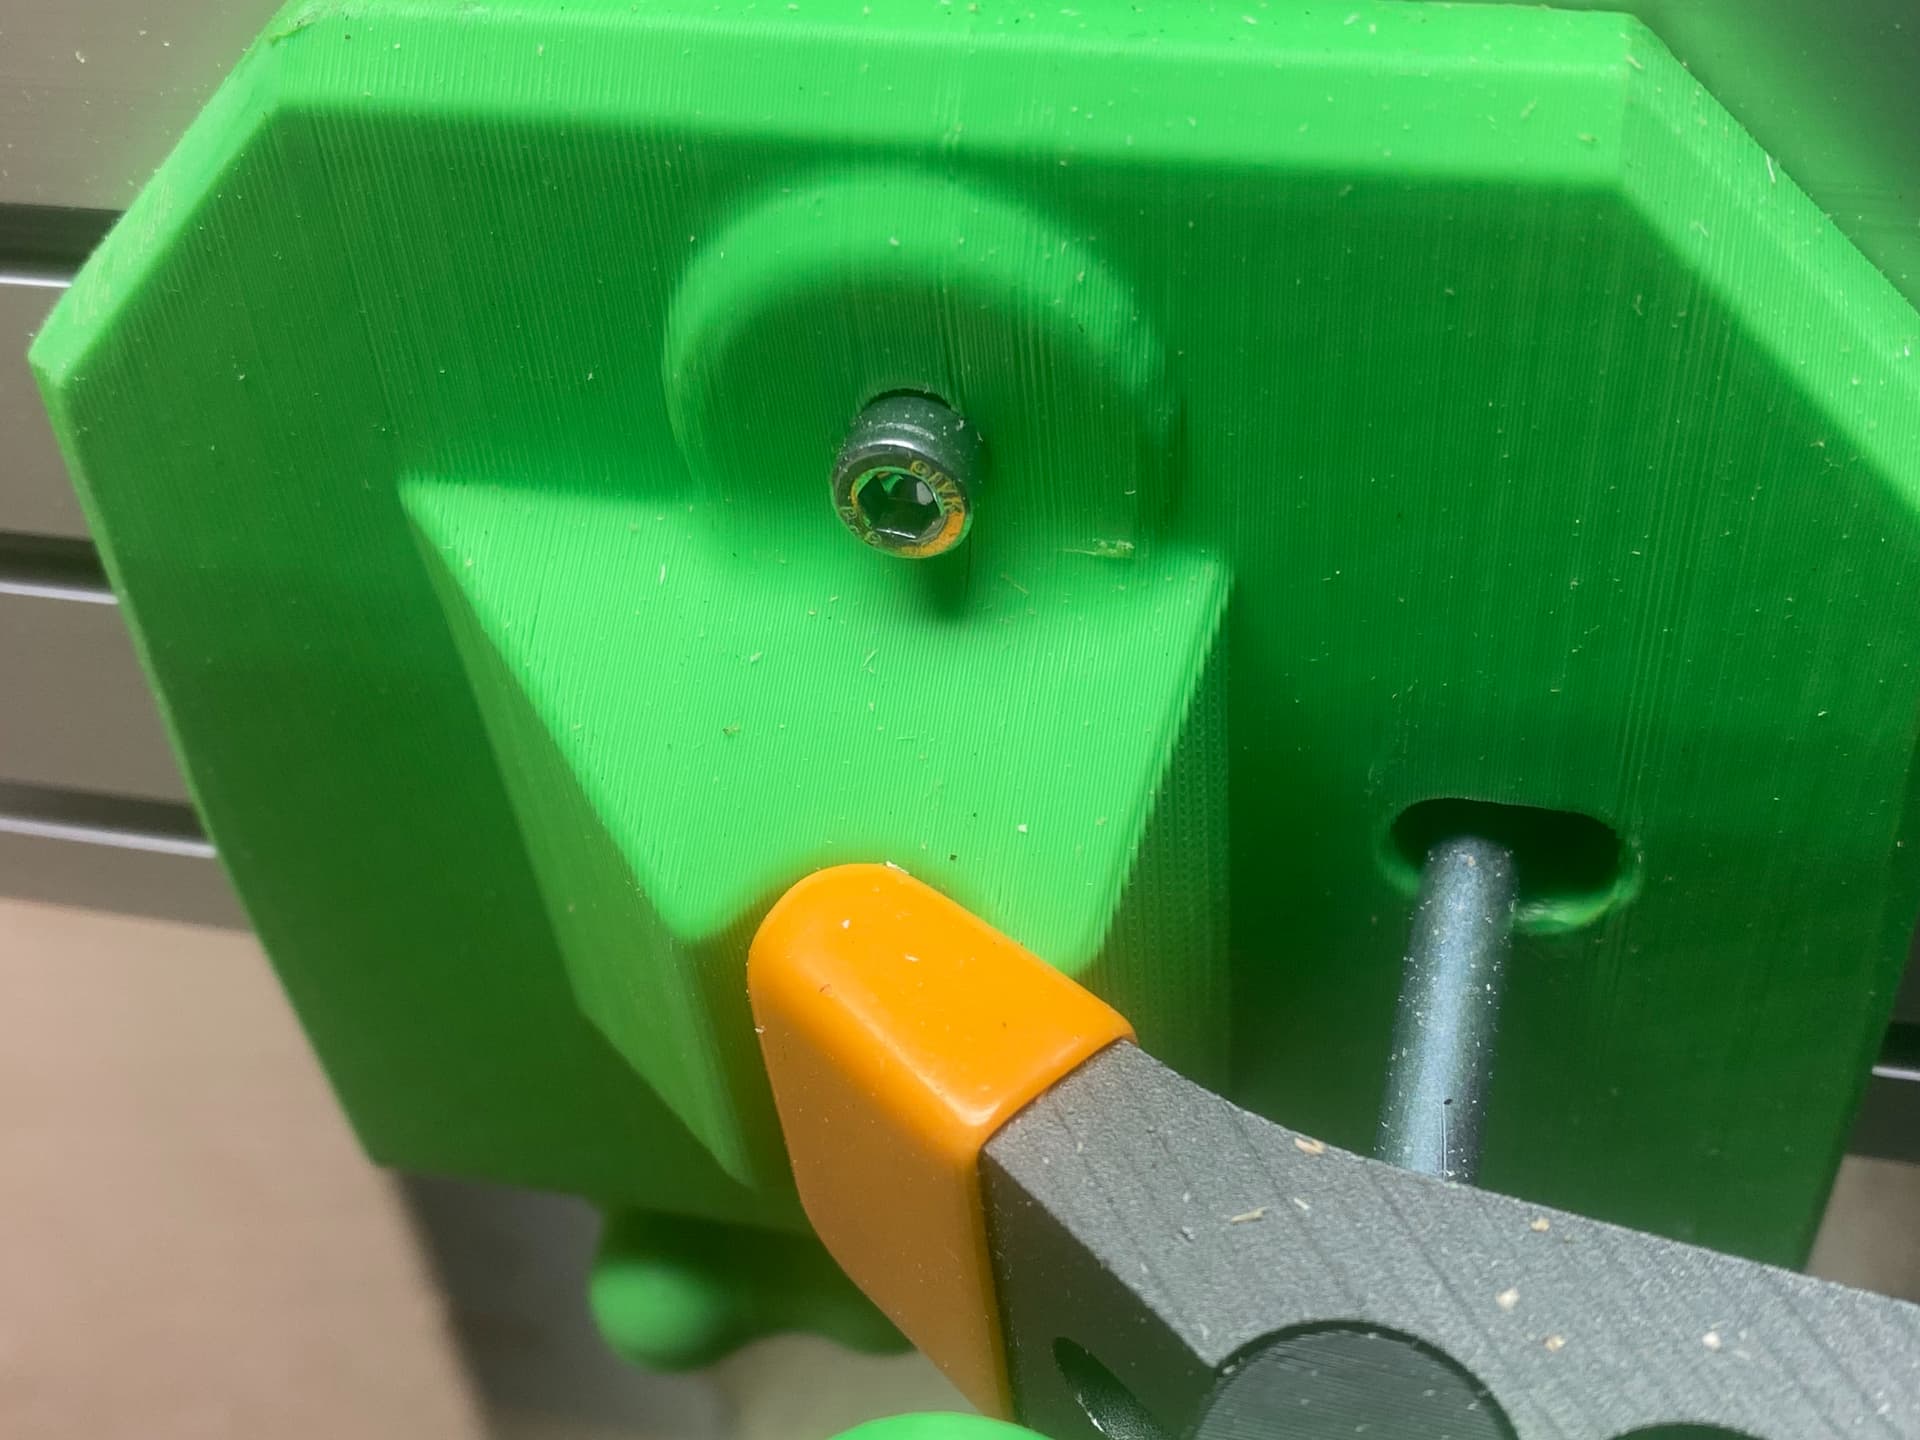
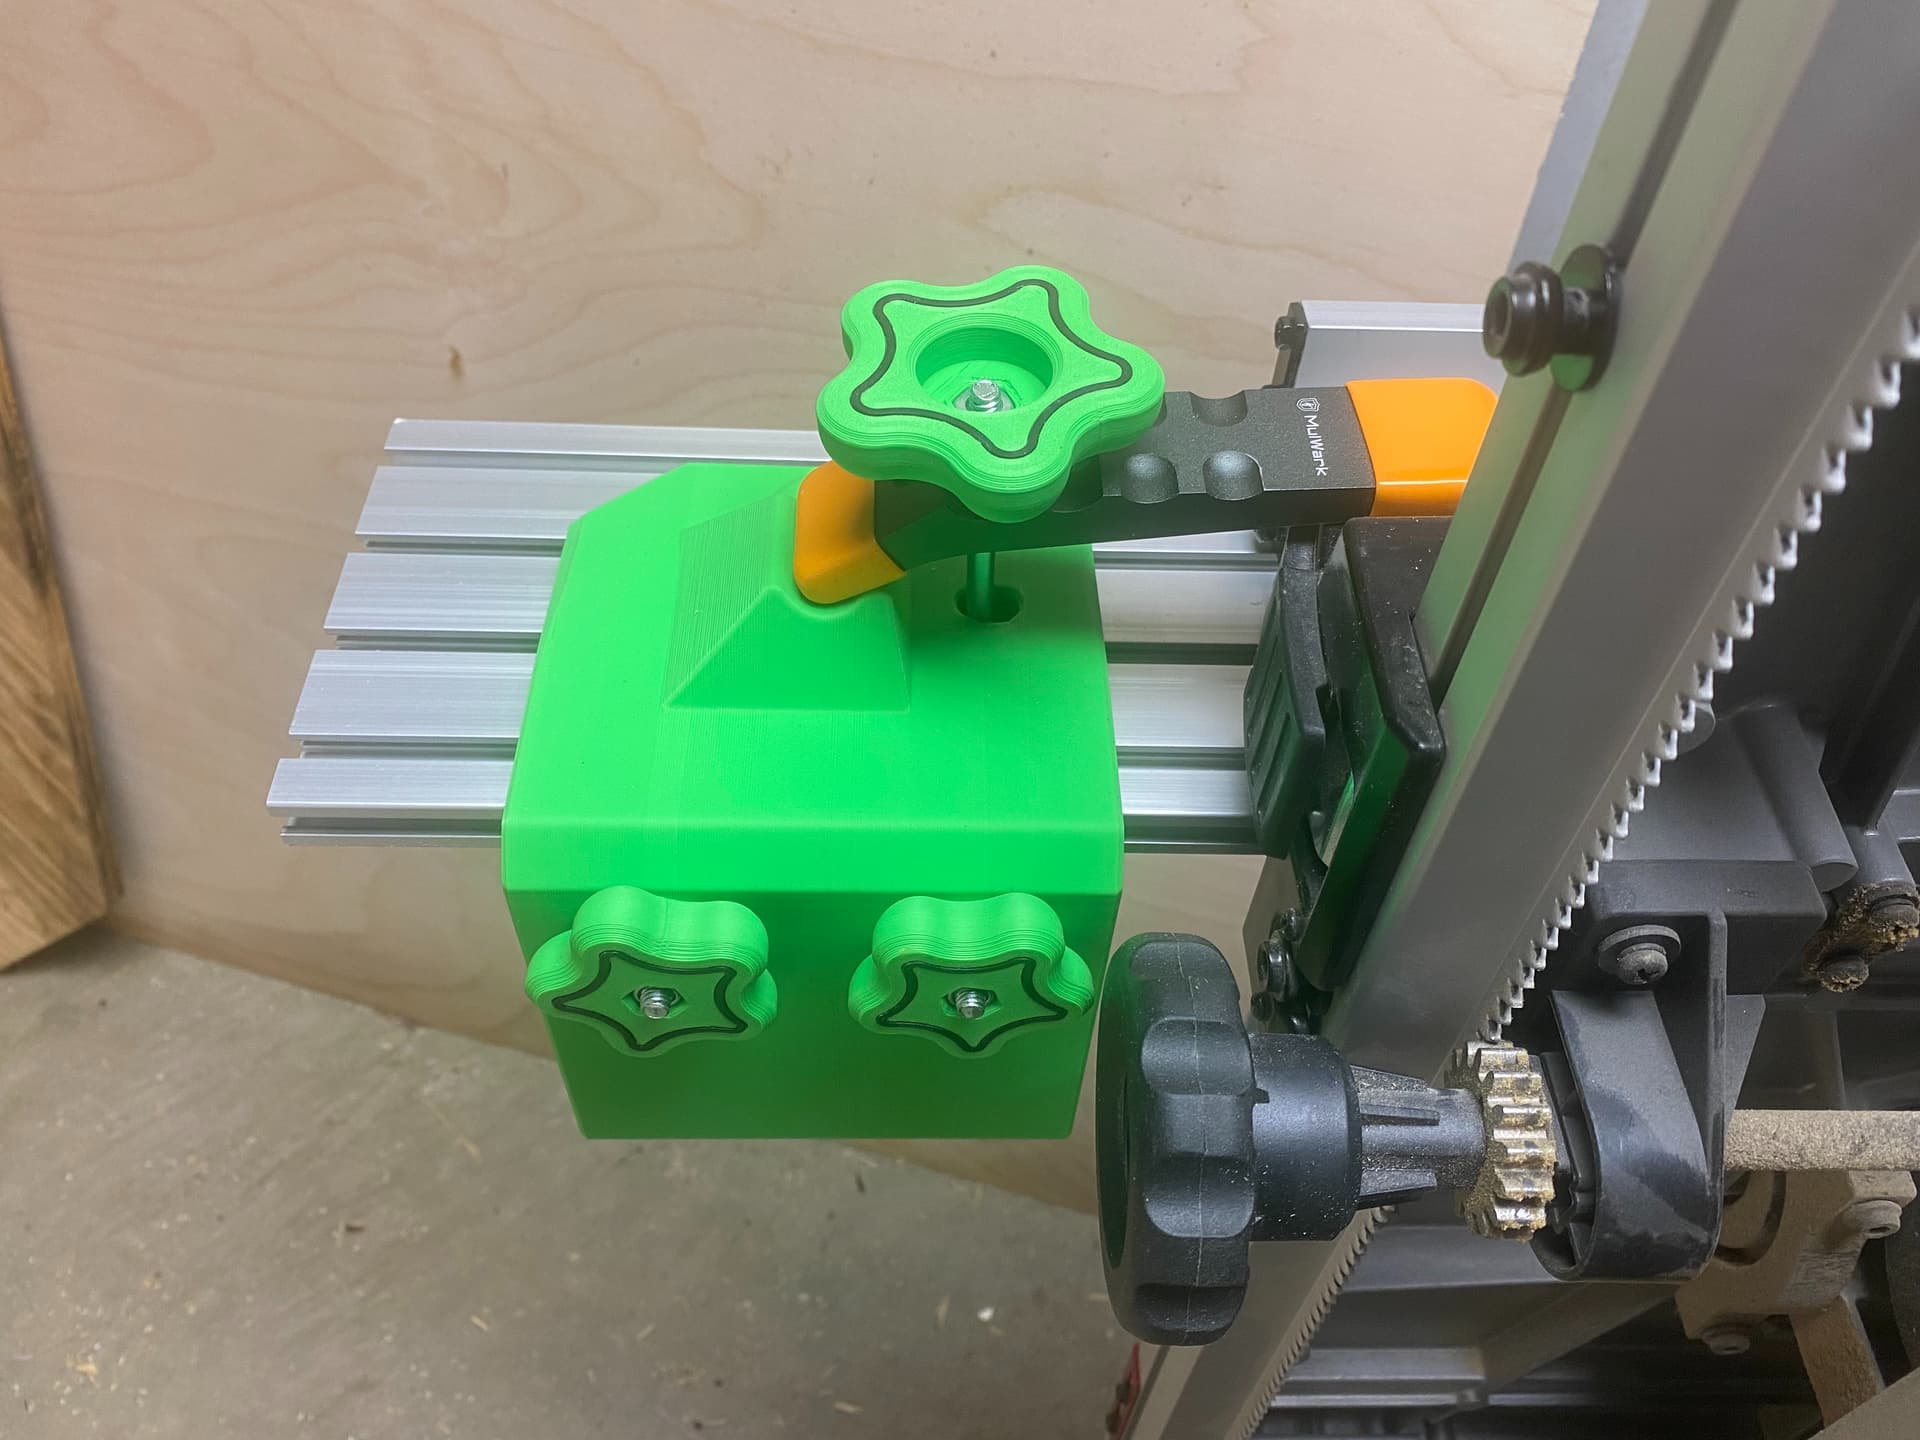
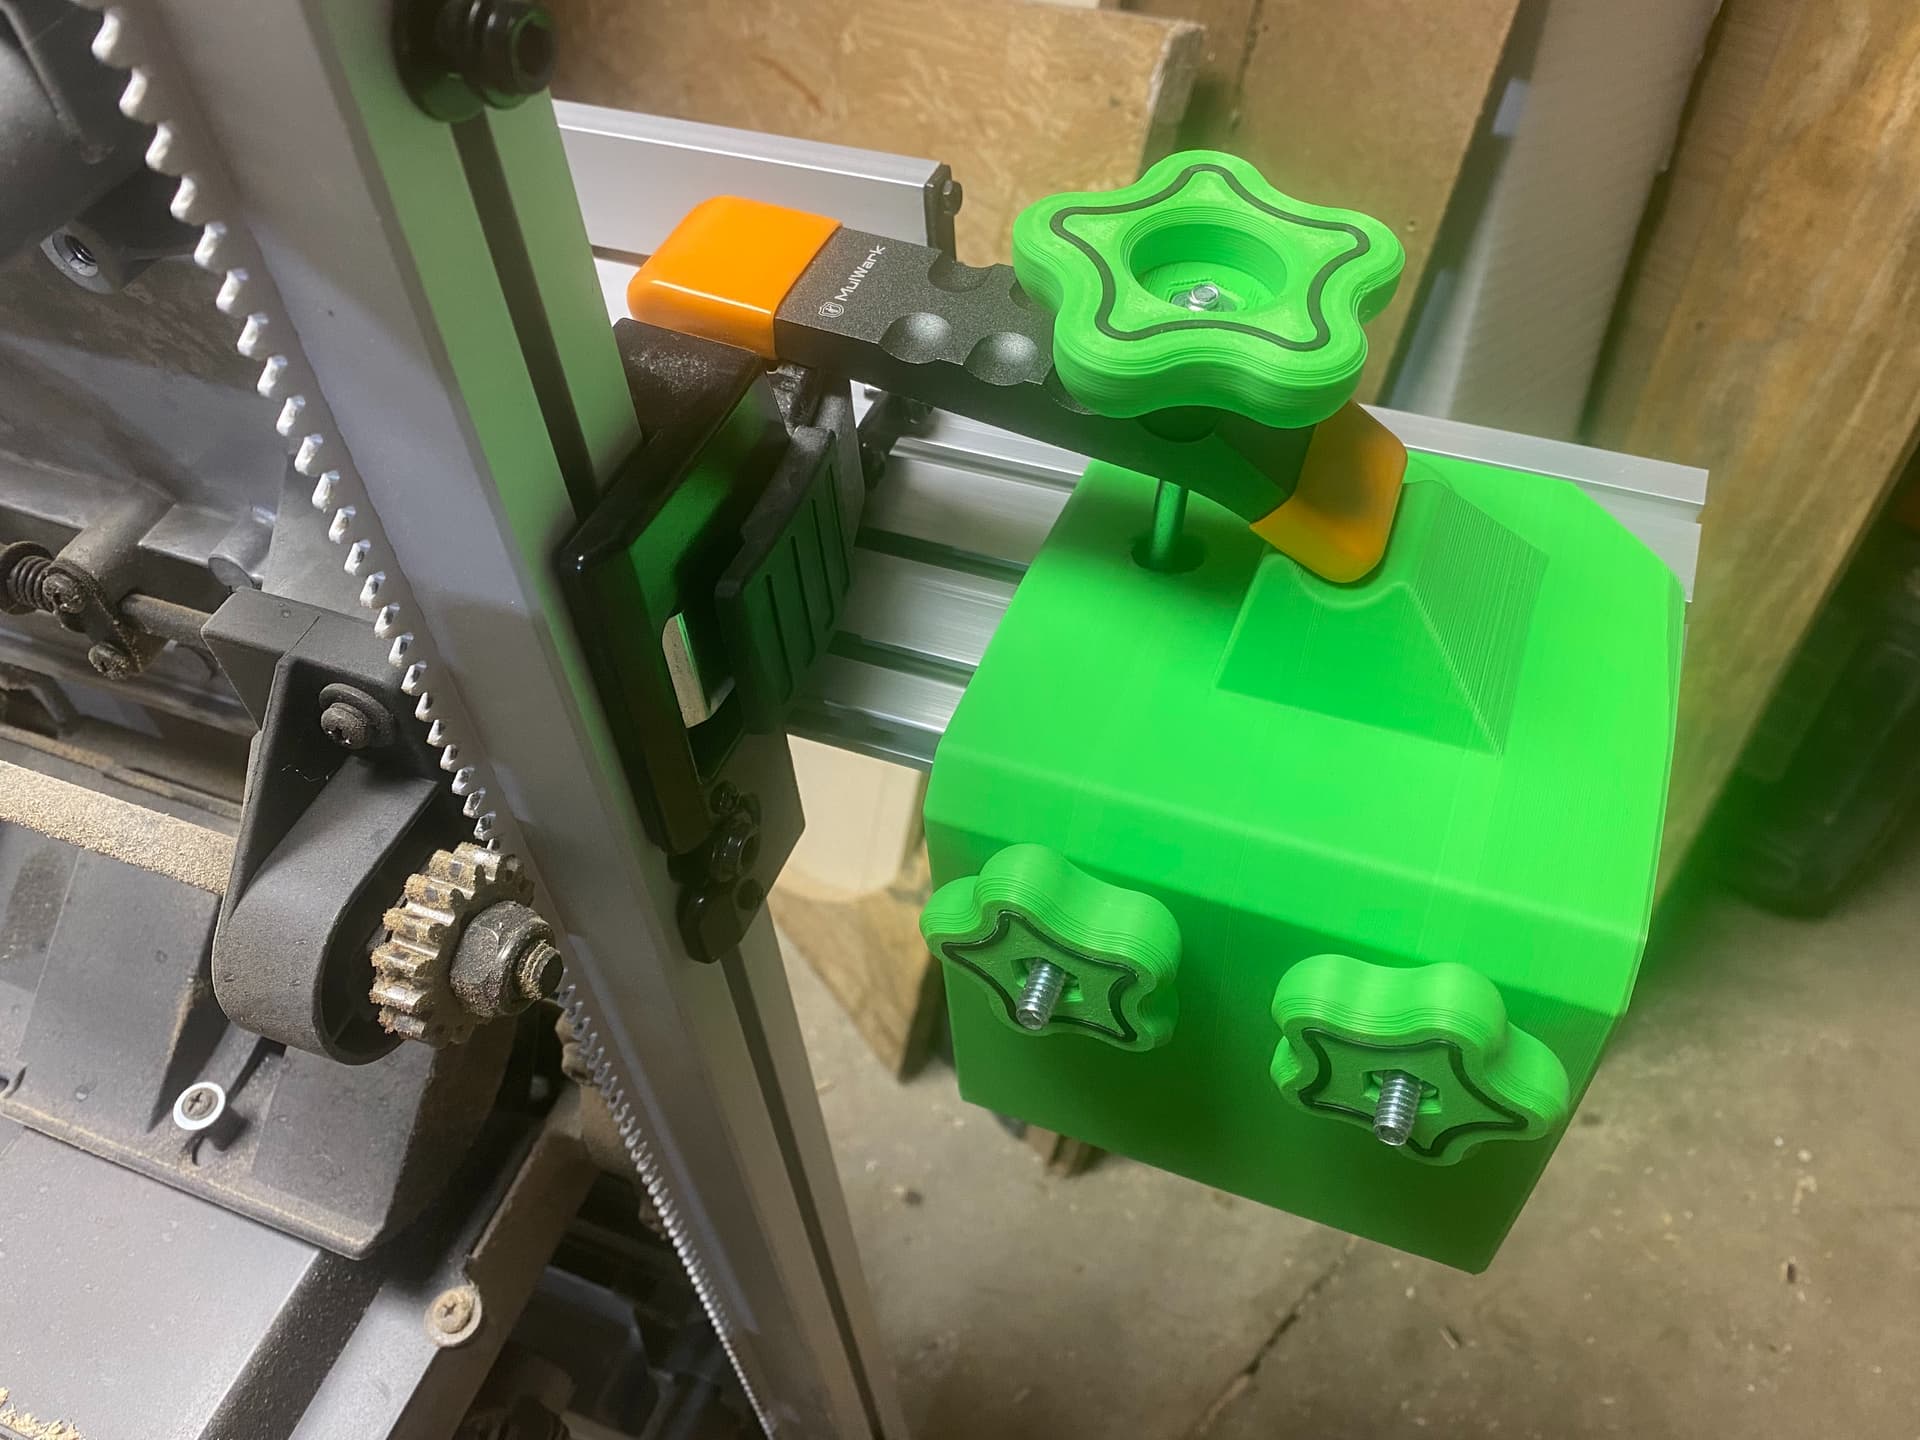
I added one more printed part in the center (this one I designed from scratch), and it makes sure that the height position is spot on and ensures that tightening down on either side with those clamps that attach the rip fence to the saw’s stock fence will not cause a bow-out in the middle of the aluminum extrusion because of the pressure from the sides. So, here are a couple more pics. Also, the printed end cap pieces are on there this time.
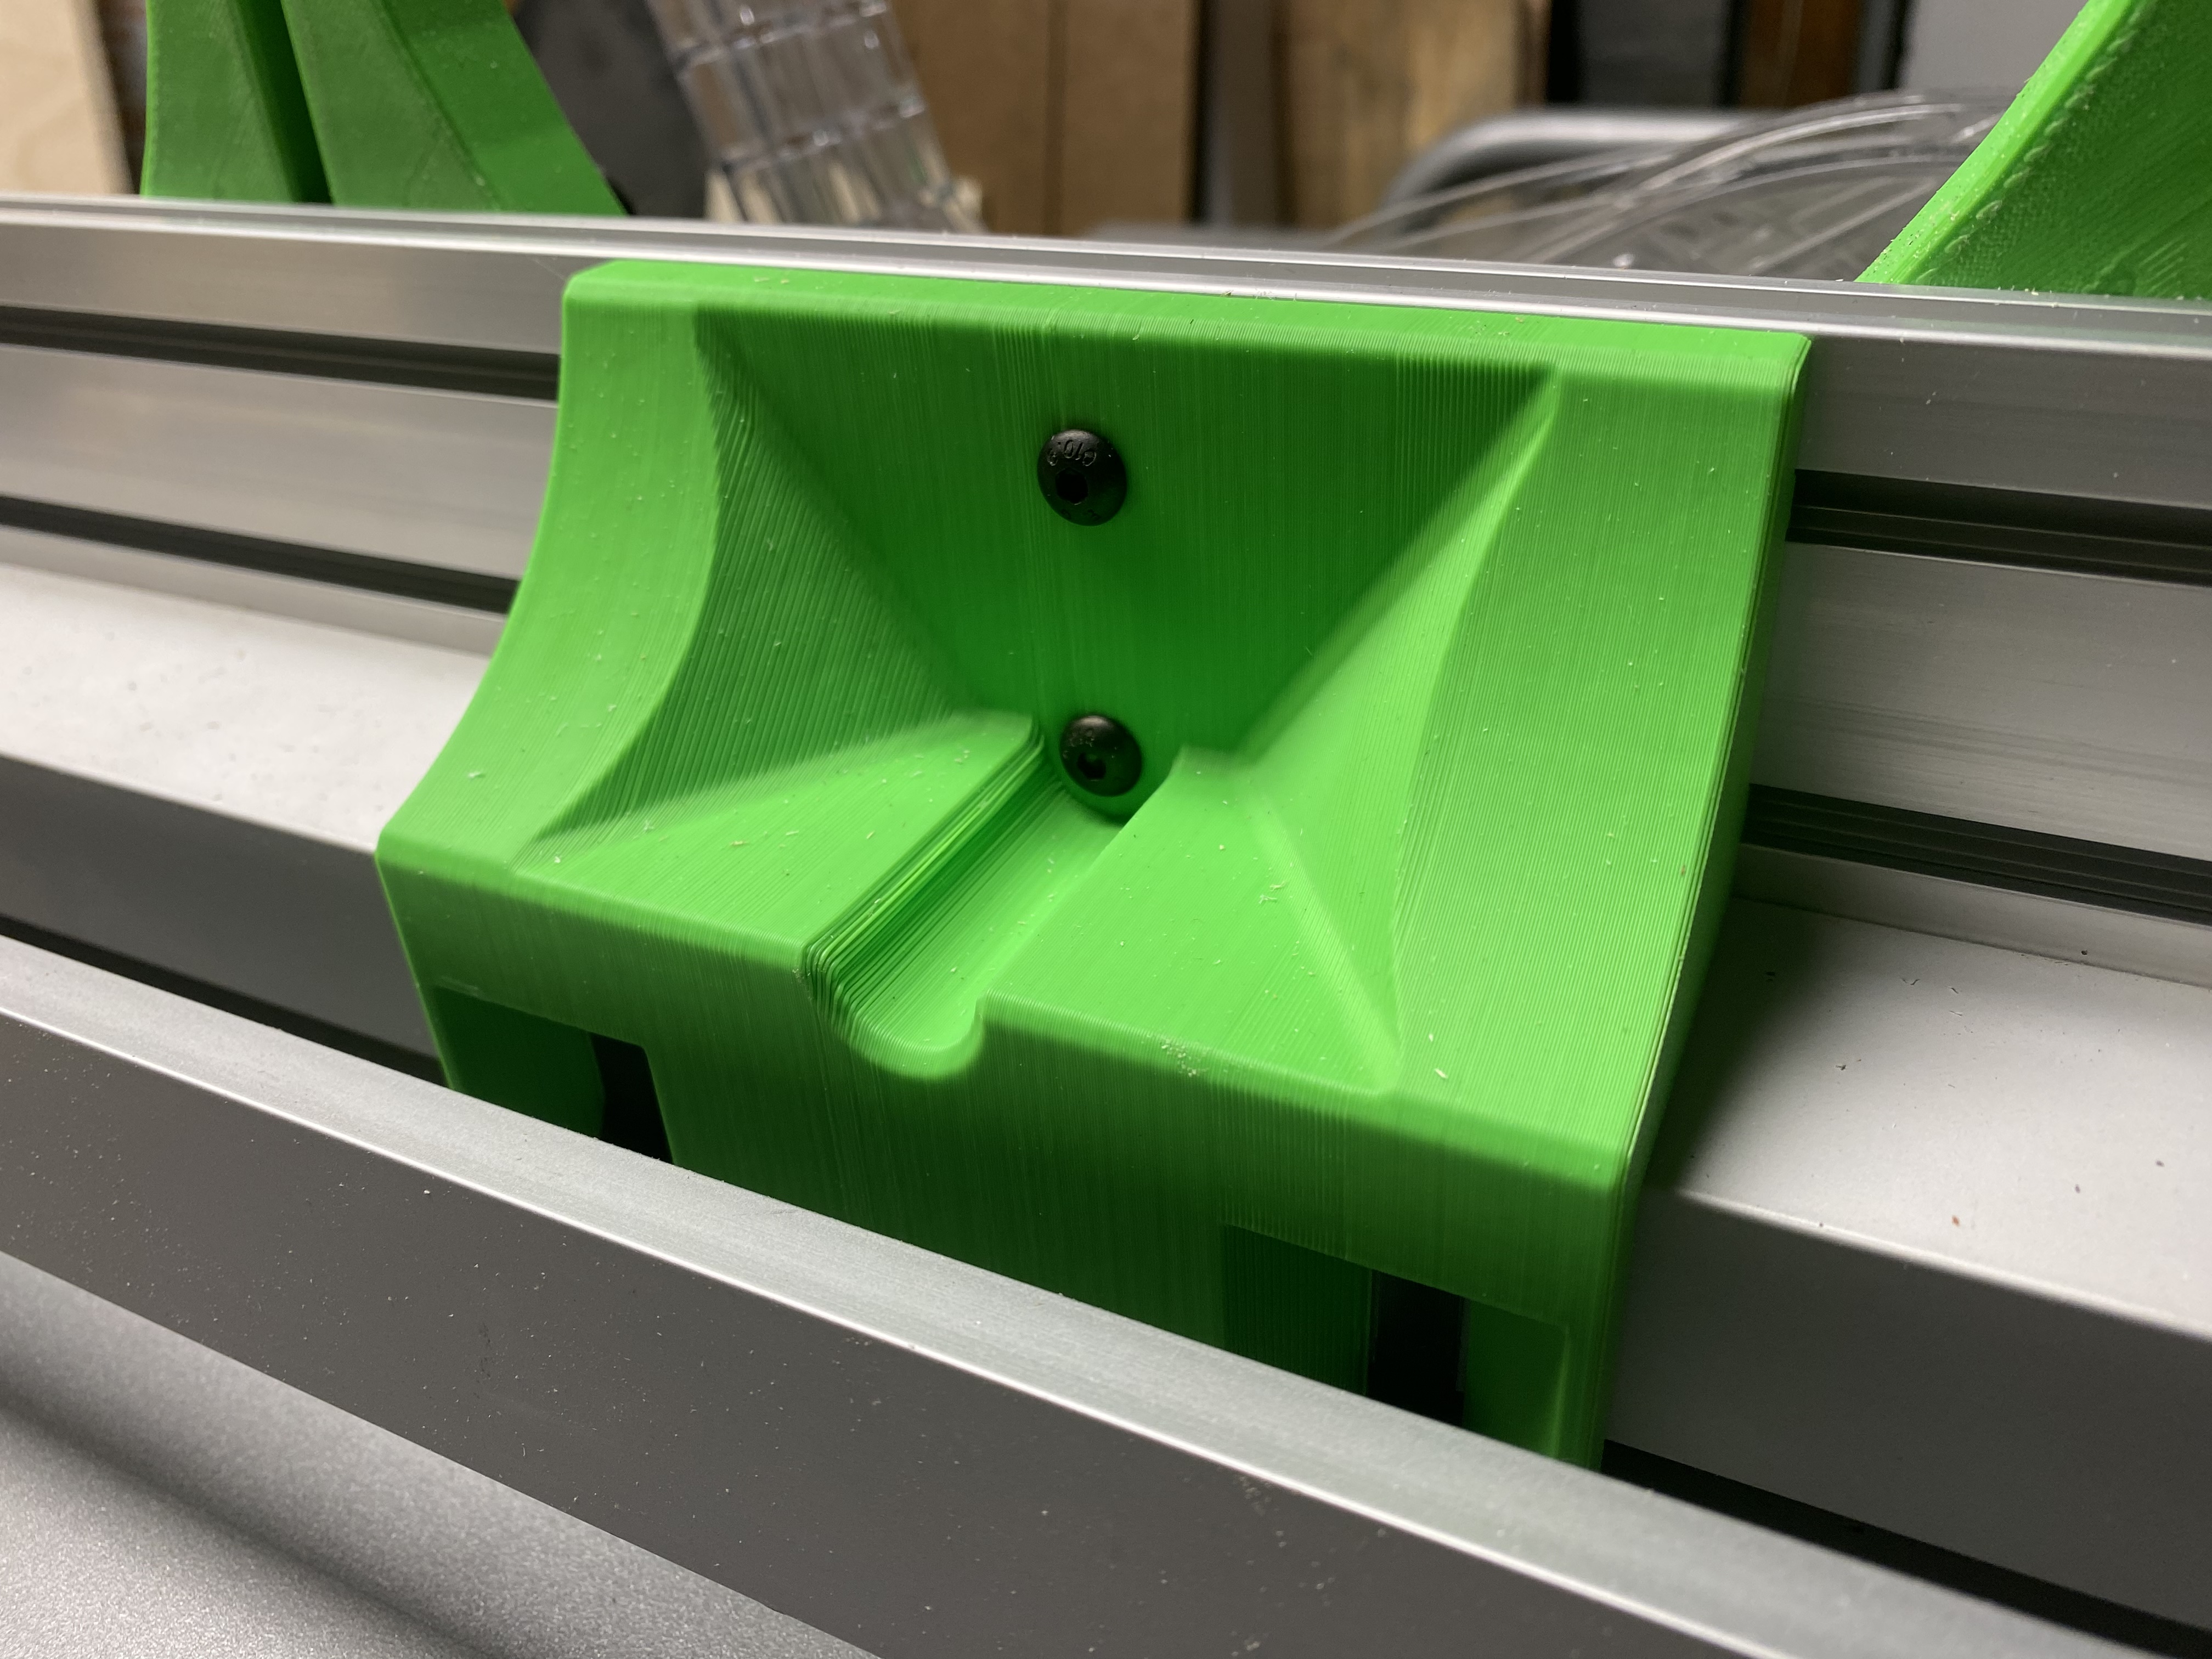
1 Like
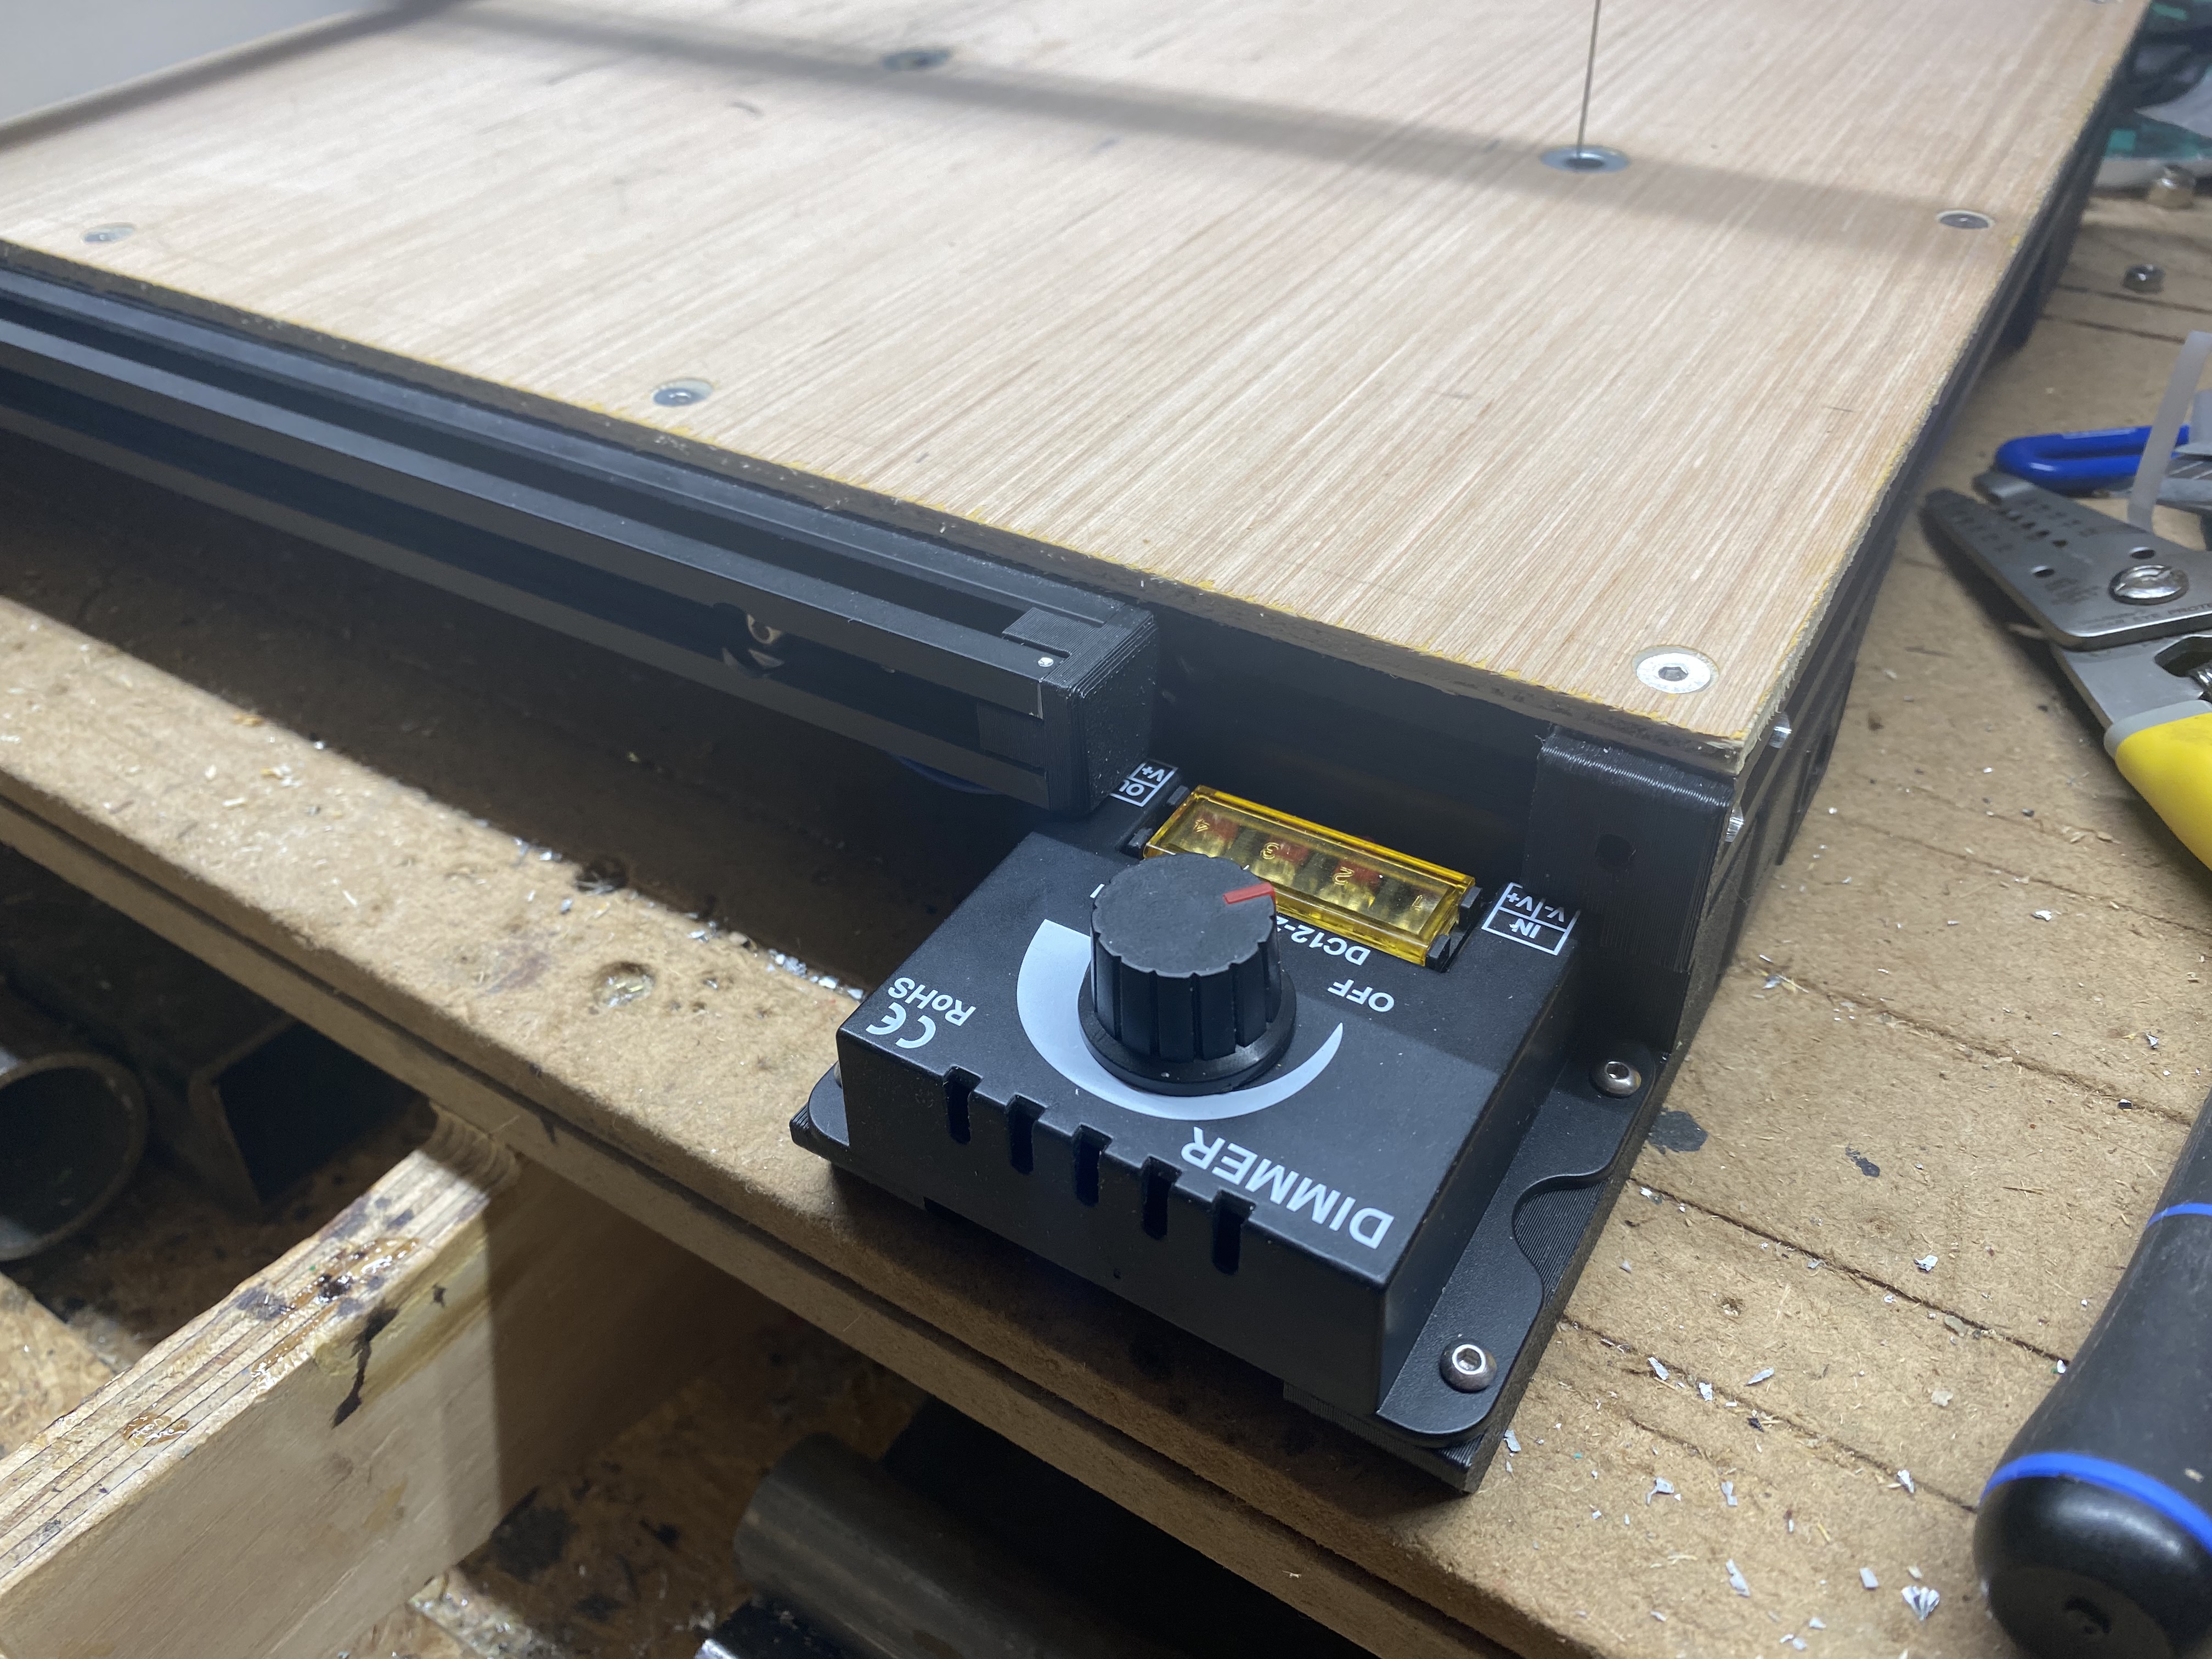
Hey, everybody. Just circling back to add another update about the foam cutter. I installed the cheapest PWM “dimmer switch” “voltage control” thing that I had found and bought — and as far as I can tell it is working fabulously. If it burns up or gives up the ghost in normal usage, I will definitely come back to give everyone an update. However, as far as I can tell, it’s doing exactly what I hoped it would do, with a really great level of precision on what I need as far as flexibility on the control of the temperature of the wire. Using printed mounts that are also feet I’ve integrated both the AC-DC power supply and the dimmer switch.

5 Likes
closing old topic to help fight spambots