Good morning,
Long time lurker feeling its time to introduce myself. New Years resolution #2 : Be more outgoing!
I should apologise as I really have been reading along for a long time and made very few posts.
I’m originally from Yorkshire but I live in Edinburgh, Scotland now.
I’m a light user, but I built and the LR2 and found it too big (not then knowing how much space I wanted to spare for a CNC) so I built the MPCNC and found it too small and built the LR3 on release last year. I recently disassembled the MPCNC to make room for a welding table so thinking about maybe taking on a new printer project to use up all those spare parts - avidly following along the recent discussion of a new printer design.
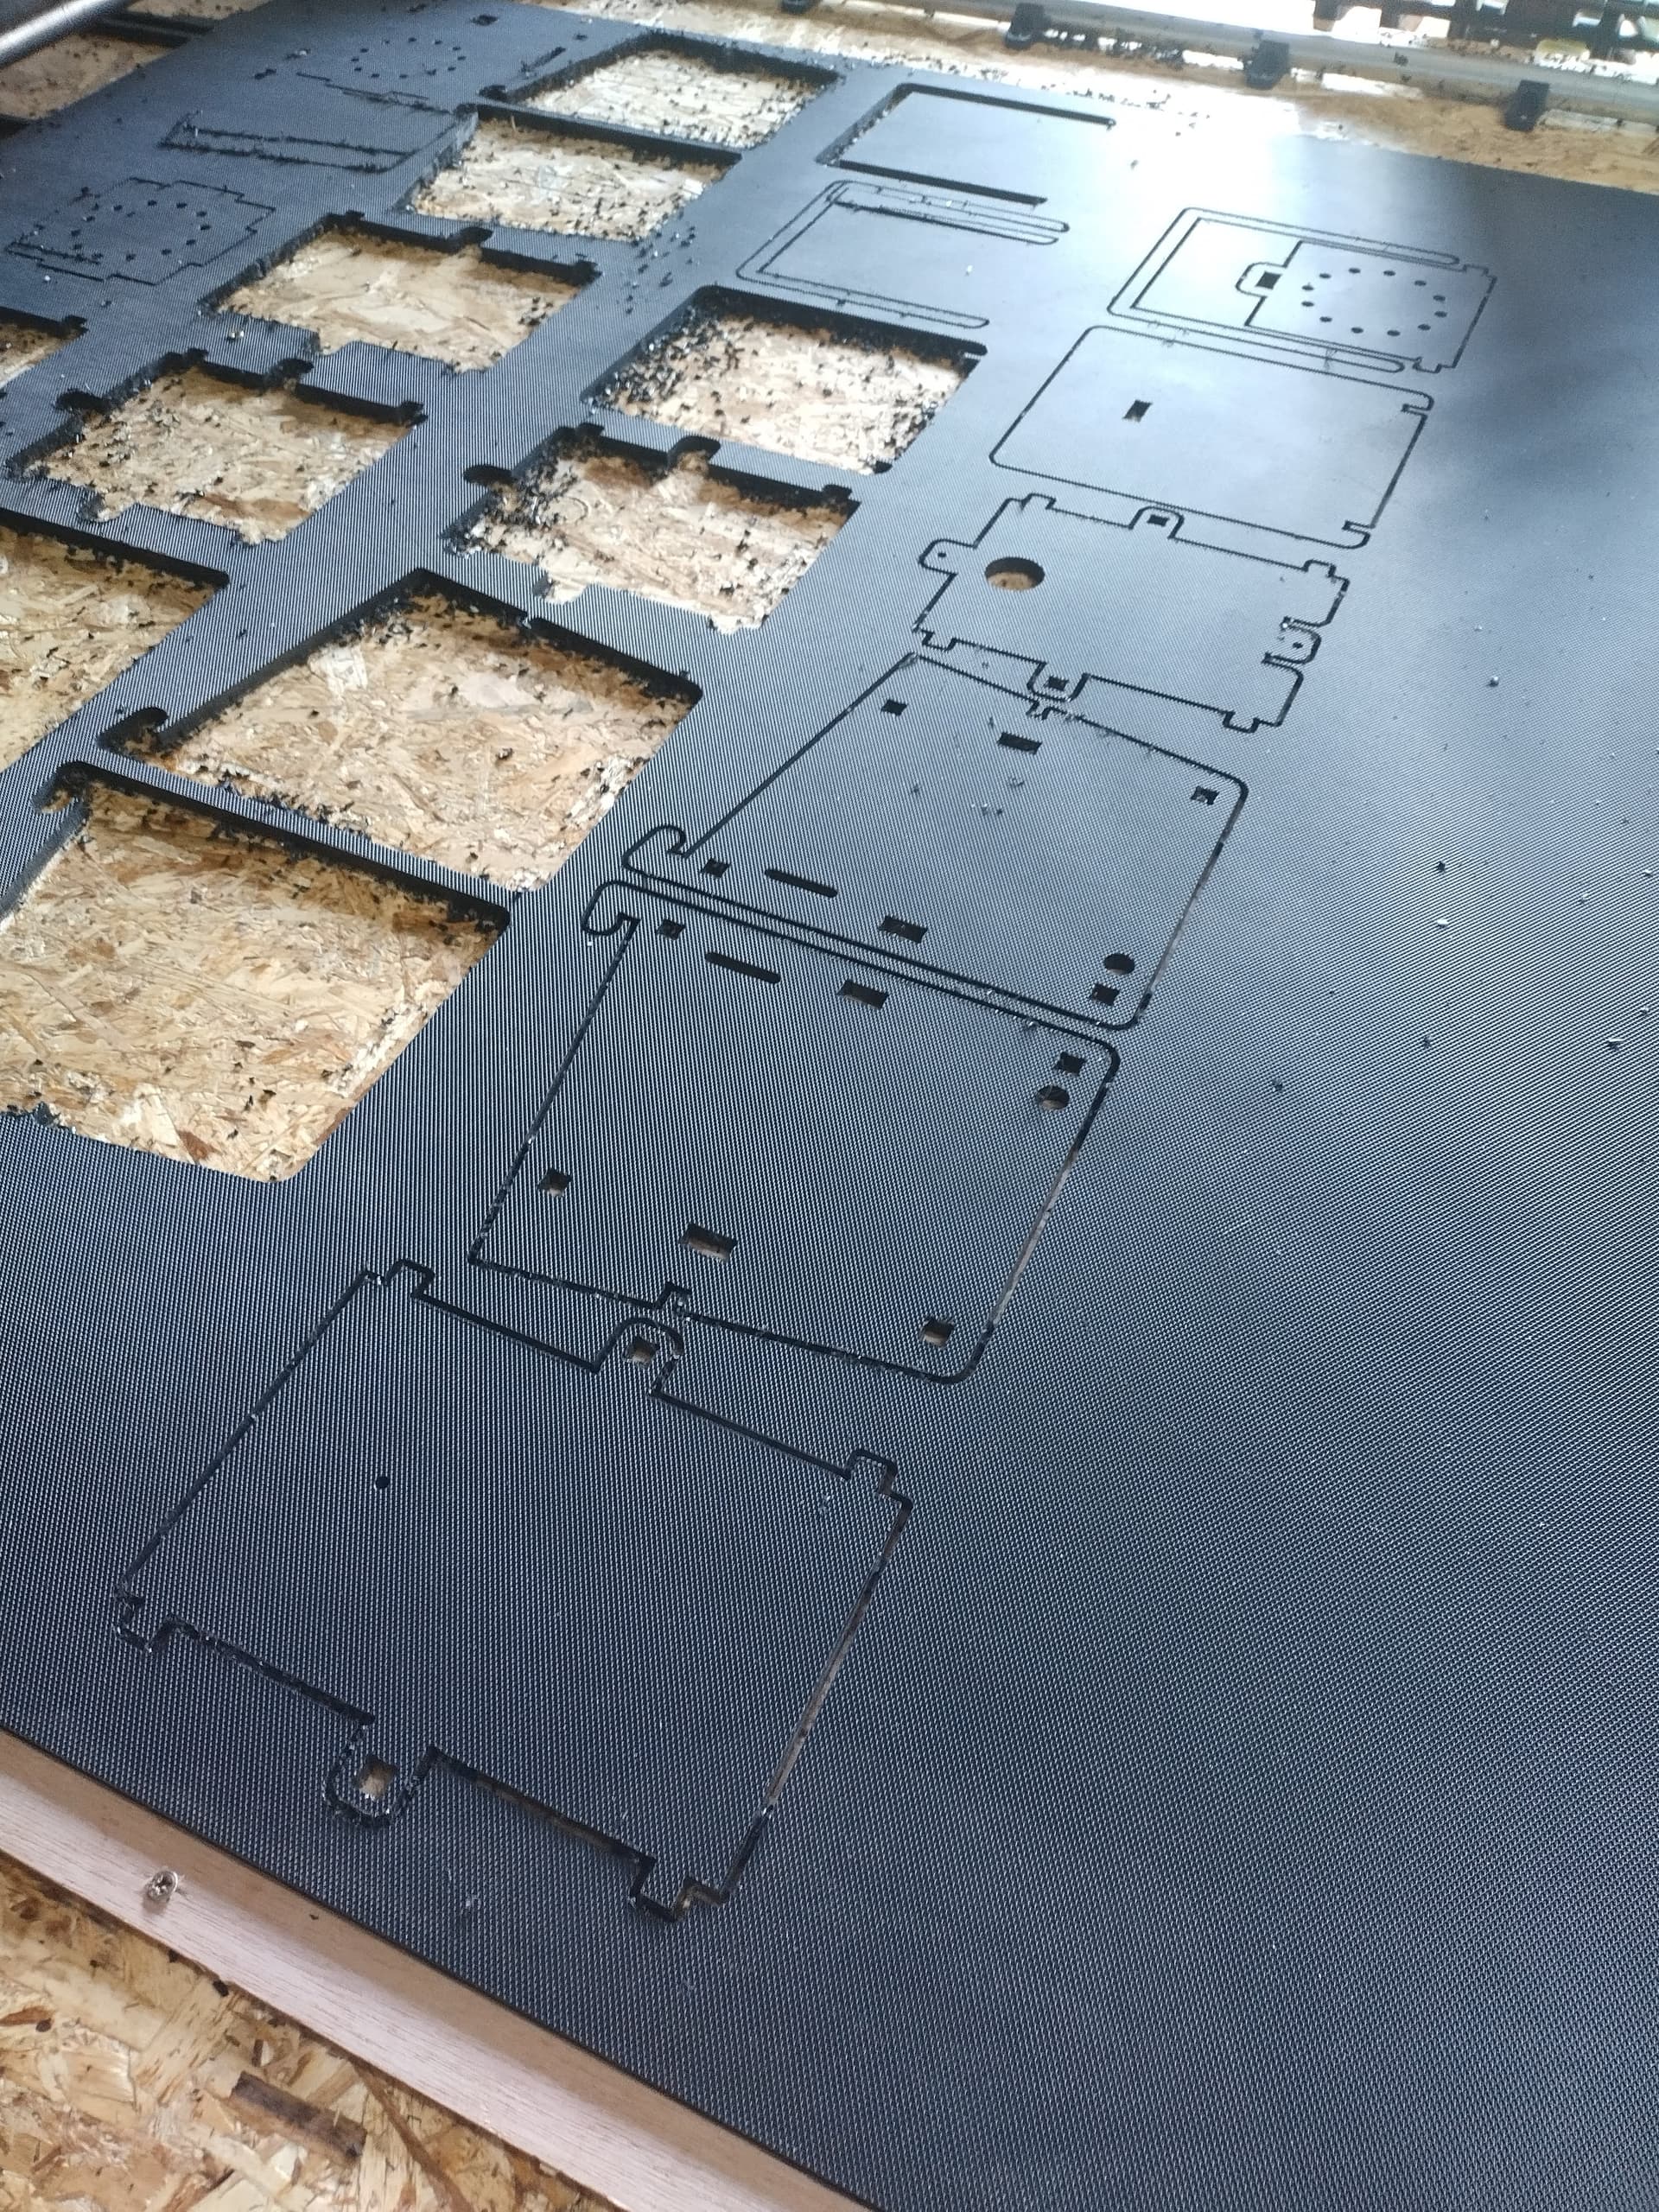
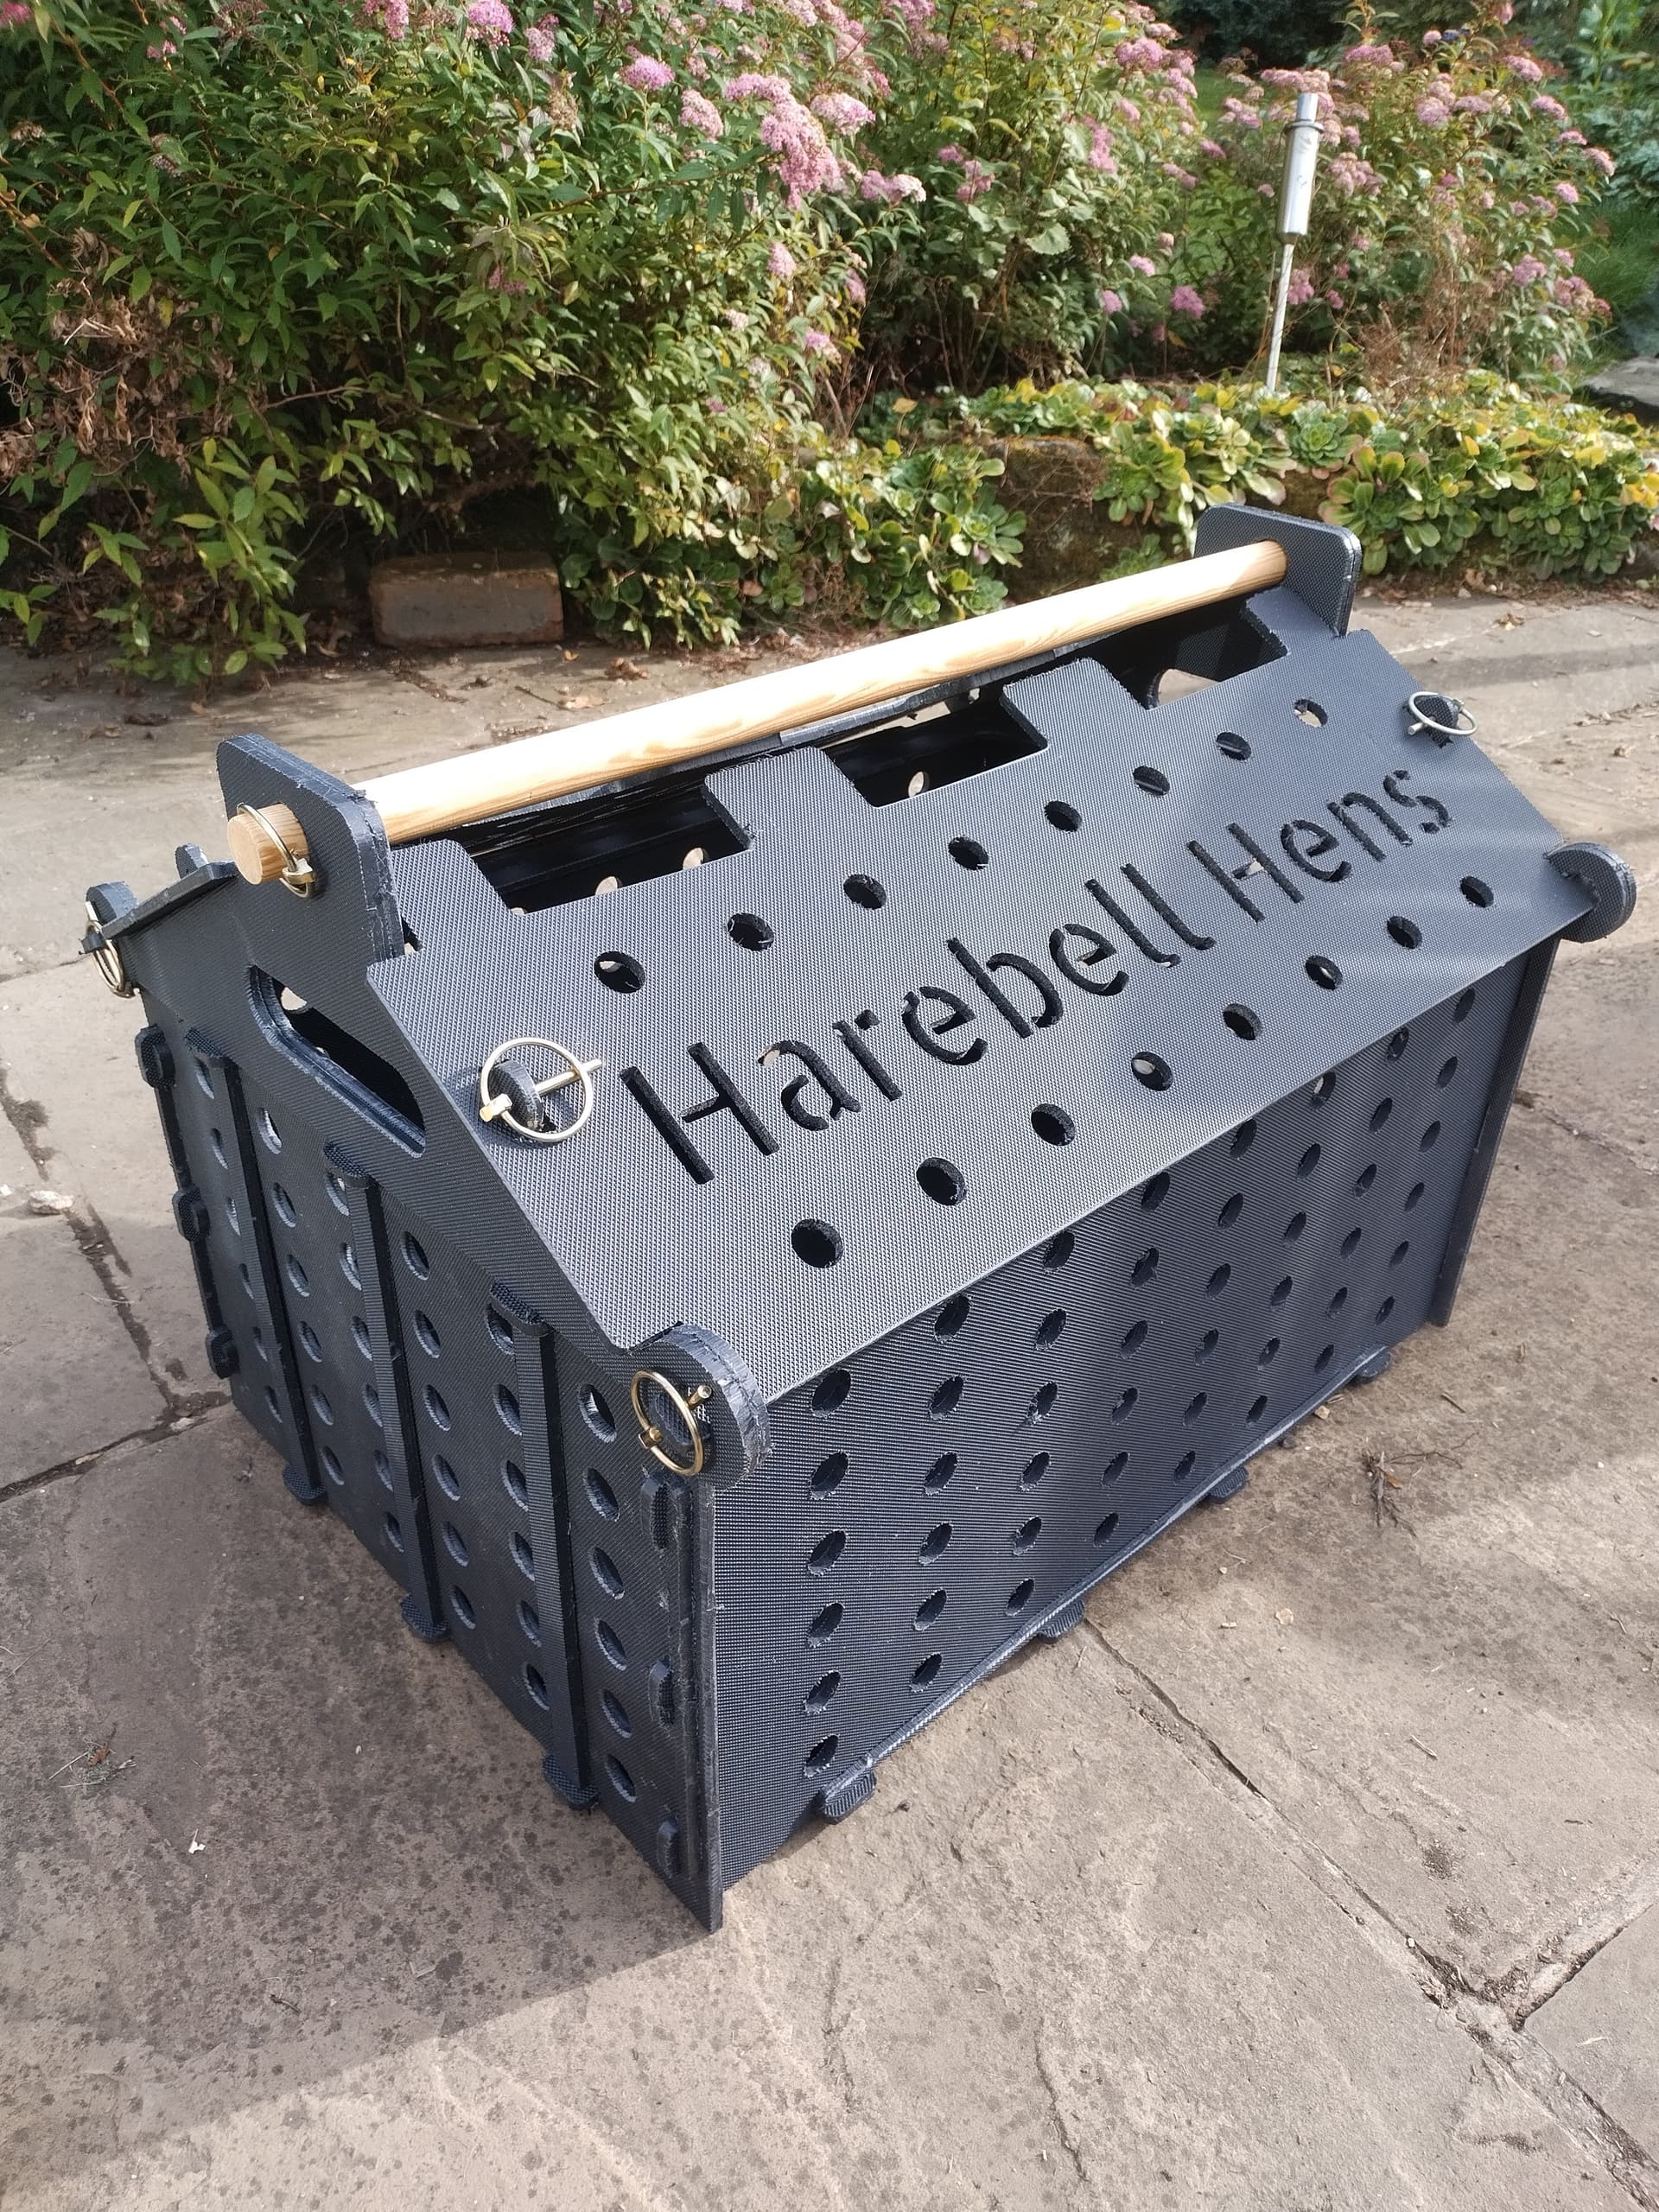
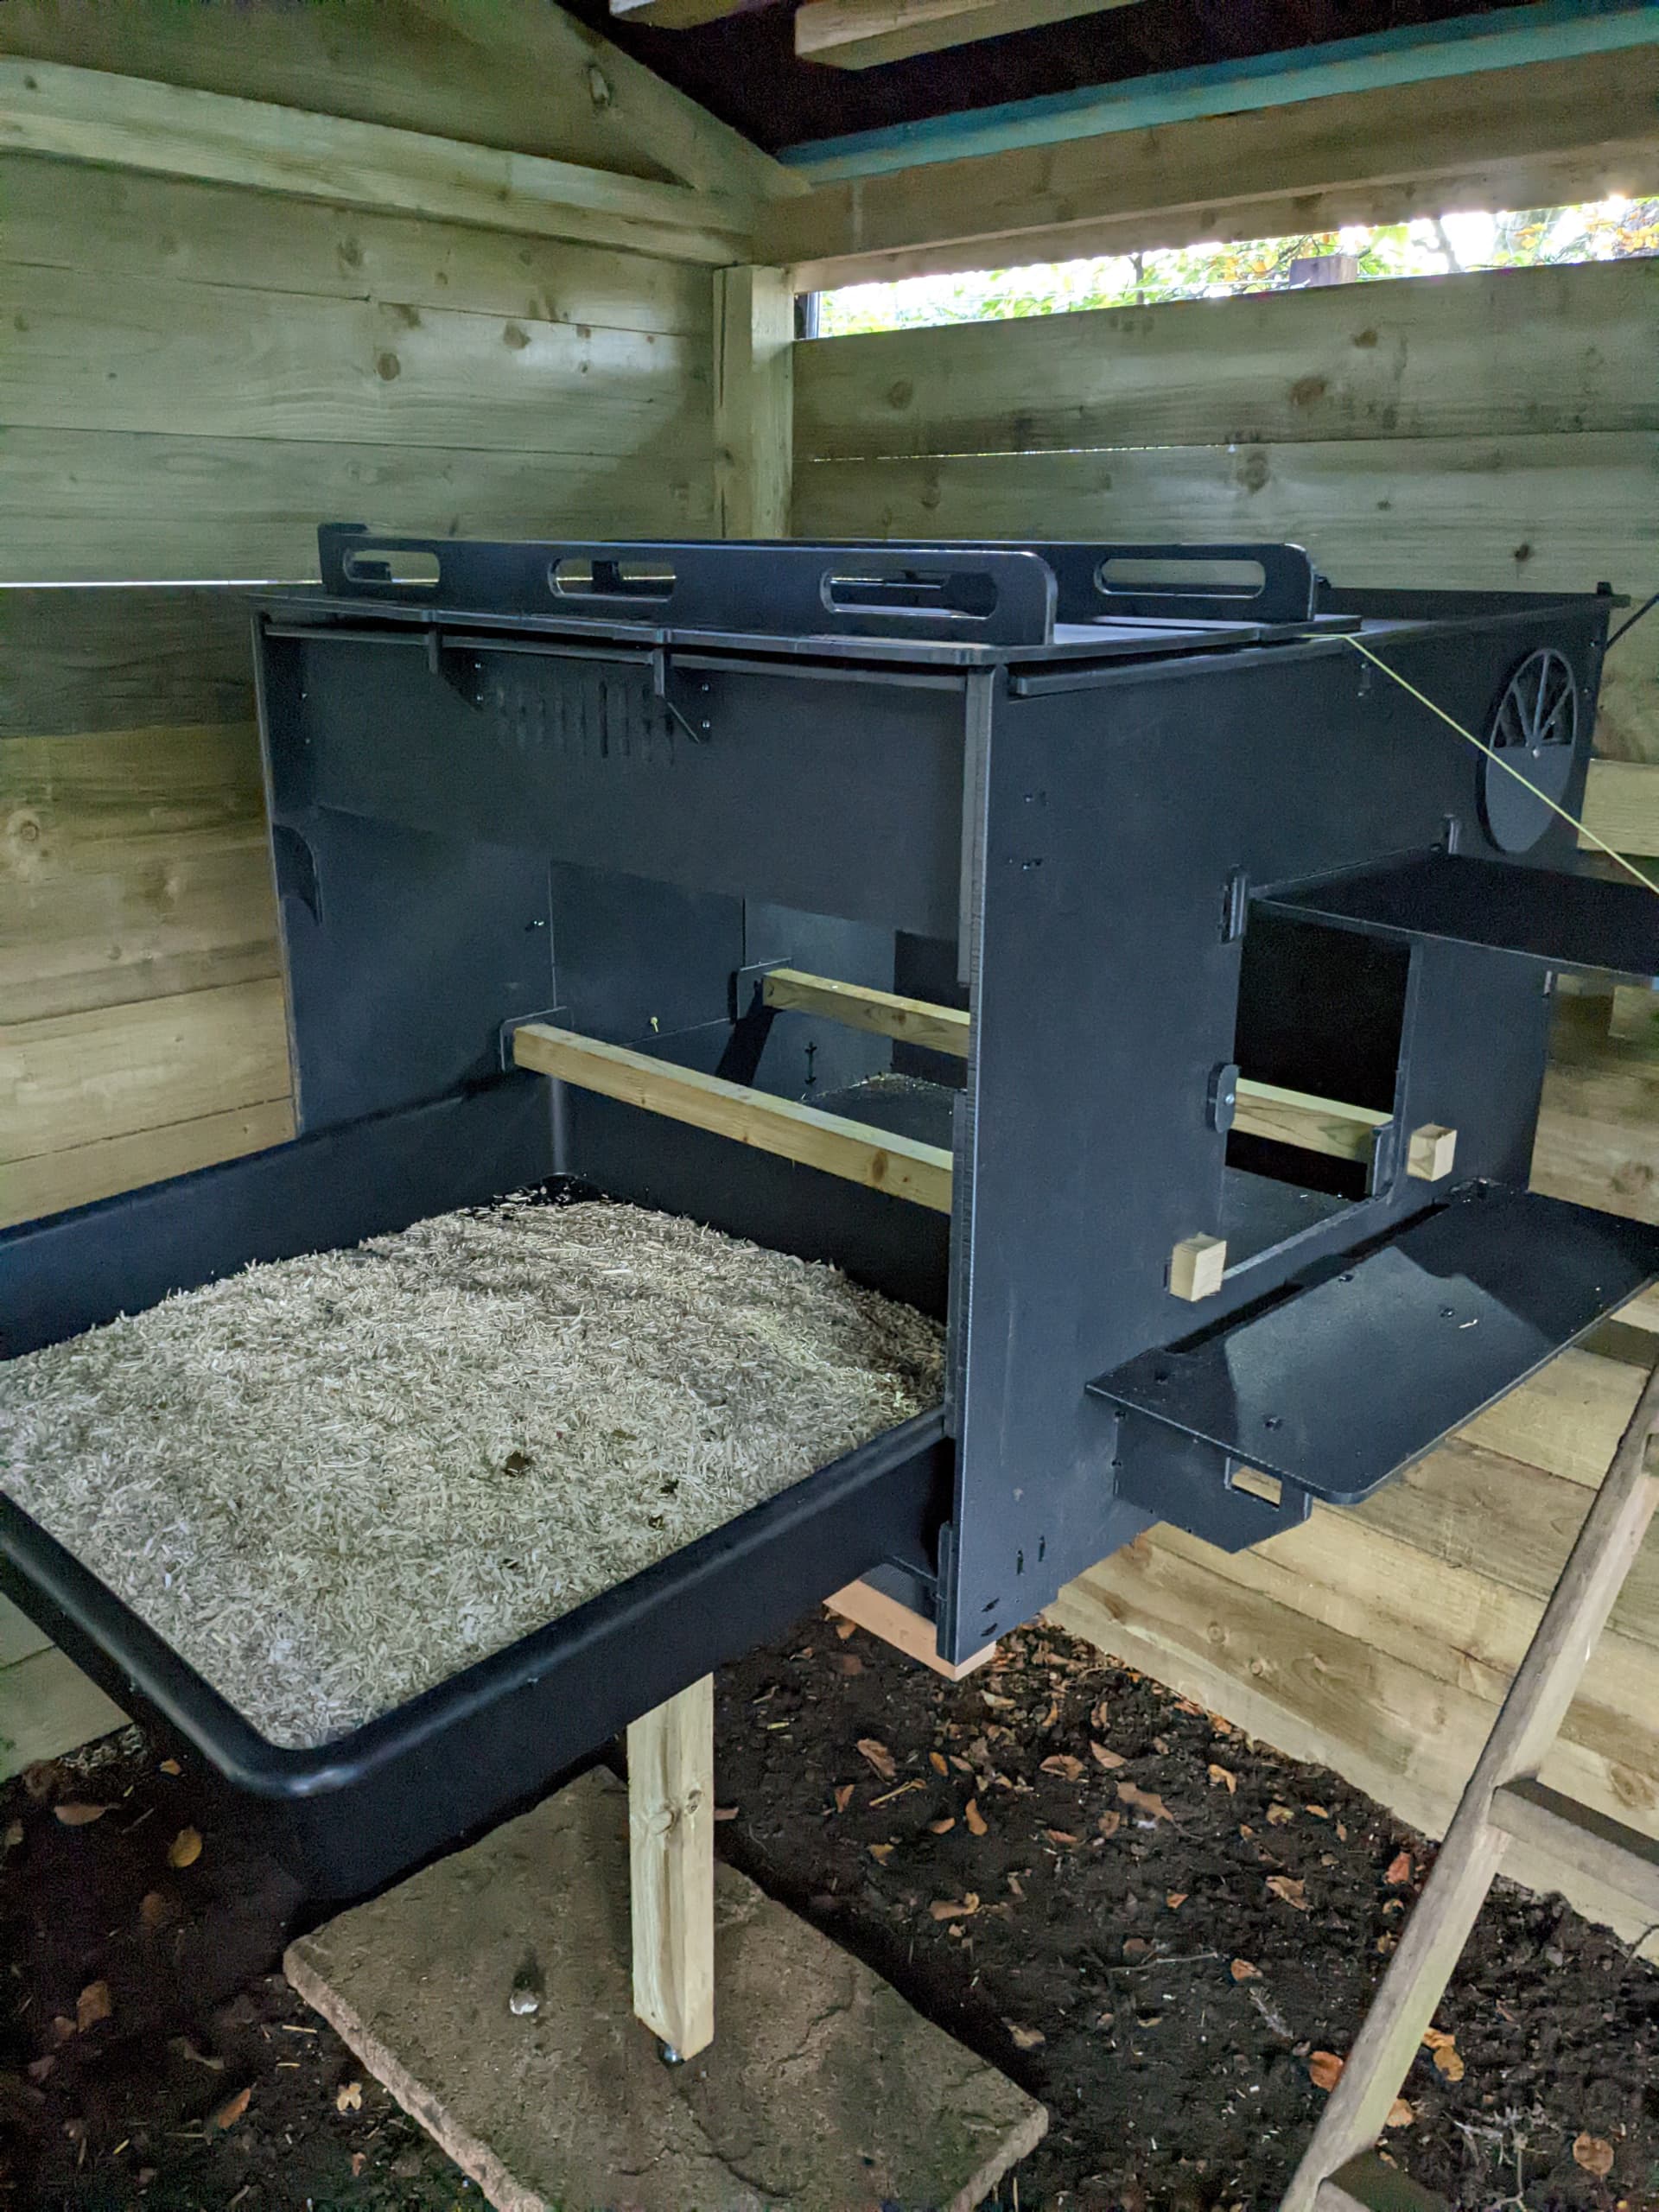
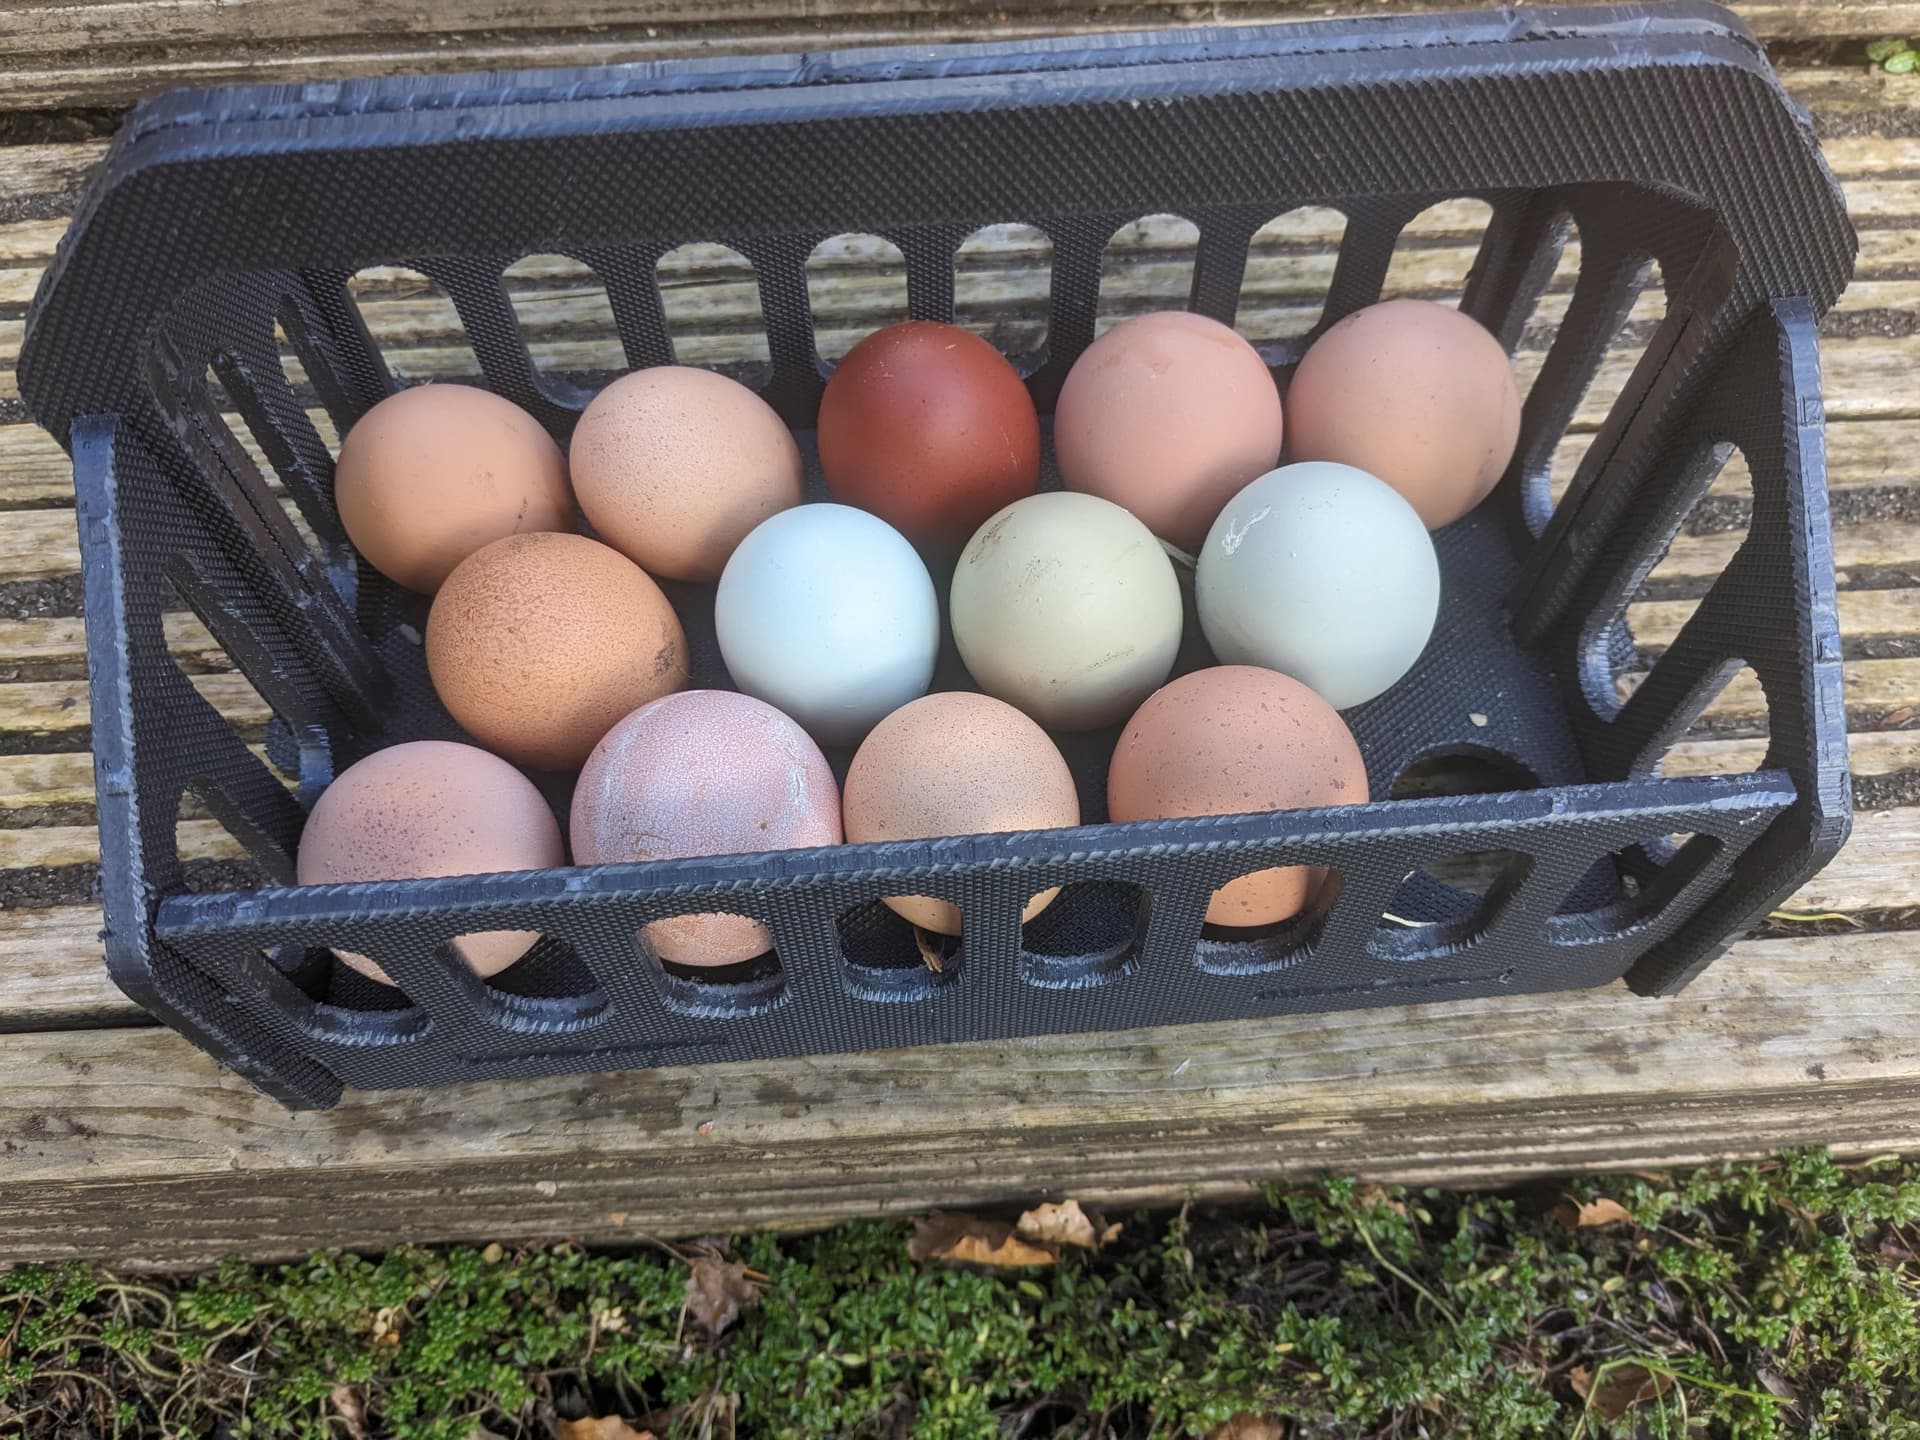
My main use of Ryan’s machines (and sincere thanks Ryan) has been to build custom hen houses for our specific needs. There is a great product here in the UK called Stokbord that is made from all that plastic farmers use to wrap bails of hay etc. They compress it into a sheet of ldpe plastic. I’ve found it challenging to cut as it’s very dense but it can melt and it doesn’t like to eject chips. However, you get a fantastic durable product. The houses can be power washed, disinfected - whatever and they have completely eradicated the red mite pest that can be so problematic in wooden hen coops. There are plenty of commercial ones available, but I wanted something quite specific to our needs.
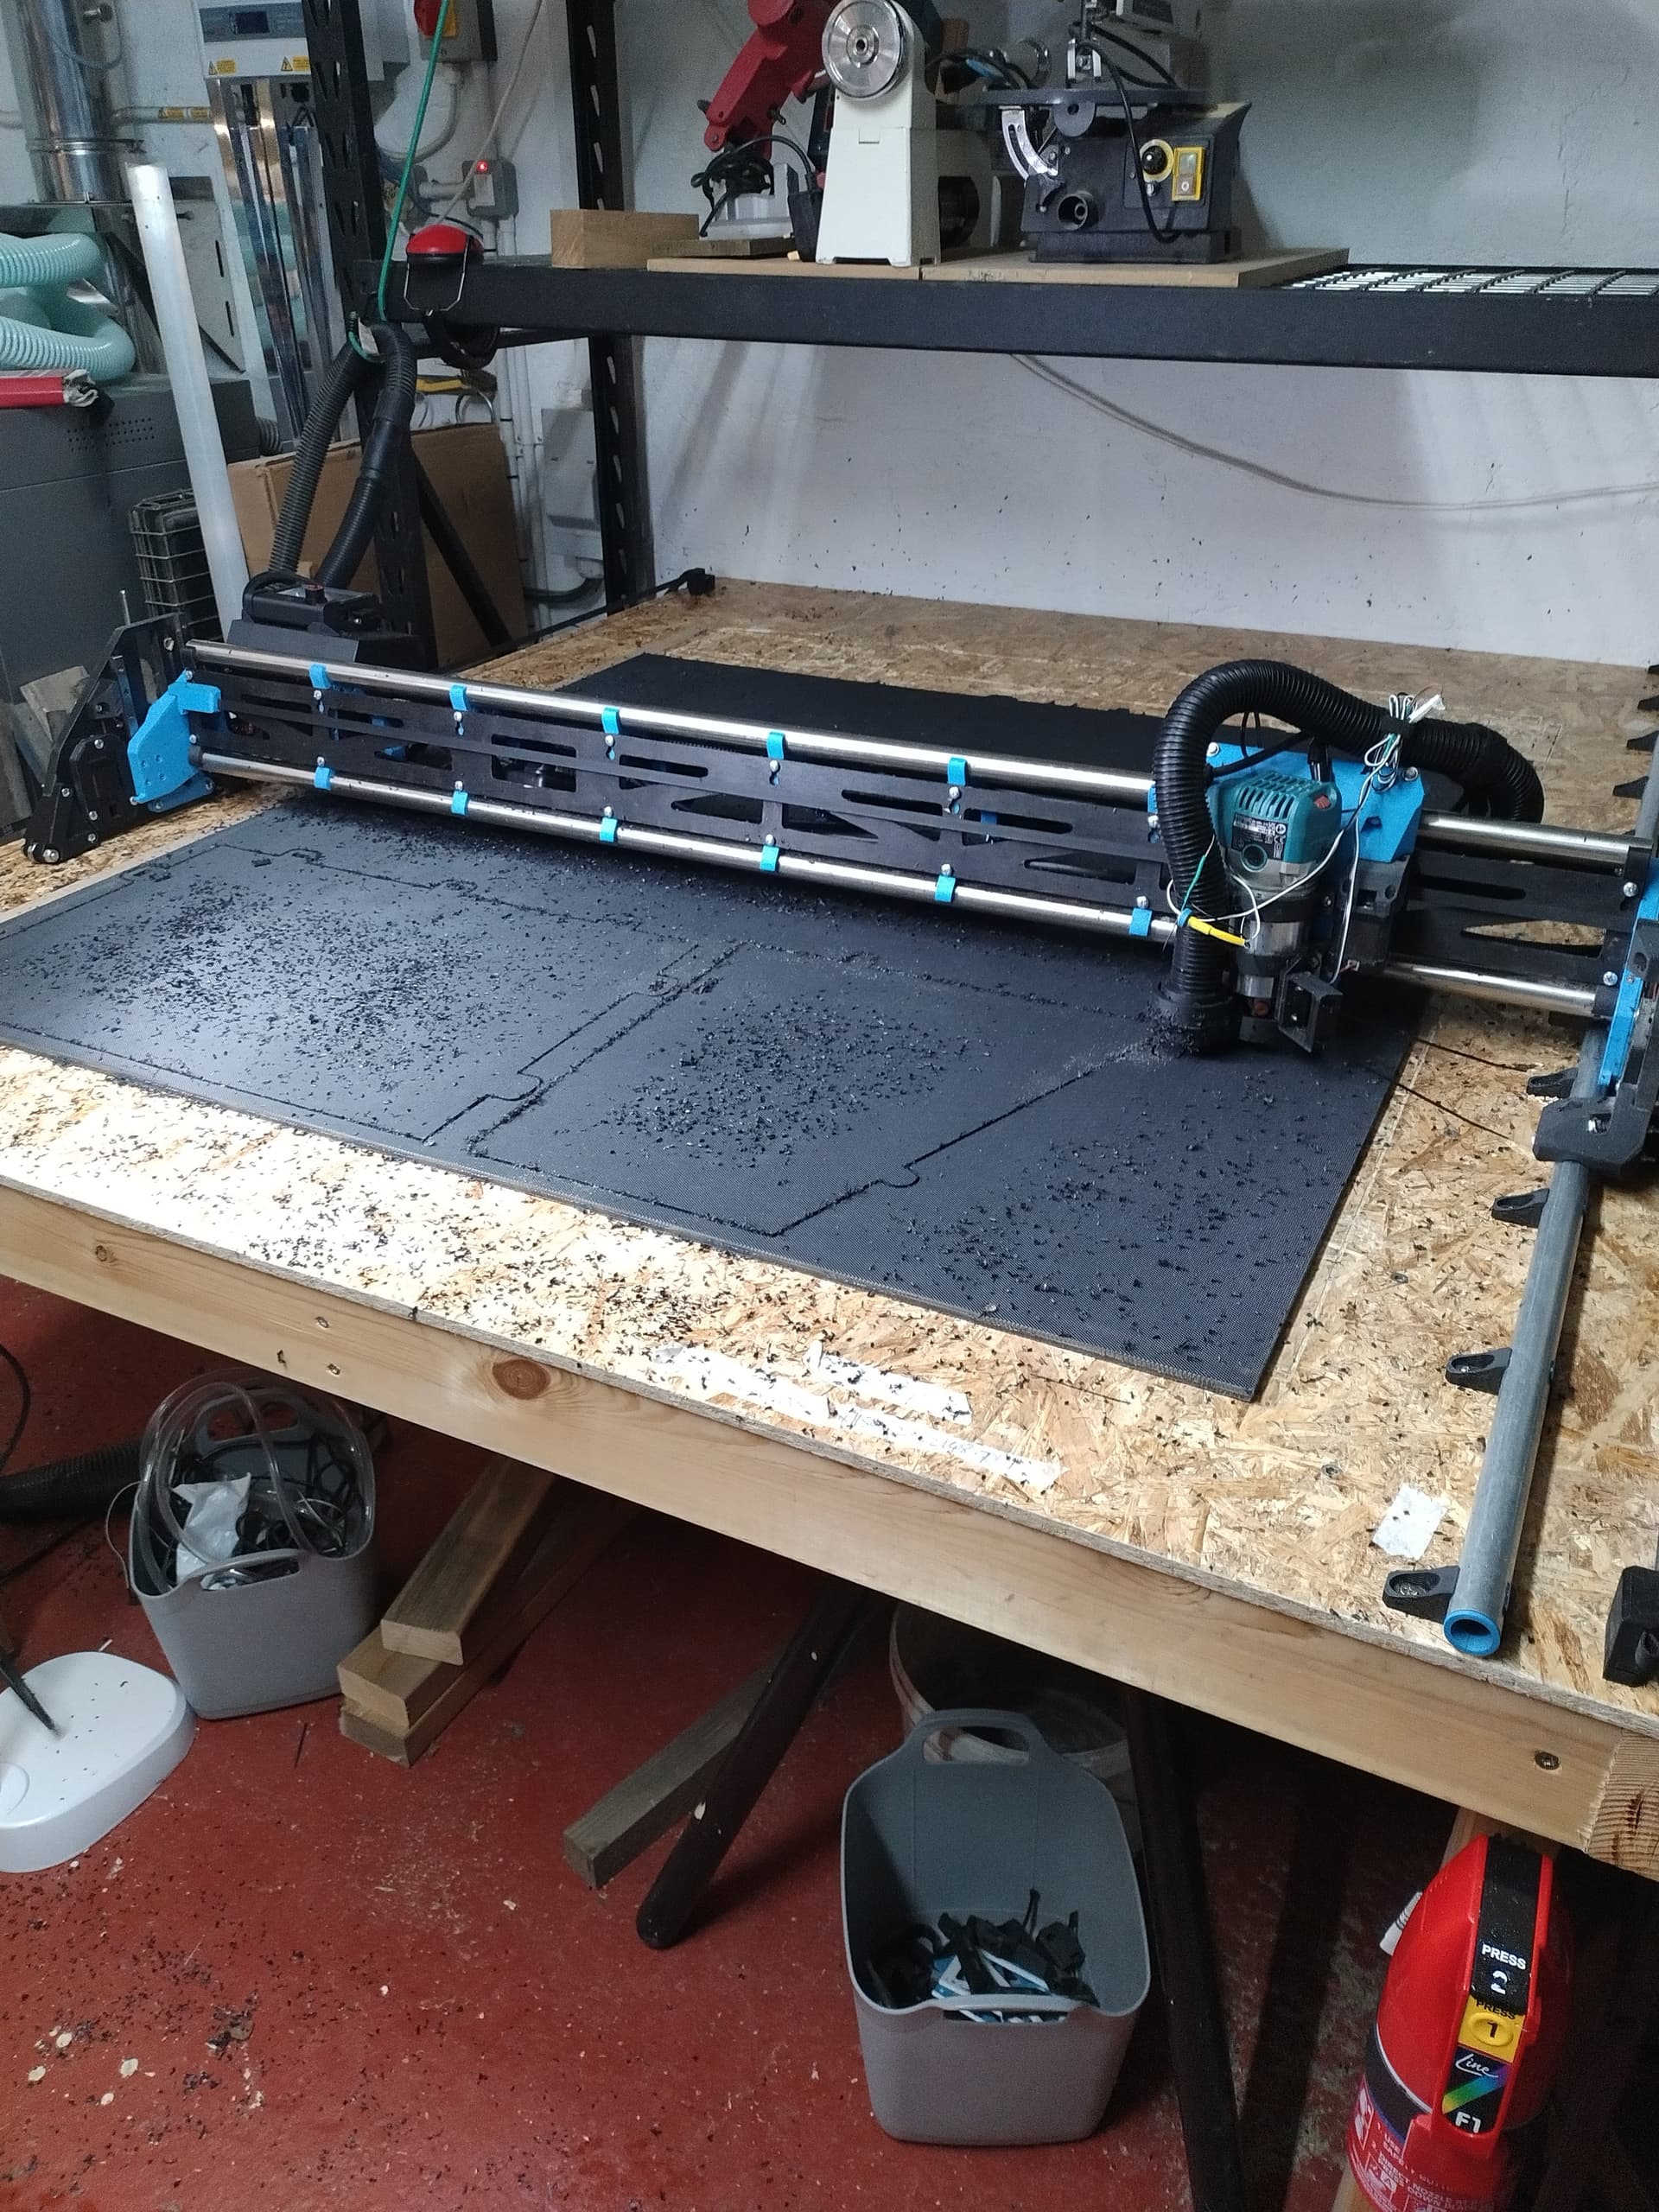
My LR3 is full sheet width and can hold a full length with an extension support, I can reach to cut about 1550mm of a sheet then I cut the top off and push it up the table. Originally the SKR board and now much happier with the Jackpot. I run a 4" dust collector right up to the Makita router.
This is what I call useful recycling. Do you have the settings you use for your endmill(s) to cut it? @azab2c has got a collection of settings of different materials that we have worked with on our machines, none of us has ever cut this one, I suppose.
Hi @Tokoloshe
Not sure how widely available Stokbord is a product. There are a couple of manufacturers I think in the UK, but I imagine wrapping bails in plastic happens all over the world?
I never really got a very satisfactory setting, but I did make it work. Setting 2 on the makita, single flute up cut (from Ryan, tired others but his were the best by far). And replace often for sharpness. The problem is skipping steps due to the chips not coming out. They seem to expand slightly and have a rubbery texture so they clog the cut. I found best to go about 3mm per deep per pass and follow around with a brush. Vacuum or air will not push them out alone. Pretty frustrating to cut a big part and waste a lot of sheet due to some missed steps, they are quite expensive. I always tend to skip on x - I guess just one stepper in play. As it is cold here I have increased the current, my steppers never get warm. I think that will help but I have no projects in this material at the moment. I tend to have less time for tweaking and accept non-optimal settings in favour of getting the job done. I would be very interested to compare notes if others have cut Stokbord (~Stock Board) LDPE sheets.
What a great story of both your cnc evolution and your chicken coop parts!
You’re not the only one lurking on these forums (this might be my first post). Through the generosity of the people sharing their knowledge in the V1E community, I have found all the answers to my questions by searching the forums. I built a MPCNC when the Lowrider3 was in development and once I got myself trained on the MPCNC, I rebuilt it into the Lowrider3. I am now helping my brother build a Lowrider 3.
Thanks to Ryan and the community, I’ve had a lot of fun and learned much!
Congratulations for your extraordinary projects, for your constructions and for your use of this particular recycled material.
Good idea.
Unfortunately I can’t find anything similar in Italy
Thank you for that suggestion I did play around with that in Estlcam and it looked very promising. It did lead to much better clearing of the cut, but it was very slow and it felt like it was shaking the machine apar.
Be glad to try any suggestions for settings - there are so many variables with trochoidal. It would be good to cut at full depth.
Lower RPM and faster cuts at a shallower depth per pass solved the melting, so I didn’t experiment further with trochoidal.
For your cutting settings, plastic is much harder to get right than wood, yet much easier than metal. I think the best approach for your single flute upcut is slow RPM and high feedrate. Start with a shallow depth of cut and only go down if the chips stay out. You are probably going to be in the 20-35mm/s range. Once you get it right, just keep increasing the DOC until they do not come out anymore and back down.
Looks like you have plenty fo scrap to do lots of test cuts, I bet with a few tries you get it right.
Most tends to keep increasing RPM and decreasing feedrate…that makes it worse.
A directed air blower (mist even ~$10USD) can help as well but probably not needed.
Full depth probably is not a good idea except the finishing pass. Two fast shallow cuts are nearly the same as one slow full depth, except the chips have a much better time getting thrown out. With material that thin you can also try to get the step down so the last cut is less than the previous.
If it is 5mm shoot for 3mm and 2mm or even 3.5mm and 1.5mm.
Wow thanks for that - I’ll give those suggestions a go! I wish I’d posted a year ago! Particularly like the idea of decreasing the step down - that makes a lot of sense.
Thanks for the suggestion @tgm022861 I did look at these, @Frits I think its called a 0 zero flute. To my eye its the same as a single 1 flute but I think it has a looser spiral so chips get pushed up quicker. Its hard to know which are decent and which are just expensive, the single flutes from Ryan are much better than the ones I had from ebay/amazon etc. so I stopped experimenting once I was getting satisfactory results.