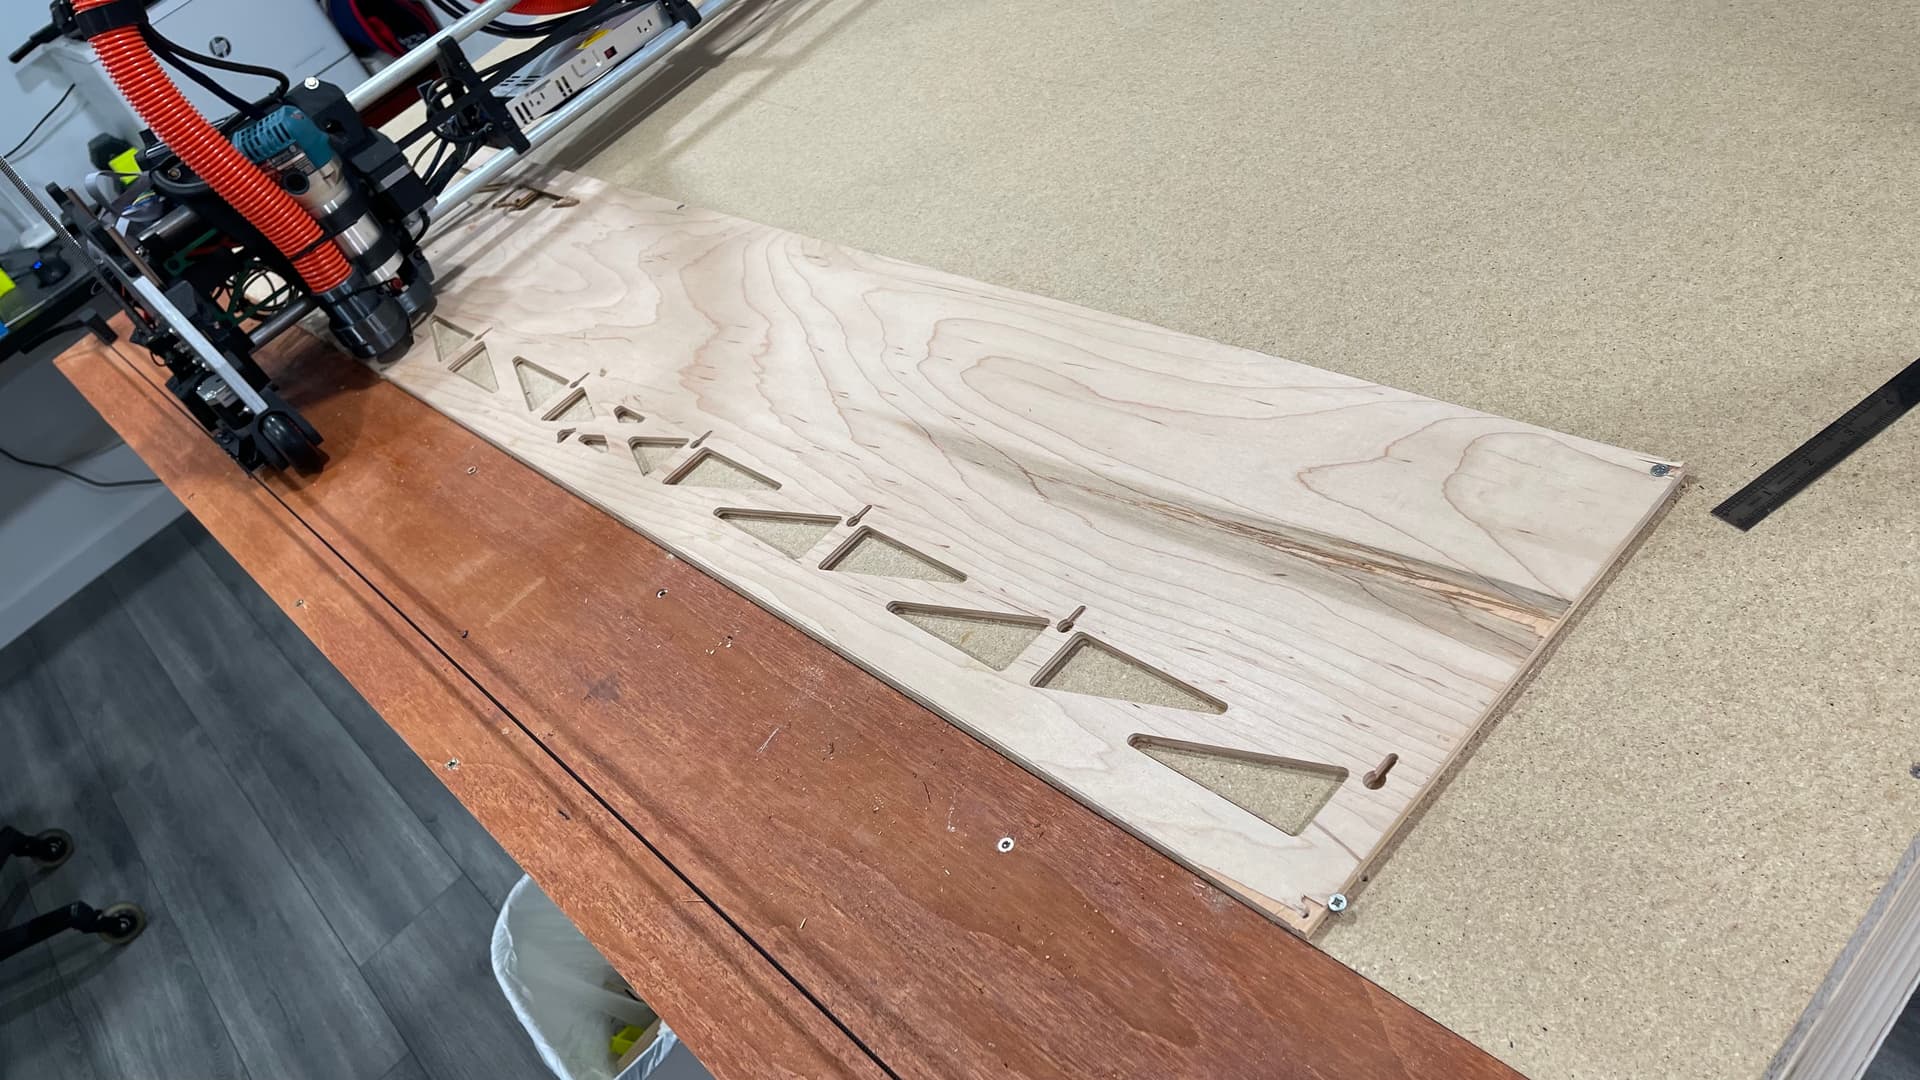
Well I screw up more than once today, was able to cut 2 out of the 3 struts… Cut a piece of plywood 300x1450 and let’s get the machine dirty!!!
I didn’t check the router bit, as it was used to cut the YZ plates and I had no burns or any other issue, looks like it was the best Bit, so start the cut and this happens…

Then I Realize that I was also going a little too fast, well the same speed I cut the YZ plates 20mm/s.
Changed the end mill, drop the speed to 12mm/s and got 2 struts cut.
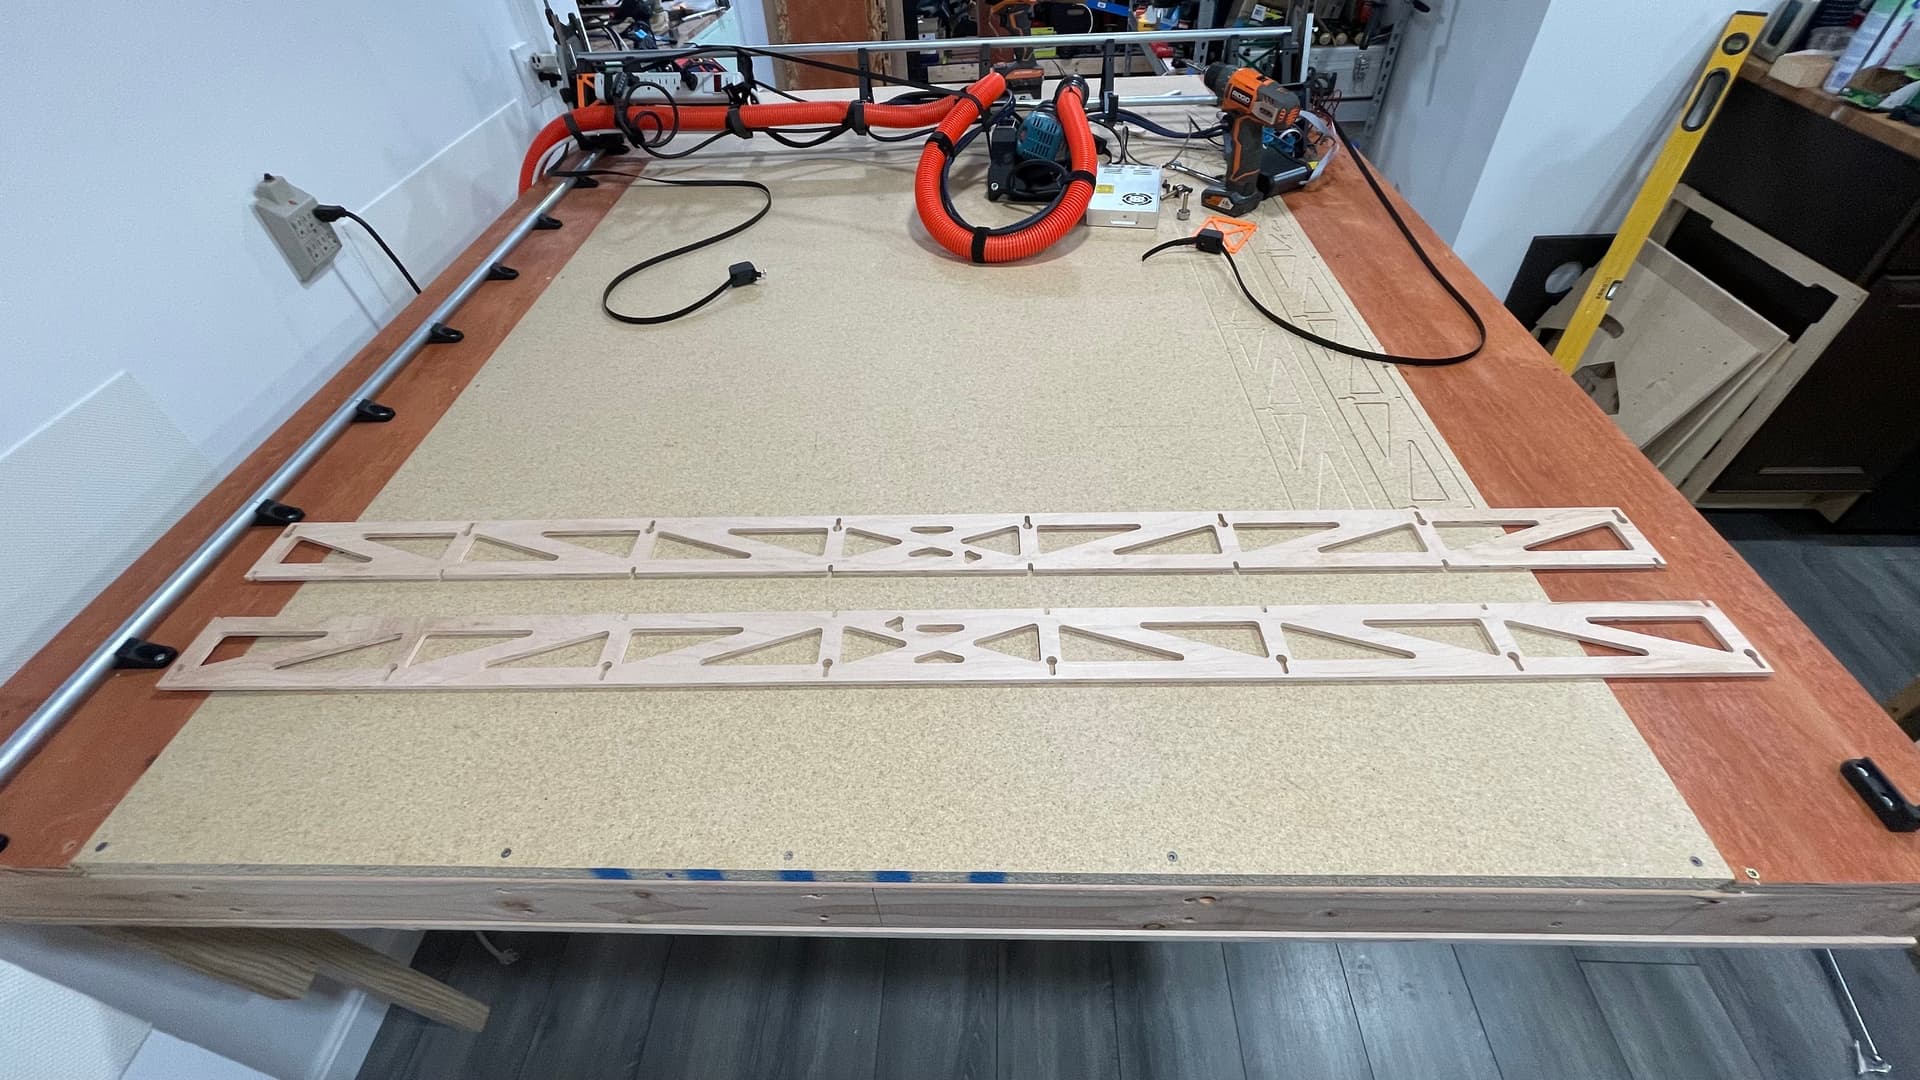
Watch and see how much dust is all over the table 
The Dust chute that Ryan design works great!
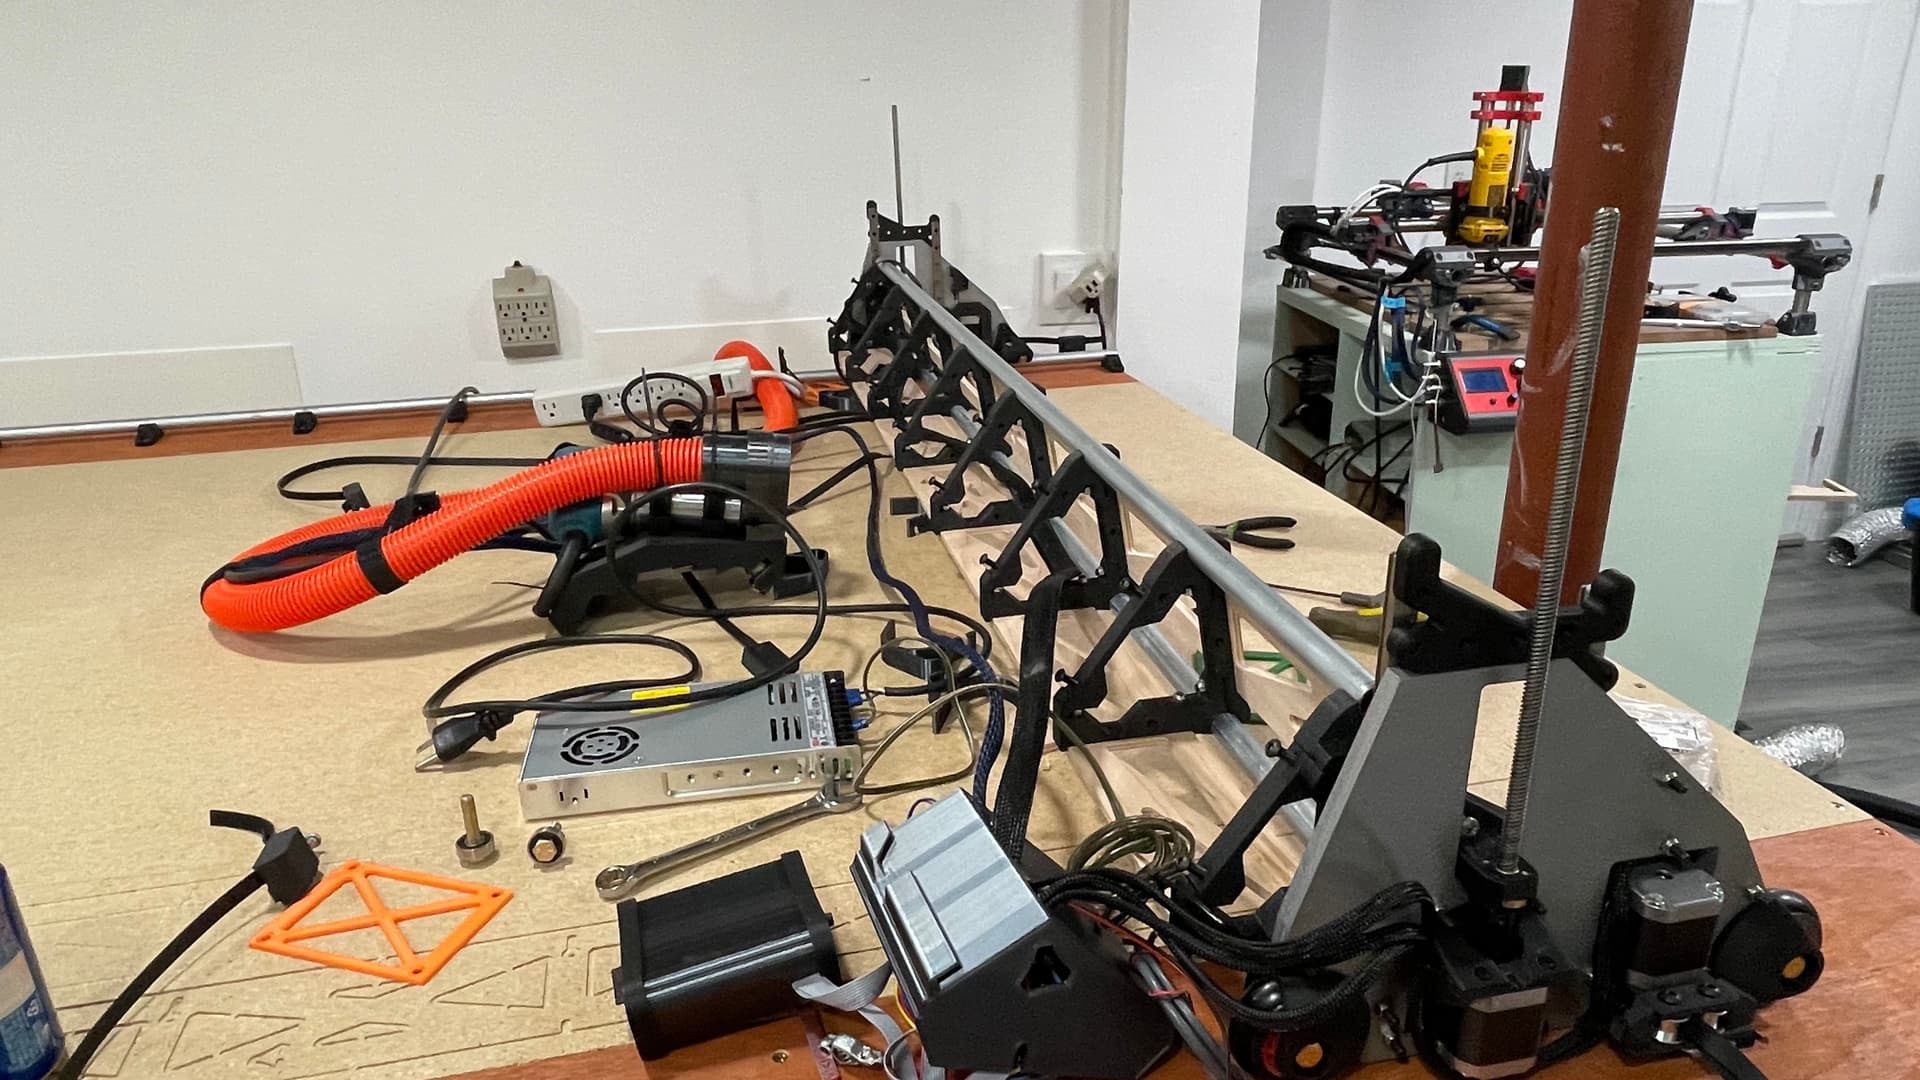
Then was time to take the LR3 apart and install the struts, sorry I didn’t take any pictures of the LR3 totally apart but here are some of the rebuild with the new struts.
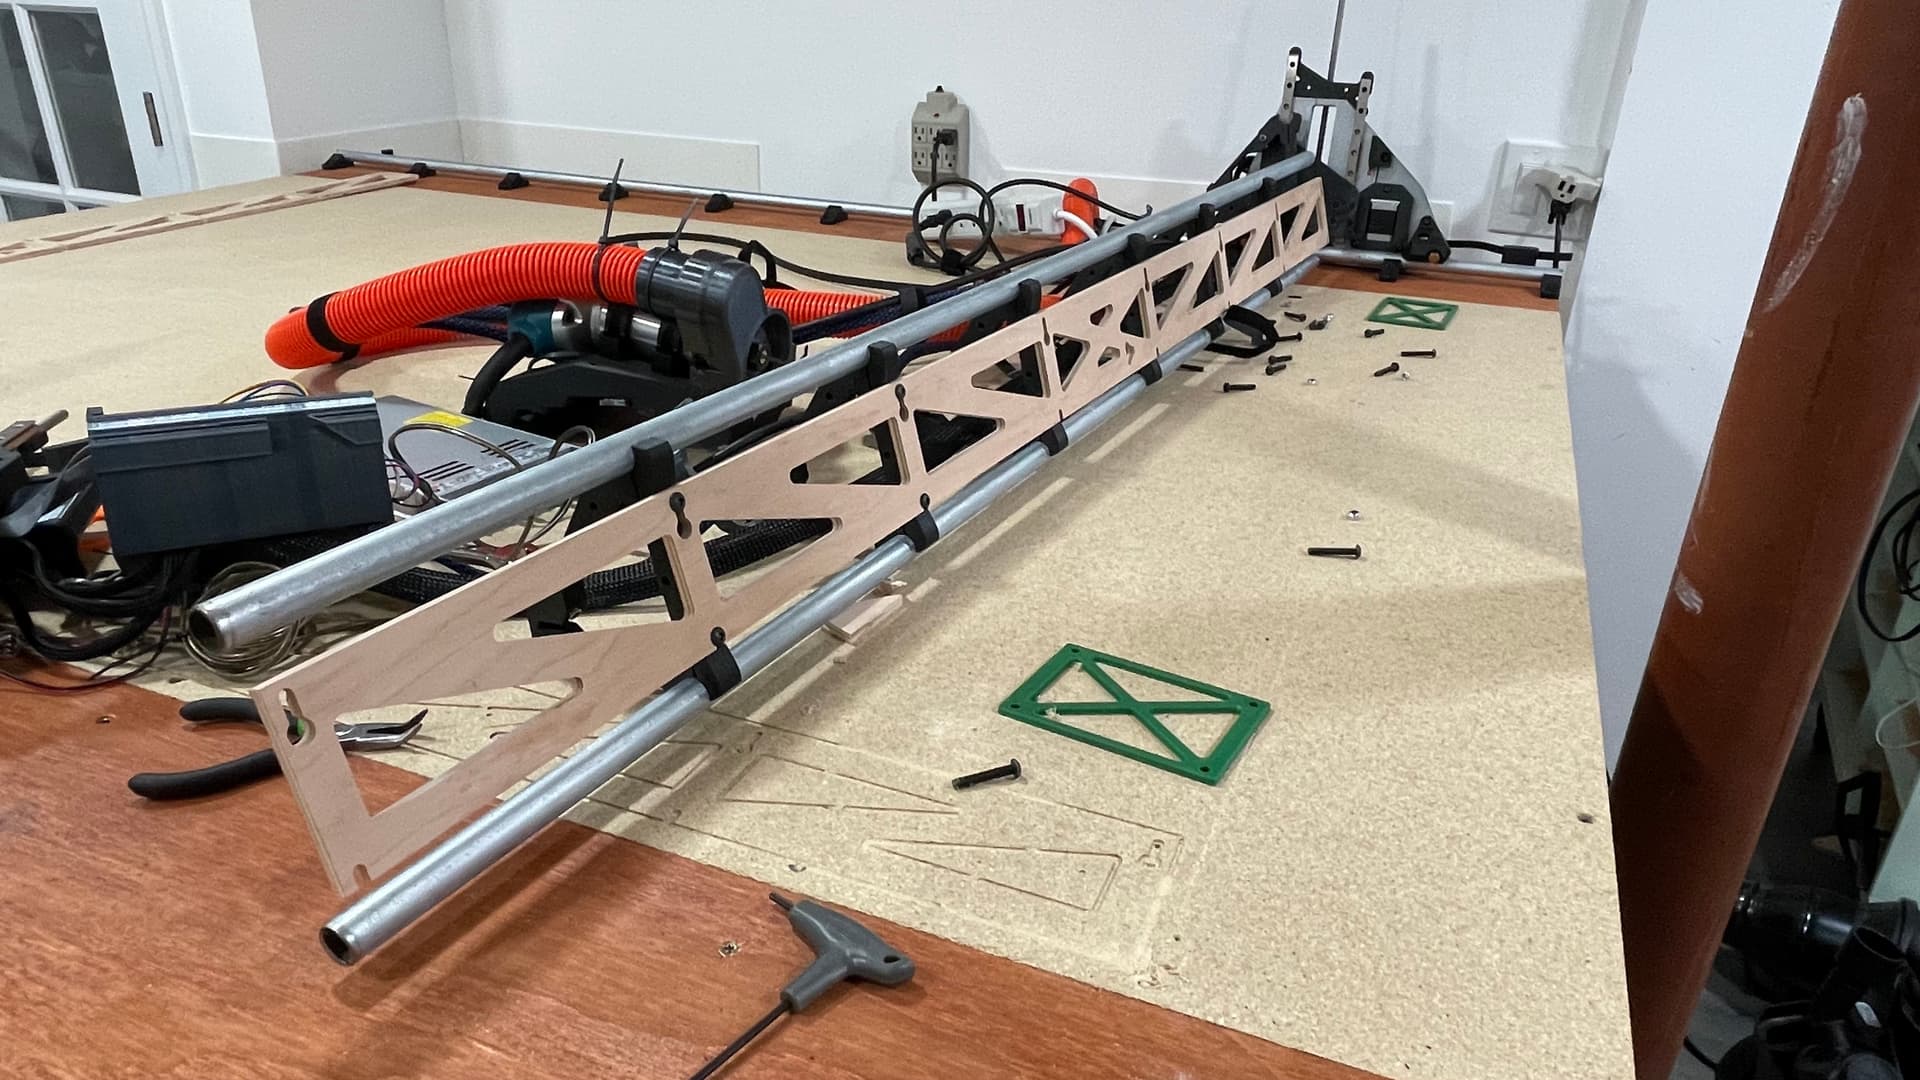
And that is when I realized my second mistake…
The plywood was a little too thick…

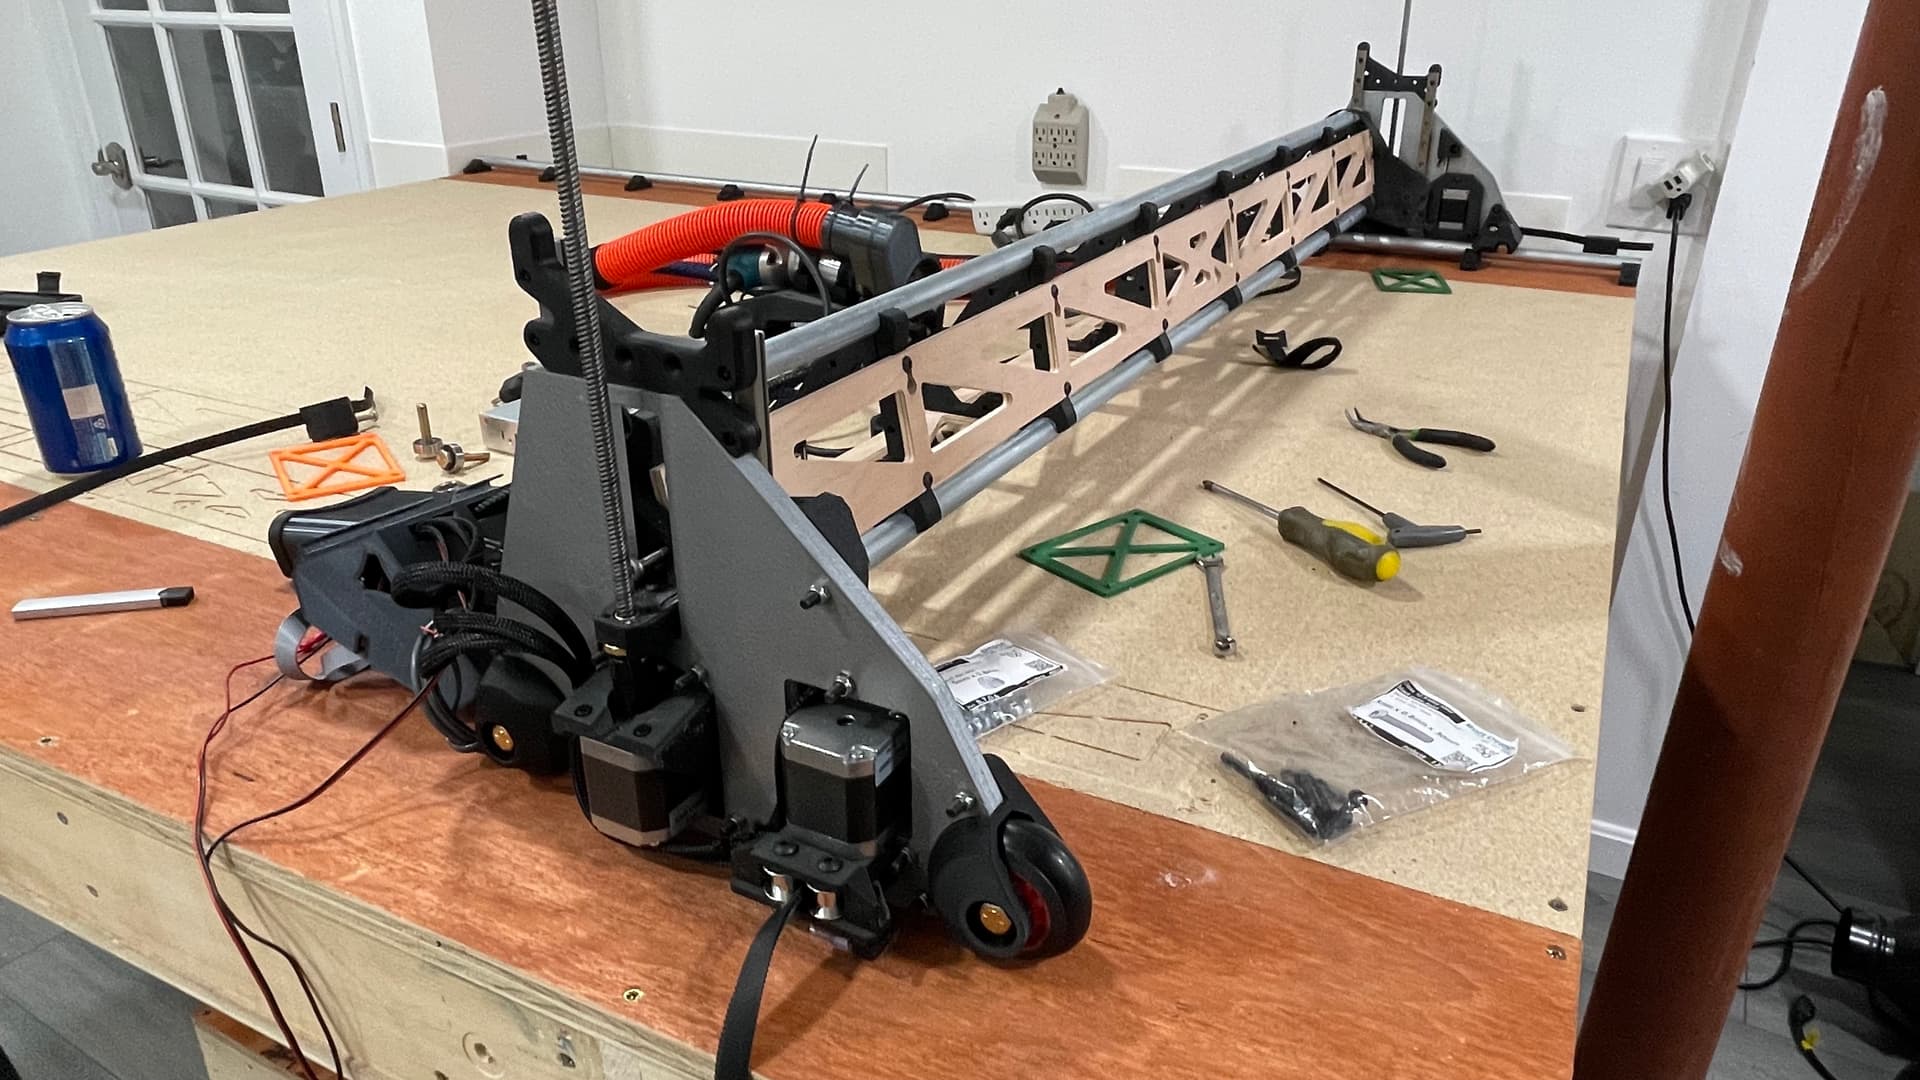
So the X belt tensioner does not clear the core as it bends a little, but just enough to hit the core. 


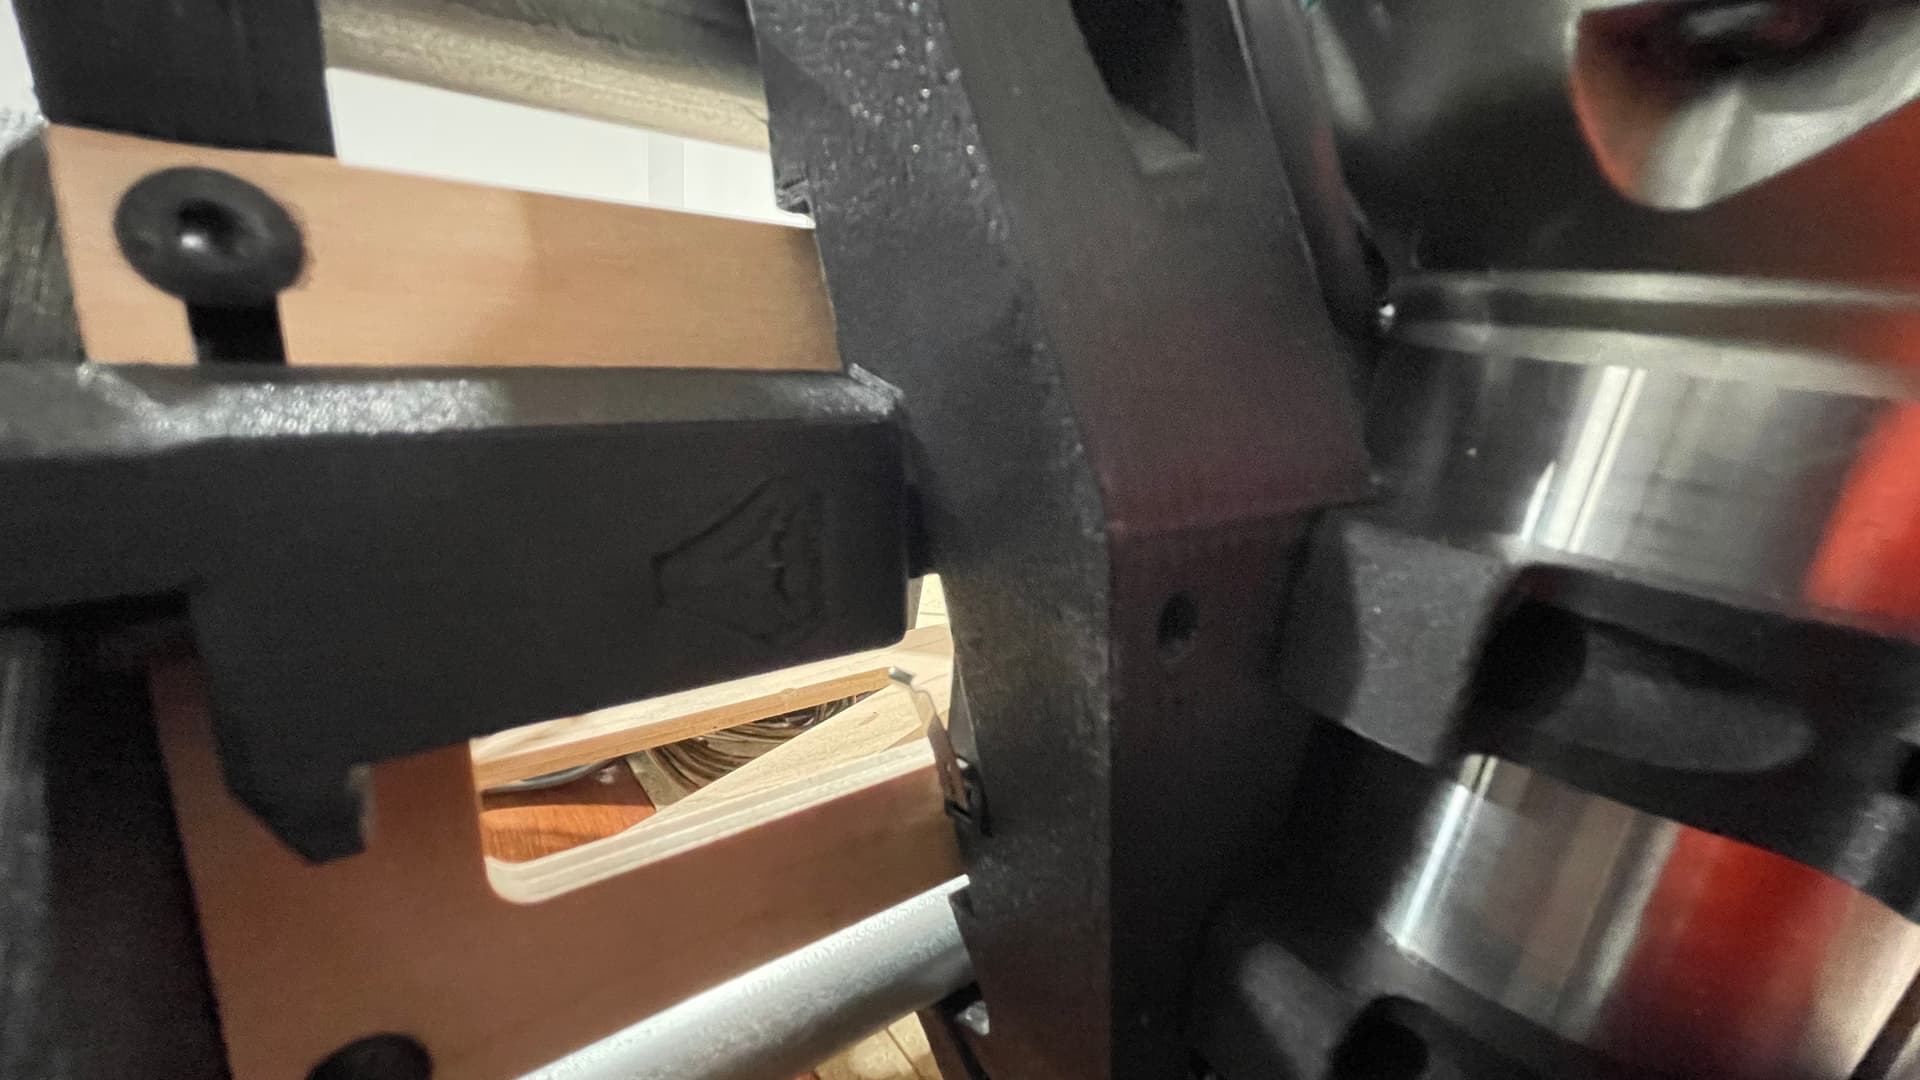
Well… Tomorrow I will take the front strut out, back to the big orange store, get a thinner plywood and cut one more strut. The good thing is that I do believe I can use this thick strut on the back of the machine.
We will see…