I never cared about that too much until I built the vacuum table, since the MDF has to be planed from two sides and it is near impossible if the table isn’t completely flat. This time I am going to plane the base-board first. ![]()
1 Like
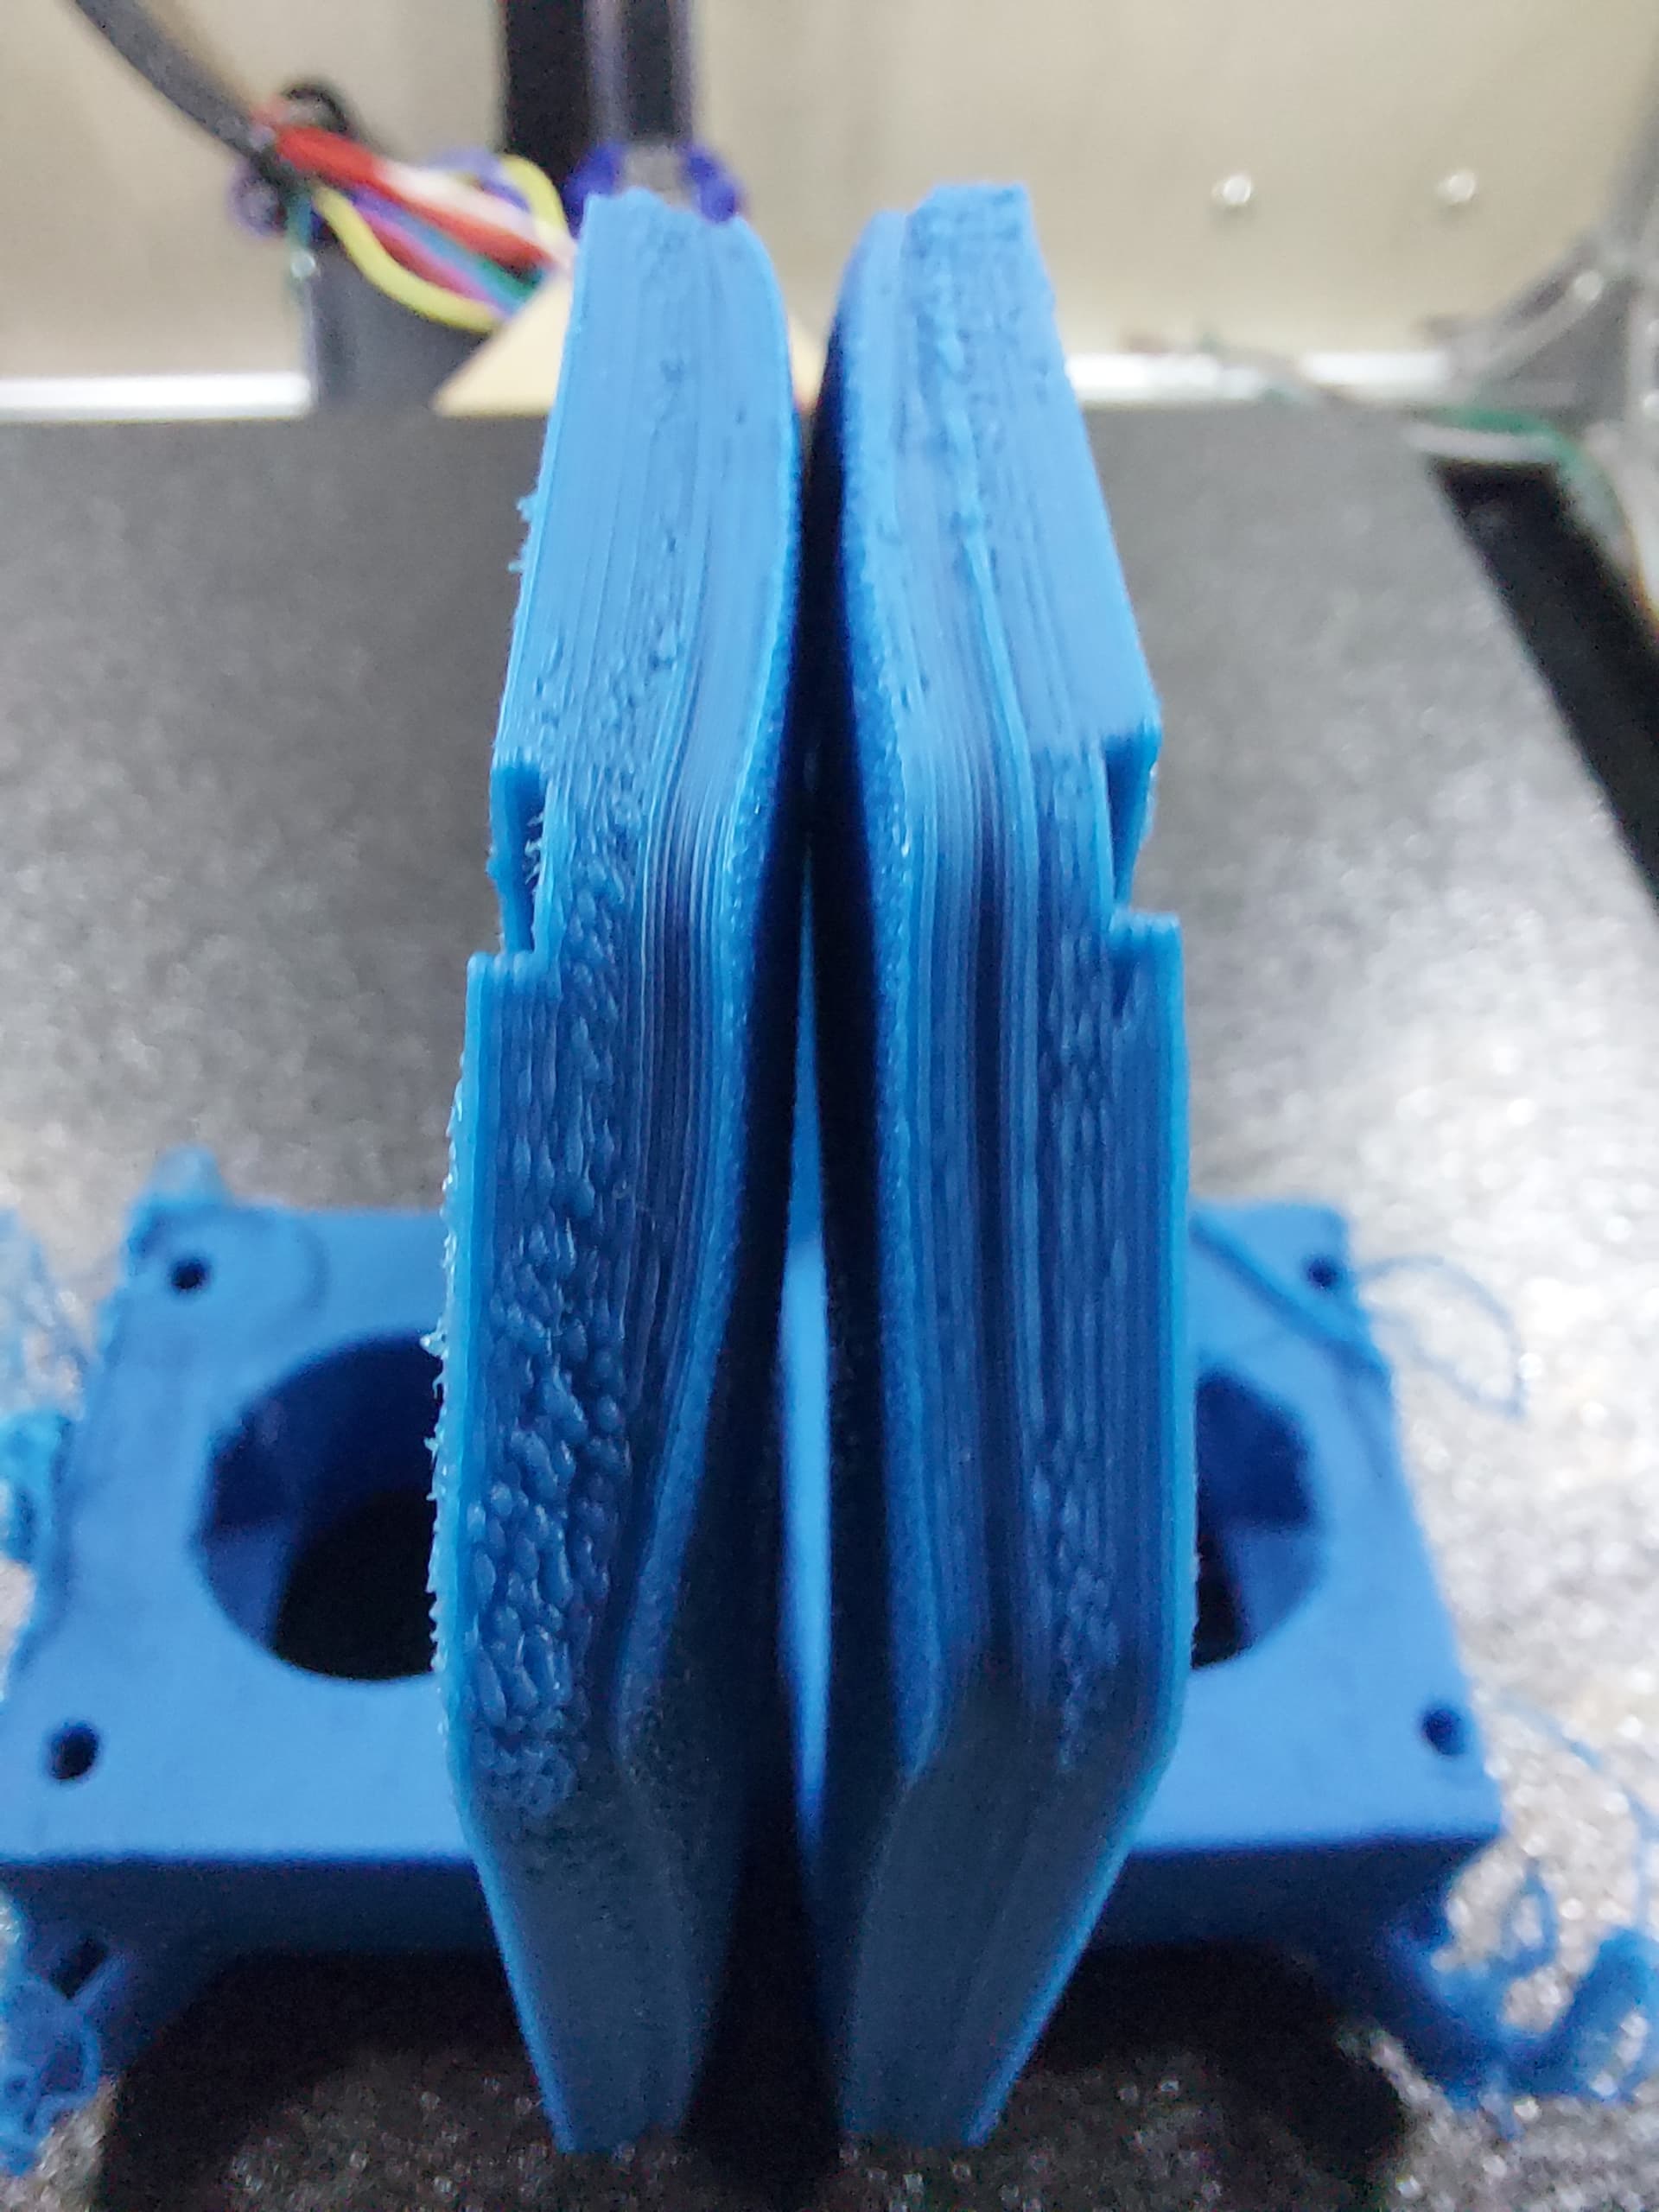
I noticed you are using 2 separate pieces, 1 for the spoilboard and 1 for the wheels to roll on.
Wouldn’t it be better to use an oversized MDF board to use 1 area so it is actually easier to make things flat?
Most of the time you are planing your spoilboard anyway. If you only have one board you will have a hole, so to speak, and can’t overlap stuff. If you just add a board that is exactly your workarea, you can plane it without having the hole.
Also the pieces for the wheels make the CNC higher, so you could exchange the “normal” spoilboard for a very thin one if you need more height for a project.
1 Like
Yes, because this is a conversion from an LR2, and I was increasing the span to use the previous spoilboard. The LR2 also had 2X4 rails which are longer than the table which let me do some edge milling, and the surface that the LR3 rides on keeps that.
I am going with a somewhat modular spoilboard, that can be rearranged. I find that most projects use the are near the machine origin, so that sees the most wear. On the Primo, the spoilboard is 4 quarter sections all the same size, and I can rearrange them to get the most wear from them before replacement. The LR has strips 12" wide that I can rearrange or flip end for end. Once they have been “used up” I’ll plane them, but probably by running them all through a planer so they continue to follow the base table. I’m thinking though probably not, as it will be easier to just replace them, and since each piece is small, it’s also not one big expense.
1 Like
An interesting thought, however for me, a full sheet of MDF is about the same price as a half sheet, and a half sheet plus the cost of getting to the hardware store would logically knock that argument on the head.
On the other hand, end for end, then flip, then end for end again will give a fairly useful service life I would have thought? (Mine’s been there for more than a year and there’s not a mark on it!! ![]()
![]() )
)
2 Likes
Not too different for me, but I cut the pieces of spoilboard on the tablesaw, so it still saves me a lot of time and trouble. It makes a partial replacement possible, and then I still have several pieces. For the Primo, all I did was swap a mostly unused piece into the position nearest the origin, which sees the most use, then I did it again later. The Primo spoilboard pieces have a gridwork of 1/4" Tee nuts in them, which are cut into the piece by the Primo itself. This is also much easier to do in sections.
1 Like
Speaking as one with zero (0) CNC experience - I got all excited at the prospect of machining in a tee track or tee-nut grid or even at the present considering a grid of hold-down holes, but a bag of tee nuts is a bit more than a sheet of MDF, so just screwing stuff down and securing it with some scrap makes more sense to me. (It’s OK one day the machine will end up being used!)
This I think is the danger of the internet - what looks like a great idea in someone else’s work flow may not make sense at all in one’s own. I may well go with the most interesting thing to build rather than the most sensible thing to use, because of the combination of ignorance and the joy I get out of building it.
2 Likes
Yeah, because you have to actually use the machine for marks to appear… ![]()
2 Likes
I hear you on the T-nuts as I was thinking of doing that on a 24x48" machine that I have (my plans for an MPCNC have now drifted to the new LR3 - maybe this summer??), and then I realized how many of those I would need, and how long it would take to screw them all in (and then undo and redo when I replaced the spoil board (1/2’ MDF). So I too a page out of the internet (thank you BROINWOOD on the YT) and used 1/2" PVC. I cut a grid of holes that fit the PVC very snuggly, then will use scrap wood to wedge in (or maybe some camlock type of hold downs). I cut the PVC into 1.25 in pieces to have them tall enough to stick out, but not too tall if I have thinner material. Plus it is plastic, so if a bit does hit one, NBD!! Just another thought for you. I will probably do the same for the LR3.
1 Like
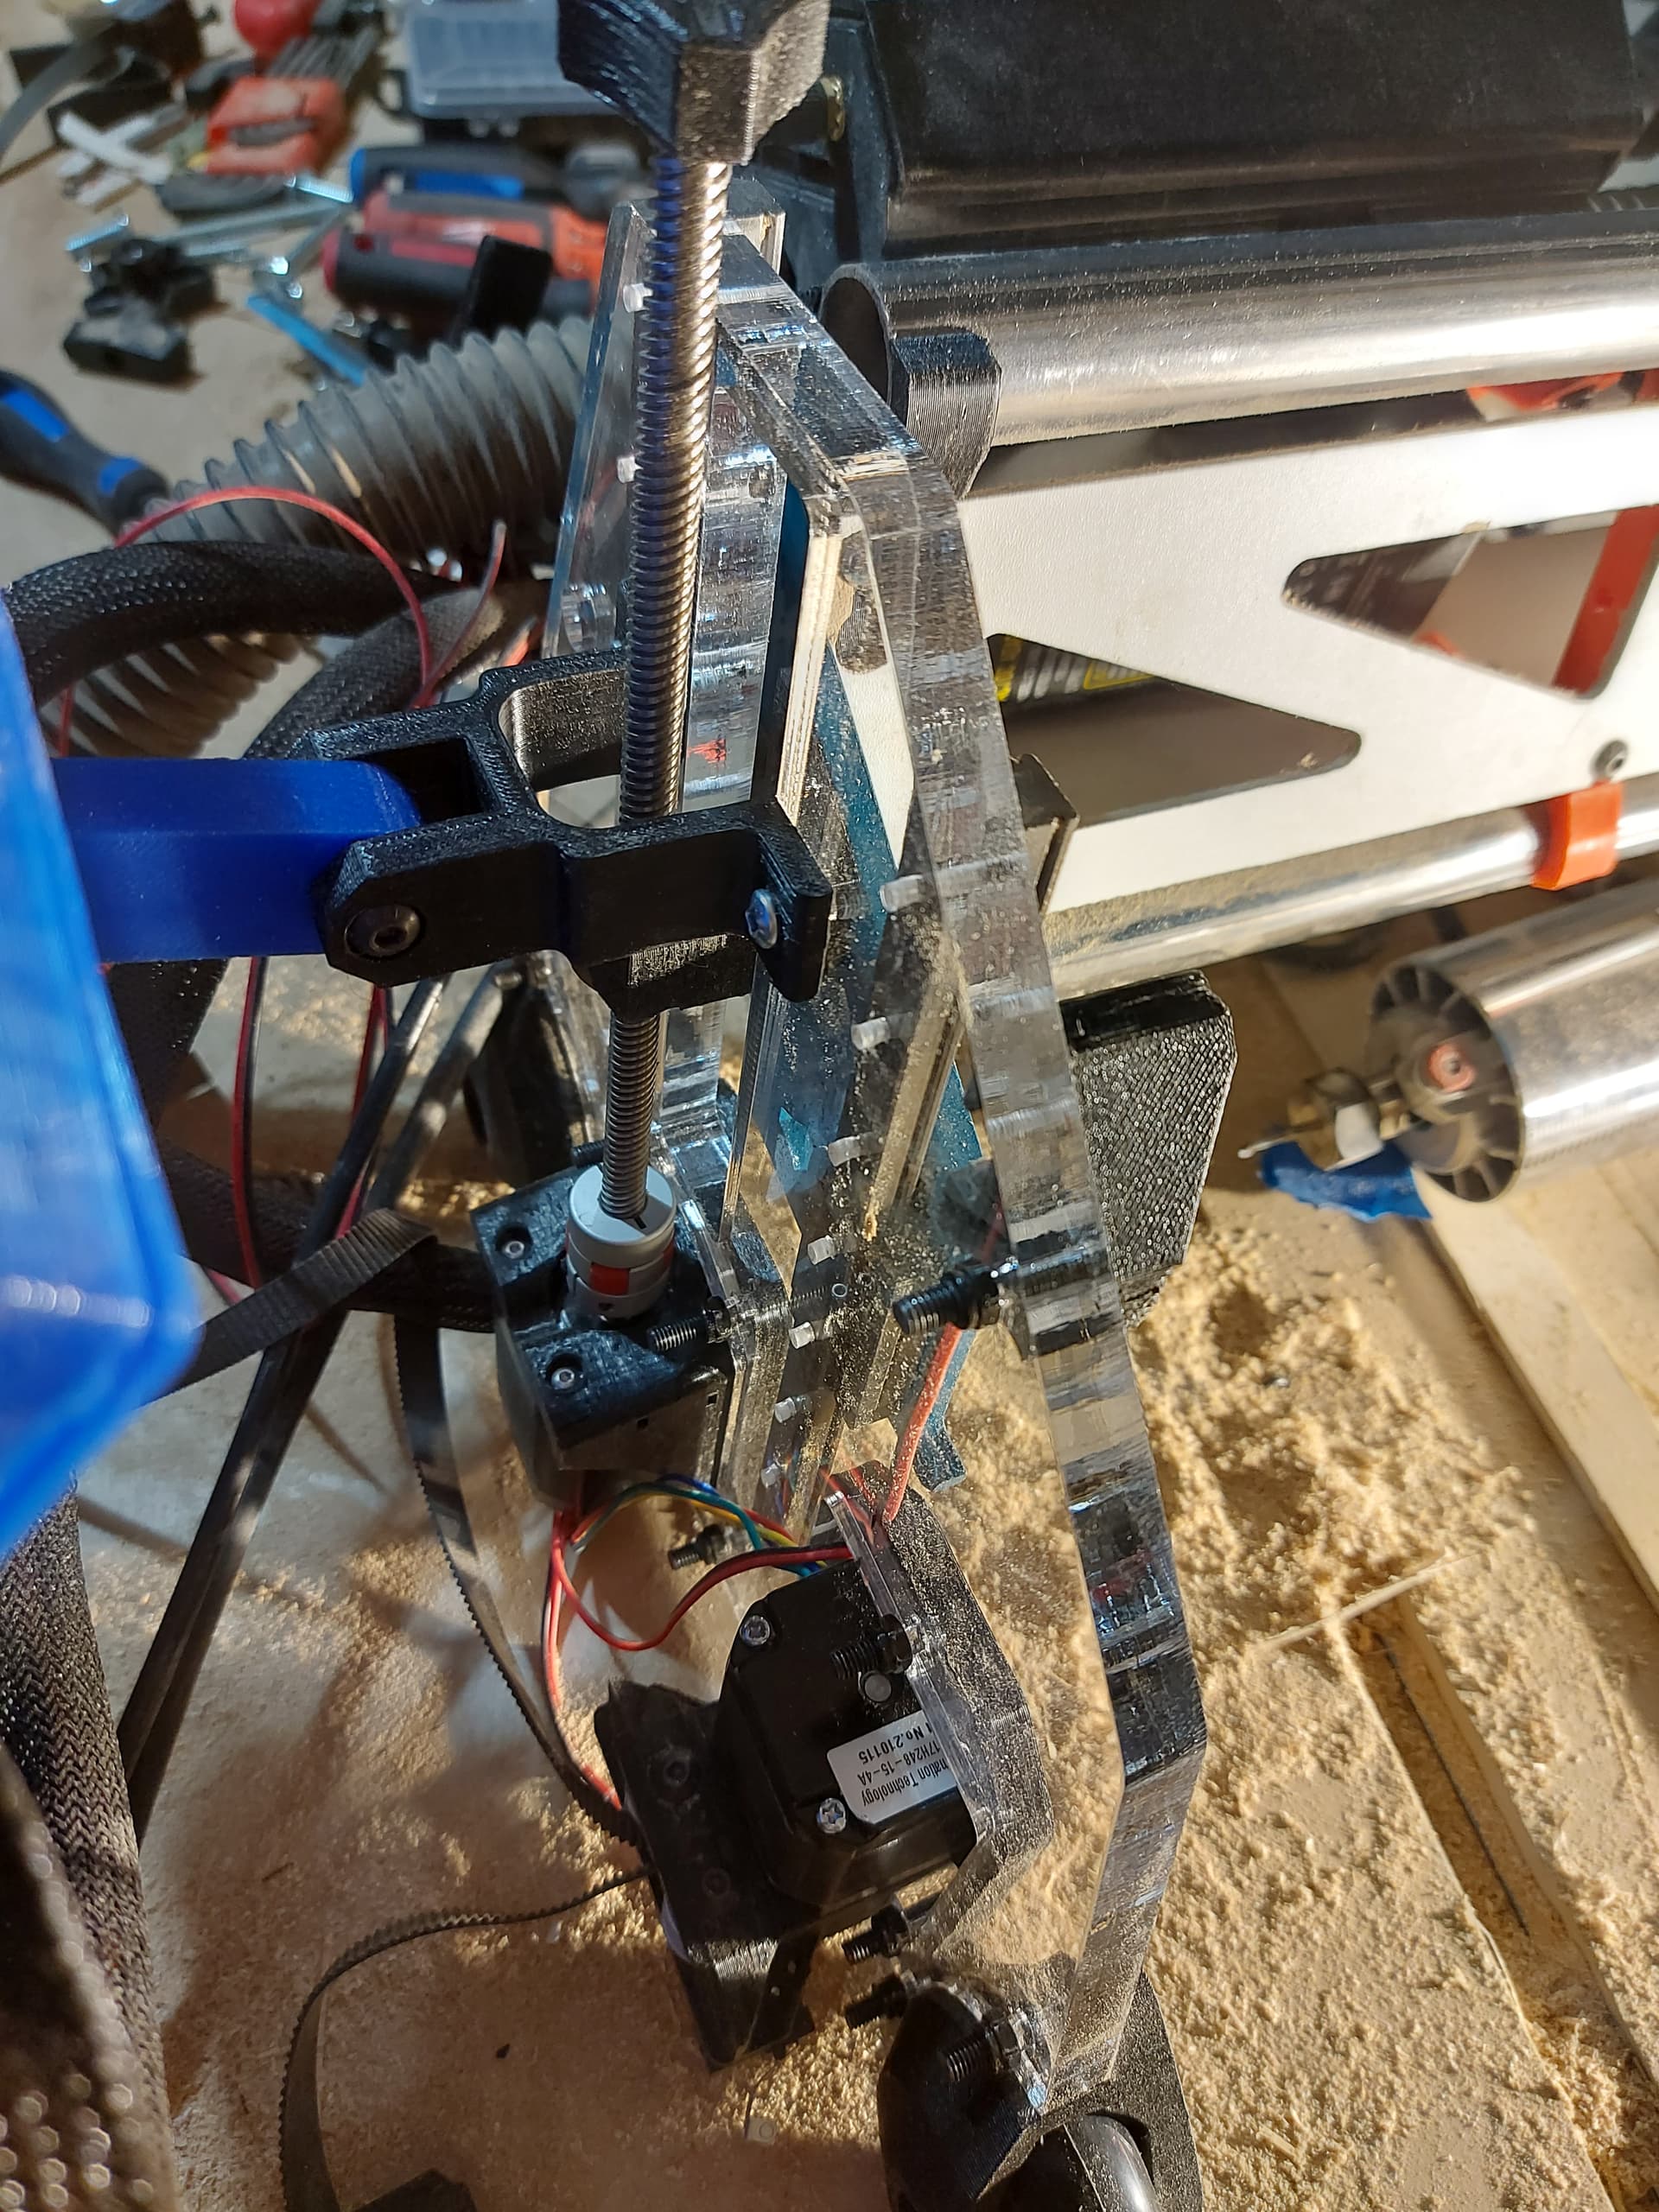
Oh, and I finally got around to insralling those acrylic YZ plates. I’ve been playing with a different router, and just never got to actually installing these. I can’t see any reason why they ought to make a difference though. I decided to keep the skate wheels instead of the bearing ones though. I’d intended to change them, but figure that fewer changes are easier to troubleshoot than mote changes.
7 Likes
What is it you connected to Z? The bracket?
Wow, that is just WOW! I like acrylic!
1 Like
Yes!!
It looks like a holder for the TFT screen. Yes? If so, please share the STLs as that looks like just what I need.
1 Like
Ha!
My son asked if I wanted a piece of 12mm acrylic they were throwing out at his work and I said sure but had no idea what I’d use it for.
That looks great!
3 Likes
That looks very nice
1 Like
Mike got it.
I have a Duet board, so that is holding a PanelDue 7i. I have the .3MF of the piece that spans the Z opening and the arm and mount plate. The mount plate has a square, I think 25mm to a side to mount the display. The mount is held to the side by 2 #8 wood screws, 1/2" length. The arm is held on each side by 5mm screws and nuts, i may have used 25mm length, or the same 30mm used almost everywhere else.
panelmount.zip (717.8 KB)
2 Likes
I actually didn’t do that because the baseboard is too far down for the lowrider to reach with the planing bit… lol. But it is plane anyway, lucky me, built the box right. ![]()
1 Like
Cool. Makes it look like something on a starship!
I know this is old, but would ya mind linking me to your vac hose size adapter? I’ve found a few but not sure it’s what I need, and I remember you said you used your LR2 vac hose, which is what I’m planning to do so should work perfectly!
Thanks in advance!
1 Like