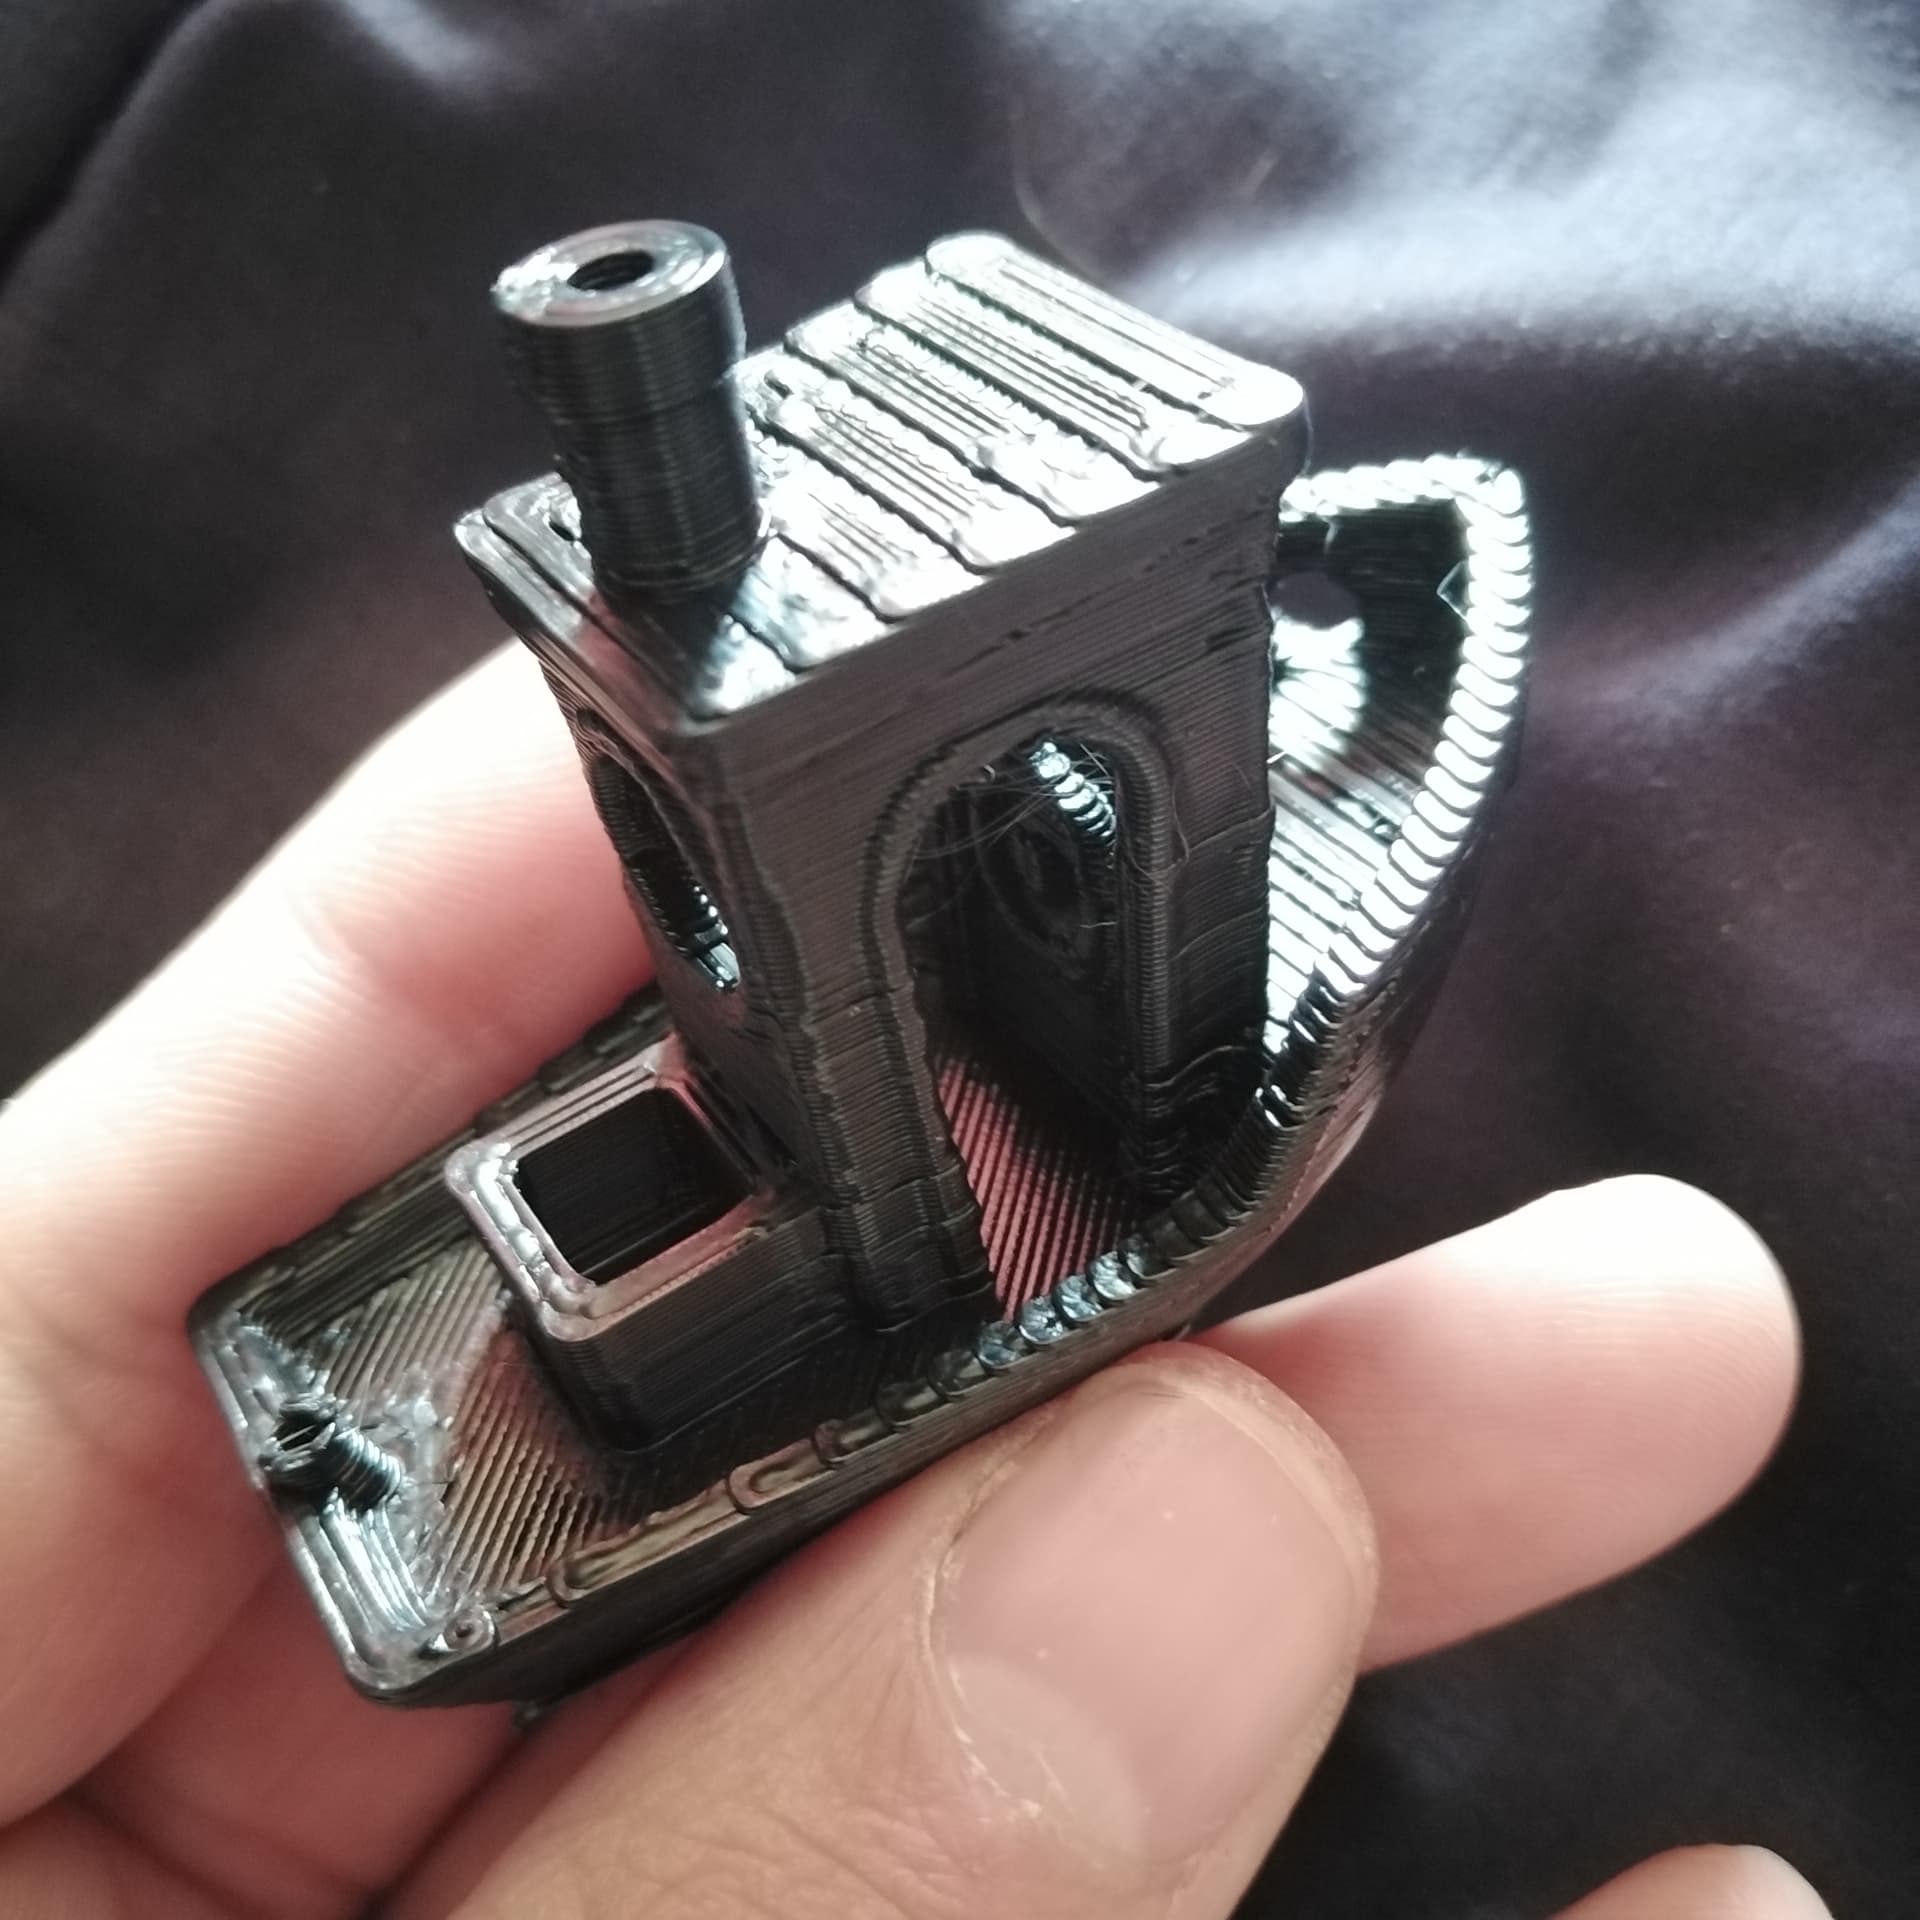
looks like you might be under extruding a bit (gaps in the layers) - this might be from a spool hung up on something or the extruder gear not tight or the extrusion calibration length wrong.
hot end possibly under heated - the layer-layer definition looks excessive. up by 5 deg.
Your first layer is too thick… need more squish to get stuff to better cohesively stick together. do the babystep initial layer to get that right for better bed adhesion and good base. Fixing #1 may fix this as well.
I’m offering this in the hope it is helpful and hoping that some of the veteran printers can help me learn along with you.
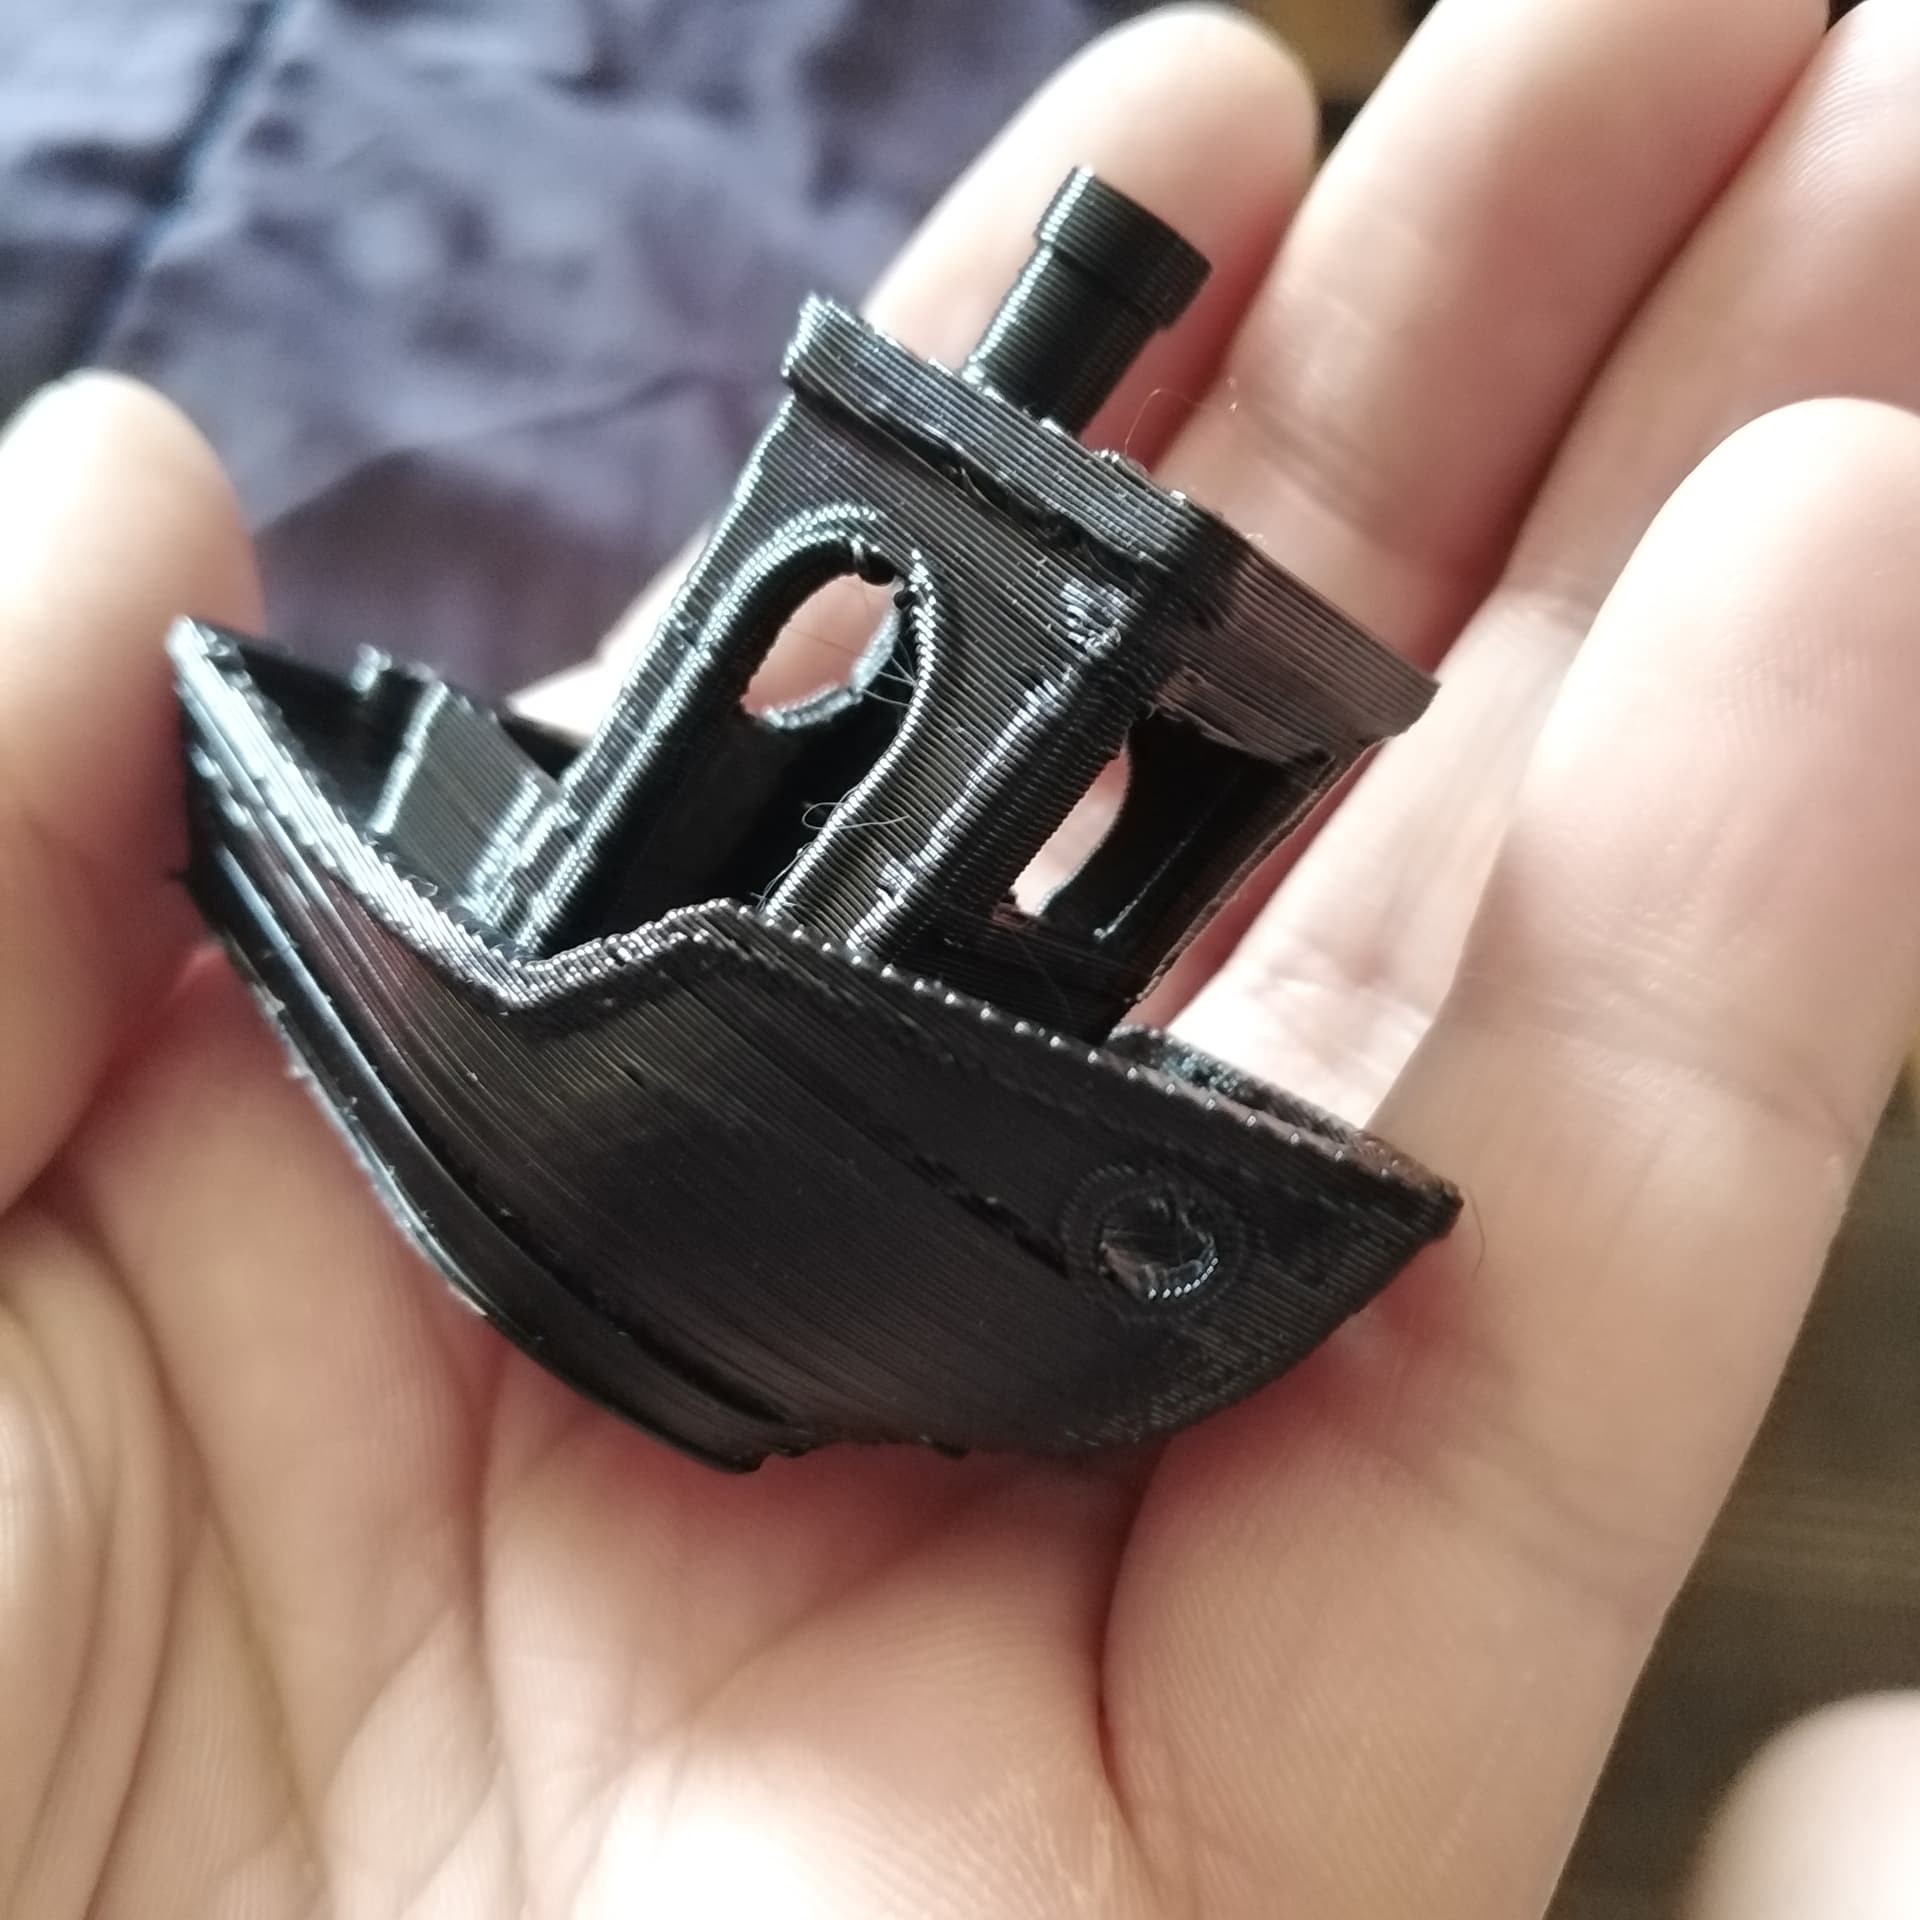
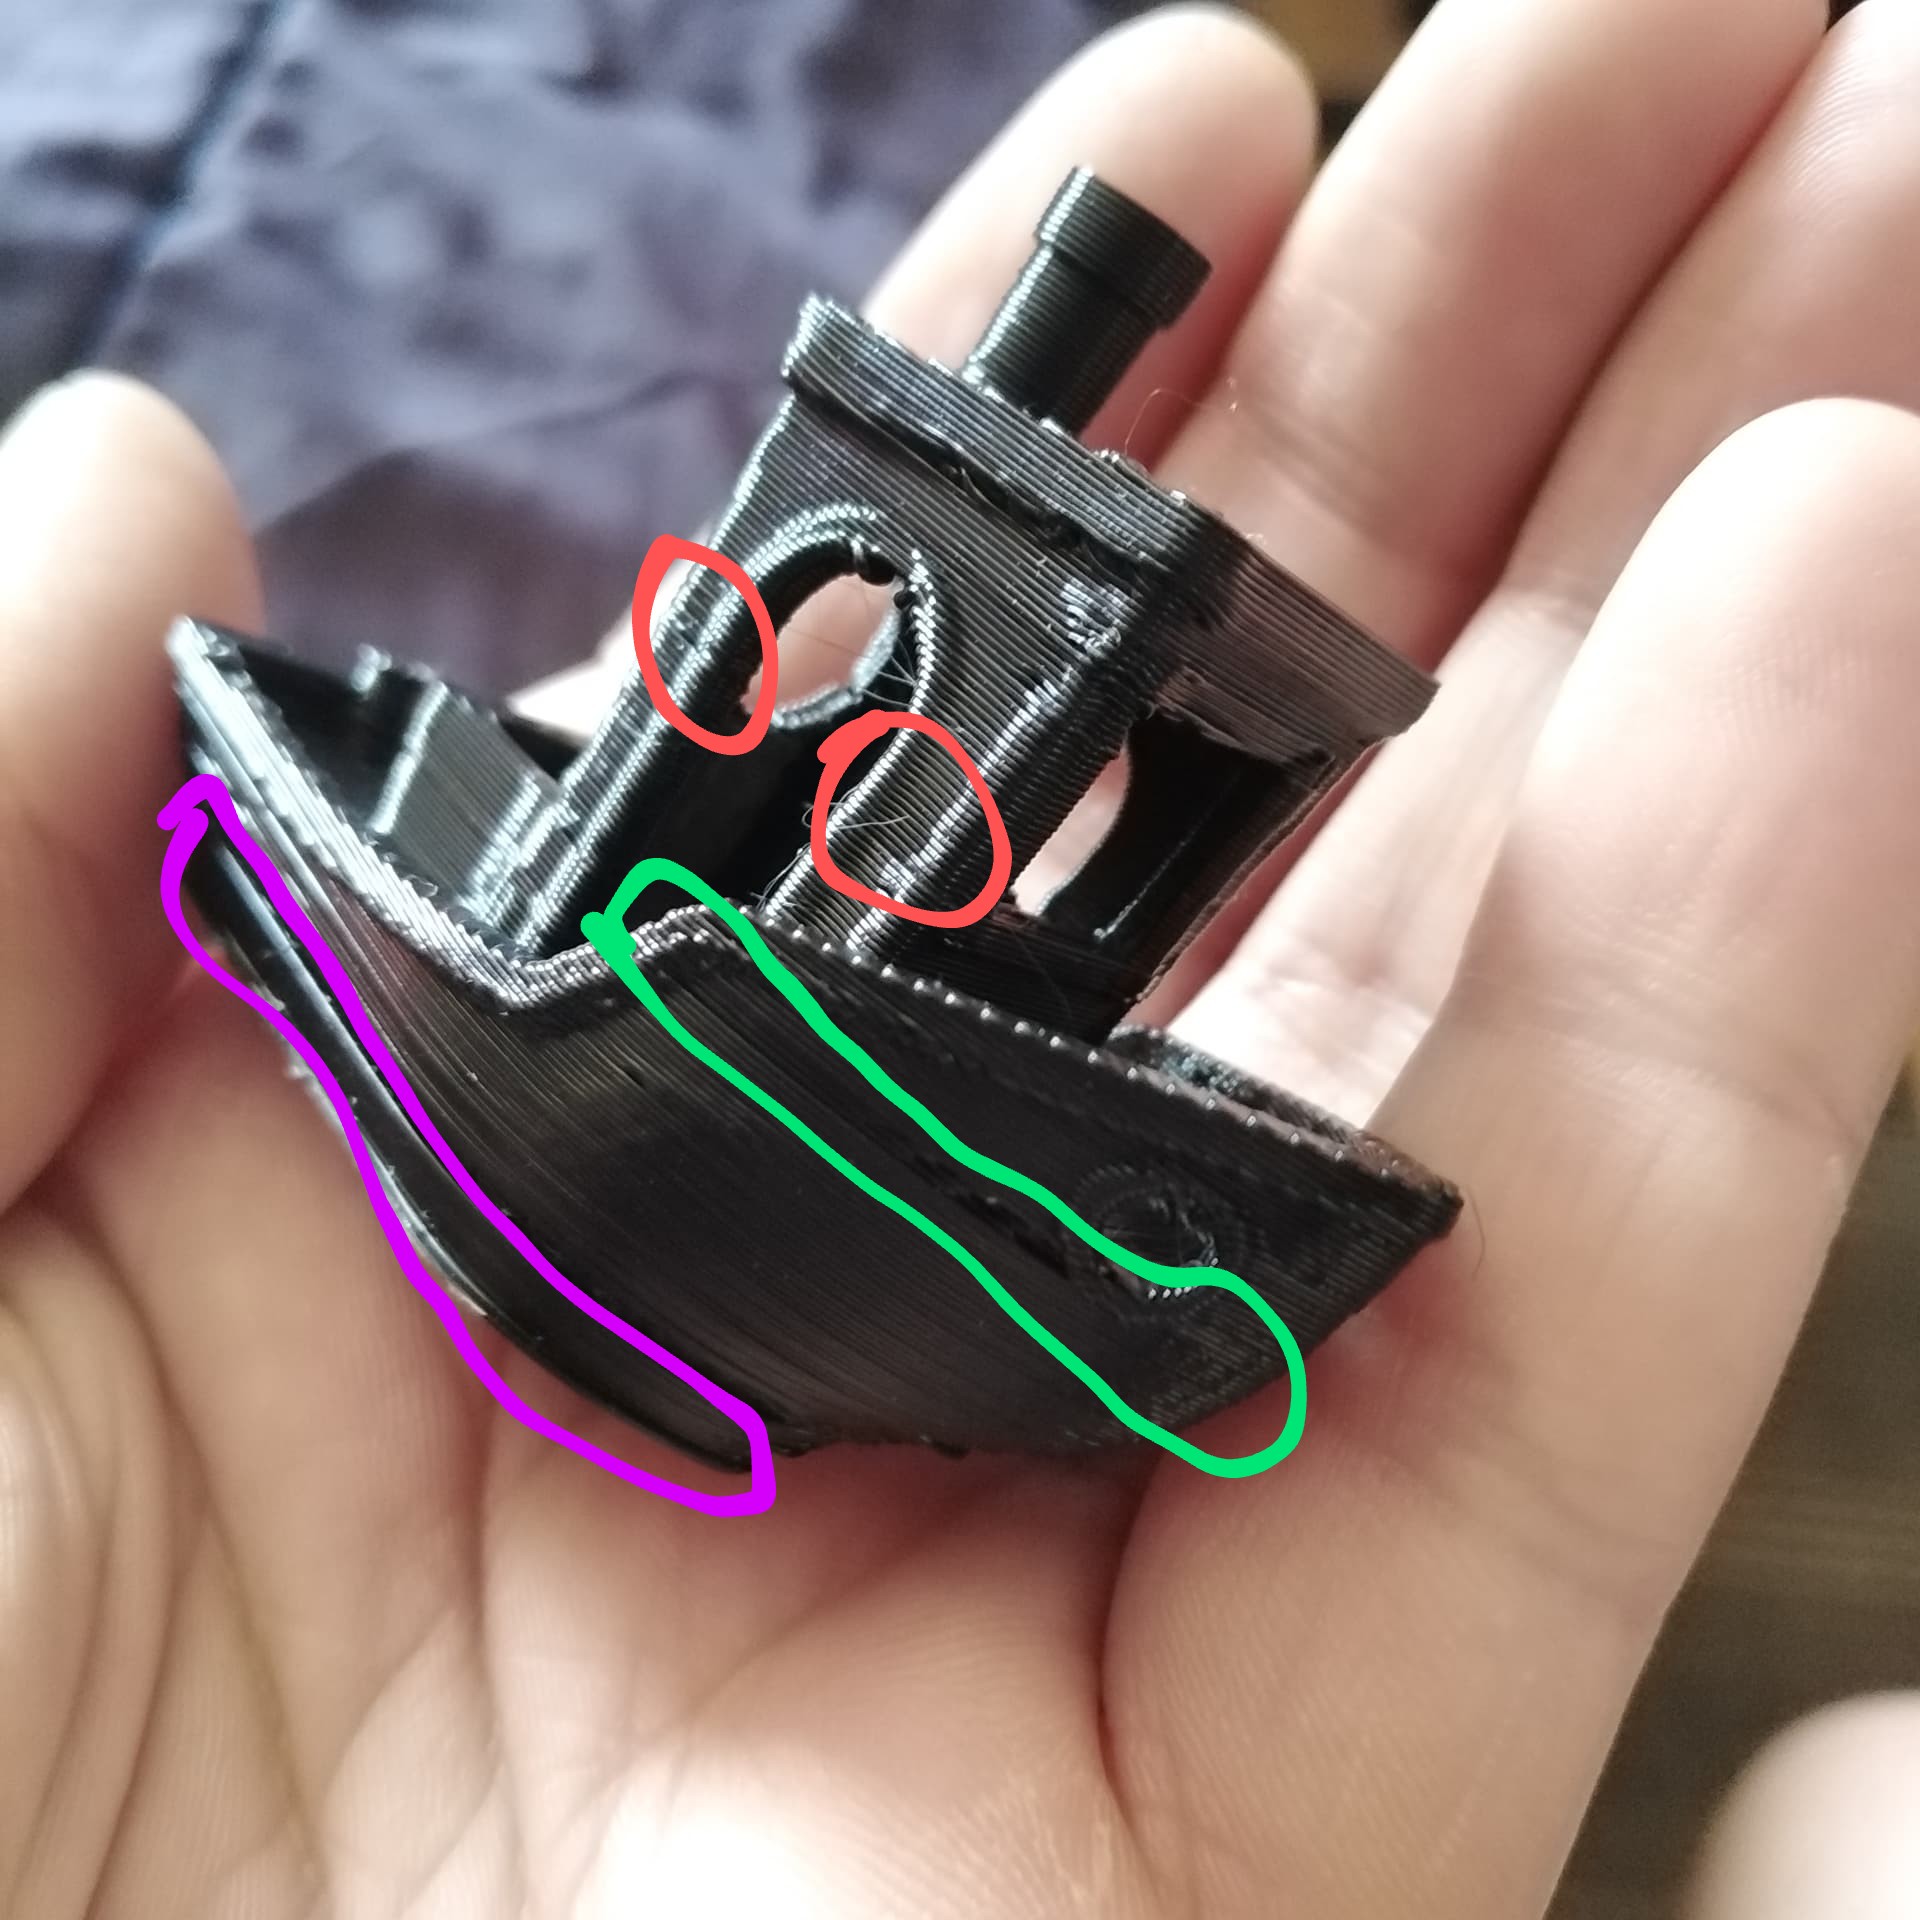
A. In the purple, there is a bit of elephants foot. Ryan’s parts are mostly resistant to that kind of issue. But you can move up a bit and still get good stick without having so much foot. You can spend way too much time tuning this.
B. (Green circle) The shape of the front hull changes at that point. That is where the model goes from printing a big sheet down to printing a small area. If you have a lot of heat, the previous layer isn’t hard before the next layer starts. Contrary to orob. I would try lower temps. Or at least changing the minimum layer time to be higher. That will slow down small layers and give them a chance to solidify before the next layer tries to push them down.
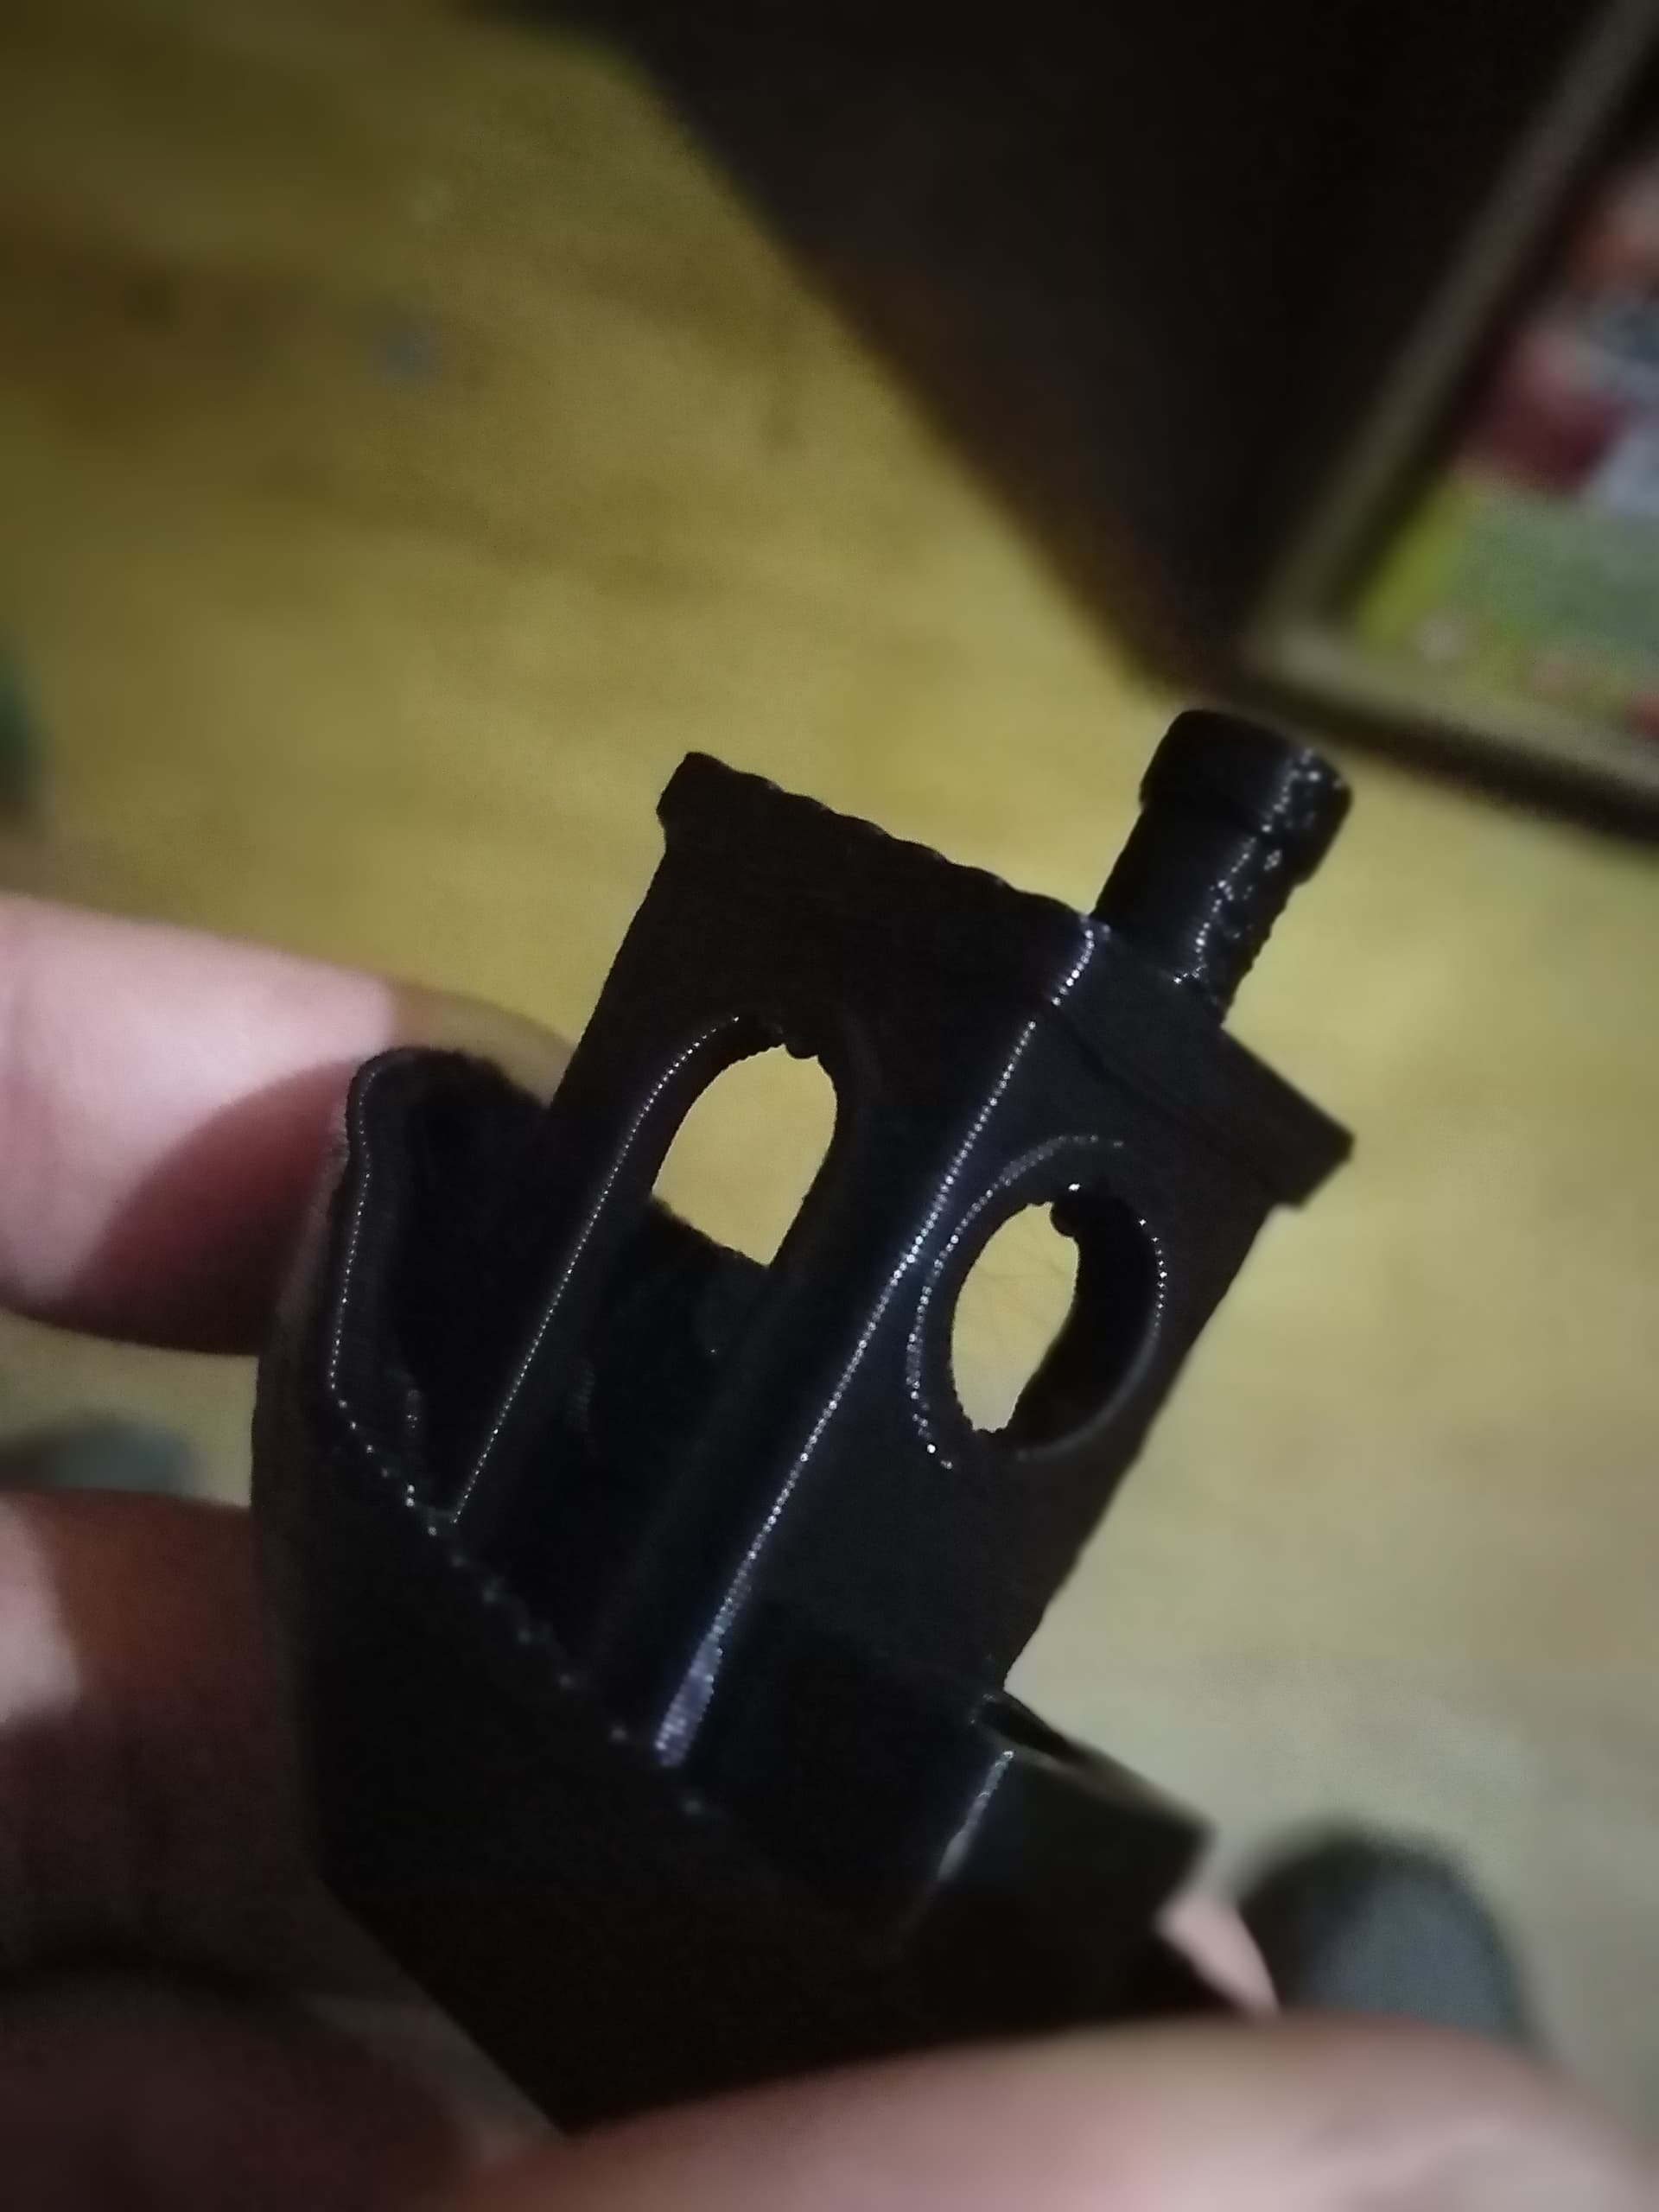
C. (Red circles). Similar to what orob said, there seem to be some smaller layers. It does look like intermittent under extrusion (which is a real pain to debug, since there are so many causes). If your extruder is skipping steps or the extruder gear is slipping, that can cause it. If the temperature was too low, then that would cause extra resistance and make that more common. You’re pushing through more volume of plastic. So I wouldn’t be surprised to see it have more resistance. But those pillars are some of the smallest layers. It has to be going pretty slow. These errors can make weak parts.
In general, I would want to give it a few more hours of tuning to see if I could eek out better performance. You might try a bigger part, or an actual MPCNC part (just not the core yet). The bugger nozzles will always struggle on tiny benchies.
Have you already checked for square and length accuracy? Ryan has an stl somewhere that prints a big 3 direction L shape to test a printer.
I used a 0.6 nozzle and/or a 0.4 set to emulate a 0.6 (that can be done) to print LowRider v3 parts, and all is fine. So assuming your print process is dialed in, the thicker layers and thicker perimeter walls are no problem for a LowRider.
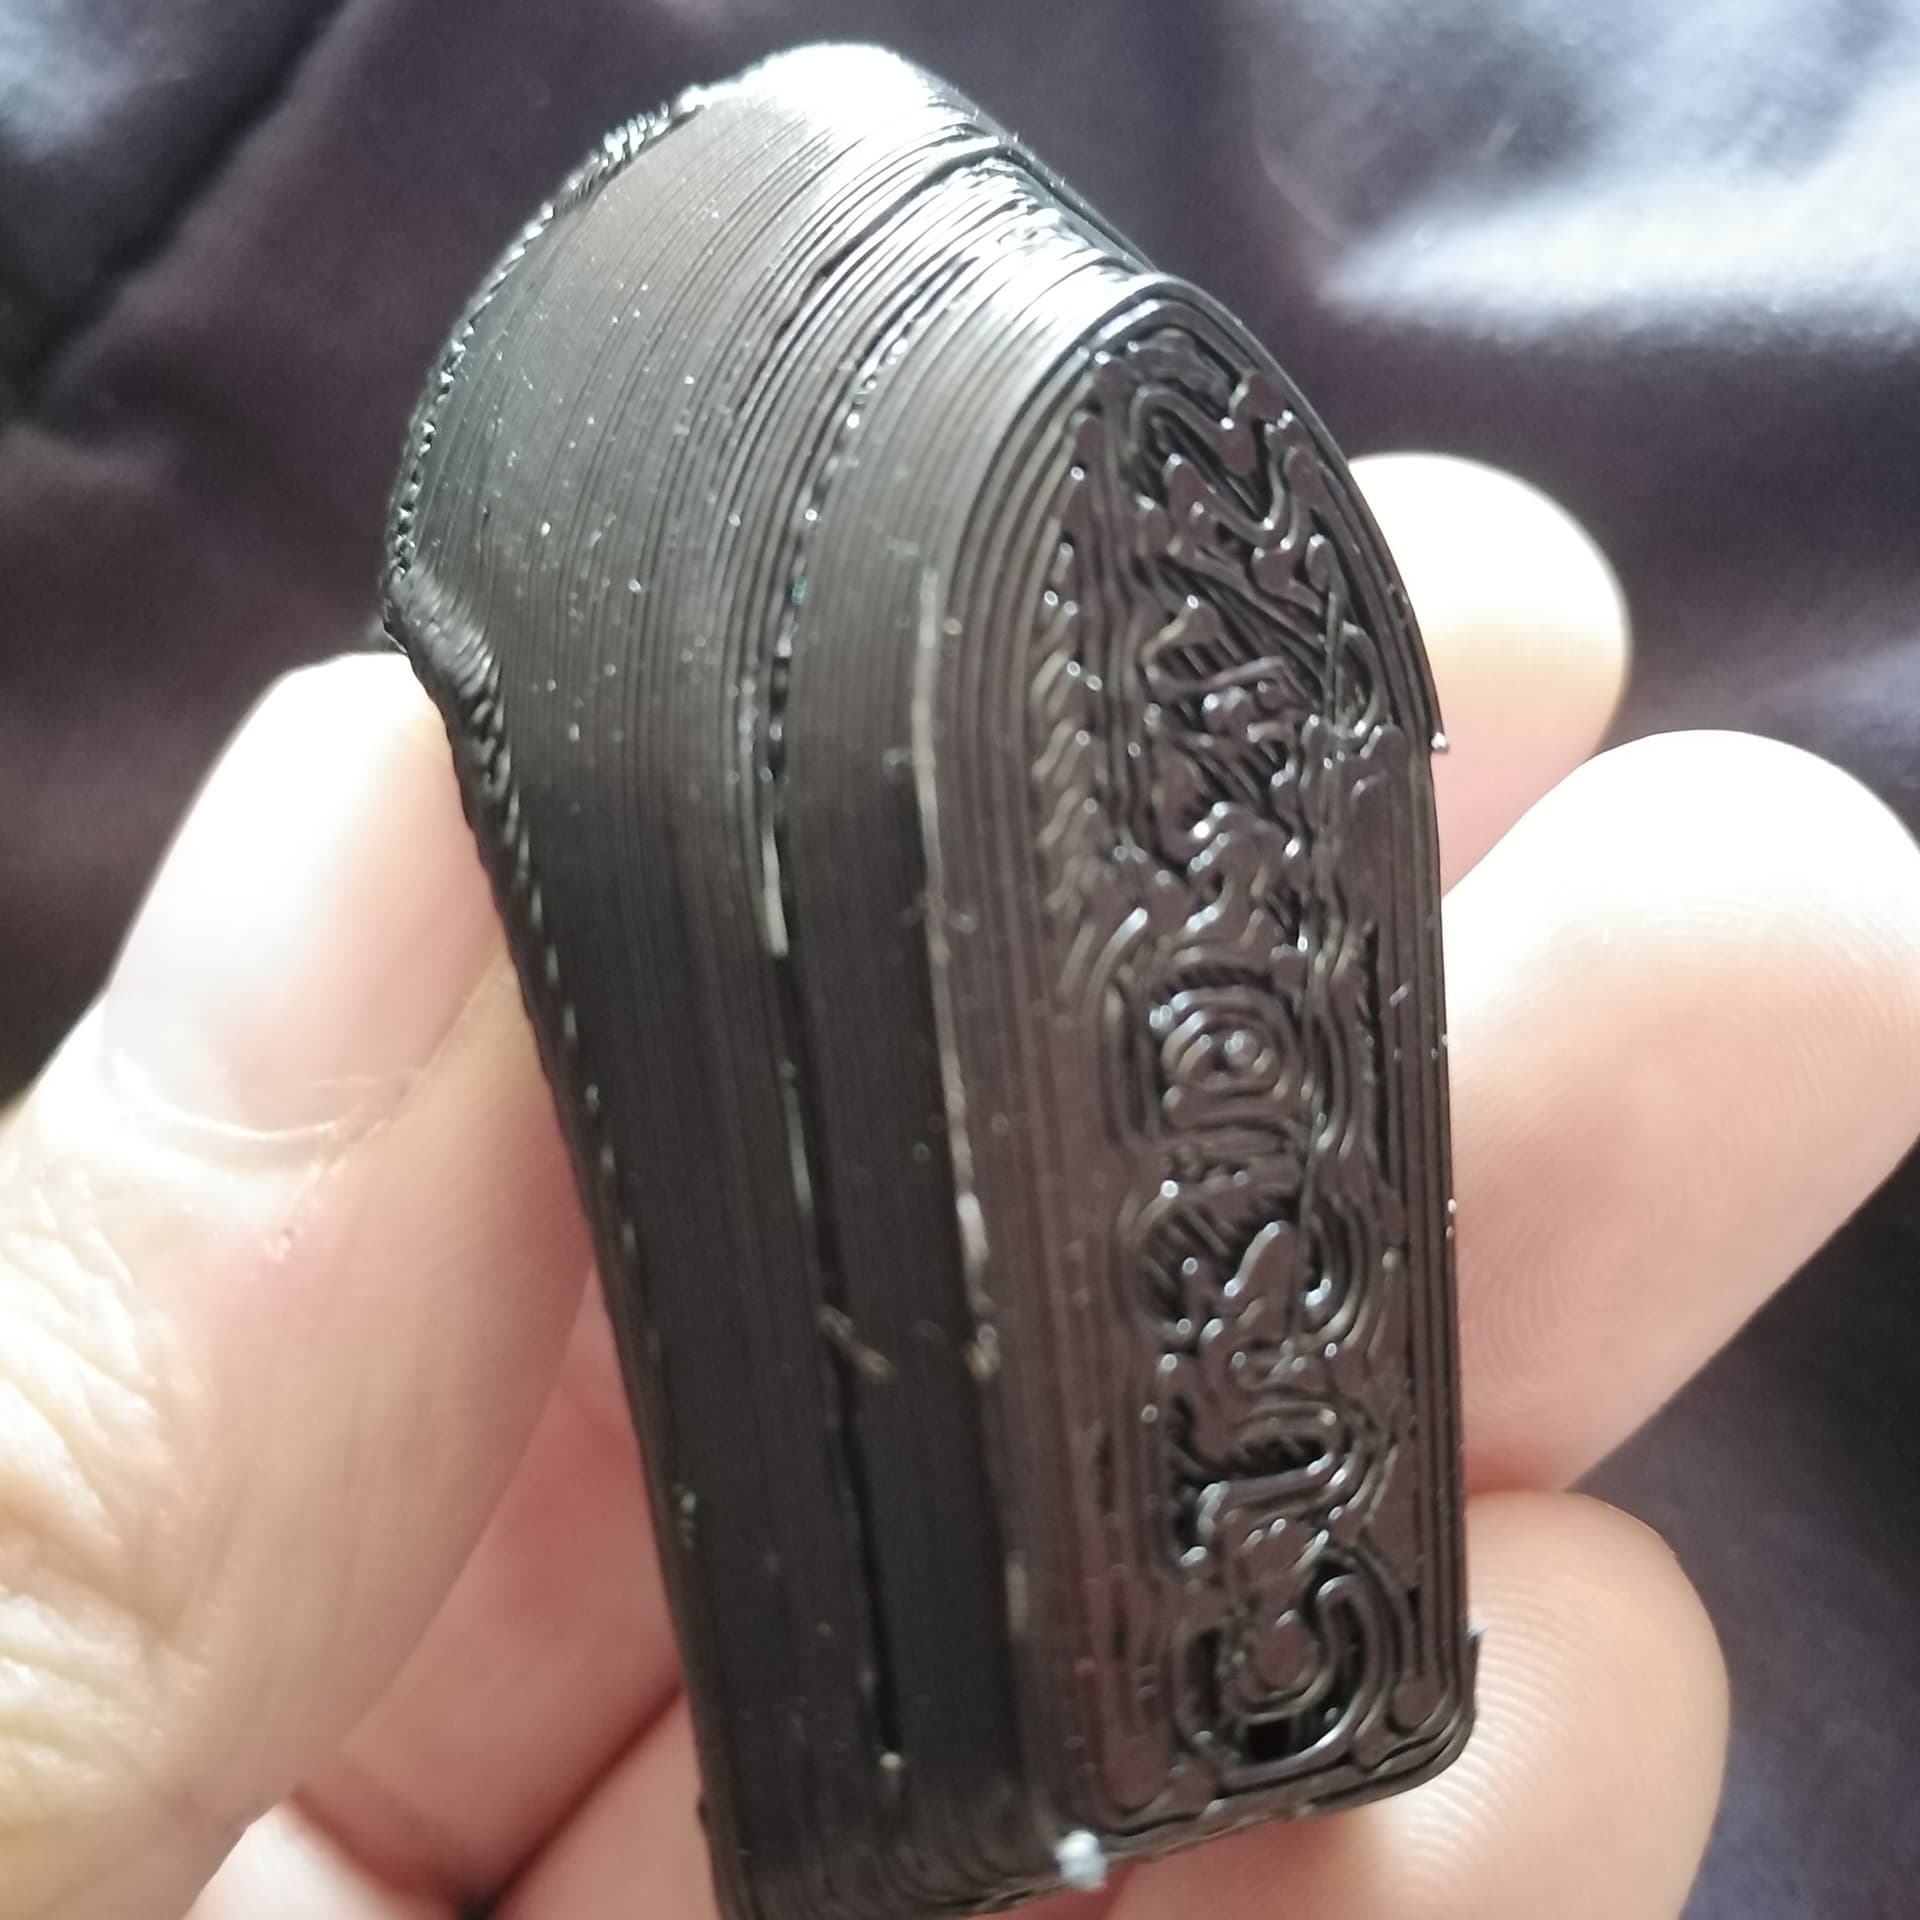
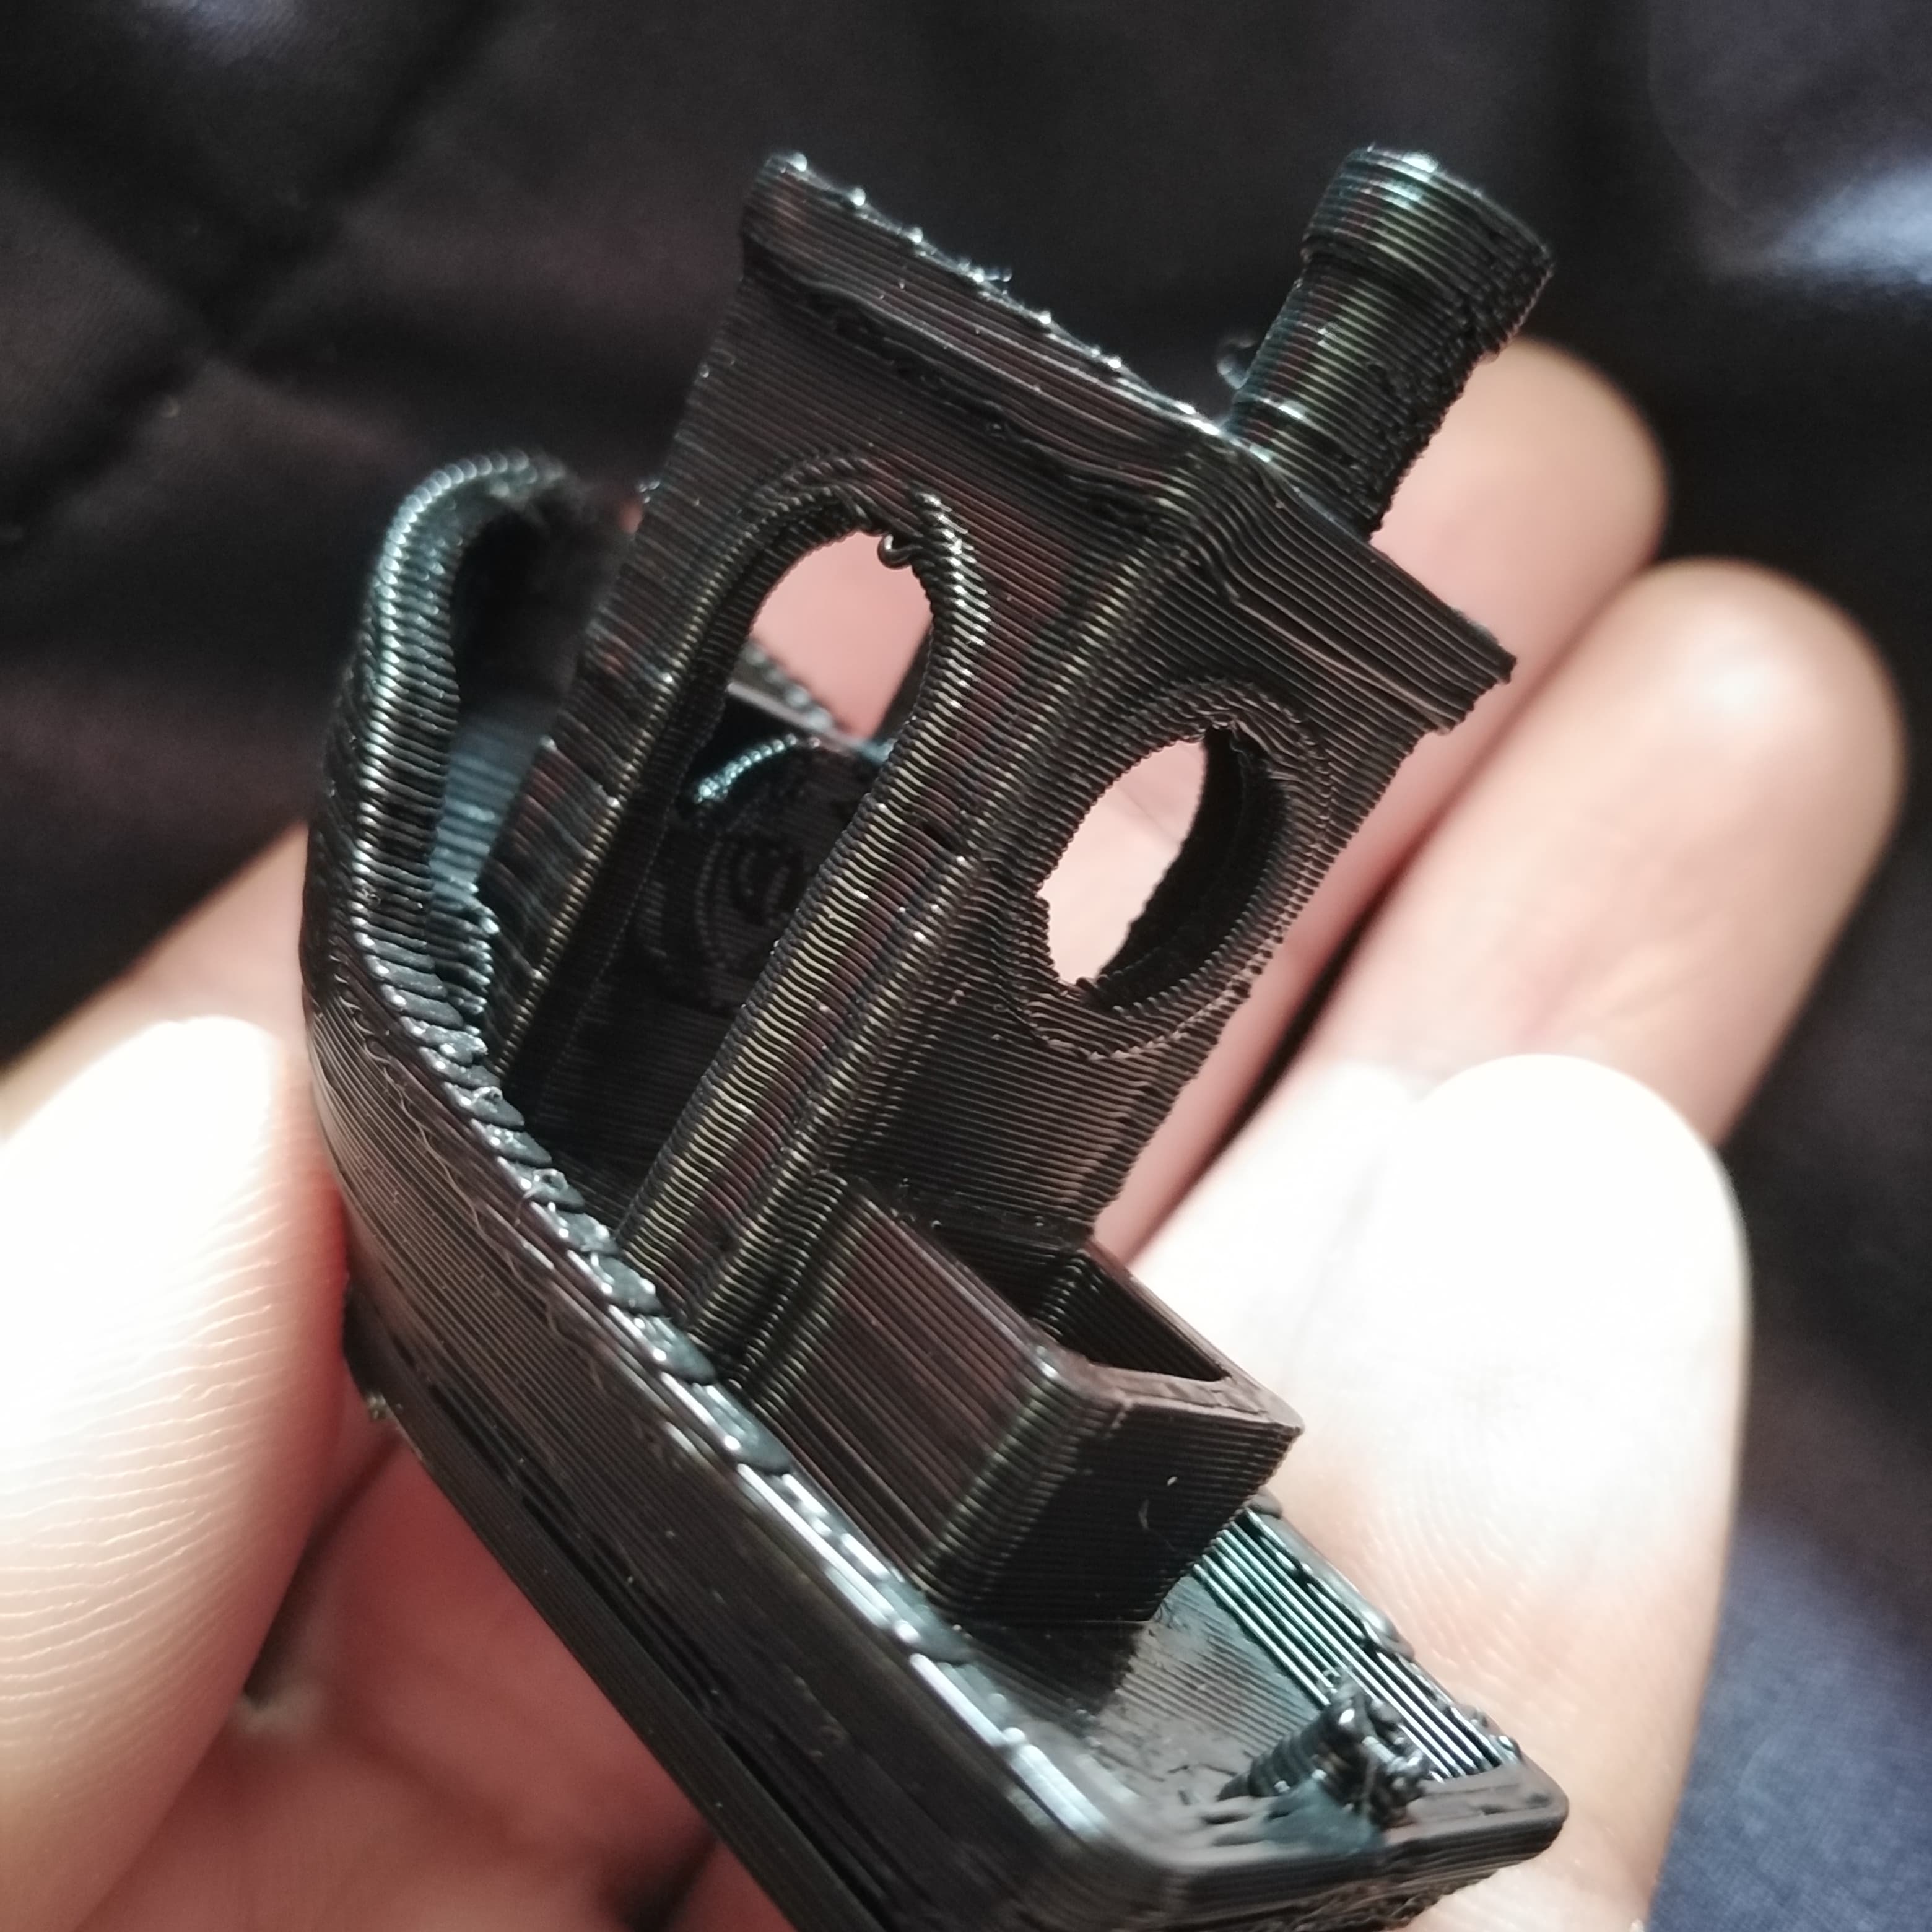
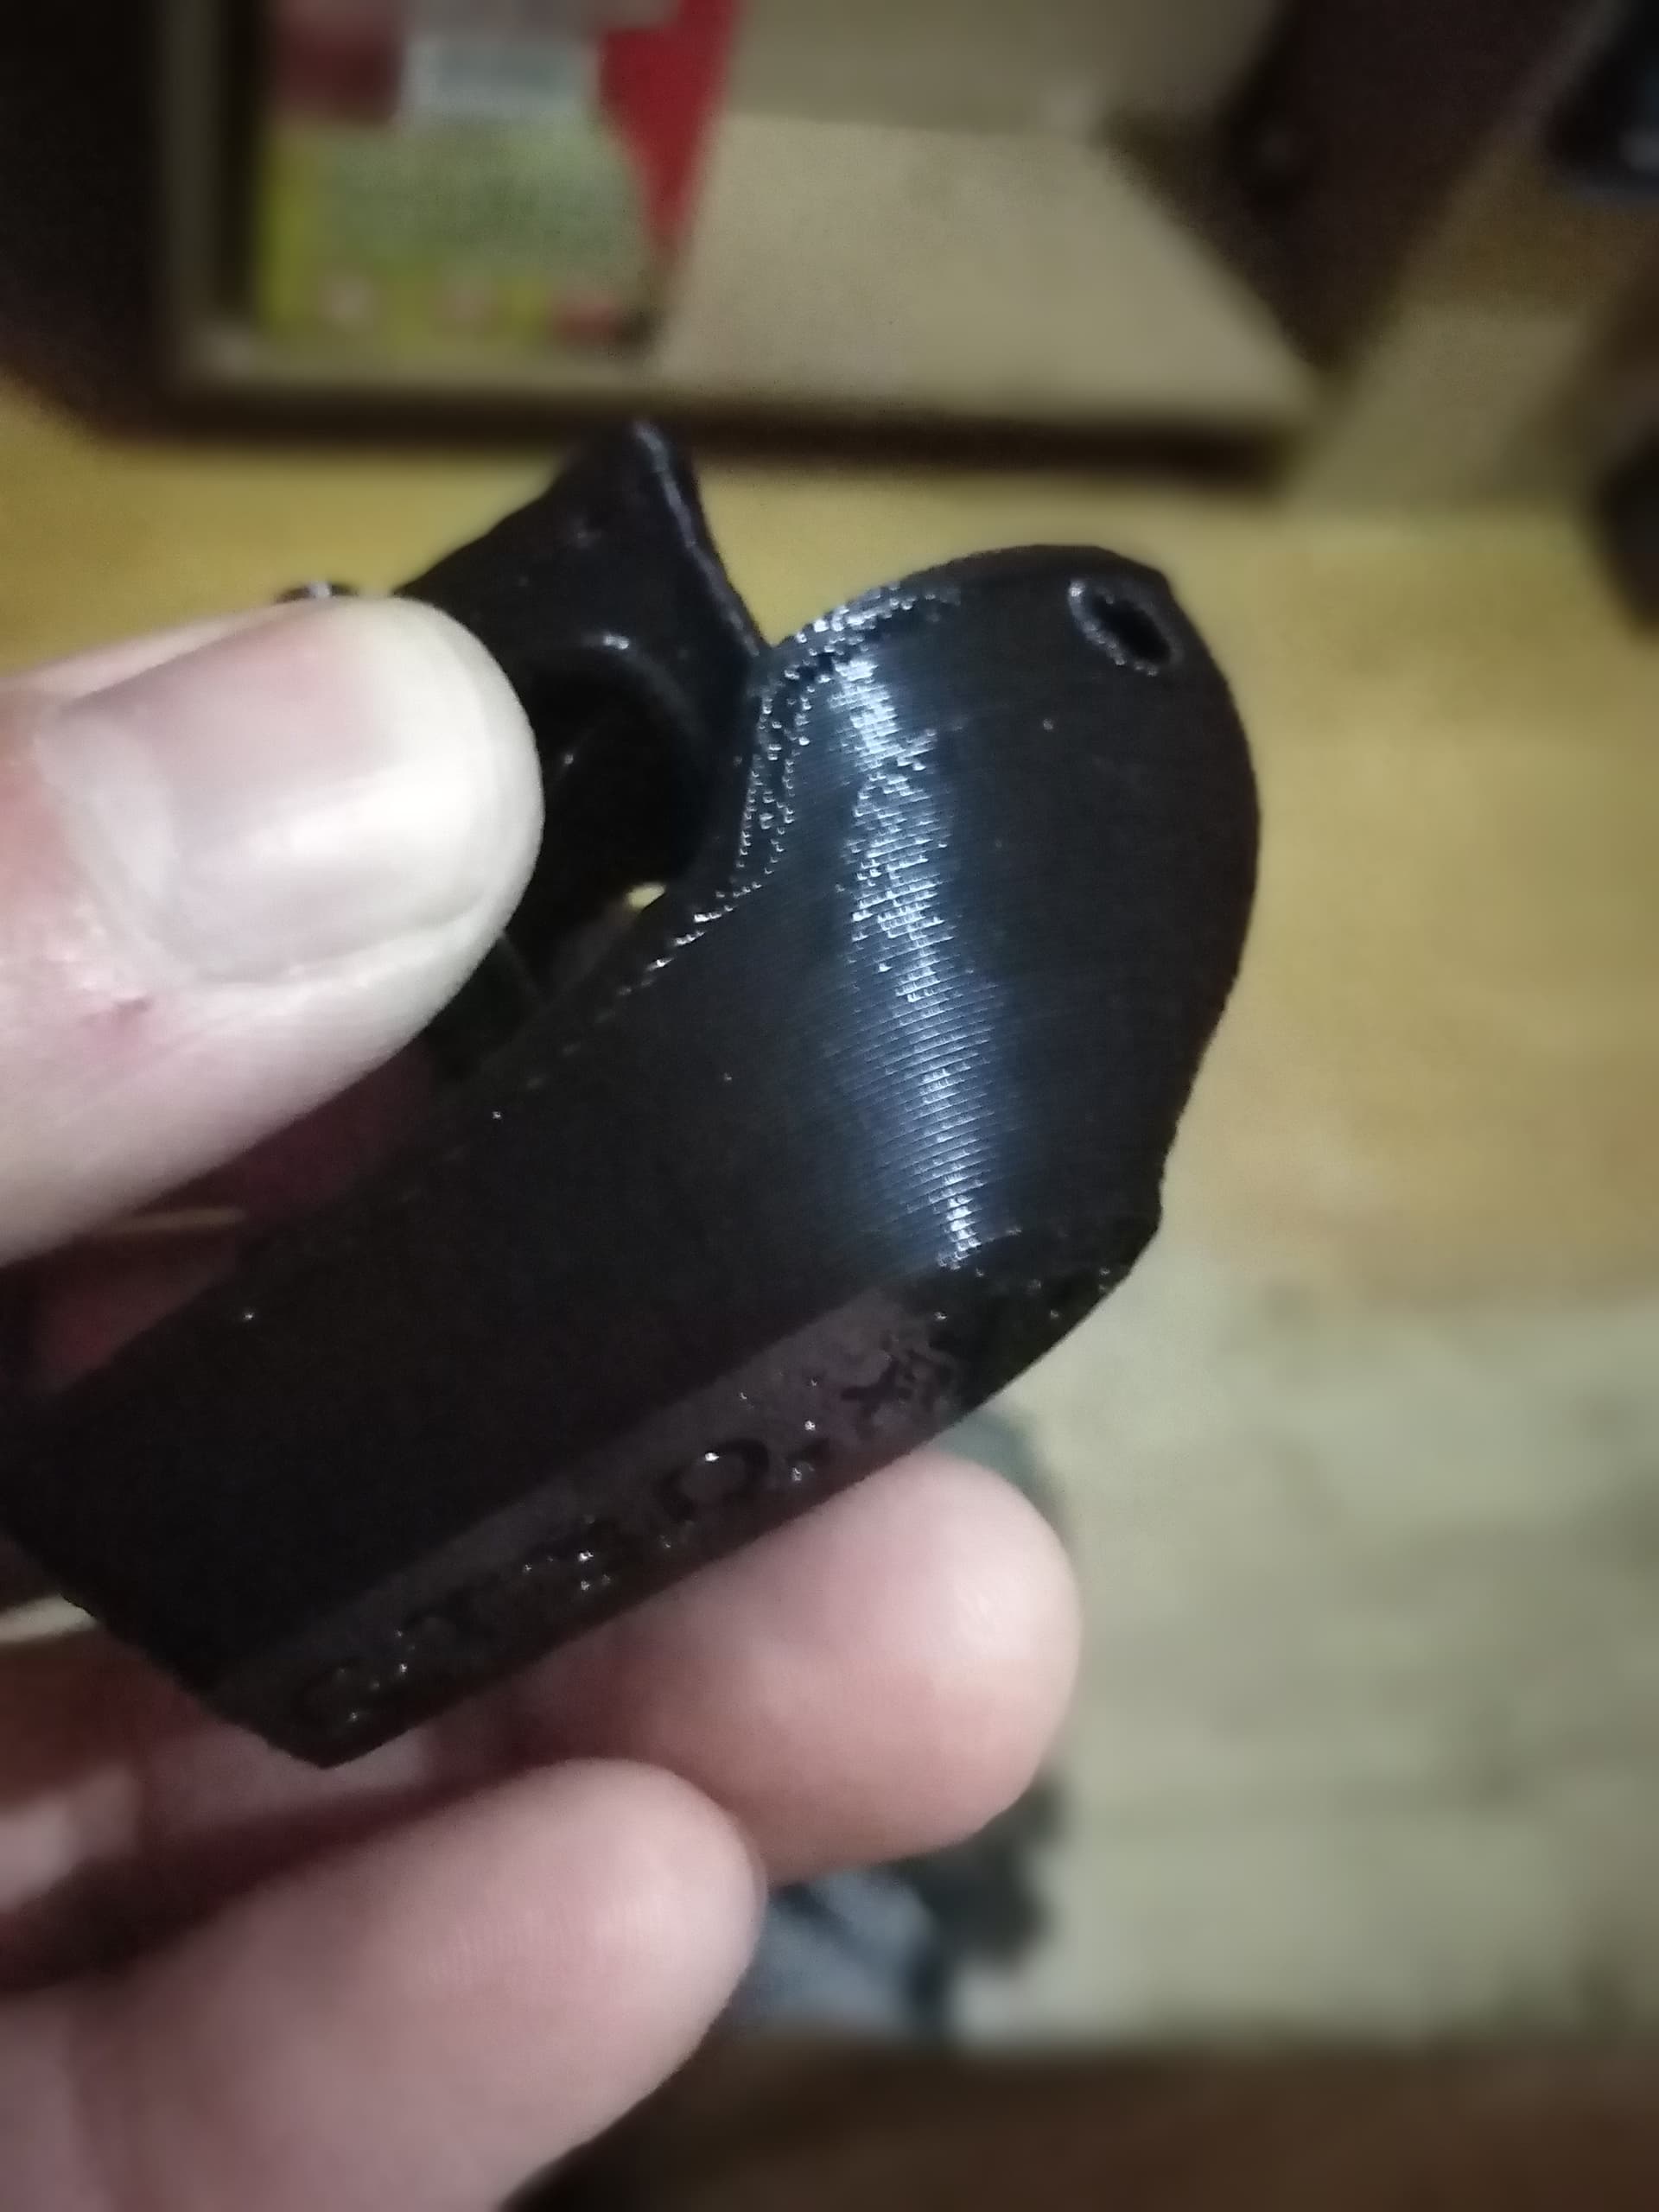
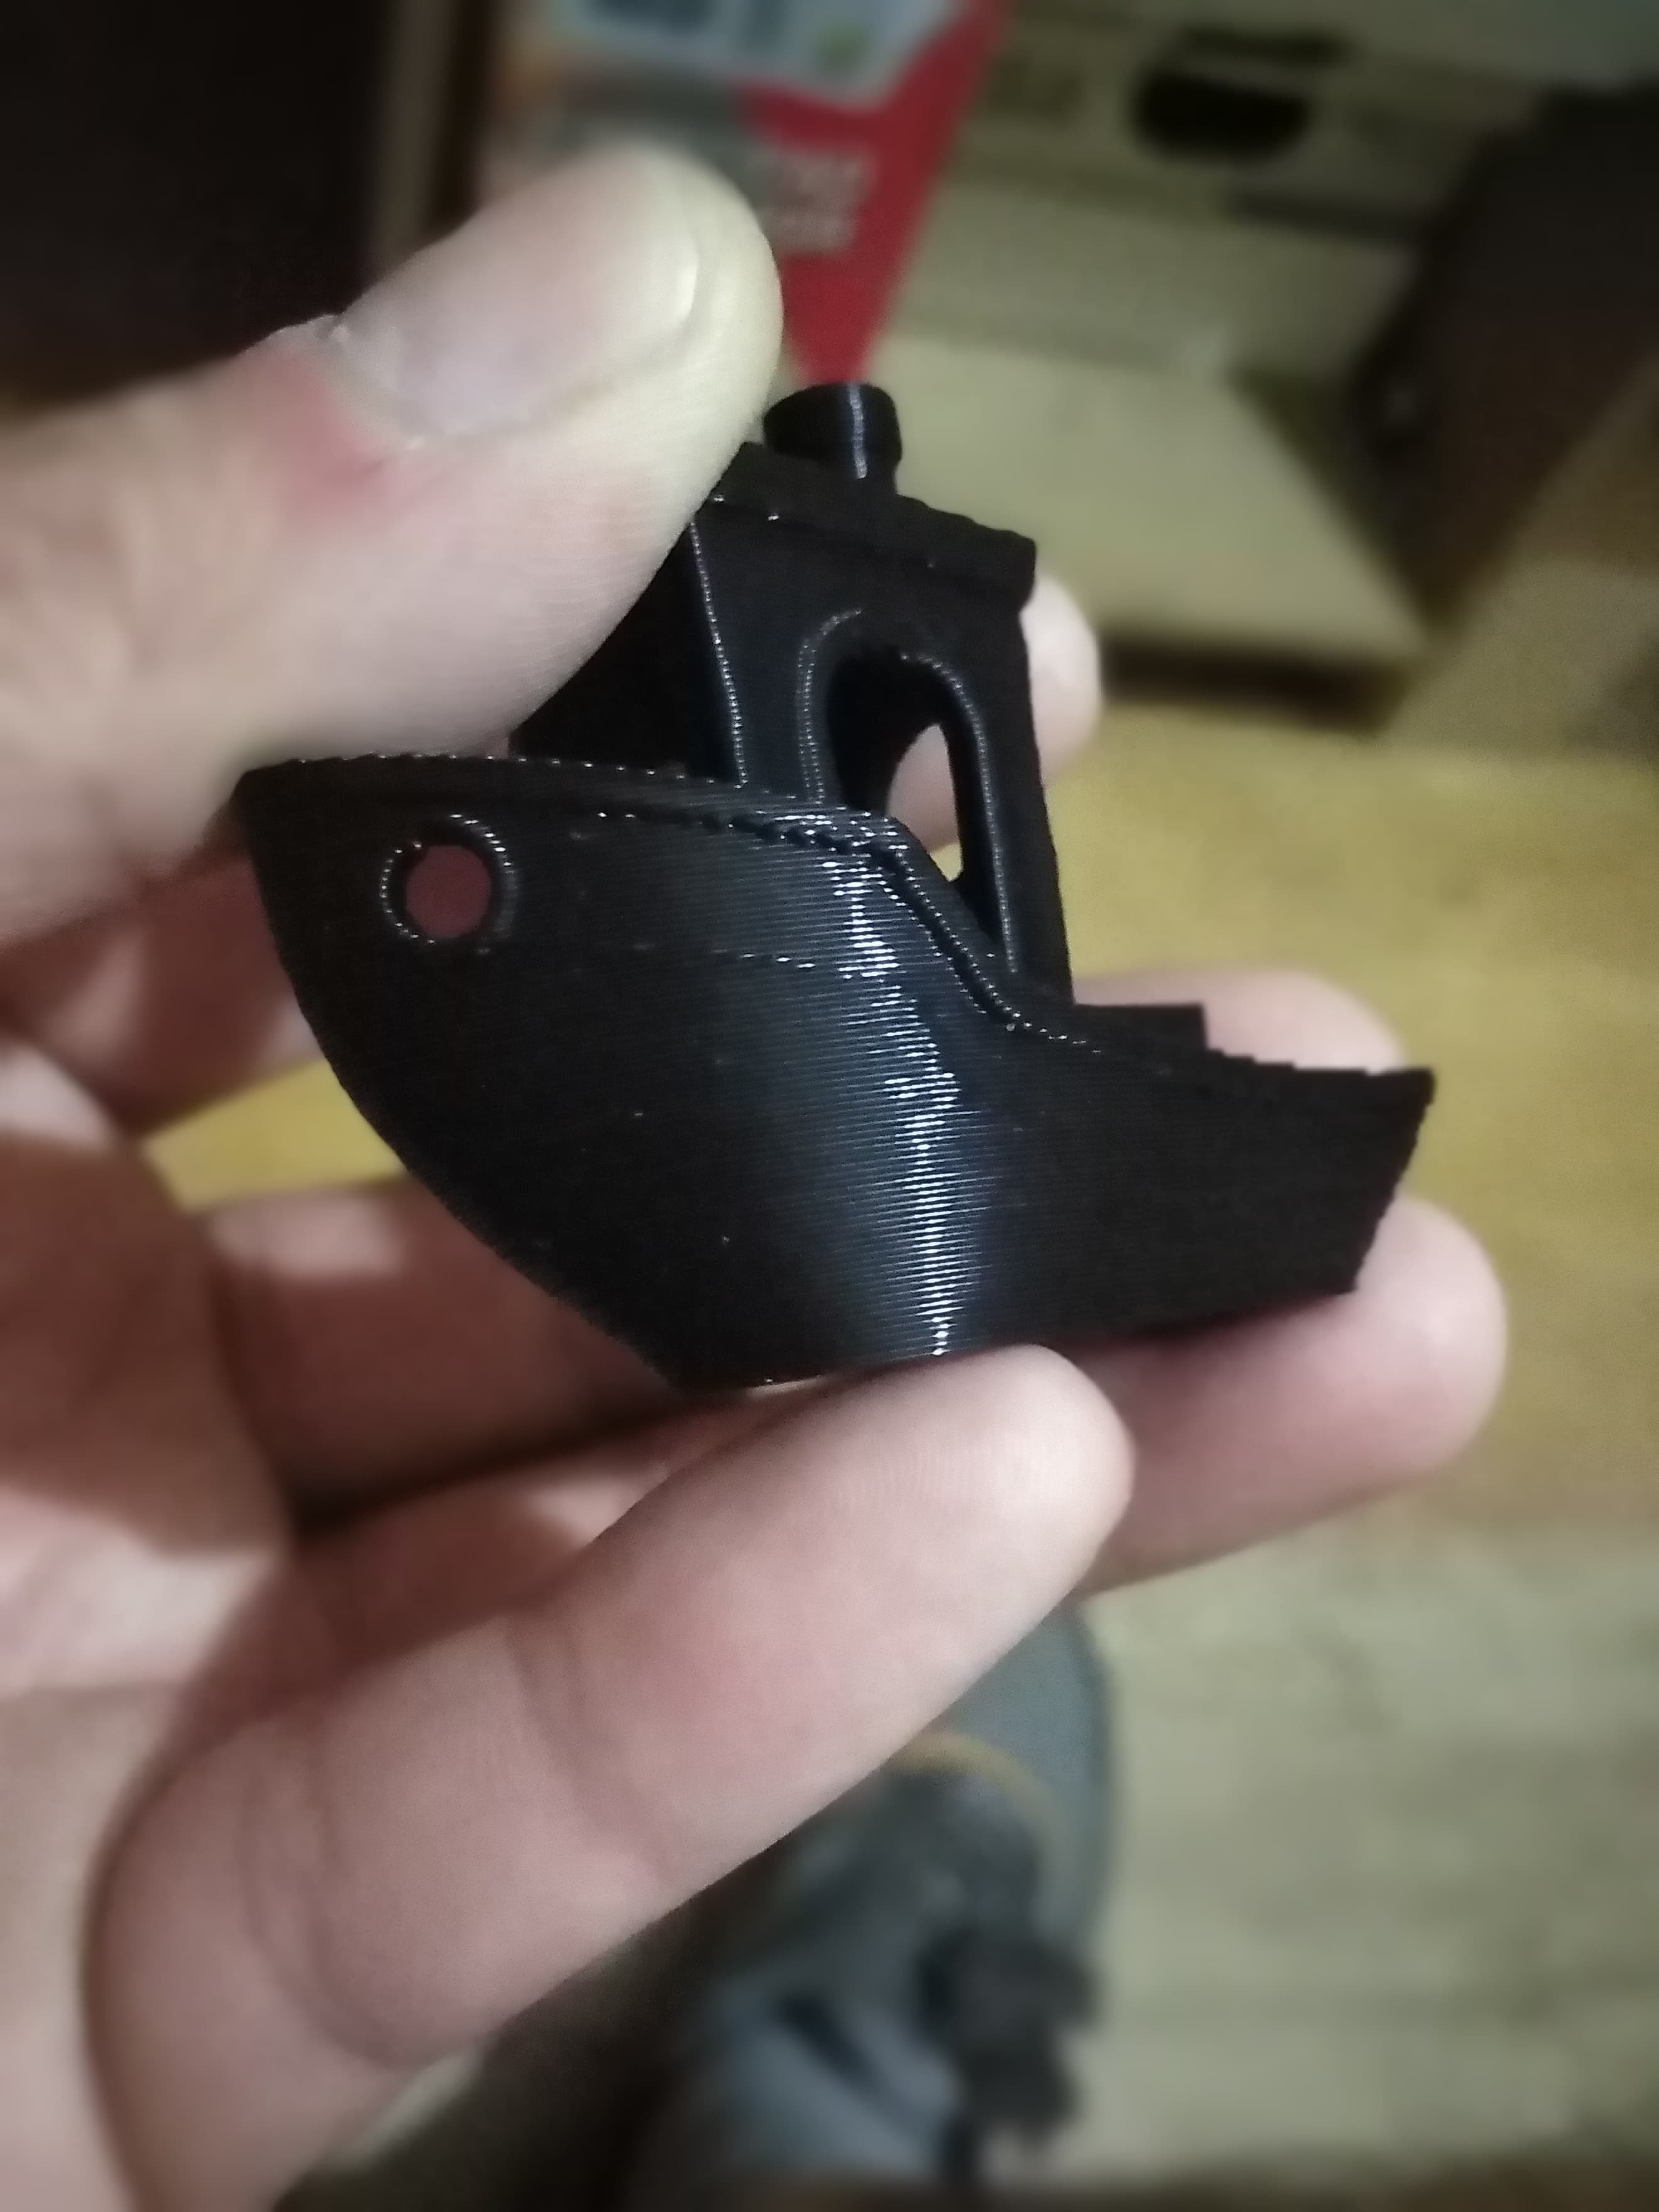
Increased print temp to 220°C and a little slower, I think it’s at 70mm/s (forgot the exact measurement)
underextrusions are gone and the elephant foot was the remaining of the brim I left, now I just used a skirt, wall adhesion is very good, before a few filaments just didnt stick properly. I assume this is enough for an MPCNC part?,
0.3 layer, 0.6 line width, 0.6 nozzle, 2 walls everything will be printed at 90% infill.
90% infill though… excessive I think unless the recommended infill changed at some point. That’s nearly solid and any blobs or crud that build up could be fatal. Maybe bump it down to 55-65% and add another perimeter instead?
Maybe try out the 90-95% on smaller parts first and see the result before taking on a bigger part? Reason is if there’s any inconsistencies, over extrusions, or even a first layer that’s a tad too close to the bed, there is no where for that plastic to go but up. Right in the nozzle path.
Tried it once or twice on a well tuned printer won’t ever try it again. There’s not much difference between 90% and 100% in practice.
ok, so, my printer died, stupid artillery hornet, I’m having a “thermal runaway E1” problem, and I’ve replaced the hot end TWICE, I’m kinda lost and super frustated, I was able to print the trucks, but I can’t seem to print the core.
opened the machine up and the motherboard and powersupply seem ok, no evident damage, this thermal runaway happens randomly, sometimes it can’t even pre-heat the tip, sometimes it prints really well, I’m very frustrated
also, I can’t just “buy” the core from V1 shop because the shipping is 80usd, it’s ridiculously expensive, I could get someone locally to print the core…, but I’m just very upset I’ve invested so much in this printer and made SO much troubleshooting and it still doesn’t work properly for large prints.
Does your hot end thermistor plug directly into the board or into an extension cable then to the board?
Have you installed a new thermistor with the new hot ends or are you using the same one in each?
Did you use thermal grease when you installed the thermistor in the hot end?
I’m sorry if you have answered these questions already previously in this thread. I did not read though everything. That was just the first things that popped in my mind when you said your having thermal runaway