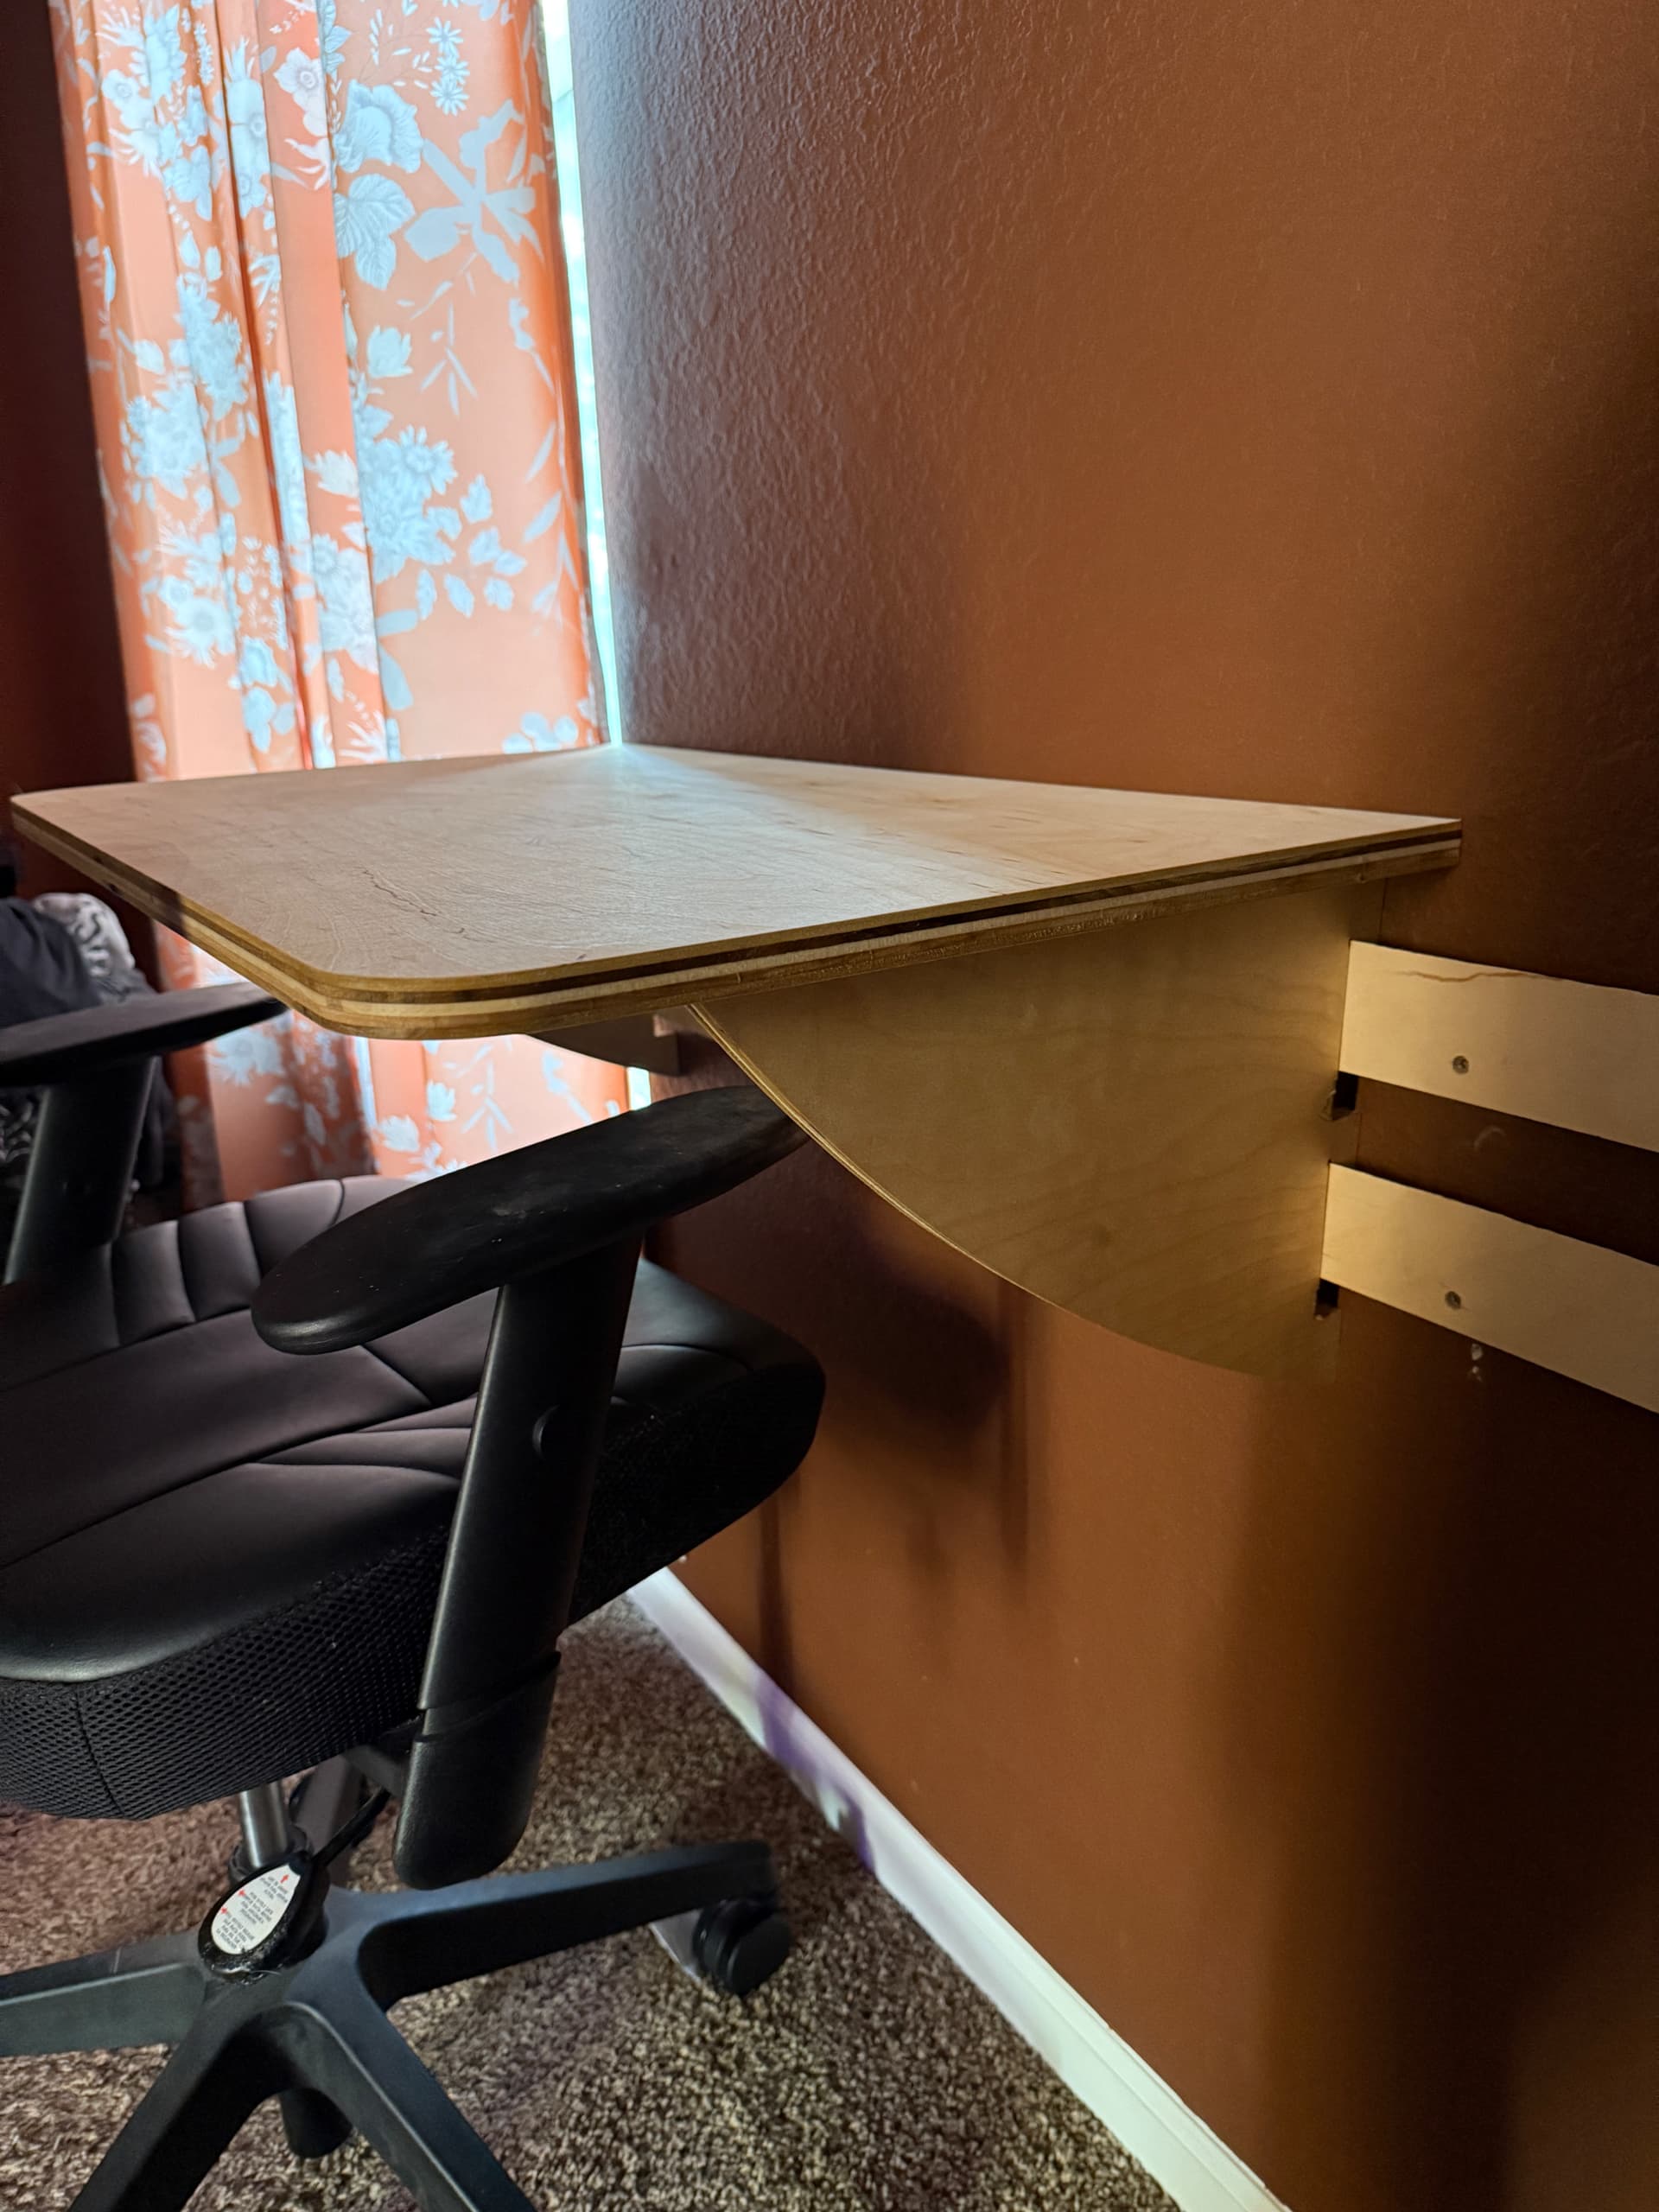
We’re doing some re-arranging of the house and my wife needed a smaller desk to do her makeup at, so her handsome and inventive husband decided to take some measurements and design and build the perfect desk for her out of a $8 piece of plywood (local suppliers ftw google “plywood near me” and skip past the chains).
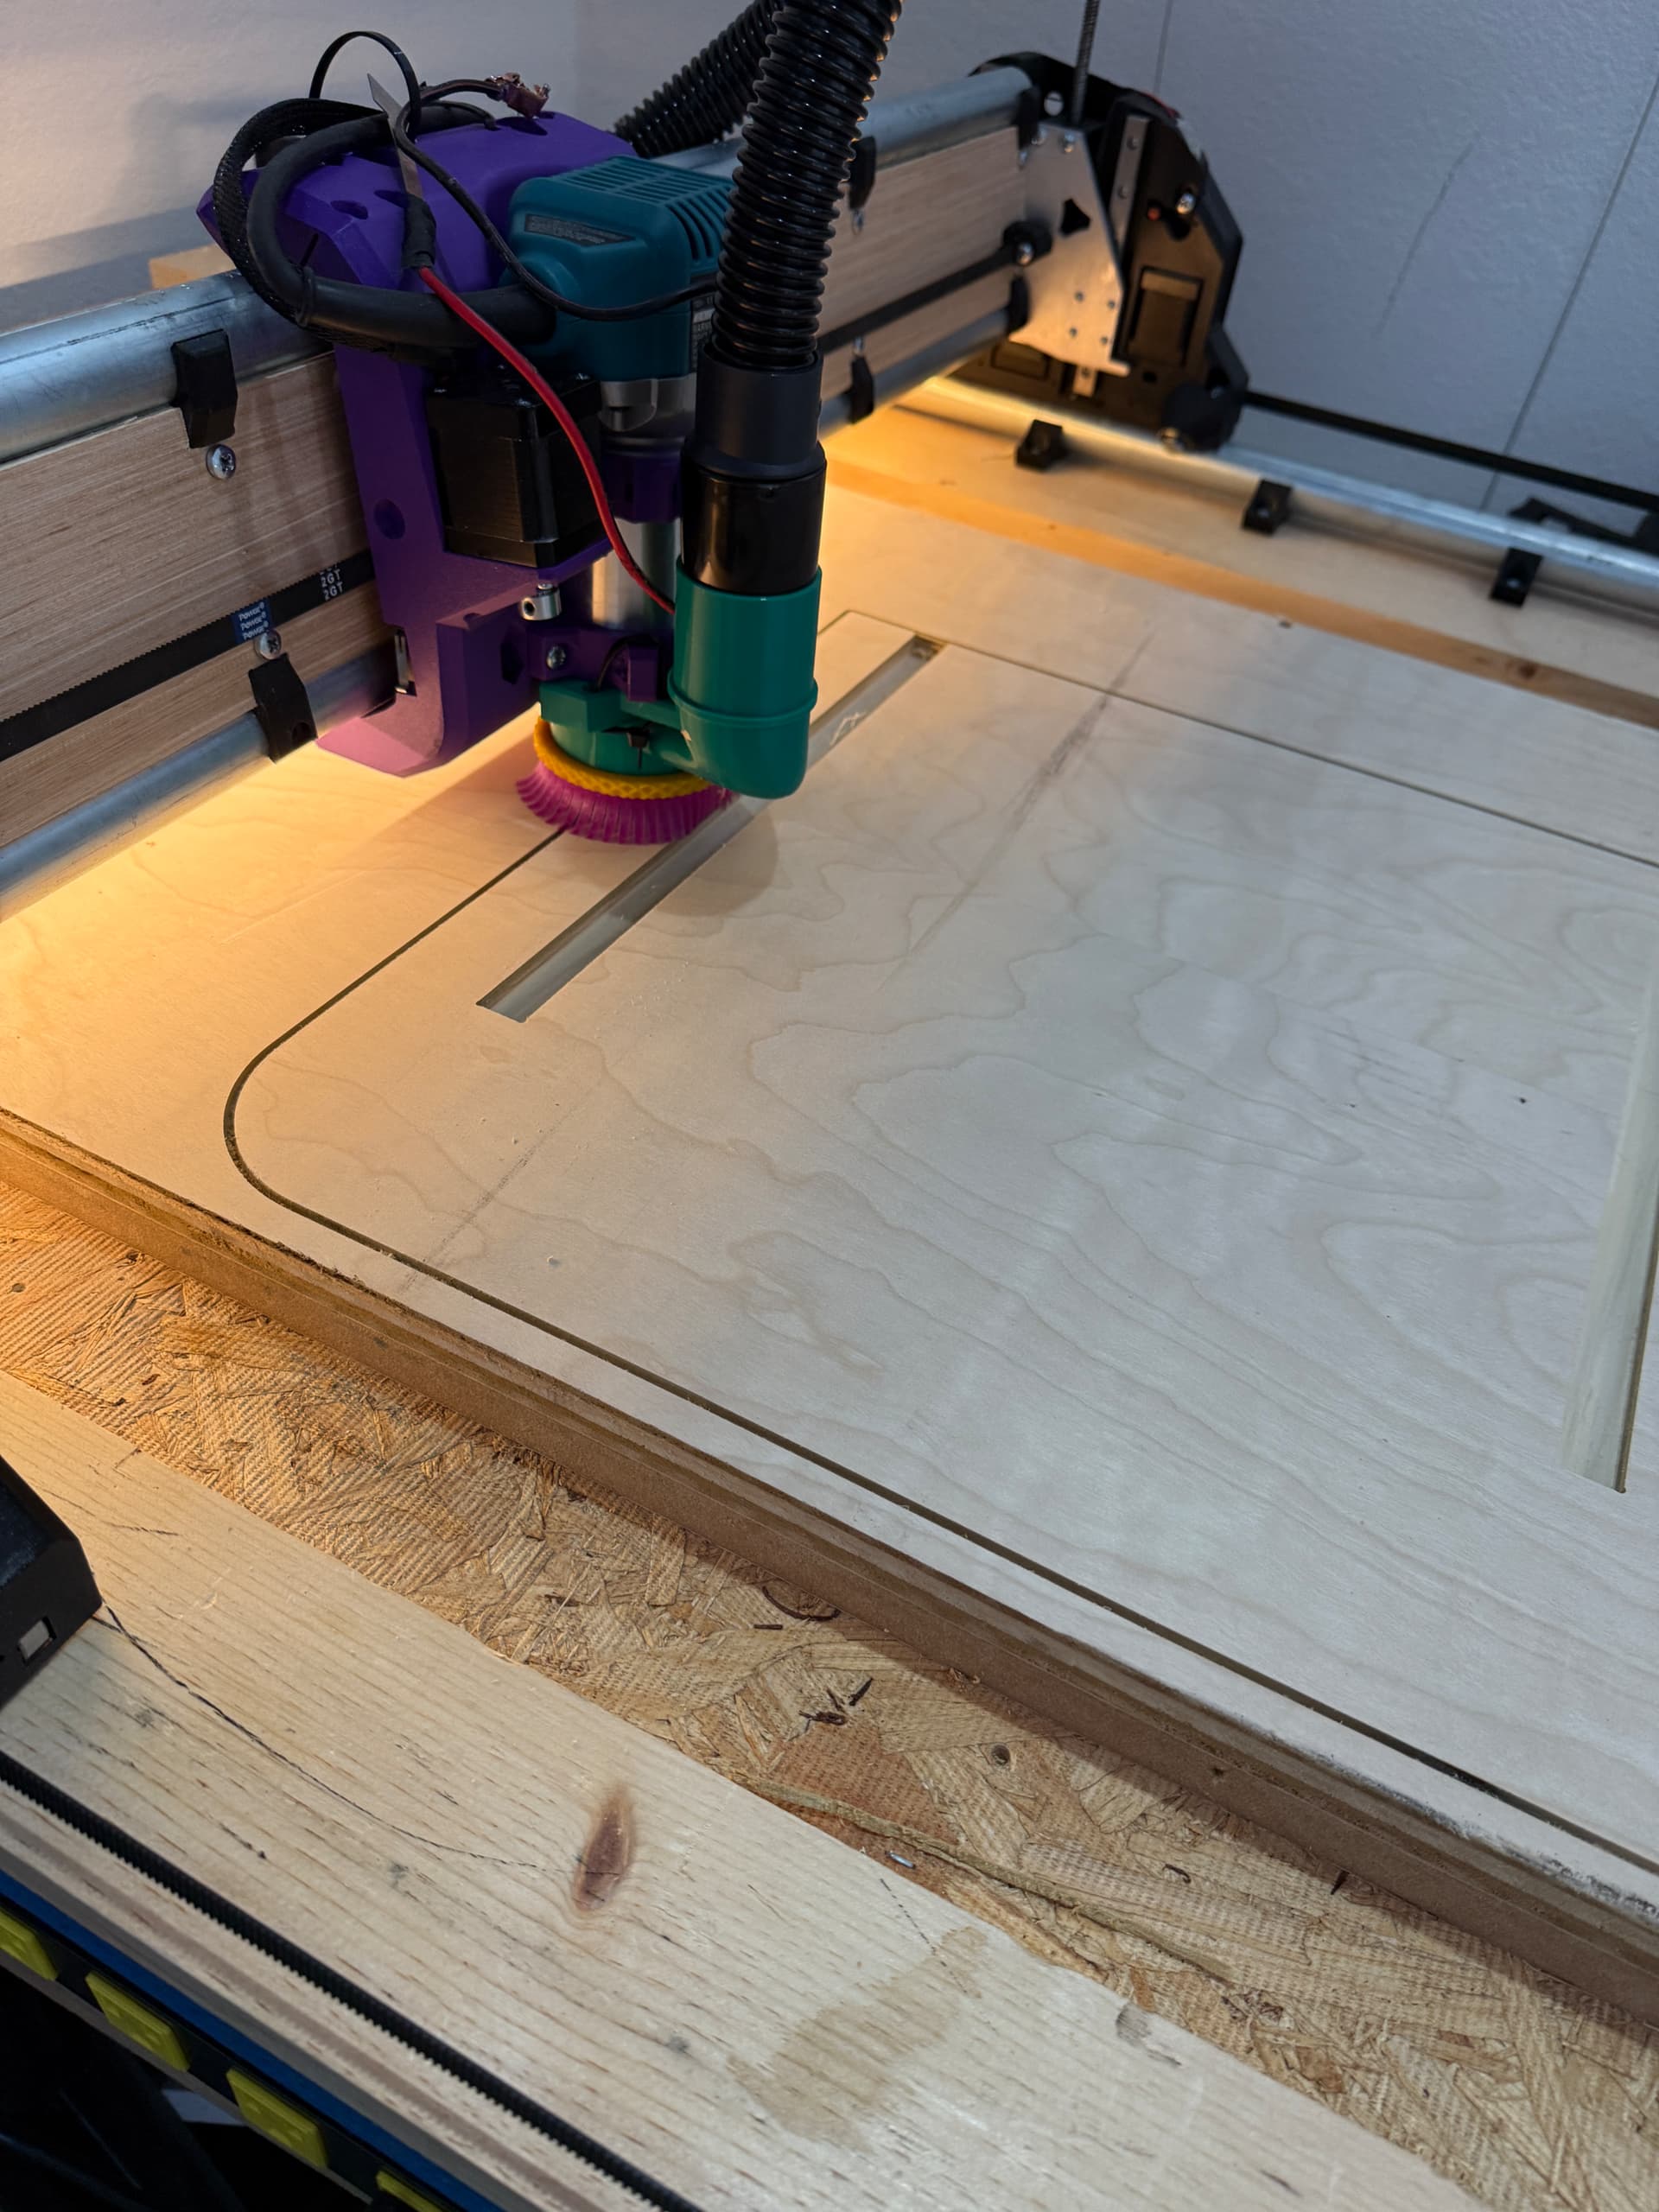
Sketched it up in AutoCAD 2026, exported the DXF into EstlCAM. 1/8” compression bit, 4.20 (ayyylmao) DOC, 20 mm/s xy, 10 mm/s z, 50% stepover. Made on LR4.
I took notes as I stood and marveled at this machine, it’s been a minute since I’ve made something on it and it’s just magical!
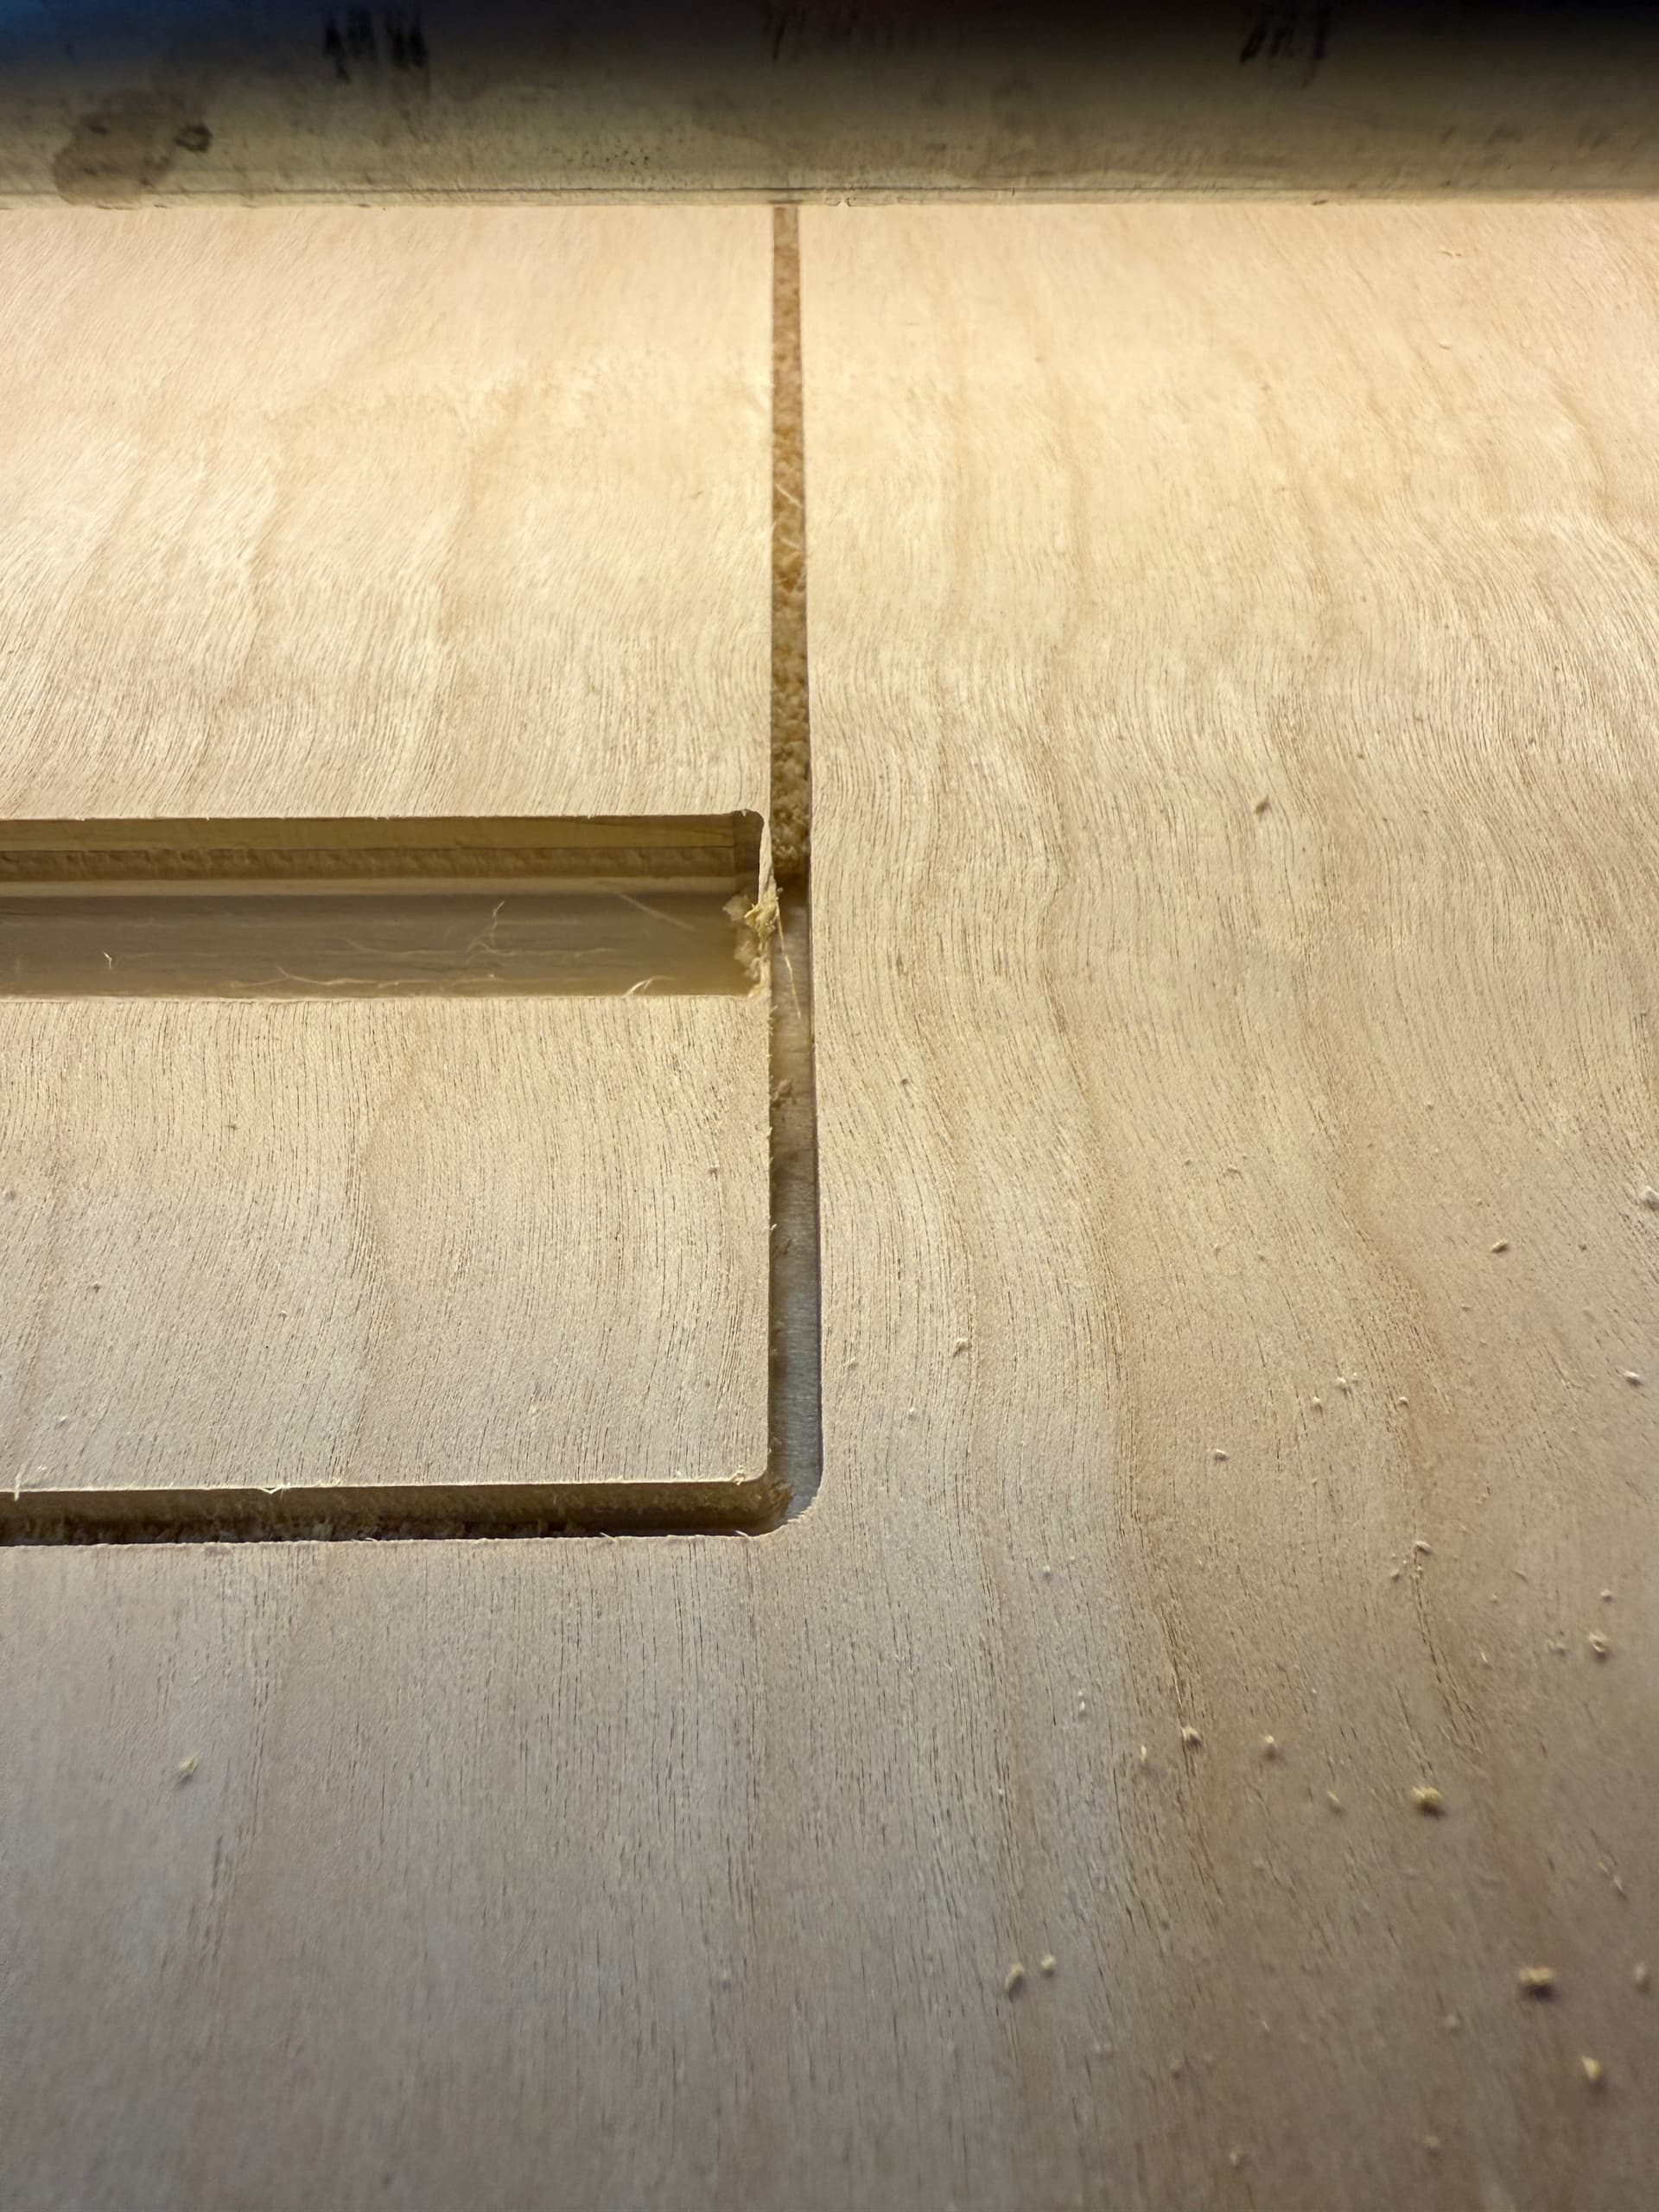
my pockets on the underside of the table produced super long strings of wood, is this a good/bad thing?
For the part cuts, I noticed a lot of sawdust being made as opposed to chips, but I’m not sure if that’s the action of the compression bit pushing things down and causing them to get “blended” into fine powder.. I believe these settings got me decent sized chips with the standard 1/8” end mill single flute upcut at least
I goofed up and didn’t make the French cleat parts of the table supports large enough to fit the cleats (oops)… I just hit em with some chisels to open up the slots and it’s good as new
Sanded everything and applied a healthy dose of linseed oil/wax, came out really nice IMO!
The wood is “one nice face plywood” from the offcut pile at the local plywood store, I successfully kept the nice face as the table top, and that’s really all I care about! Oh and the wife is happy
Thanks for the kind words and for the tips! Good to know I can turn up the feed rate a good amount, I will experiment on that as I populate the rest of the “makeup station” this week
flat surfaces in my home just become CLUTTER by all in my family!
@ClineDesigns You may want to put a lock of some sort on that. I can see where if it were me, i would somehow bump it with my knee. i am sure I would knock it off the wall.
Thanks for the tips! I saw a YT vid (can’t seem to find it now for a link) about running compression bits, he said to use conventional milling with compression bits as well, but I didn’t try that yet either. I did at least confirm the DOC was greater than the upcut tip, and it does result in much cleaner edges and less sanding!
What sort of lock(s) are people using for projects like this? Personally like the wedge lock this guy below mentions, but something equally secure, easy and flush would be neat. 3D printed spring cleat lock plug maybe?
Yes they are great for that. But tricky to get the feeds/speeds just right to cut well and not burn up. They (at least every one I have seen) are 2 flute, so you need to slow your router way down and try to get your feed rate up. But they just cant cut as fast as a single flute upcut. They don’t clear the slot because of the down cut portion. I would suggest doing some test cuts at varying speeds to see what your machine can handle. Each build is unique and some can handle more than others.
I’ve seen @vicious1 mention using a single flute upcut to do your roughing and then swap to the compression to do a finish pass at full depth. That would probably be the best use case in my opinion.
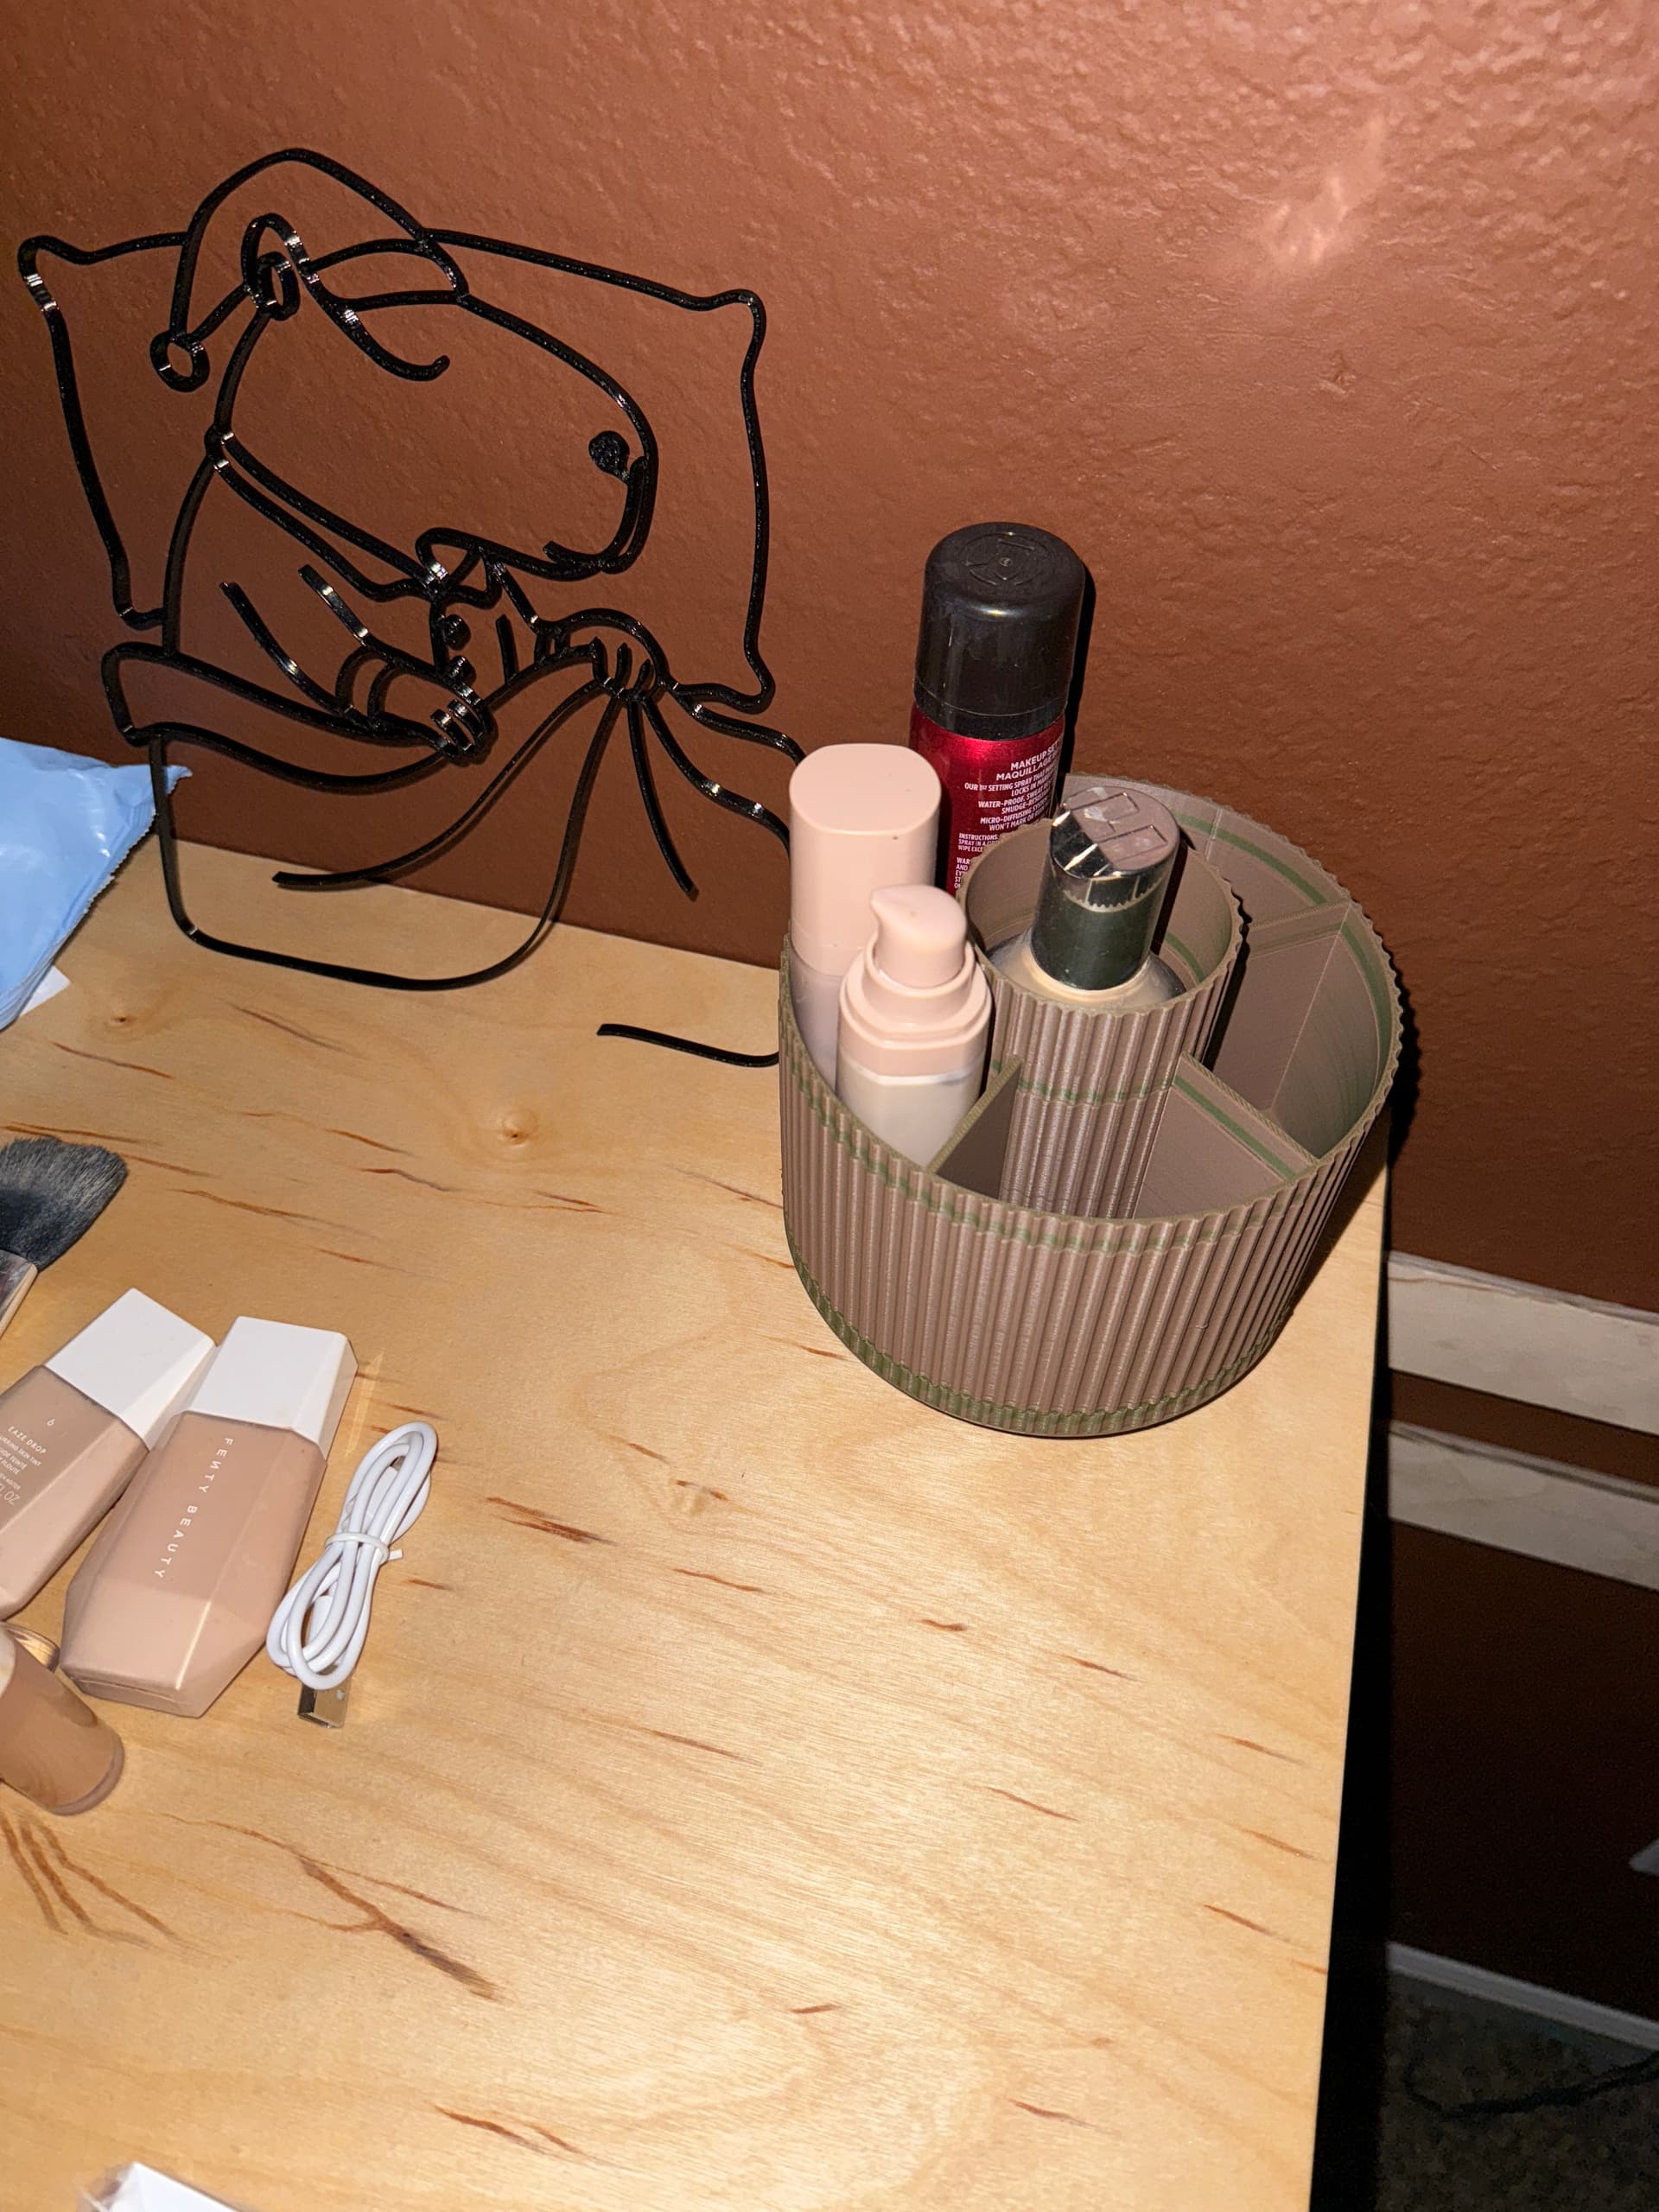
Printed a cute ass napping capybara (waiting to hang it on the wall) and a nice spinning makeup organizer! The organizer’s filament is a matte brown/green, it really changes colors when you change your view angle.