Now available on Printables:
Download: Printables
As mentioned in my YouTube channel content here:
- LowRider 3 CNC DIY Plasma Table PART 9 - Control Box from revamped PC tower!

…and here:
- LowRider 3 CNC DIY Plasma Table PART 10 - MESA torch height control!

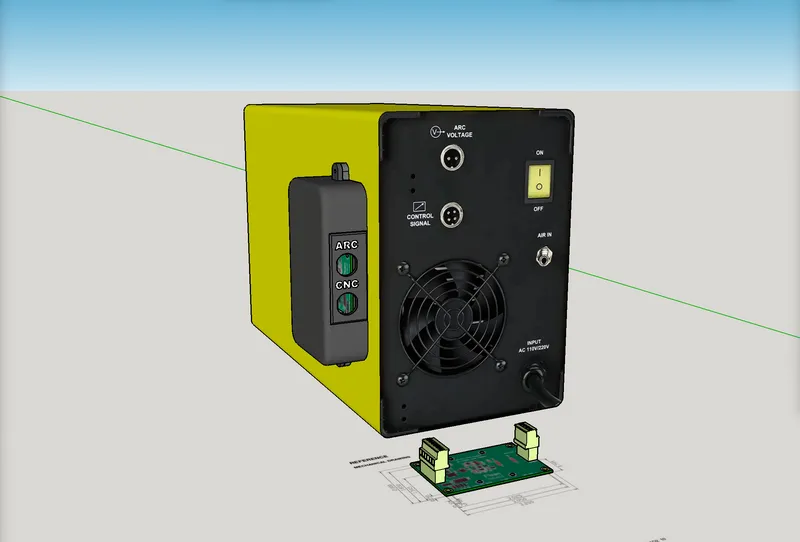
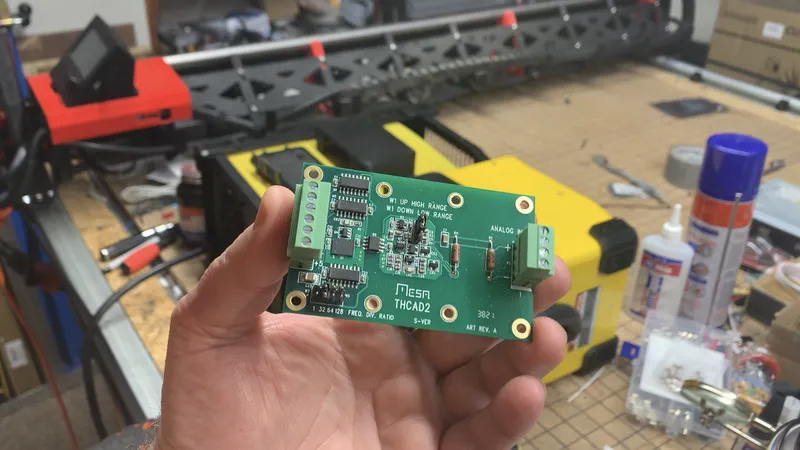
…attached are the printable STL files for my MESA THCAD2 Mount & Box Cover.
The files are labelled as
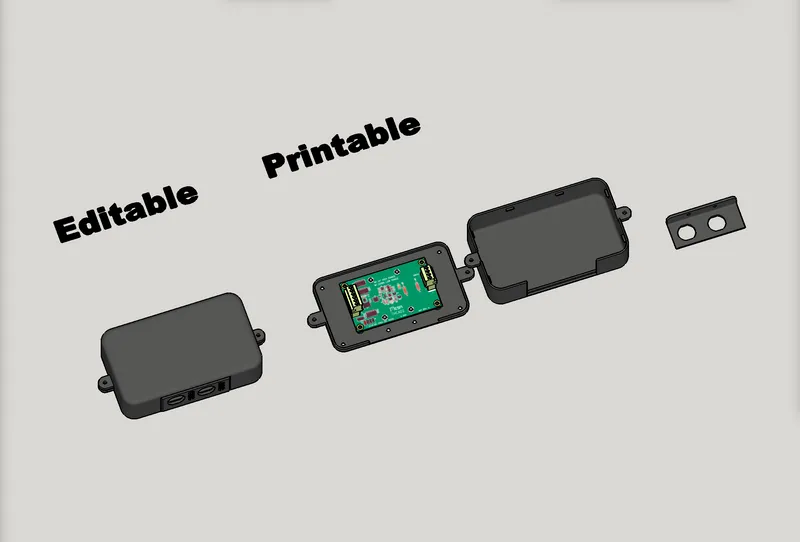
- MESA THCAD2 CASE (Back Mount) v1.0.0
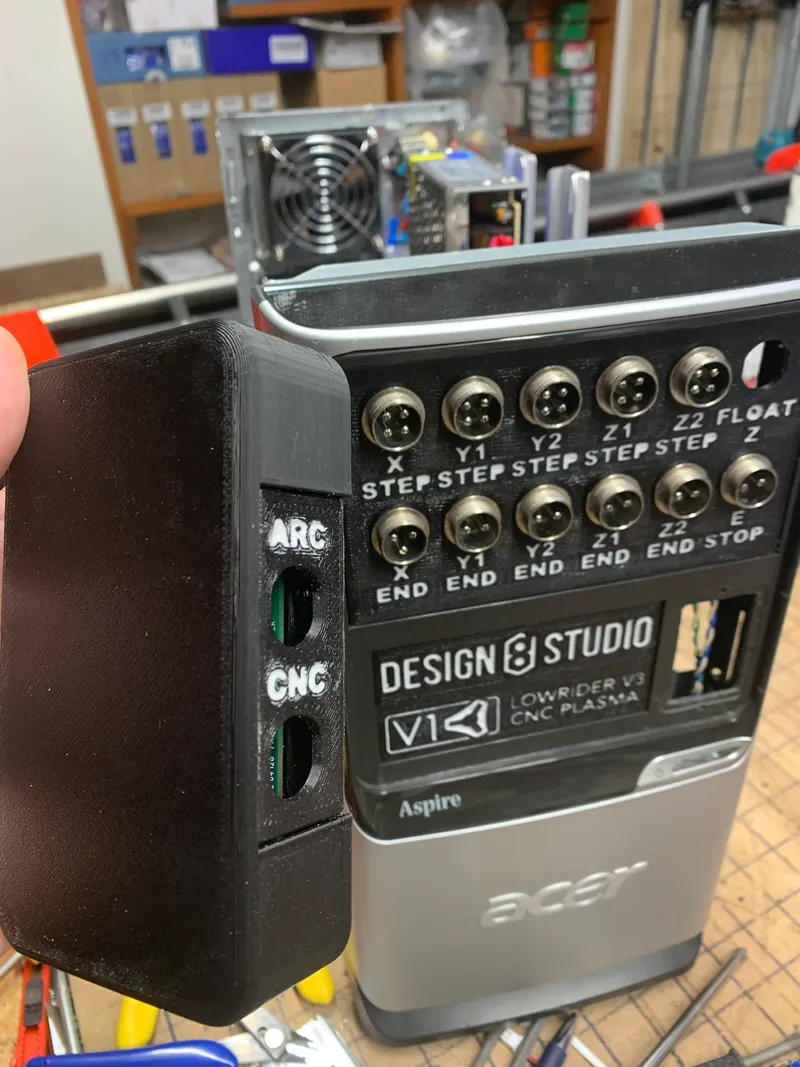
- MESA THCAD2 CASE (Connection Panel) v1.0.0
- MESA THCAD2 CASE (Cover) v1.0.0
The Connection Panel is intended to be attached to the Back Mount with tapered head screws of M3 diameter, around 6mm or so in length.
The Back Mount can be attached to the plasma machine using M3x6mm screws.
The Cover can be attached to the Back Mount using M3x10mm screws.
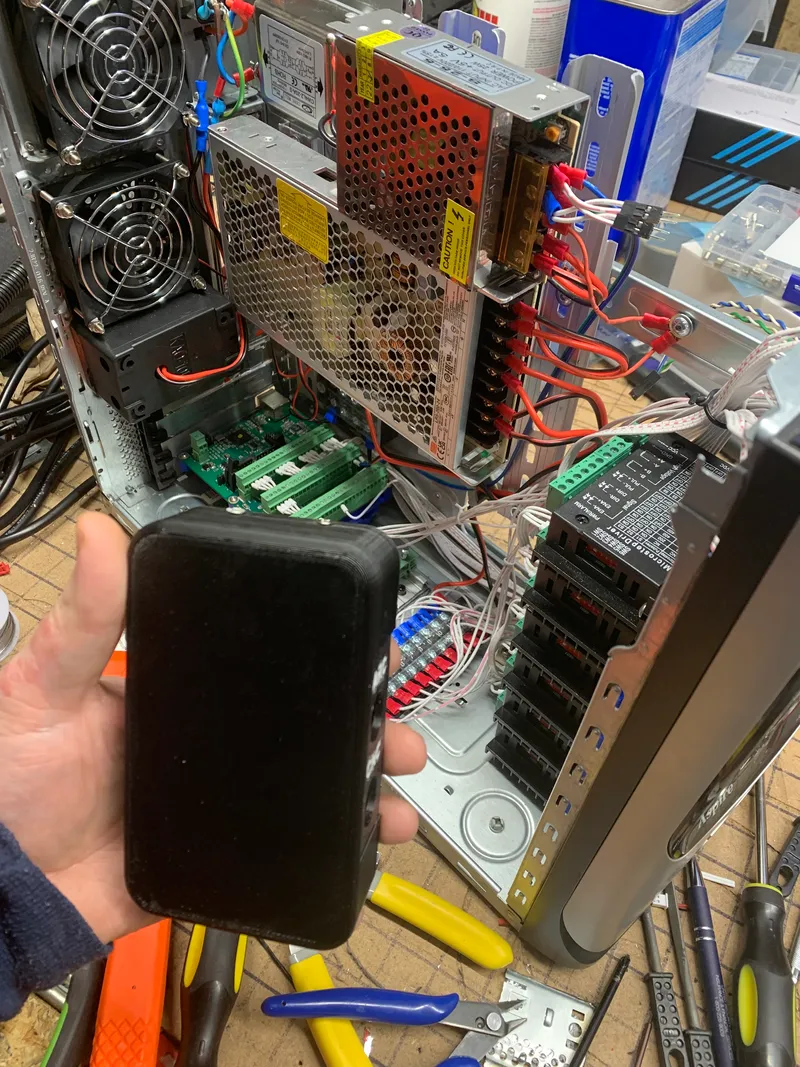
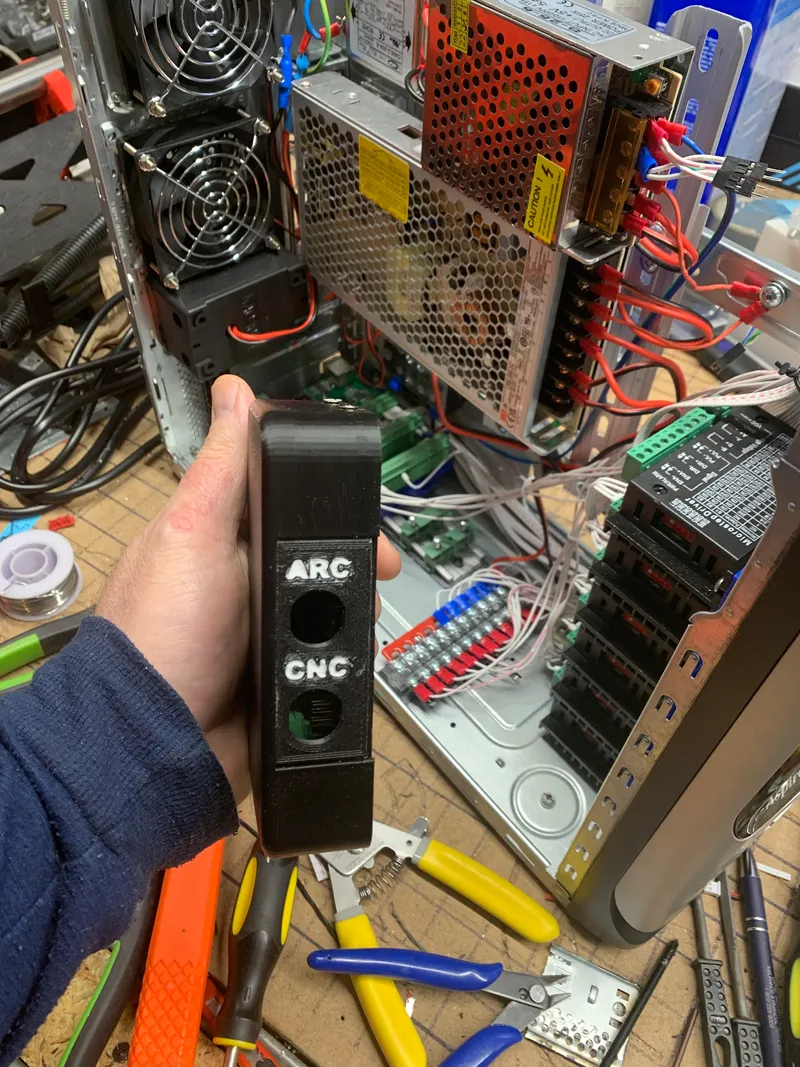
Below are some illustrations from SketchUp screen shots and actual photos. Some of the photos were of a prototype later improved.
The white lettering was achieved by pressing white caulk into the 3d-printed lettering groves, and then cleaning up the surface after the caulk was dry. I used a quick drying caulk that’s a mixture of silicone and acrylic. The surface cleans up easier if it is first coated with dabs of dish detergent, allowing the dish detergent to dry before pressing the caulk into the grooves. The water solution dish detergent forms a sacrifice layer that prevents the caulk from bonding to the surface, instead only bonding inside the grooves. For this reason it is important to dab the surface only with the detergent, not letting it get down into the grooves. In the second video (above) I have not yet applied the caulk to the final item.
Other printable items are already freely available on Printables.com, which include:
- LowRider 3 CNC (canonical) — Printables
- Various LowRider 3 CNC remixes (including several of my models and remixes): LowRider 3 CNC Collection
Change log:
- March 25, 2023 - Original remix uploaded (v1.0.1)
My PayPal tip jar: https://paypal.me/design8studio
Various LowRider 3 CNC remixes:
View all my models and remixes on Printables:
*Amazon product links are affiliate links.