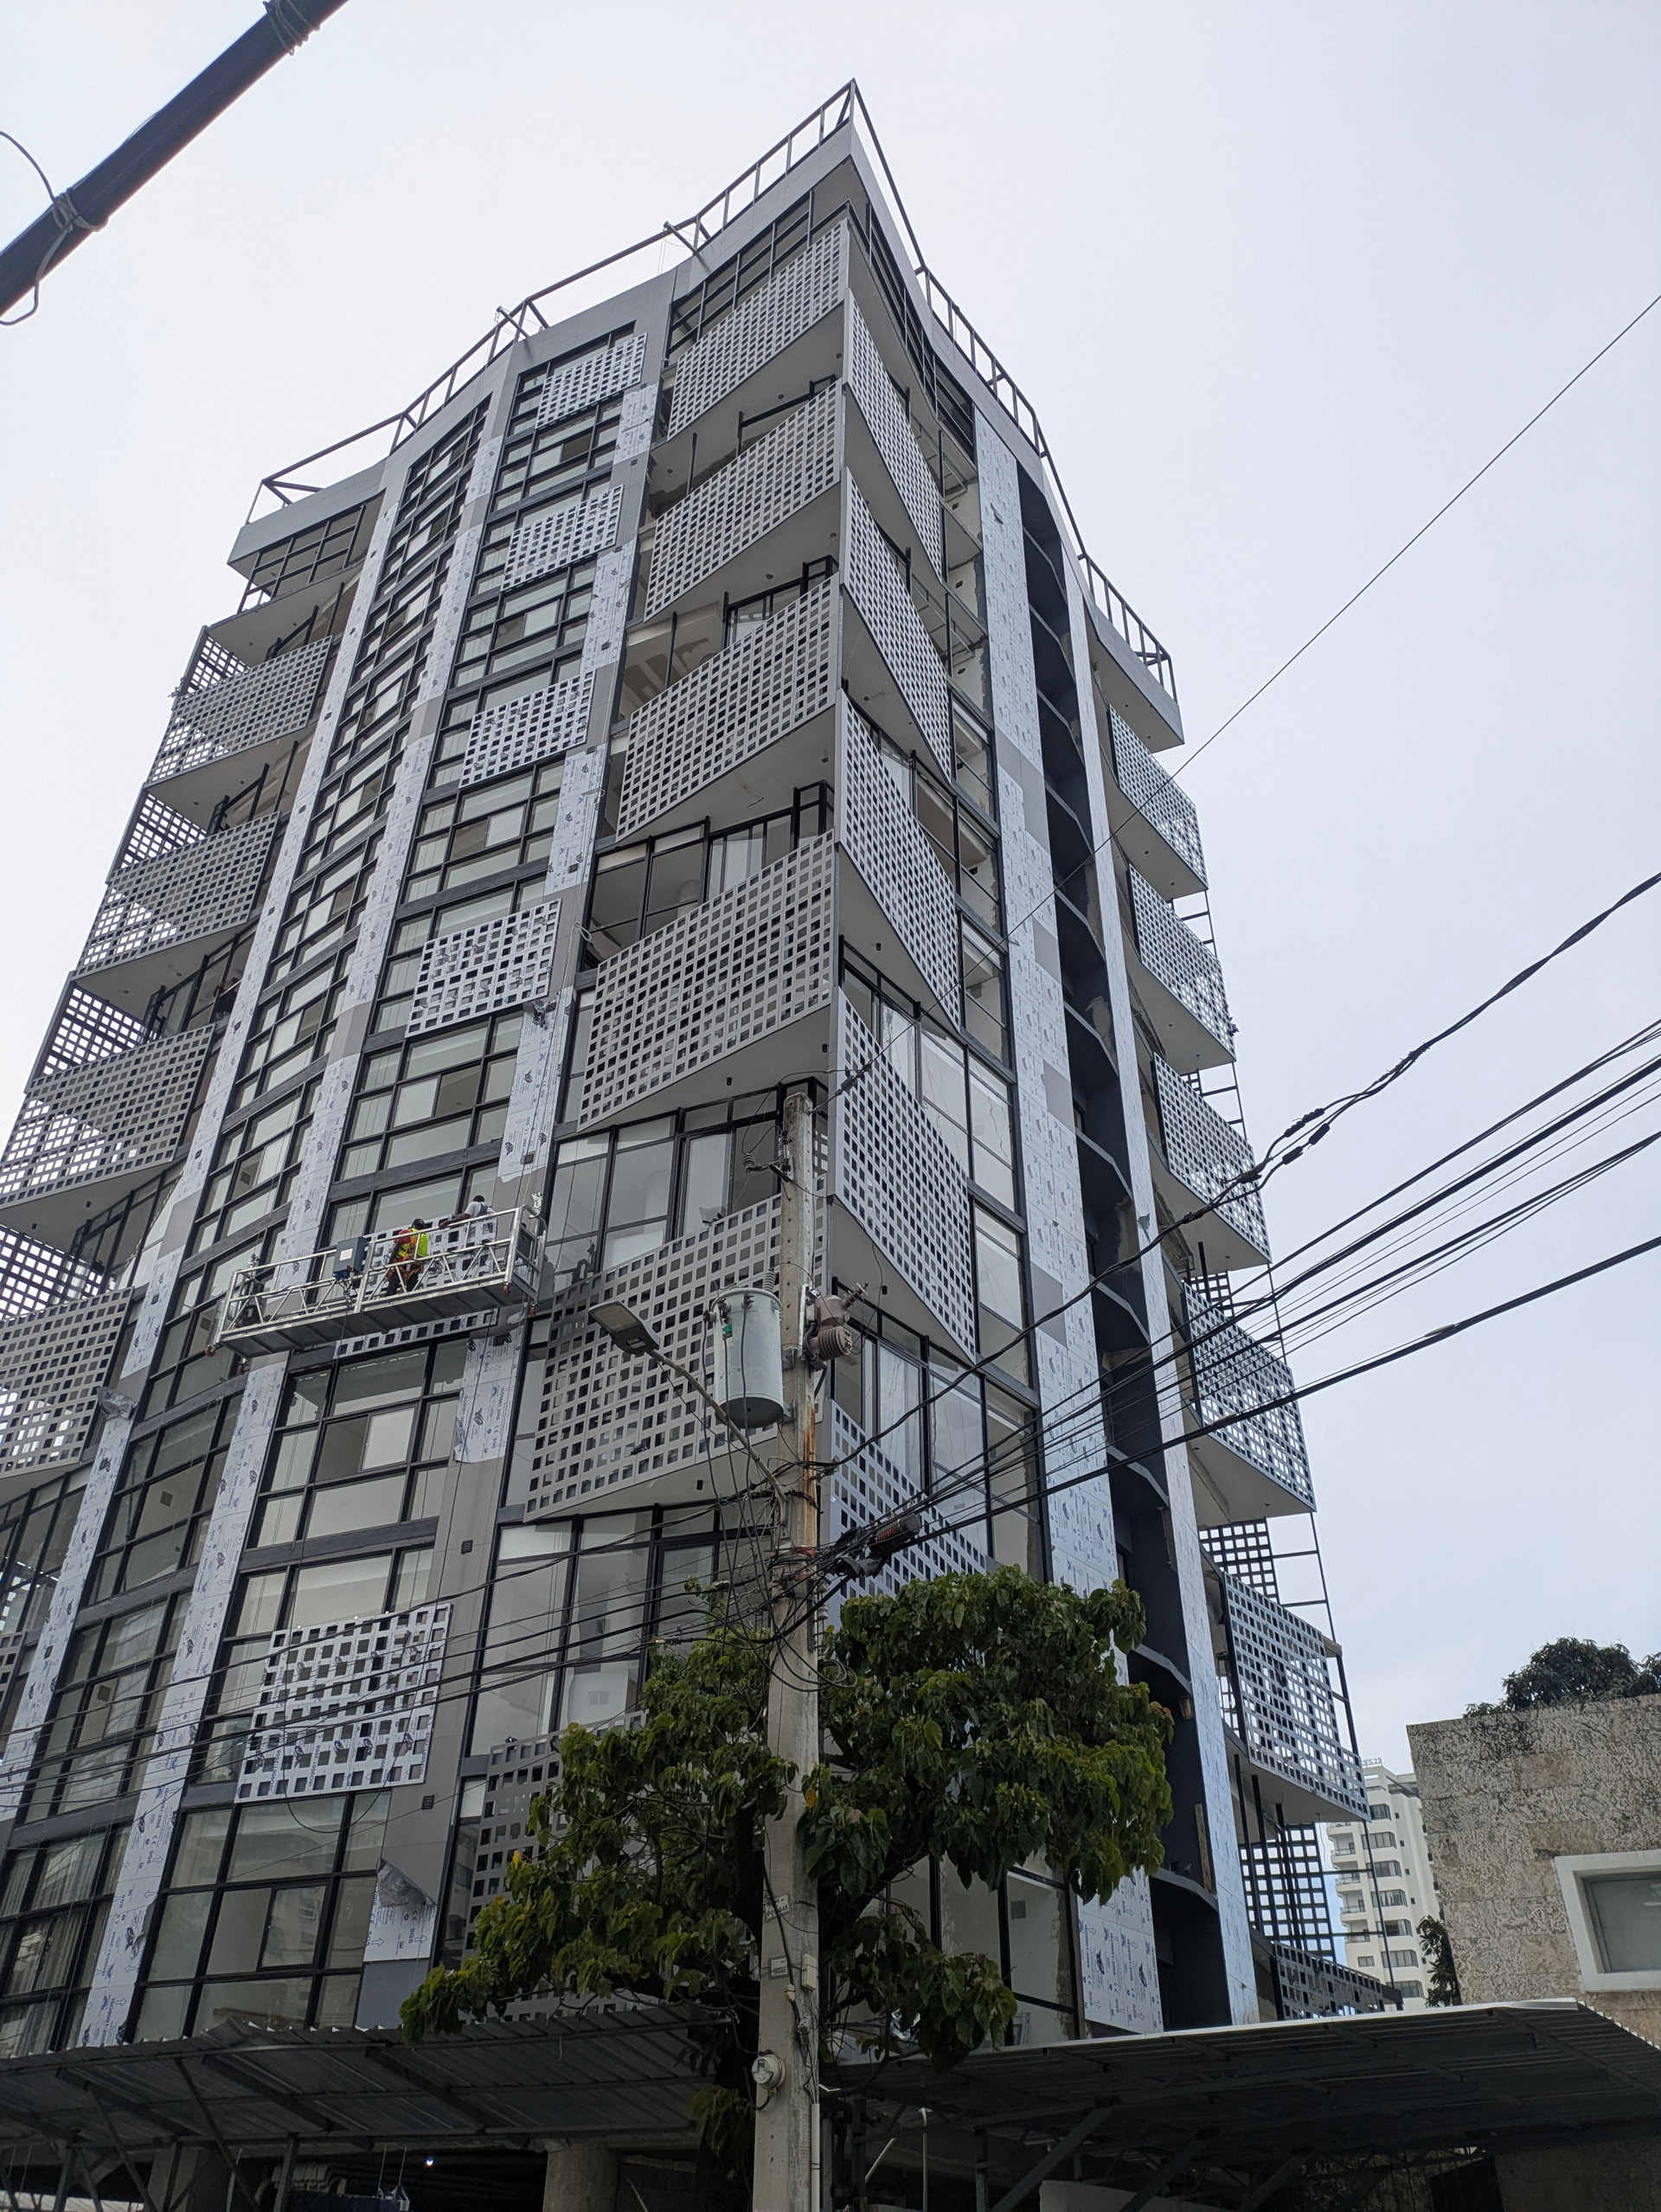
Built some set elements for a high school production of ‘Footloose: The Musical”
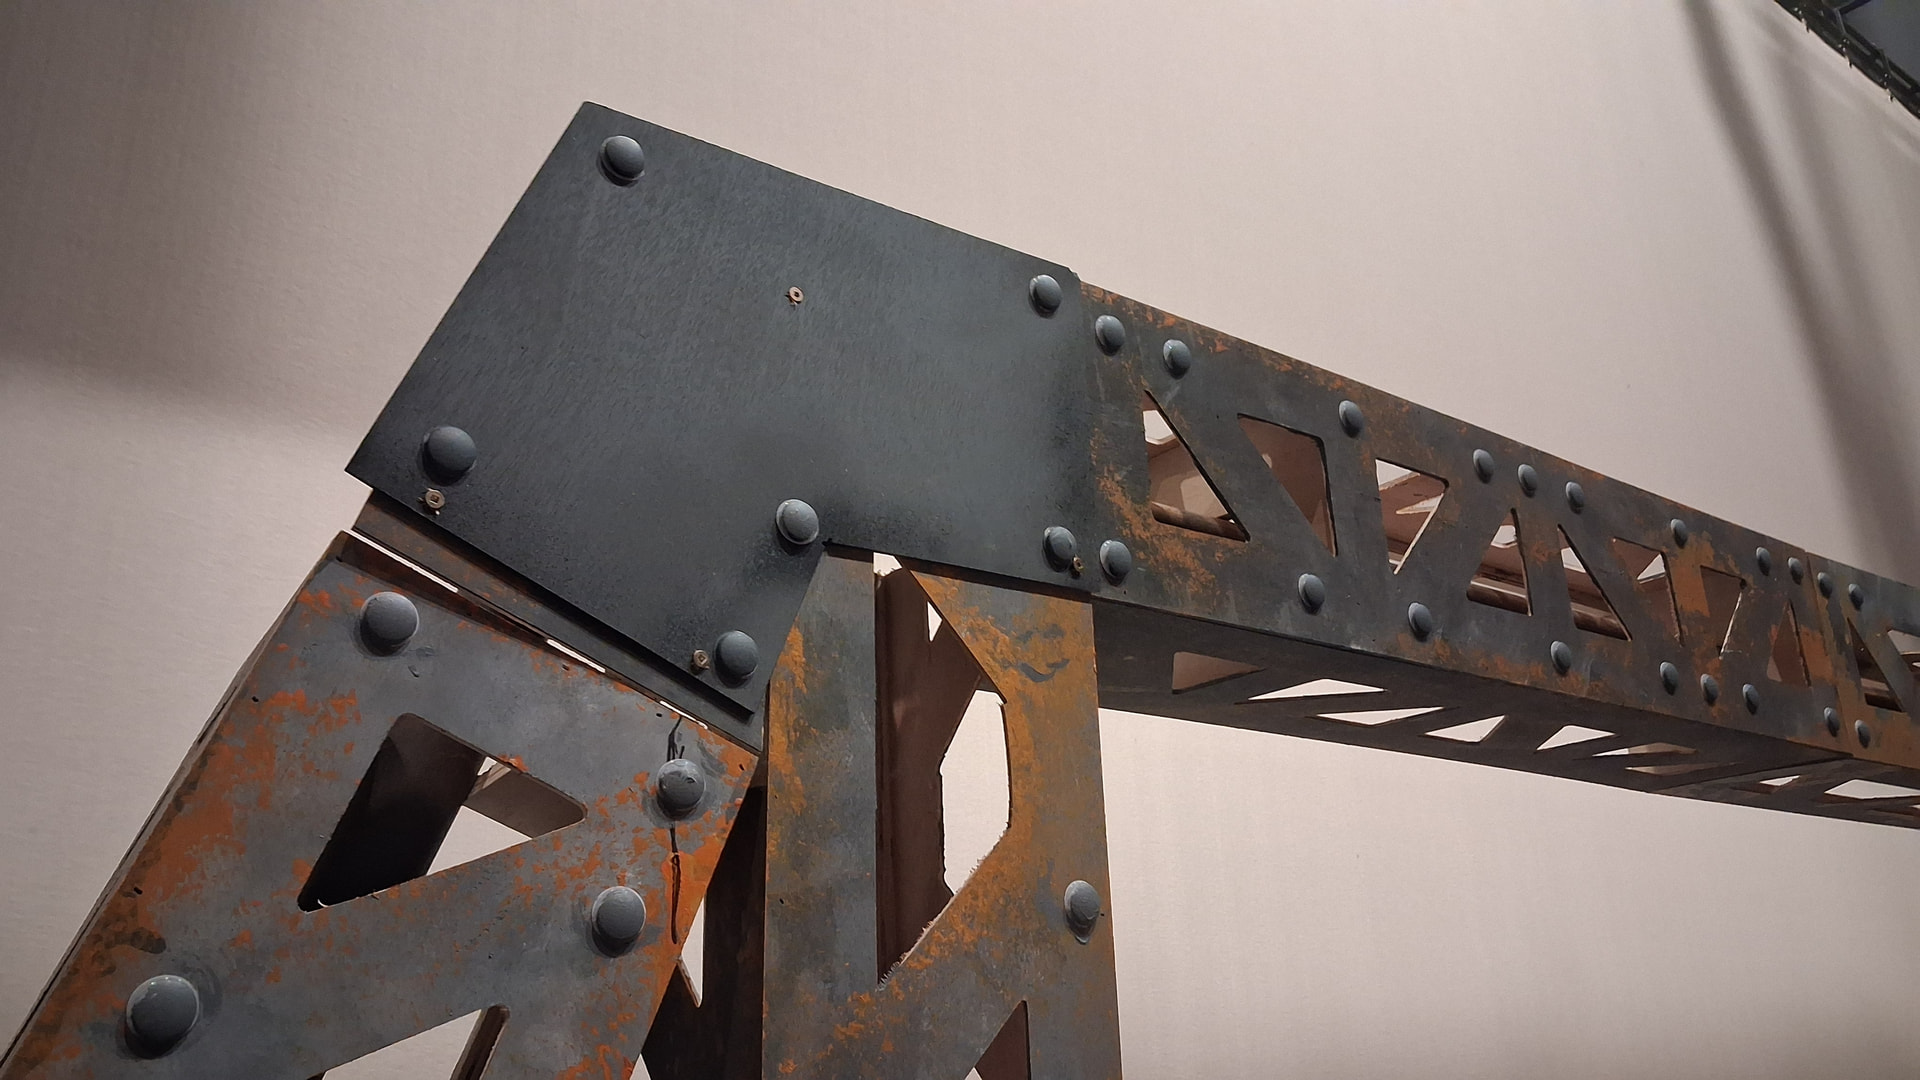
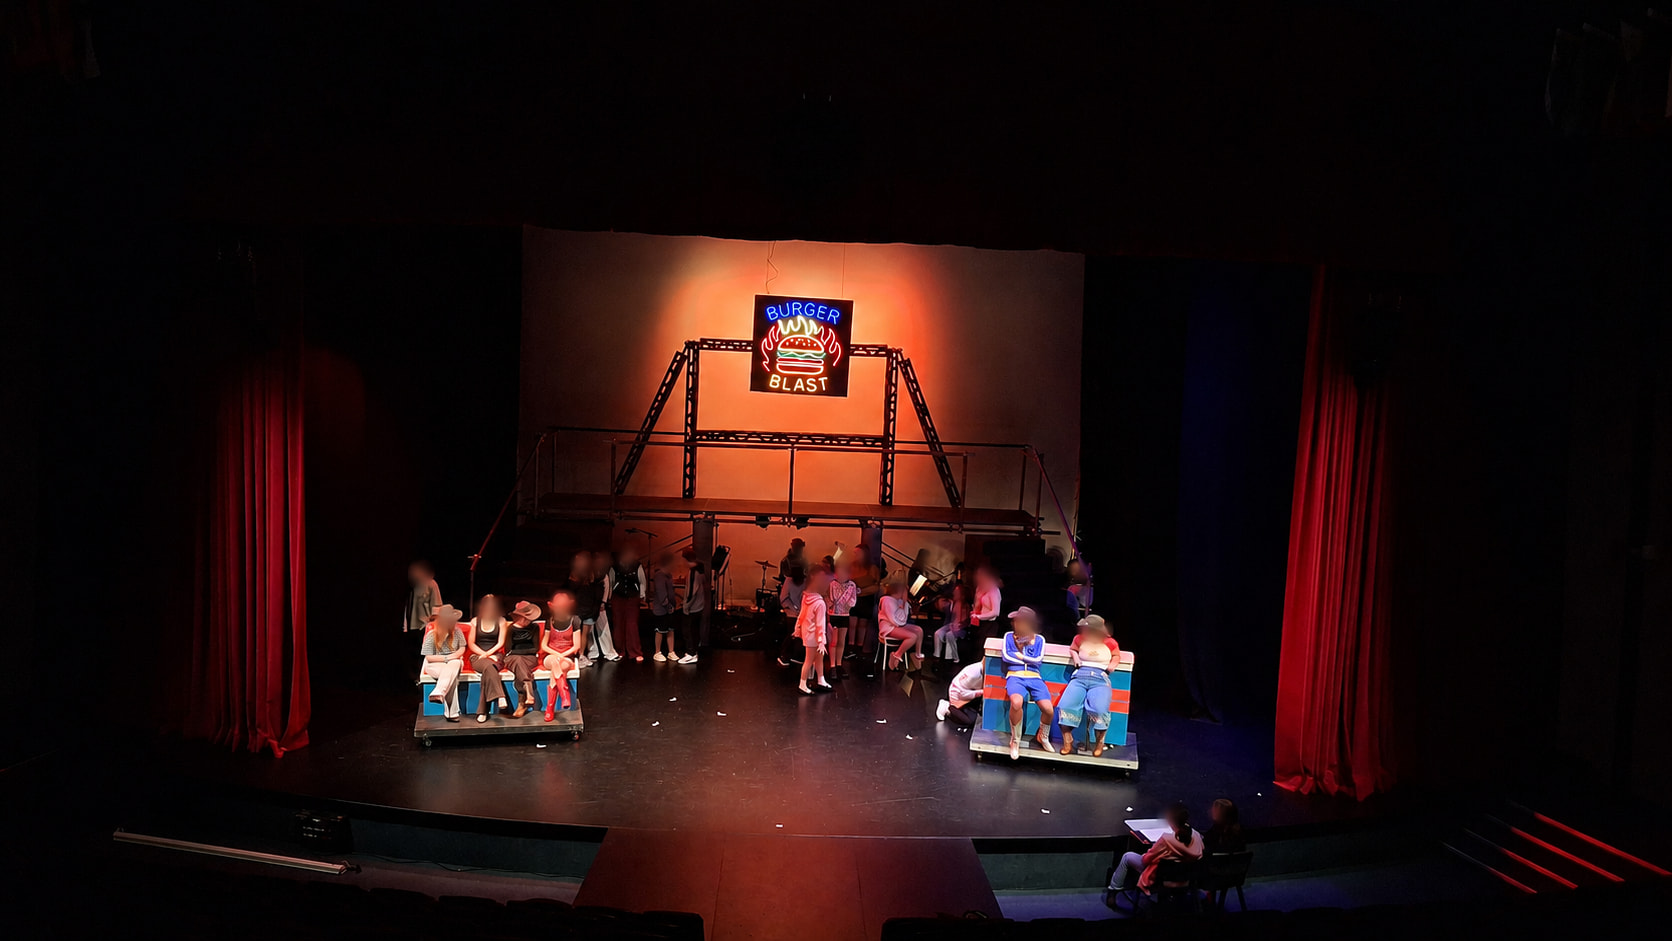
Key part of the set is a bridge structure - this one constructed of scaffolding with light ply trusses all cut on the LR4. Can recommend self adhesive googly eyes for rivet heads
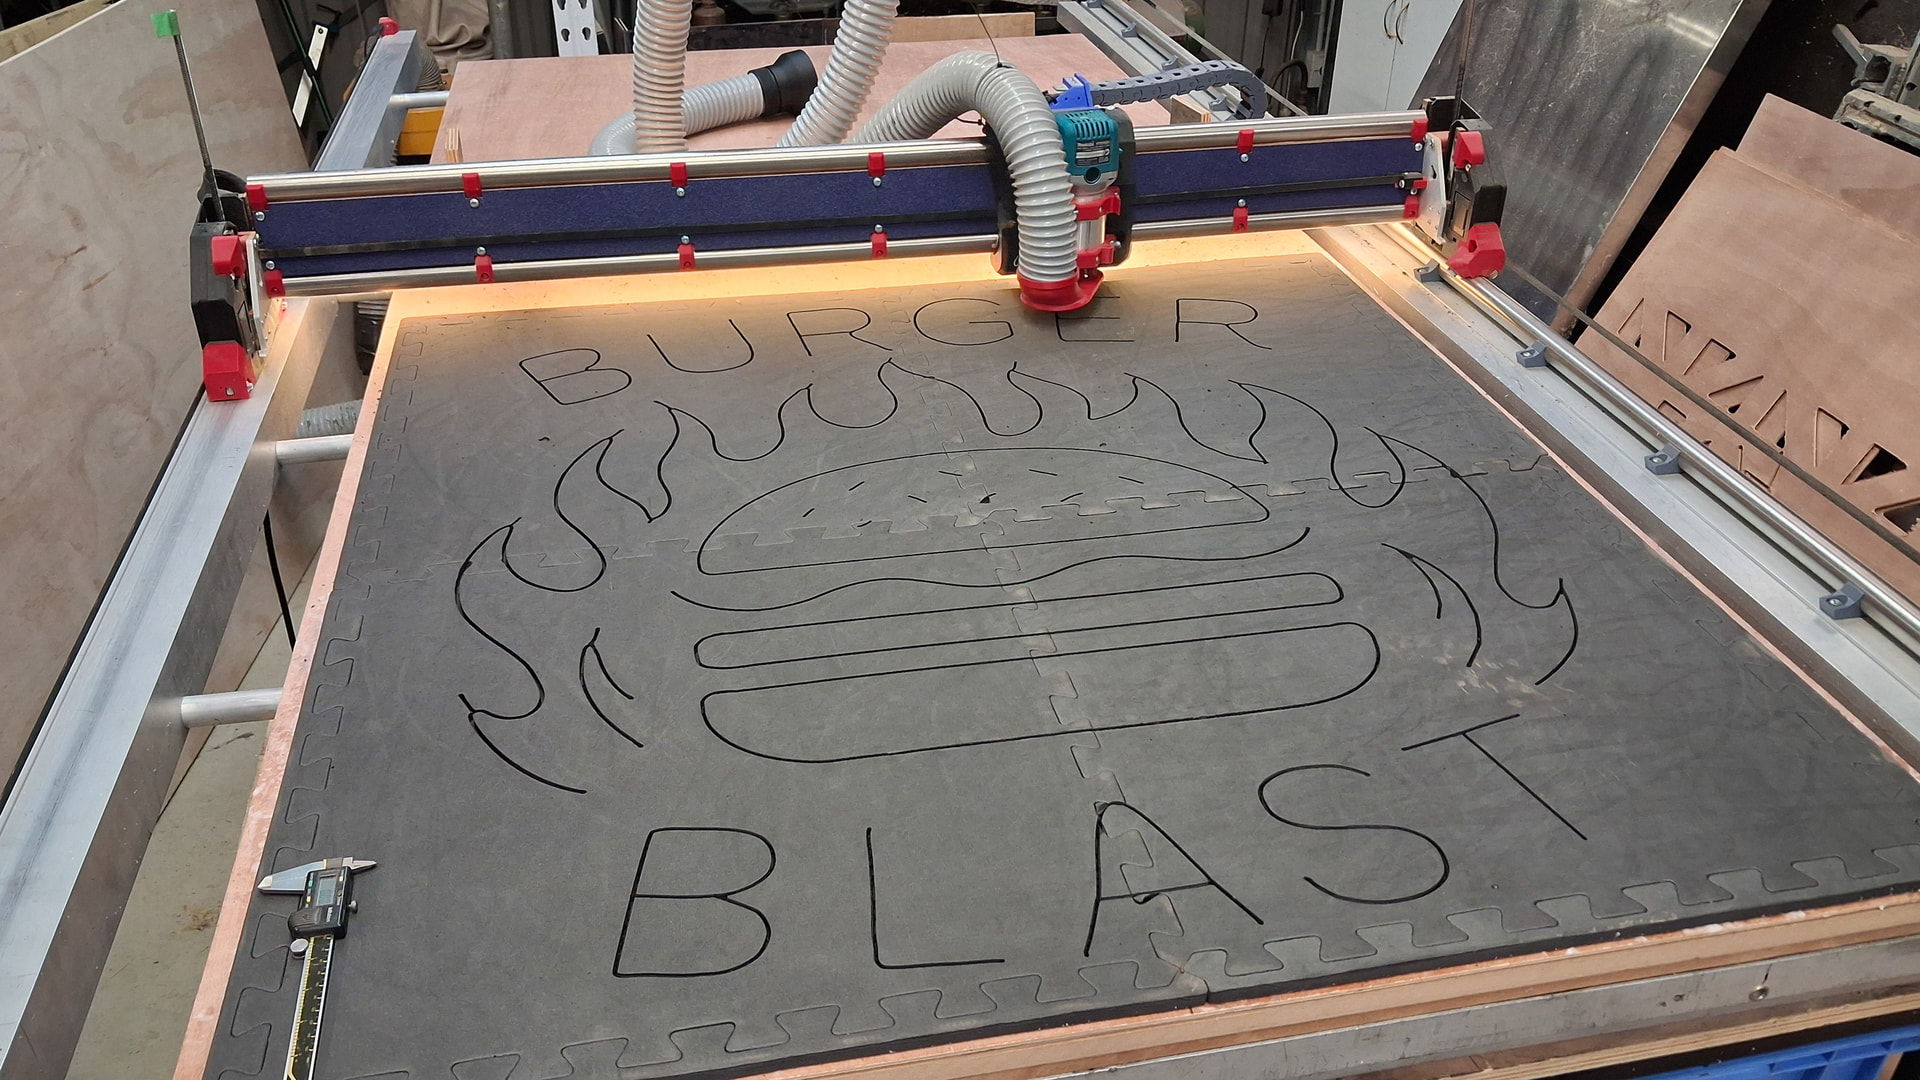
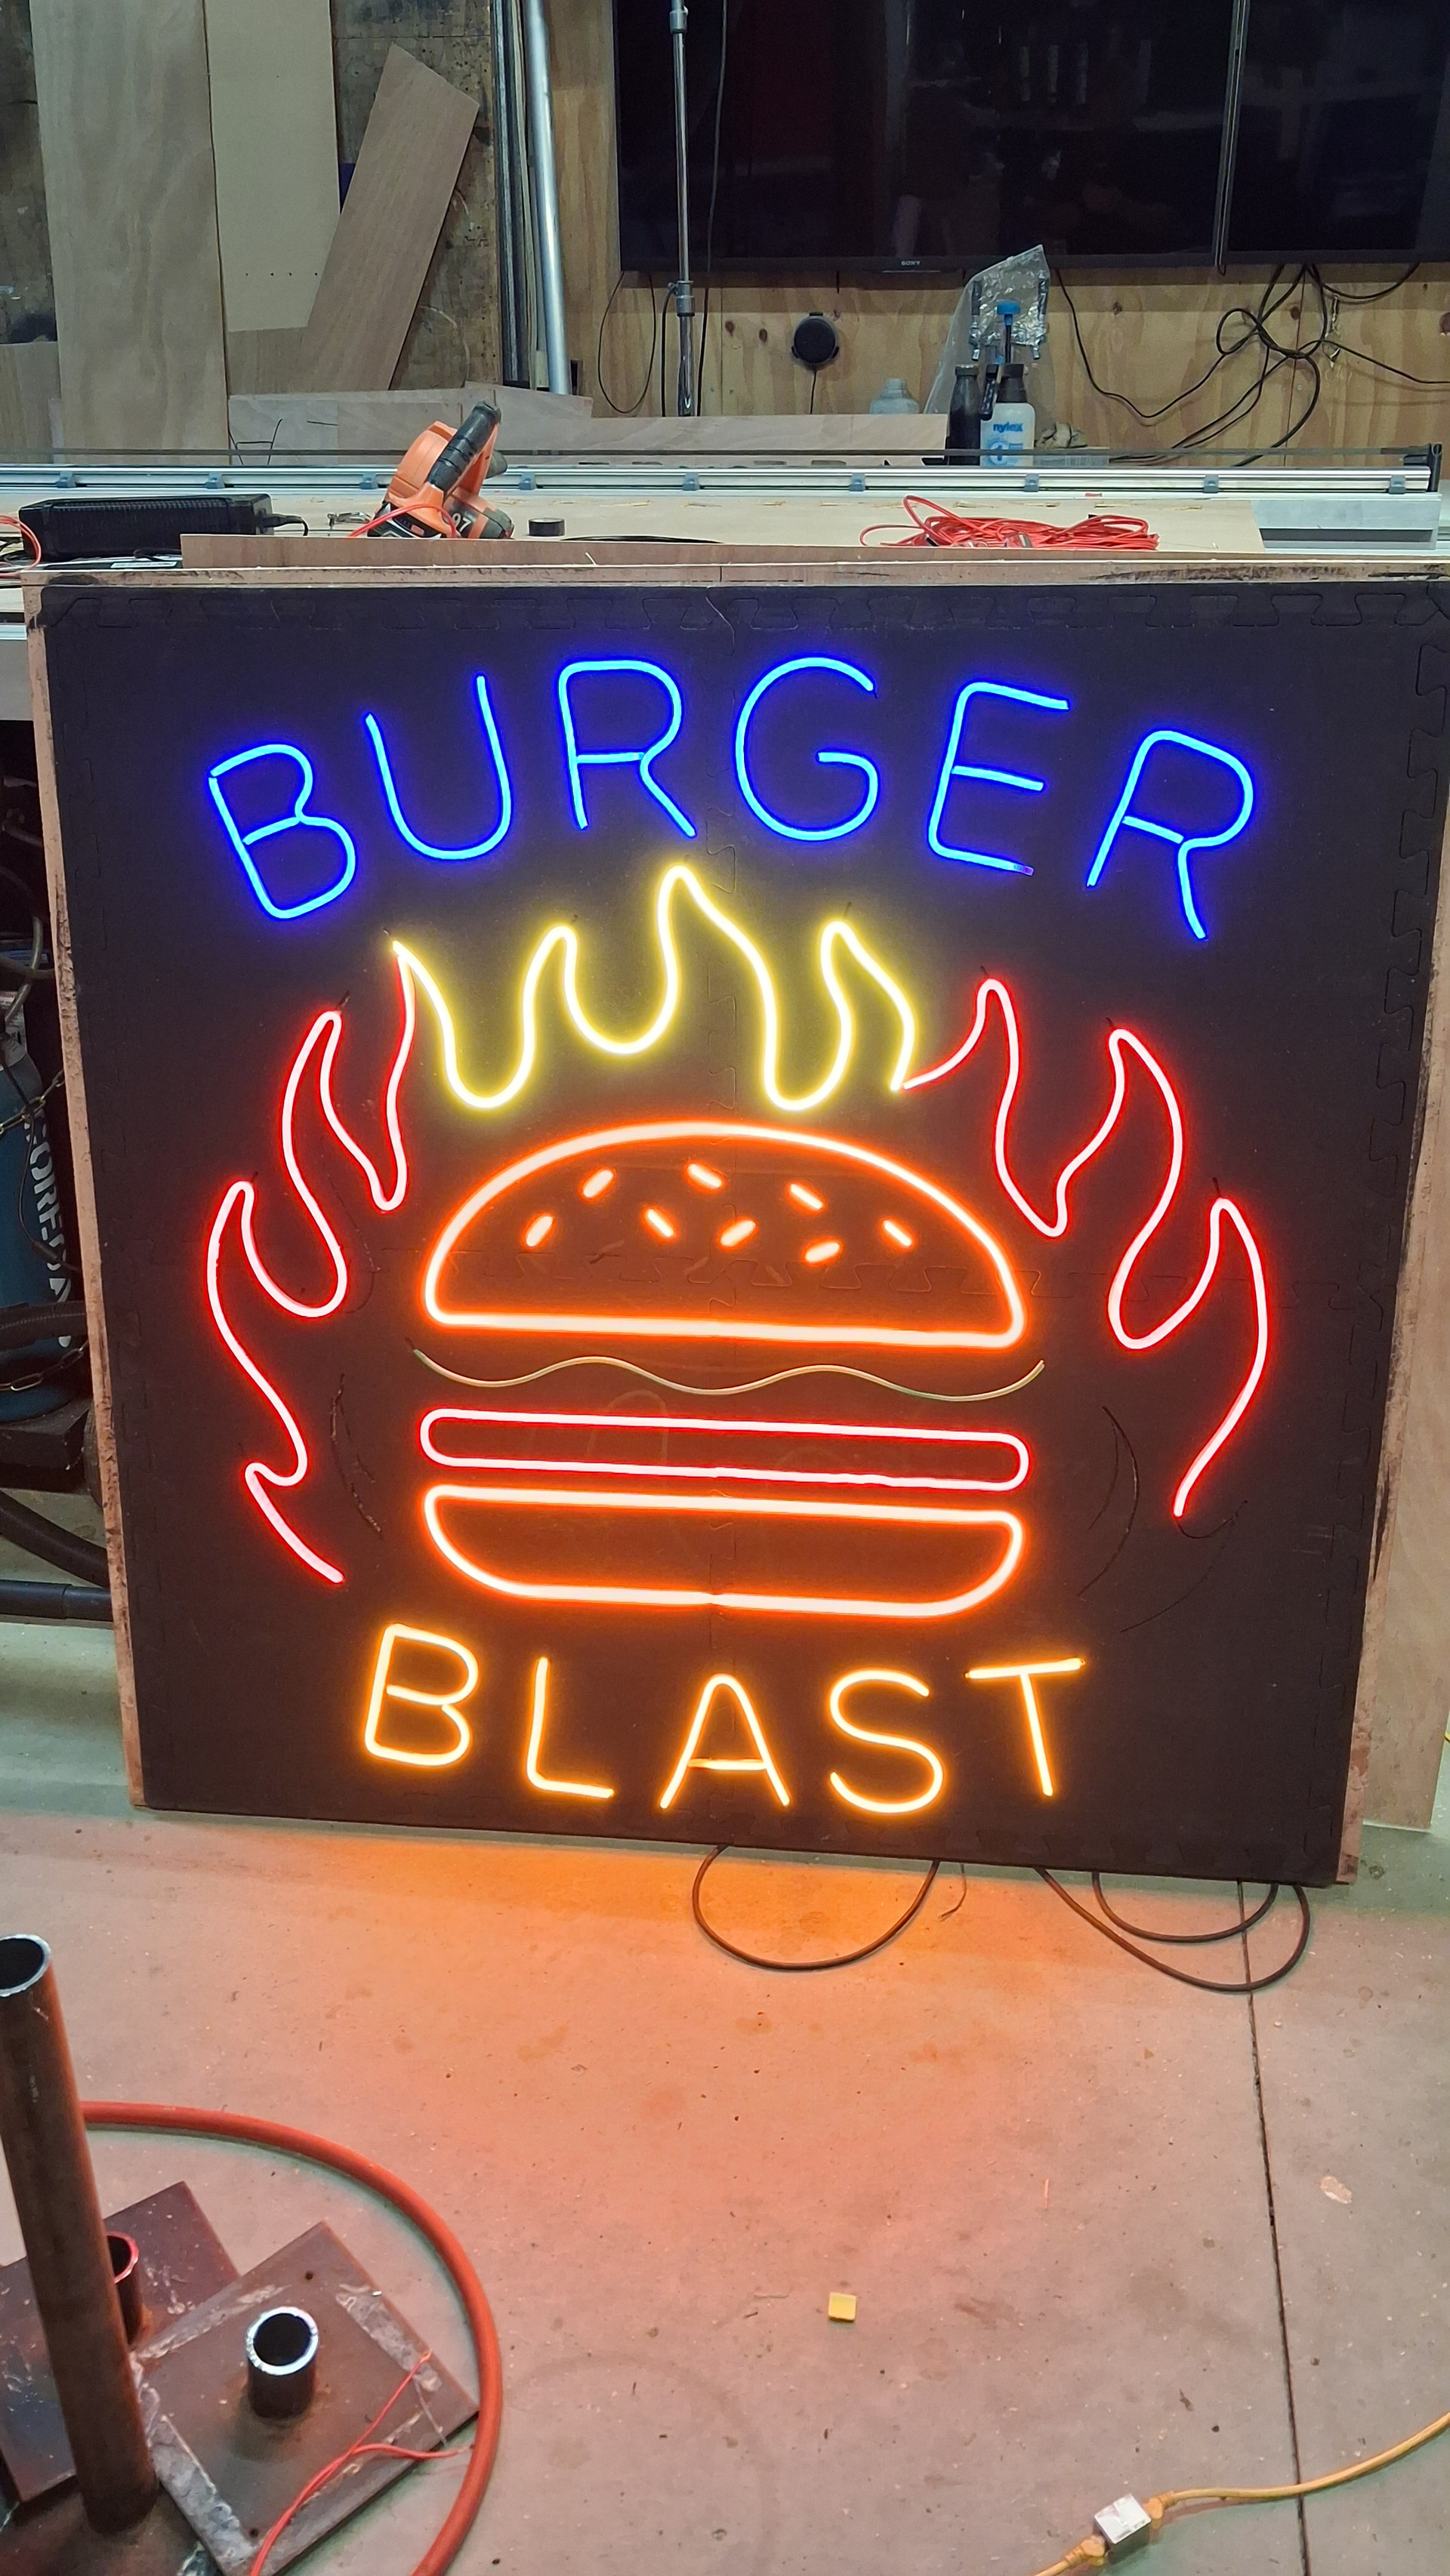
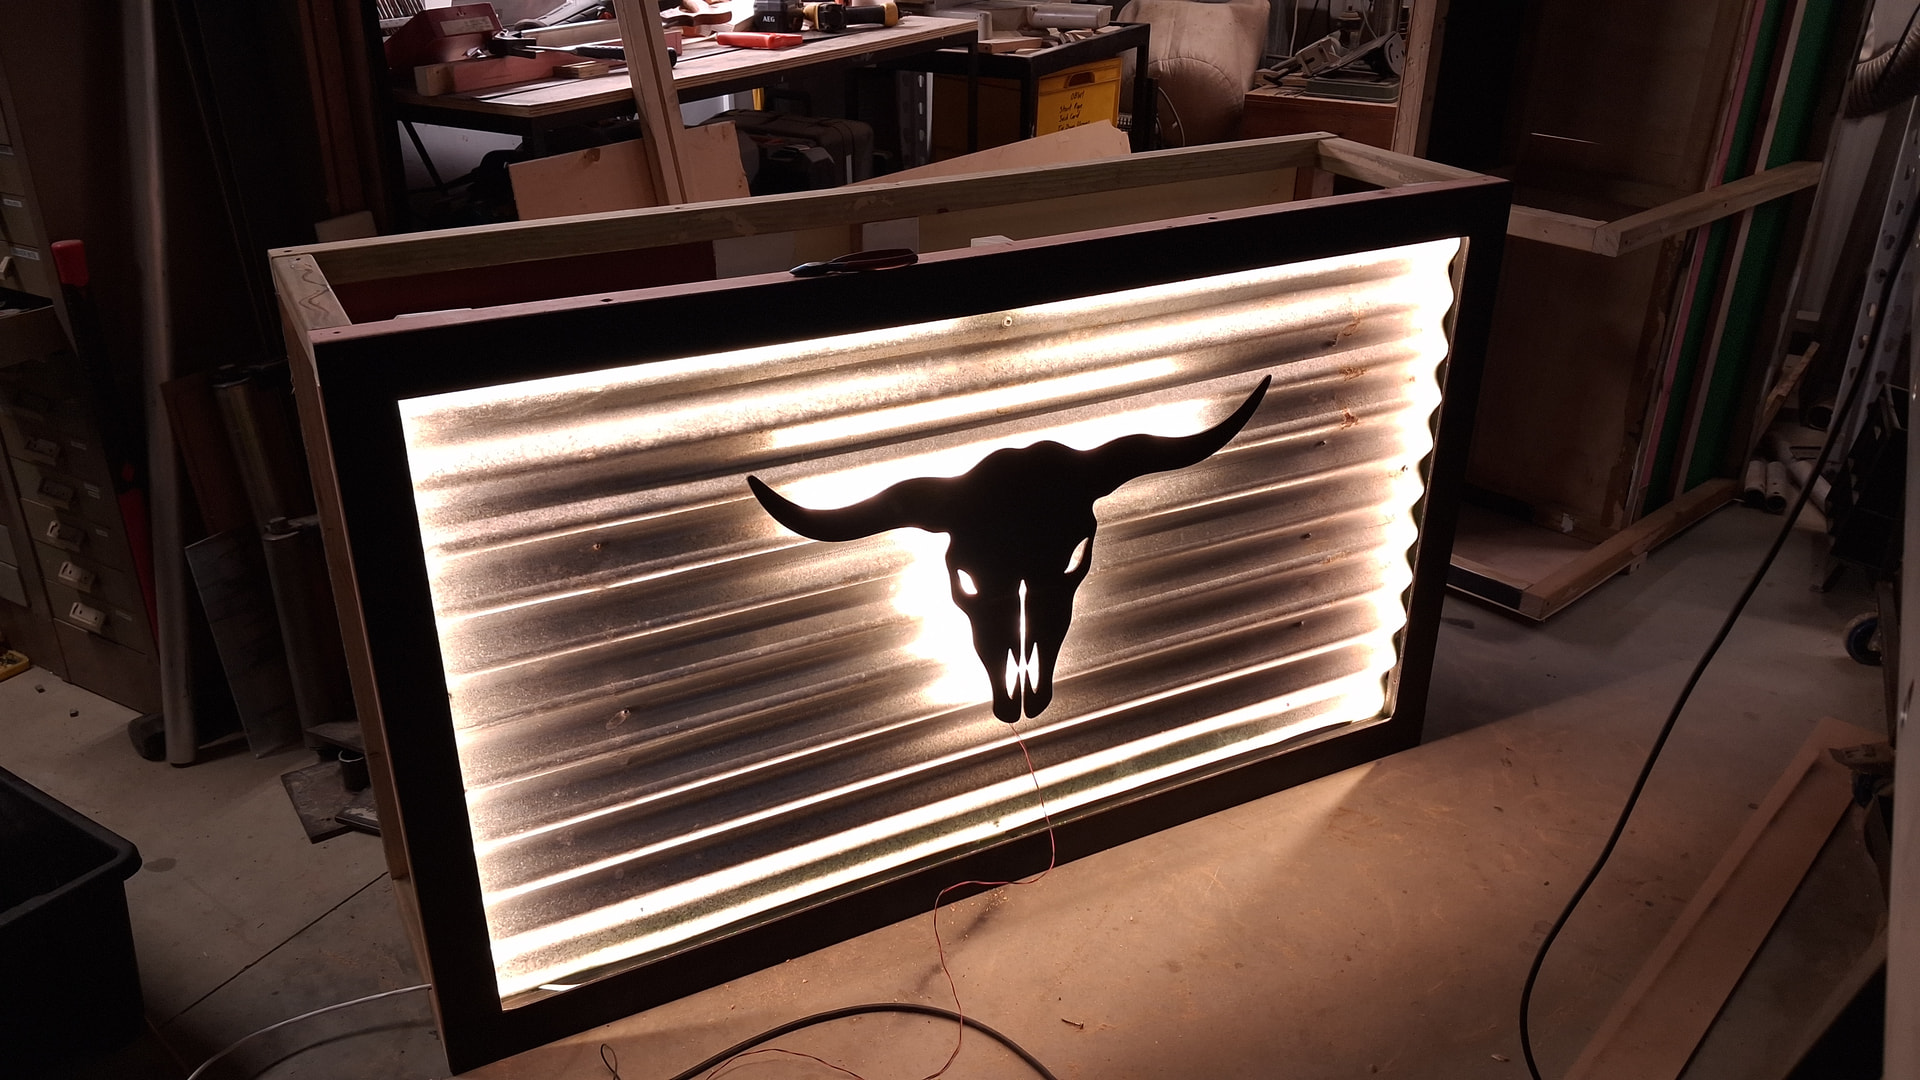
One scene is in a burger joint - fake neon sign using EVA foam gym mats as the base for the LED strips. Design brought into Estlcam as a SVG & cut with a 4mm endmill to allow a press fit for the 5mm LEDs
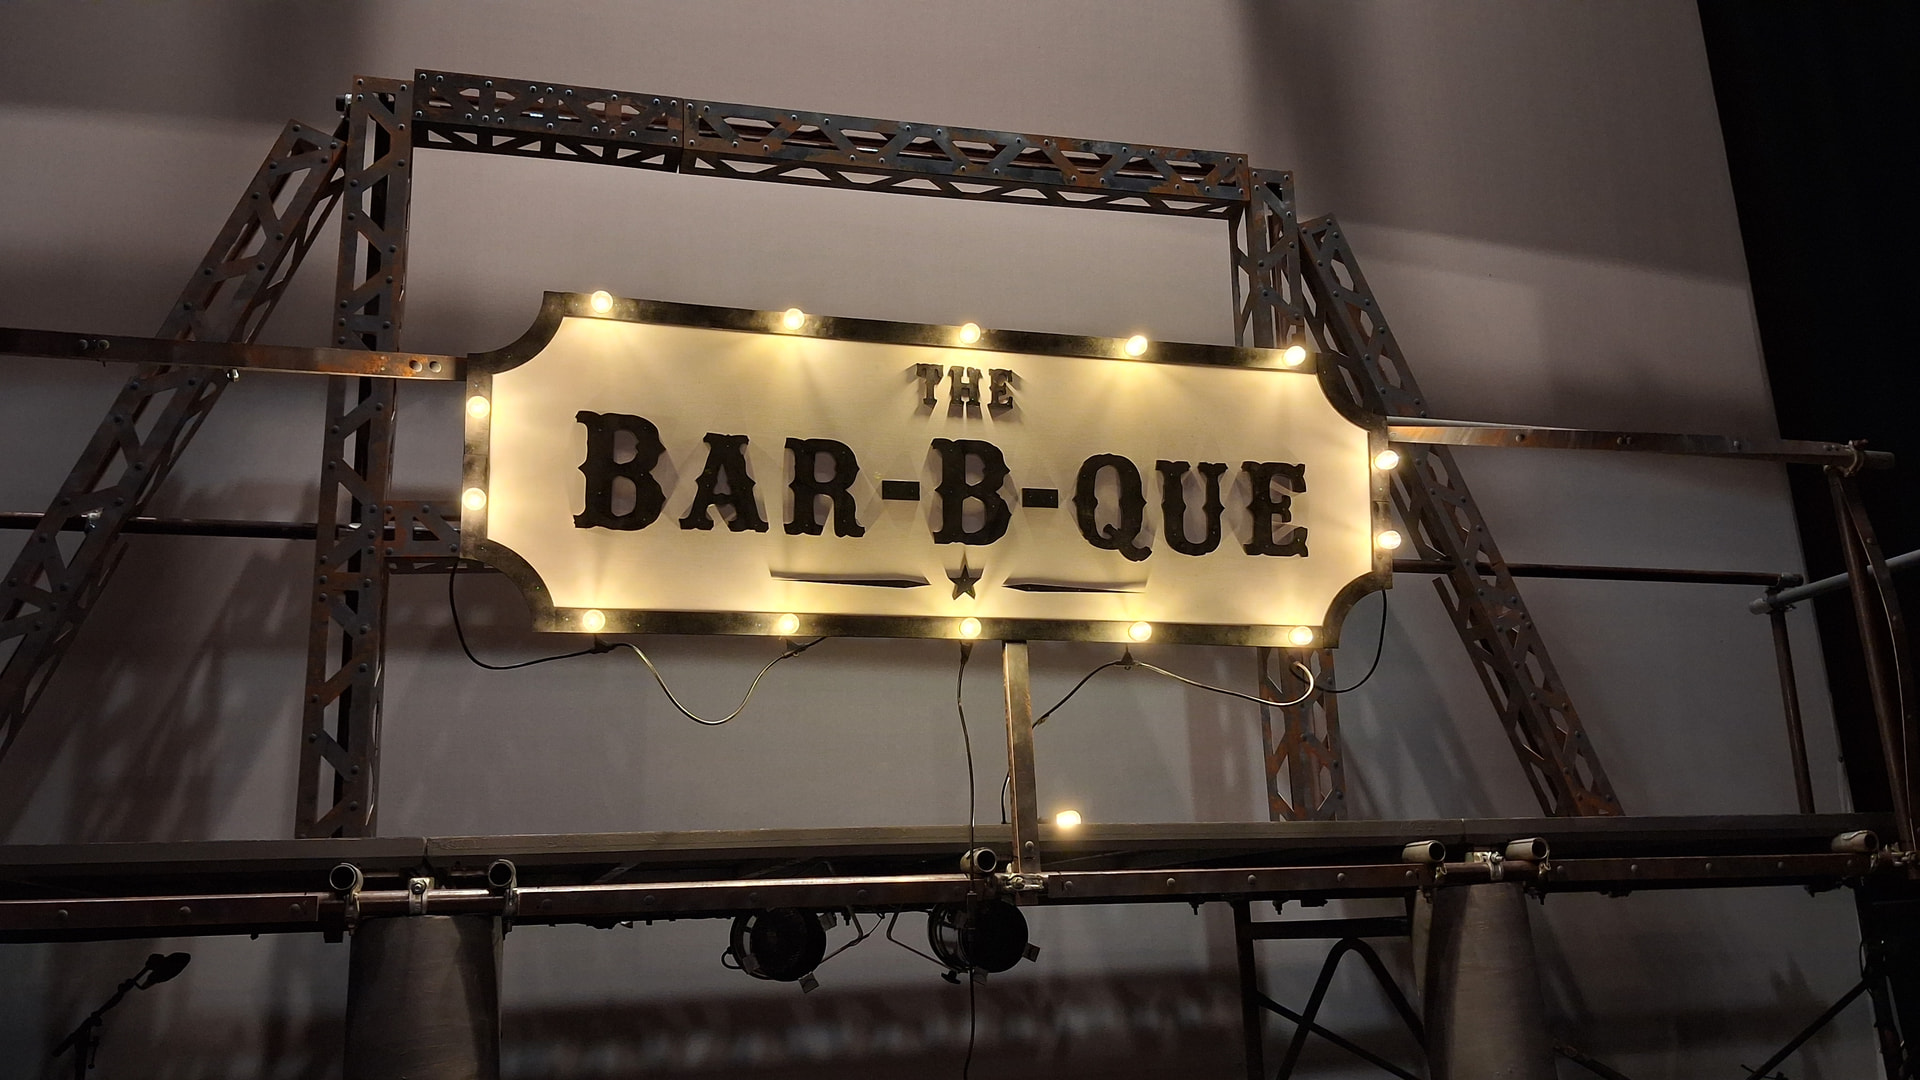
Build pic of the bar sign - again could have been painted on the backboard but easier/quicker/better to have lettering cnc’d. Black frame is in 4 parts to save material. Holes for festoon fittings cut through frame & backboard using modifications of the same dxf so all line up.
Love the use of eva foam for ledneon. I have used acrylic for it, but that is difficult to fit at times. The foam would be more forgiving and cheap. Great idea!
I was at dinner when you posted this yesterday, I finally got to show some people easily what my machines do. Minds were blown, the showstopper…the googly eyes. Such great work, thank you so much for sharing please keep it coming.
I should be the one thanking you. The amount of work put into the LR4, and the willingness to share it is remarkable.
10 or 12 years ago I started down the MechMate cnc route - great design but soon realised it was overkill for what I needed and would require a crane and truck to relocate. I built a reprap 3D printer around 15 years ago back when 3D printers were DIY.
To be able to build and successfully use a machine that brings these technologies together is a bit of a full circle moment for me, and is a credit to the design, documentation and the members of the forums.
I’m about to start on my second LR - (third if you count my LR3 false start) - a smaller machine that will be used by my brother in law and his wife in their woodworking business. V1 package should be here early next week - pictures at 11


 WOW. I cant compete!