SUCCESS! Update and key info on connecting the new pendant to the Jackpot driving the LowRider
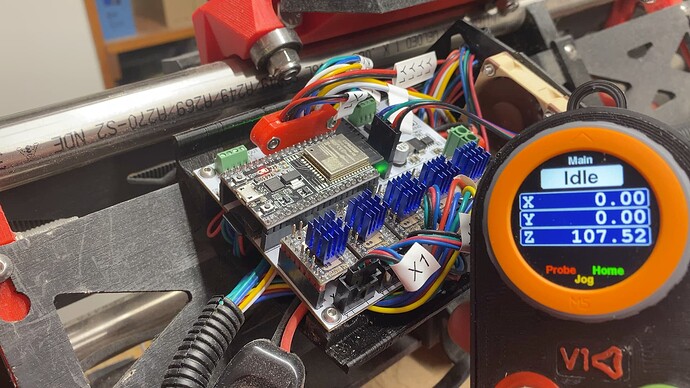
I now have the new pendant working with my LowRider, connected to the Jackpot board, and moving my LowRider around with it! Very cool.
Connecting to the board involves both a very simple physical wiring connection, and one simple software change, by adding a short section to your config.yaml file.
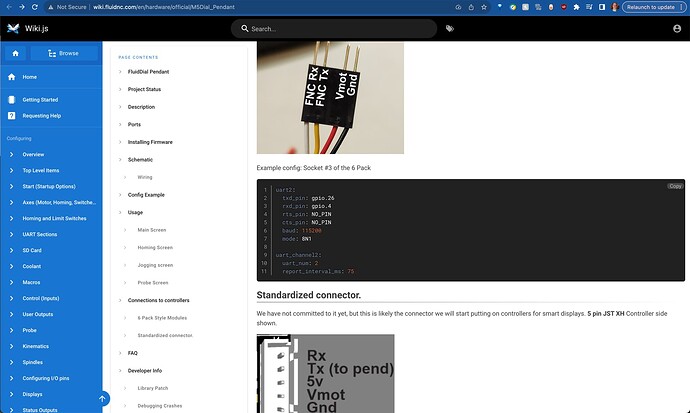
In the docs by Bart Dring, there is a section called “Connections to controllers” and it illustrates both the wiring and the config edit:
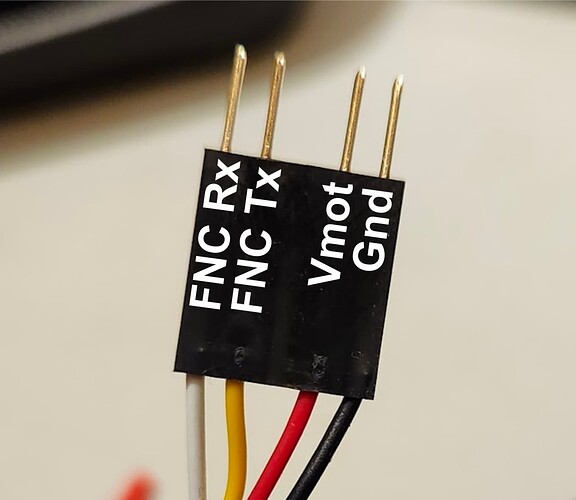
The wiring setup shown there looks like this:
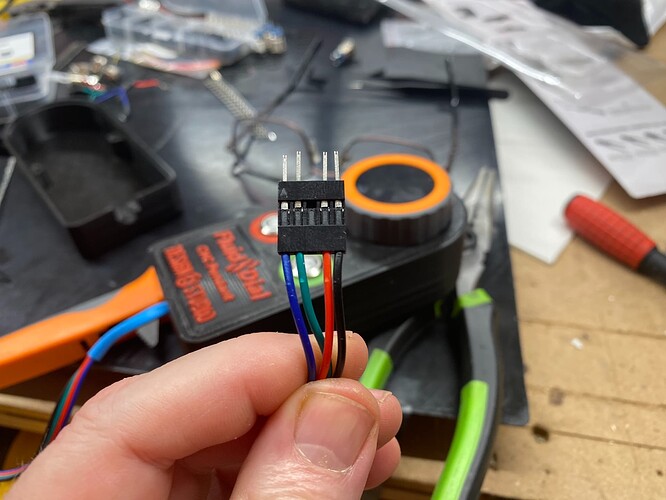
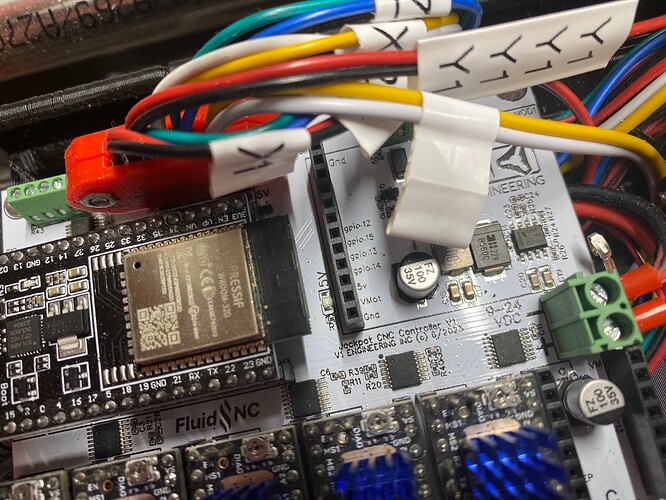
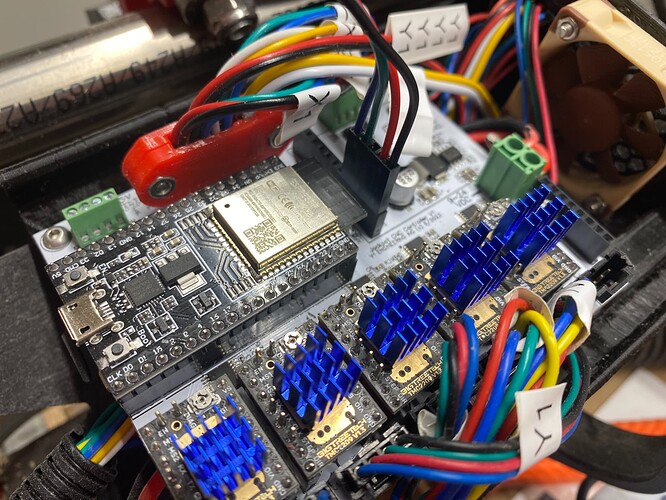
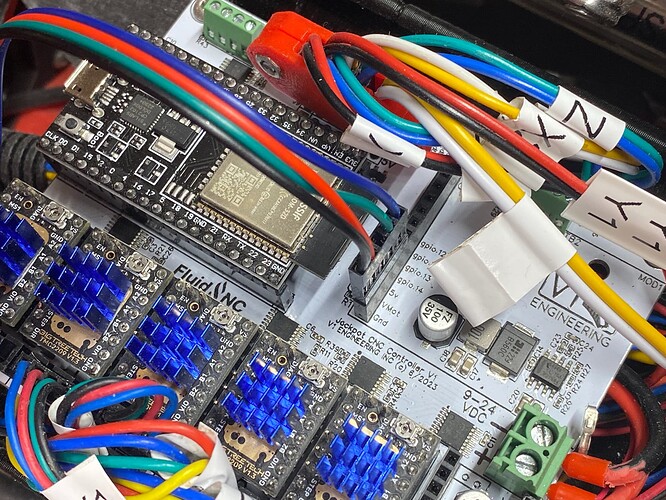
And here’s how mine looks (the only colors on mine that match his are red and black for the 12v power):
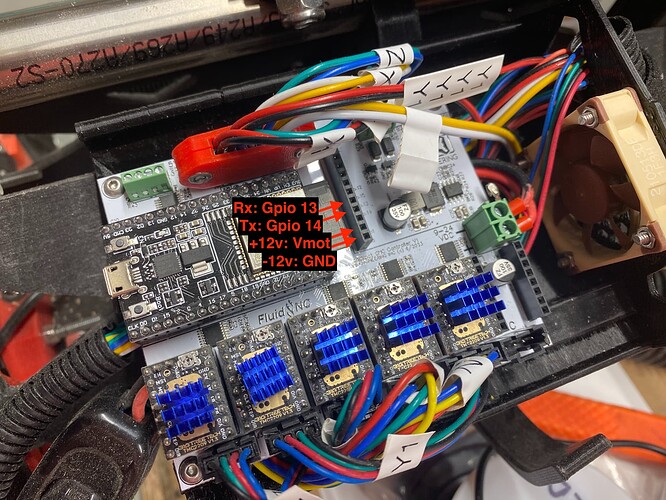
And here’s where that gets plugged into the Jackpot board:
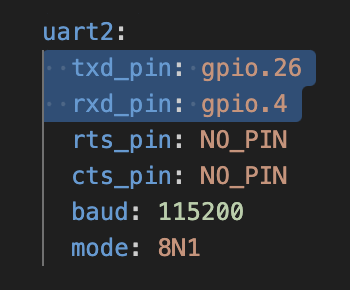
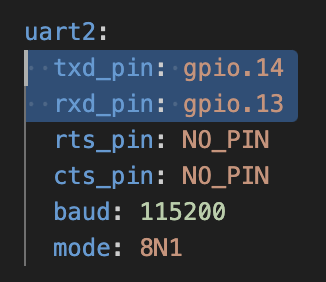
Now, while that’s the same place Bart Dring is suggesting it be plugged in, the GPIO numbers on the Jackpot are different. This means the software changes (to the config.yaml file) need to edited from how how Bart Dring lists them in the docs. Specifically, the docs show Tx (transmit or send) happening on Gpio 26, but on the Jackpot the Tx would be happening on Gpio 14, and the docs show Rx (receive) happening on Gpio 4, but on the Jackpot the Rx would be happening on Gpio 13.
Suggested config code from Bart (for 6-Pack boards):
Adjusted config code for installation on a Jackpot board:
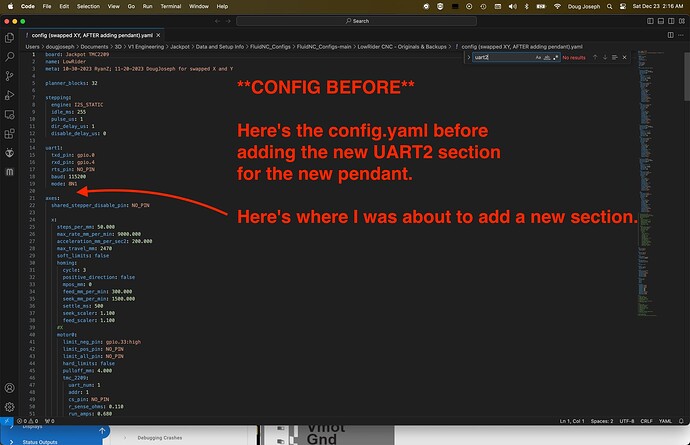
CONFIG BEFORE
Here’s the config.yaml before adding the new UART2 section for the new pendant
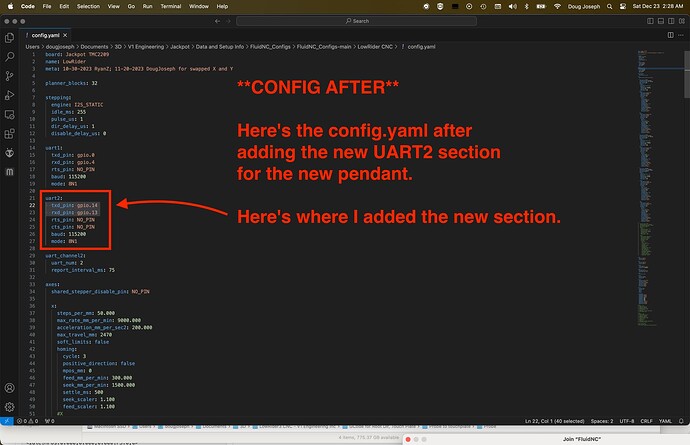
CONFIG AFTER
Here’s the edited config.yaml after adding the new UART2 section for the new pendant
