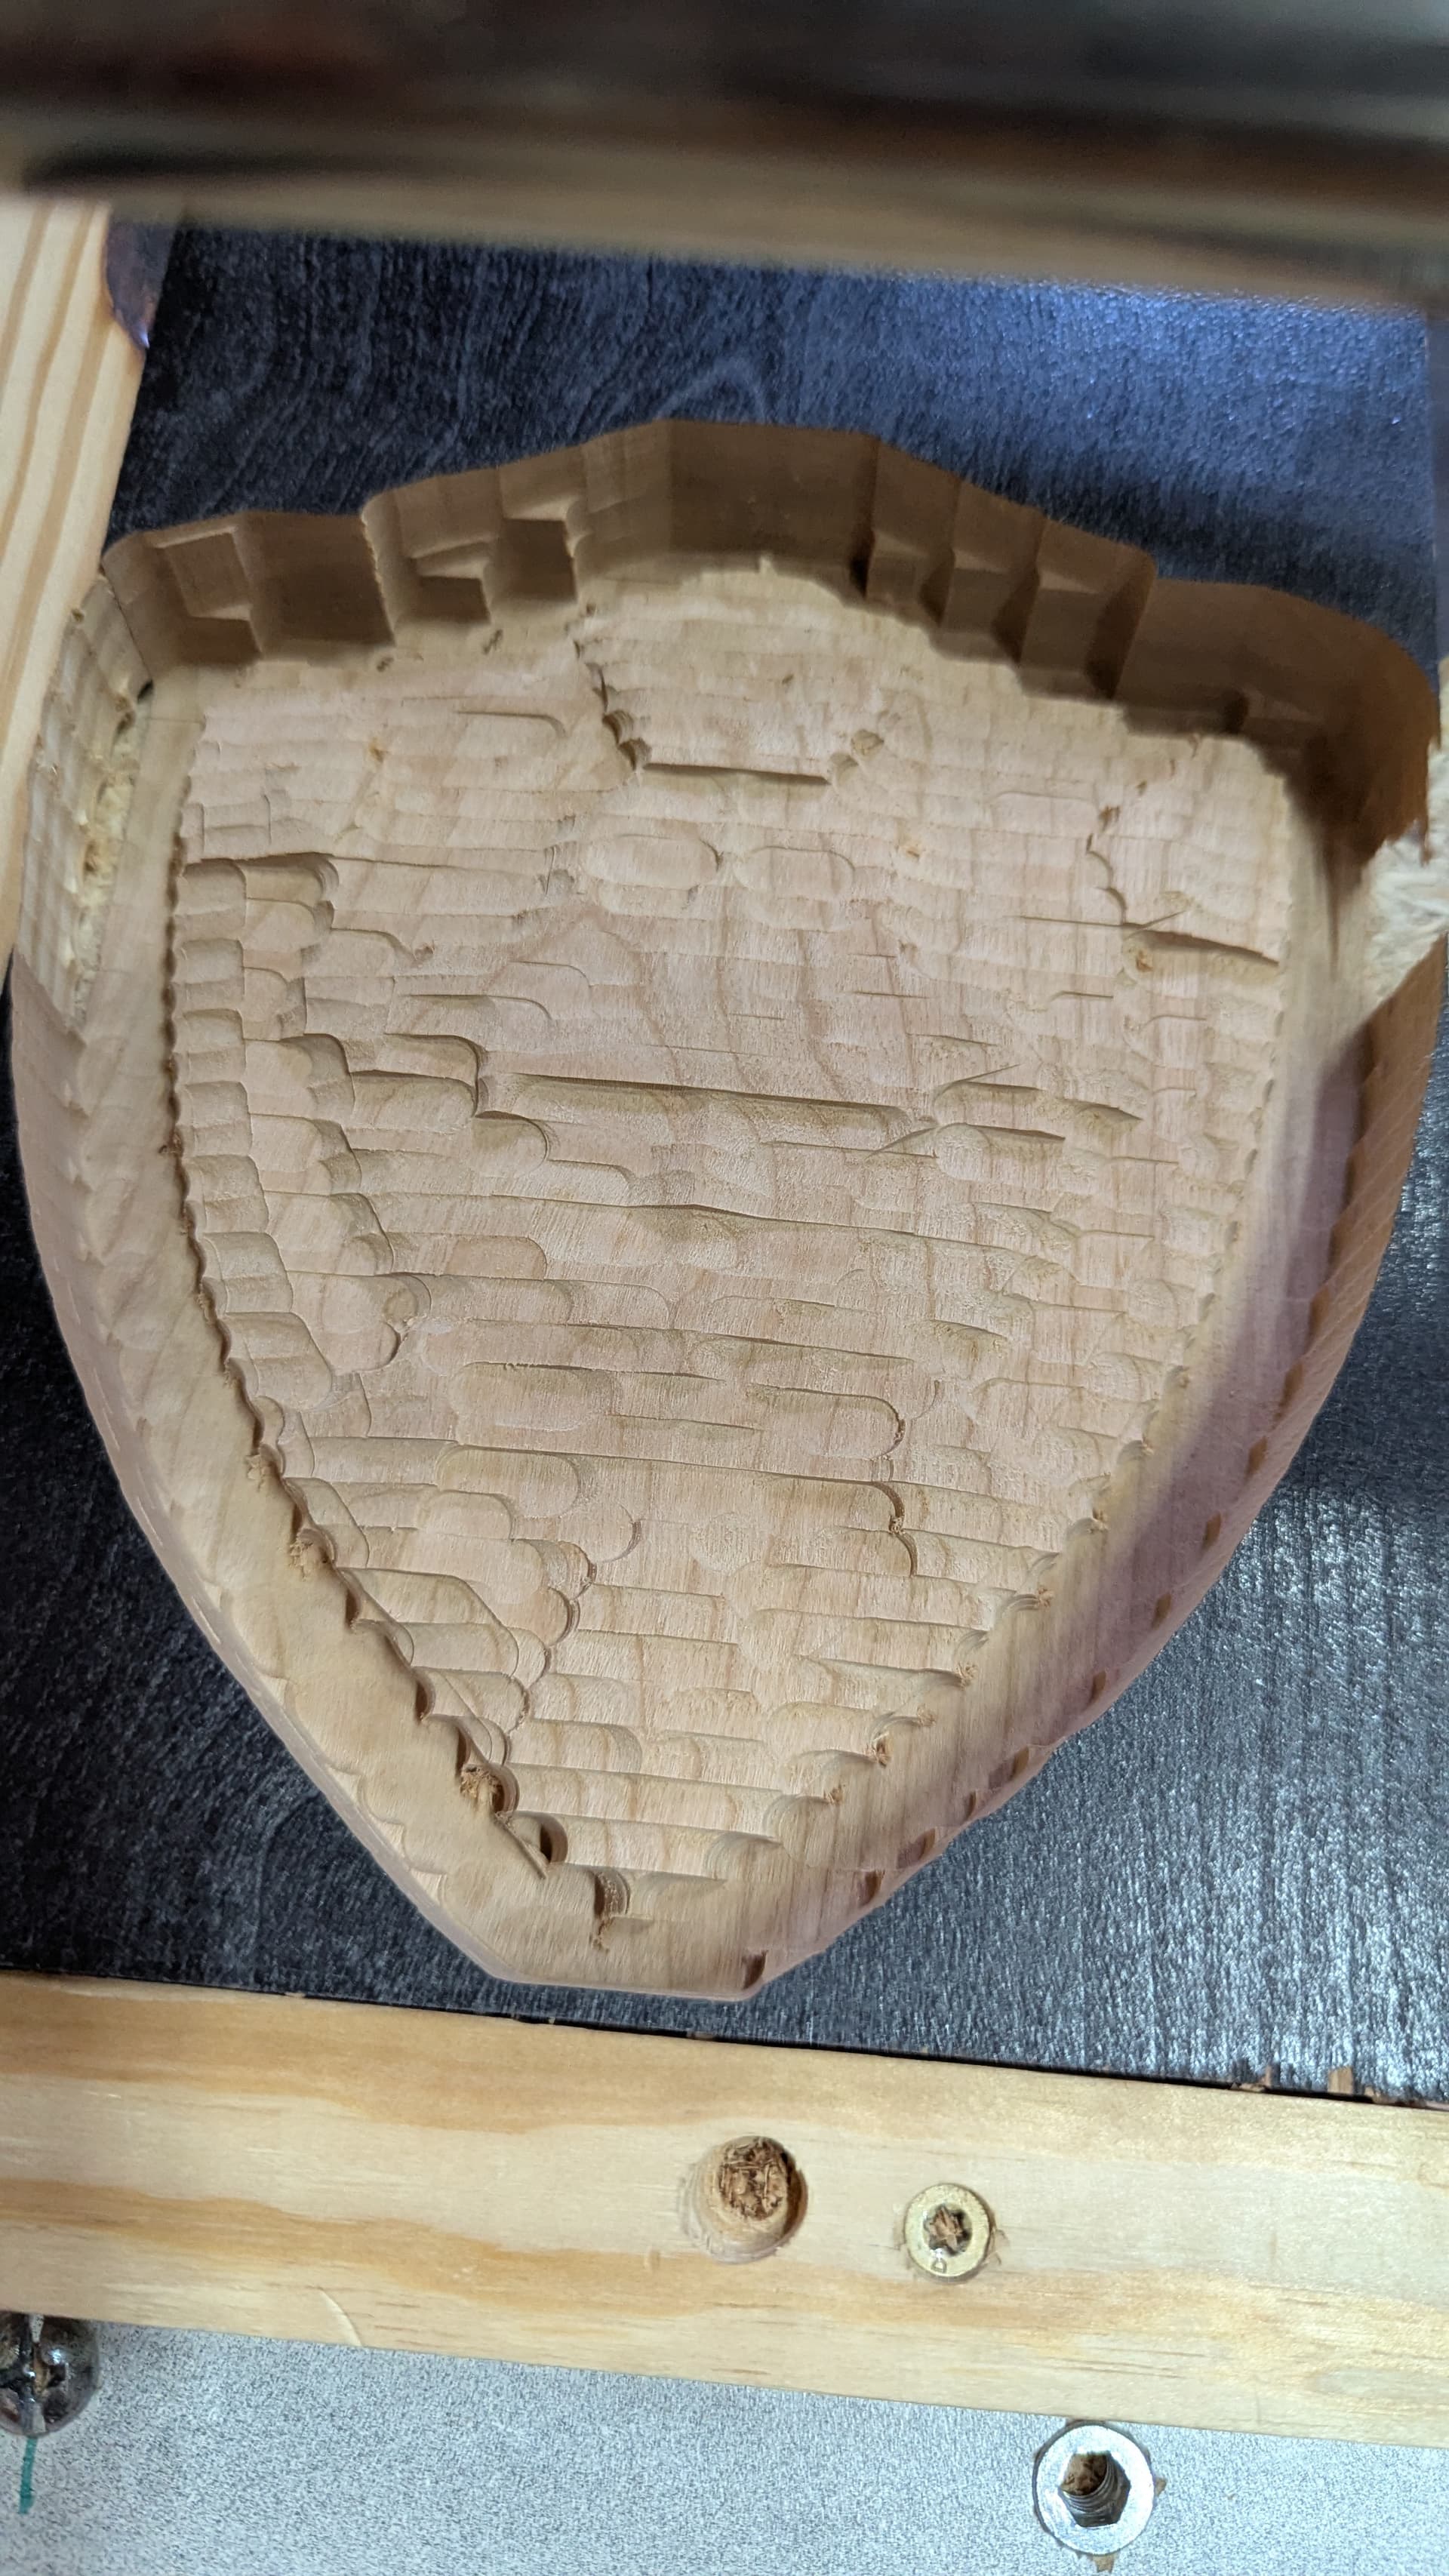
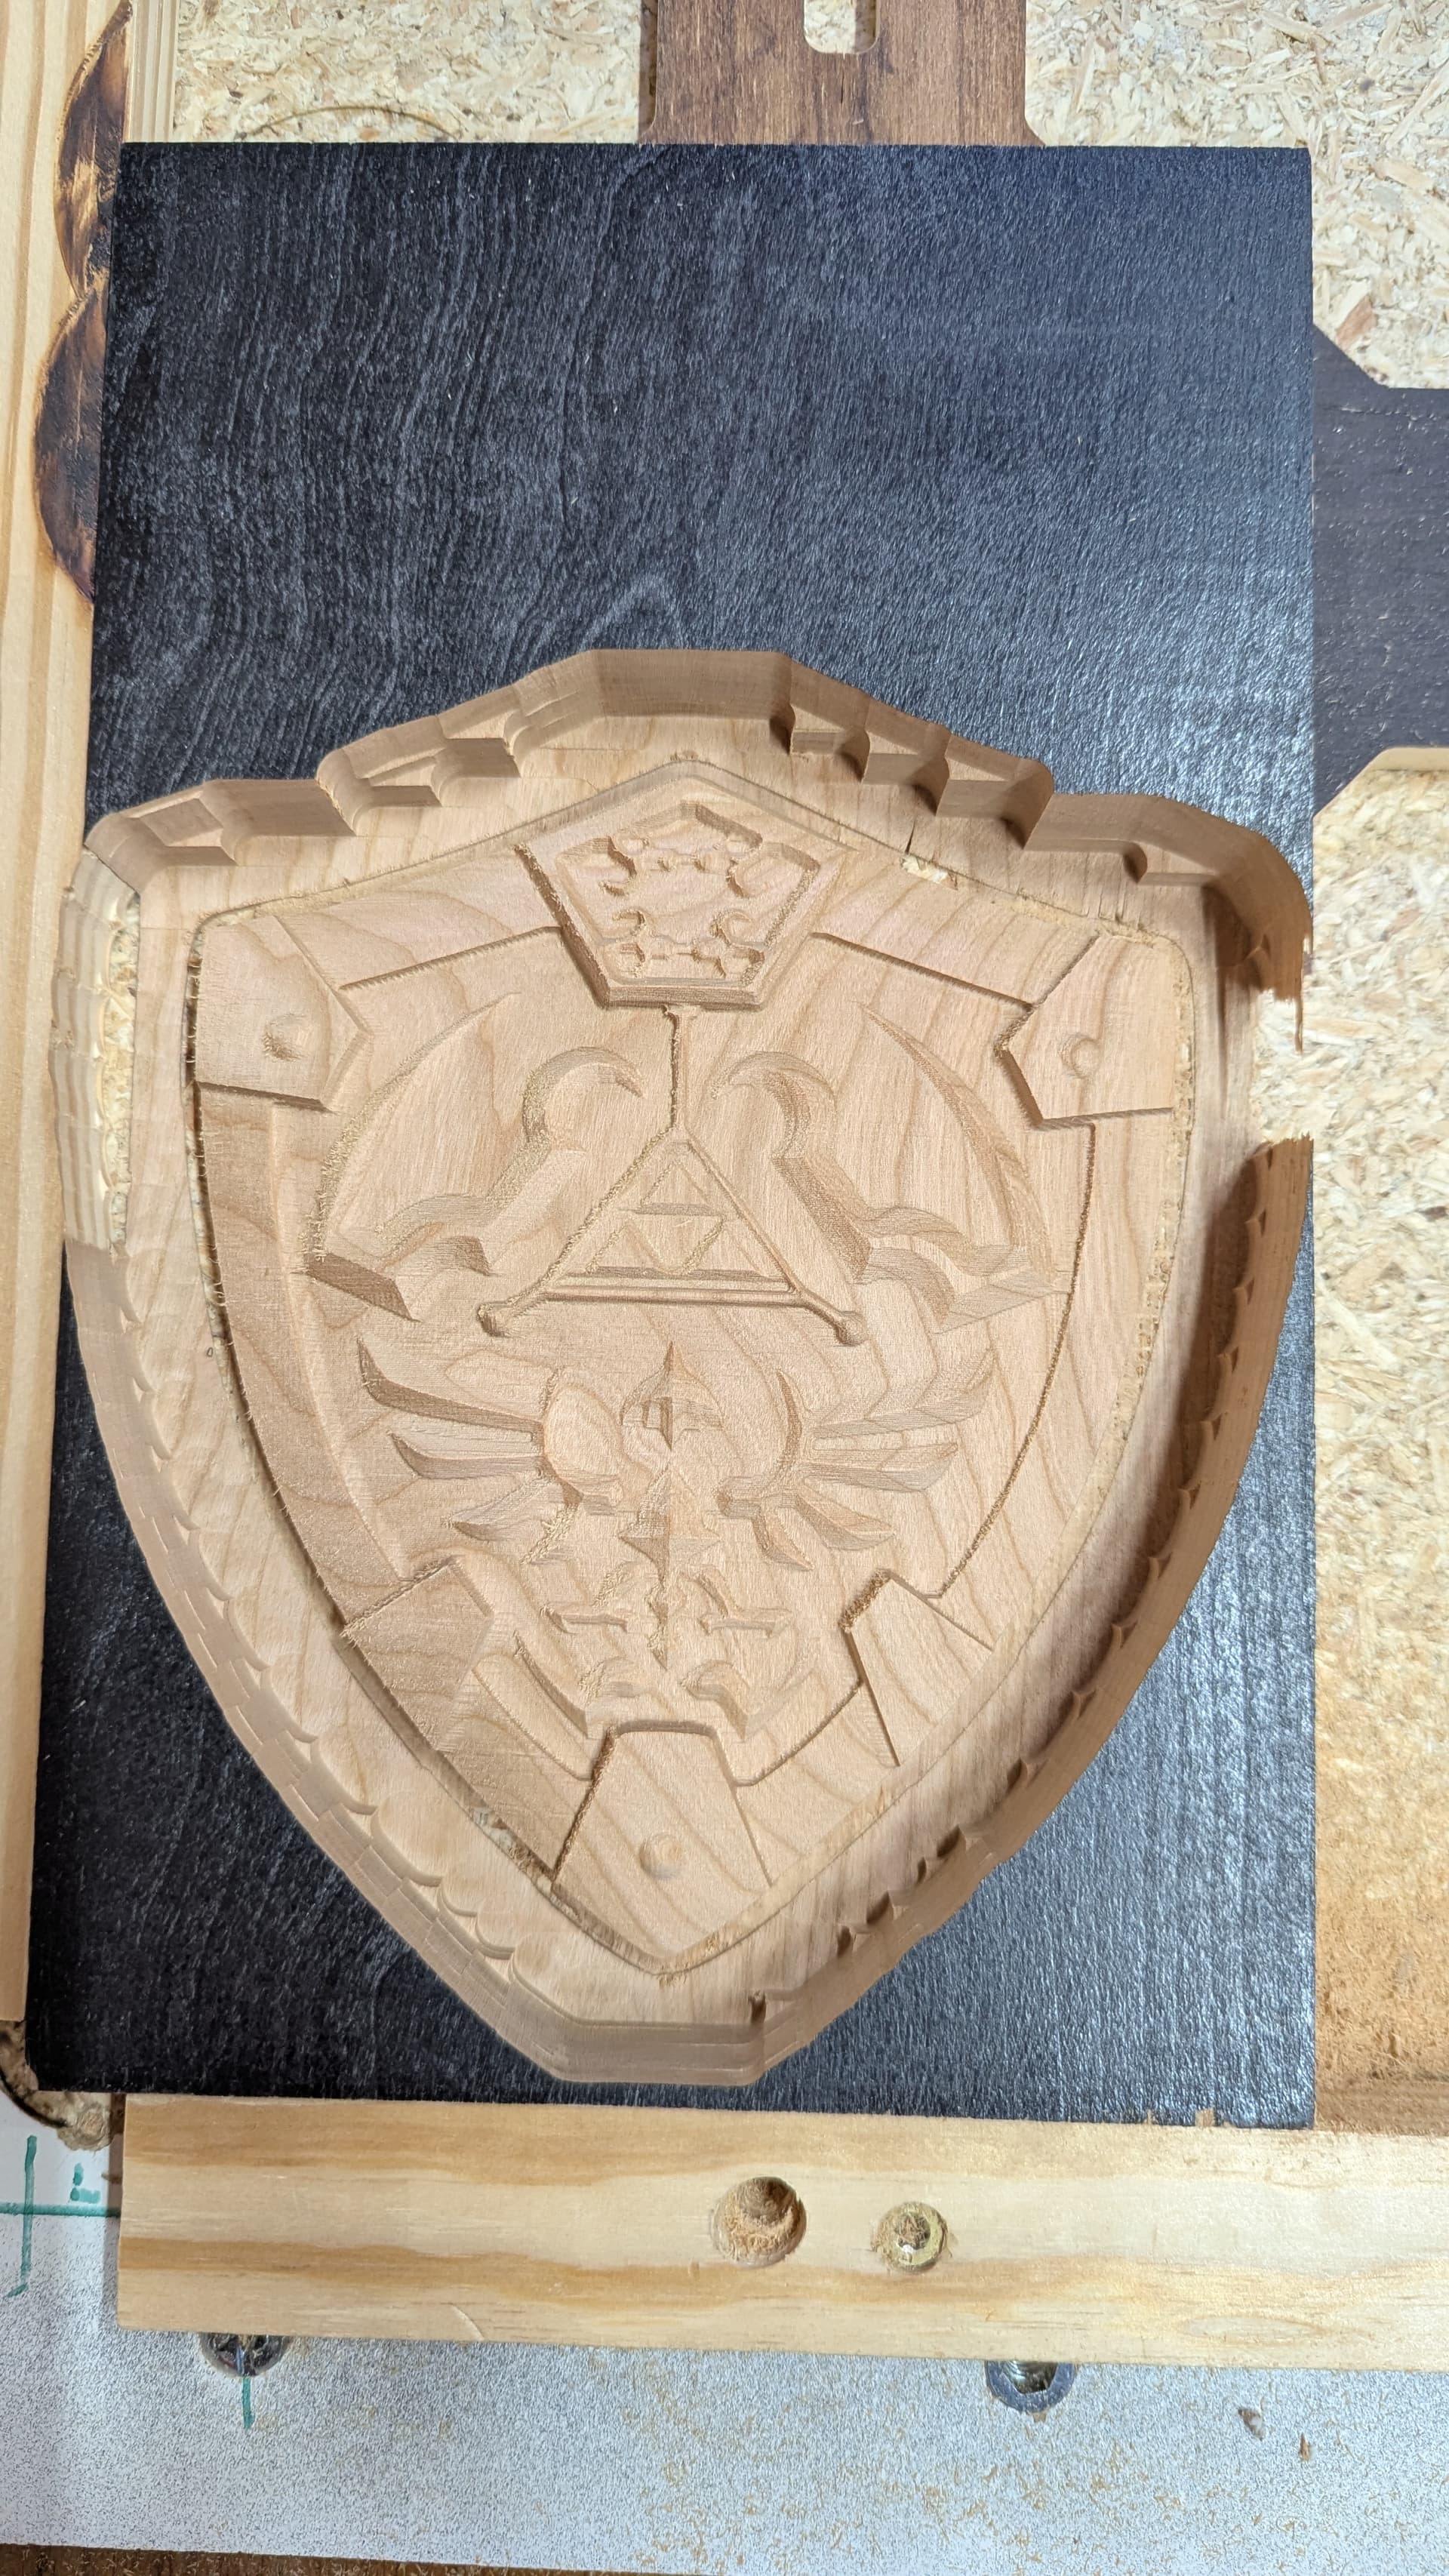
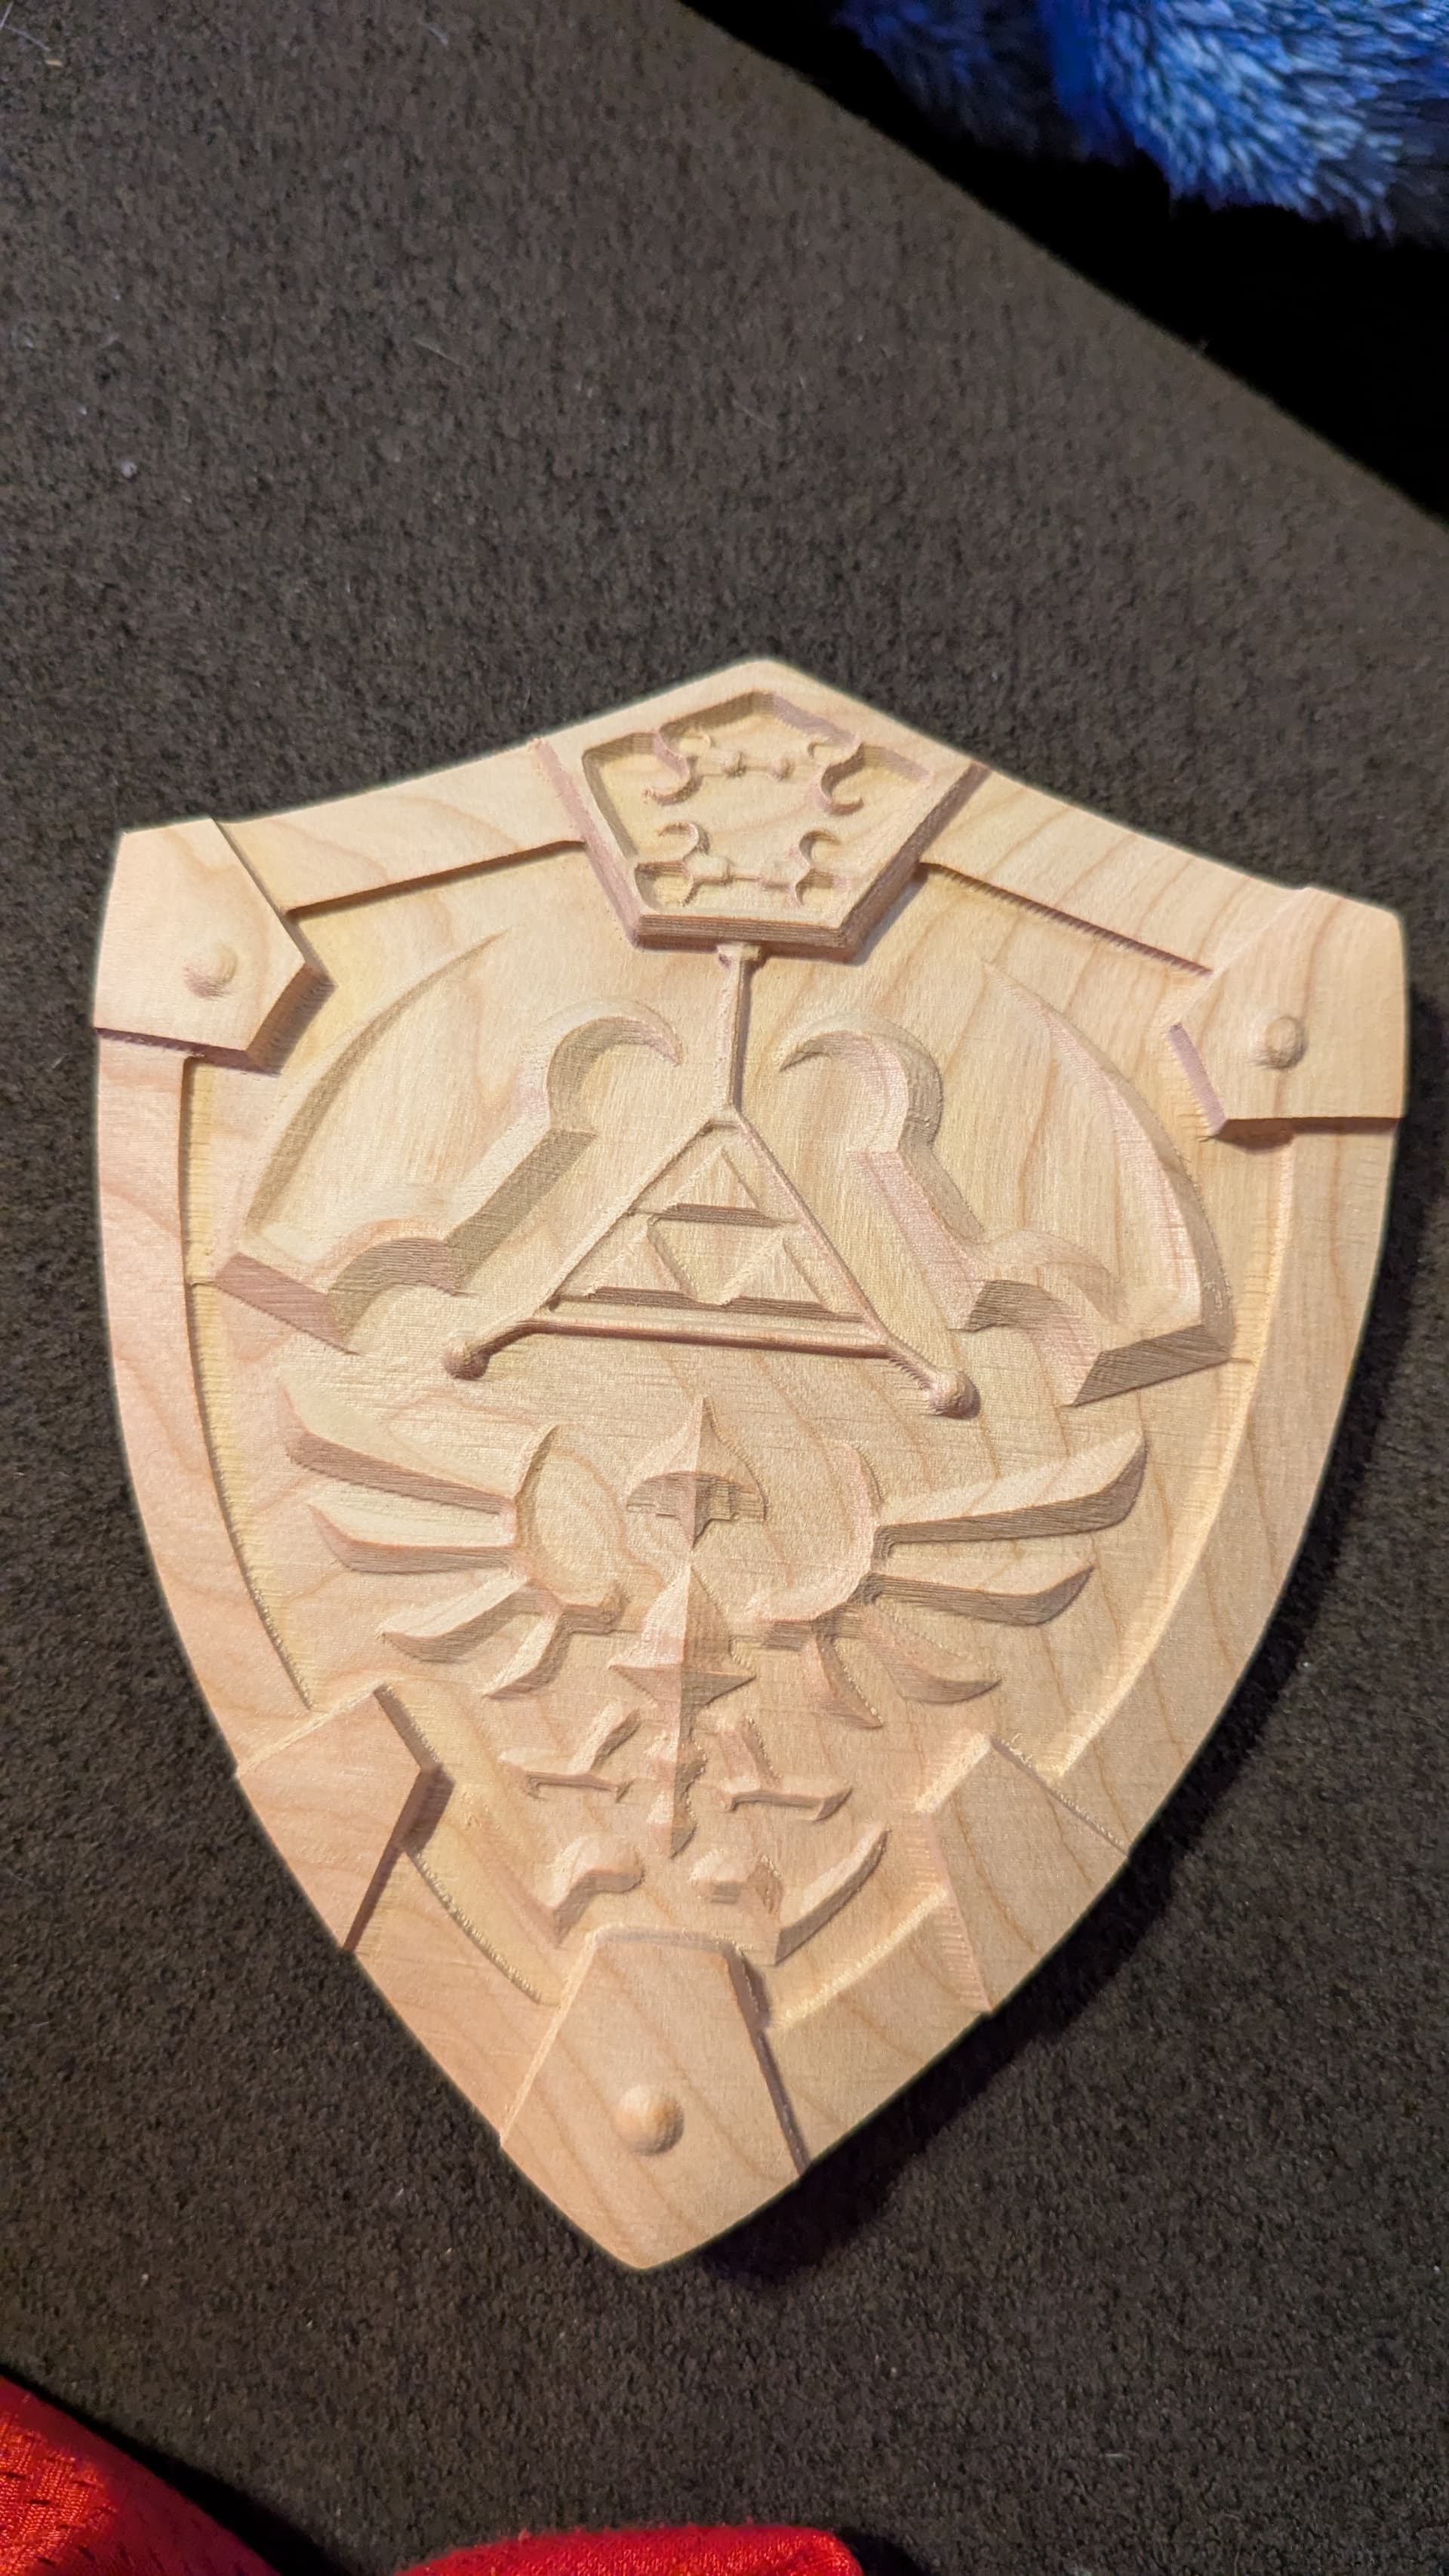
Always wanted to try 3D carve on the MPCNC, but it seemed intimidating as I don’t even know what I’m doing with normal CNC projects as it is lol. Gave it a shot anyway using Estlcam and mostly just winged it. Really though there wasn’t a lot of settings to worry about aside from overall size and stepover. I just let Estlcam do its thing. Used very conservative stepover settings (2% finishing pass) and it’s not a very big carving (6 inches roughly), but I’m very impressed!
Definitely need to get my tool settings dialed in and then probably play with bumping up the stepover on the finishing pass to try and speed things up. Took about 3.5 hours total (30 min roughing with 1/4" downcut then 3hr with the engraving bit) which I’m sure can be drastically improved. That was the first time I ever used the engraving bit so I ran it really slow, way slower than necessary I’m sure. Feeds/speeds/stepover it’s all a foreign language I’m trying to learn still
I just updated to Estlcam v12 same day as trying the 3D carve, was using v11 prior. It seemed really intuitive to do the 3D carve with it. It’s the only CAM software I’ve ever used though as I had zero experience with any of this before building my MPCNC and that’s what the directions recommended using. The lil pop up info boxes when you hover over a setting basically walked me through it.
You did a fantastic job, I want to make that clear. I am actually asking the questions because it came out great and that time does not actually sound too bad.
I think if you used two bit sizes that were closer together you will save some time. Like a 1/4" then down to a 1/16" is a large step in “resolution”. So if you spend twice as much time roughing, you might need to do half as much total finishing. So a 1/8" roughing then to a 1/16" finishing ball end, or heck maybe even a 1/16" roughing with a lot less material to remove in roughing.
There is also the waterline finishing that works well on some shapes.
I love this, I really want to dive into more carving. @dwkisker has had some flawless carves at the RMRRF’s he convinced me to by some 1/16" 2 degree taper ball endmills. Really I just love watching a carve come to life on the machine.
my youngest kid just turned 2 a month ago so hobbies got put to the side for a bit. On the flip side of that though, my 4yr old has realized we can 3D print “toys” so now 3D printing and CNC is something we started doing together, which has been a lot of fun. “Daddy, let’s go see what layer my dragon is on!”
That makes sense!
It was a: “SpeTool Ball Nose Route Bit: Tip diameter 0.5mm, 4.82 degree single side angle, 1/4” shank" - was in a 1/4" shank variety pack, wasn’t selected for any special reason. I got the variety pack for the upcut/downcut and V bits, didn’t even input the bit into Estlcam until I tried making the shield.