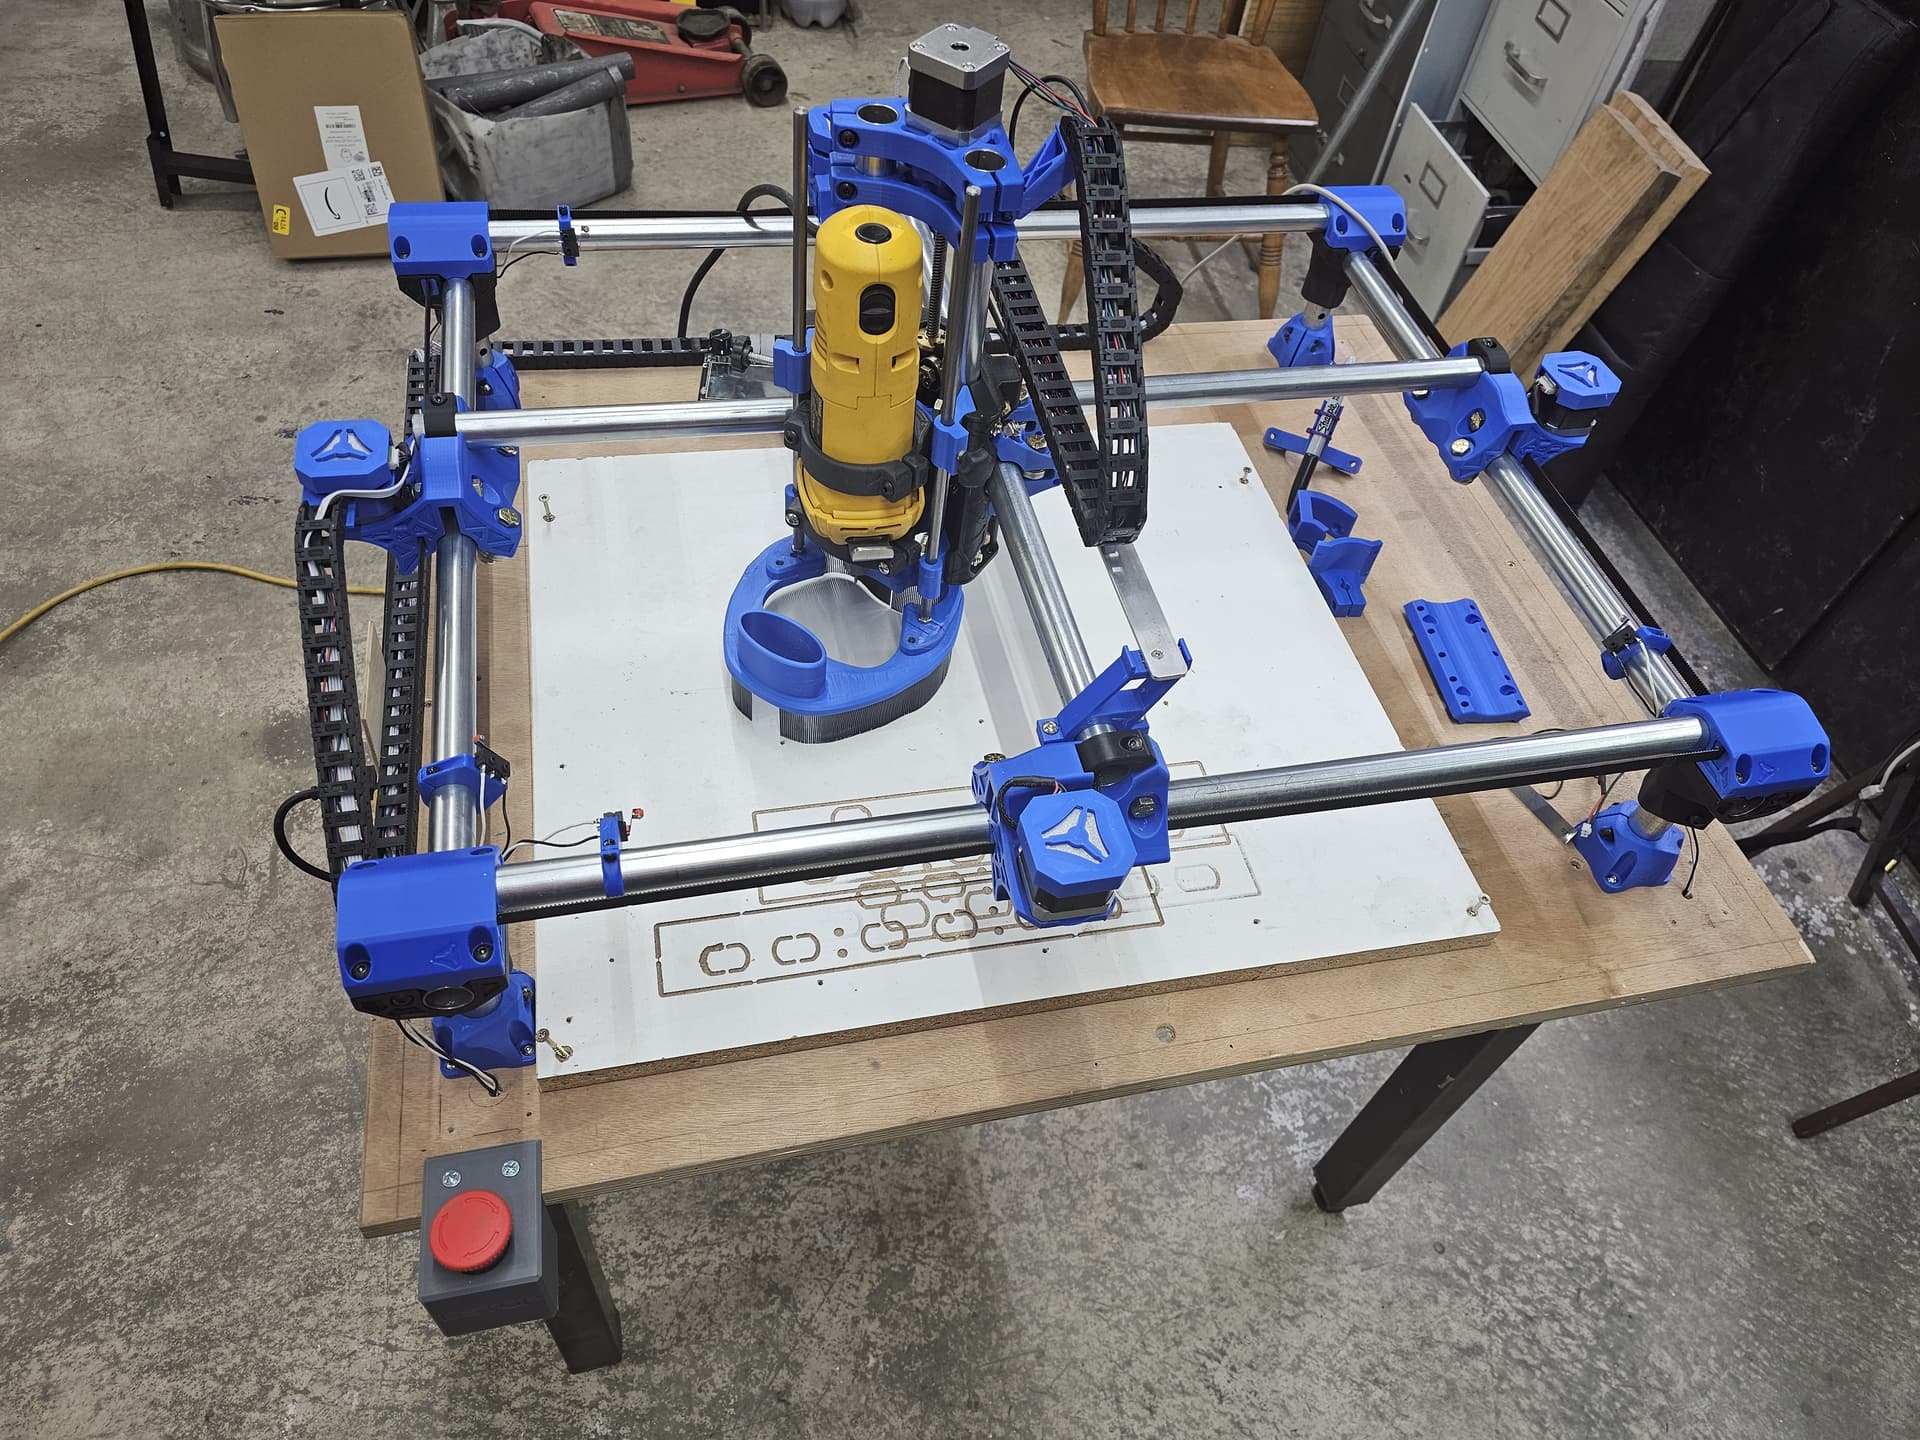
Hey All… Been a few years! Just thought I’d throw up a couple of pics of my recently (Past week) upgraded MPCNC Primo. I reused most of the rails, the steppers, and the Archim 1.0 controller, but that is being replaced in the next few days. Jackpot 2 should be arriving on Tuesday 11/18.
Parts were printed on my Bambu X1C. Makita RT701C will be going on tomorrow in place of the DW660. Still need to finish up Dust collection, do a spoil board, etc.
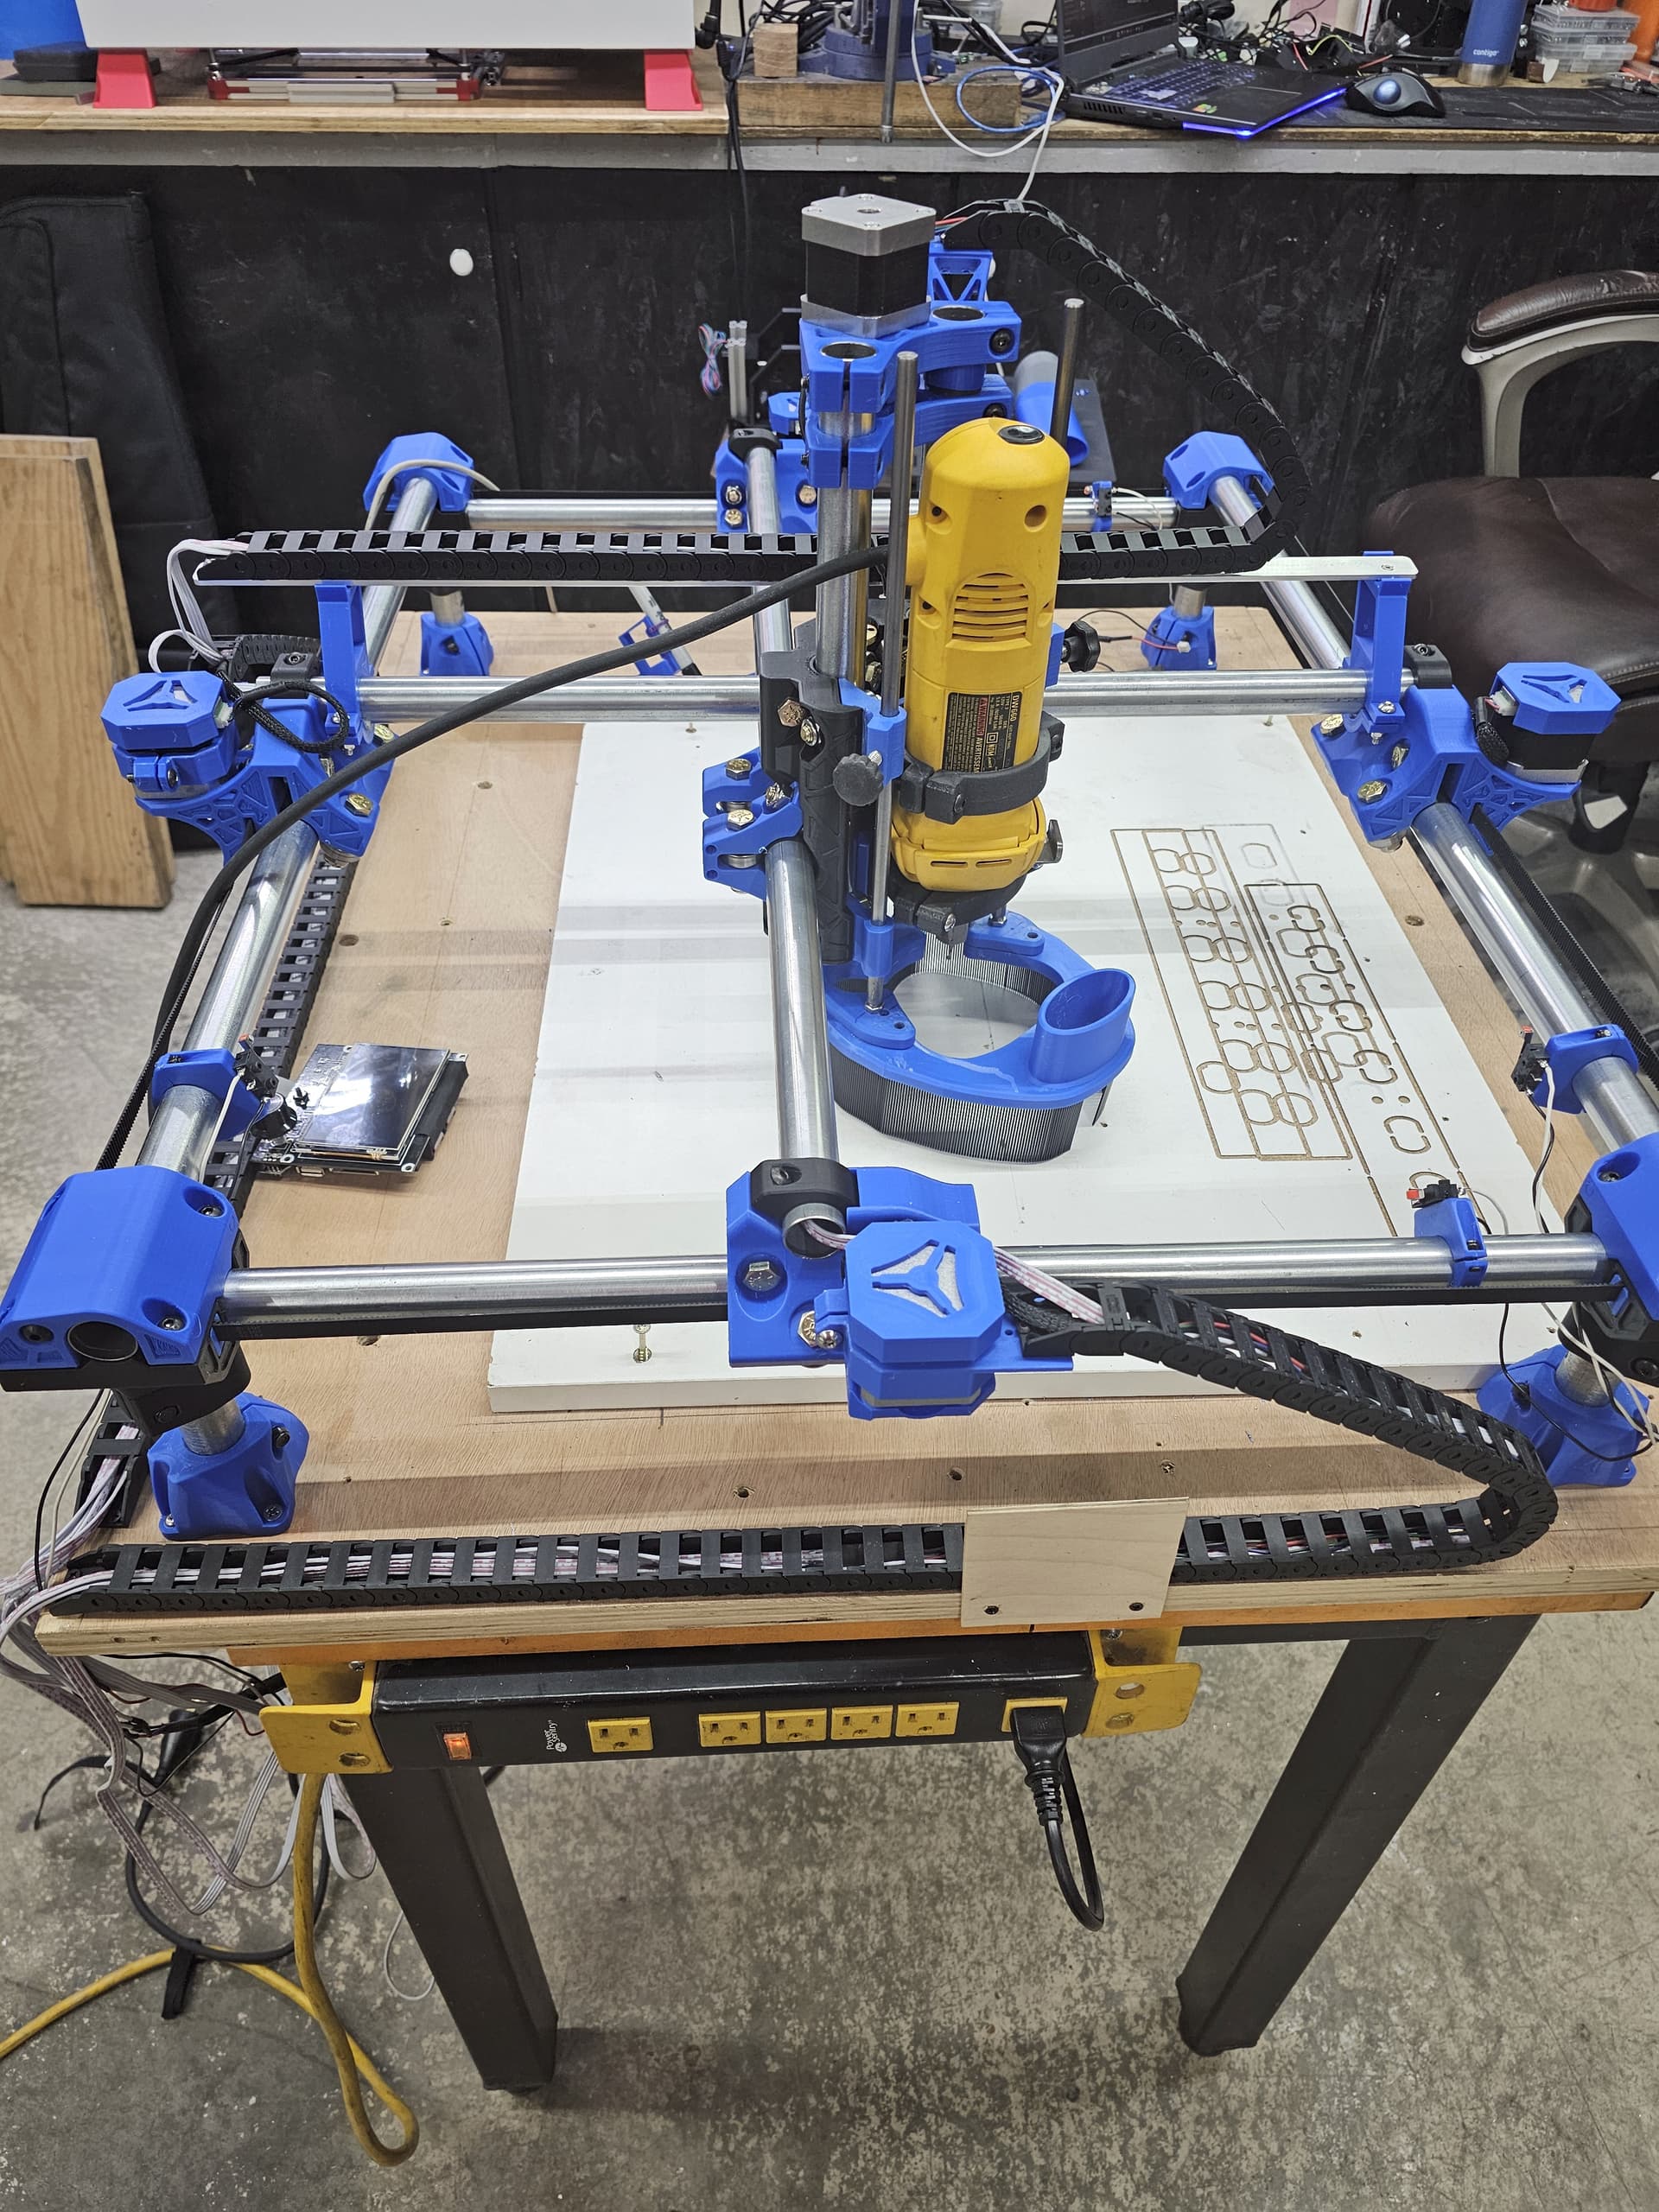
I got the Jackpot 2 board installed. It was SO much easier and quicker than my initial Burley build using a Archim 1.0.
Did a spoilboard flattening run and noticed the usual ridges, checked the tram on the router and I was off by about .050” over 5”… Egads. I didn’t like how much flex the Indicator/Tram tool had, so this morning I machined one out of aluminum and used a spare .250” pin gauge with it to mount it in the router. Very rigid now. I believe the majority of my issue stemmed from one of the Z-Axis tubes being slightly lower than the other. I removed the router, loosened the router mounts and the z-tube mount/braces at the top and slighty nudged the low one to where it was even with the other. It’s running the tramming program again right now… looks substantially better. I’m not a number chaser, and live by the words of Elon… Perfection is the enemy of good enough. In other words, I could waste a ton of time chasing decimal points that won’t make any difference in the big picture, or I could get it ‘close enough’ and start making stuff!!
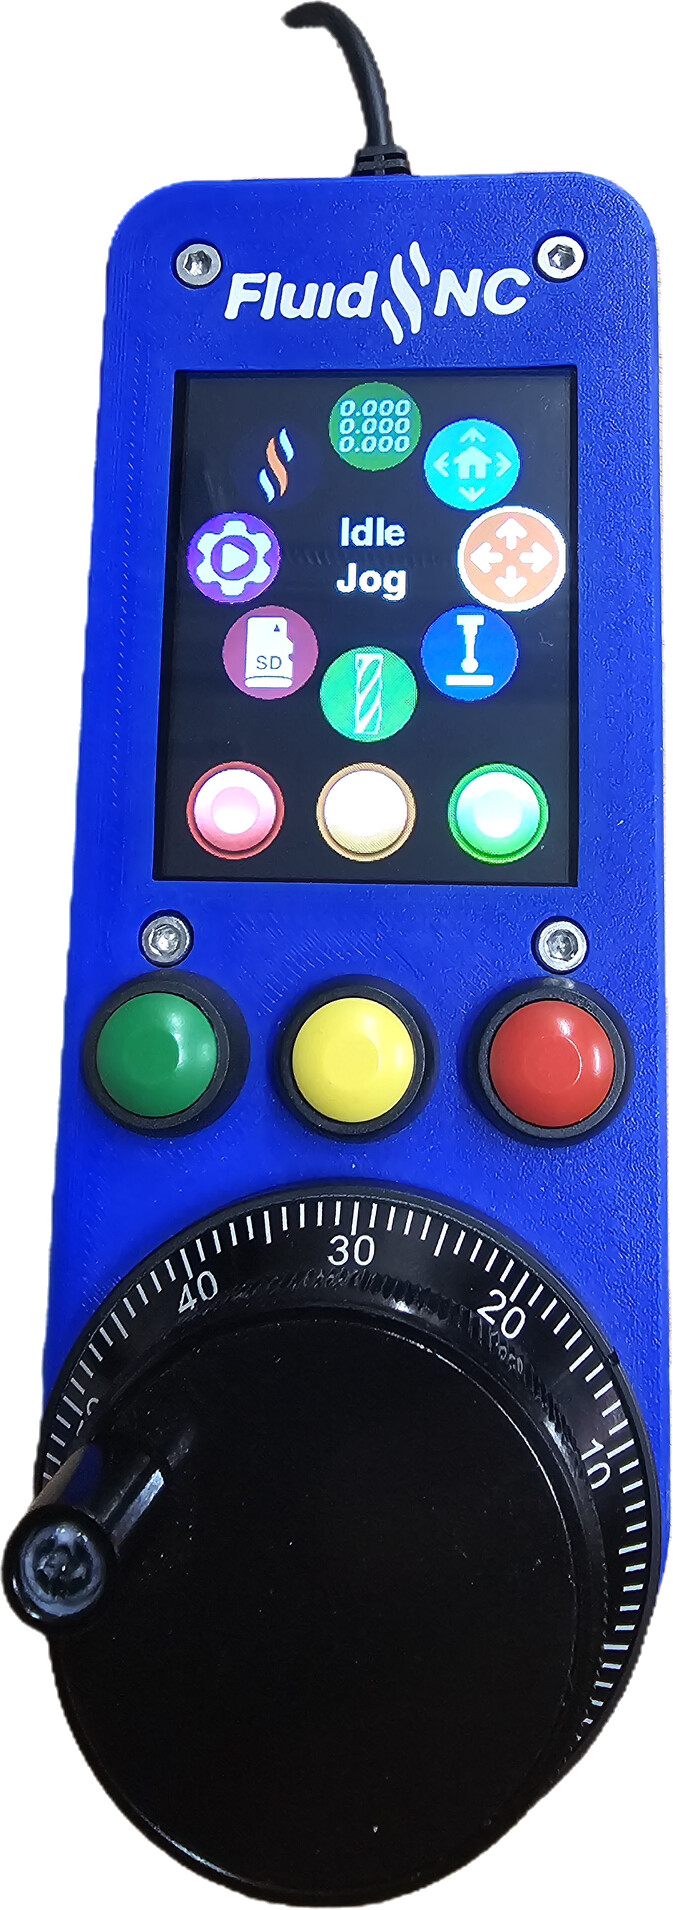
Finally finished and got the CYD Pendant working. Very happy with how it turned out. Its amazing to me how much "DIY” stuff has changed over the past decade. DIY used to look like DIY, cobbled together, rough, etc. With 3D printing and CNC that can be afforded by just about anyone, it’s REALLY kicked the bar up!!!