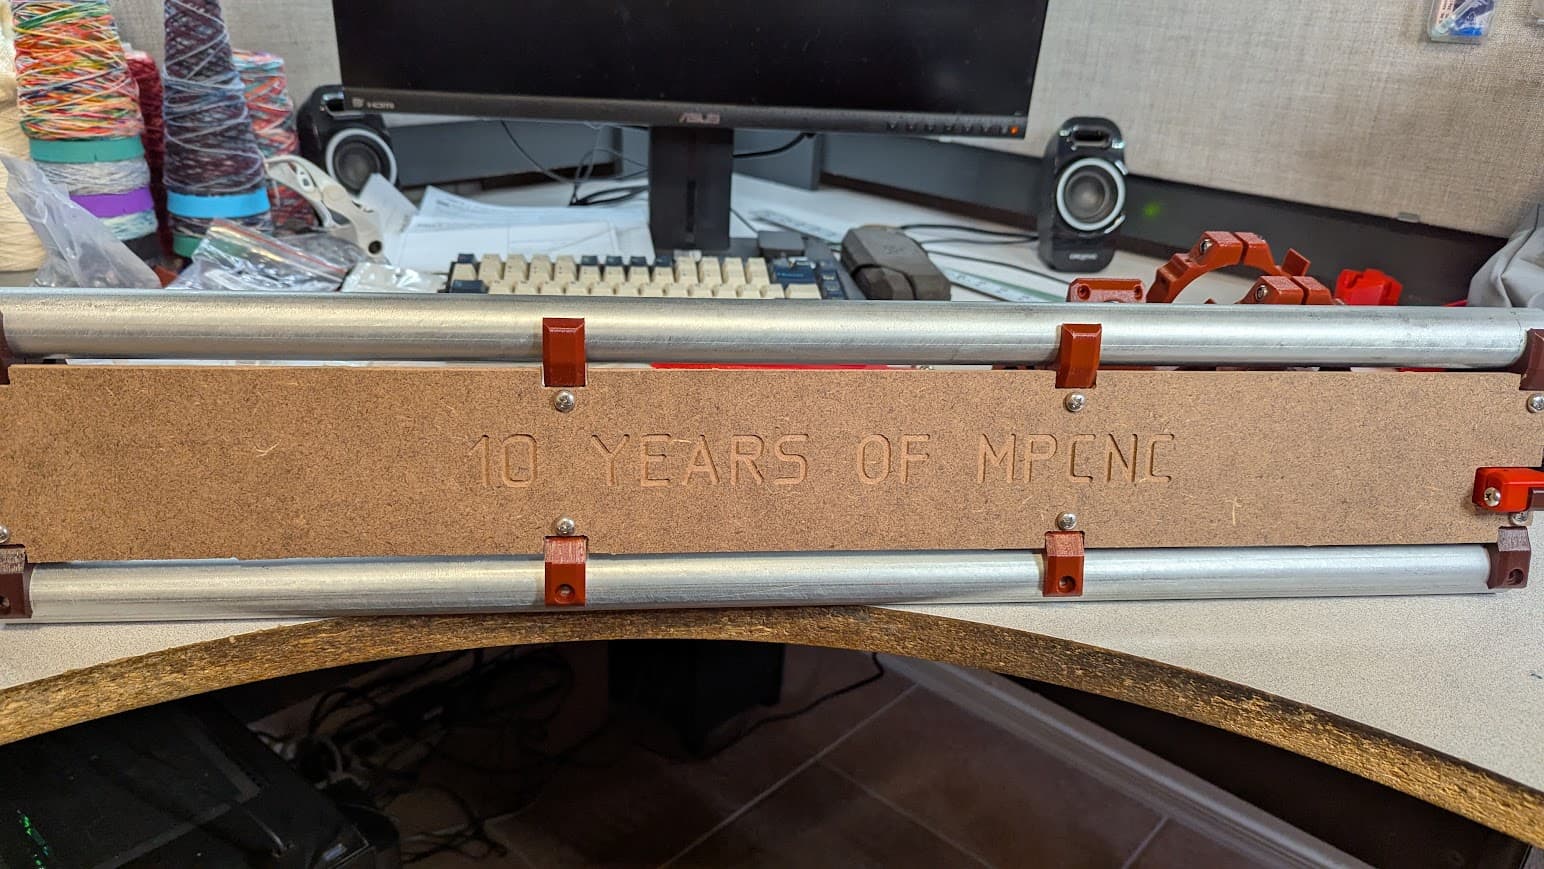
Ugh…3 tries to get here…but I’ve got strut plates…well…one of them at least:
The bottom one I need to finish cutting manually.
I mentioned that Z has always been an issue on my 9 year old MPCNC. That’s not a knock on Ryan’s design. It’s just the reality of me ignoring his advice and pushing the limits on size for my own needs before the creation of the Low Rider series.
I suspect there’s a bow in my table as well as in my rails. And I never bothered to surface the table. 90-95% of what I used the machine for was cutting foam and the 1mm or so variance in Z wasn’t that big of an issue for me with that. Or at least it was in areas that didn’t matter much. But cutting with a router on it…it was ALWAYS an issue.
Speaking of foam…before it heads to the trash here’s my old Vacuum Pad to give a feel for how much foam I cut on this machine:
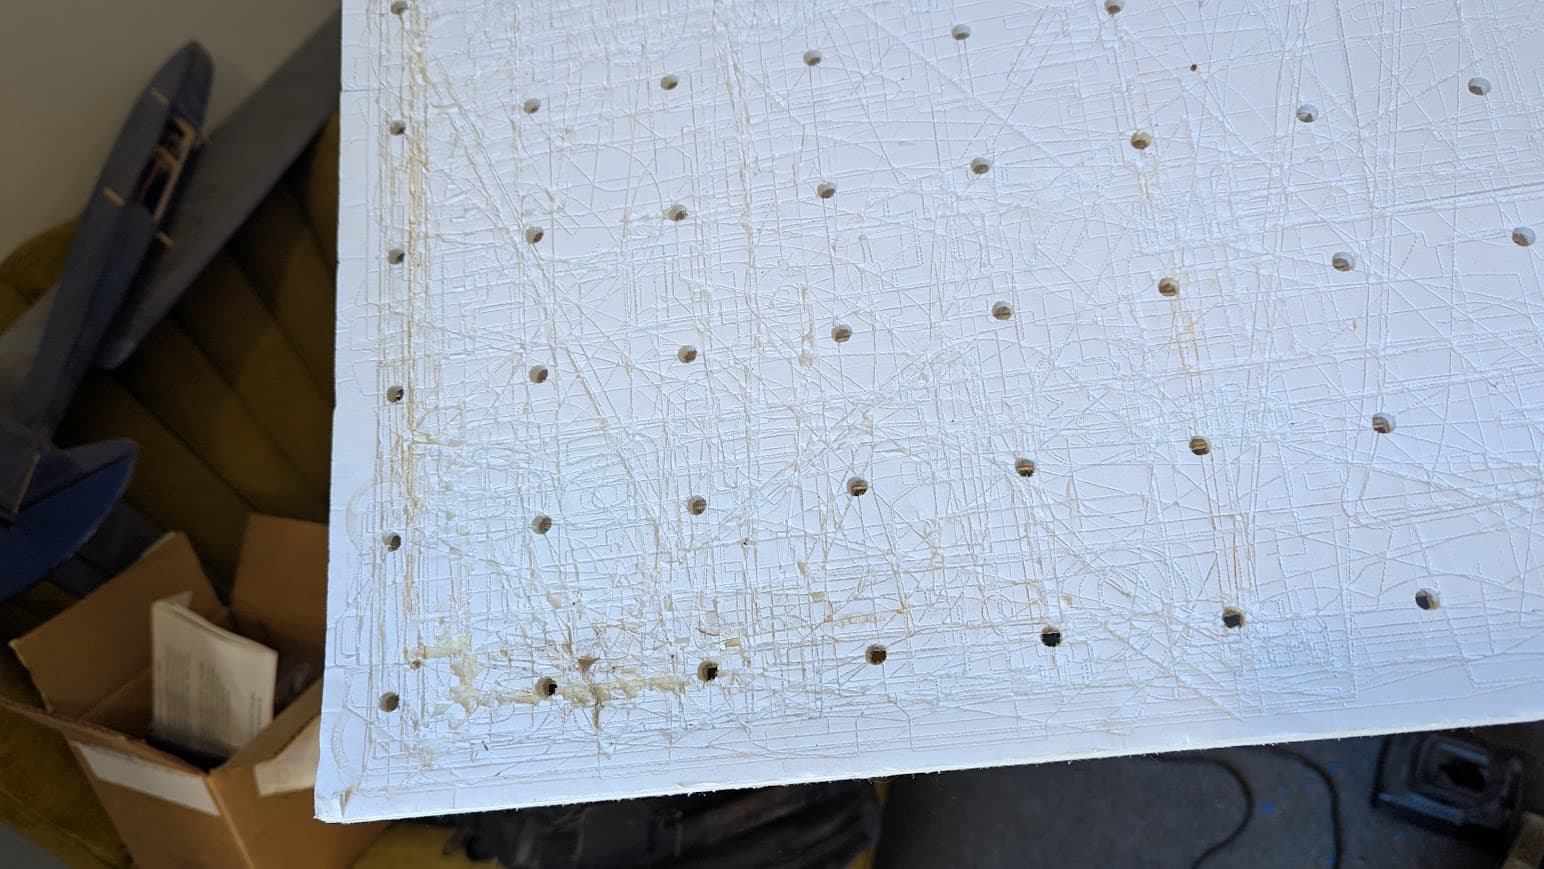
Some parts of the pad are barely hanging on ![]()
The spoil board I used for cutting wood isn’t as bad as many I’ve seen…but it has definitely seen better days as well (but I’m hanging onto it…may re-use it as a 2x2 base for another machine or just as a spoil board under the LR still:

Anyway…I got the new mount printed last night (the filament did NOT run out!) and this afternoon I finally got over to try my cuts again.
First attempt was technically usable…but didn’t cut all the way through:
This old machine doesn’t have endstops. At the time most people were just physically zeroing the machine before turning it on. I mean…it’s running Marlin 1.1.0-RC6:
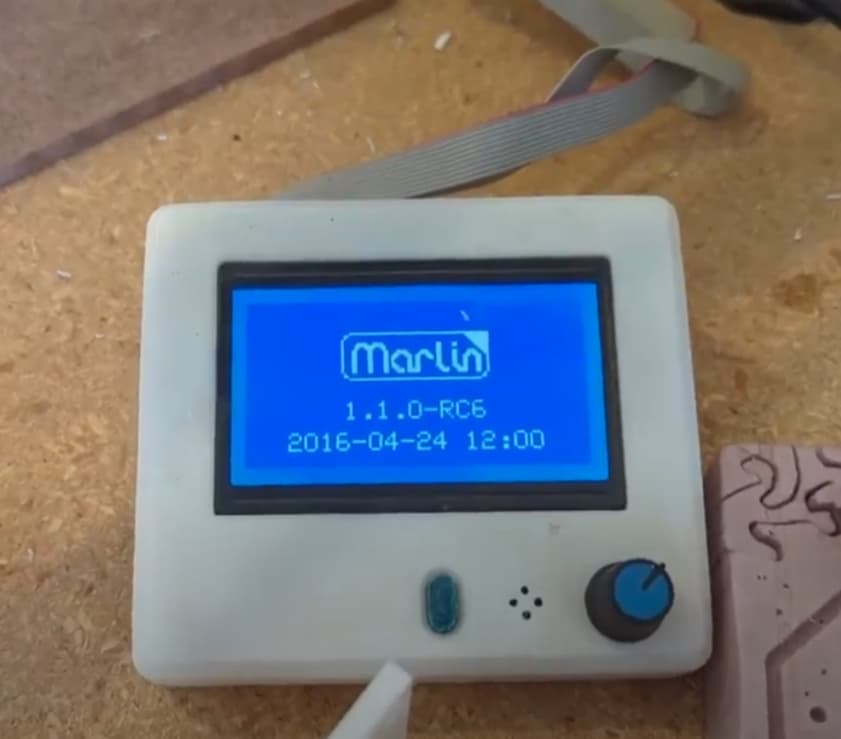
Things were a bit sketchy back then!
And when I screwed my workpiece to the table I didn’t notice something was stuck under one corner lifting it up a mm or so…and of course that was the corner I set zero to. So the engraving didn’t even hit the work and the cuts are a bit shy of actually going all the way through.
I could make these work. They’re good enough I could do some manual work and salvage them. But I still had enough room on the stock to try one more time. So I did.
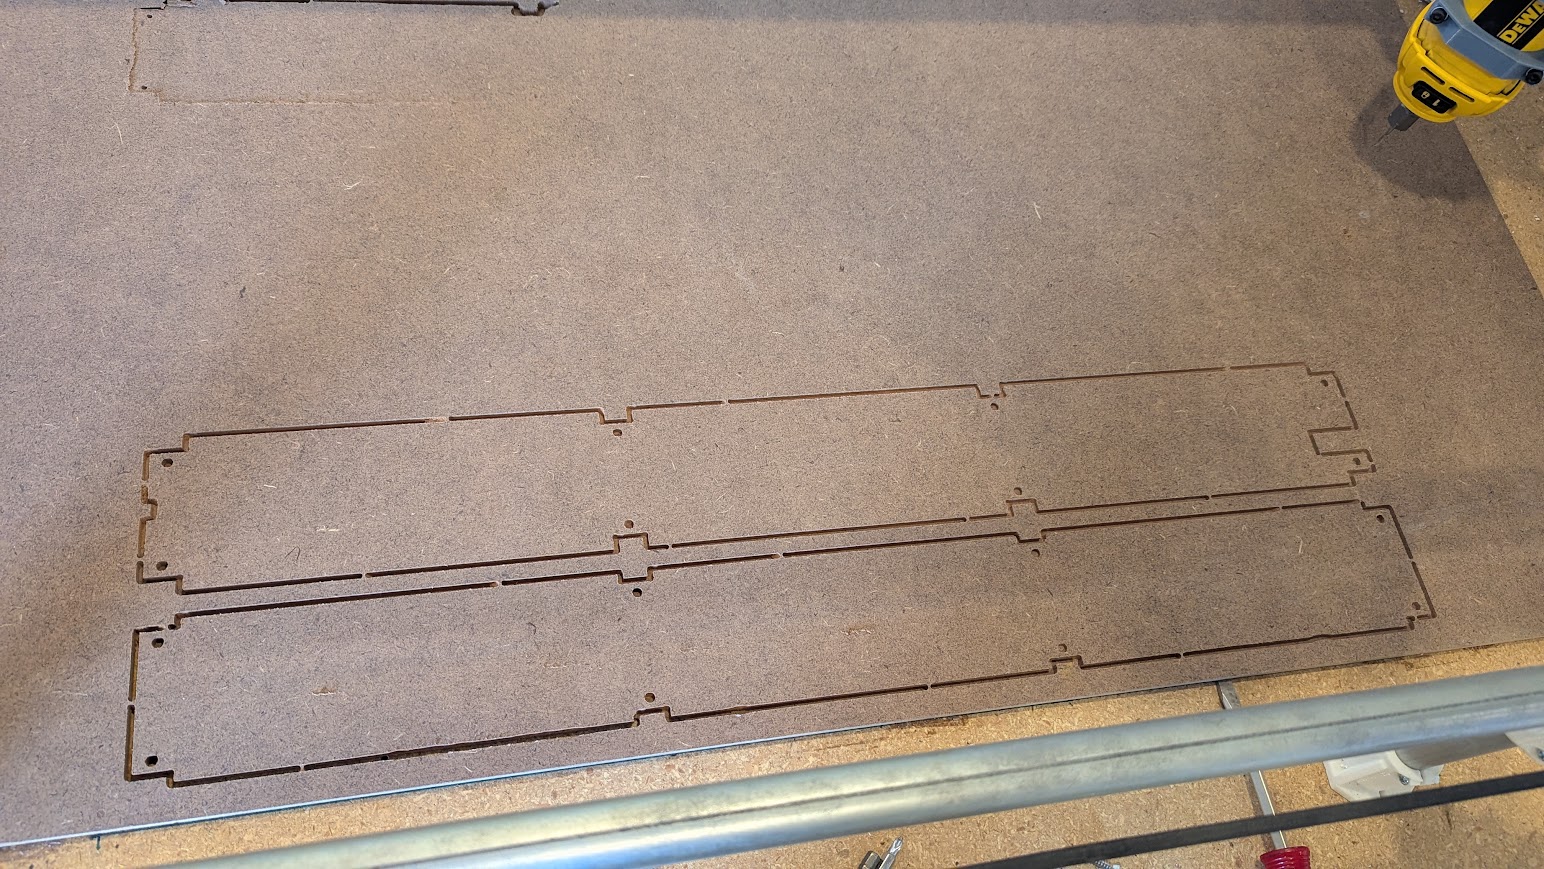
And things mostly went better this time:

The front piece cut perfectly…there are one or two spots where it’s just a little wavy from some chatter due to the Z issues still haunting this machine…but it works as that first photo at the top of this post shows.
The bottom piece…well…
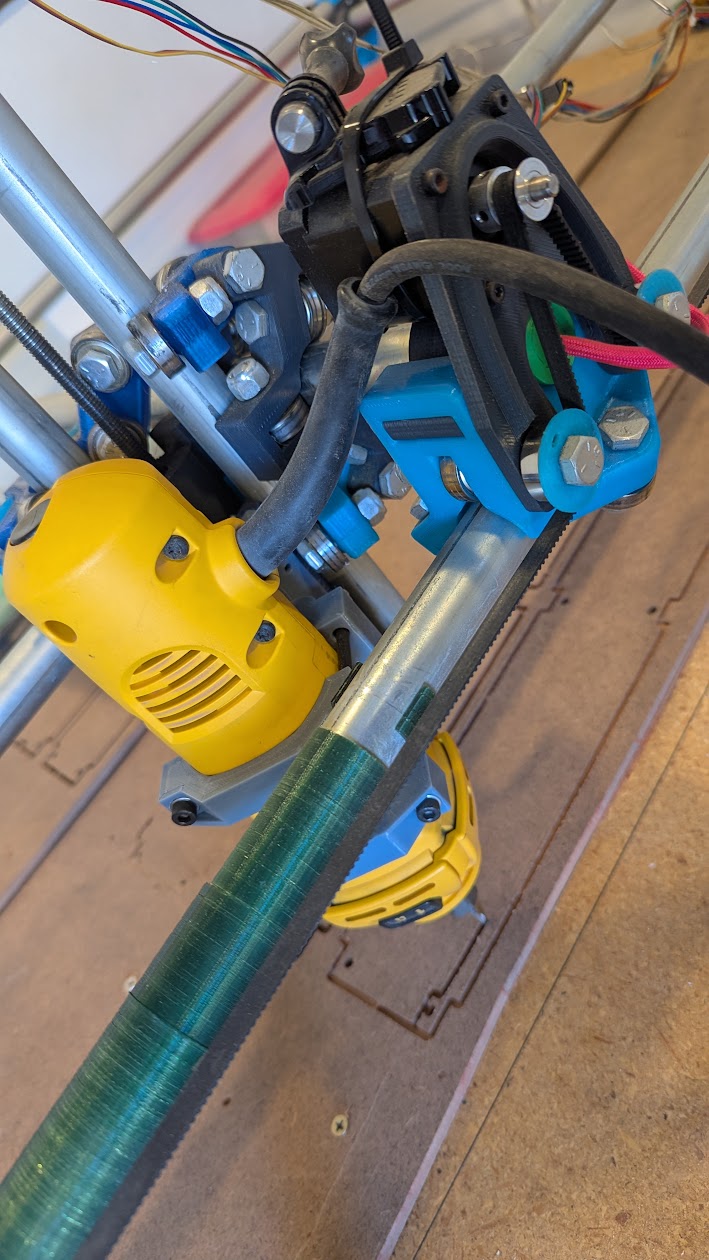
This was another long standing issue with this machine. The lower left corner was always risky when using the DeWalt 660. The power cord had a tendency to get caught on one of the steppers and cause the machine to loose steps…and sure enough it did.
So…I’ll have to manually cut the piece out of the first try to finish the bottom for my LR4.
But…I’ve got two usable plates (or at least one usable and one that will be usable after 10-20 minutes of manual work.)
Next I get to focus on my new workbench while I wait on the last few parts shipments.
Pretty happy with the plans…bench will be 33" deep and 8’ wide but only the leftmost 43" will be used for the LR4 while the rest will be dedicated to my CO2 laser and/or workbench duty (haven’t quite decided yet if the laser will go on top or on a shelf I haven’t drawn in yet.)
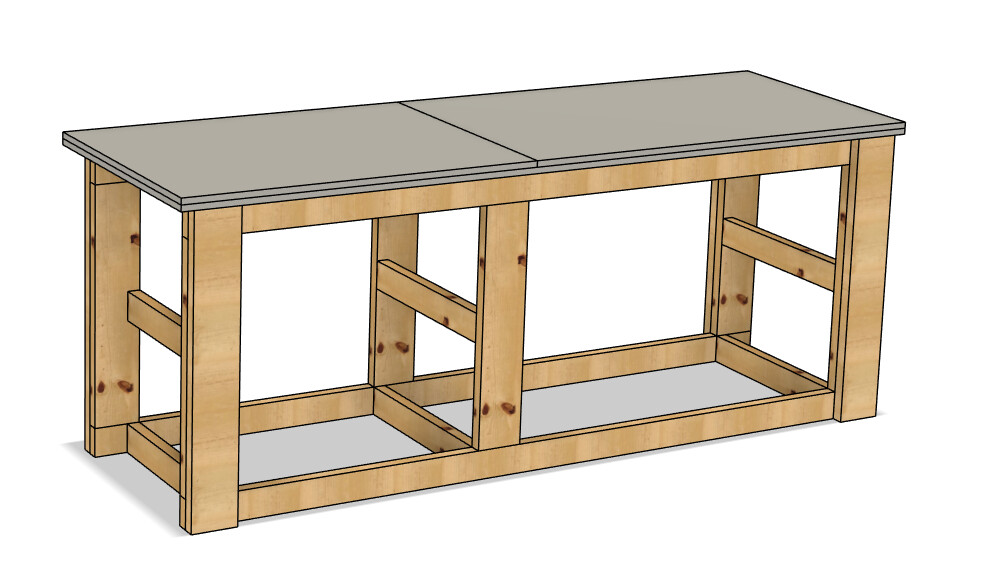
The top is two layers - top left layer is a replaceable spoilboard, and the right side is just laminated double thickness for strength and to match the height of the left half. I already have most of the 2x4’s on hand so should be cheap to build…I’ll add additional bracing under the LR half to help keep it flat…biggest expense will be a few sheets of MDF for the top which suddenly seems to be hard to find around me for some reason.