Good morning everyone. I am about to embark on trying to cut out the aluminum bed plate for the MP3DP I’m building. I have some 1/8" plate that i am going to cut it out of. i have no idea what grade aluminum it is. I’m not sure if i want to cut it out on the Primo or the LR3. Just looking for some advice on a good starting point to end up with a decent finish. Looks like i will be drilling a few holes and some larger holes then cutting out the main piece. Thanks in advance!!!
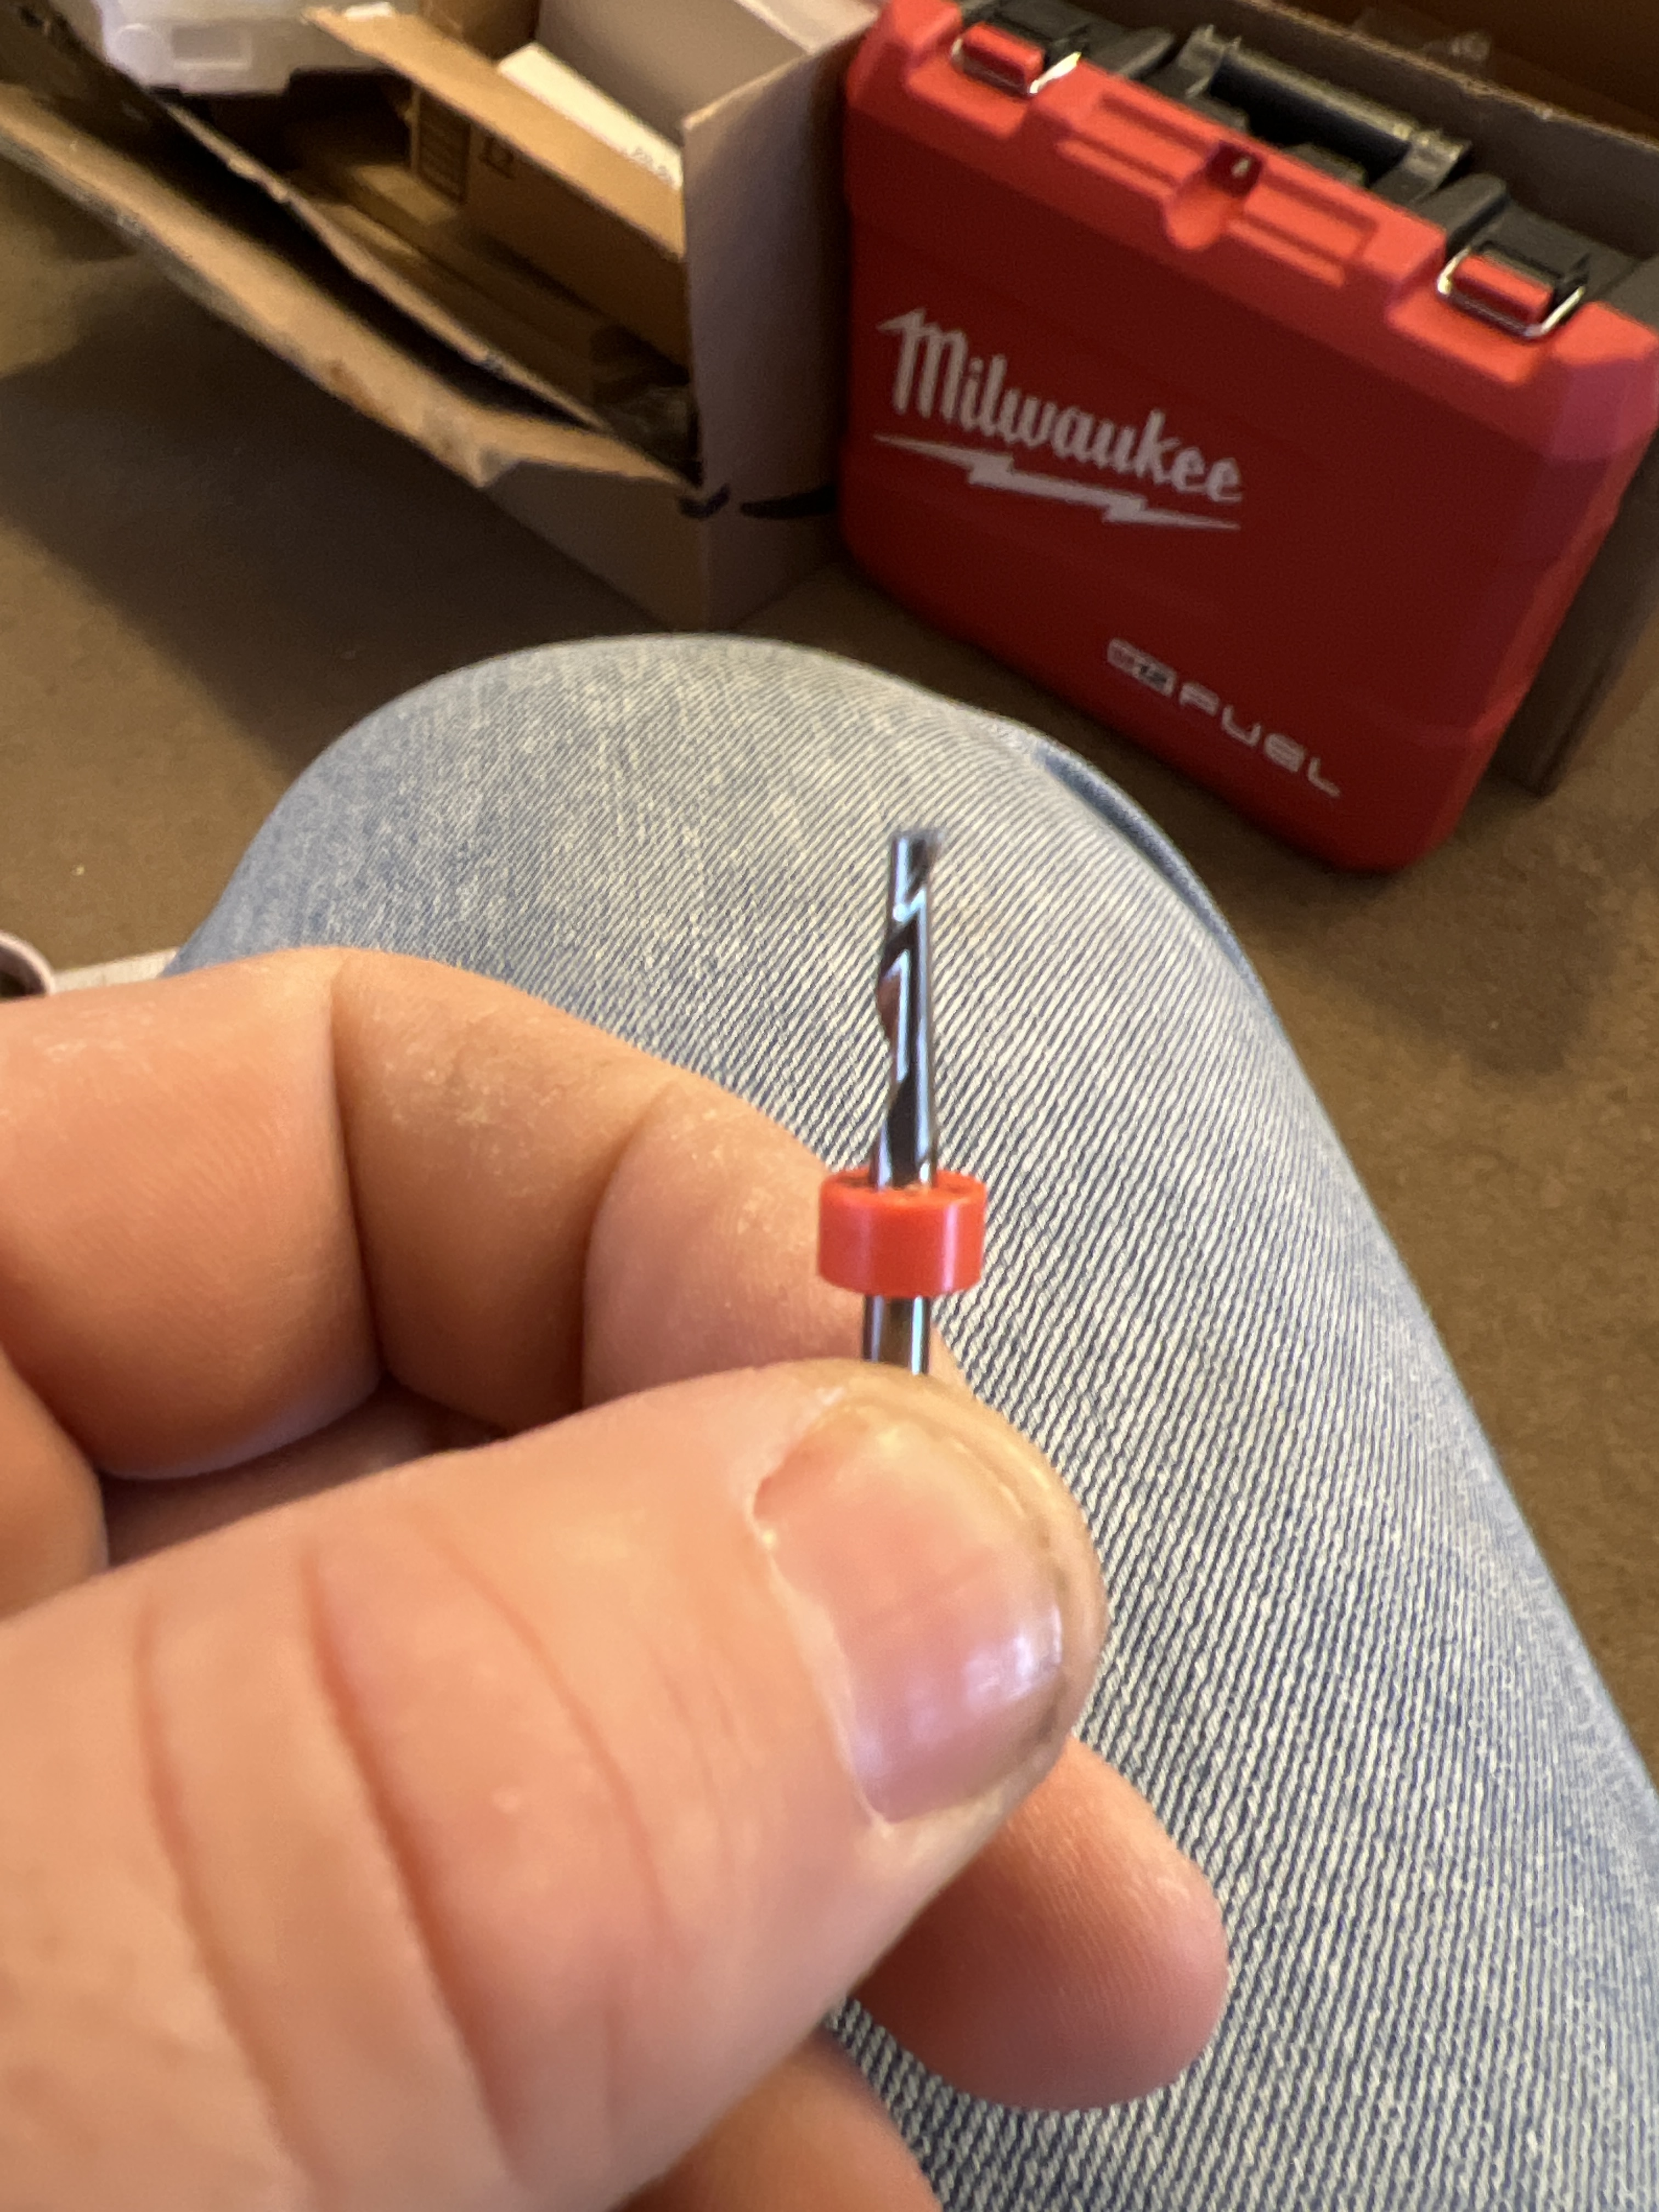
The short single flute kyoceras ryan sells are good, so are the amana coated O flutes.
If you’re going to drill with an endmill, consider pecking with a short depth. I prefer boring for making holes, but your endmill has to be smaller than the hole. 2-4 degree works well for me.
Most of the time, 0.001" per tooth at full rip is adequate. It also seems to be pretty conservative.
You can certainly use a stepdown as deep as your endmill with adaptive/trochoidal paths, but the stepover will need to be very small to deal with the inherent flex of a printed cnc. Plus, these trim routers are pretty good, but I think we run into that power limit, too, so I like to keep the stepdowns to 1mm or less and crank up the feed rate.
I know for sure a small LR3 is plenty capable to cut aluminum, and I’ve cut a bunch on my primo. Unless either of your machines is very large, i think it’s dealer’s choice.
Slow

Fast

3 Likes
I‘ll leave this here again: With trochoidal you can basically go as fast and deep as you can. I have to admit that there was a bit of flex on the MPCNC, but I just wanted to see whether this was possible. ![]() This video is not sped up!
This video is not sped up!

3 Likes
Thank you for the info and the videos!!! I just got a new shipment of bits from @vicious1 so i should have the bit you suggest! As it turns out the 1/8" Aluminum i have on hand isnt going to be enough to get what i need. Tomorrow I’m hoping to get some 6 or 8mm Cast Aluminum from a local welding shop. Hoping they have a drop the right size for what i need. Hopefully ill be reporting back with good results!
2 Likes
I haven’t cut any cast aluminum, but I understand it’s softer than wrought aluminum, so that may cause you some trouble.
If you see it gumming up and sticking to the endmill, I’d say go get some 6061 to practice and learn on. That stuff is EASY (relative to metal of course…wood is definitely easier still), and it will help you get some experience so you’ll know what to look for when you start experimenting with other grades.
It’s really frustrating to work on a new material that you think everyone is cutting, but you can’t find success. Jeff convinced me that it’s a good idea to recommend new people cutting wood or plastic get at least one really good endmill so they don’t get frustrated on a bad batch of cheap endmills thinking their toolpath or machine is to blame because those endmills worked well for somebody else (when that other person just happened to get a good batch).
I don’t want the aluminum to be the same way for you. So if you get it cutting, awesome. If you don’t, start by blaming the aluminum and come back to it later.
Good luck!
1 Like
Thank you! I have enough of the scrap that i have to cut one part so i may do that just to see how it goes. Im trying to cut out the bed support and print bed for a MP3DP so hopefully i can get these cut out on another V1 machine. After this i guess ill have to build a Zen just so i have them all lol
2 Likes

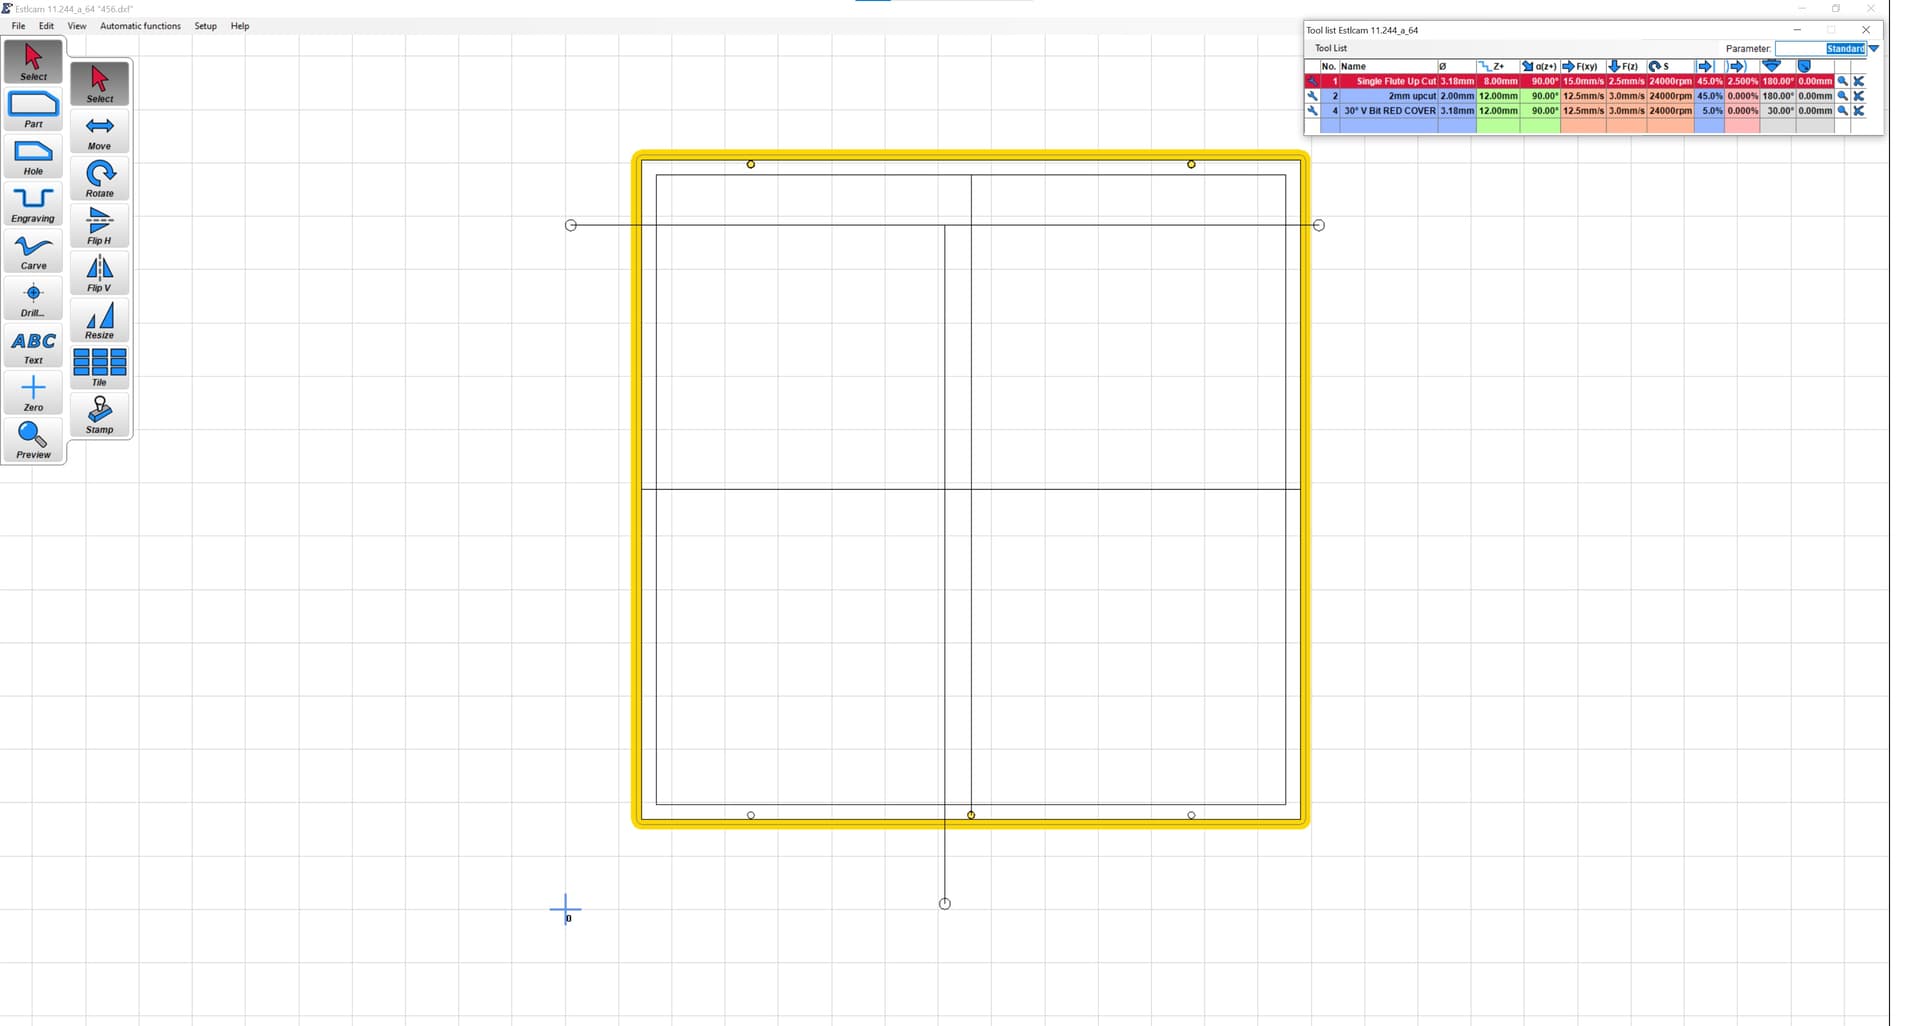
You might be able to increase stepover later, but the rest looks good to me at least. ![]()
1 Like
Yeah its going to be a LONG cut but im ok with that. This 2’ x 4’ piece was $100 so i dont want to rush and screw it up lol Thank you for taking a look. Im setting up now to pull the trigger. Cant remember ever being this nervous for a cut lol.
2 Likes
Wishing you luck. ![]()
1 Like
Slowly but surely getting there. All 3 holes drilled and almost down one side. I do think I will bump the step over to 5% on the second part. Definitely going to have to pay close attention at the end. I didn’t remember to add hold downs. So I’m going to have to hold it when it gets to the last 1” or so. Probably go across and cover each line with painters tape to help hold it as well as it progresses. Definitely will add some to the second part lol
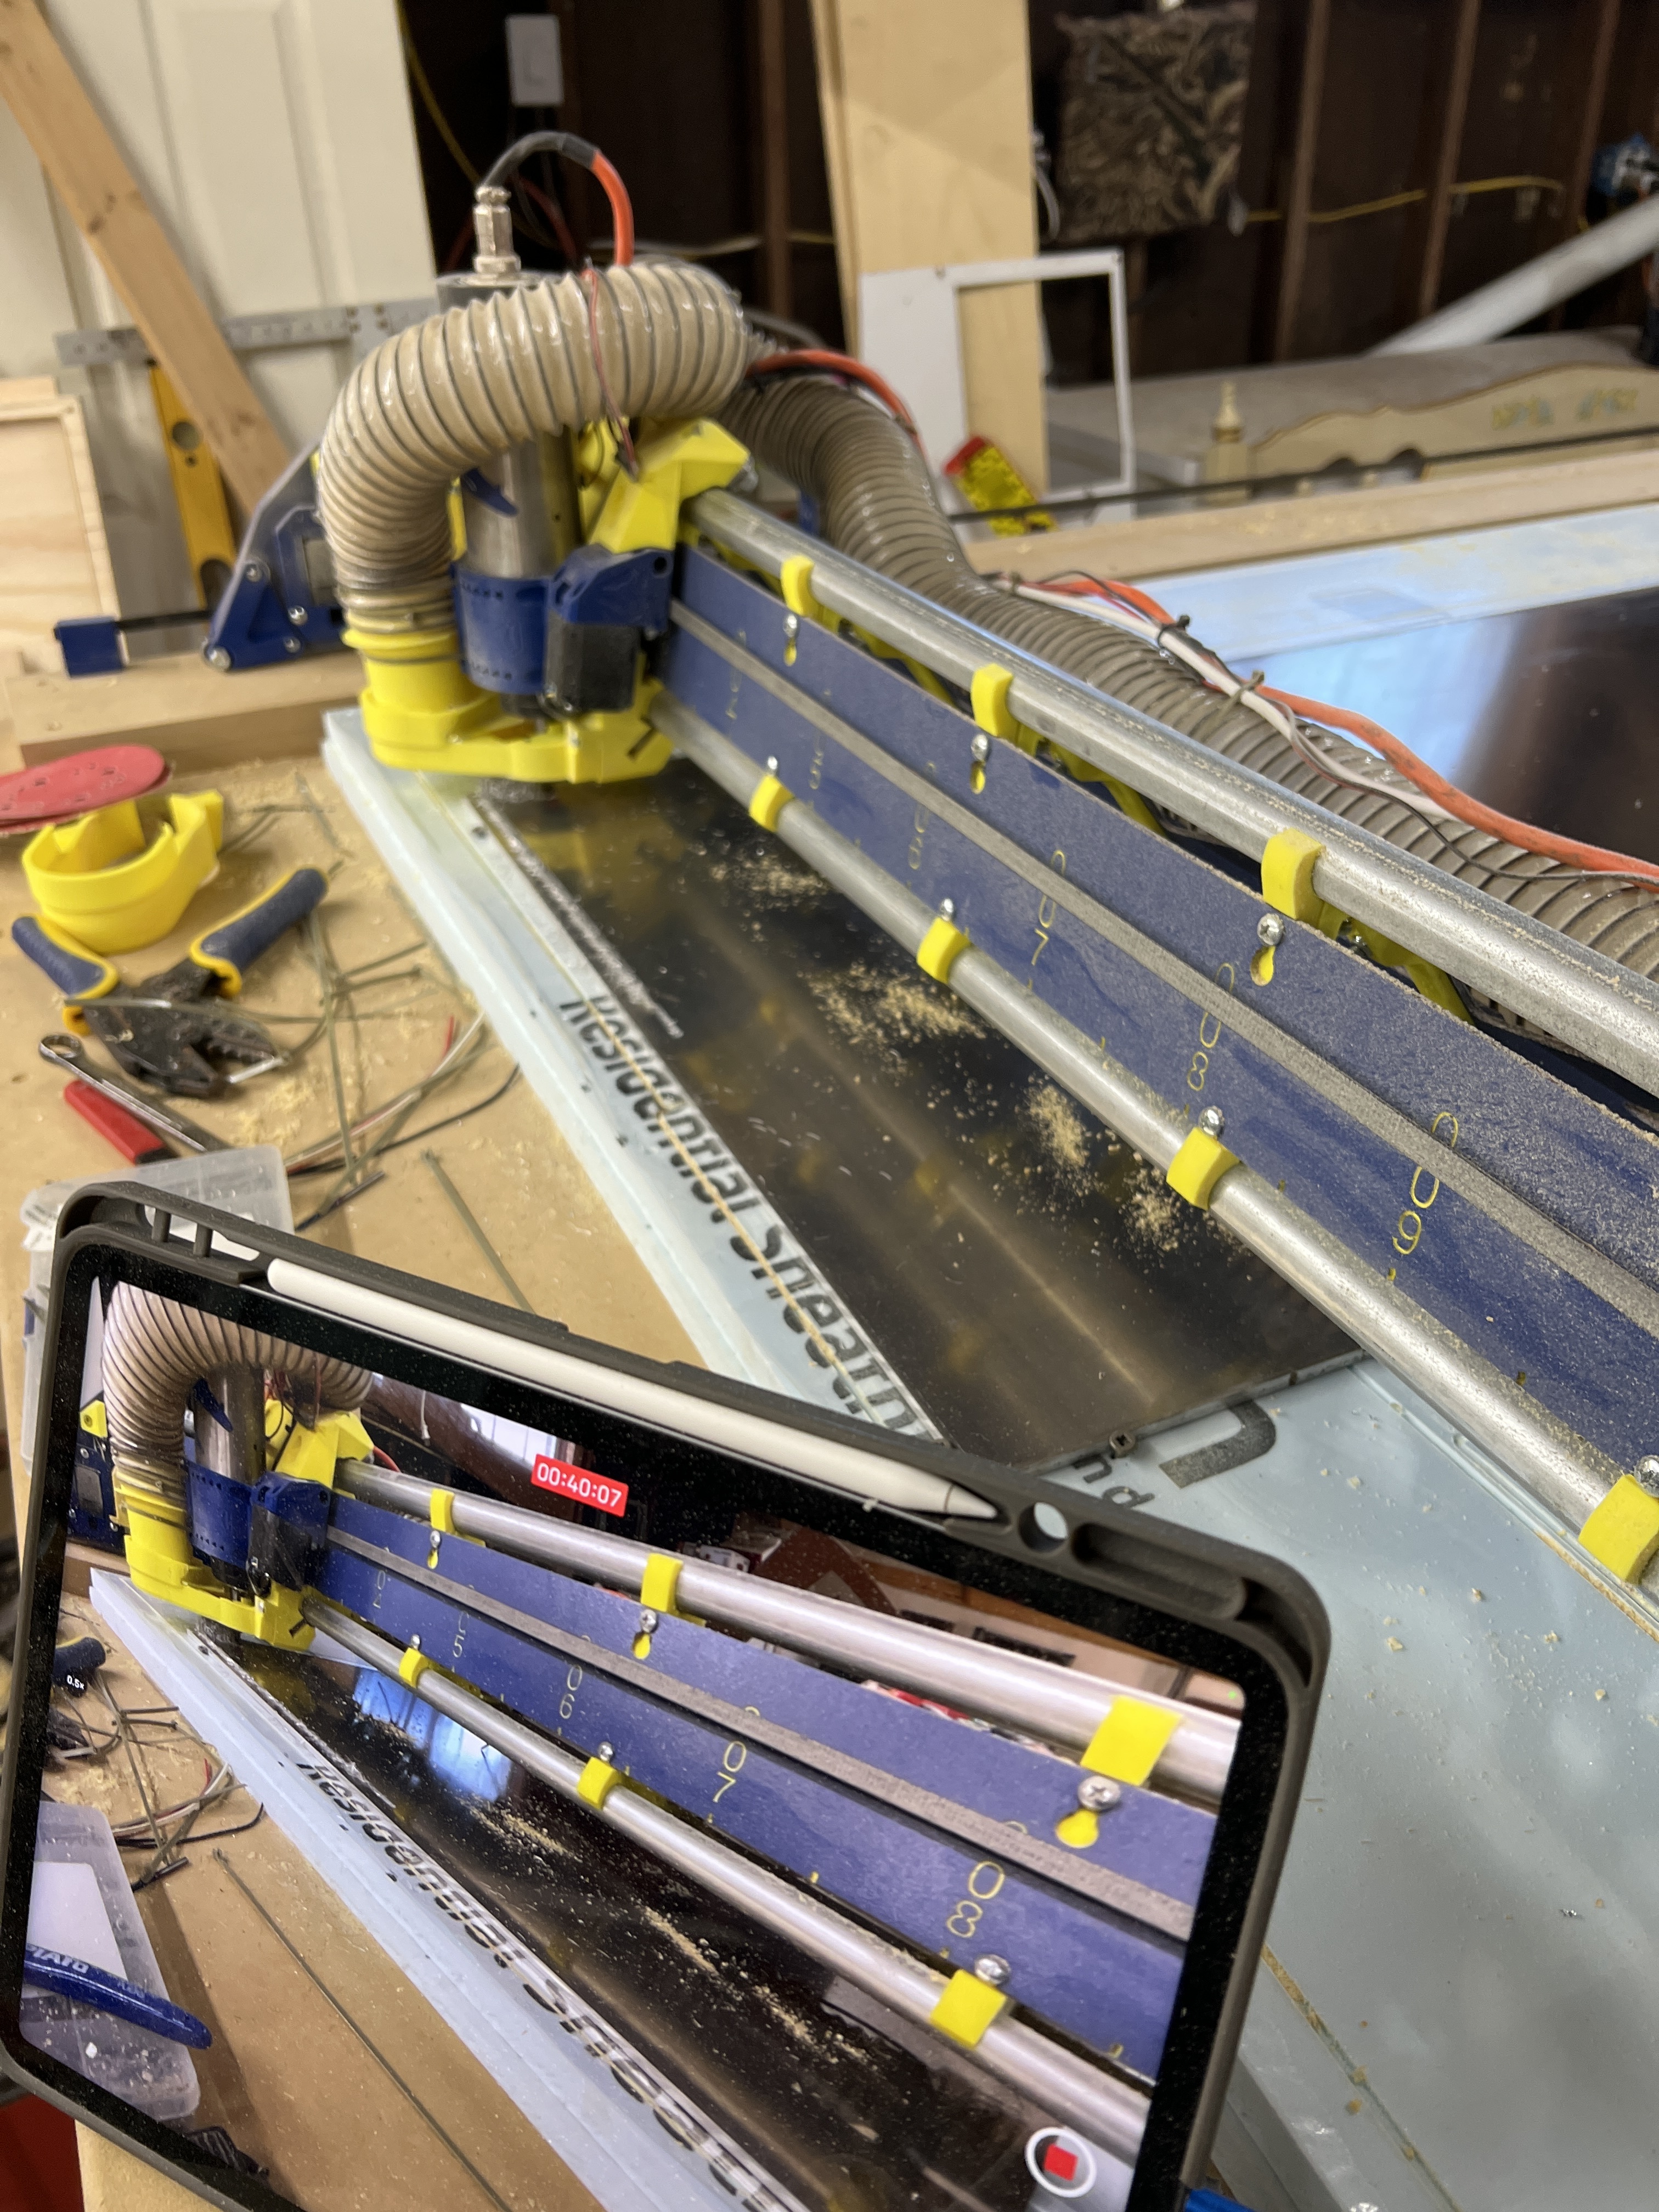
Also will upload a video of the cut to YouTube when it’s done and link it here. Should have set it as Timelapse. Wasn’t thinking and did regular video. Have to figure out how to edit it and speed it up lol
2 Likes
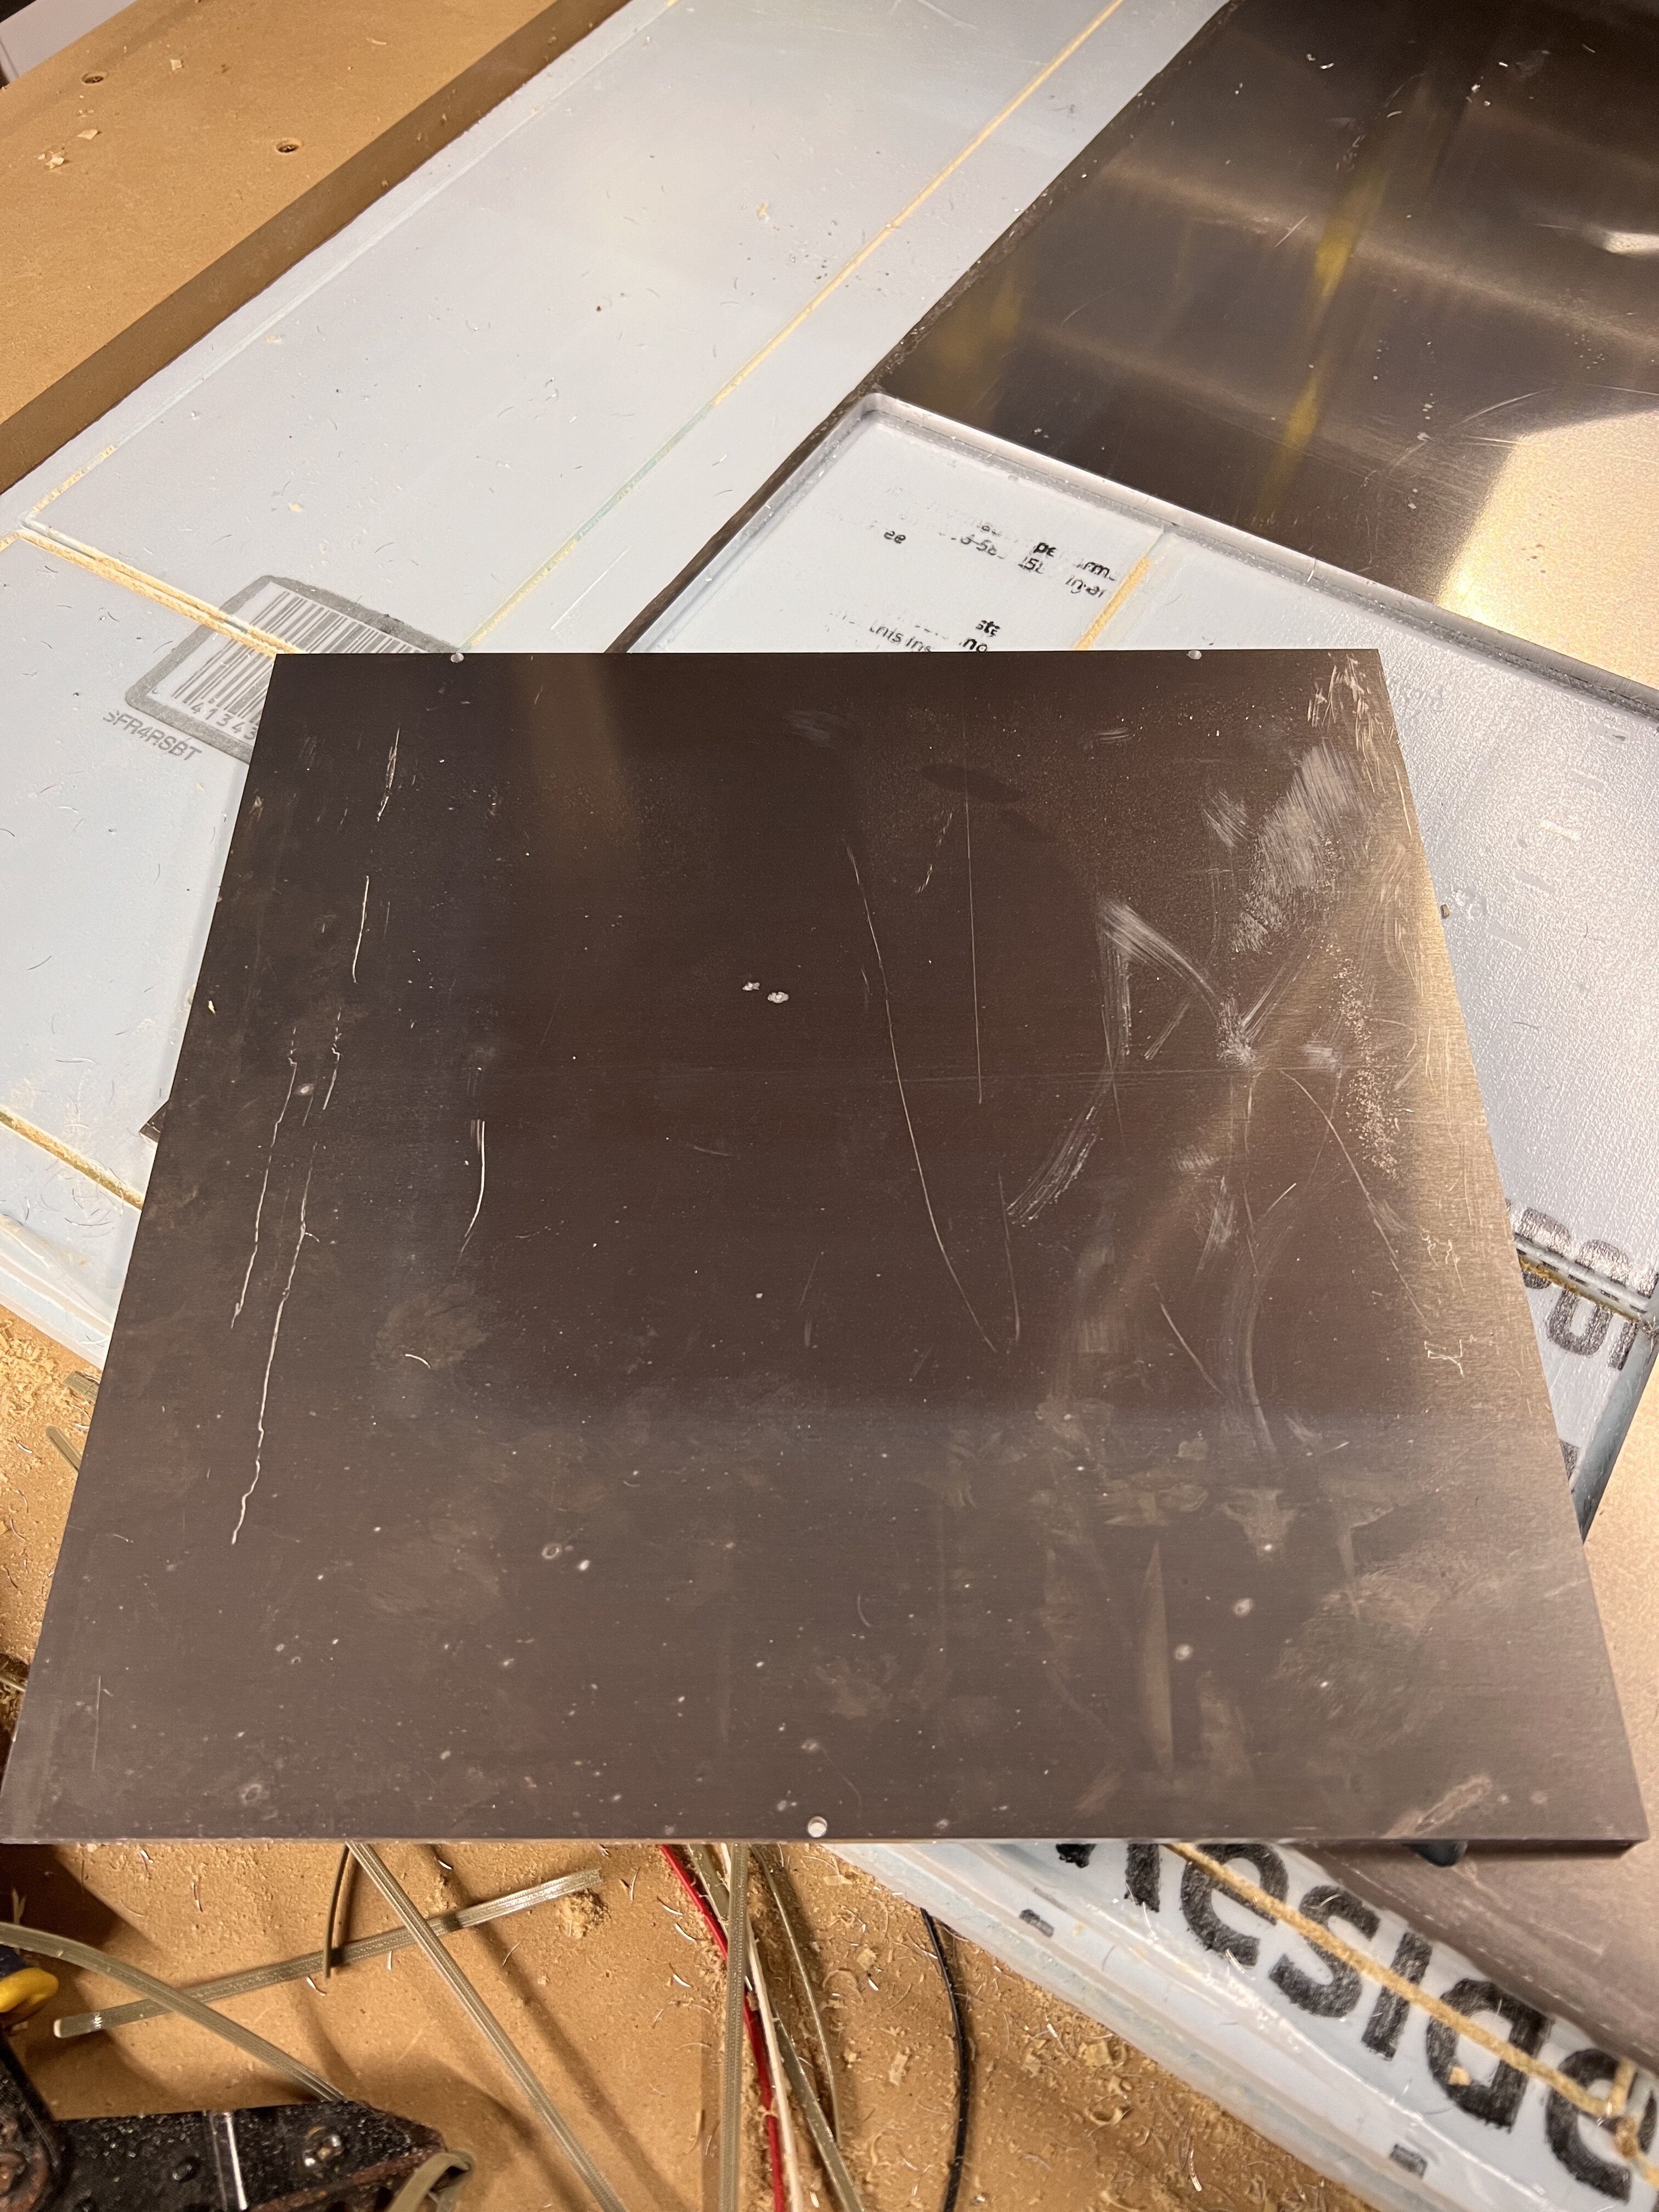
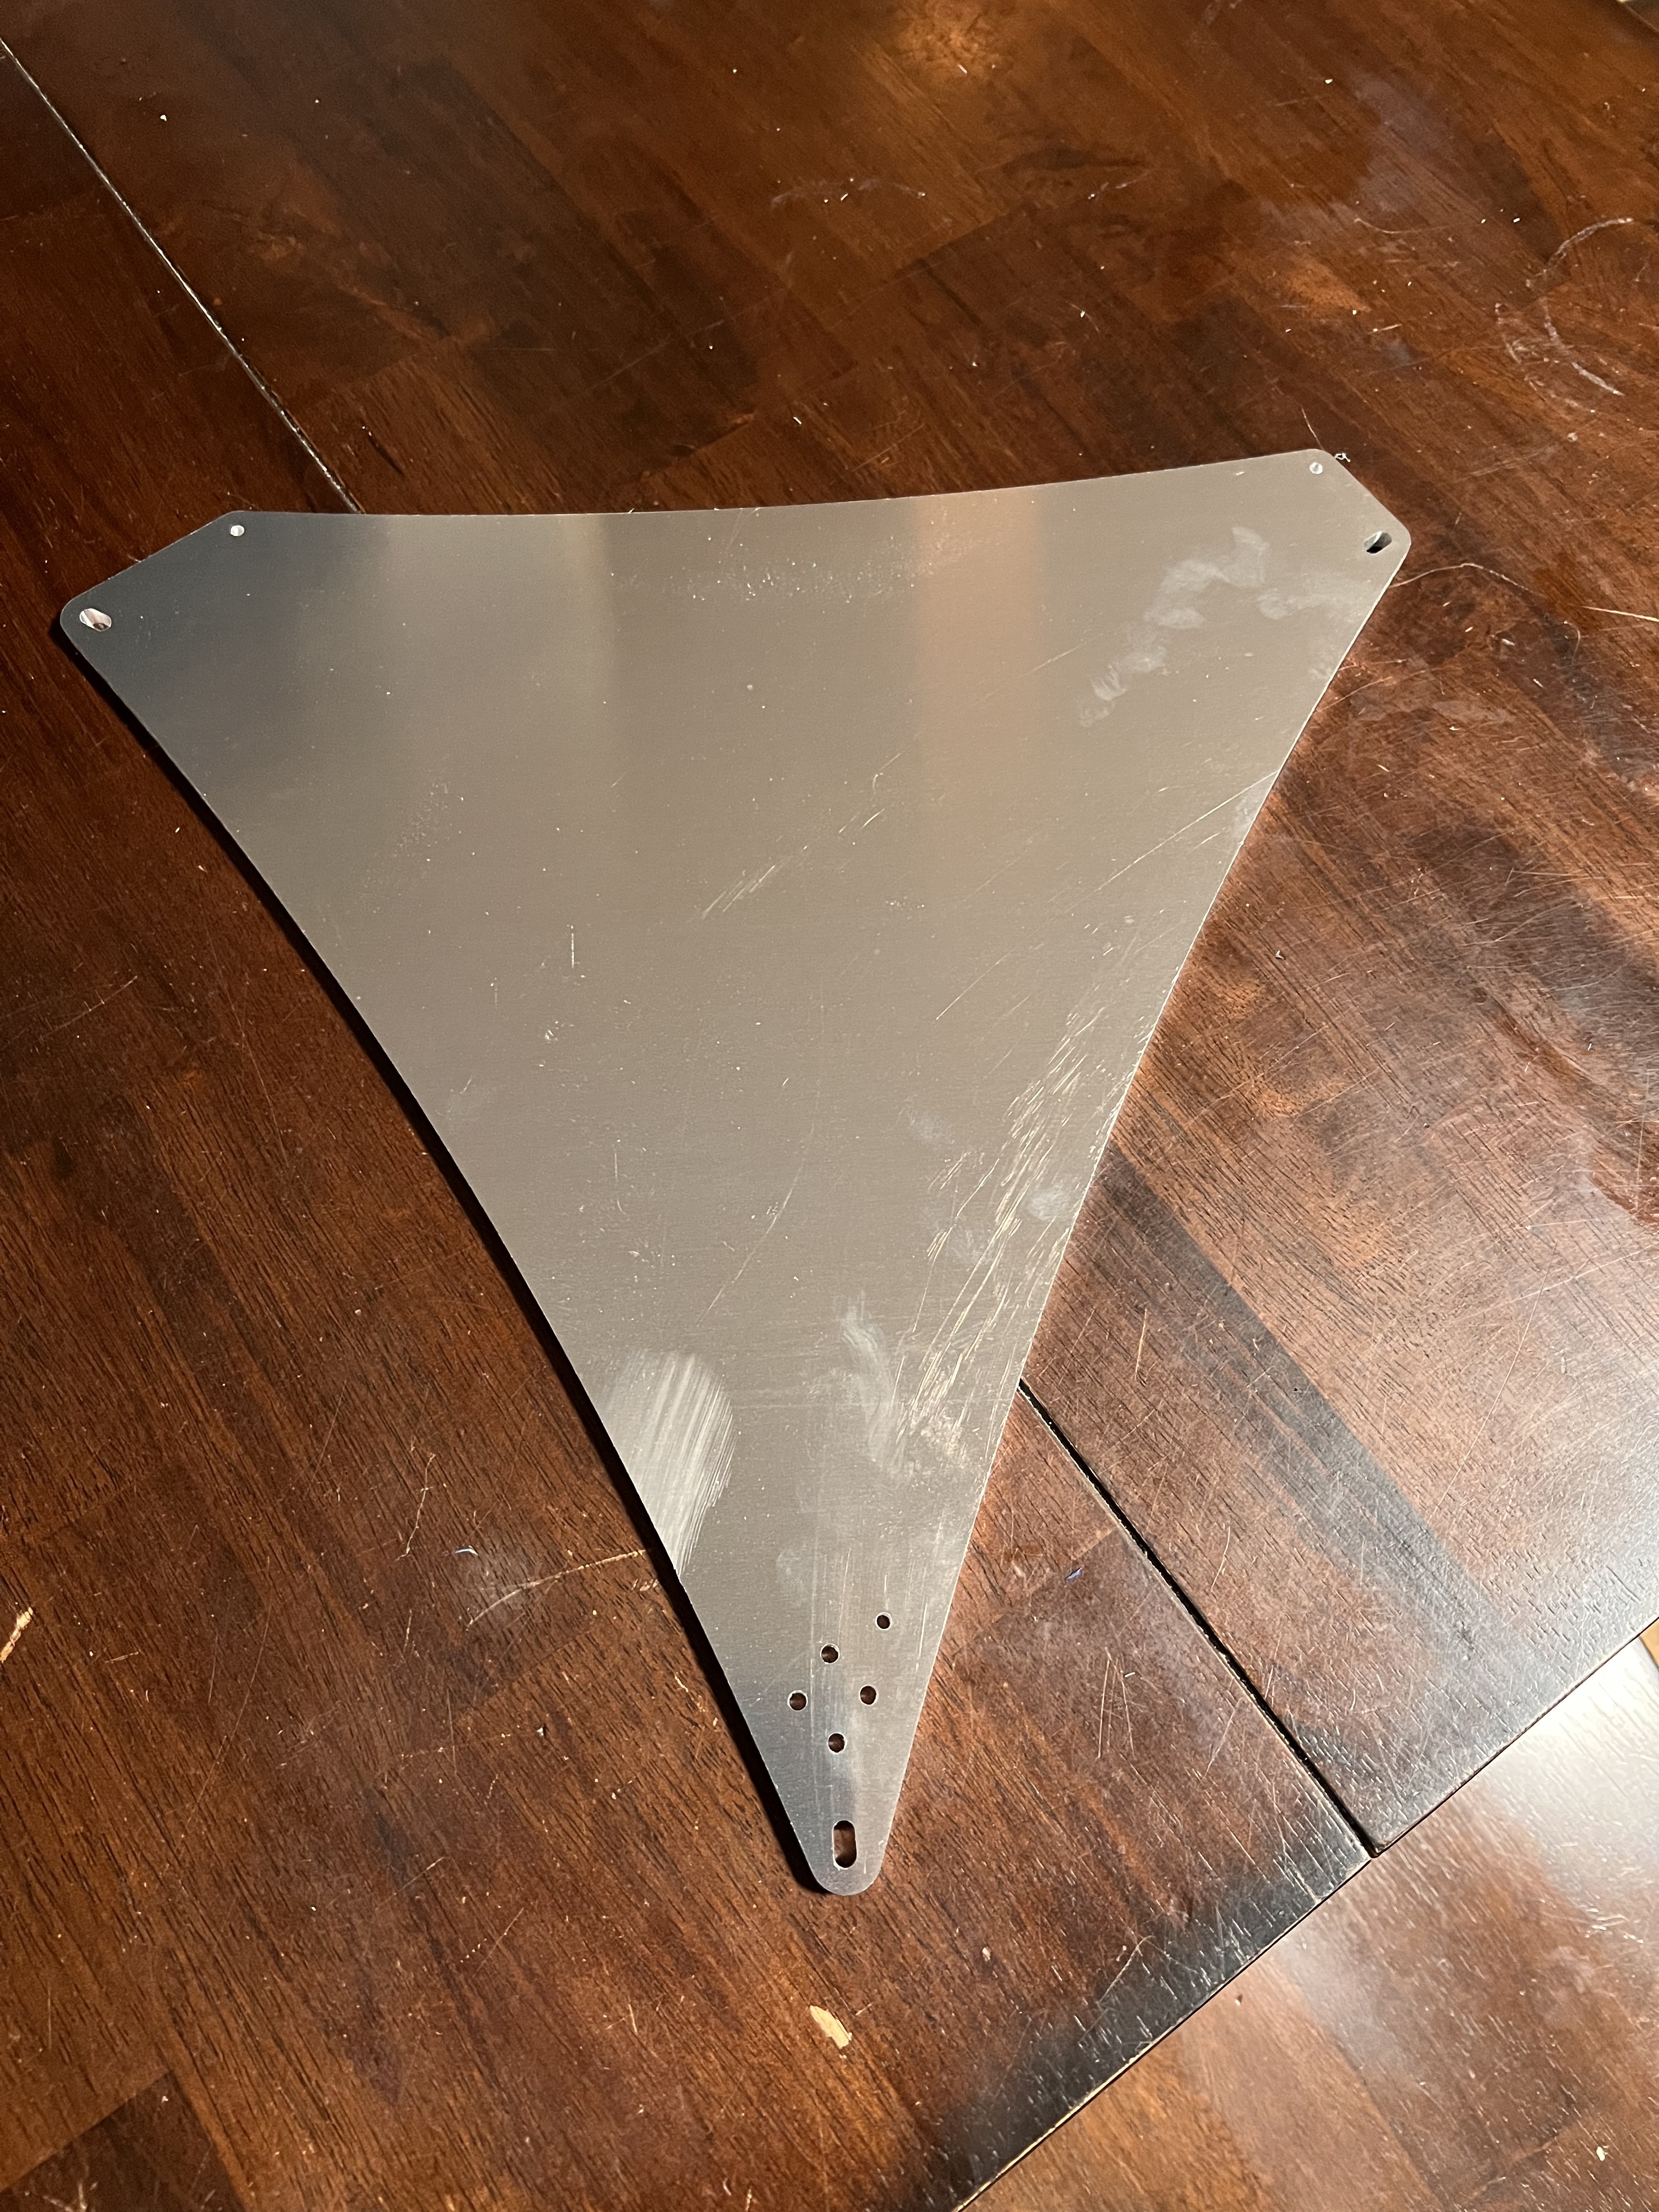
First cut done and I think it looks great! The 3 holes are very close to the edge. Hopefully @vicious1 agrees it looks good lol
3 Likes
As long as those holes are not where your heater will be any three holes will work. You will probably need to countersink those holes as well.
1 Like
They are in the exact spot you set them on the 300mm quick edit you did for me. My heater should be inside them but I haven’t verified that yet. I will shortly. About to set up and cut out the bed support. Hopefully it goes as well as this one did. I’m extremely impressed with the finish it left.
2 Likes
If they are in the way, just hand drill them. I did not move the holes because I had no idea what size heater you had. Do not pop any holes in your heater.
1 Like
Sounds good Thanks!
1 Like
And the second part…
This one took 2 tries. I have no clue what happened the first time. Ran to the restroom and in the 2 min I was gone the whole gantry was turned sideways. Shut it down and regrouped. Second try went great and I sat there and babysat it the entire time lol
5 Likes

5 Likes
Just milling 1/4 aluminum like it’s nothing…
That is so awesome.
1 Like
I completely agree!!! Even at the 5% step over it never flinched at all. I could have easily gone 10% and higher on the feed rate. You may notice in the video at the very end i put my hand on it. I didn’t add holding tabs on this one either. The aluminum shavings pack in the hole so tight that i don’t think it could move if it wanted to. I was holding it as it finished the last bit. It had already cut free and was just cleaning up the last of the edge and it never once budged. I’m extremely impressed with the finish quality!!!
3 Likes