Are you sure you are zeroing correctly when you probe the top surface? If you are lifting your router after routing and your start g-code has a G92, you may be locking in an offset.
Do you have anything set for “Stock to Leave” or “Stock Offset?” on the Passes tab of the toolpath?
Upload your g-code file (or post the first 30 lines), would help troubleshoot this issue.
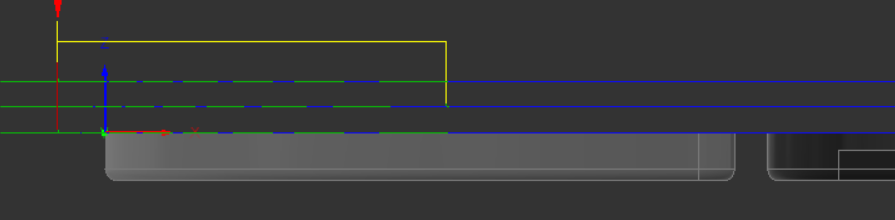
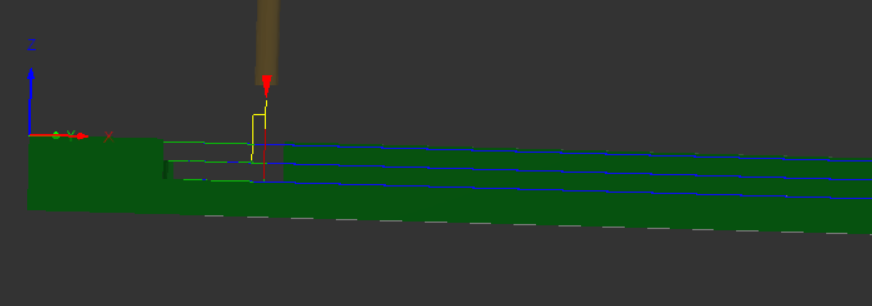
I believe so. I follow the same workflow as any of my other operations. G92 is enabled in fusion. This always confused me because I always thought it zeroed out X, Y AND Z. Bet yet it has always maintained my probe offset even with G92. I’ve uploaded the Gcode now. Face.gcode (13.4 KB)
Working from the M5 Dial:
Load file/SD card
Turn on
Home
Jog to X,Y for my origin.
Probe
Retract(button on M5 dial)
Select gcode file. Press start. G92 enabled in Fusion 350 PP.
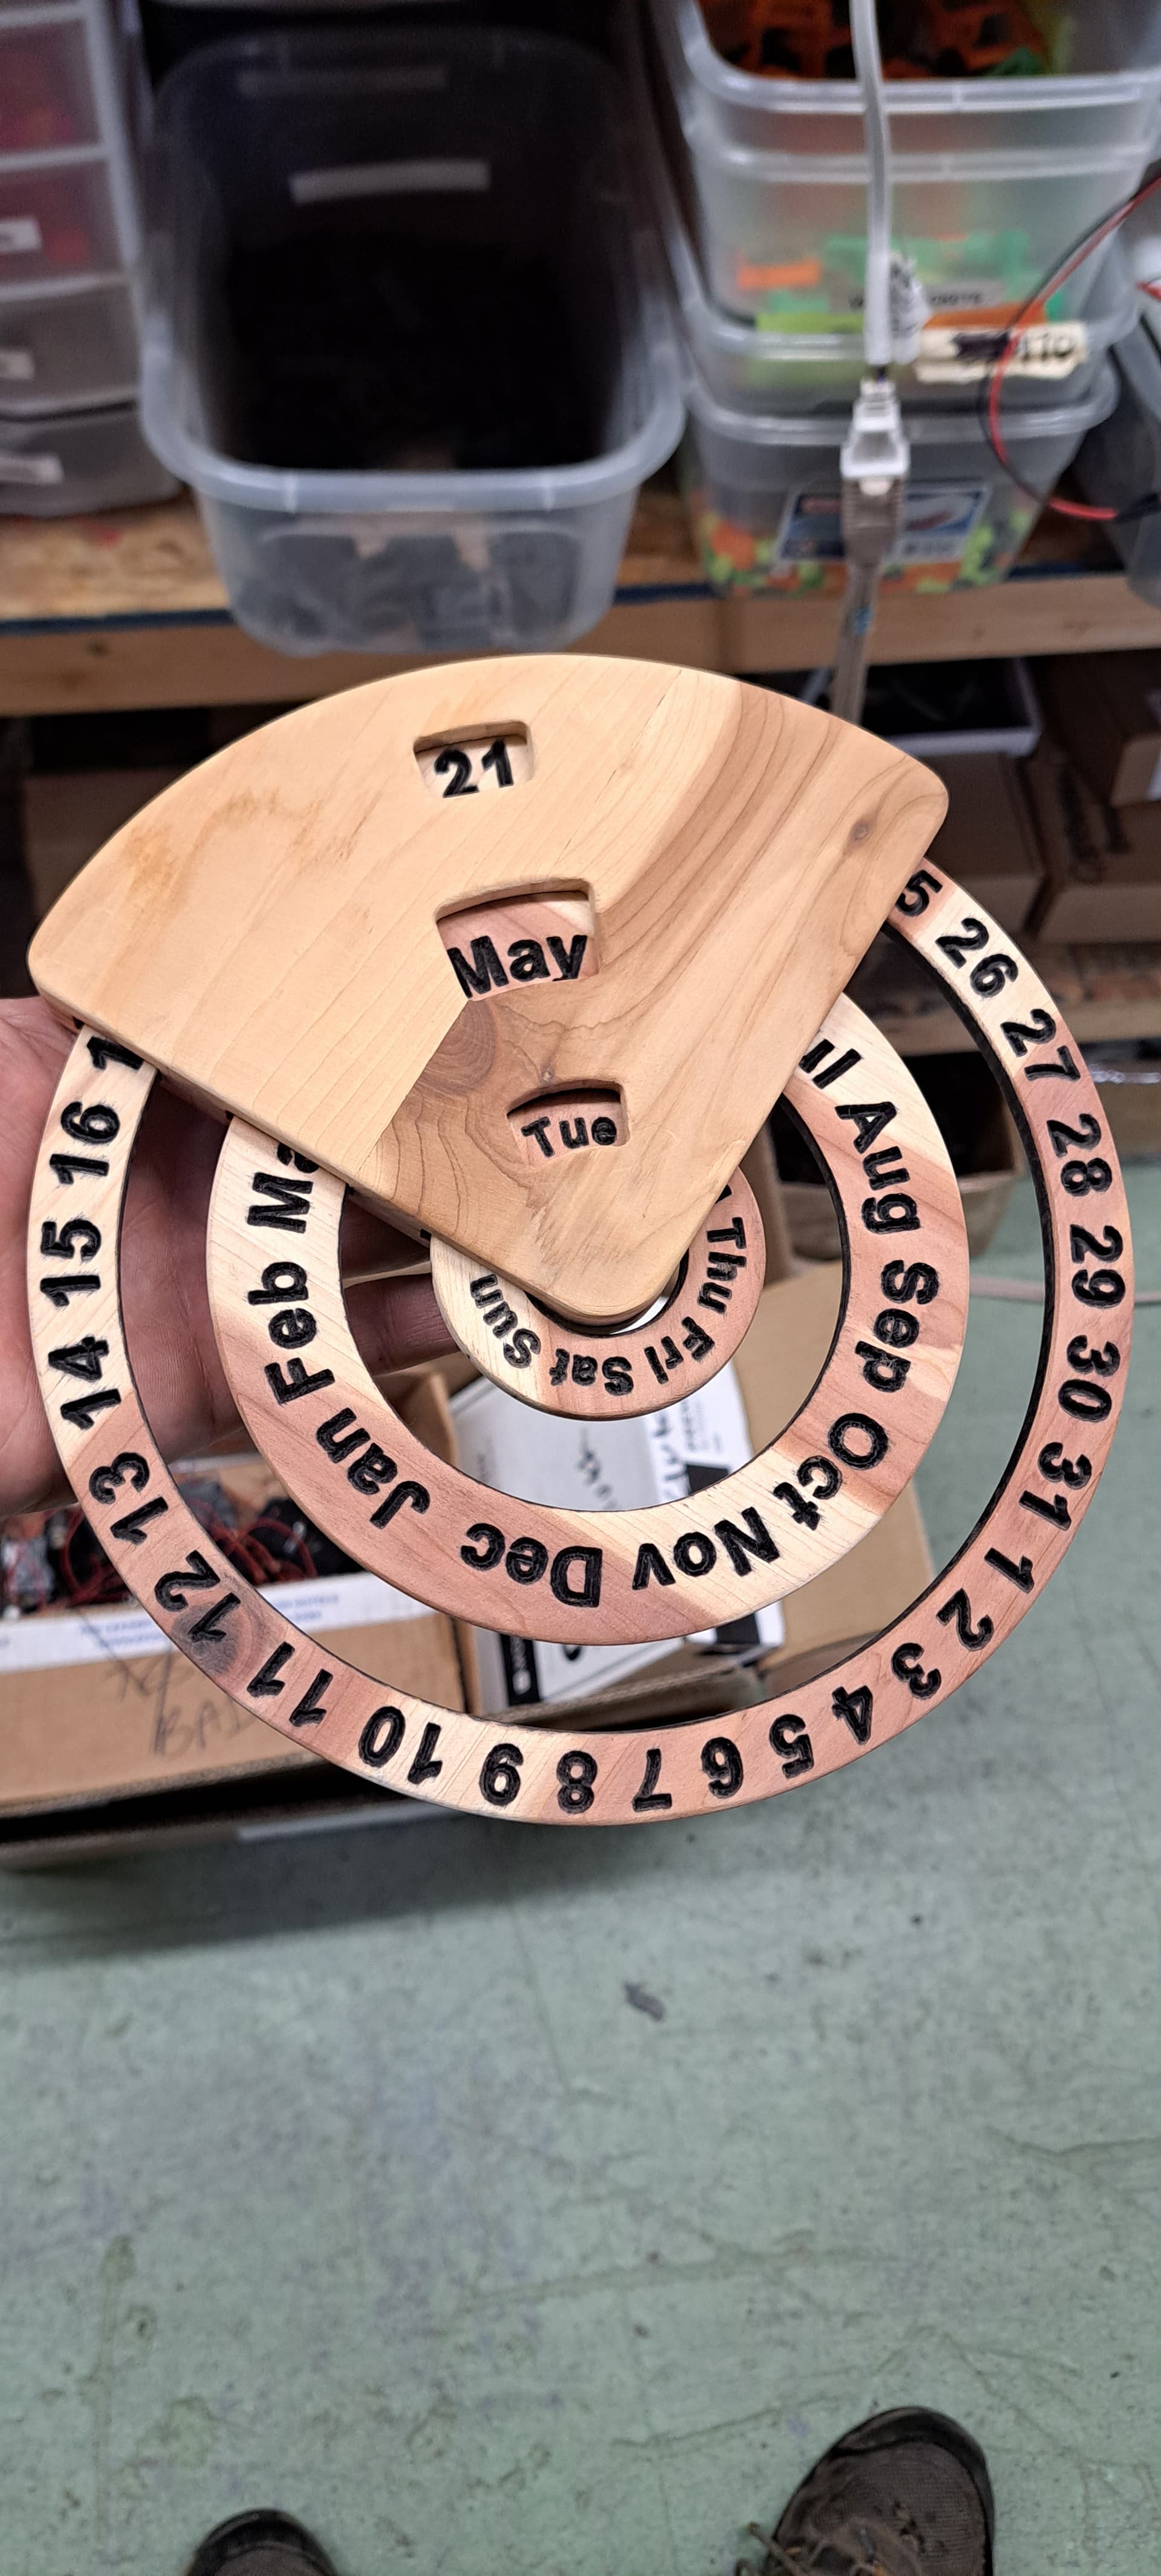
This works fine on a clock that I just made and the struts that I cut out. I also tried not using the probe at all and just setting the tool to the top of the stock.
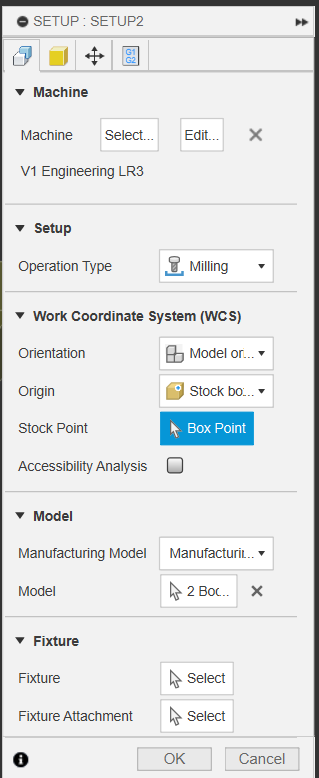
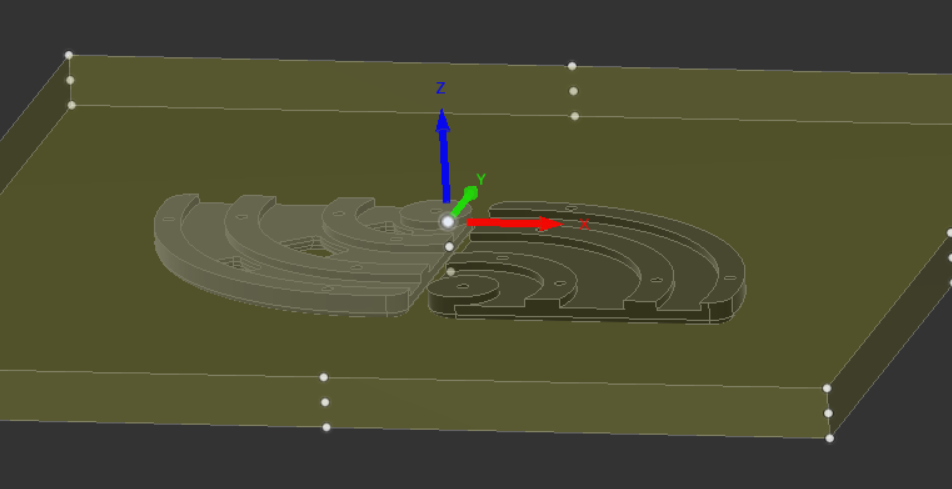
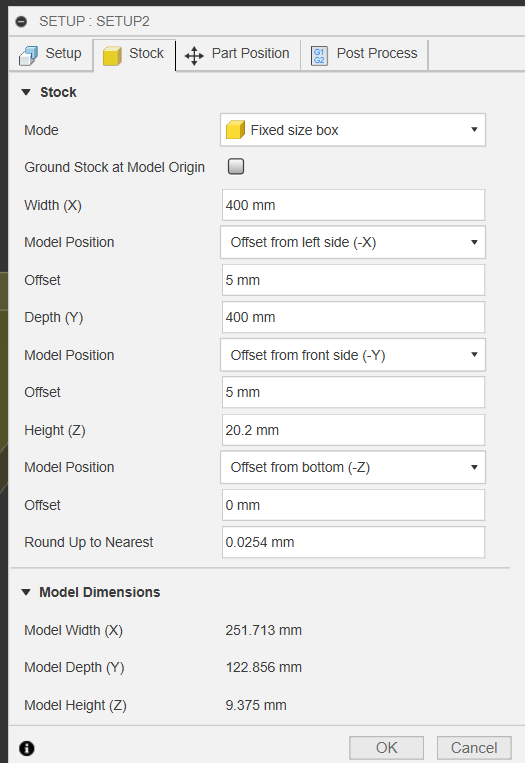
You can change model position x, model position y from center to offset from left/right, front/back if your stock really is that large and you don’t need it in the center
F360 has a lot of functionality and a lot of control, but until you know where everything is and how it fits together, it can be tough to use. Been there, done that, happy to help.
This all makes sense to me now (mostly). The reason for my previous workflow(if you care ) is that I like to have a fixed size stock so I can setup and see the part cutout on the edges better. I like my XY 0 to be on the top left of the part(not center for this one in particular). The only way for me to choose that XY origin point on the model with a fixed size stock was to pick the models point as there was no spot to pick on the stock box.
I’ve now changed to Relative size stock and can choose the top left corner of my part now and make offsets adjustments to the stock as needed.
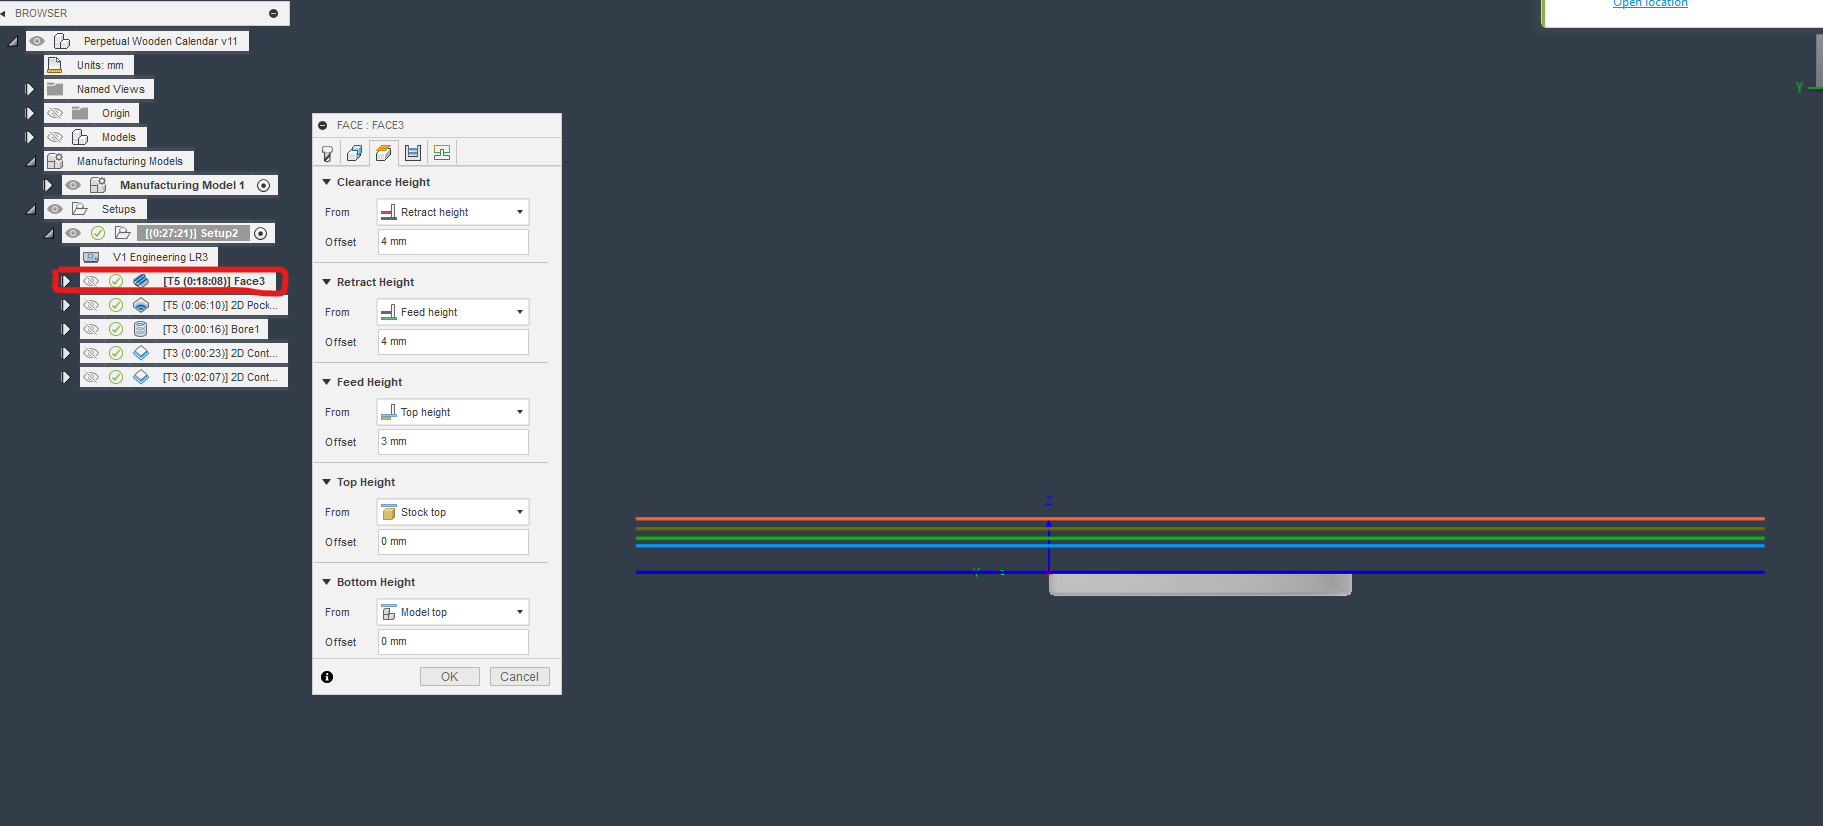
I think I assumed that the Heights that I set of each operation would overide my Z level that I set in my setup.