EVA foam armor

No major updates, but I have made a little progress. I did some shaping with a heat gun. In retrospect, I should have done that before I started gluing everything up. Some of the seams took a lot of work to get aligned and had a lot of stress.

Once the contact cement was fully set, I took a carving bit in my Dremel and beveled the seams a bit. In the future, (once I get my tool changes fully worked out) I’ll use one of my v-bits for this. Then I started filling the seams and gaps with EVA foam clay.


The clay is really interesting - it’s lightweight, easy to work with, but it gets SUPER sticky when it gets wet. I would roll out some real thin “worms”, then take a paintbrush and brush some water into the seam. Next, carefully press the clay into the seam, then wet my finger and really work it in and spread some of it out.

I gave it around 24 hours to dry (the box said 48, but I can’t help my self), then went over it with a 320 grit sandpaper. The clay sands pretty well and I was able to smooth it out a bit. However, I very quickly found out that 48 hours wasn’t a suggestion, and there was still a fair bit that wasn’t cured.

I did a little more gap filling, cleaned up some messy spots, and I’ve now put both pieces in another room so I won’t be tempted to mess with them.

I’m hoping to start on the helmet in the next day or two, so I might have some new stuff to show off soon.

8 Likes

@james_van this is coming out really nicely! Can you share your design process? I’d be interested to see if you are using software to model it in 3D or are you creating 2D templates from newspaper and digitizing that.

1 Like

I’m using a template that I bought, but I’ve made some changes to it. This is my second time making something with EVA, and the first time making something with curves, so it made sense to buy a template. In the future, I definitely want design my own stuff, I’m pretty good at 3D modeling (both surface and solid).

I can detail the things I did do with this project though - I bought this design from Etsy - Standard Female Fantasy Upper Body Armor Foam PATTERN / - Etsy It came as a PDF download. I opened the PDF in Illustrator and broke it apart into the individual armor pieces. It was set up for printing on standard A4 paper, taping it all together, then tracing onto foam by hand, so there were a ton of clipping masks.

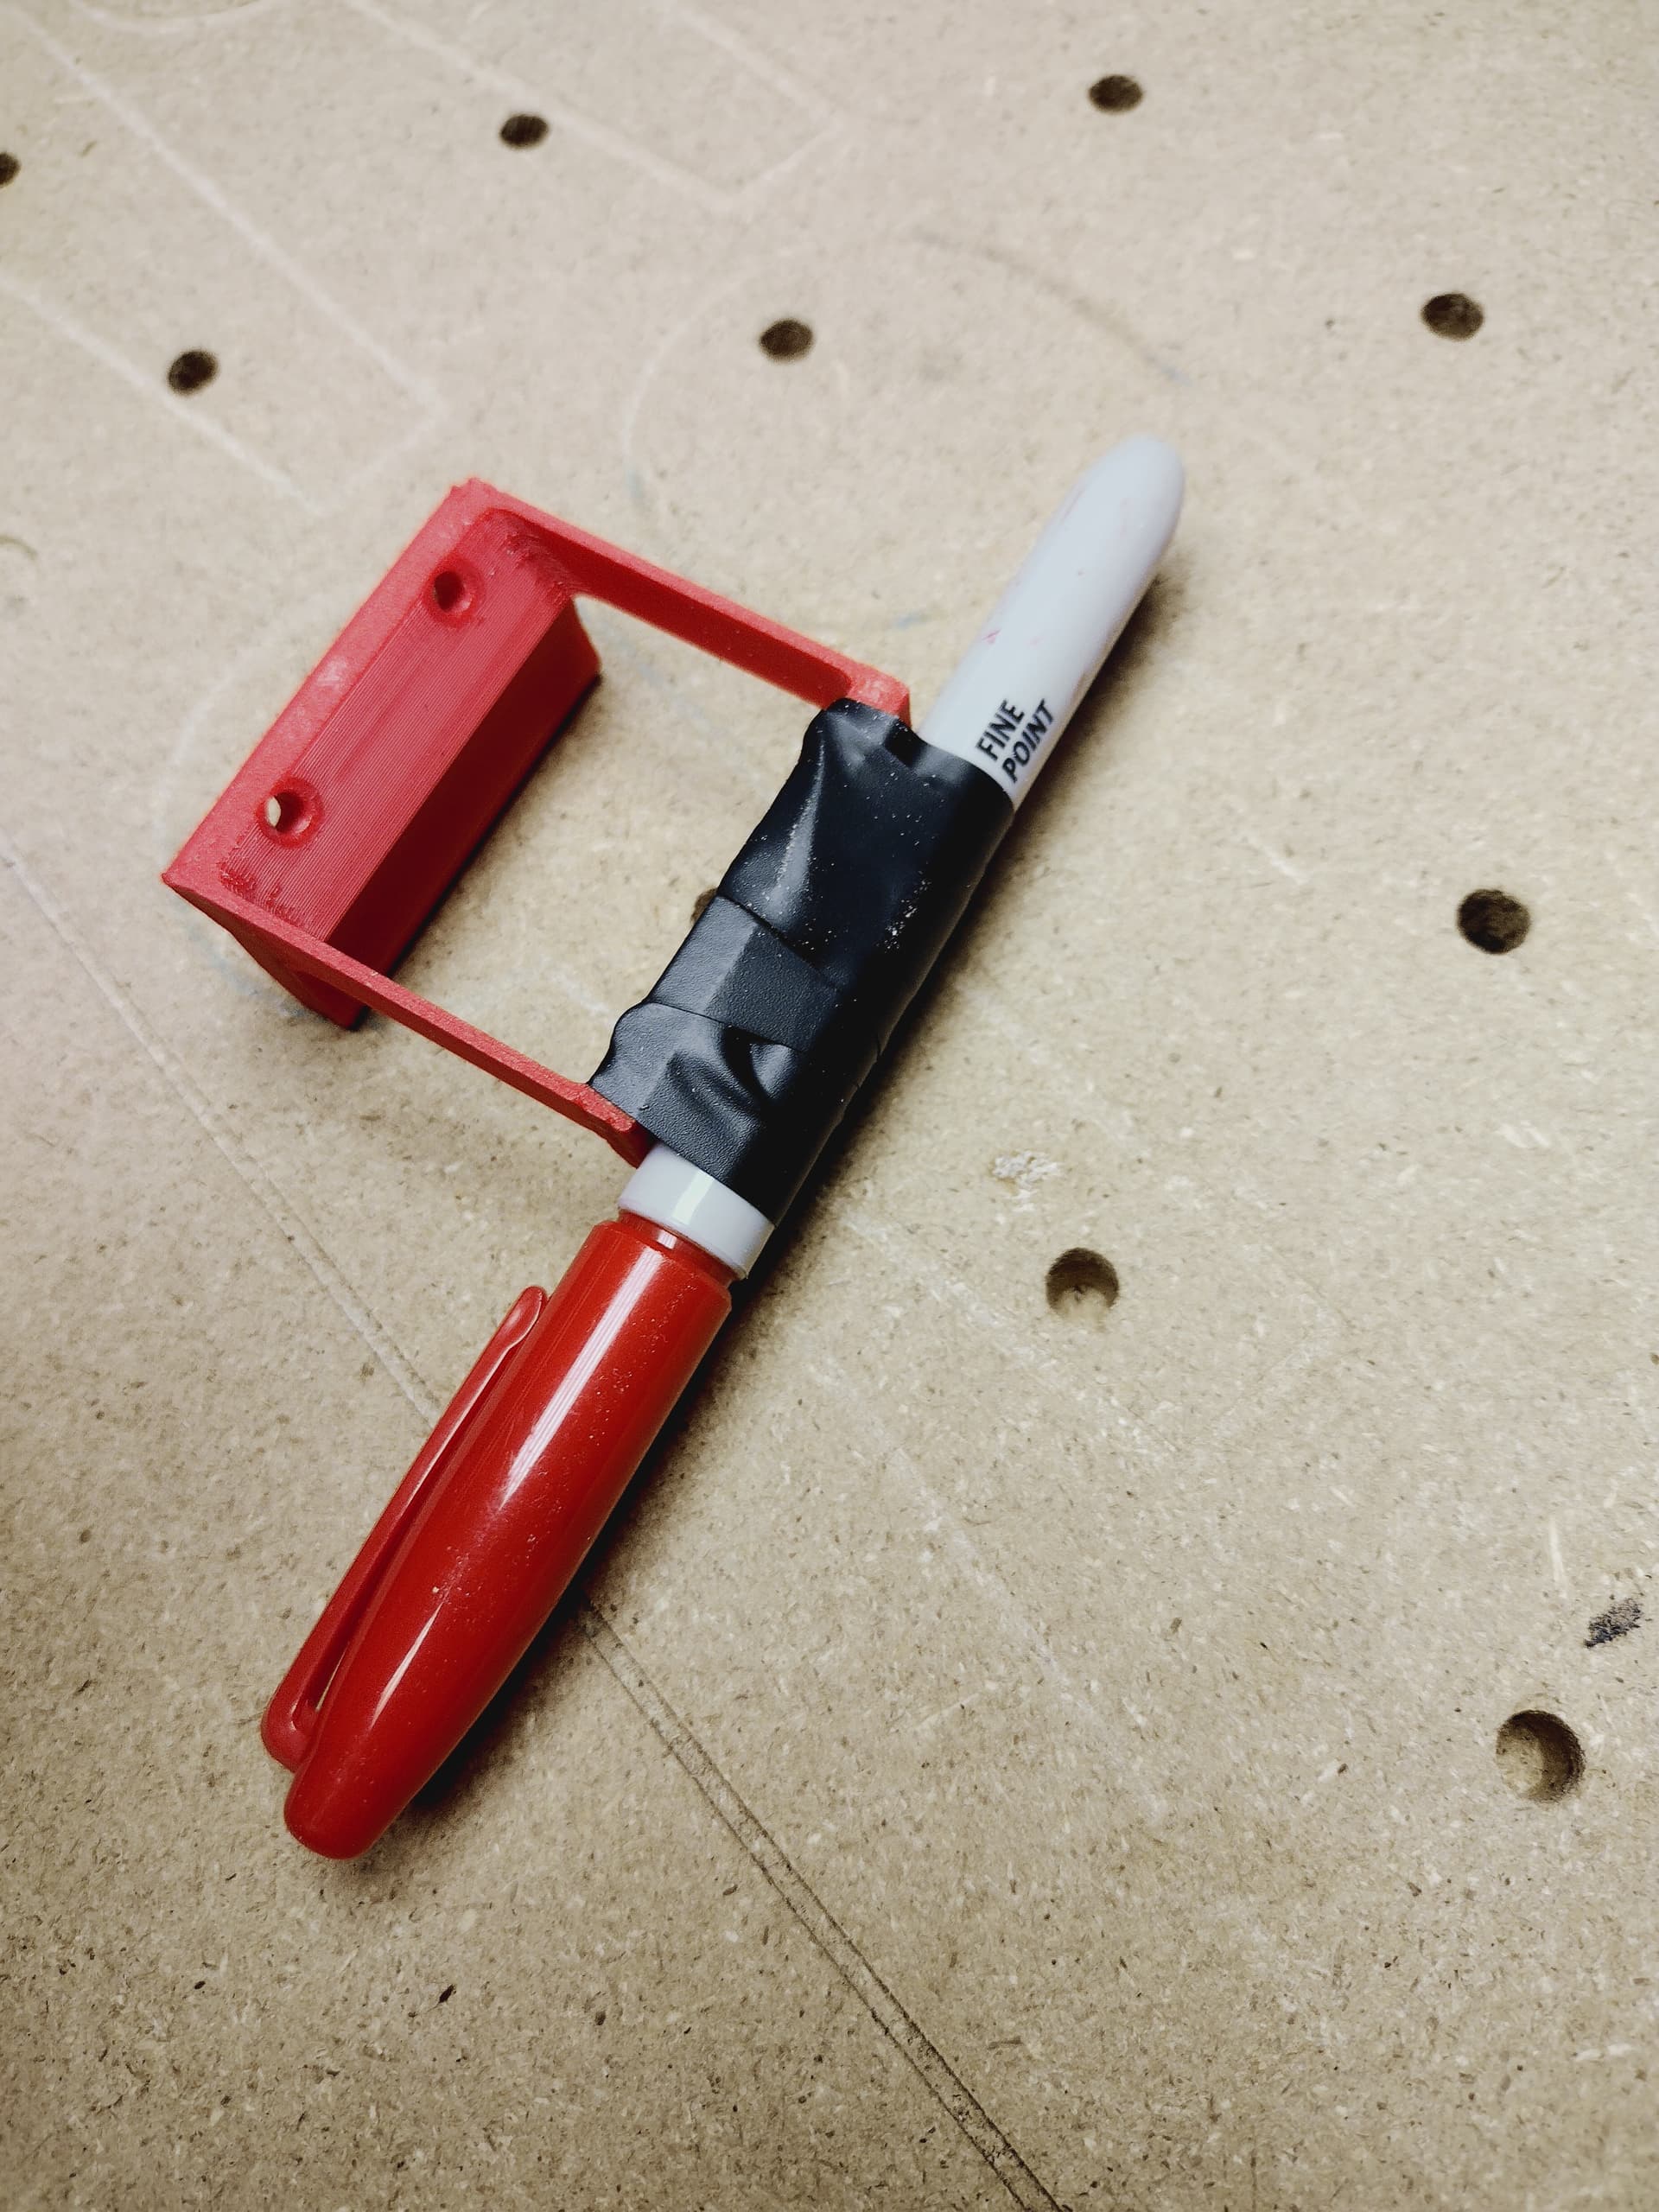
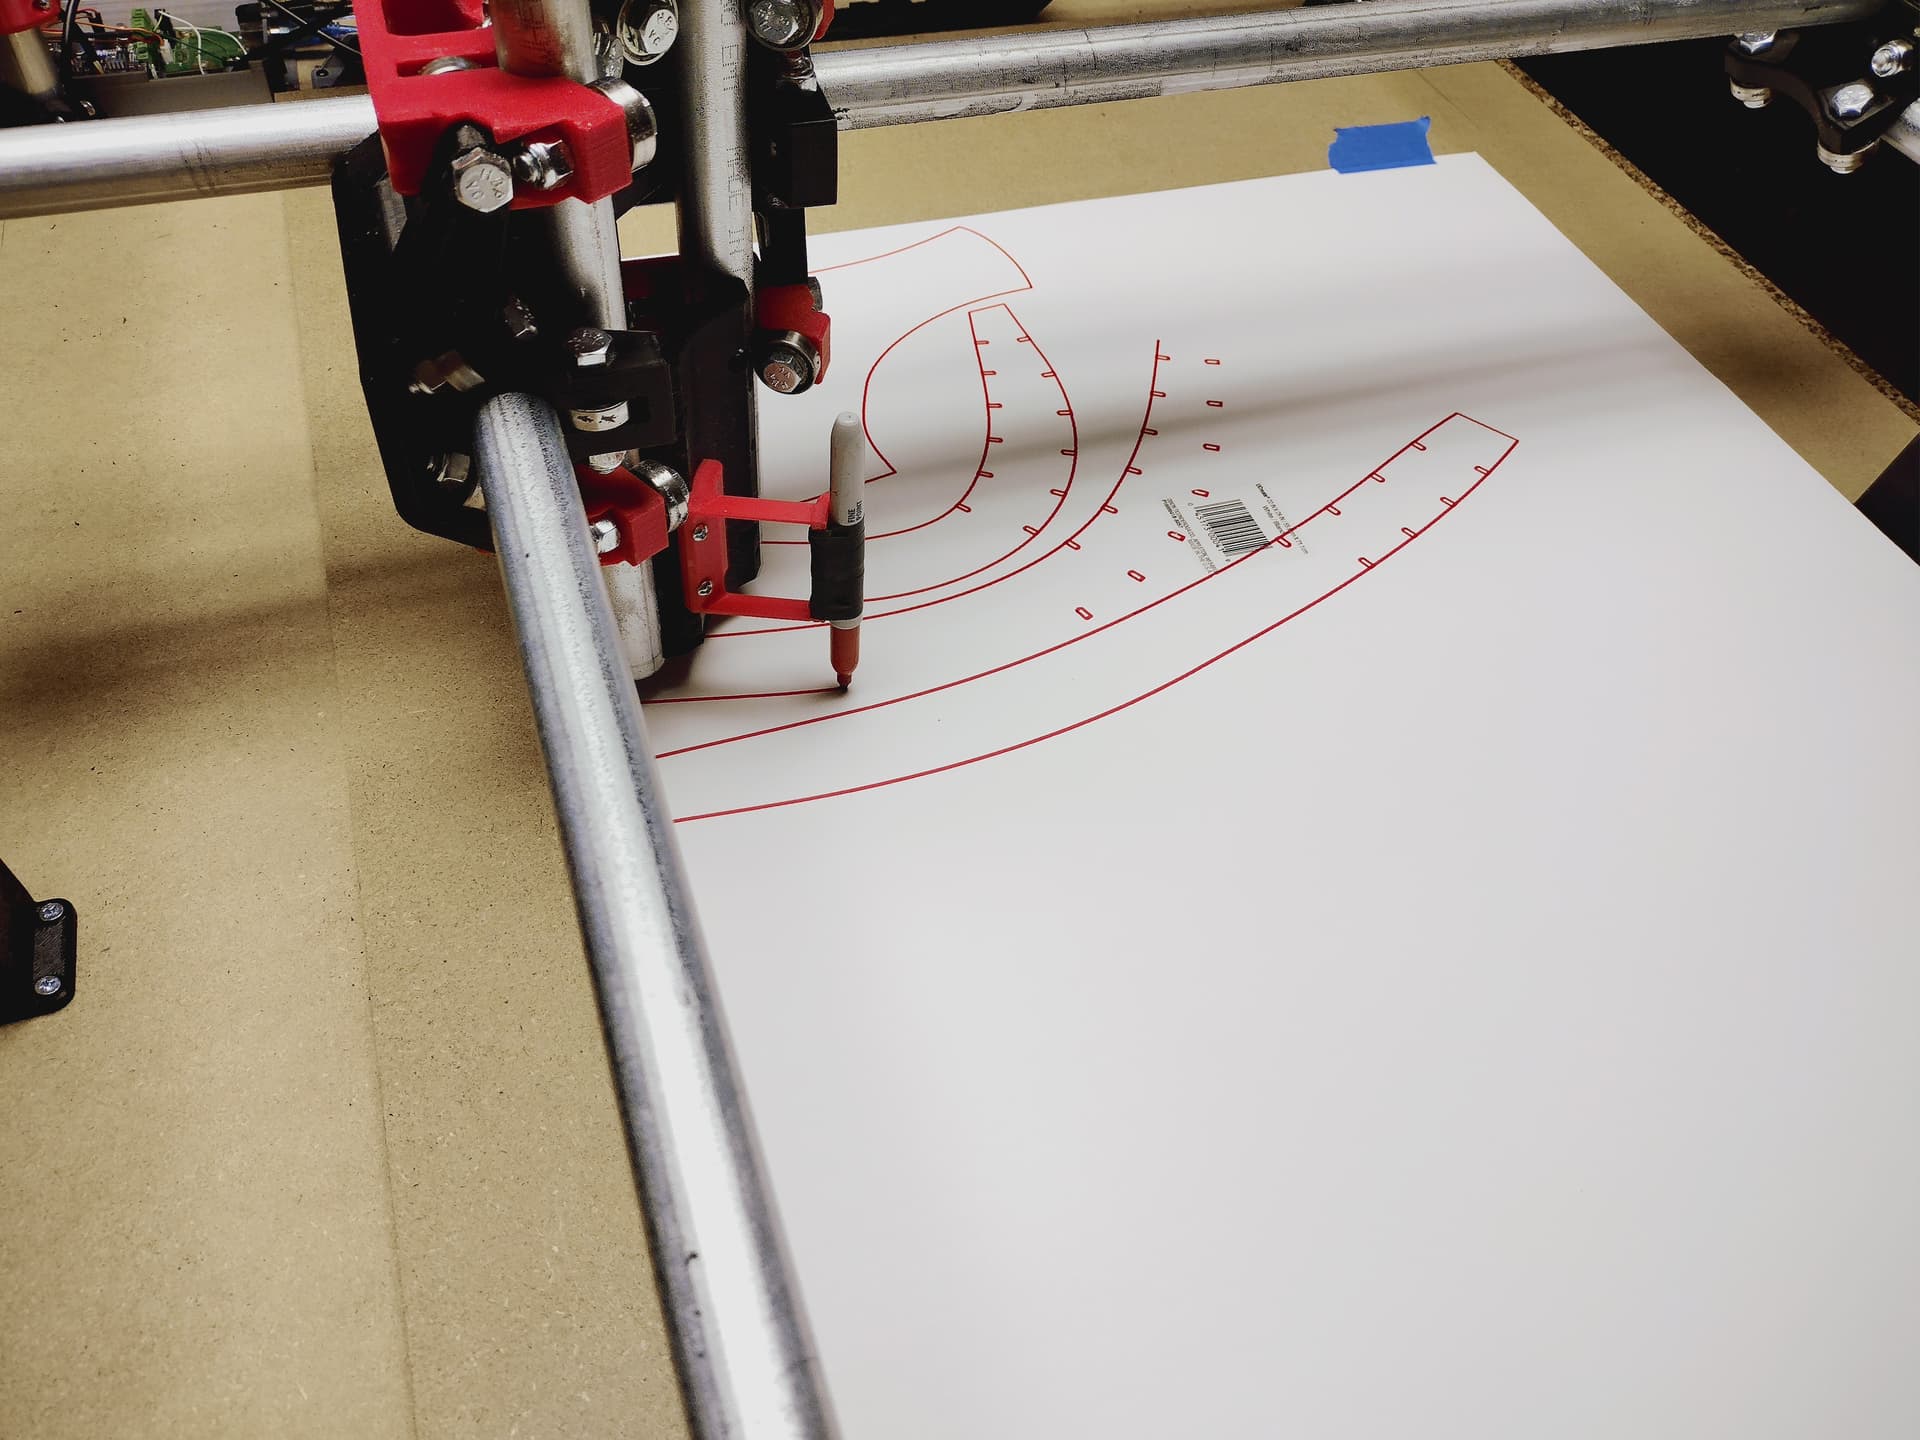
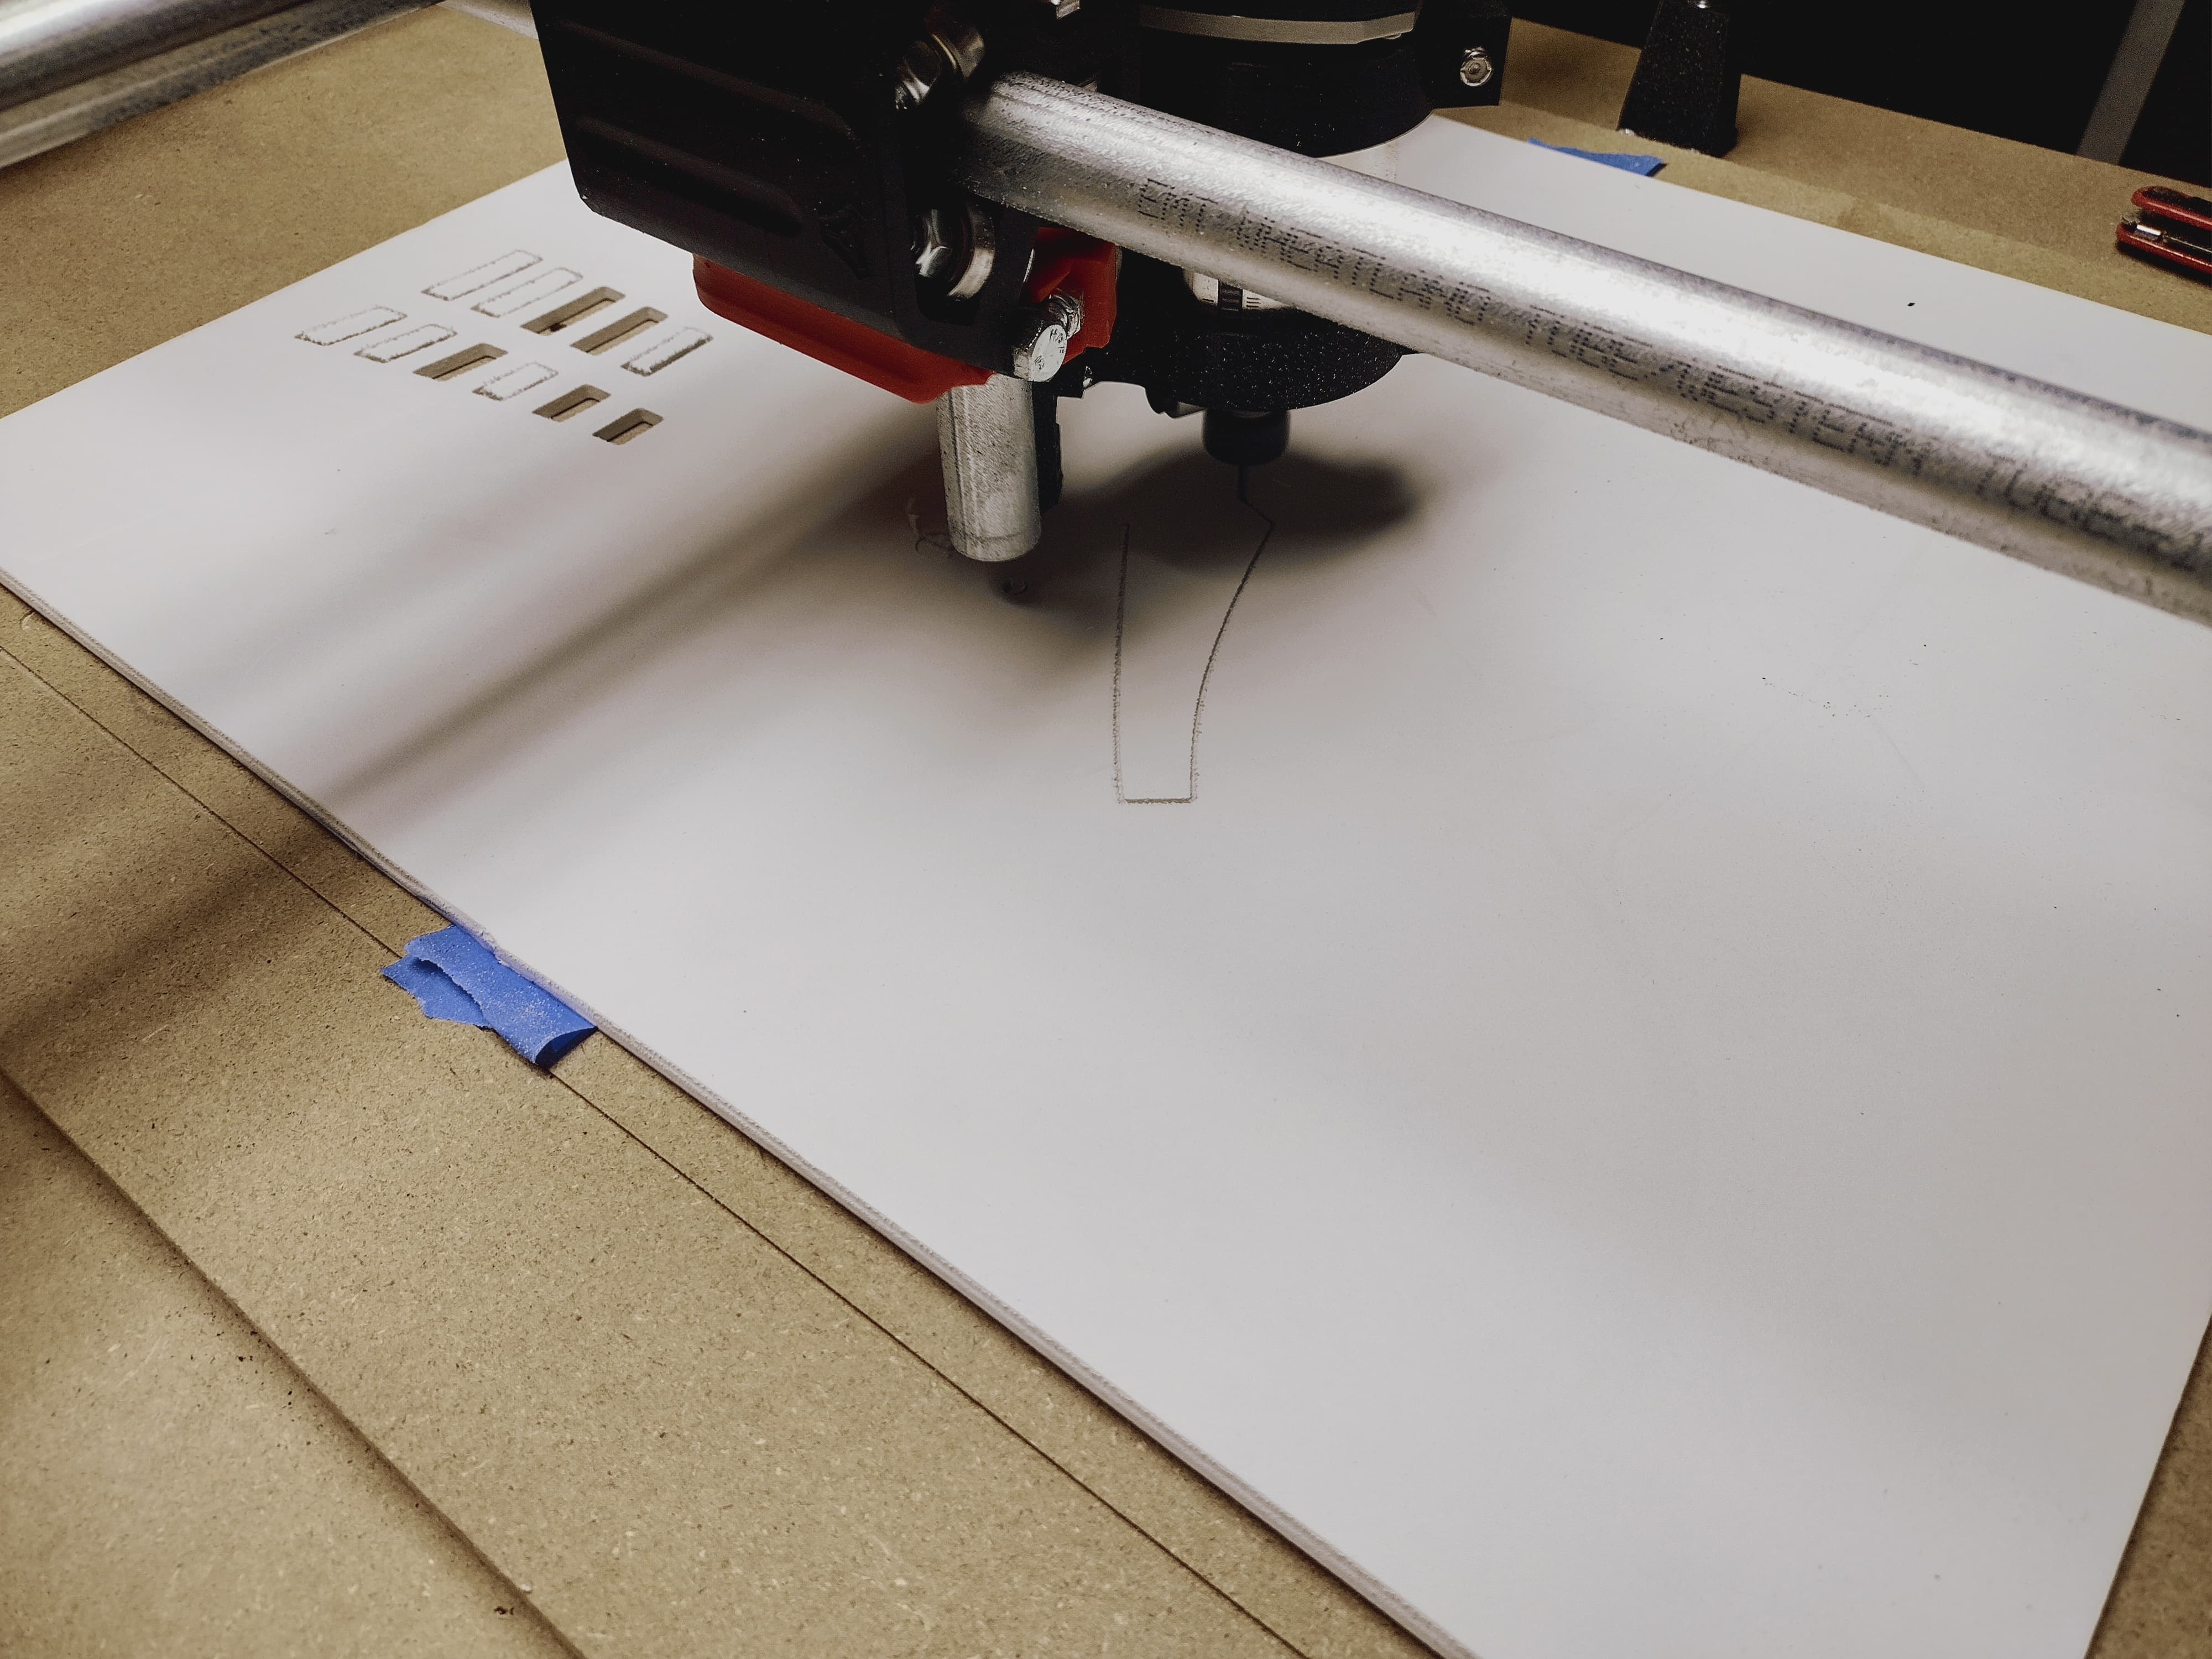
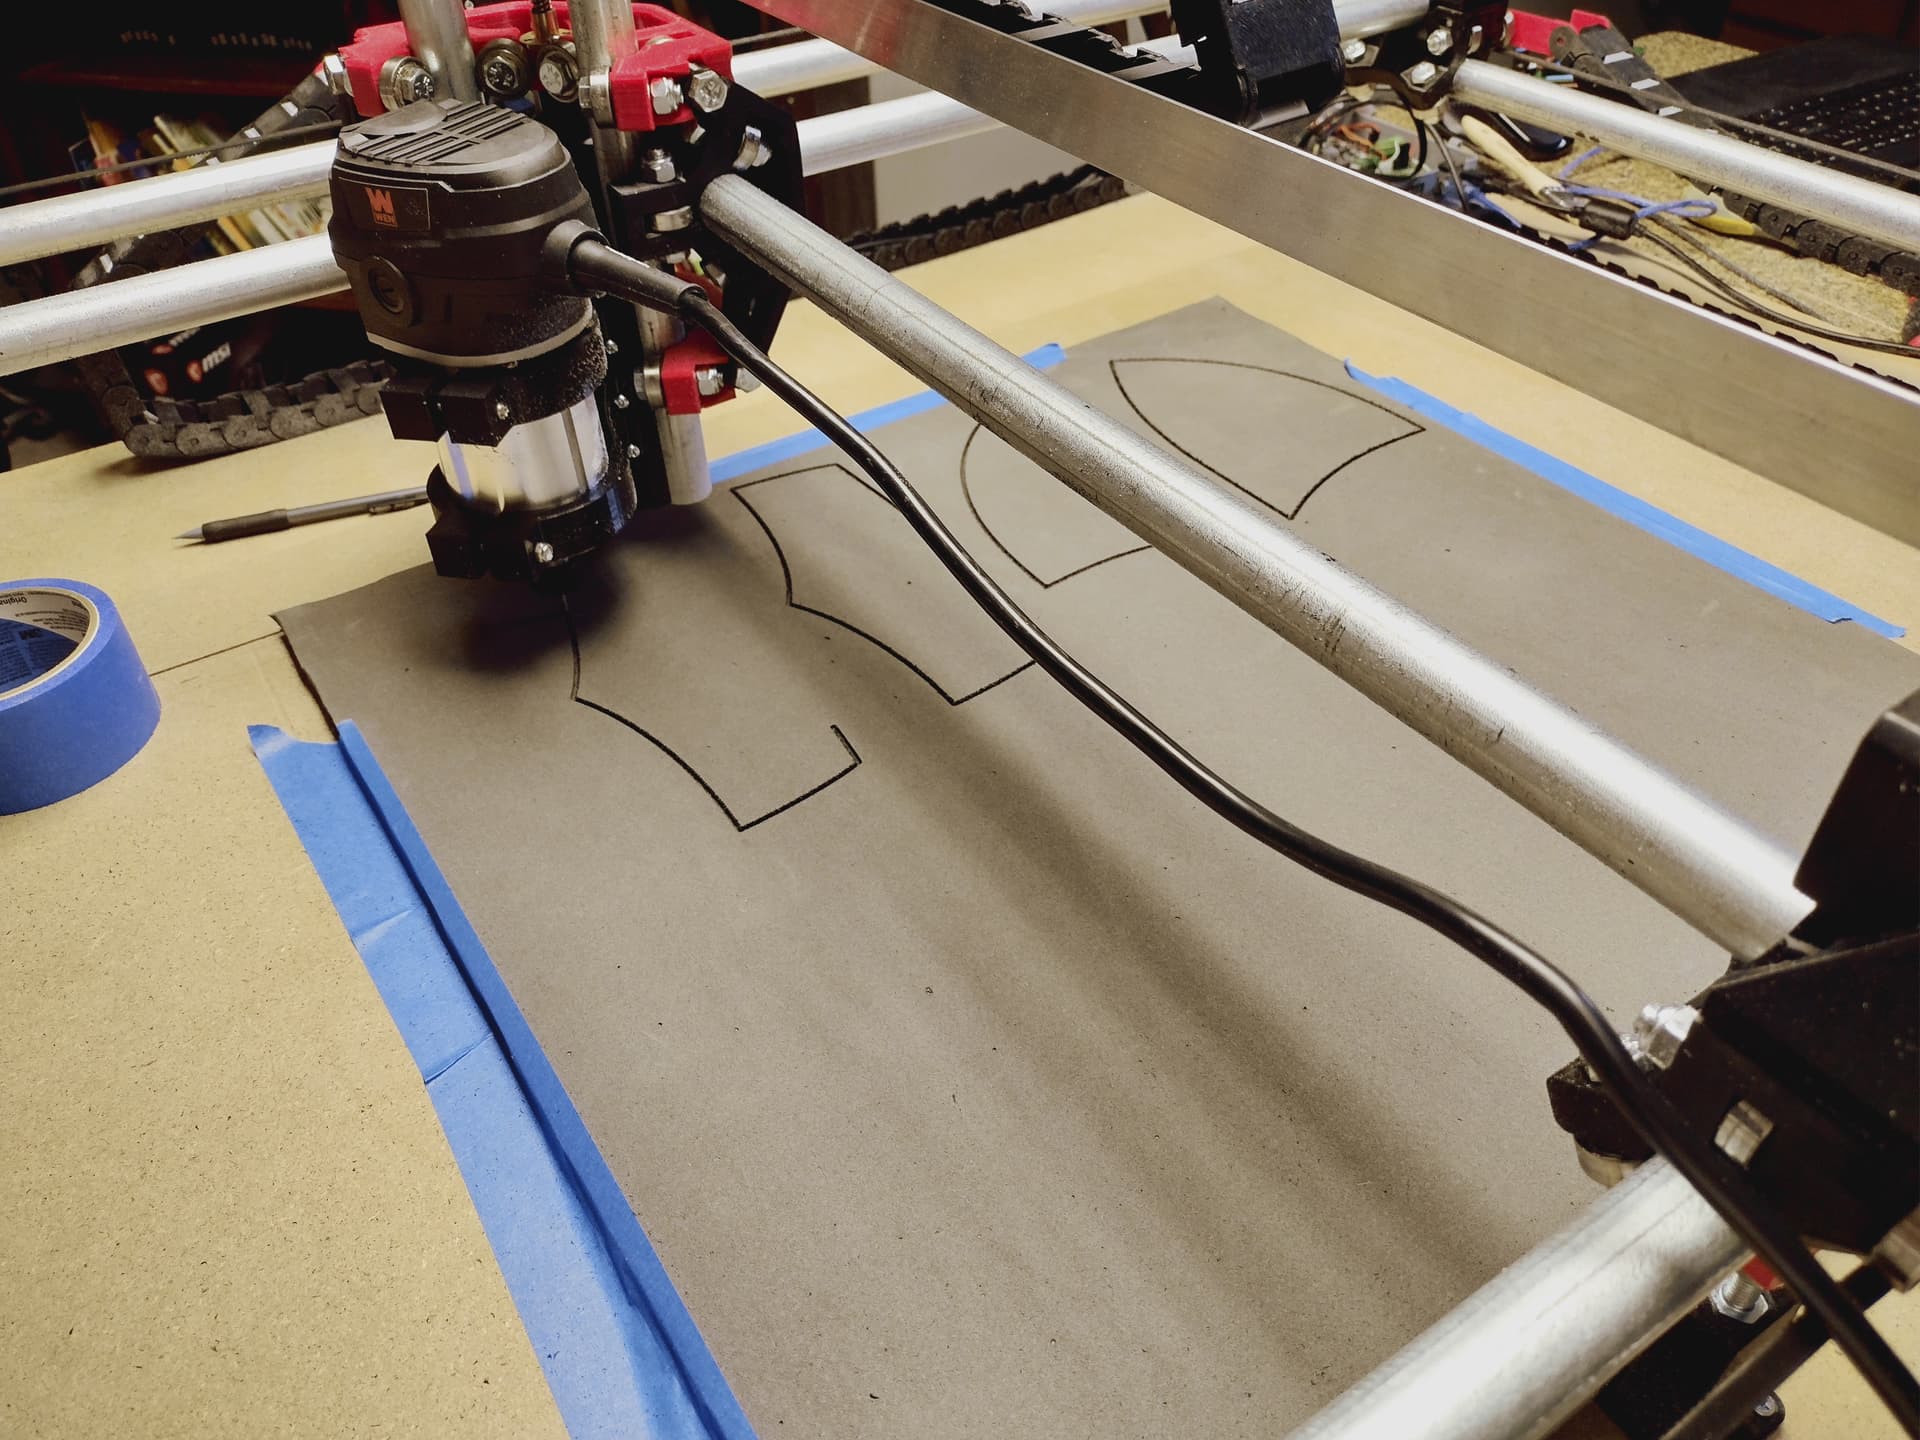
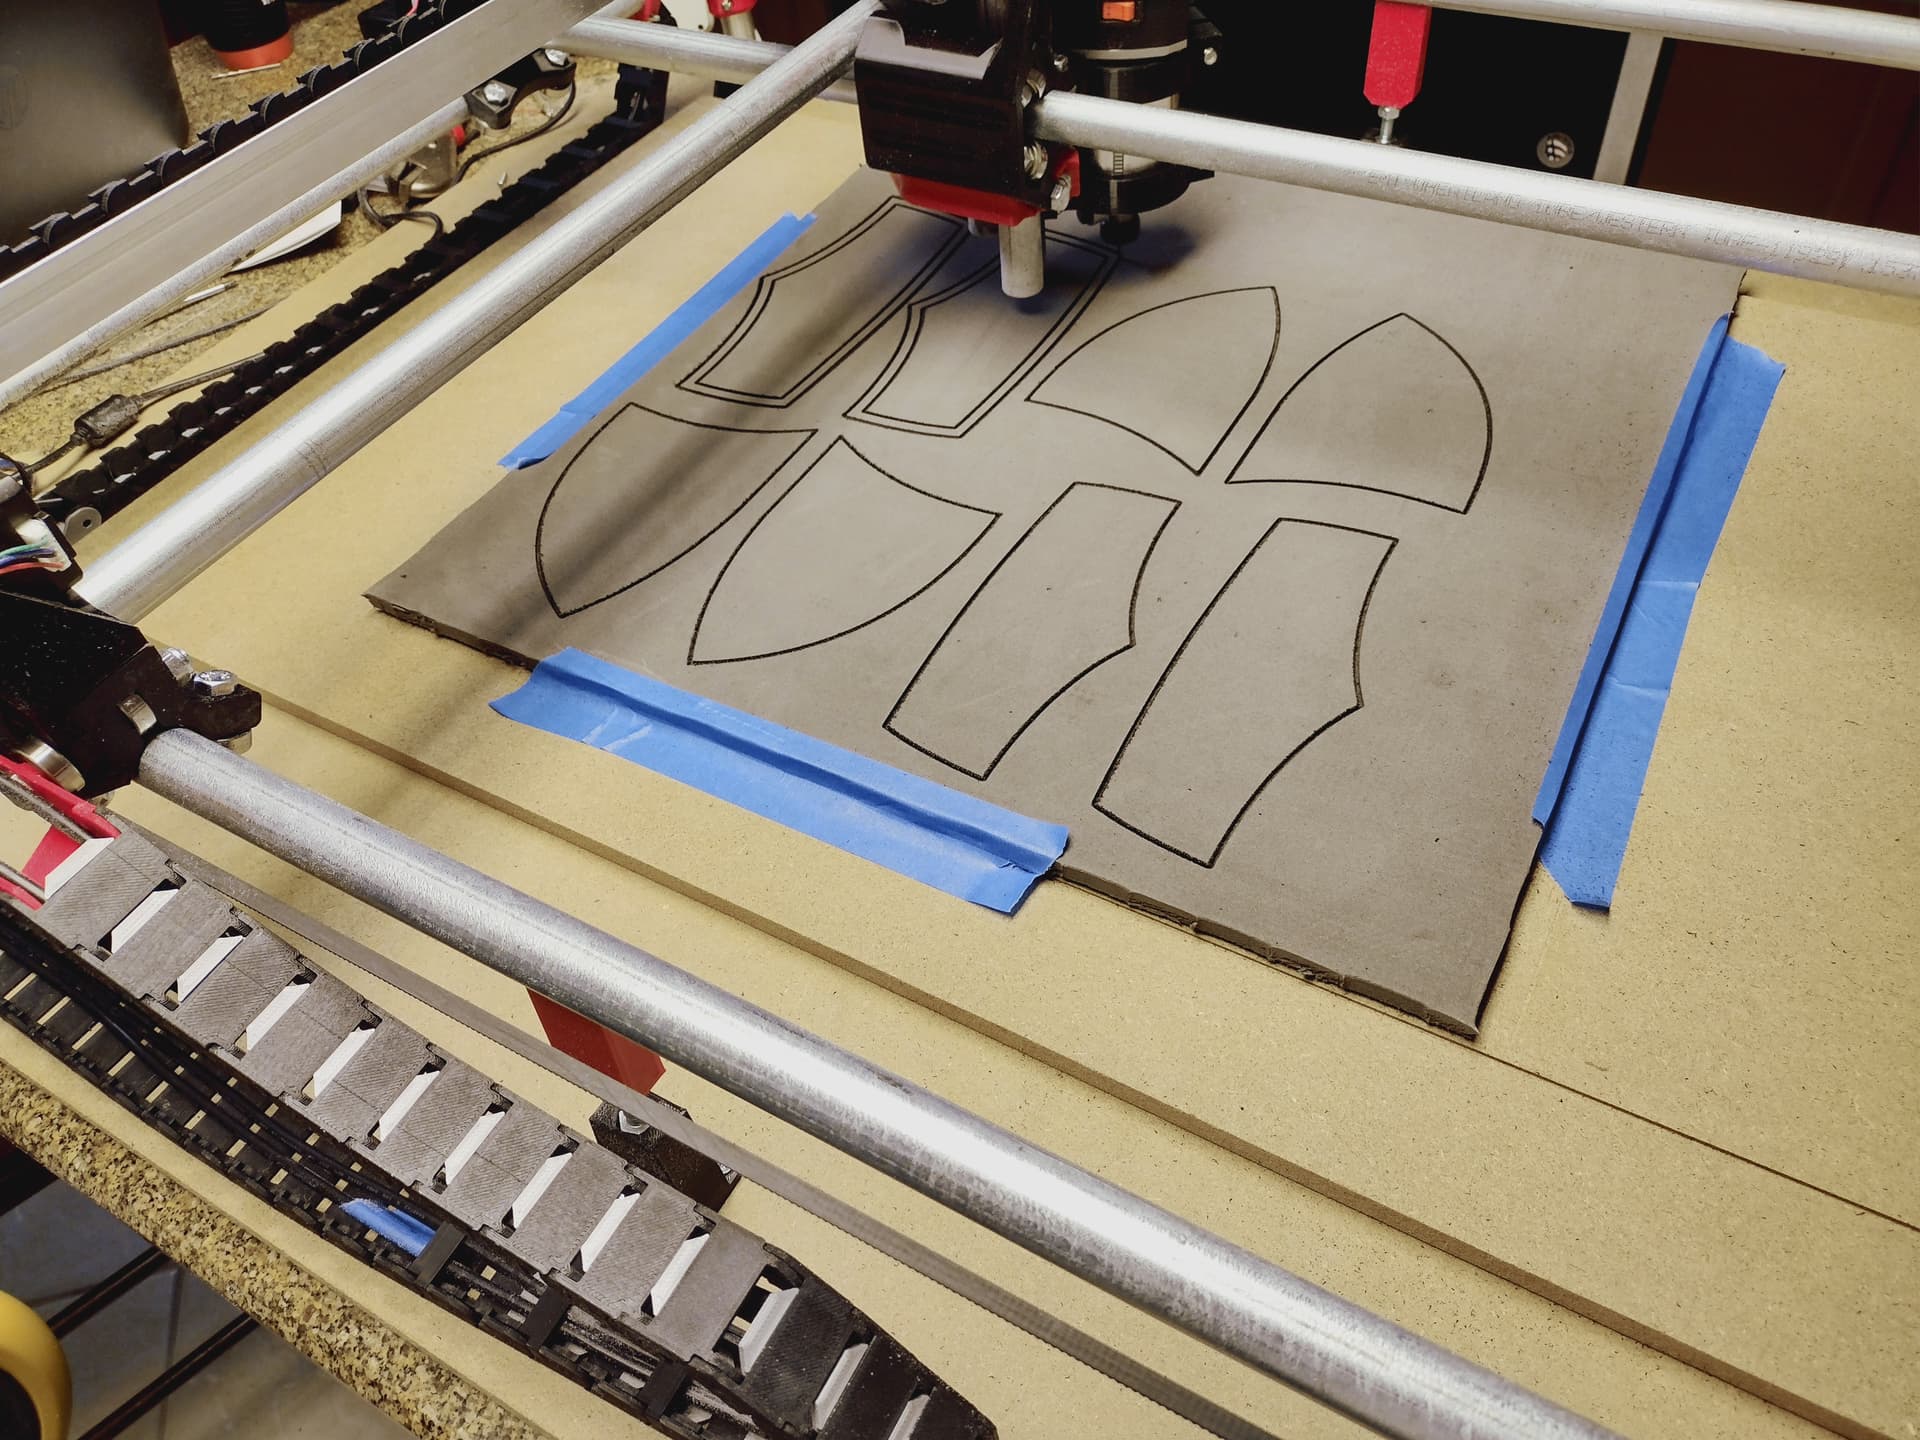
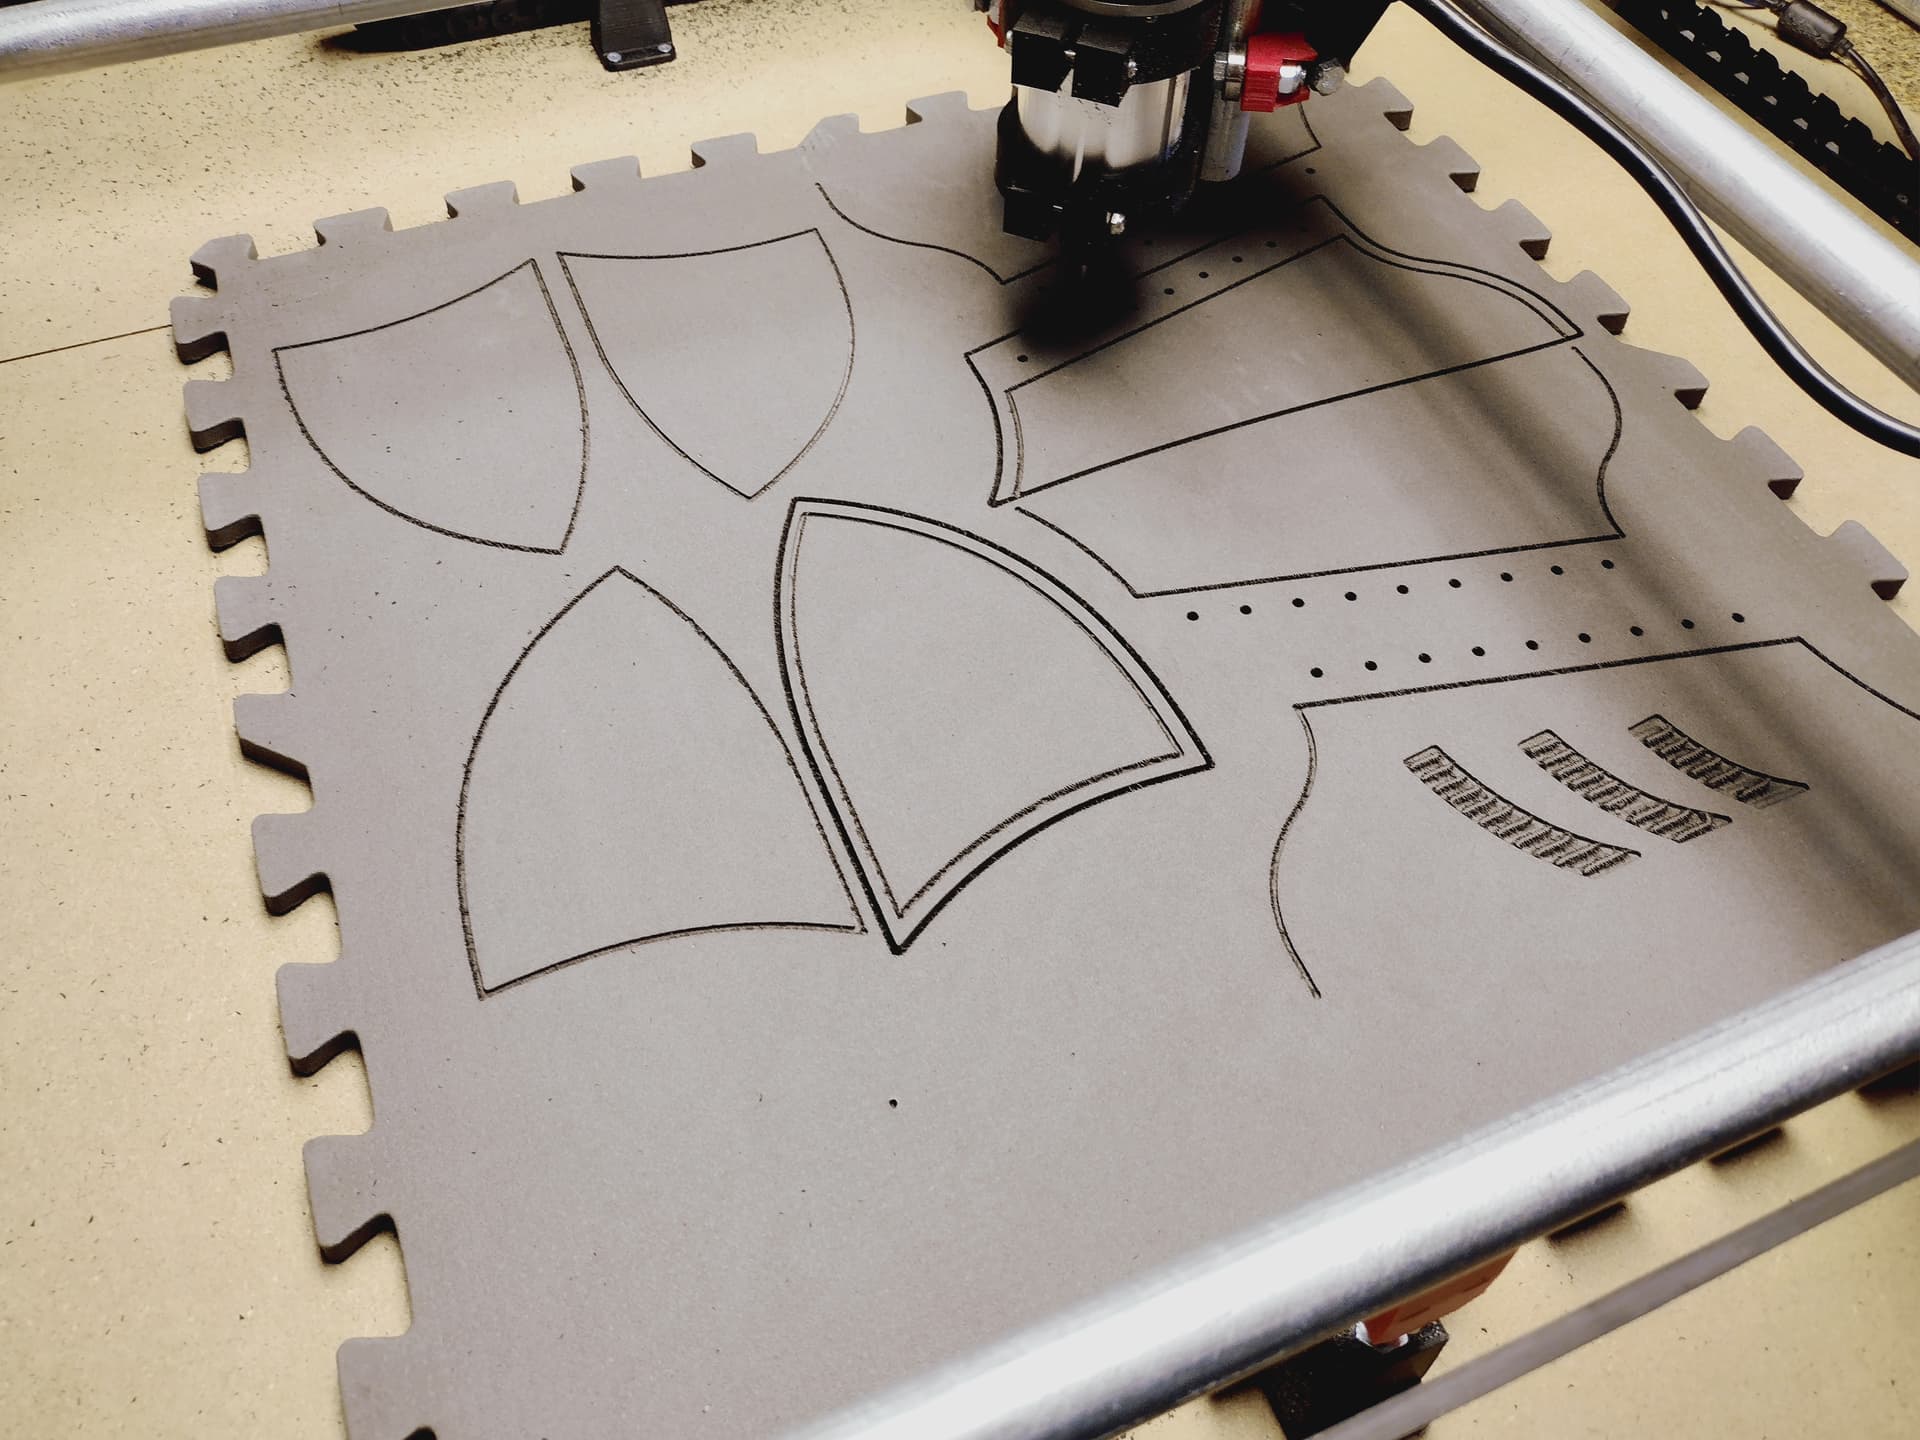
Once I had all the pieces isolated, I arranged them to fit on some posterboard and then used a sharpie attached to the router to draw them out.


The standard “pen holder”, utilizing the latest in electrical tape technology to hold the sharpie

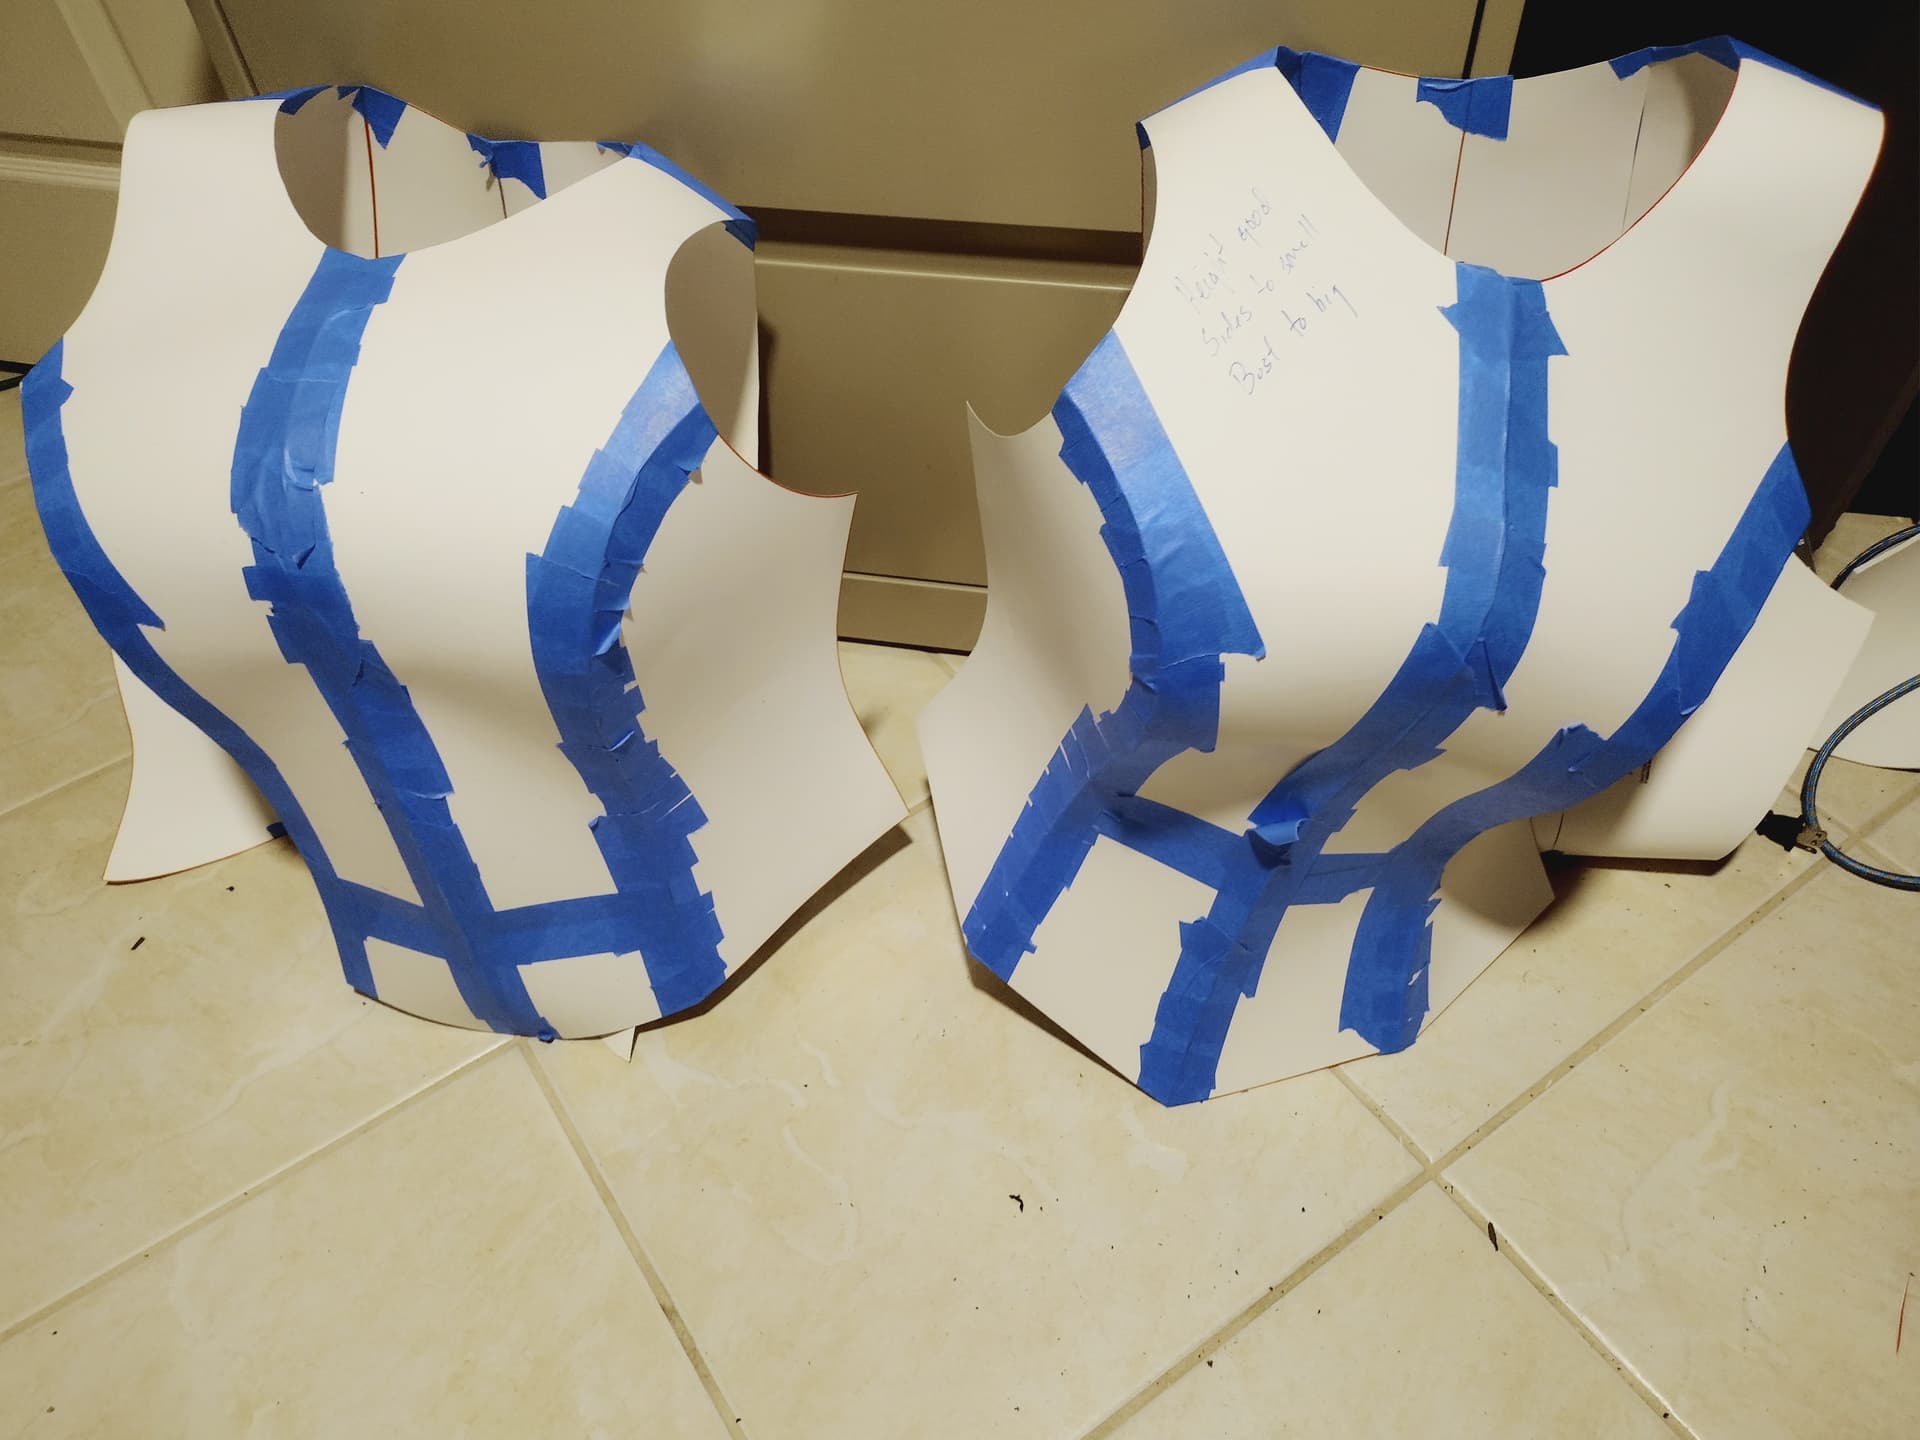
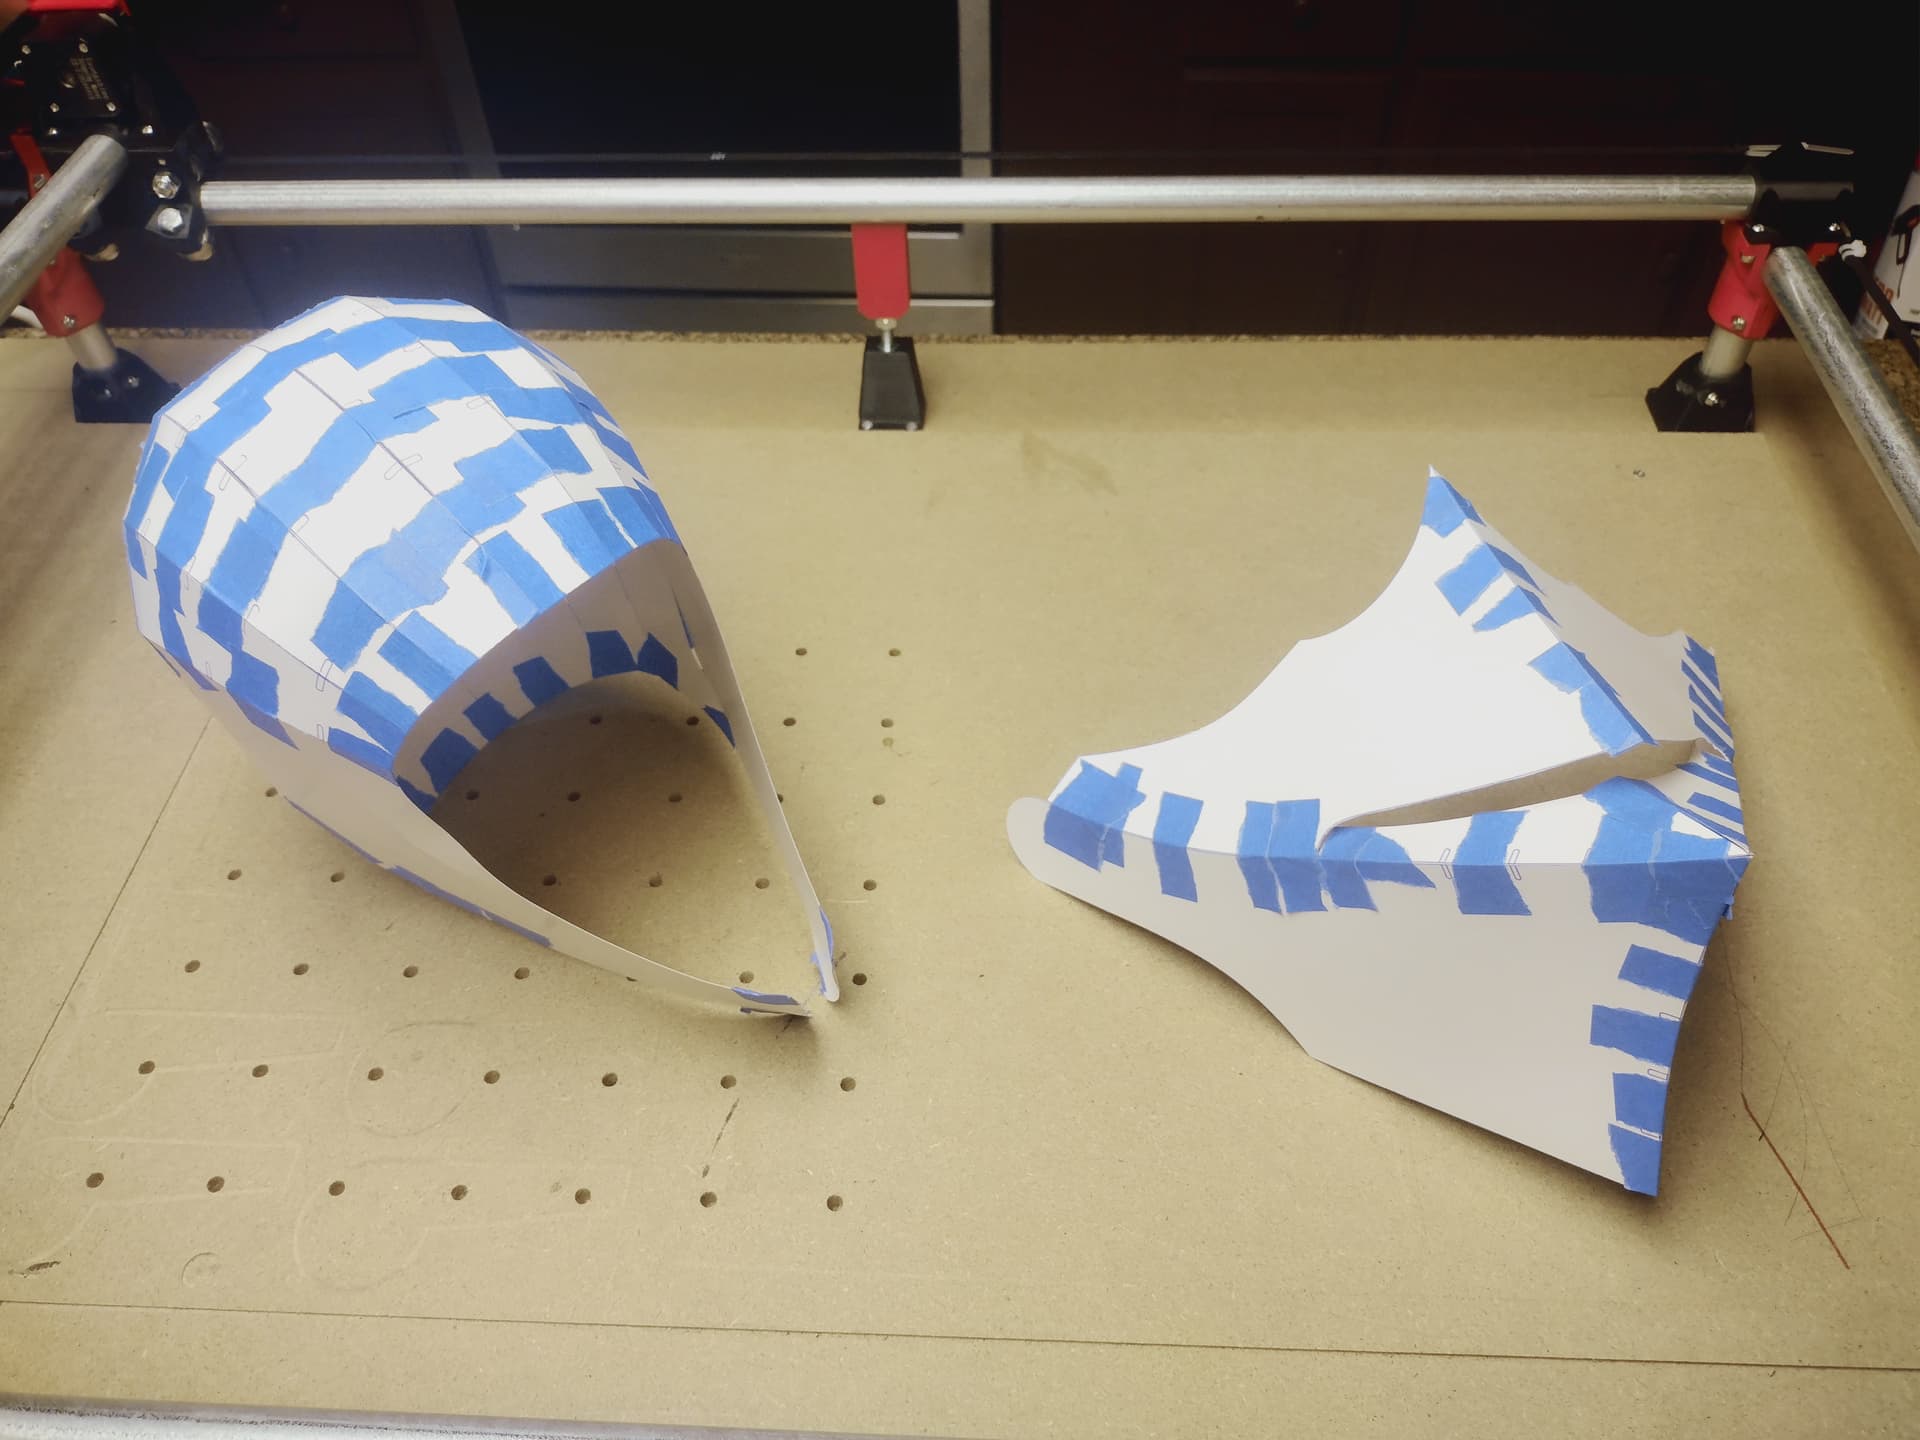
I took my highly accurate drawings and cut them up with less-accurate scissors, then taped them up to check fit and sizes. Once I had one put together, I went back to Illustrator and made some adjustments. Honestly, I was just winging it - I had some measurements, but trying to adjust 3D elements in a 2D space is a bit tricky. I dialed back a few of the curves, resized a few pieces, then put together another one.

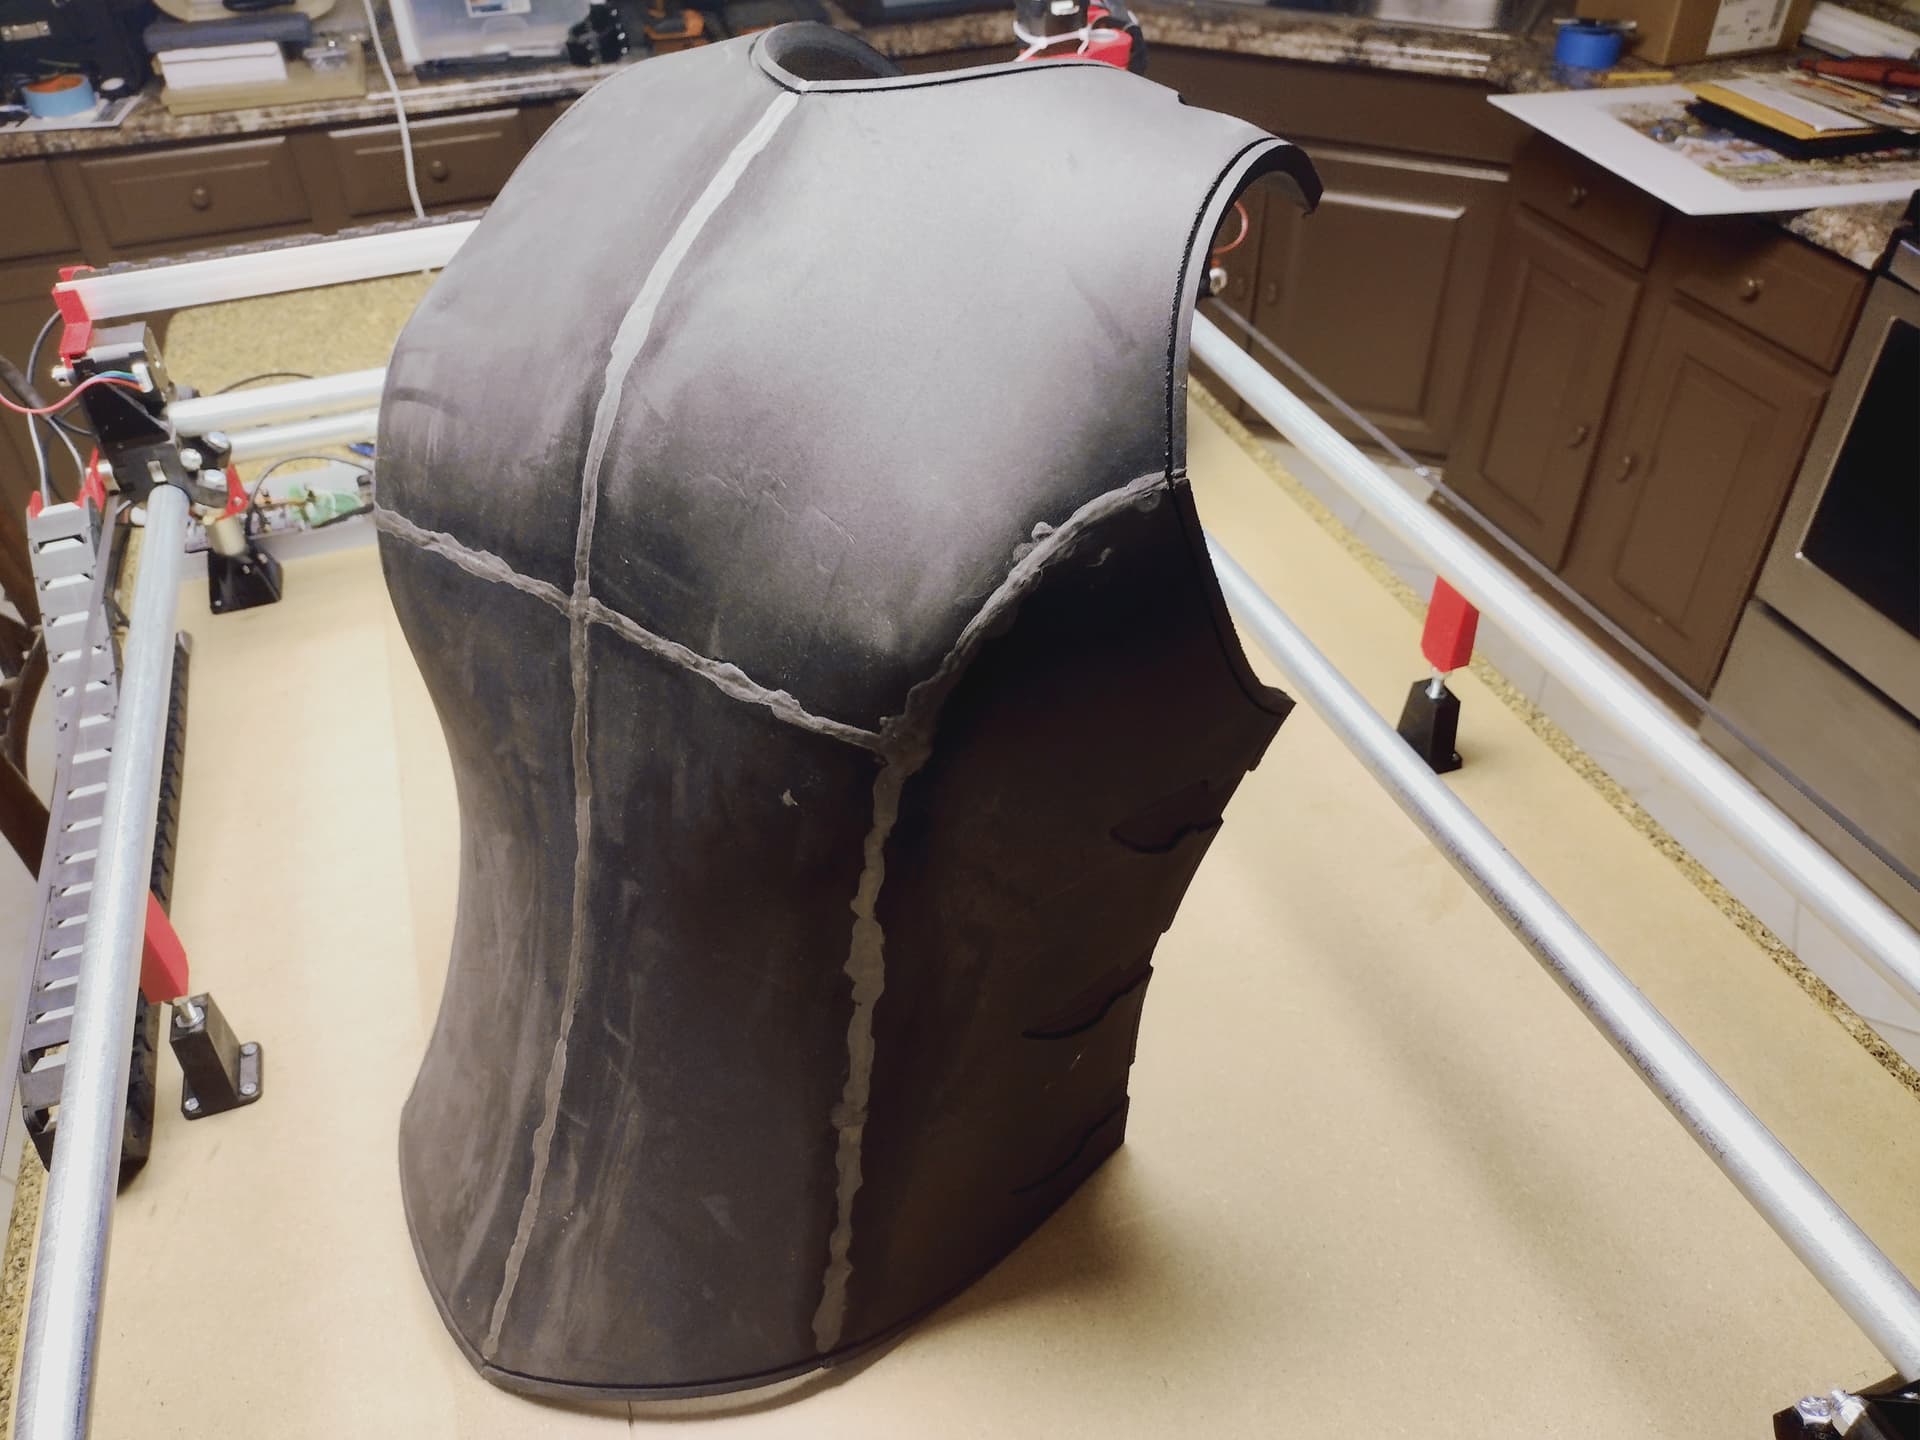
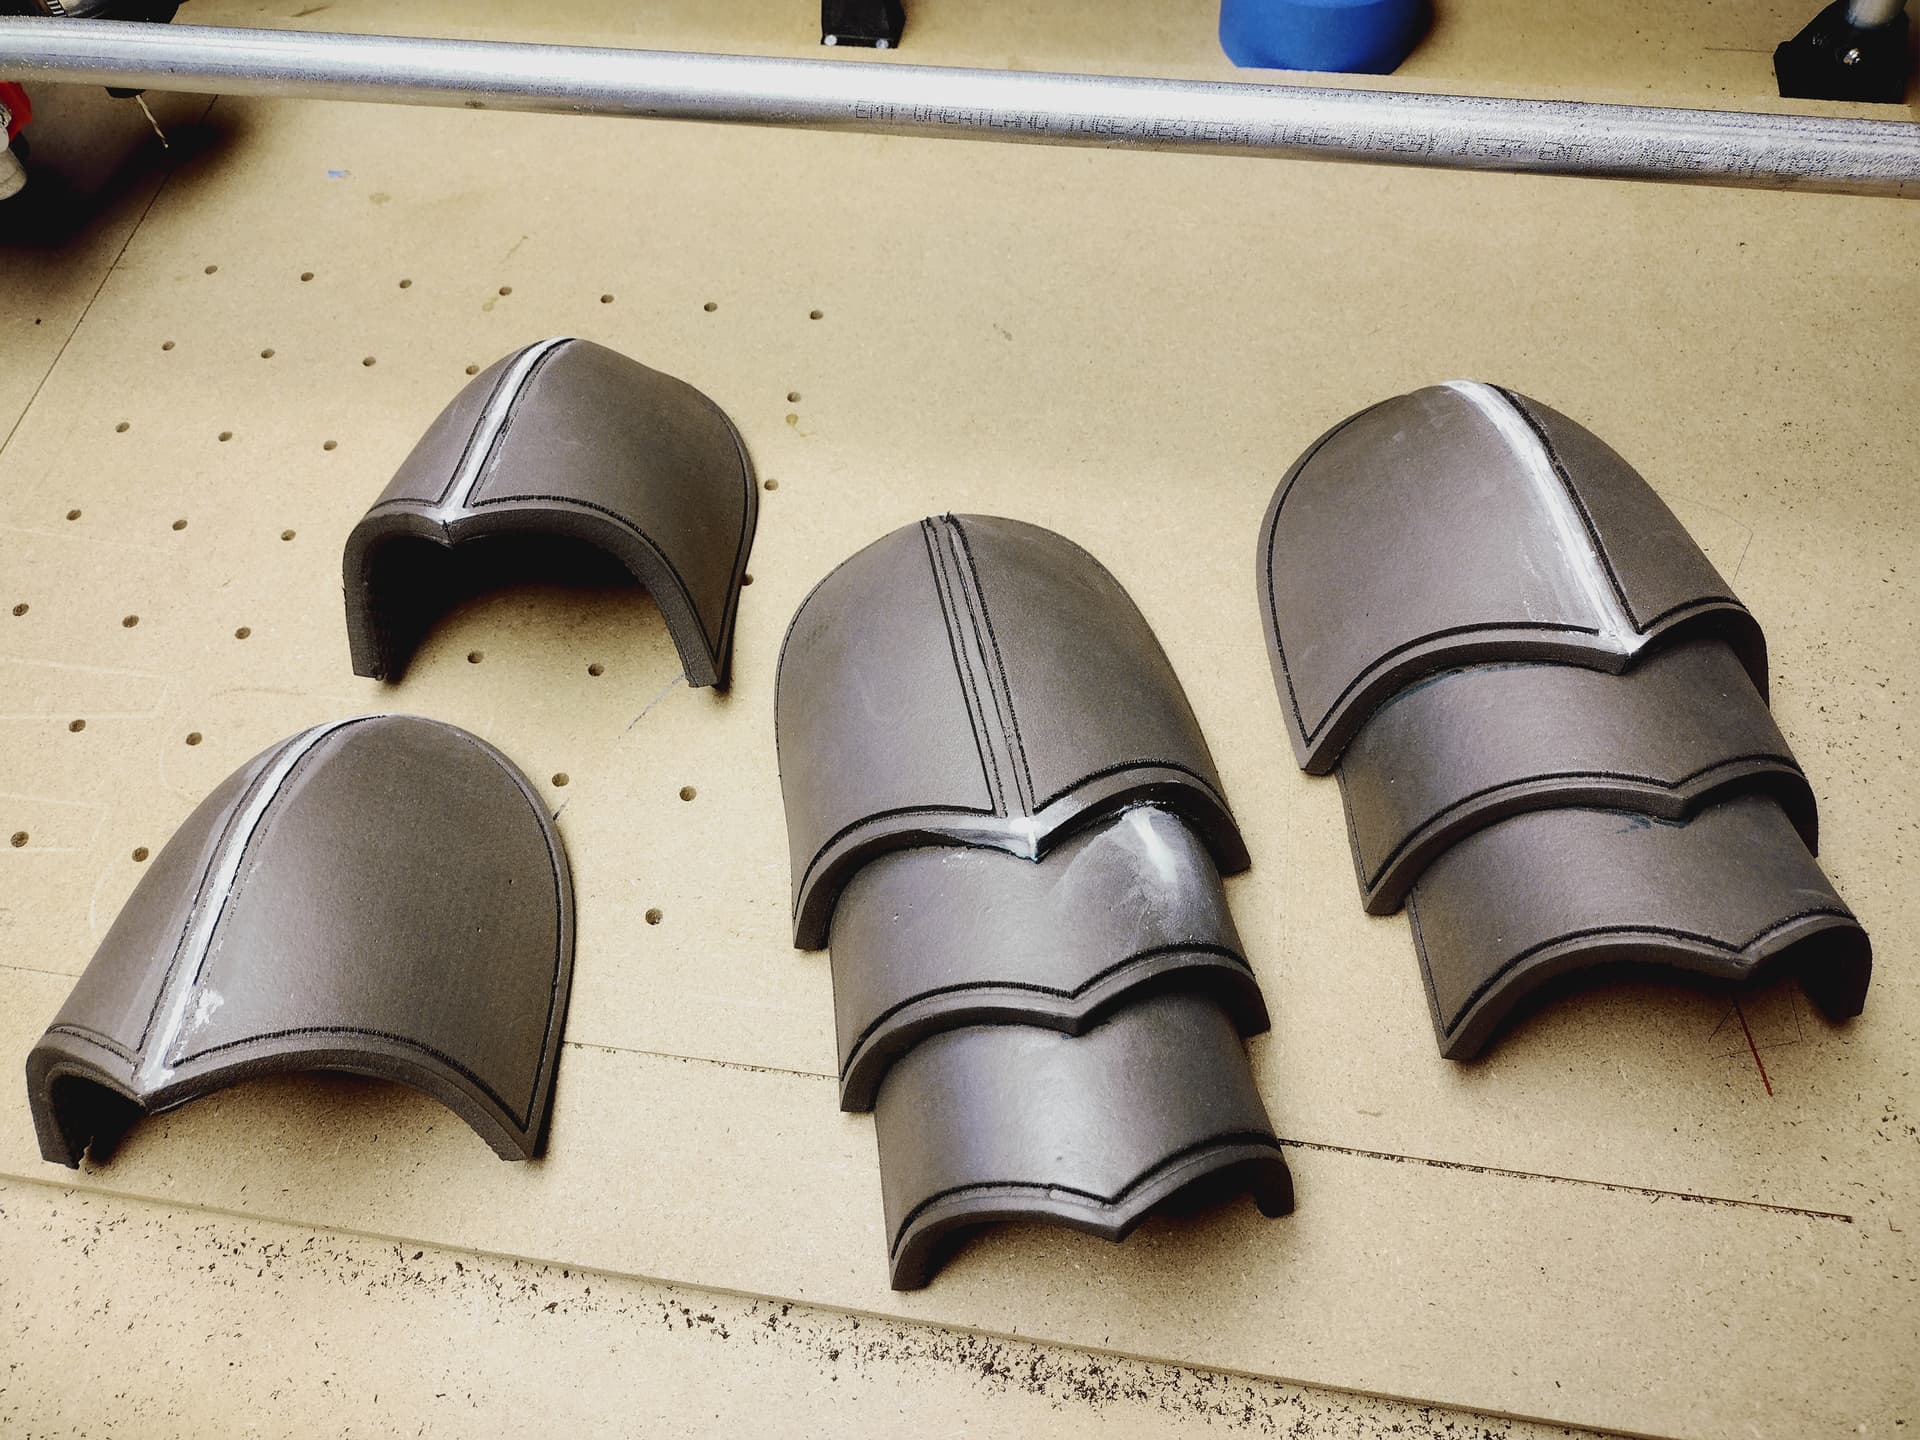
The person I’m making the armor for tried that one on and we were satisfied with how it fit, so I moved on to the next part. I designed the straps (the white parts) in Illustrator, cut them out of 5mm foam. I took the strap outlines and added them to the armor pieces, as well as doing some path offsets to make the groove that you can see around the edges of the armor.

I set up a template in Illustrator that was sized for my router’s work area, and did a metric boatload of rotating, mirroring, cutting, swearing, rotating again, and nudging to try and pack the parts into as little area as possible. EVA isn’t exactly cheap, so I didn’t want to waste any. If anyone has suggestions on packing/nesting software, please feel free to chime in.

Exported everything as dxf’s, pulled them into EstlCam, found all the things I messed up, fixed them, and repeated the process more times that I would care to admit.

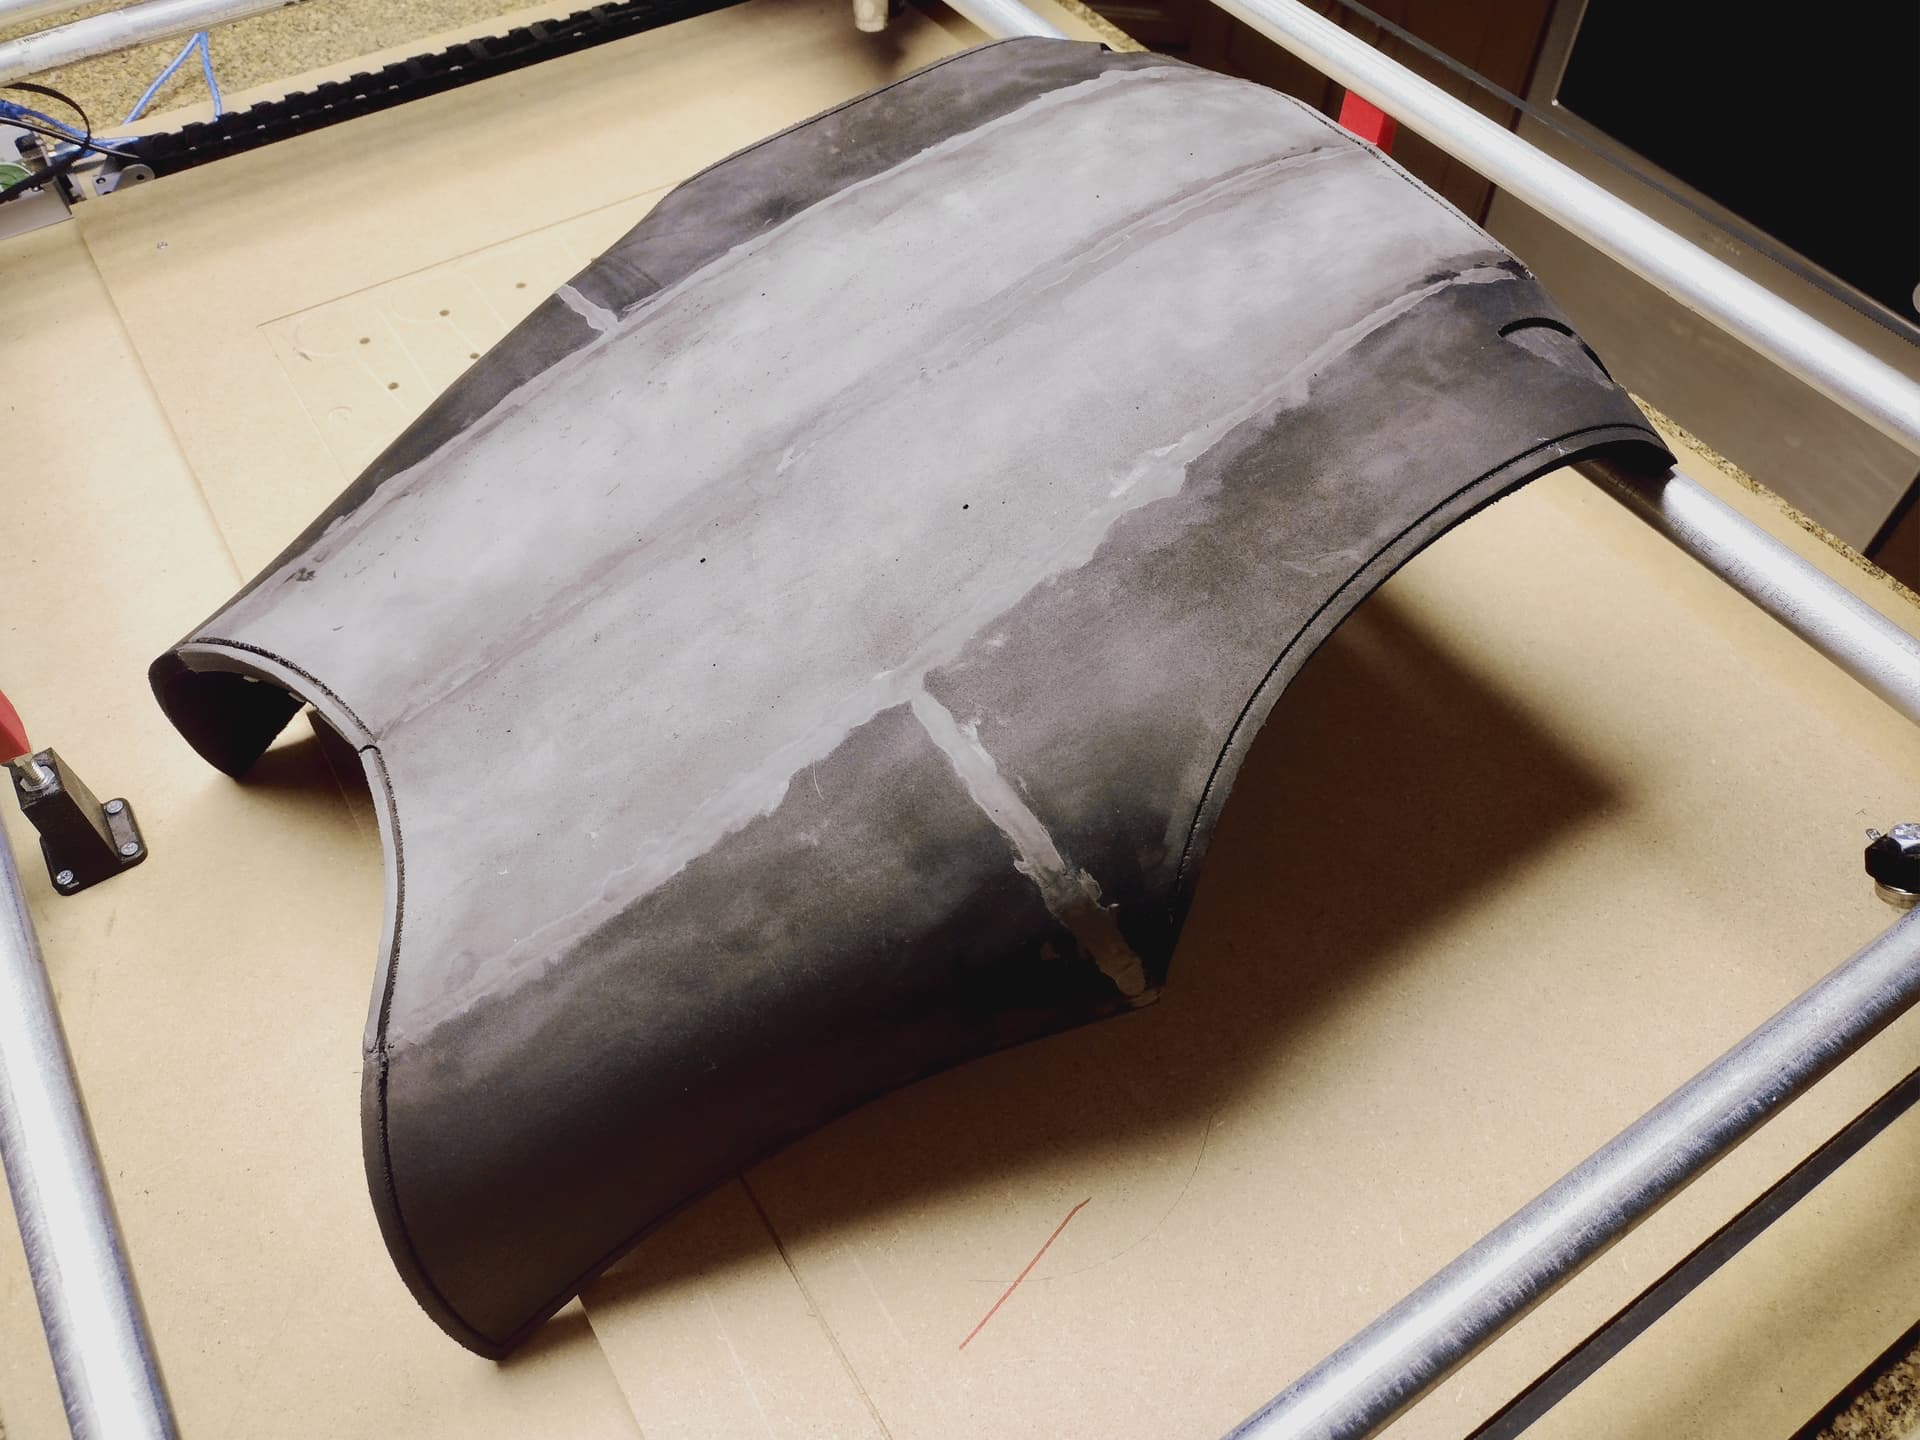
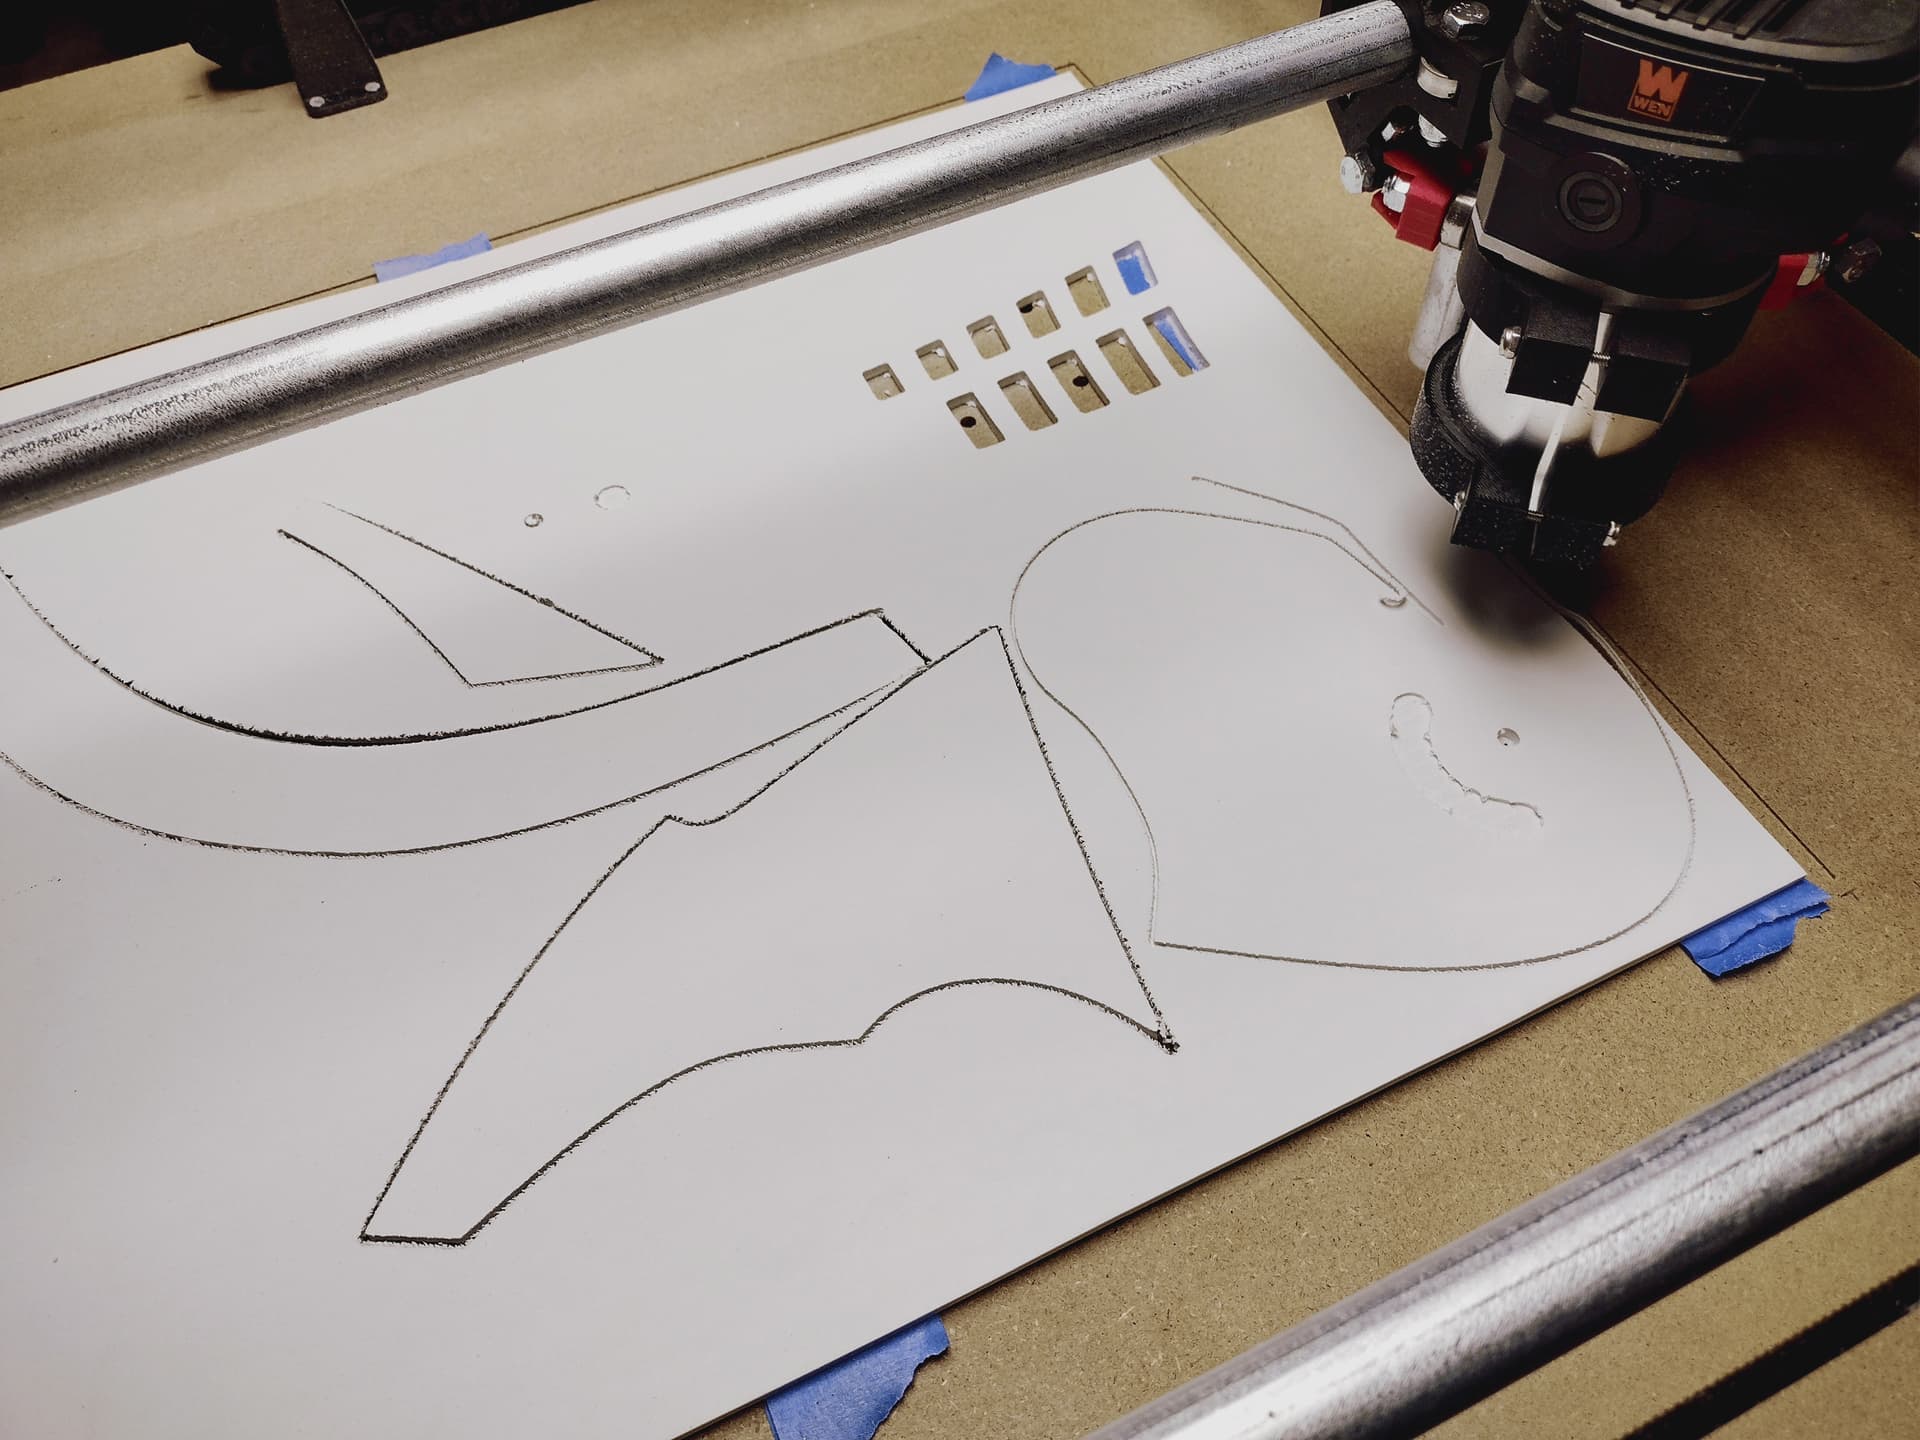
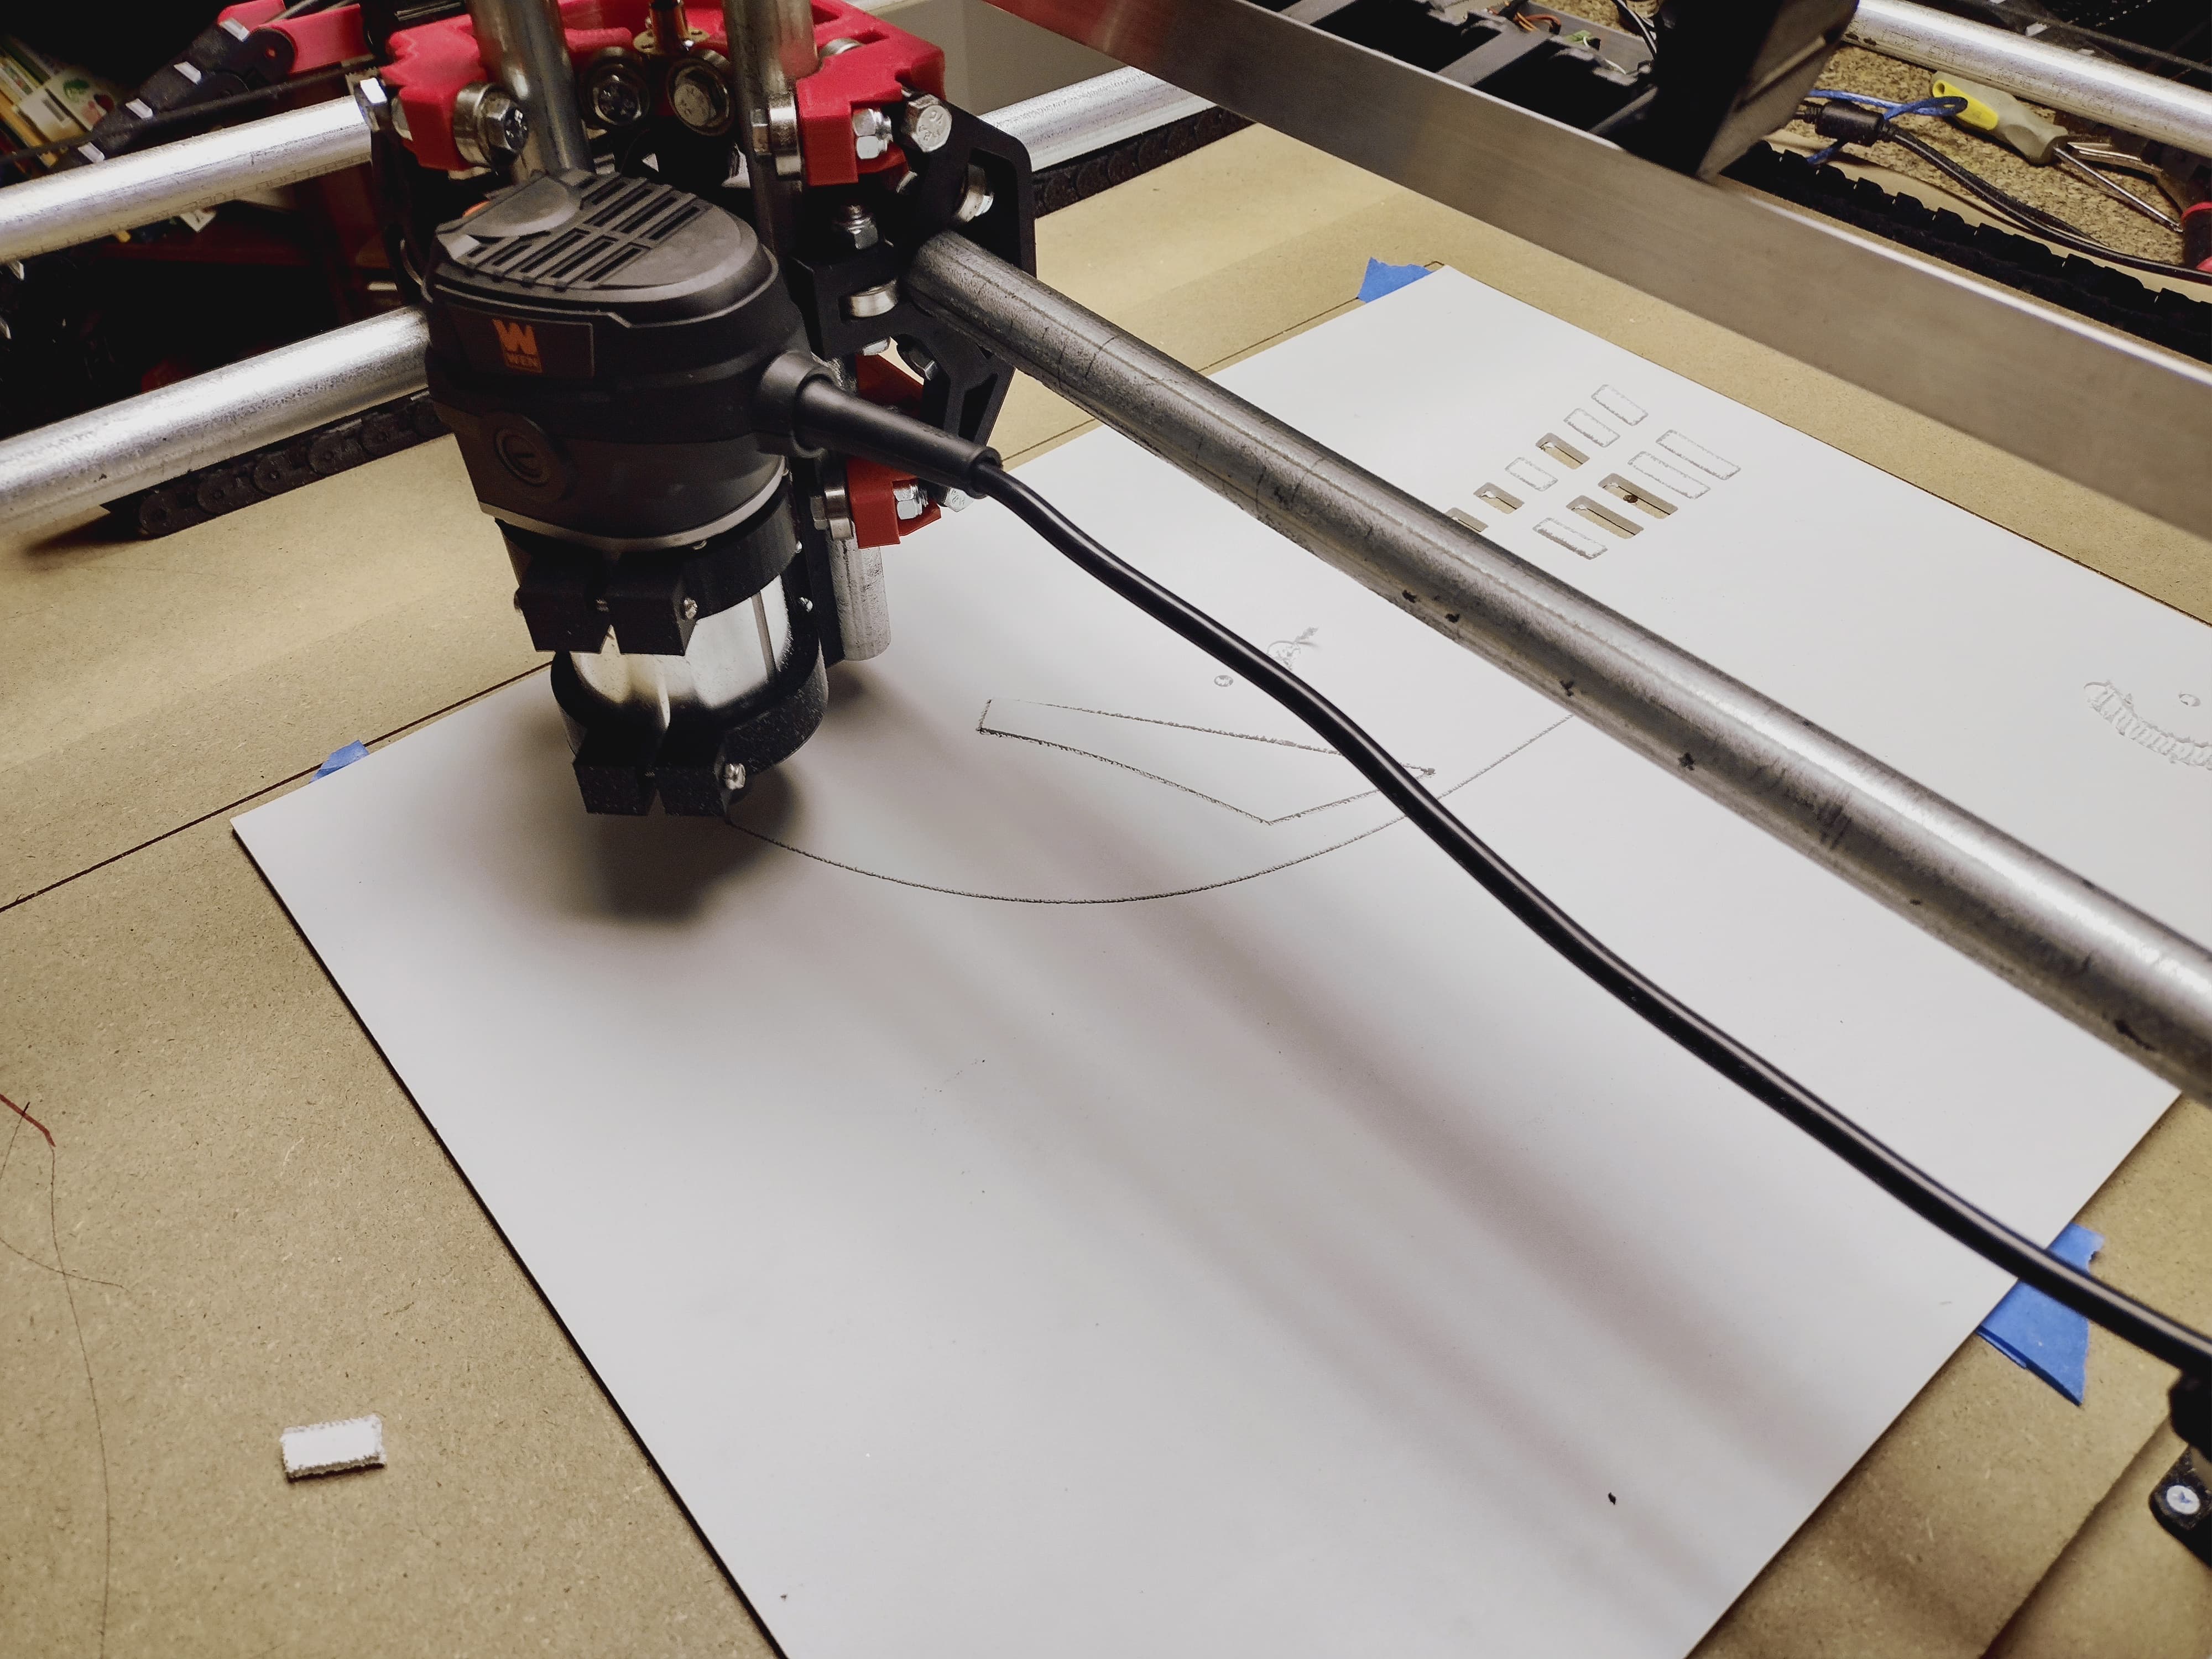
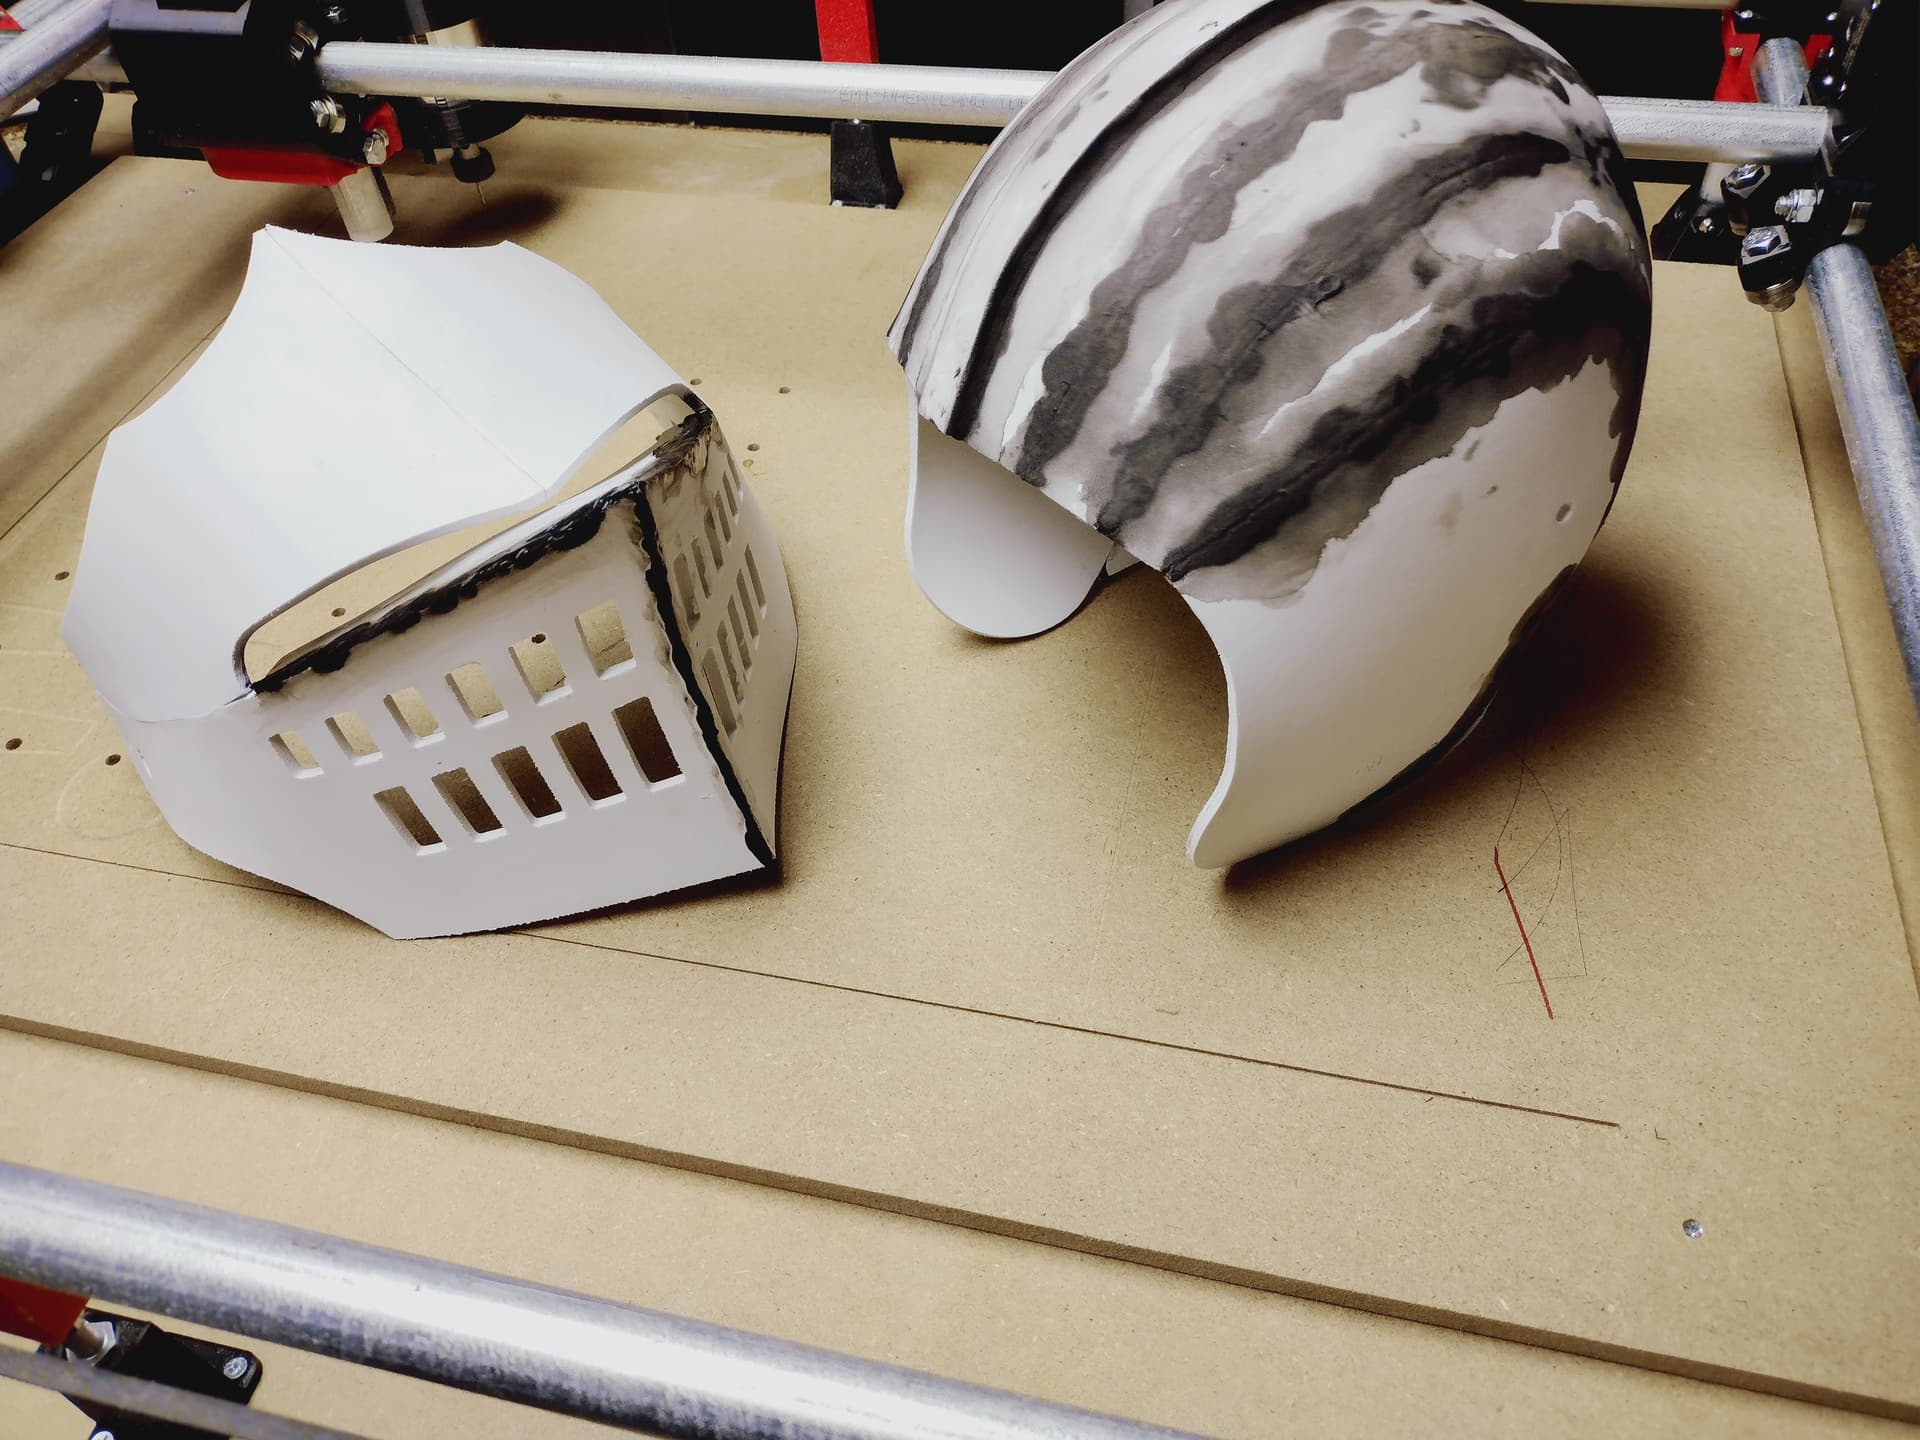
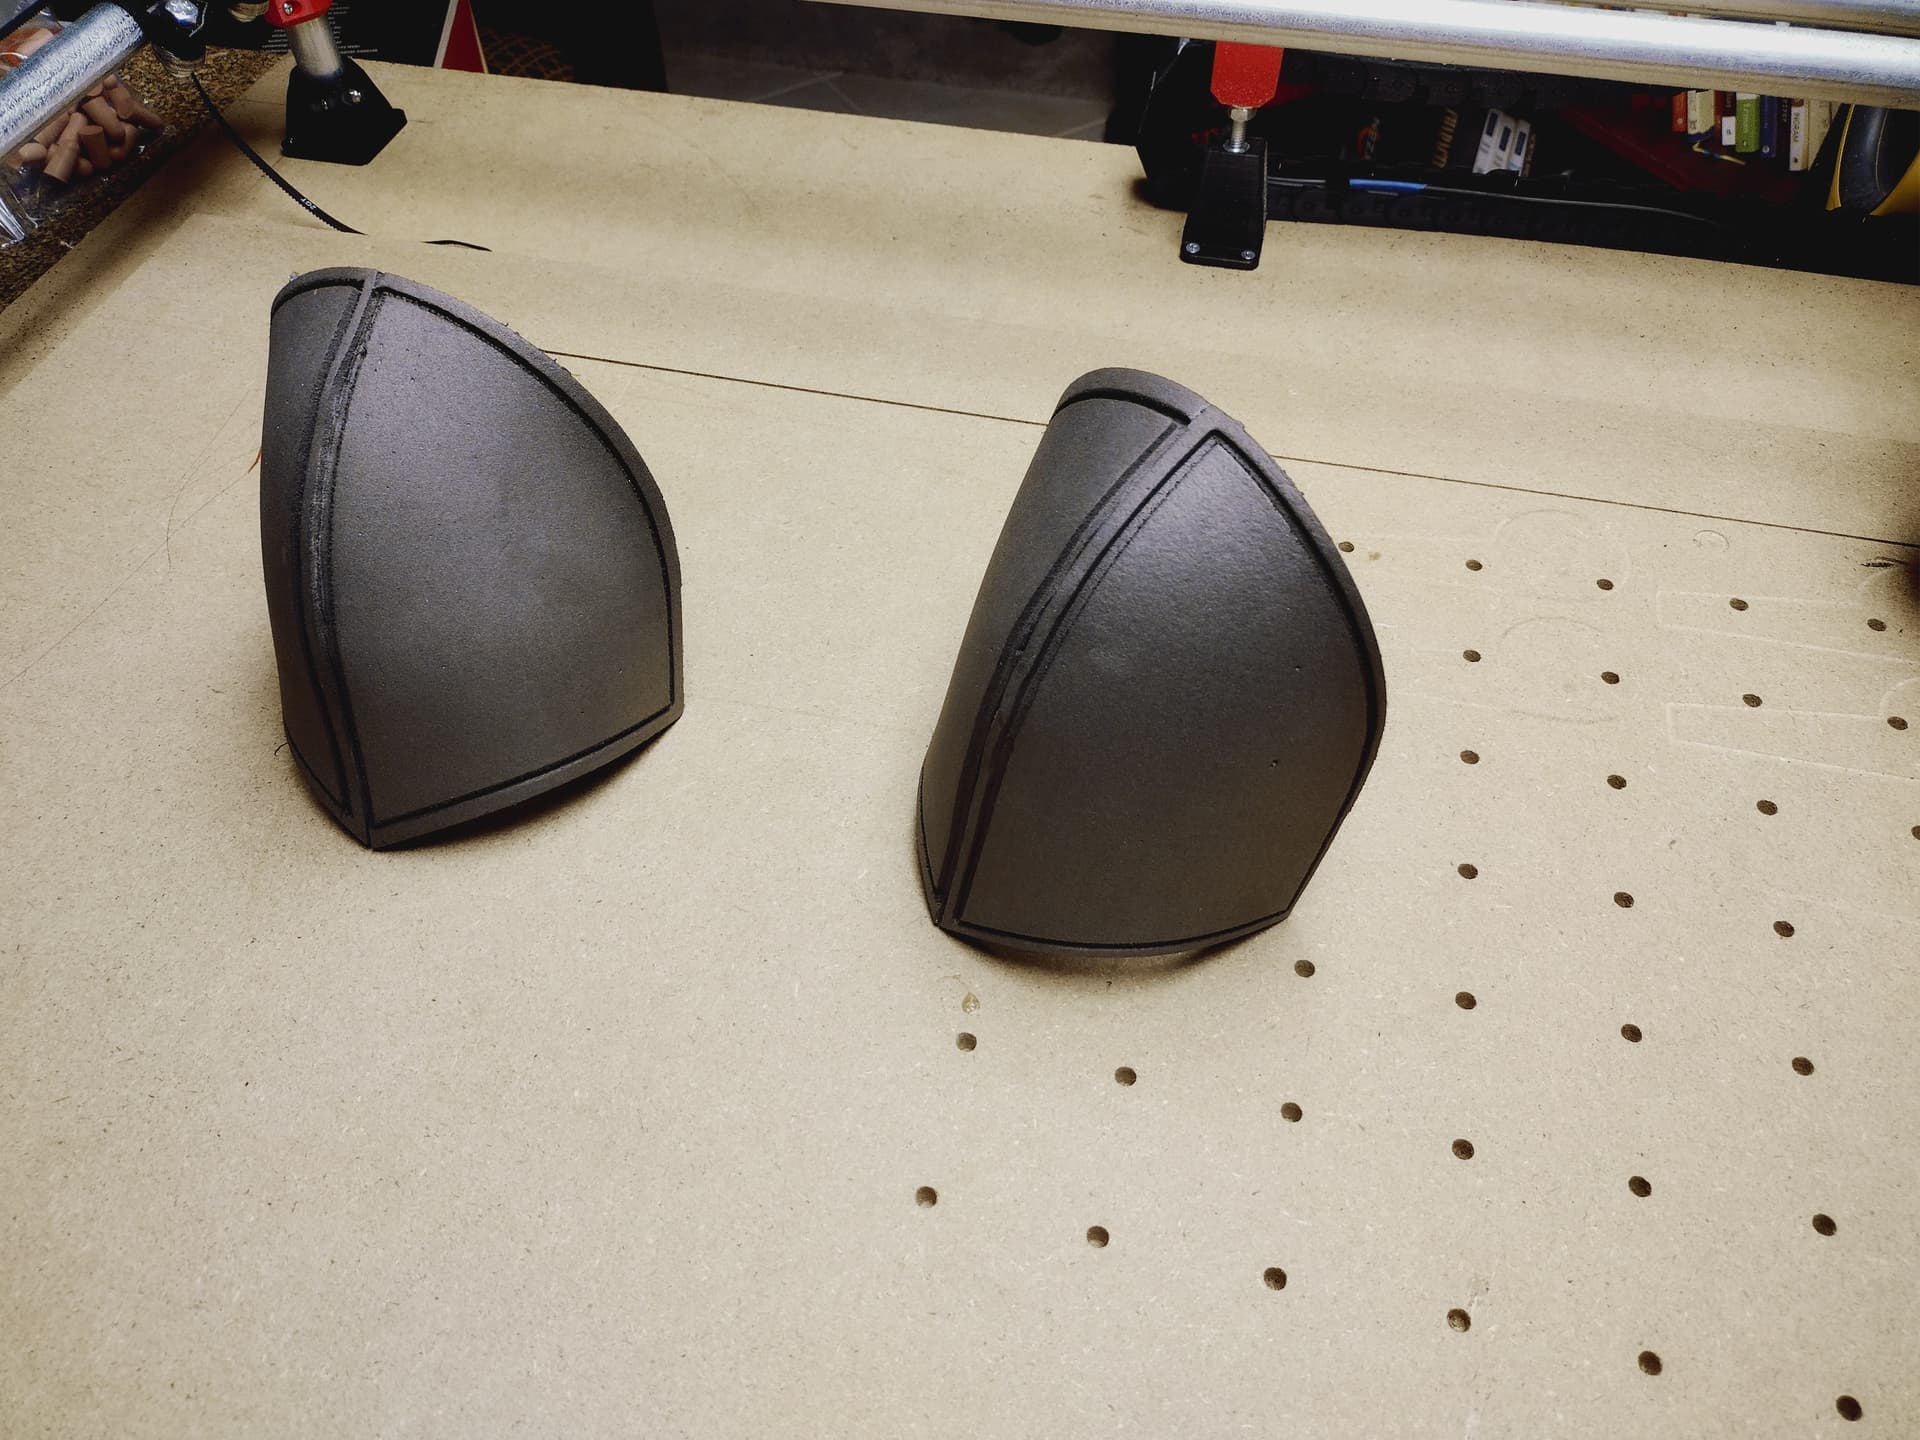
Pocketed out where the straps would attach, engraved the groove around the edges, and then cut the parts out. It’s kinda funny, when I first started putting together my MPCNC, I figured the bulk of the work would be at the machine. I was coming from 3D printing where slicing is a breeze and the workflow is pretty minimal. Now that I’ve got my feet wet, I realize that the machining is the easy part! I had my feeds and speeds dialed in pretty well, so I taped the foam down, zero’d everything, hit “Run” and sat back. Less then an hour of machine time, probably 10-20 hours working on design and setup.

6 Likes

Nice! Thank you!

1 Like

It does have some conversion problems if you work in metric, but there are workarounds. It definitely works! I had some problems at the beginning. :sweat_smile:
You can see it working here:
Laptop Wall Mount MPCNC - YouTube

1 Like

@james_van thanks for the overview. Looking forward to seeing the finished product!

@Tokoloshe I love your music selection on the nesting options. :rofl:

No big updates lately. I’ve been working on filling and sanding seams mostly. Waiting for nicer weather so I can start priming and painting. In the mean time, I’ve started working on helmets. I started with poster-board mockups for checking sizes (which I was able to confirm yesterday). Hoping to start cutting them out this afternoon or tomorrow.


7 Likes

There is nothing more cool than seeing all the different ways people use this equipment!!!

4 Likes

Started cutting out the helmet pieces last night. I did a few stupid things that I’ll share. The veterans out there will probably get a chuckle (remembering when they too learned these lessons) and maybe the other newbs will learn from my mistakes.

First: when you switch to a different material (in this case, same material but thinner. 5mm instead of 10mm) do some test cuts to see how it behaves. Even though it was the same density, being thinner meant it has overall less rigidity. I didn’t secure it to the spoilboard as well as I should have and in a few spots it started to lift up while being cut.

Second: when you change settings, always do some test cuts. And only change one thing at a time. I decided that it would be fine to change a whole bunch of things all at once. Shouldn’t be a problem right? Here’s a list of everything I changed without testing:
-feed rate (just a little faster, no big deal right?)
-DOC (double is fine, this stuff cuts pretty easily)
-endmill (all 1/8 2 flute up cuts are the same, right?)
-new spindle! (Since foam cuts easy, it won’t be a problem to dial in the speeds on the new Makita knock-off, rather than sticking with the Dremel that I know).

Third: always check the files before you start your cut. Repeteir doesn’t show you (maybe it does, I don’t know how though) anything other than travel moves. I had laid my parts out a few times earlier, but when I put my new router in, it changed the cutting area slightly, so I had to redo my layouts. In the process of doing multiple layouts, I assumed that the reverse layout that I had in my flash drive was the updated one for the new cutting area size. I even stopped and thought about it, and said “it should be fine”. It was not. Fortunately, that layout worked for everything except the last piece, so i only have to do a small redo.

The really stupid thing as that I know better about all of this. I’m a software developer by trade, and I’m (usually) meticulous about making and testing incremental changes. I push back in untested changes all the time, lecture management about it, and generally am known for being a stickler about it.

Oh well, lessons re-learned. Here’s a few pictures, sorry about the lighting. Gonna see about adding some LEDs to my z axis.

Gonna recut my failed piece later and hopefully glue some stuff up this weekend.

7 Likes

We all get excited about testing a new toy and think nah she’ll be right.
I’m really enjoying your updates on the foam armour. Looking forward to seeing the finished product.

1 Like

Helmet pieces cut out and glued. Put some EVA foam clay in the seams, I’ll get those sanded down once it’s all cured. Probably start cutting out paldrauns and bracers tomorrow.

5 Likes

Ok so how long have you been doing this, all of this stuff looks great! Like you have been doing it for years!!

1 Like

Thanks! Being completely honest - this is the second time I’ve made stuff out of EVA. I’m using templates that I bought off of Etsy, that’s a big reason it looks as good as it does. I spent a lot of time watching videos and reading articles from cosplay makers, Kamui and Punished Props have taught me a ton

4 Likes

Todays progress: got a set of pauldrens cut, glued, and shaped


Used a different foam and I really like the texture that it has. Gotta clean up a few of the seams a bit and do a little bit more heat shaping. But, overall very pleased.

Plan for tomorrow: one more set of pauldrens, and two sets of bracers

6 Likes

This is making me really curious about laser cutting foam…

I have a couple of kids who really like cosplay. I’ve done several projects for them using various materials, but my foam projects were nowhere near as good as I’d like them to be. I’ve been looking this stuff up the past couple of days. Looks like many of these projects use those foam floor mats, which I have many of.

Not sure if those are safe to laser cut. I should look it up, but I can CERTAINLY cut them with the spindle. Just the laser allows for sharper corners in the darts.

1 Like

From what I’ve read, it’s reasonably safe to laser cut and by all accounts, it cuts very well. I don’t have a laser, so don’t put to much stock in my opinion, but I would only do it with a ventilated enclosure.

The floor mats are very commonly used, and I would recommend using them to start with. I just picked up a couple packages of them from Harbor Freight (they had a big sale, got 4-packs for $6.99 each), and I used them to make the pauldrens. For the chest armor, I bought a roll of high density foam from Hobby Lobby. It’s definitely more expensive, but it’s 10mm thick and a Shore 60 hardness, so it’s pretty beefy stuff. I’m going to get one more roll of that for the swords that I need to make, but everything else will be made from the floor mats.

1 Like

I have laser cut the 1\4 inch from Michaels for rc plane wheels. It cuts very well with c CO2 laser.

This is making me really curious about laser cutting foam…

It cuts fast and clean and is a real joy to cut compared to the hand cutting I’d done before I got my laser. Just after I purchased my diode laser, I did a bunch of layered signs using different colors of EVA foam. My shop is well ventilated, and I wore a respirator.

1 Like

I haven’t had a chance to do much this last week, life gets in the way sometimes. I posted a set of pauldrons previously - I had a chance to finish assembly on those and start some seam filling. I also cut out another set yesterday. I’m making these for a small theater production which has a knight and a knight-in-training as characters. So when it’s all finished, I’ll have made two of everything, but with some minor differences.

Cutting out the second set of pauldrons, along with a set of bracers. Unfortunately, I sized things wrong with the bracers and they had to be scrapped. Always disappointing to have to throw material away :frowning: I’ll size them up and get another set cut in the next few days.

Both sets of pauldrons assembled and seams filled. Rather than use the EVA foam clay, I’m using DAP Kwik Seal on these. The clay works great with the rigid foam that I used for the chest piece. I cut these pieces from floor mats and they’re a lot softer. The clay cures kind of hard, so it wasn’t ideal for the softer foam. Kwik Seal is the goto for a lot of cosplay makers - it retains it’s flexibility after it cures, and it really easy to smooth out once it’s applied.

Hoping to start on the second chest piece in the next few days. I have the gcode files ready to go, just need to find some time to run the job. I still need (resized) bracers, another helmet, two sets of greaves (haven’t even started the design on those), and (the part I’m looking forward to the most) a couple of swords. I’ve got till July though, so I think I’m in good shape.

9 Likes