A while back I wanted to have a muck around with QMK and making my own keyboard so I made a gaming keypad similar to a Razer Tartarus. It’s basically my take on an ortholinear layout of the left half of an Ergodox split keyboard, but with a slightly different button layout. Compared to a regular Ergodox it adds the ESC/F keys, has an extra column of standard letter keys and is missing one of the thumb function keys.
I haven’t ended up using it much because, while I really like the ortholinear layout for the WASD controls, having the number row line up with the letter array completely mucked up my ability to use the numbers for weapon switch in FPS games while also moving, which proved too frustrating to re-learn. I managed to have some success using a thumb function button as weapon swap, but ultimately I haven’t tried it again. Not having a proper housing didn’t help matters, either.

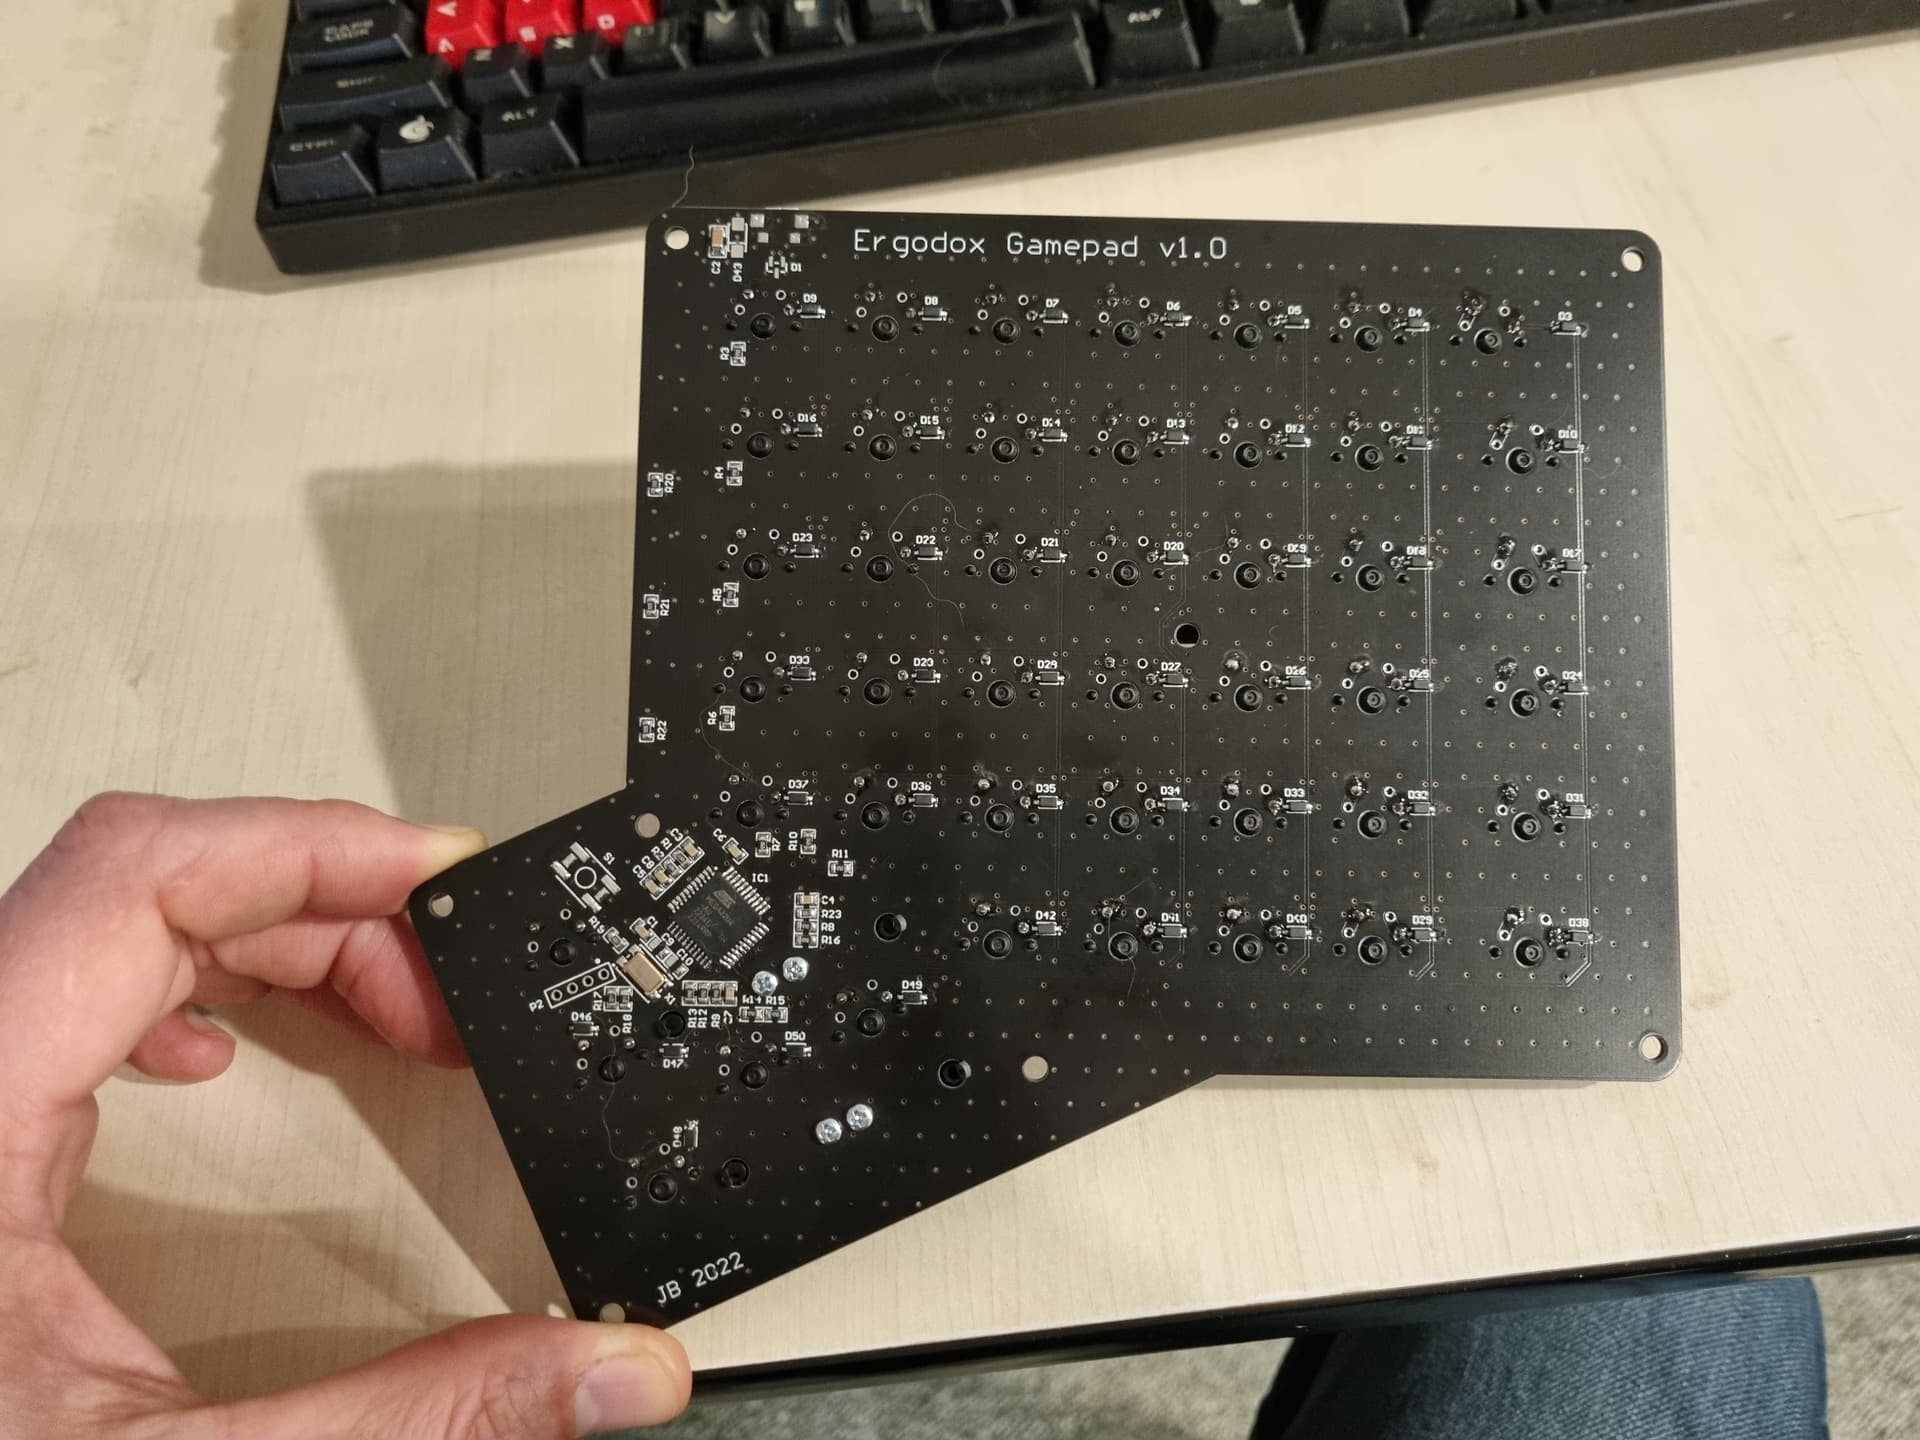
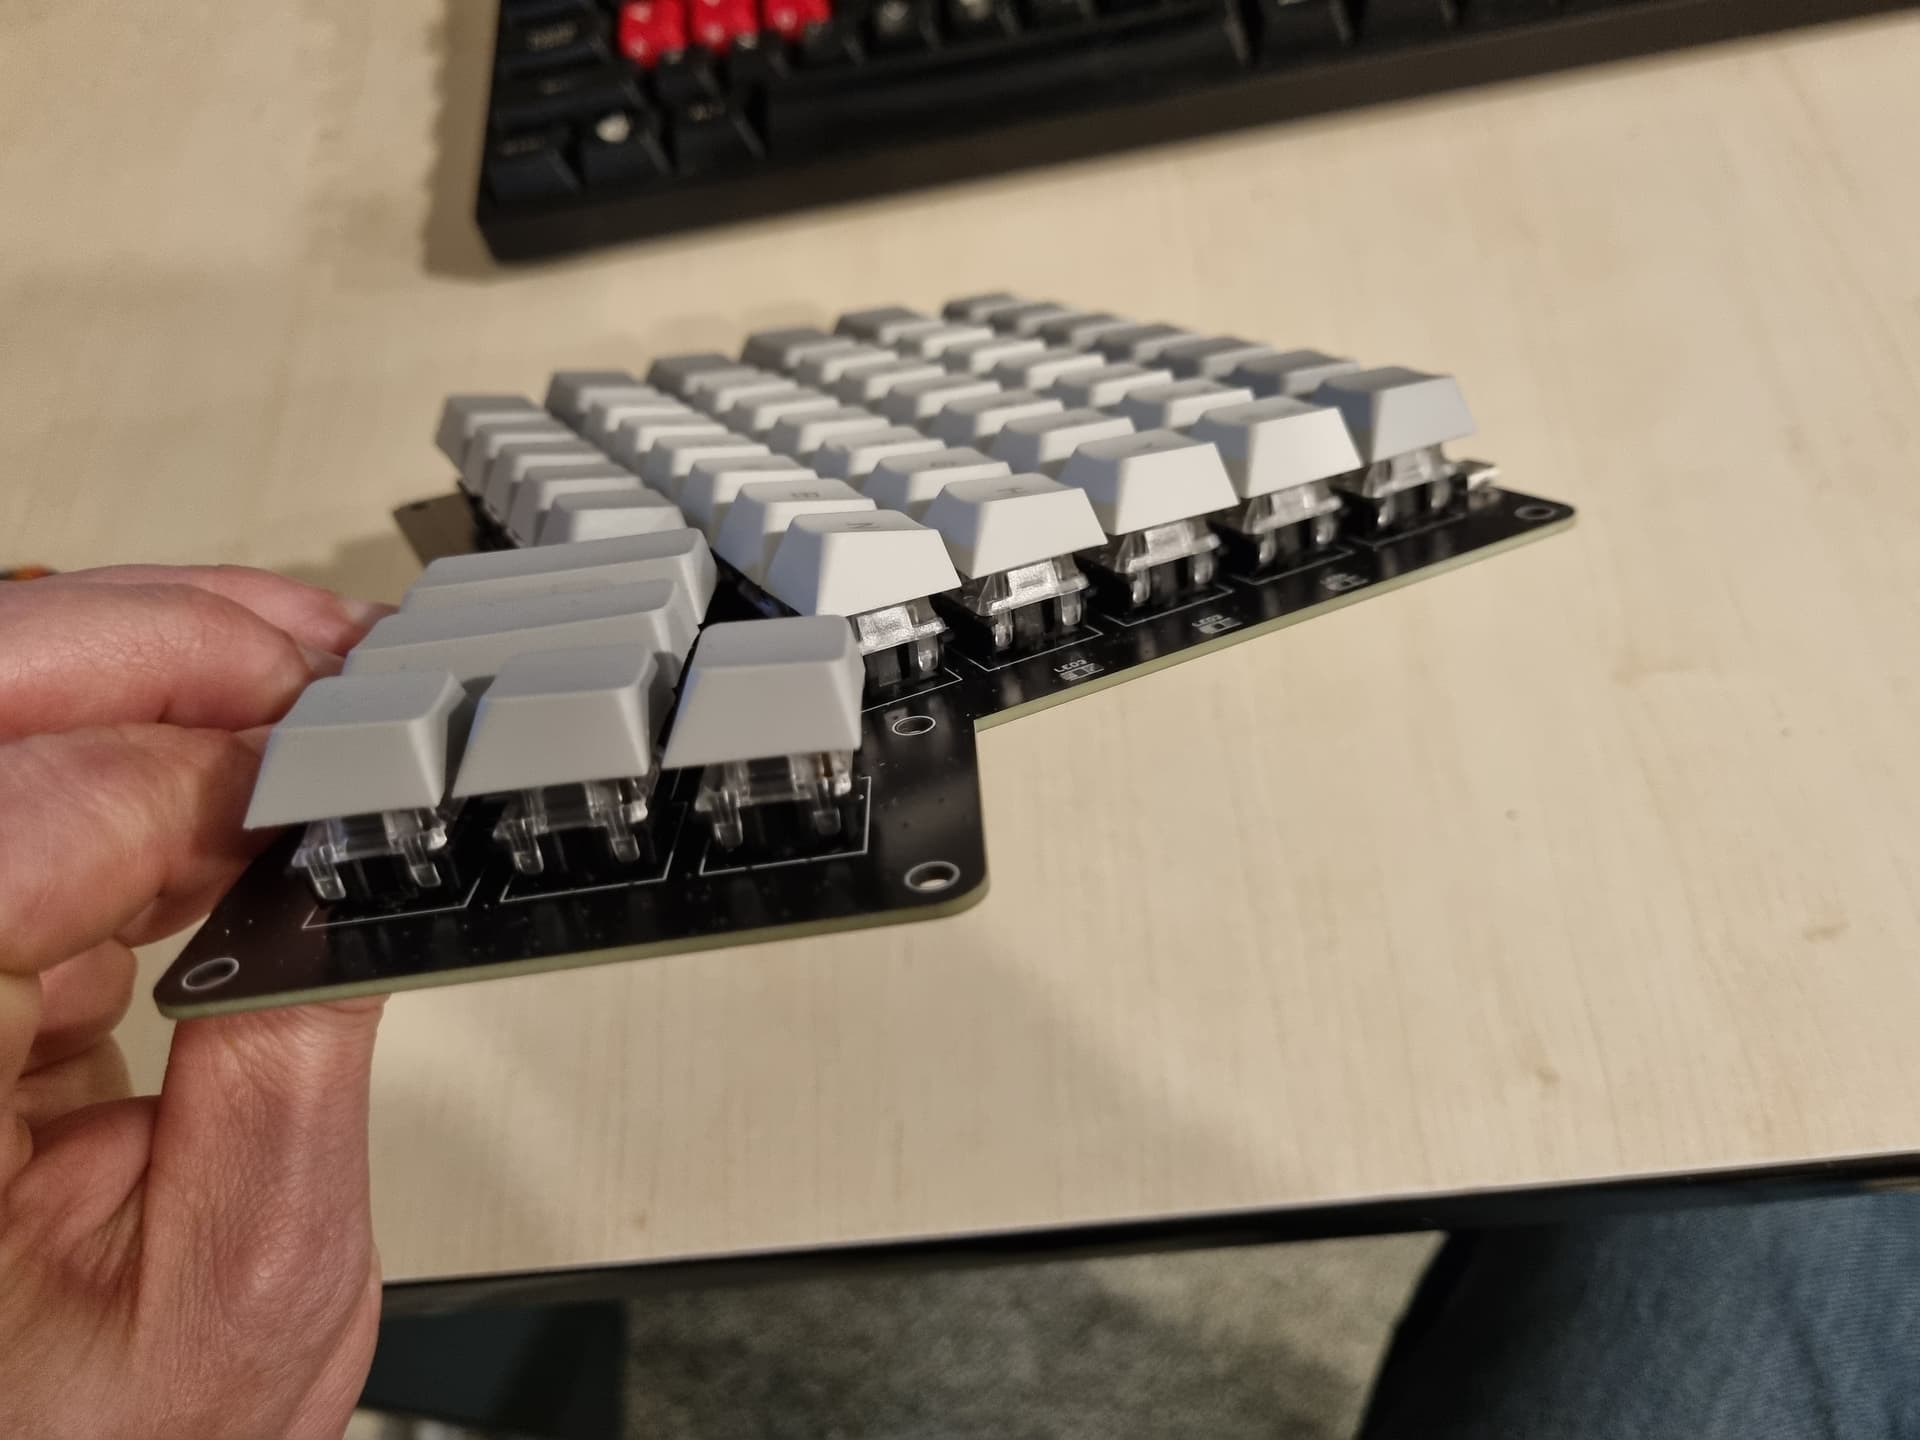
The keyboard is using Gateron Clears which are linear low force switches. The thumb keys both have screw-in stabilizers. The caps are a random set of partially marked ABS Ergodox caps that I bought as a proof of concept. The microcontroller is some random Atmel ATMega with USB that I had the dregs of a tube left from some other product in the dim, distant past. The layout was thrown together in an afternoon
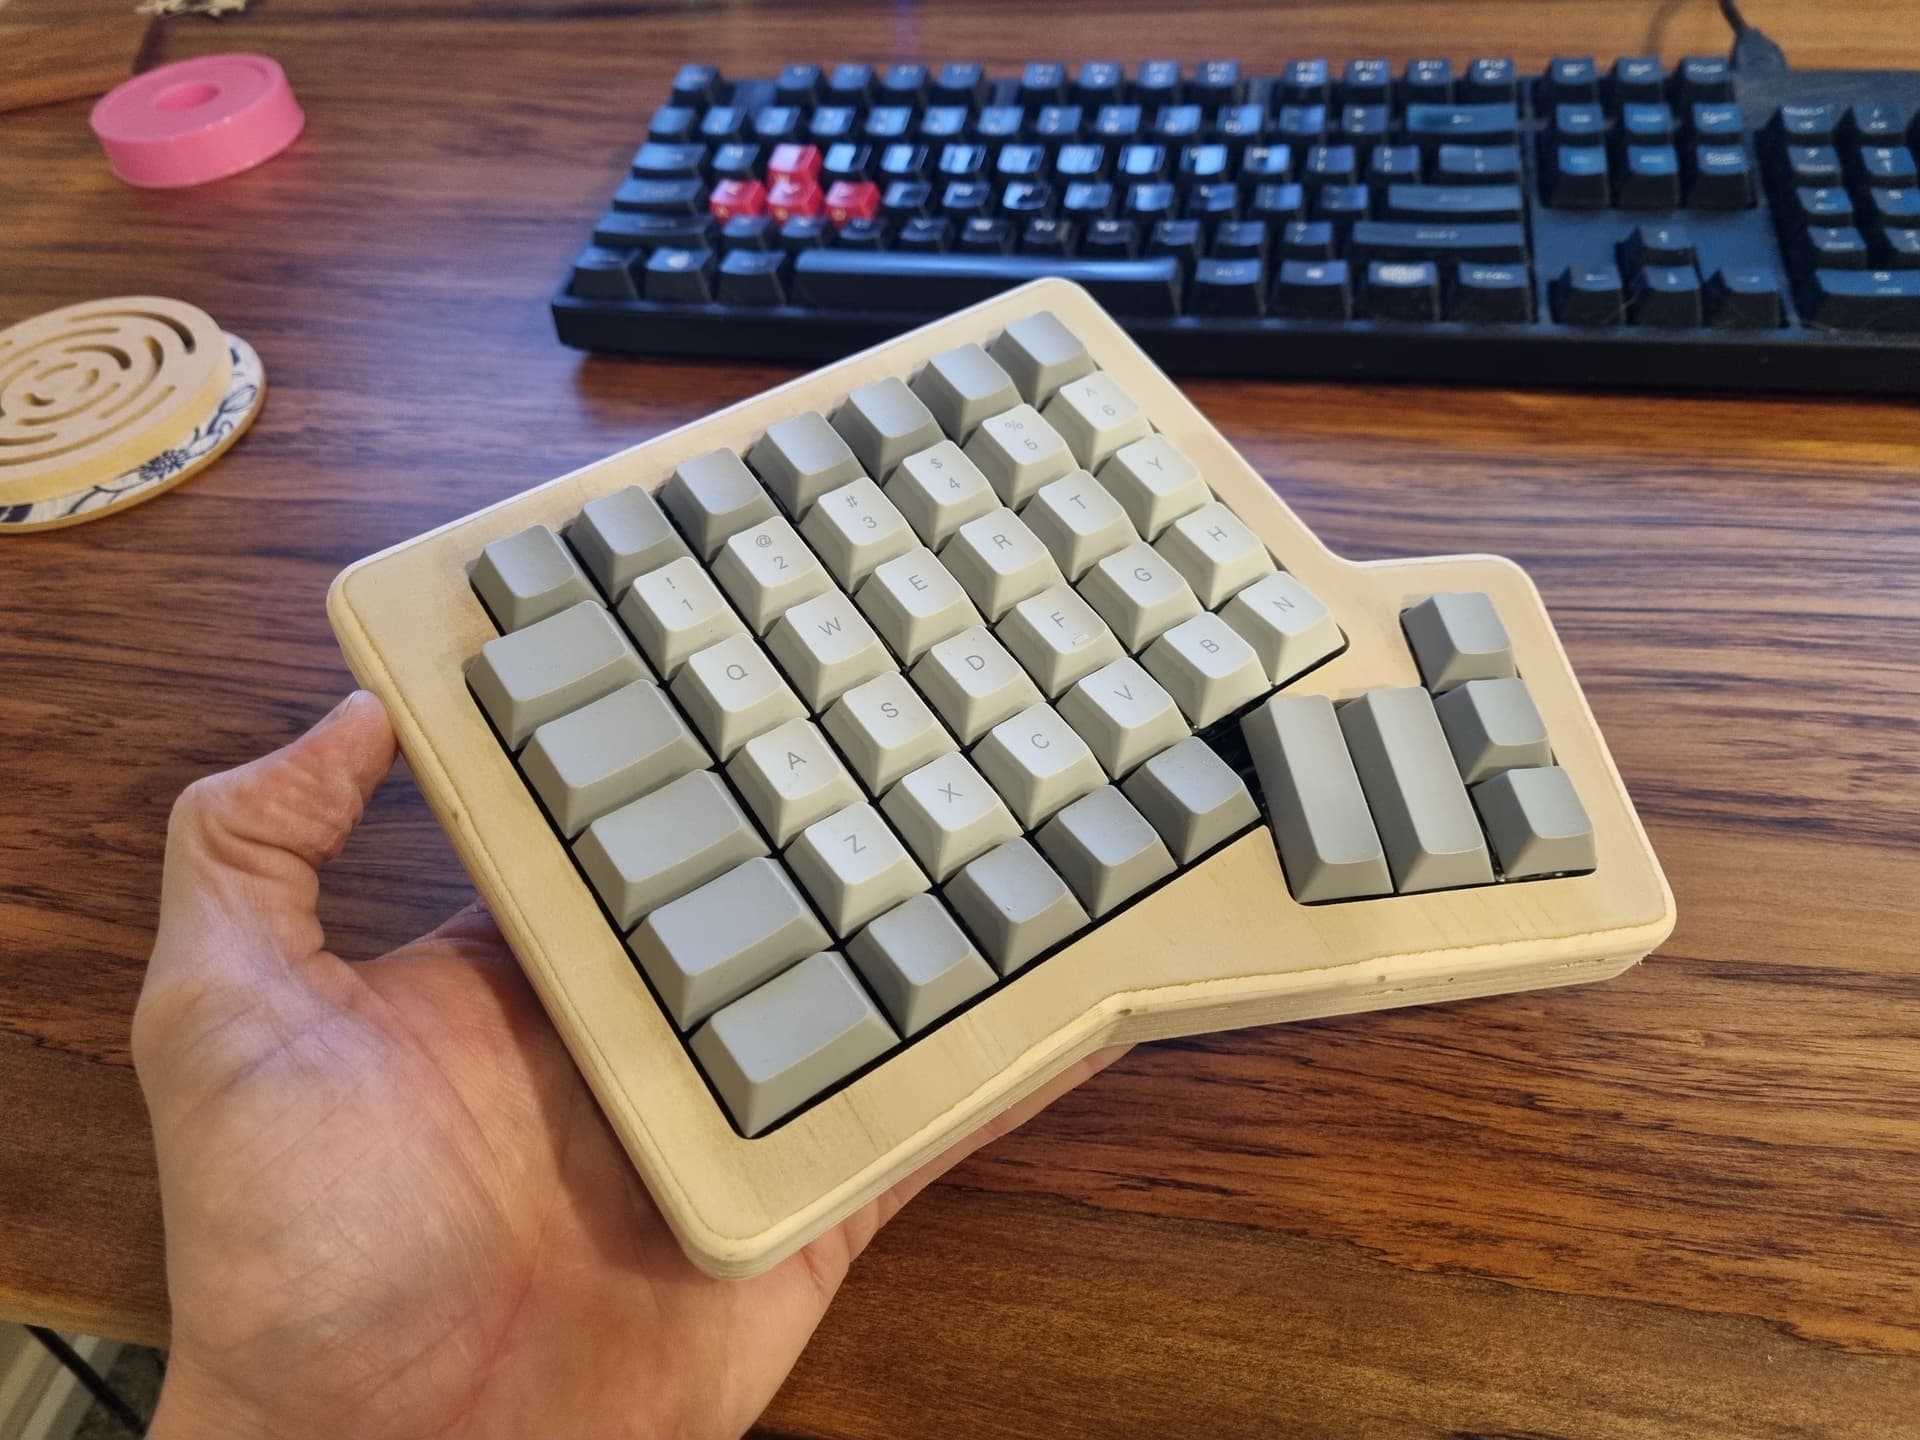
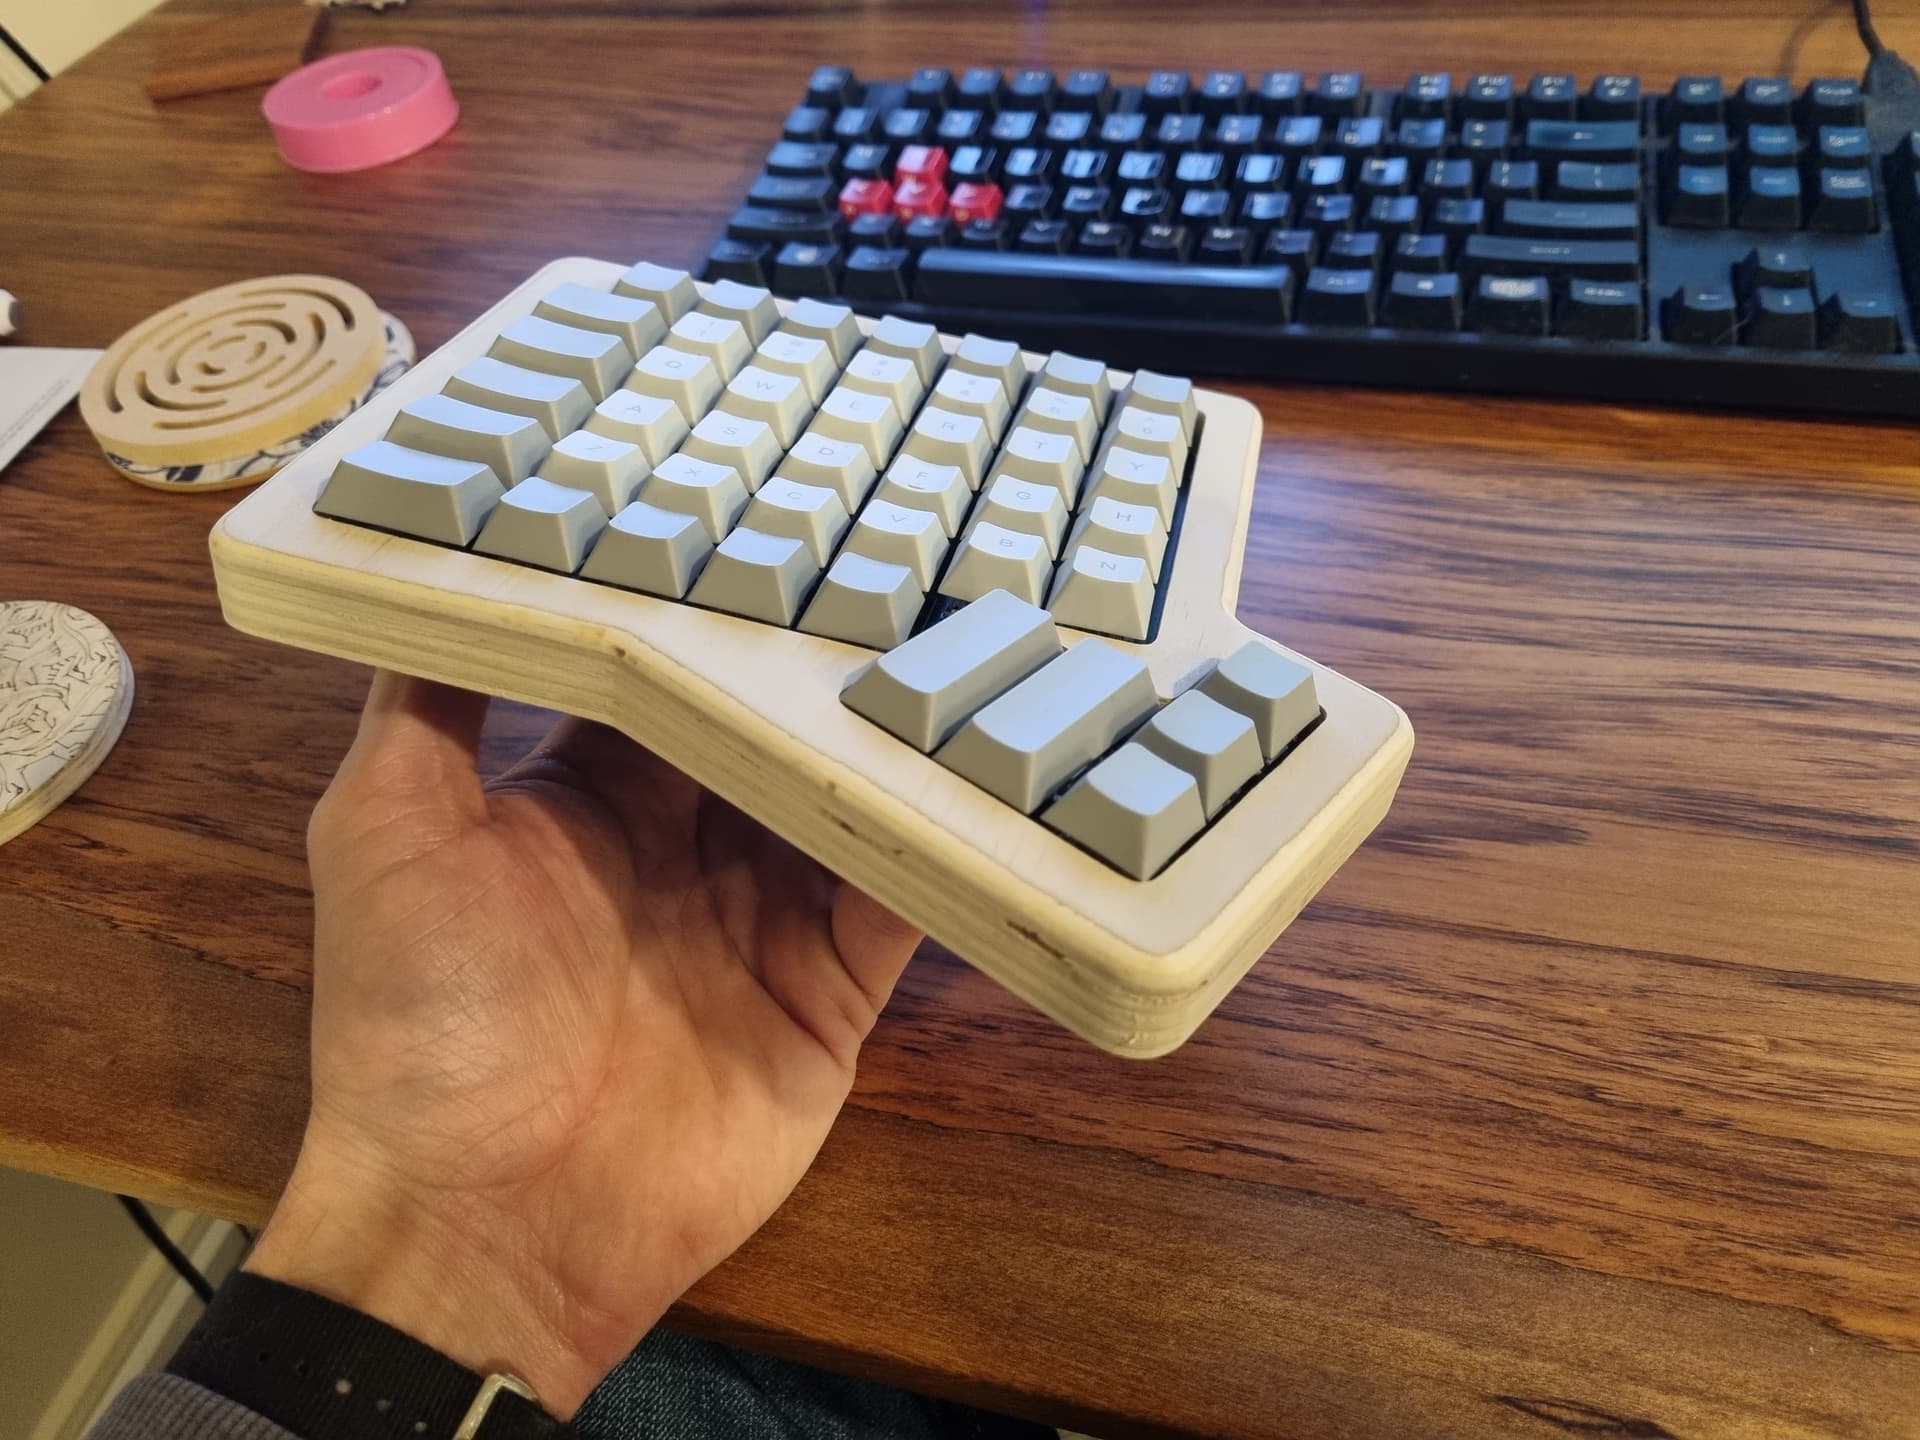
The plan was always to cut a housing for it on the MPCNC so I cut a proof of concept out of some spare 18mm construction plywood and finished it with a 6mm roundover bit.

There are a few things left to do on the project but I’m not sure if I’ll bother without re-doing the layout to ‘fix’ the number key positions.
-Decrease the radius in the top edges to match the keys more closely. They clear and work fine, but it just looks a little wrong, to me.
-Cut a small piece to match the wooden border that will get glued to the PCB and fill the hole between the thumb keys and the rest of the array.
-3D print a bottom cover that will tilt the keyboard towards me and rotate it slightly to let my wrist sit in a more ‘neutral’ position.
-Drill pinholes for the status LEDs and either press a small piece of acrylic into them or fill them with epoxy.