All wrapped on the main job. LR2 V2.0 is done. I’m pretty happy so far, nothing cut yet but I did realize I’m giving up more print area the way I have it configured and am probably giving up on some rigidity too by sticking to the tubes on the widest part as opposed to knocking them down to cover the short side. Just a minor wiring change too to flip the x and y axis too but it keeps the orientation of my drawings consistent with how I’ll think of it for drafting.


1 Like
That is how I have mine, but you could make it more rigid with the long axis being the wheels.


It’s too late in the design process as my design for the table base allowed for clearance under the short side but not the long way. It was never a problem before really so off I go. It also never occurred to me until I was carrying the gantry over to it. Ha ha
2 Likes
It looks great, and I’m sure it will work well. Maybe think of a way for it to have an extension wing to make longer cuts, and then never use it (that’s what I did).
1 Like
So probably going to skip table extension ideas for now, I figure two tables in less than a year is enough fiddling with my LR2 for the time being.
Also you were totally right about the hold downs. Unless I can always be away from the work pieces (like, well away) they’re just too big. I have some other ideas in mind for clamps now to play with but the threaded grid is going to be as good as I’d hoped mainly for this hold down reason.
2 Likes
I’m interested in hold down solutions here. I was really happy with my ttrack and clamps on the mpcnc, but the 611 plate gets much closer and takes up much more real estate. The only way my clamps work is if I add 1/2 inch of tool stickout. No good. For now, I’m using a pin nailer straight to the spoil board.
There is a plastic pin nailer (that is way too expensive, IMO). That would be awesome.
I just use screws. I use CNC.js and one trick I’ve learned is to use the jog and the gcode preview to tap a few spots with the bit and then predrill and screw the work down. So I can add screws in the middle of waste inside the workpiece, if I need to. I have gone through a screw before when I miscalculated something. I’m sure it shortened the life of the bit, but it didn’t skip or ruin the job.
1 Like
It pin nails plastic pins? That’s pretty interesting. I already have one that drives the cheap soft metal ones, though, so I’m using that. Good idea to consider interior locations, too. Haven’t had any parts with those yet, though.
With the mpcnc, had spoil board strips with t tracks in between. Once the spoil board strips were corrected to the spindle, i could clamp down for engraving or clamp down over a 1/4 in scrap for through cuts. No messing around with the spoil board strips ever again.
What can I say? I’m lazy that way. Not gonna work for the lowrider, though.
Haven’t used it yet, but am planning to use the painter’s tape and CA glue trick. Blue tape on both surfaces (burnished for best hold), then superglue them together. Strong enough to handle Industrial metal milling, but will pop off cleanly with relative ease. It’s effectively ad-hoc, thin double-sided tape that cleans up nicely, and won’t damage a bit.
2 Likes
I tried this method (blue tape and CA glue) on MPCNC with an aluminum plate and it worked great. I plan to use it whenever the bulkier clamps aren’t an option (already trimmed a few of those, and I’ve been known to be removing some while the job is in process)…
1 Like
This is a neat idea. I don’t know how often you need a really strong hold like a mechanical clamp anyways as I don’t imagine there’s a ton of force in the feed or pull up.
I waste a little time with the setup of a part with masking tape and hot glue, but it gives me much more stability and precision. The small variation in height has been negligible for the slip fit boxes I am cutting and it allows me to use those 5x7" sample cabinet door pieces to the max and not worry about clamps or cutting over screws.
Work holding is definitely an adaptive art.
1 Like
https://raptornails.com/store/ca65/20-brads-pins.html#/package-box/type-p_16/length-7_16_p16_044
https://raptornails.com/store/home/28-nailers.html#/tool_type-omer_r1425p_pneumati
1 Like
drool 
Frank Howarth pulls his out once and a while. I just had one given to me last month but I haven’t unpacked it yet.
2 Likes
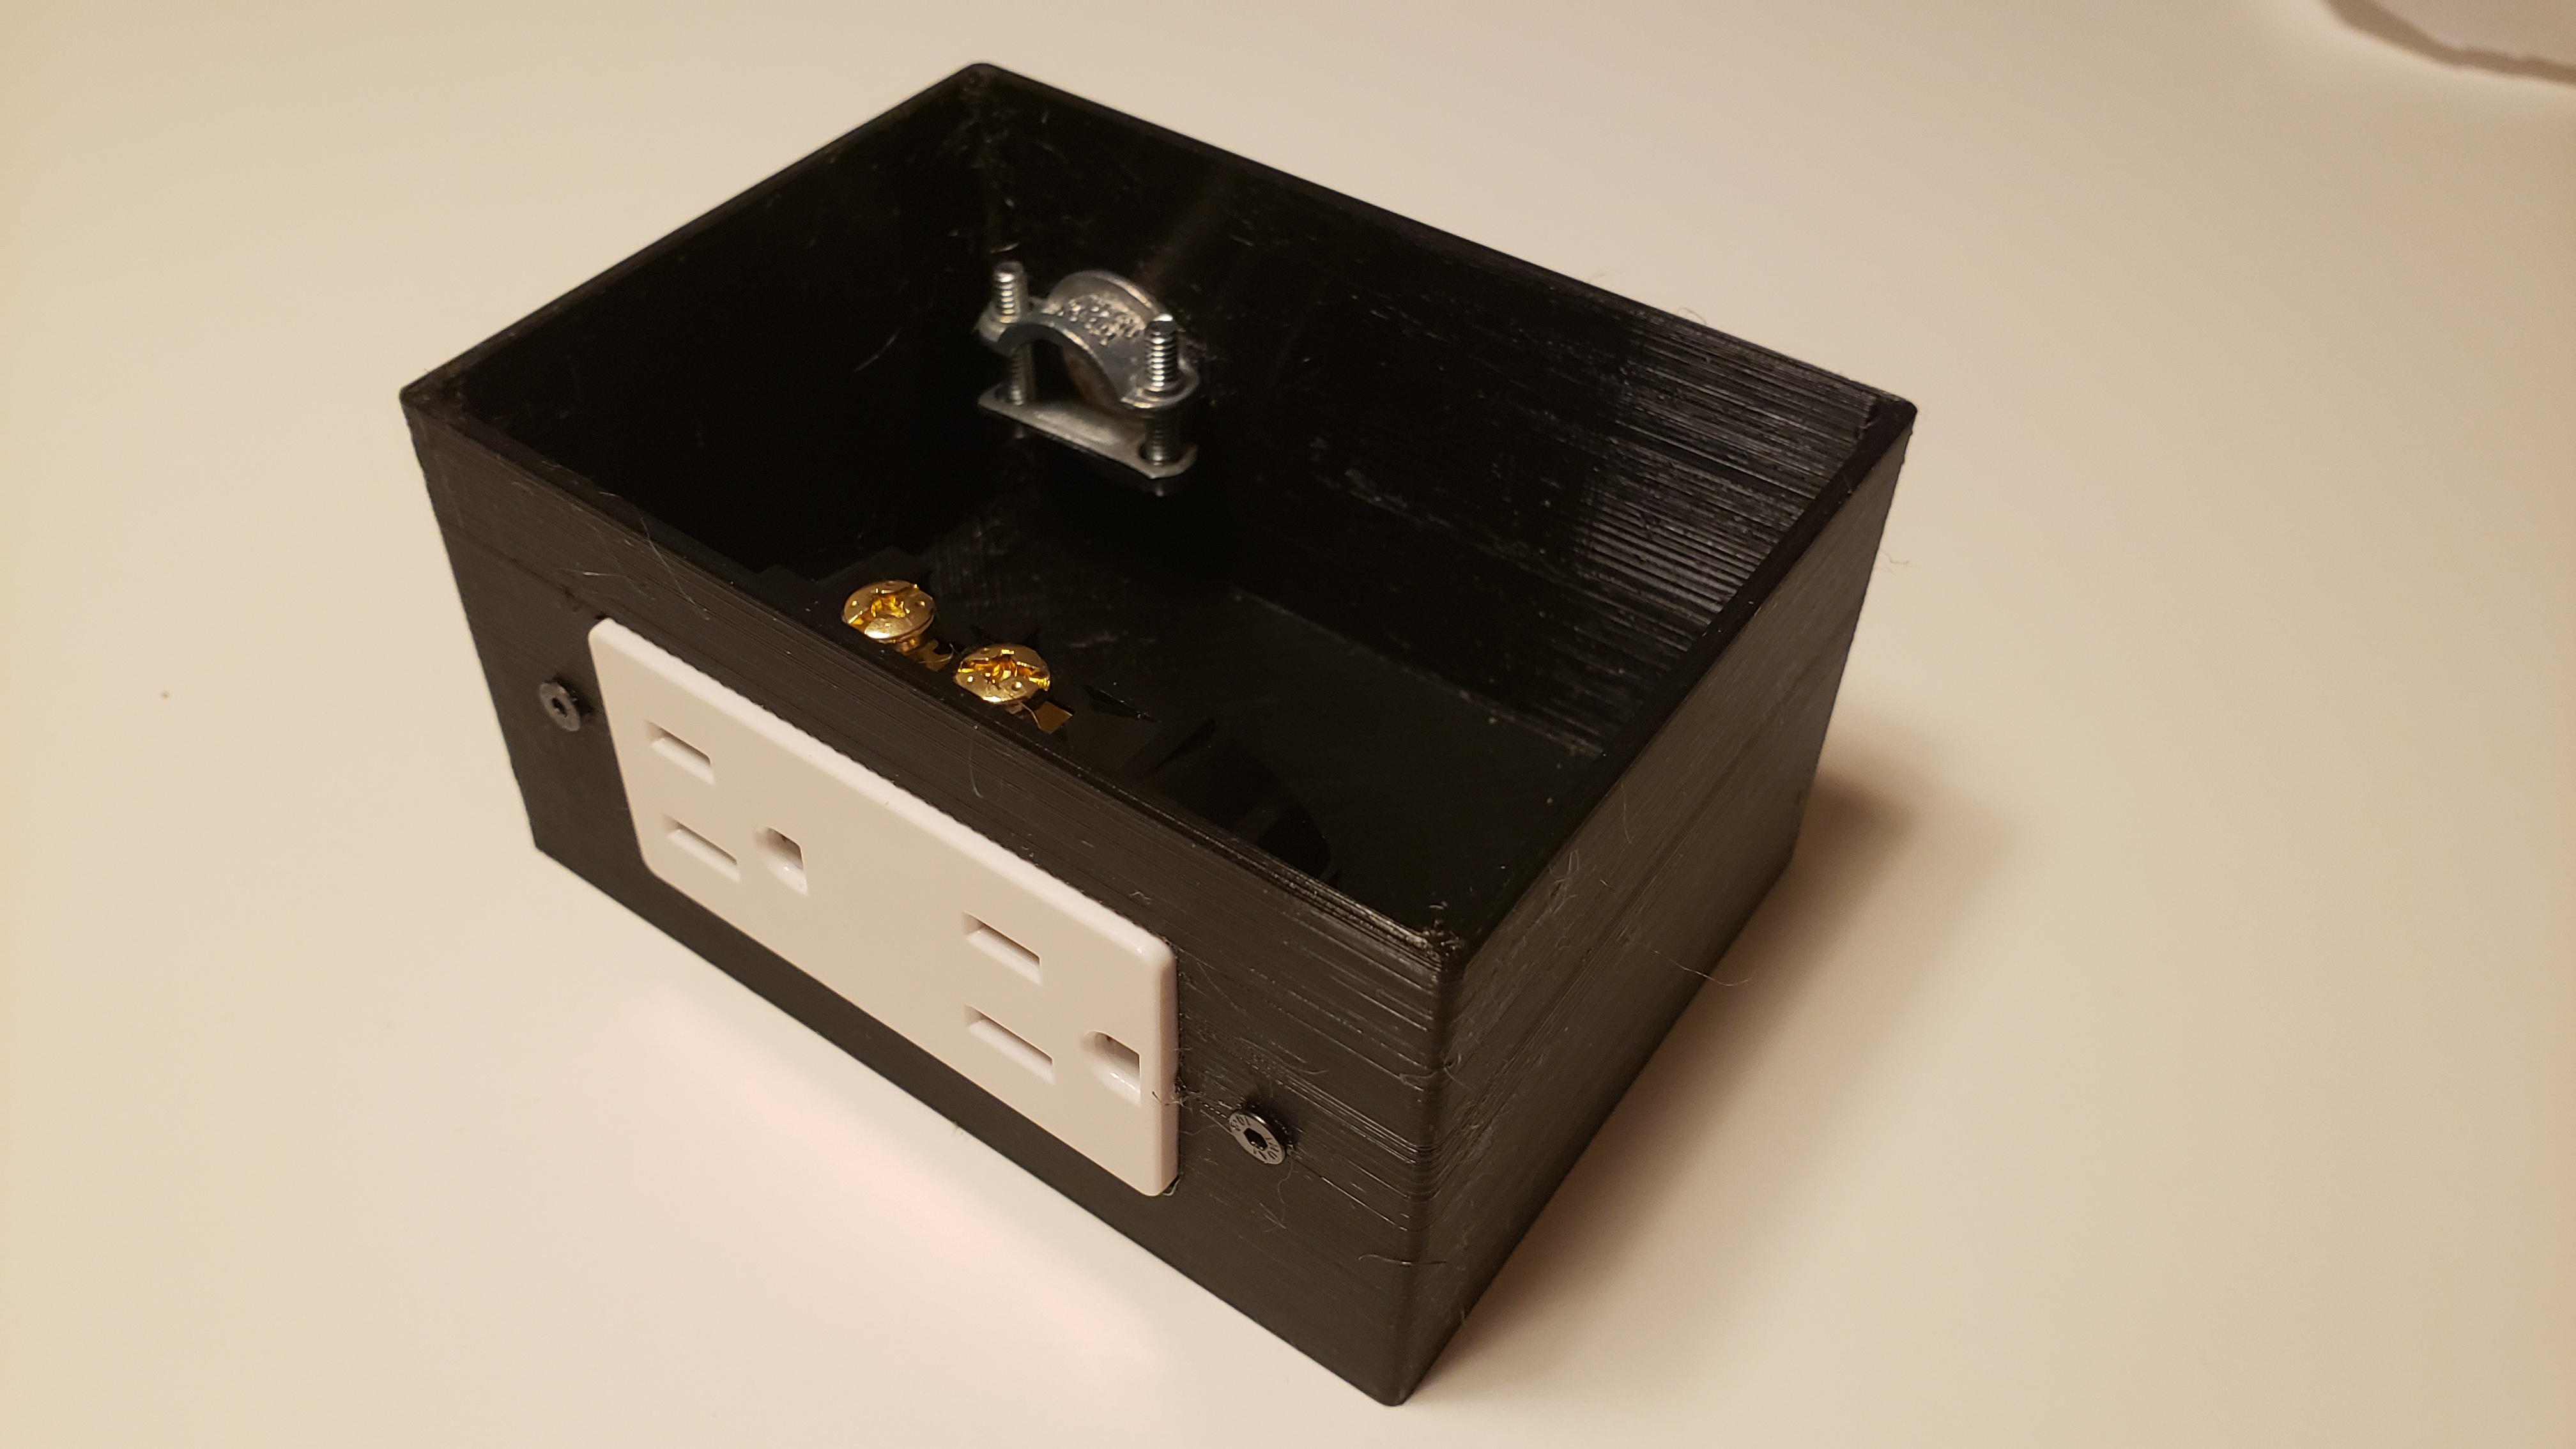
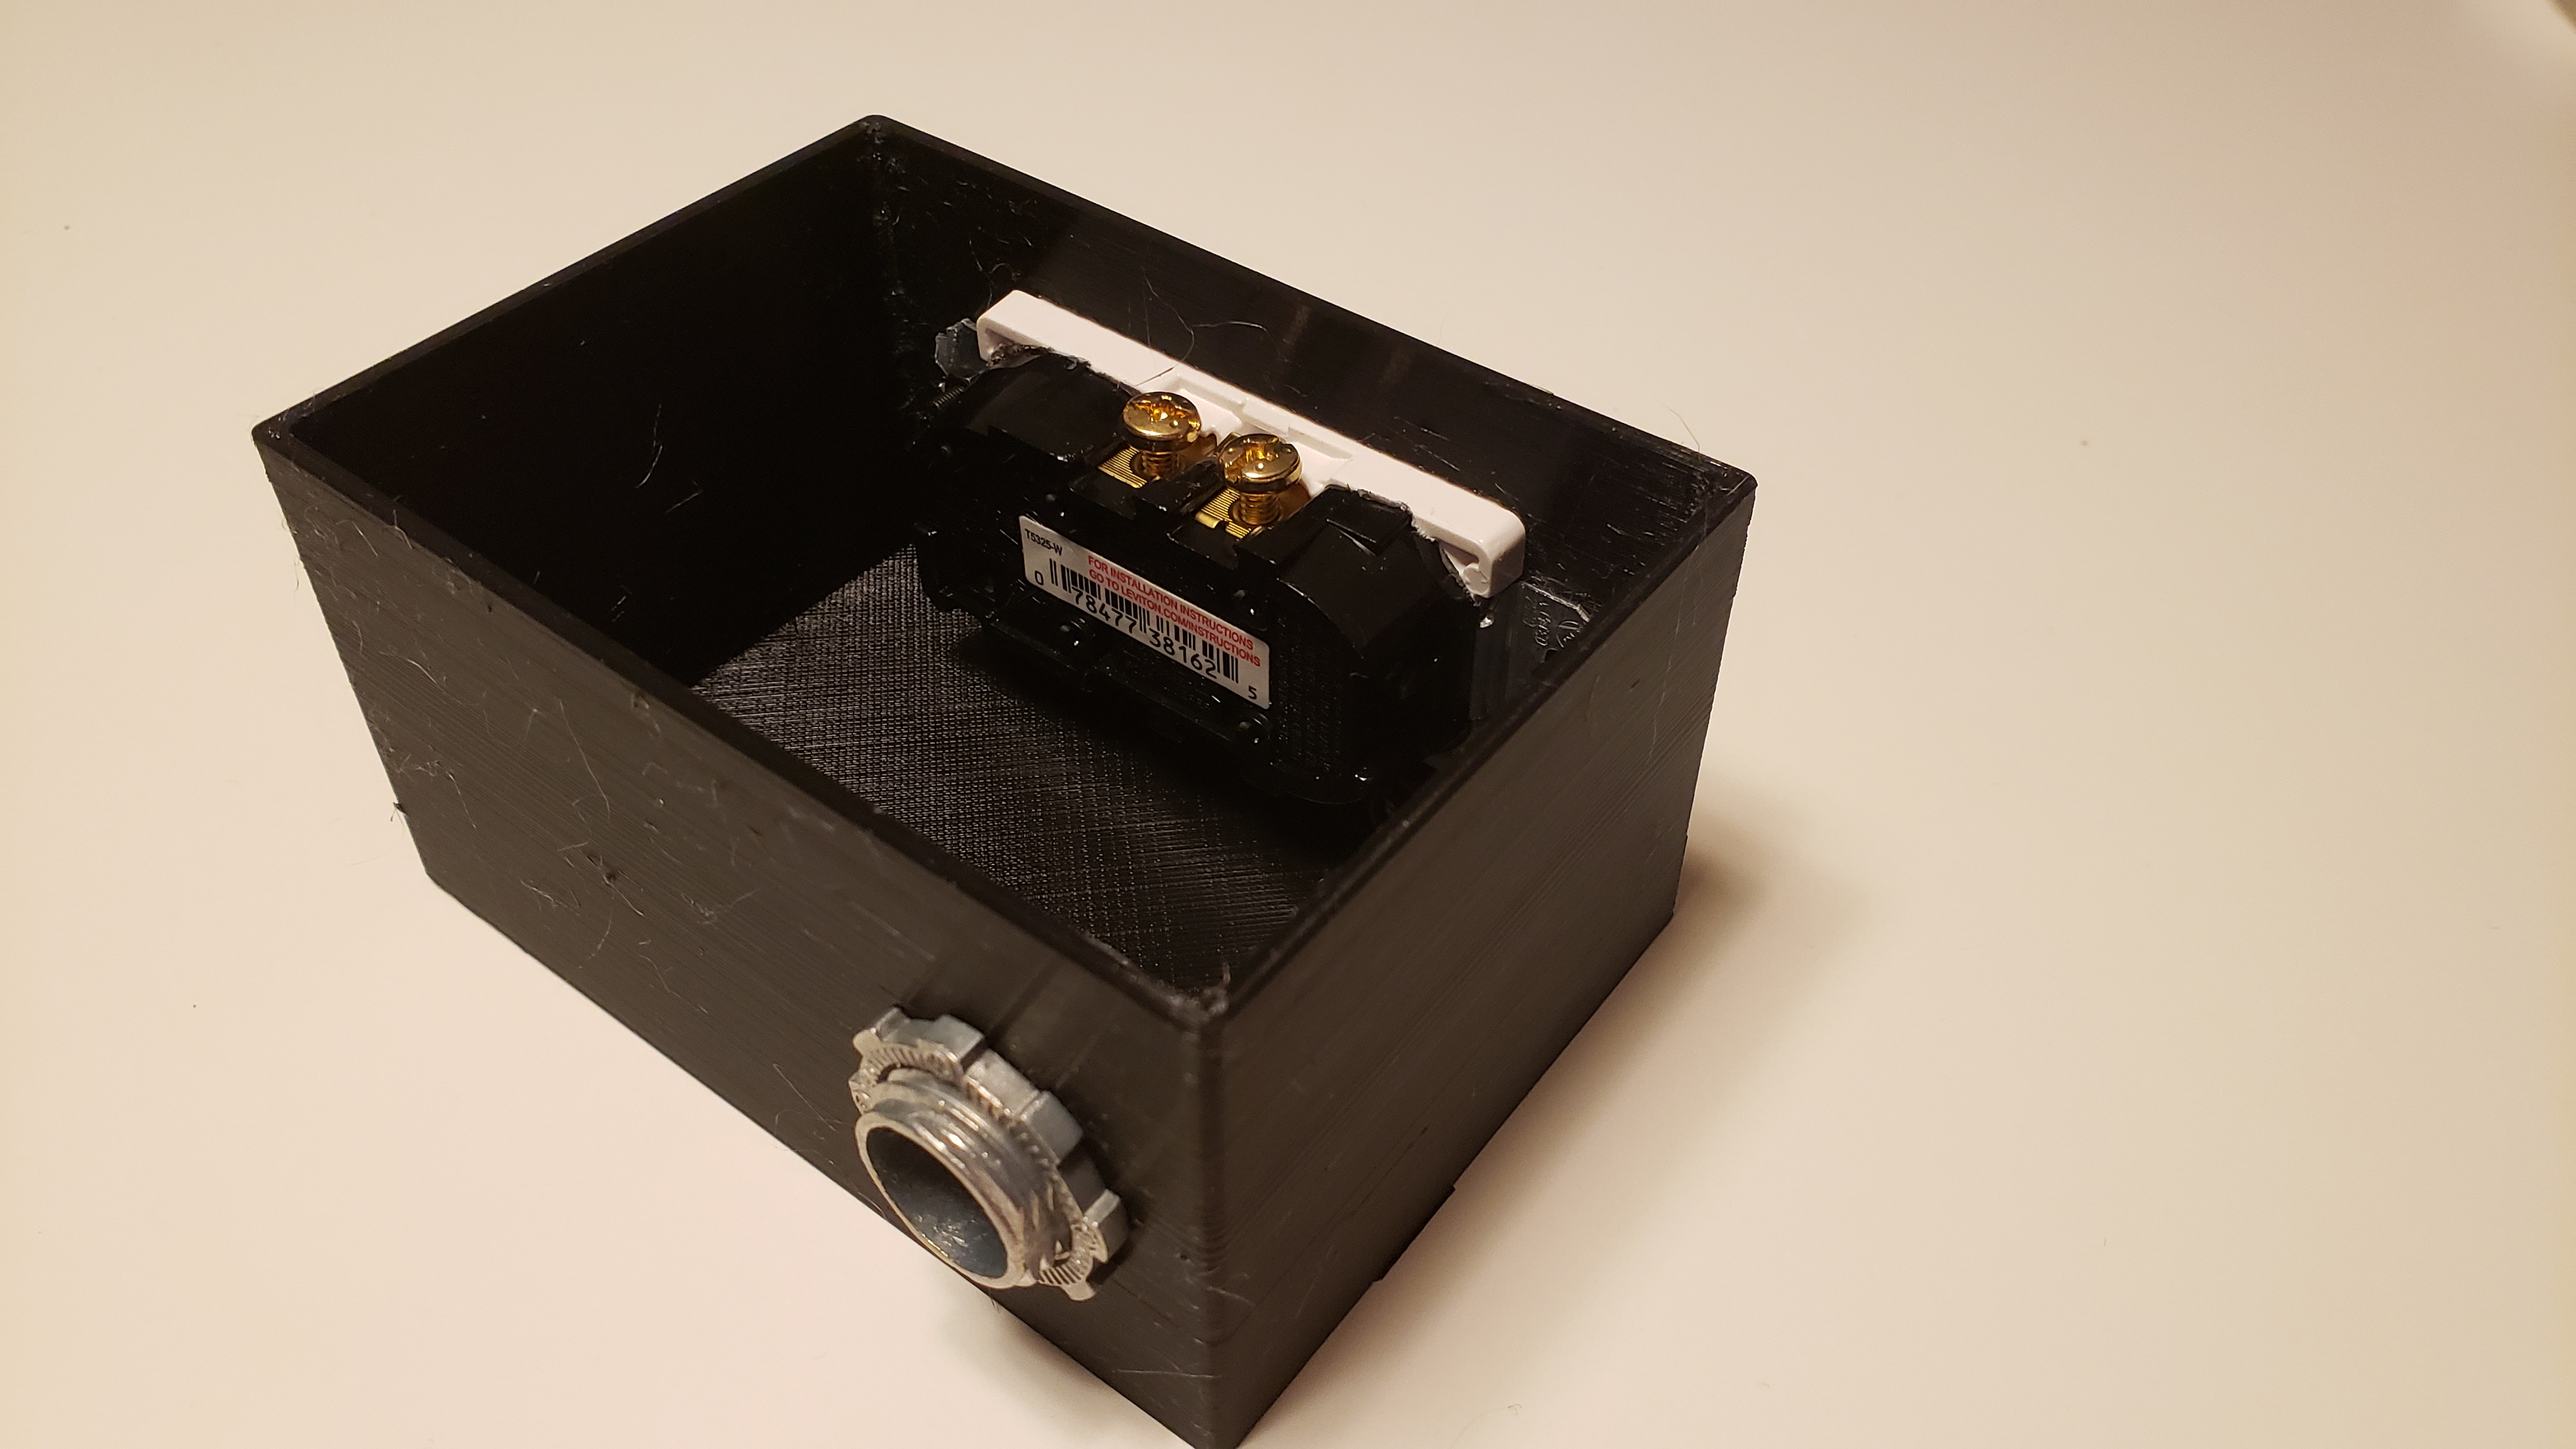
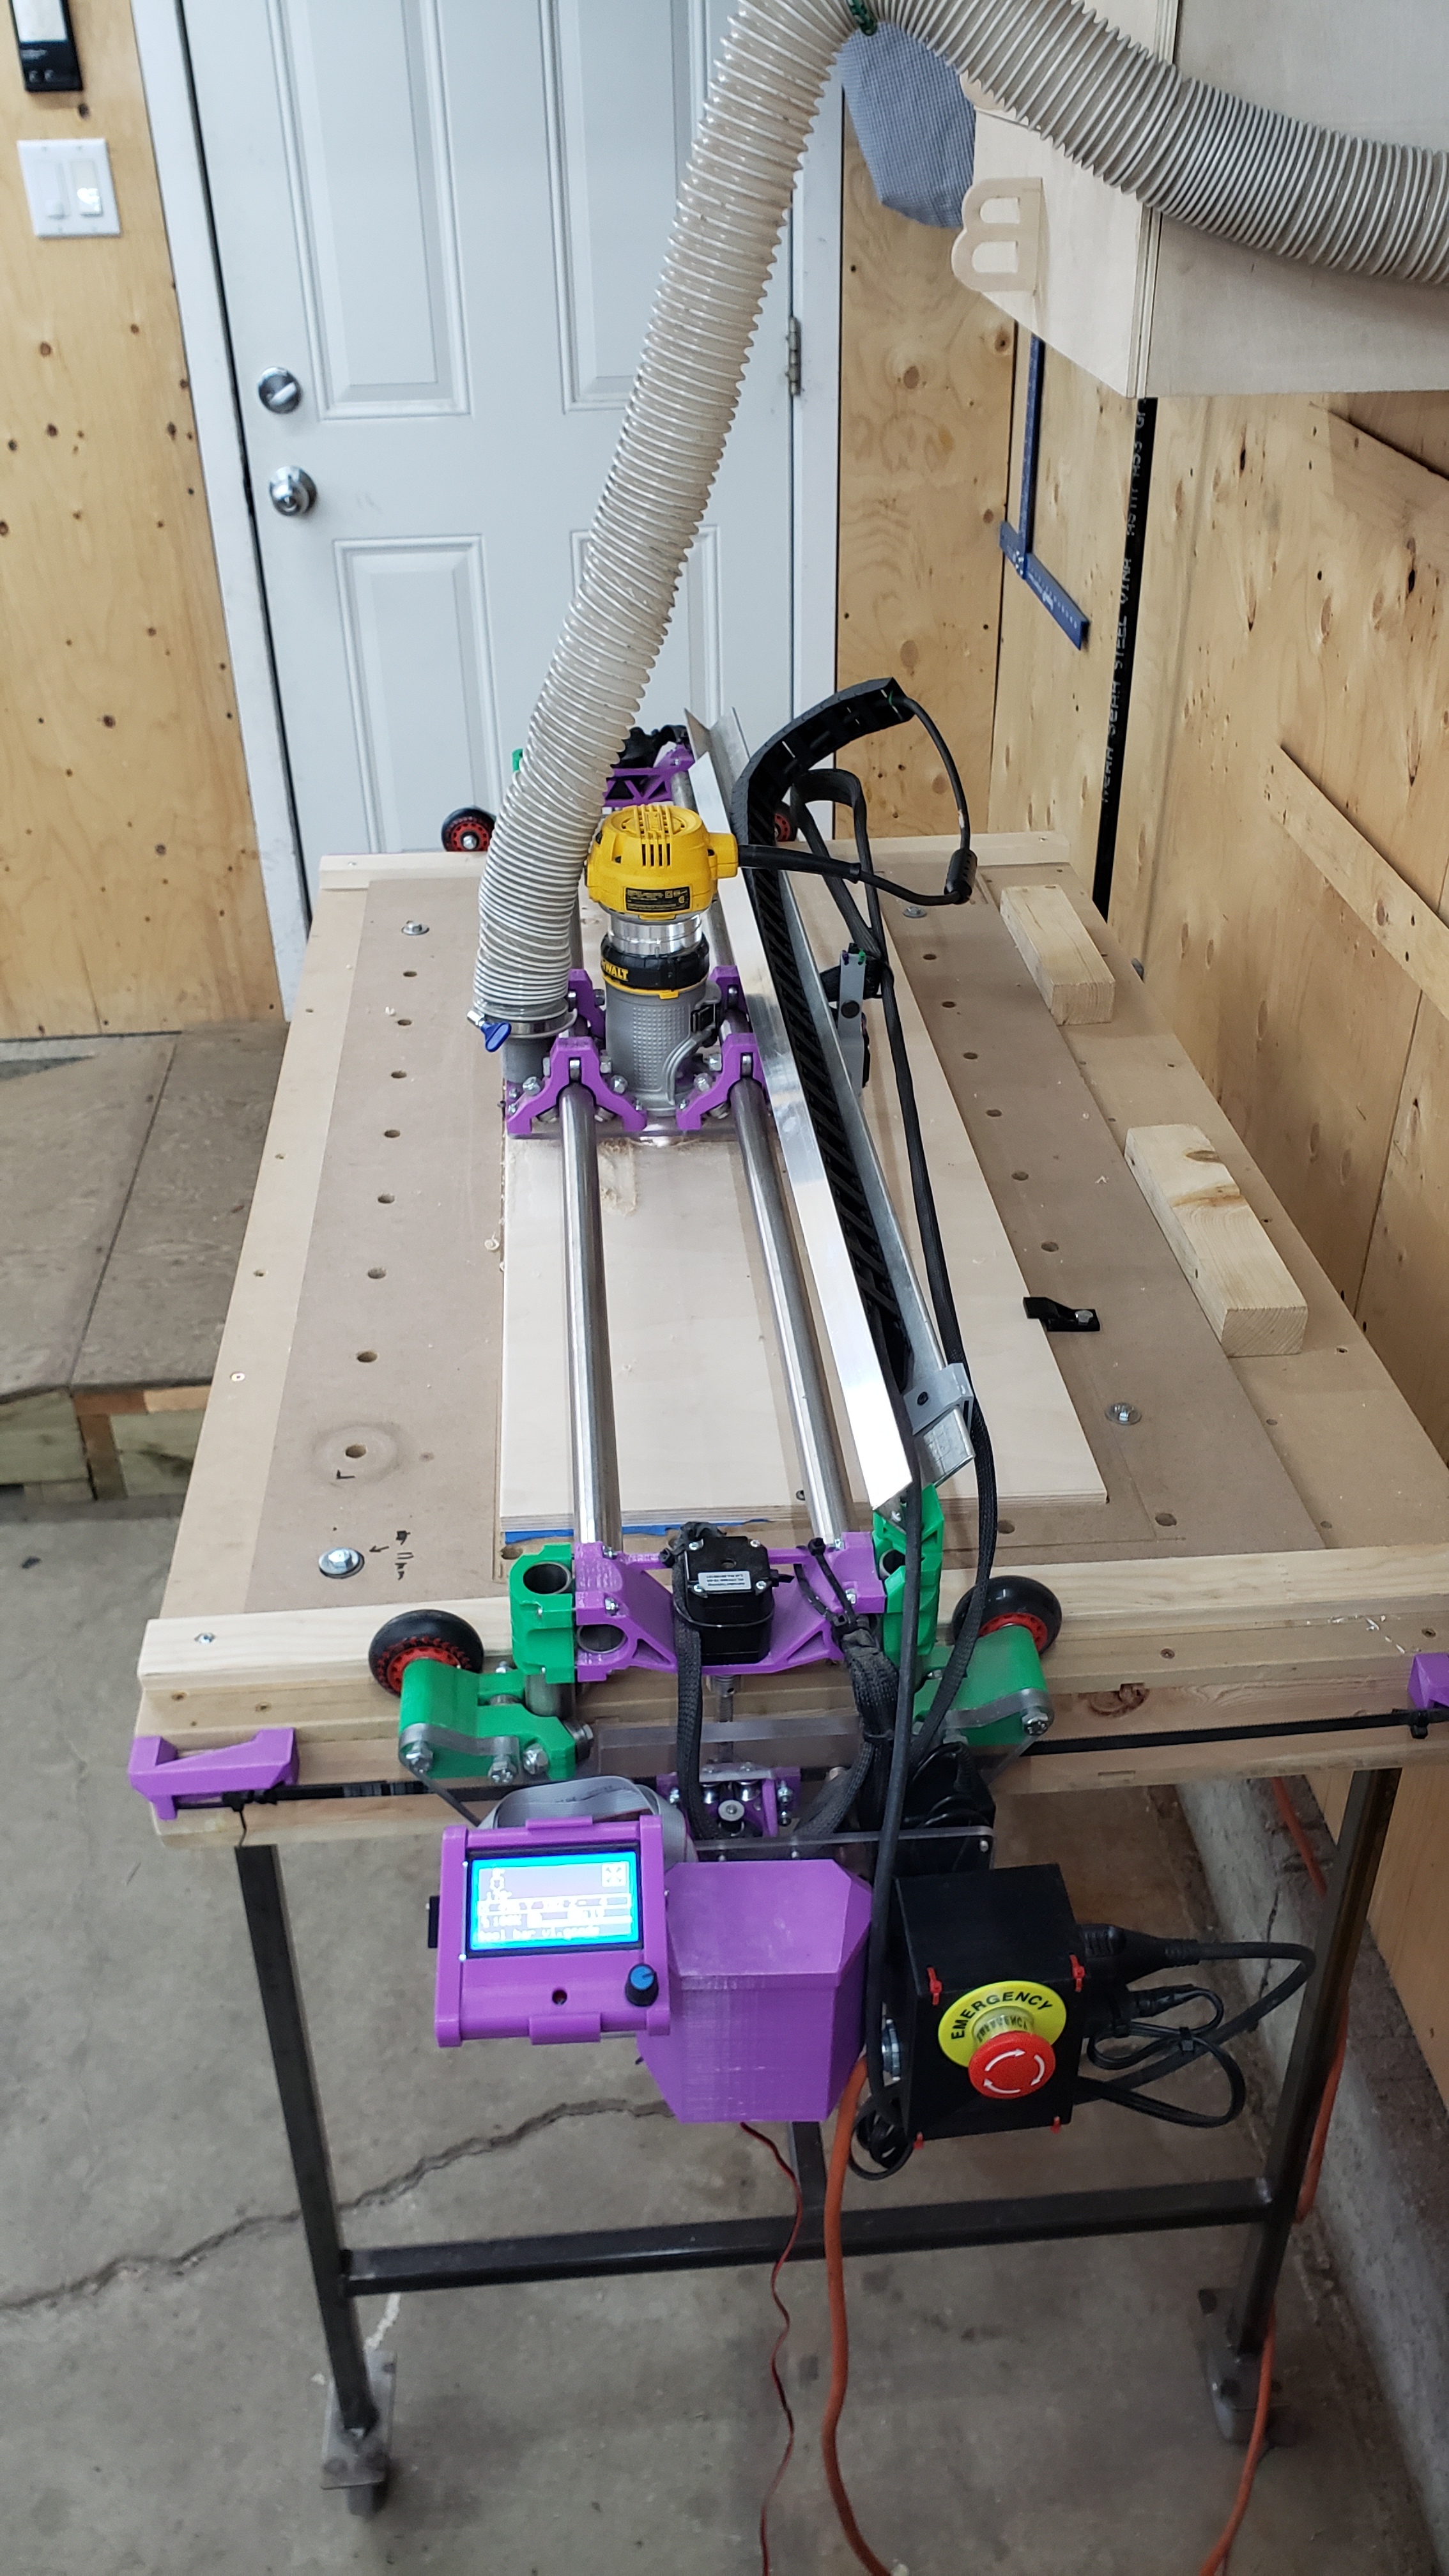
Chipping away at some things I had sitting waiting for a bit. Garage changes are a good time to rethink the cnc arrangement so first order of business is that cool e-stop button.
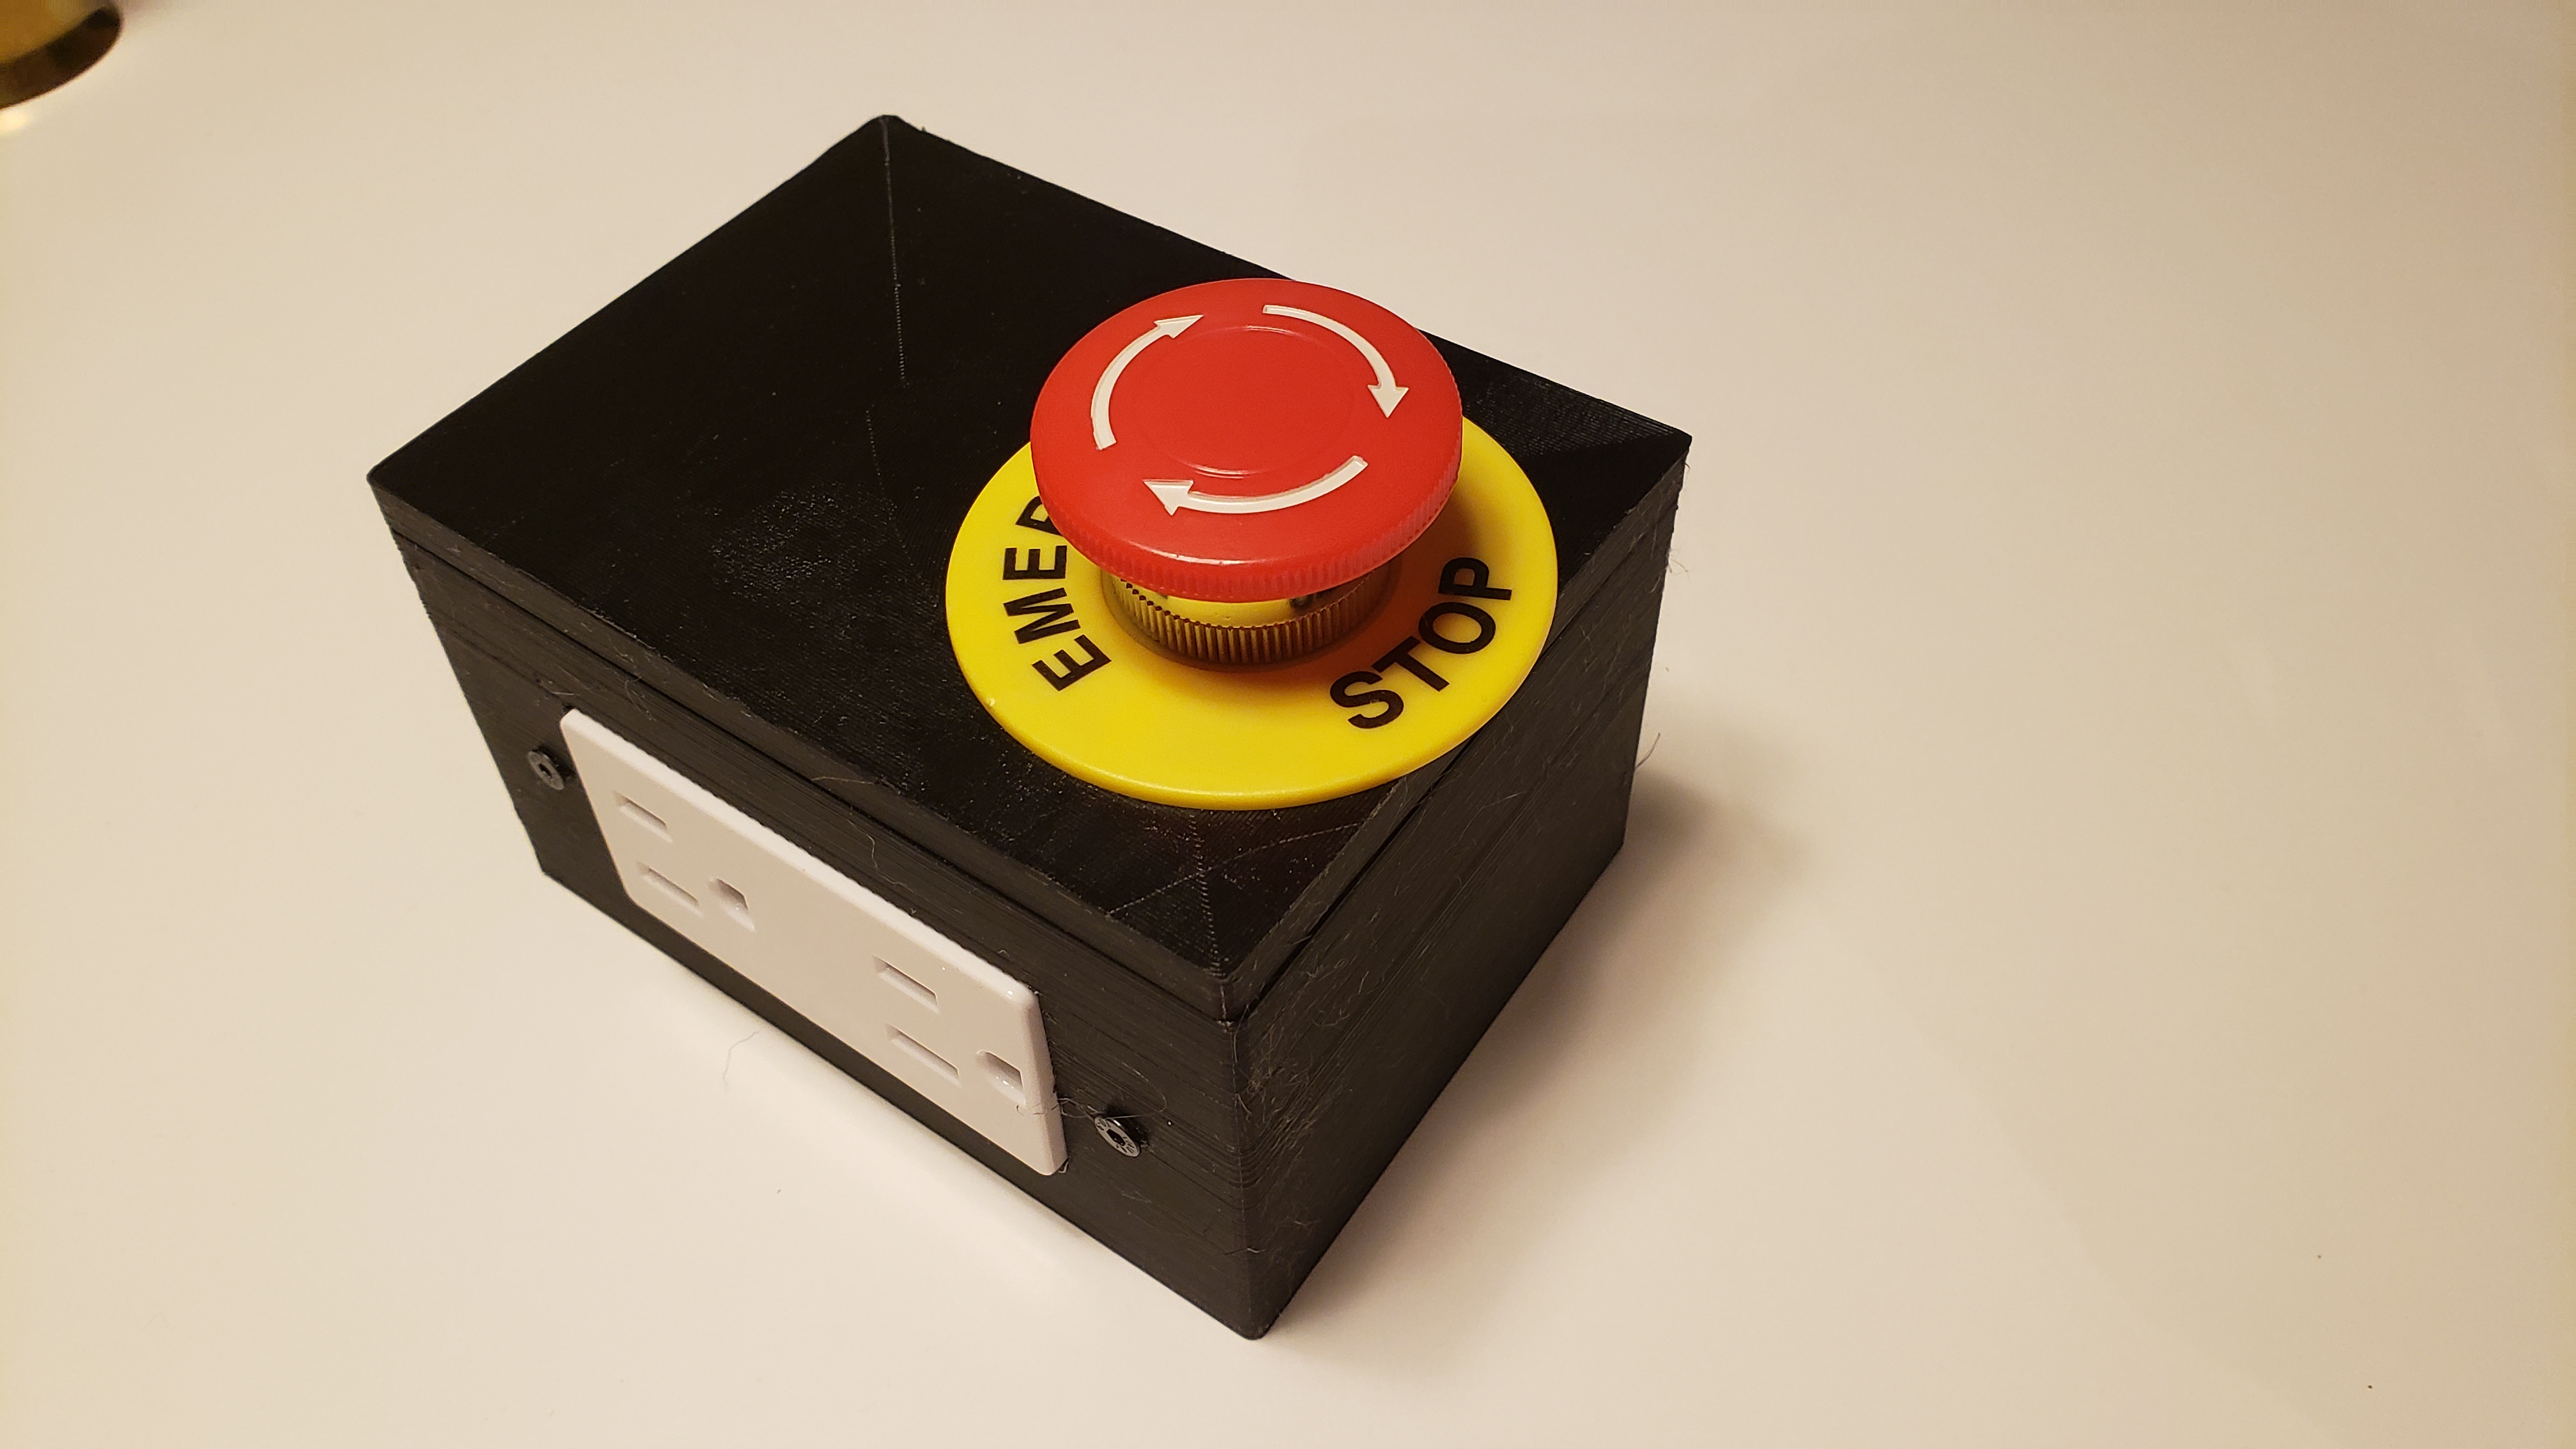
One failed huge print led to a much better and smaller v2 for the box. I think this will work. A slight miss on the yellow disk as I forgot to even consider that for the hole so it hangs over slightly. I’ll resist the idea of printing it again for a few mm’s
3 Likes
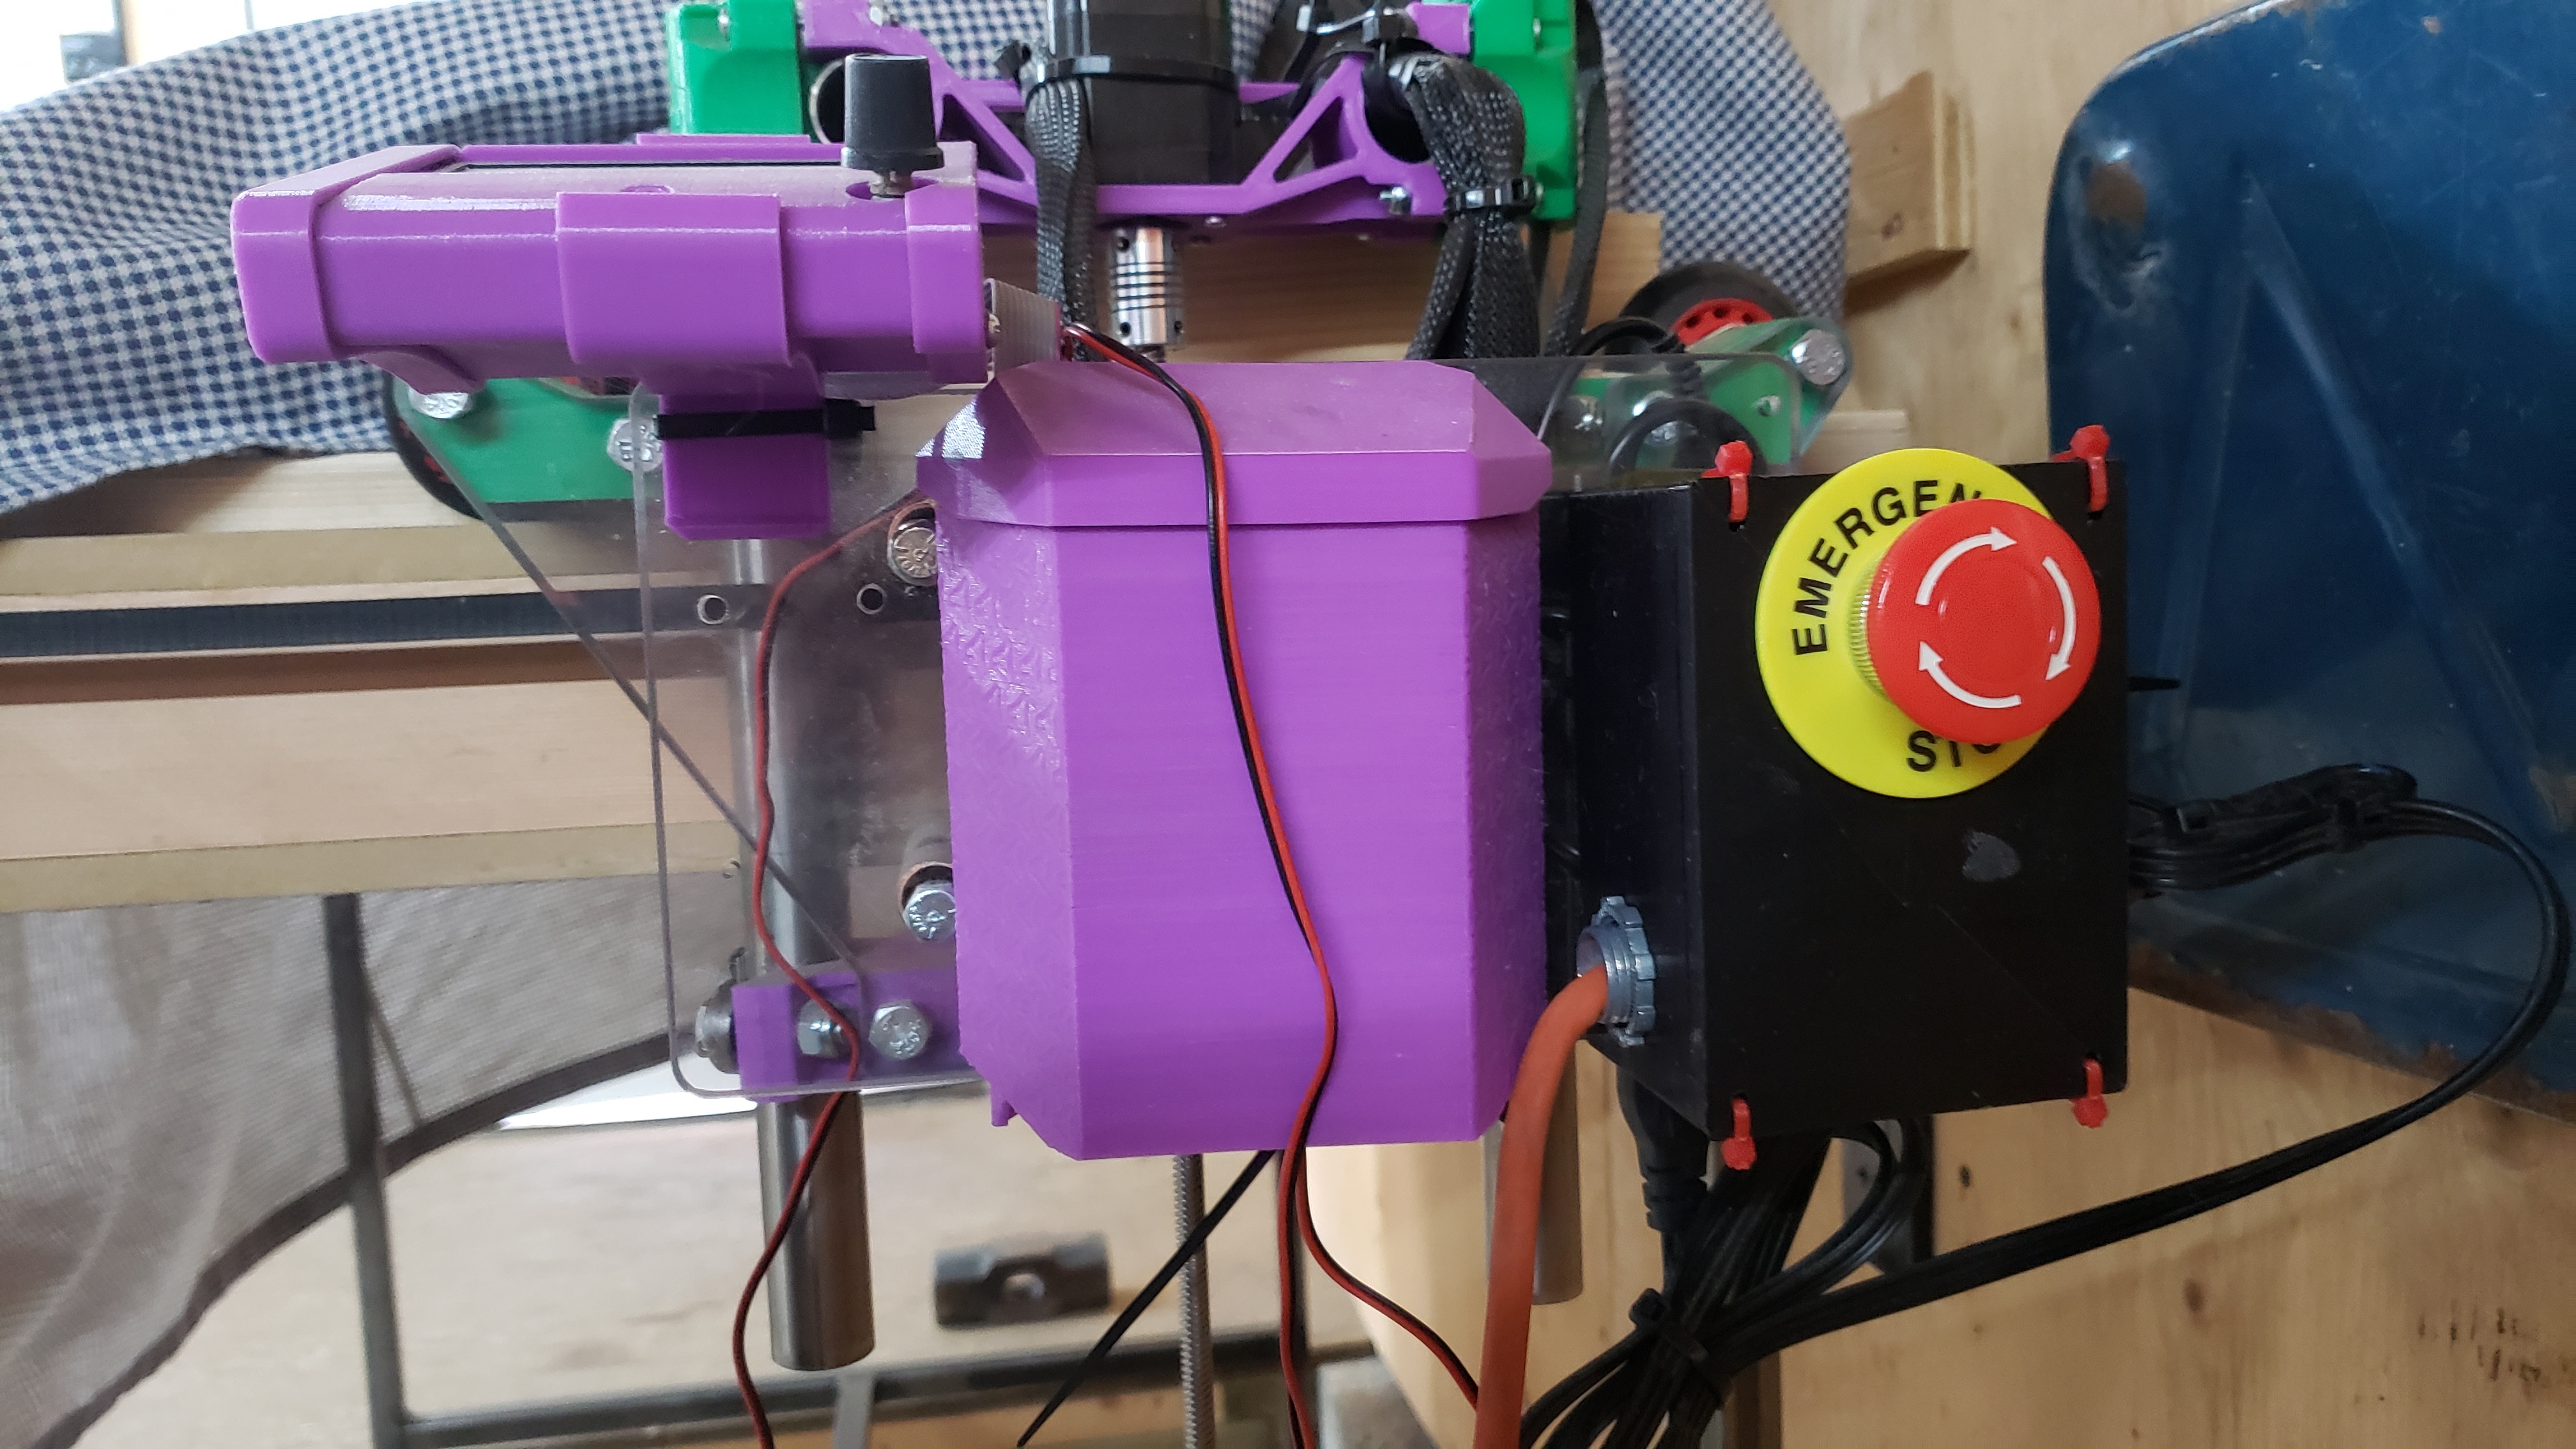
All done now tested and good to go. I should have done this a while ago now that I see the improvement in this way.
2 Likes
Hi Brent,
Was great reading through your build and saw that you were quite active in some of the other areas of the forums. I have built a MPCNC and loved the build and wanted to investigate building the low rider last year, and you have renewed this passion. I am also in Edmonton and would love if you could share some of the places you were able to find parts? (mostly round tube)
Thanks,
Tyler
2 Likes