Great suggestion. Should have thought of that LOL I’ll try that tonight. It overall looked really good, at least better than I expected. I thought I’d have to mess with it forever to get it right.
I guess this is the prologue post.
Did a bunch more random stuff, mostly for keeping the dust under control.
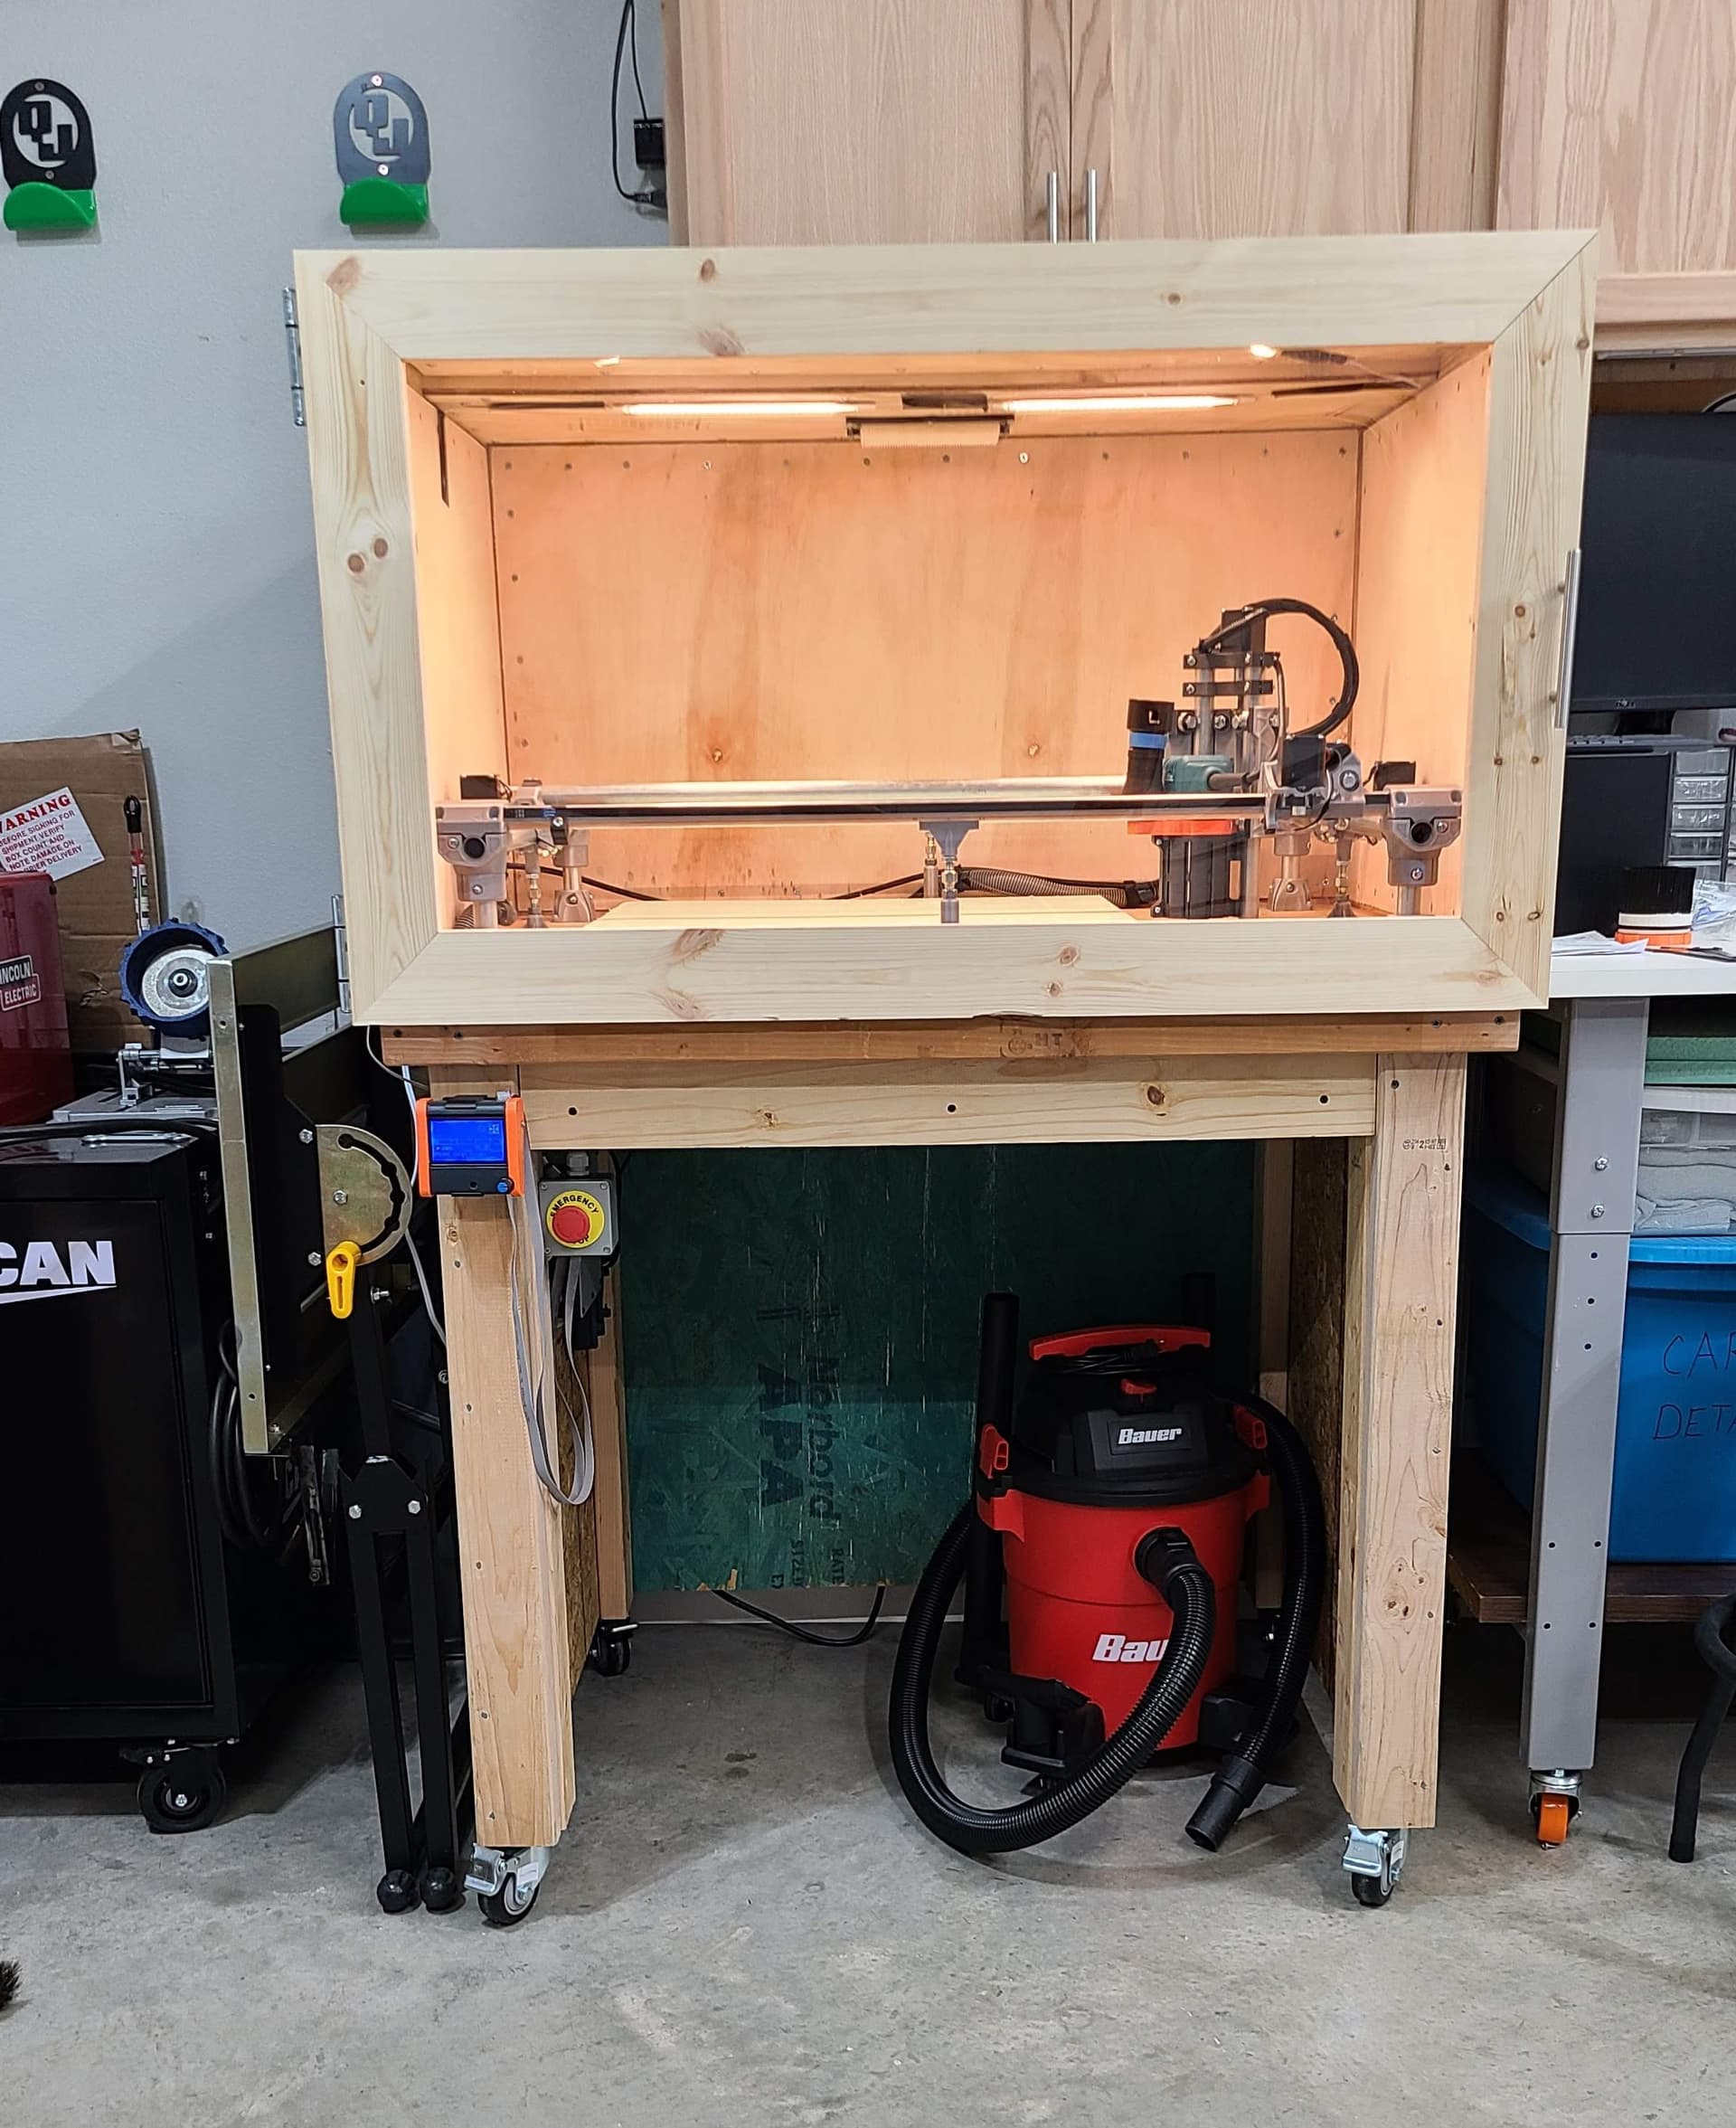
- Built enclosure.
- Added dust boot (still need to run the vacuum hose in the pics below)
- Designed and printed an electronics enclosure
- Added a filter at the top of the enclosure that can be opened and closed to balance the vacuum pull
- Various other little things like grommets, etc
My wiring is a bit embarrassing overall, but it’s usable, and that’s what matters


5 Likes
I think this is a very complete thread. Printed parts to a fully enclosed first cut.
Thanks for sharing!
2 Likes
I’m not quite ready to post in the “Things you’ve made” place, so I’ll just leave this here.
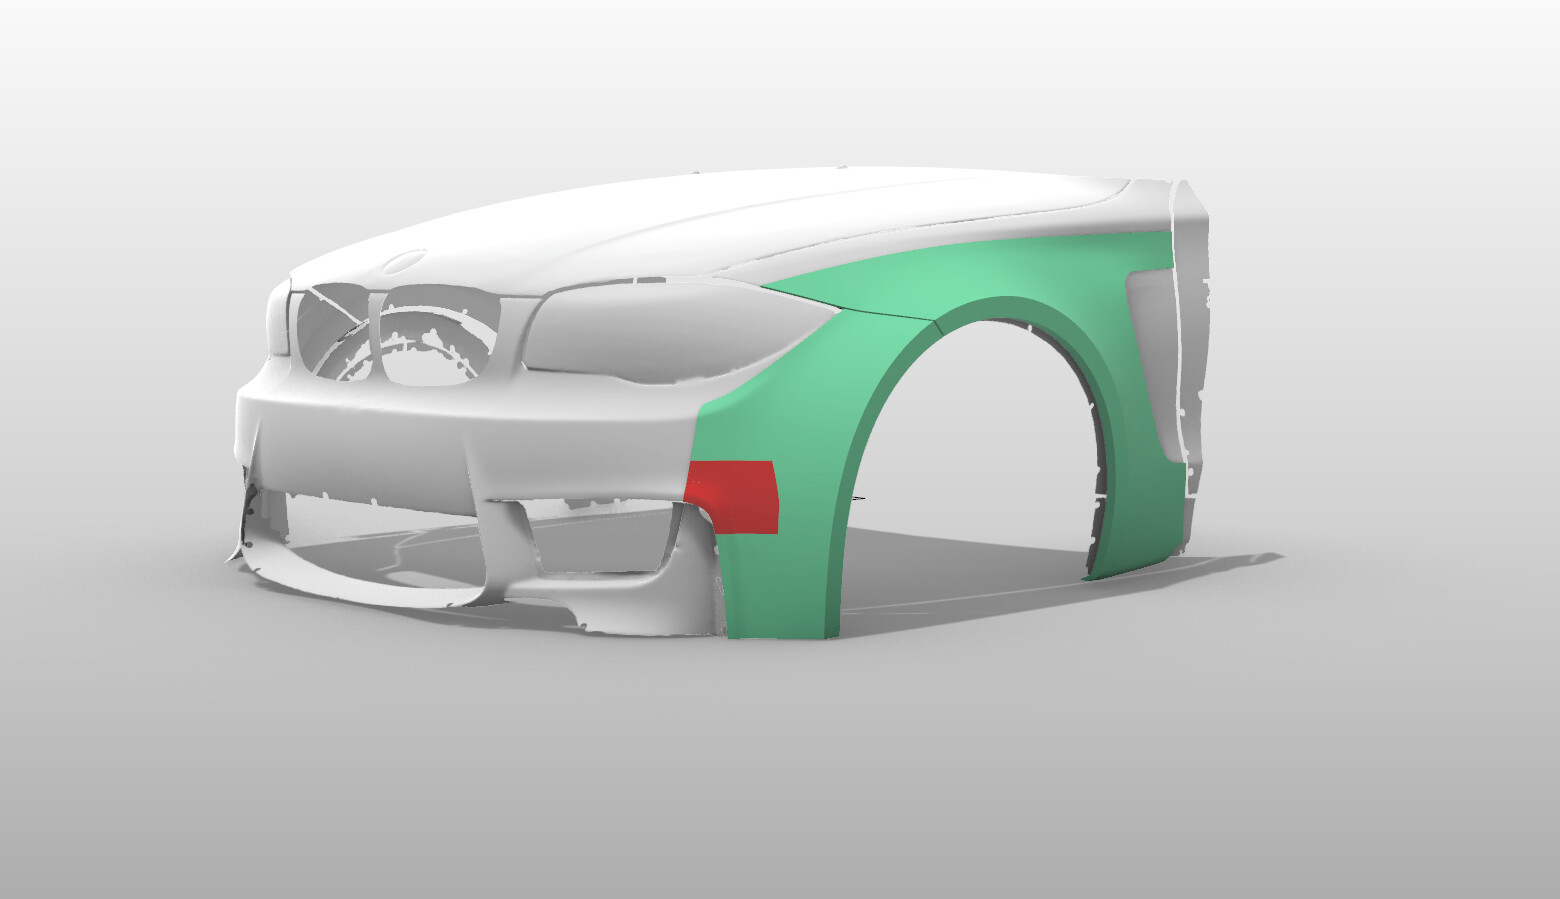
Pulled a small piece out of the the fender flare model and tested out cutting with my new Amana foam bits in 1" XPS. Wanted to fiddle with speeds and such, and just see how well it turned out. I am very optimistic! I need to finish up the CAD model and set it up as a plug. Will cut with 2" thick XPS and glue it up in layers, pull a mold, and then build the actual pieces.
Here is the piece extracted for reference
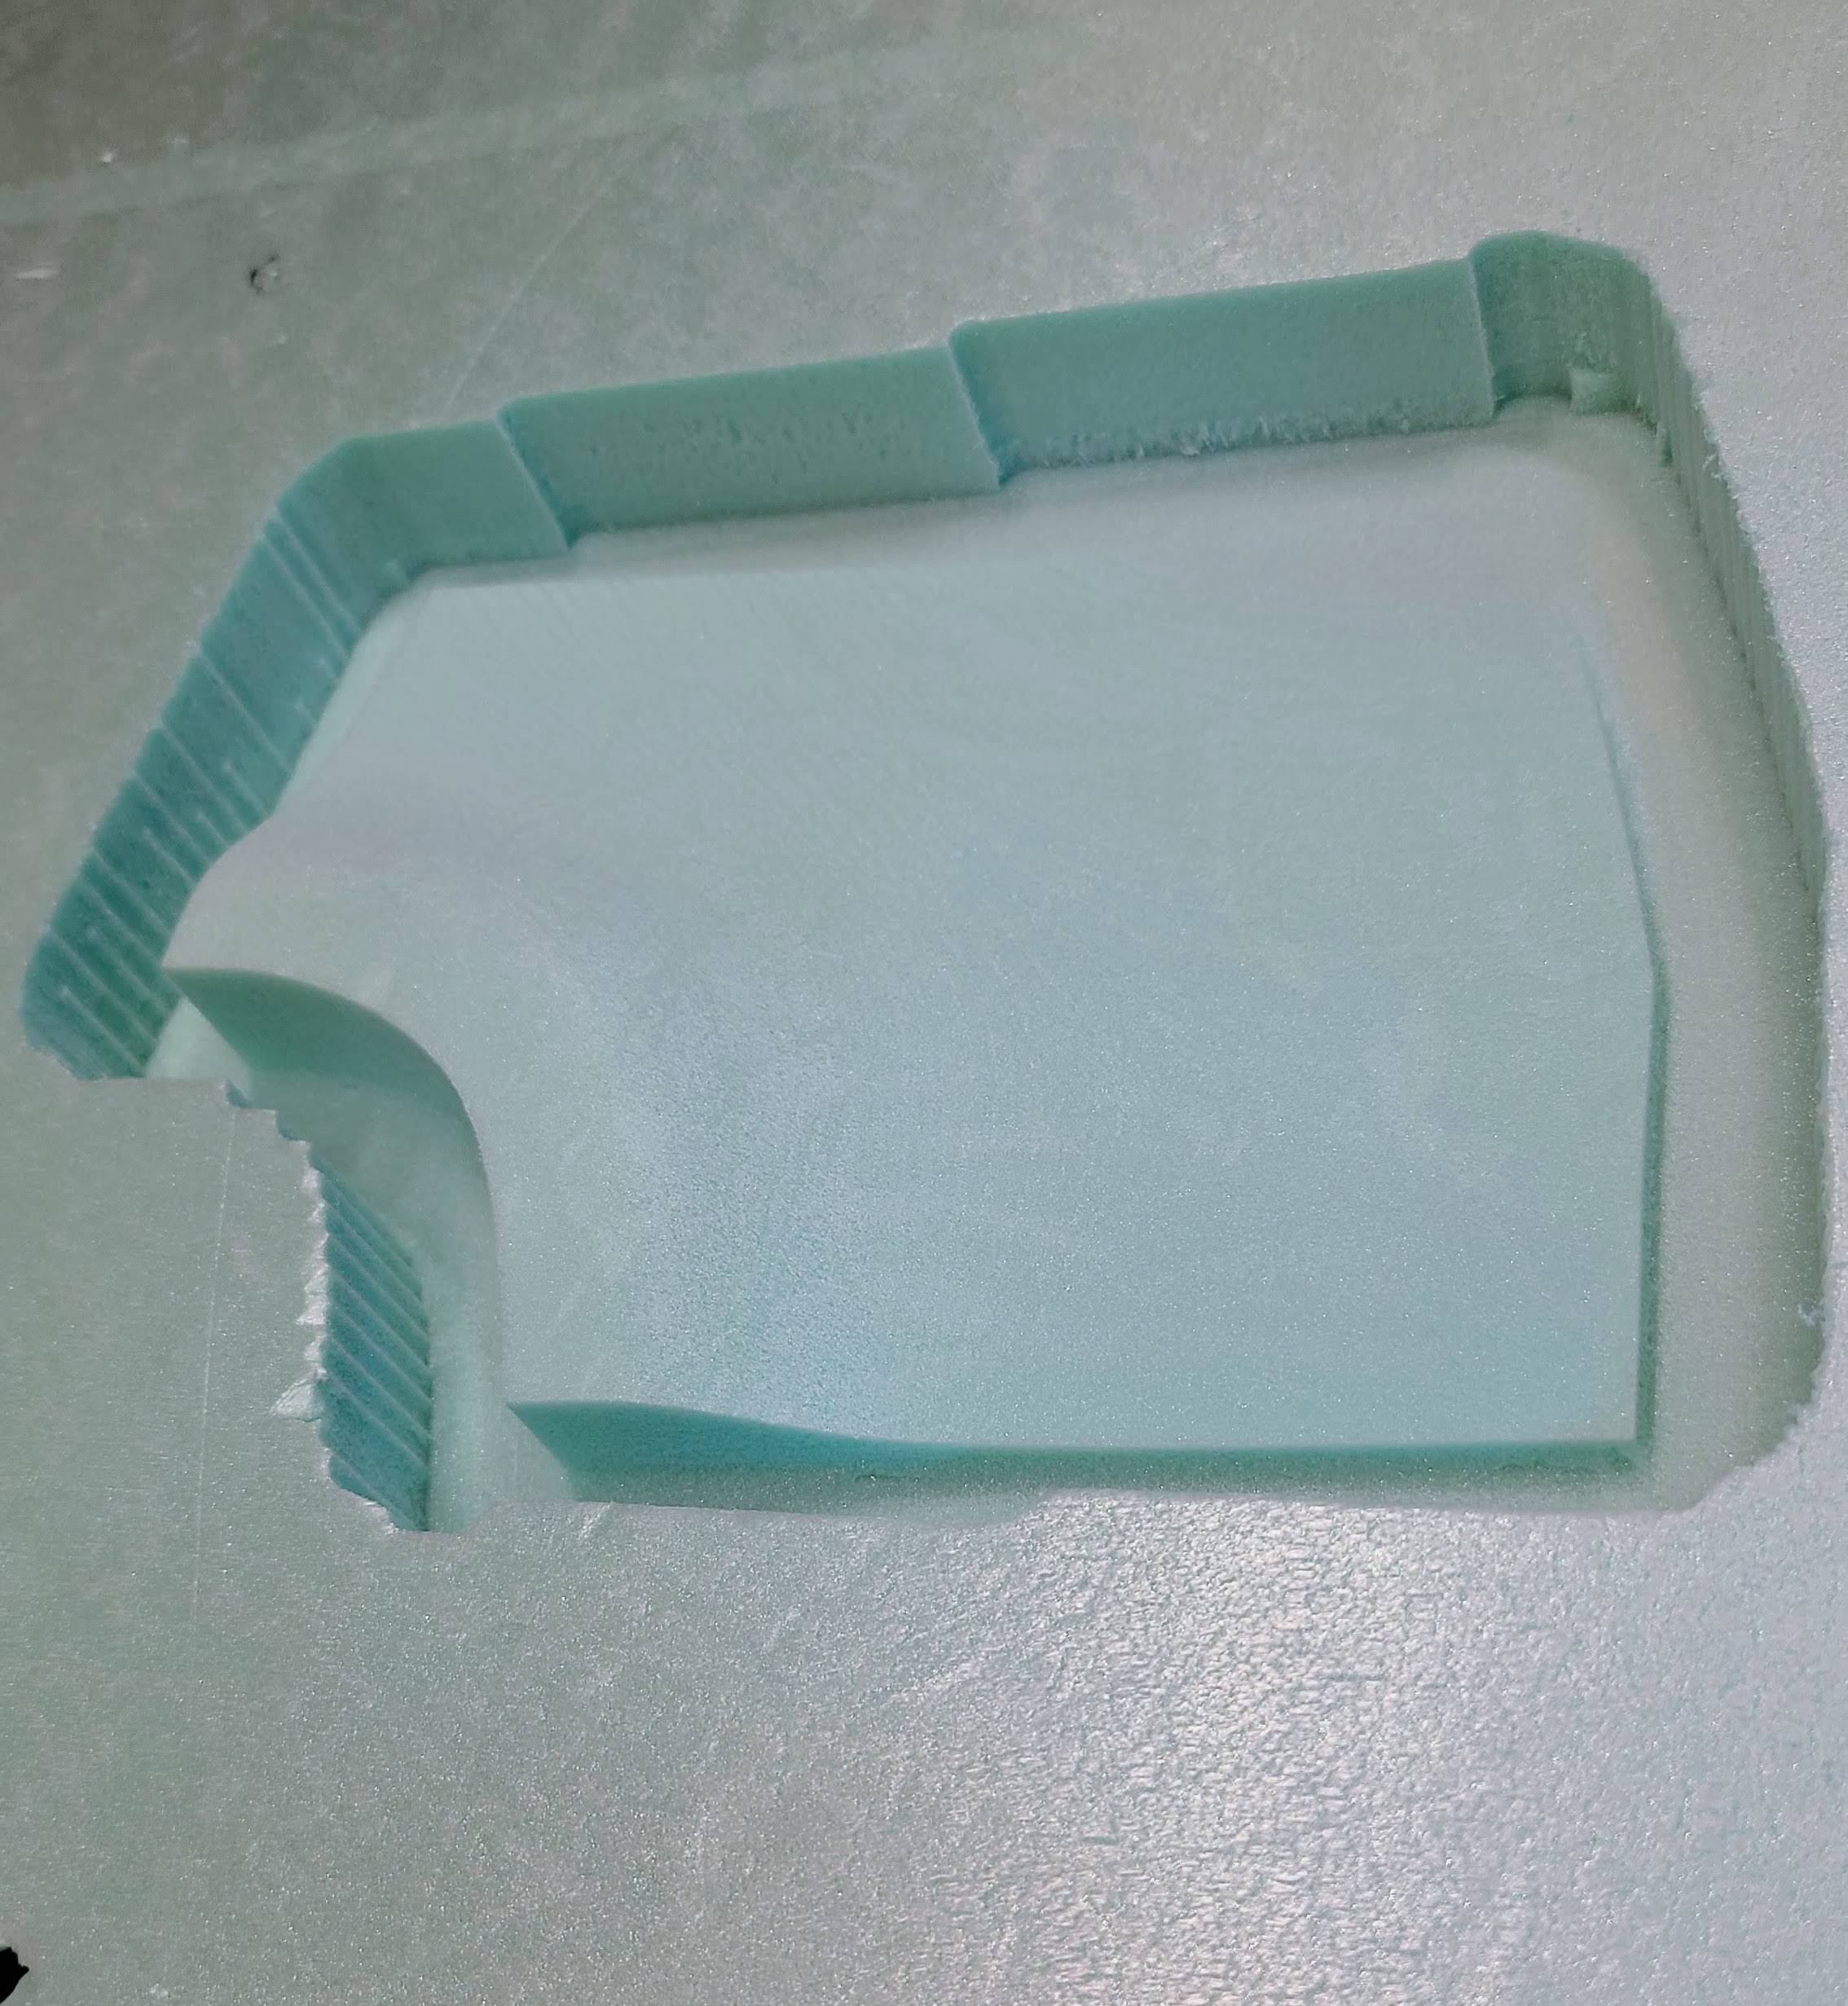
Here is the result
Here is a video during the finishing pass. I think I can speed things up quite a bit for the finishing stuff.
I left the dust skirt off to watch the chips on the roughing passes
6 Likes
That’s really cool!
1 Like
That is going to be great.
1 Like
Wow very nice work.