I recently made a set of aluminum prop washers on my MPCNC Primo, and figured why not share some pics?
Finished washer, ready to fly:

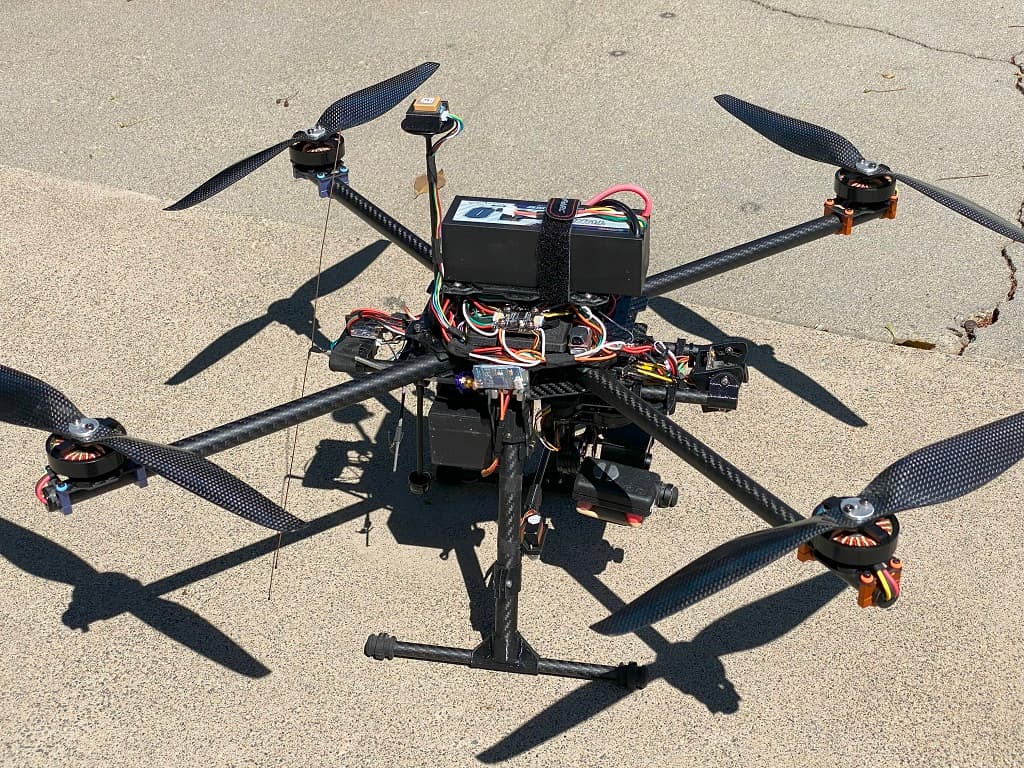
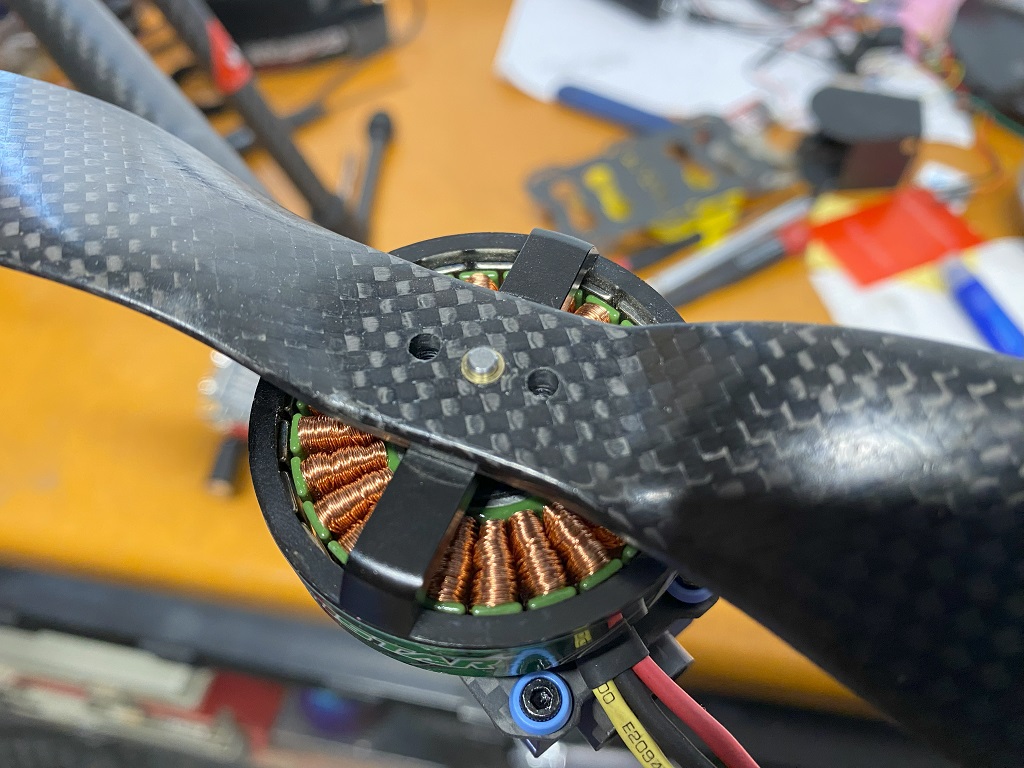
What for? I recently designed and built a “heavy lift” drone using some extra parts I had laying around for over a decade. Some of those parts included a set of nice of 4x Turnigy Multistar 4822-690kV motors. Since I was missing some parts for the build, and didn’t care so much about keeping it full on retro, I decided to purchase modern versions of anything I needed. One of those items was a nice set of 14" carbon fiber props. Those props use a now standardized mounting pattern found on most modern heavy lift copters; they have a pair of M3 bolts spaced 12mm apart, with a 4mm hole through the middle for centering on the motor shaft. These style of props are usually held on with a large aluminum washer that has 3 holes drilled out. Unfortunately the motors I had predated such props, and so they did not come with said washers. Instead these motors just came with a prop adapter that bolts on with 4x M3 bolts, and has a larger shaft with a single nylock nut intended for classic style single hole props.
Old school motor with a 3mm shaft and no 3-hole washers (they are very smooth and efficient even by today’s standards):
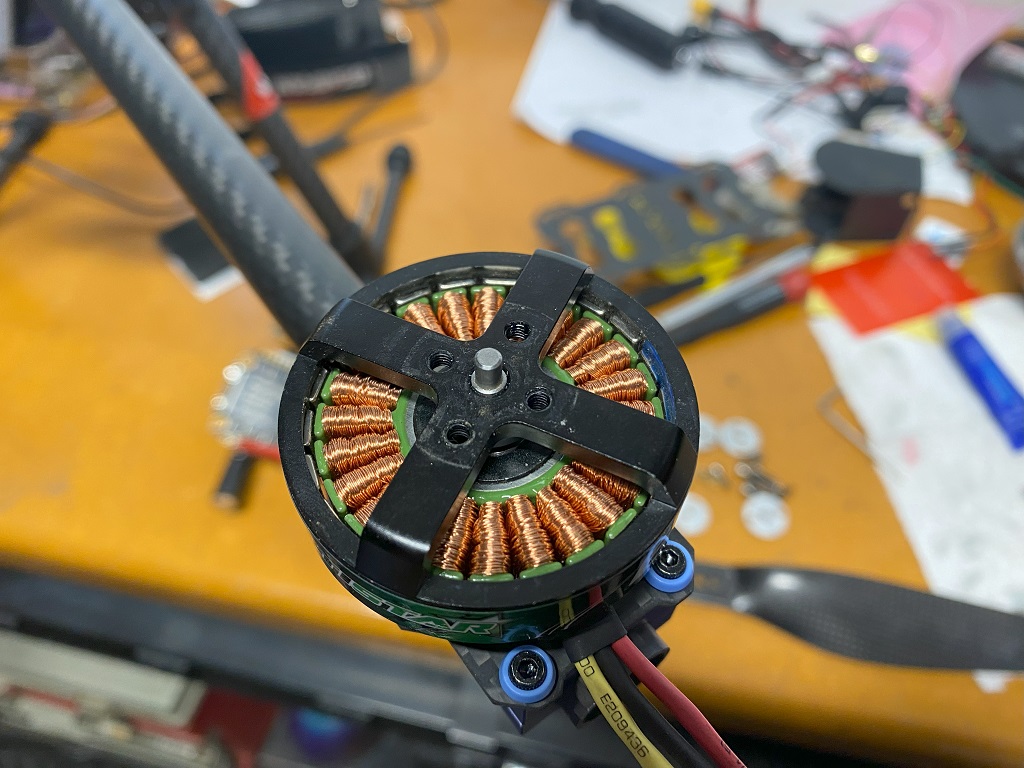
Unfortunately, nobody manufactures these washers with a 3mm center hole. Fortunately, the motors happened to have a pair of M3 bolt holes spaced exactly 12mm apart. So I figured my cnc might be able to save me from having to buy new motors just to have the right washers. All I needed was to design and mill some fairly simple washers, and figure out some bushing for the center hole. I already had some scrap 3mm" thick aluminum sheeting on hand (actually the alum stock was the Y gantry from my upgraded anet a8 printer, lol). So I drew the washers up in f360, and went to town on my MPCNC Primo after using flyfishers excellent PP to produce the gcode.
Done milling on the primo and ready for post processing (next to a pile of 1mm bits broken in the process):

As usual, the primo had no issues with the cut. I was able to use a 1/8" 2-flute upcut for the facing, 2d contour and tab operations. I switched to a 1mm burr for the 3mm holes. Of course, those holes took a few hours total to cut, and I still went through more bits than planned, thanks to the very delicate bit I used and forgetting to save cut parameters last time I used them. Regardless, they came out dialed as far as dimensions. Just a little debur and finish work (sanding off the facing marks), and they were ready to go. The fit on the 3mm shaft and M3 bolts was perfect.
Post processed washers (extra set with 4mm center holes for possible future use):
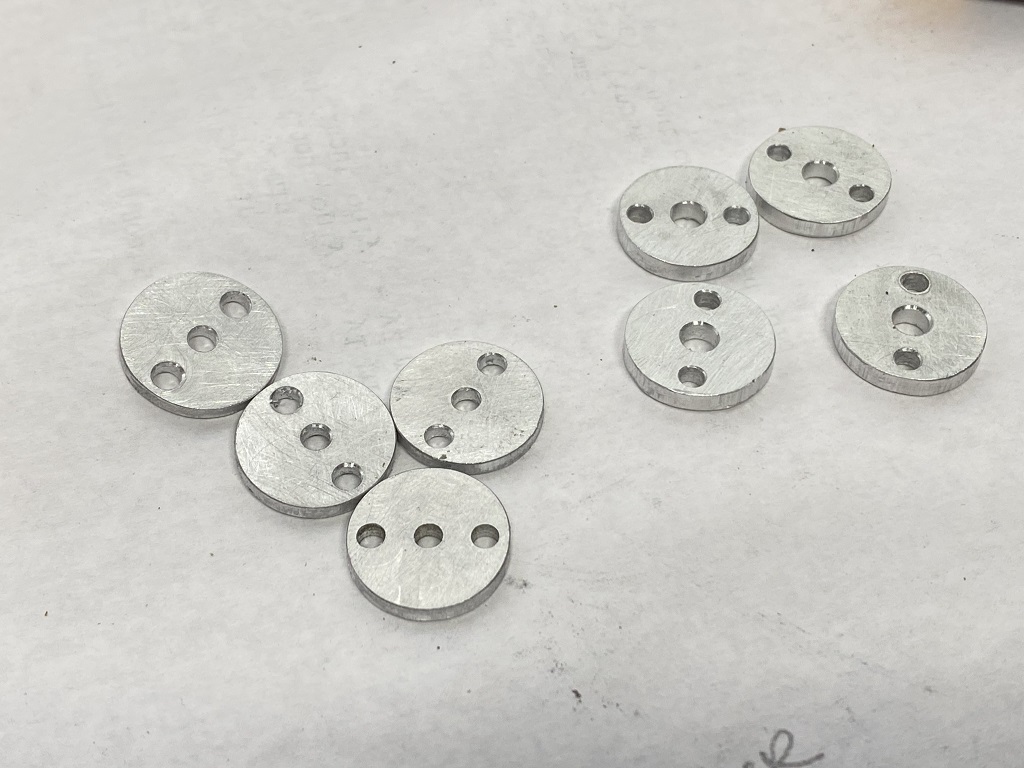
Next I had to solve the other minor problem; find or make some 3mm-4mm bushings for the center hole.
4mm hole w/ a 3mm shaft (this won’t fly well at all):

To solve this problem, I found some brass tubing that had the exact dimensions needed. I simply cut and deburred some pieces of 3mm ID 4mm OD bushings out of this brass tubing. These get slid on to the shaft, the prop gets slid over them, and the washer holds it all in place.
Complete prop mounting hardware kit:

Brass tubing happened to be a nice fit for this:
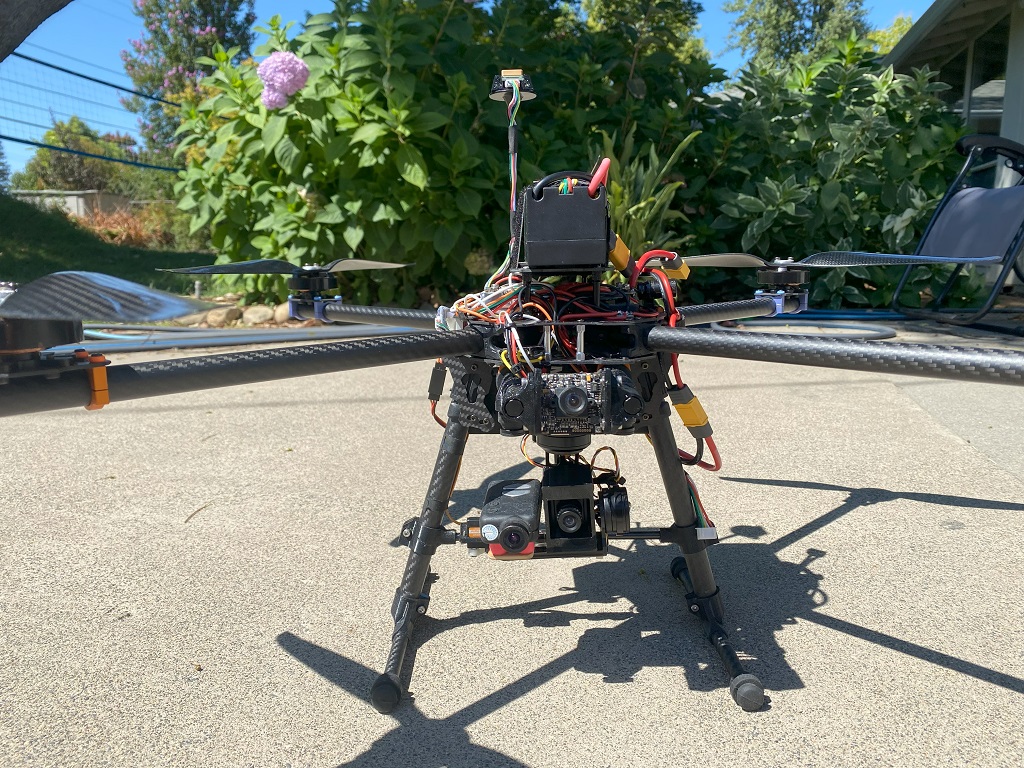
At the end of the day, the thing did end up flying, and it flies very nicely actually. For those who are curious about the drone; I’m running the latest arducopter on a holybro h7 mini, 3 axis hakrc gimbal w/ gopro and 2nd fpv cam (tx video switcher installed), servo operated payload drop, 6x lidar, optical flow, 2x4s5000mah lipos, and no less than 4x antennas (5x if you include the gps). It is a very capable utility rig, and it looks like the proverbial mother ship next to my freestyle rigs.
Thanks for looking… cheers!
Kev