Dressing doors handles

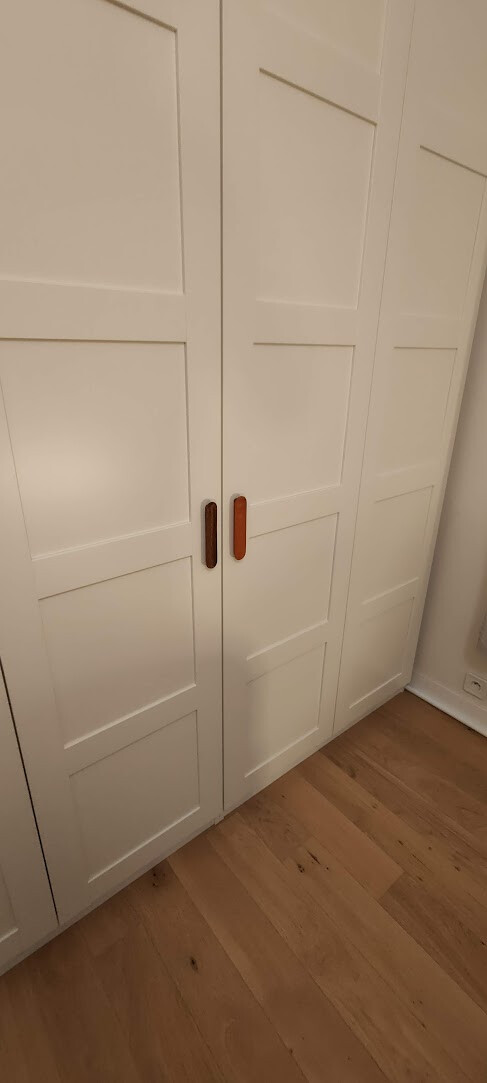
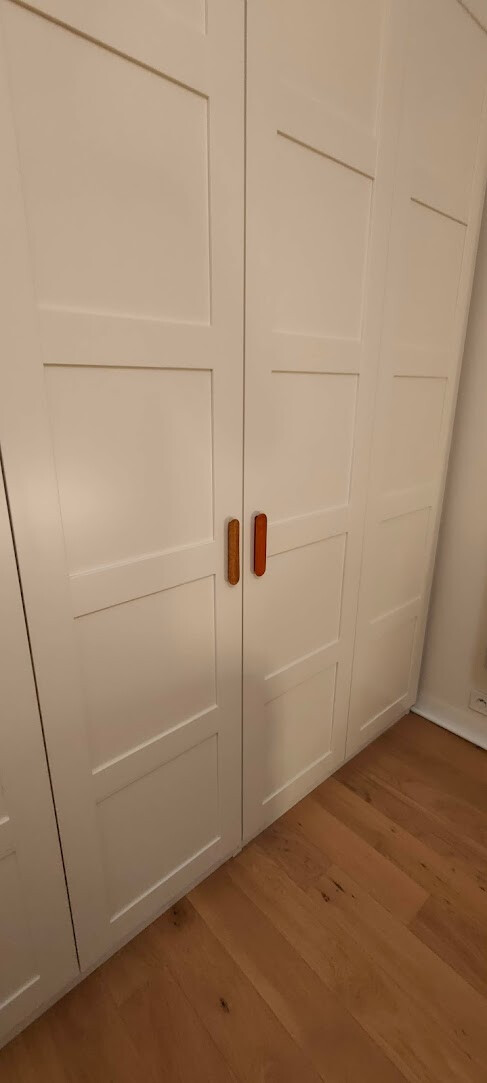
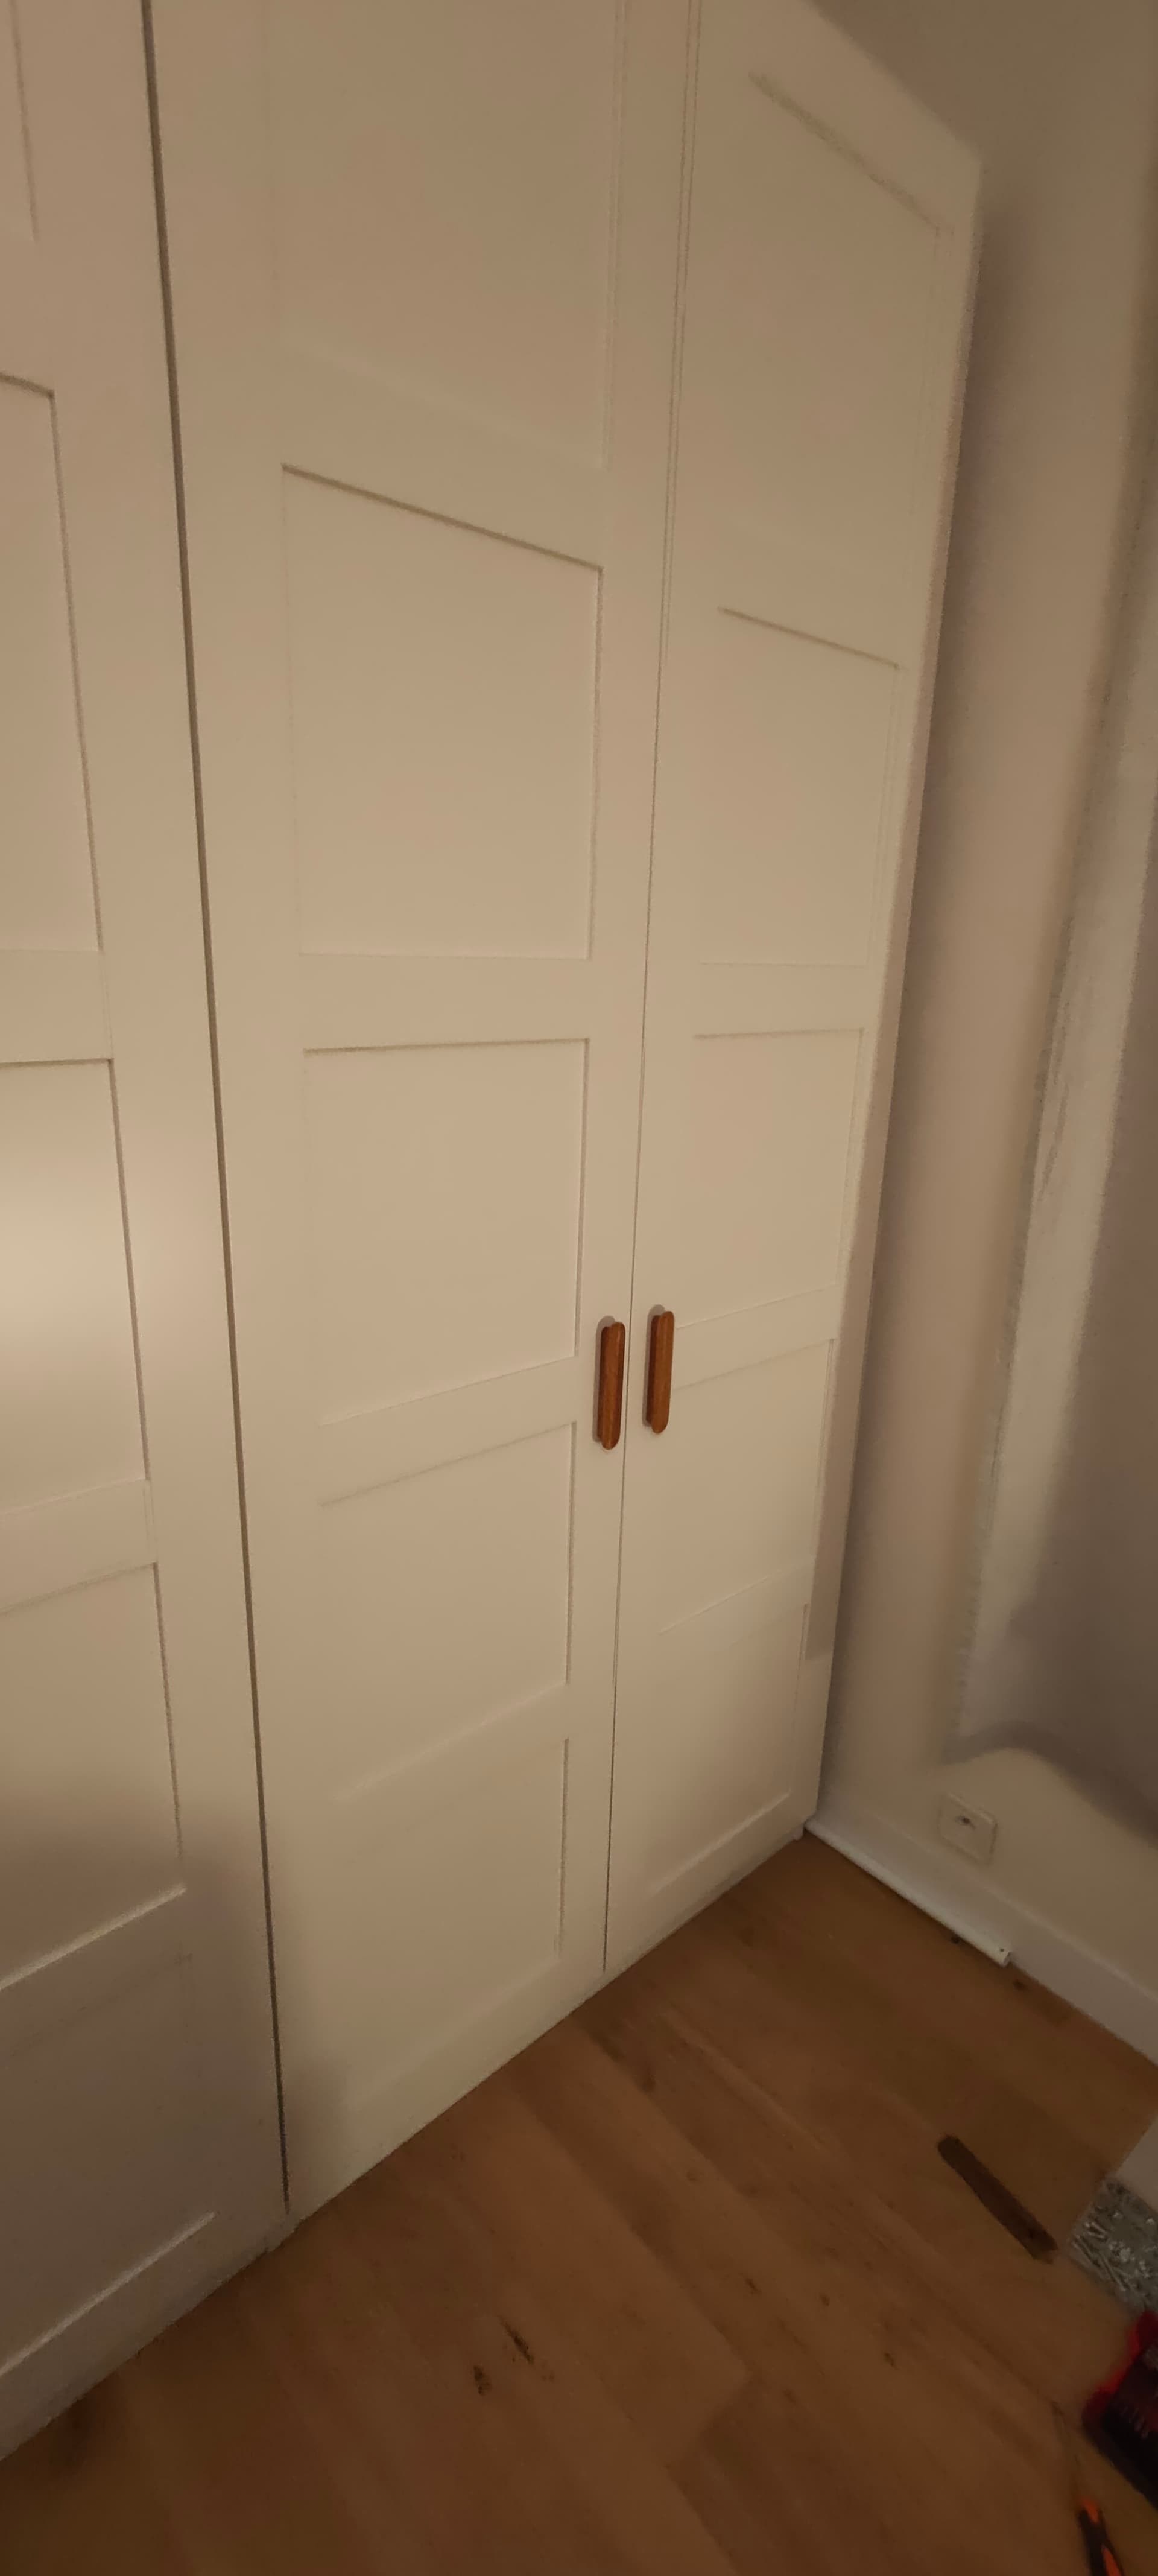
Recently bought the doors for our Ikea Pax dressing, and we were not sure about which handles we should get…
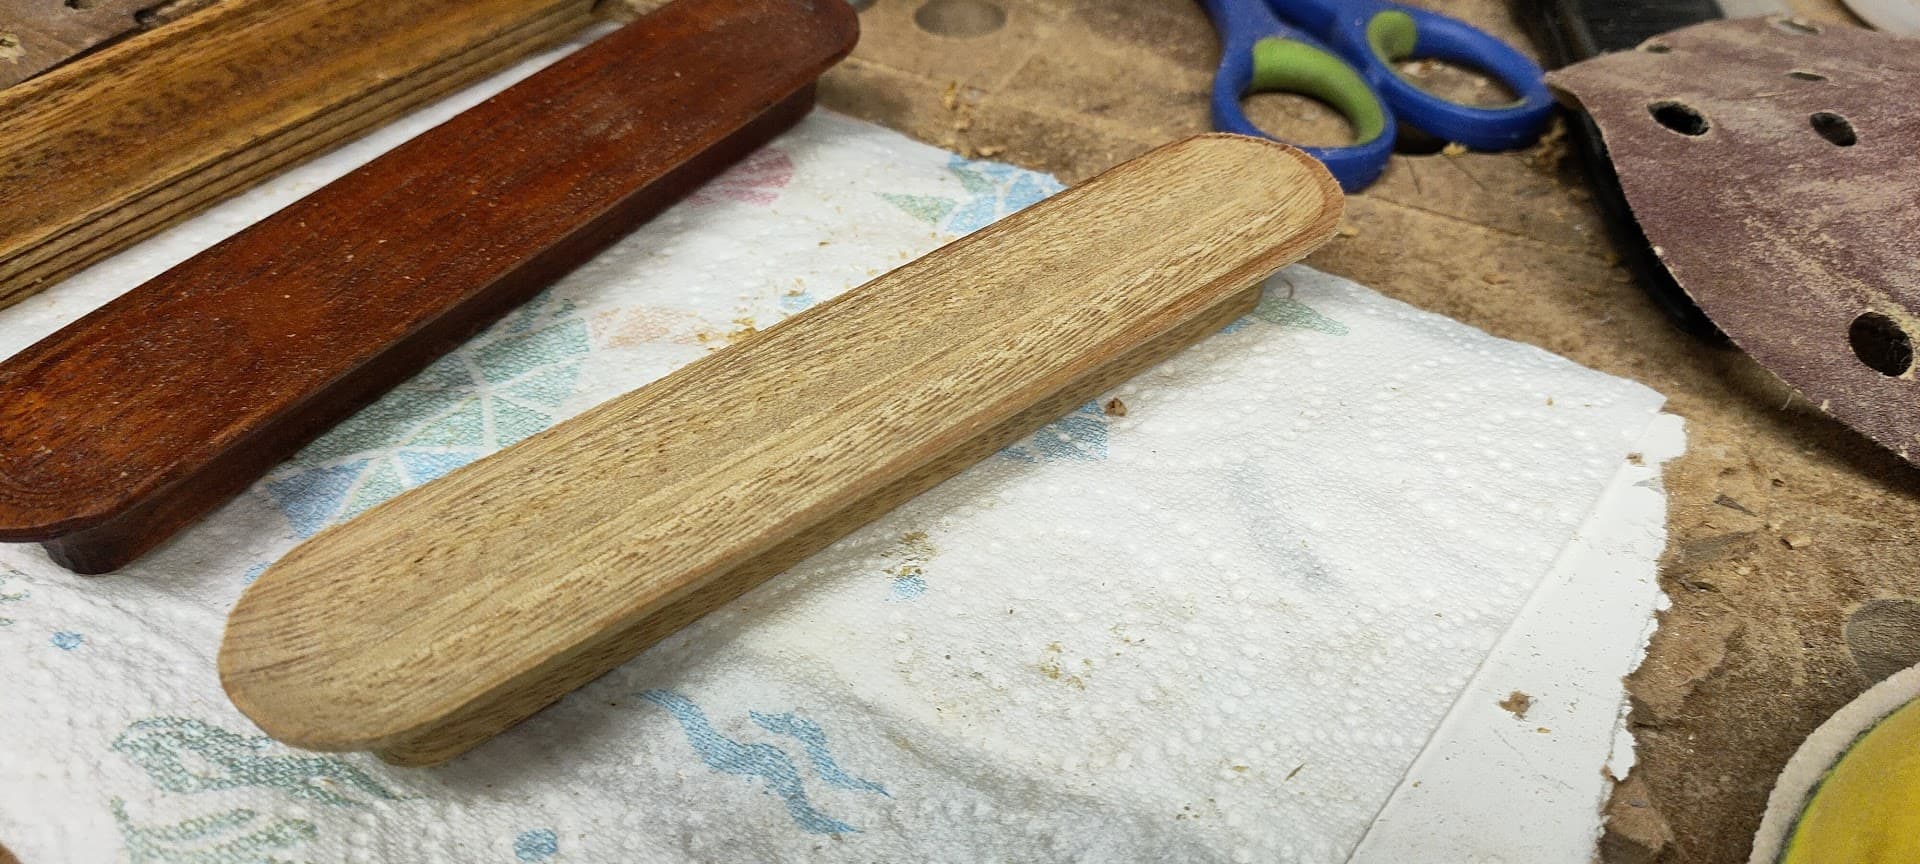
So naturally I set on making some handles with the LR3 :wink:

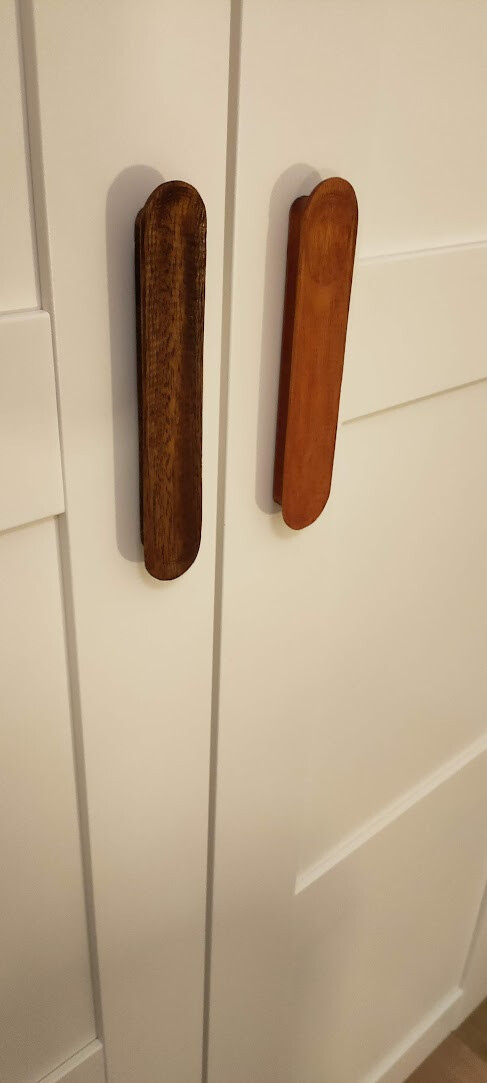
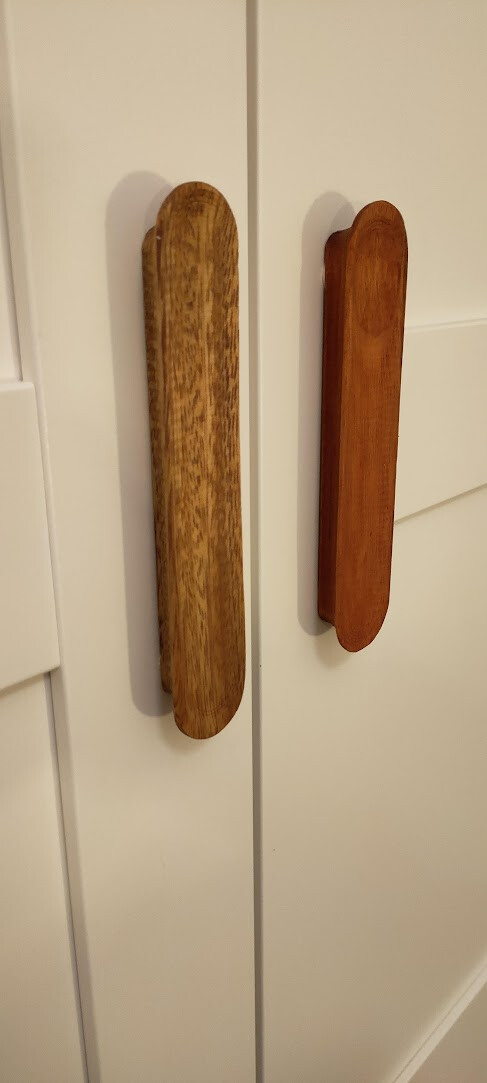
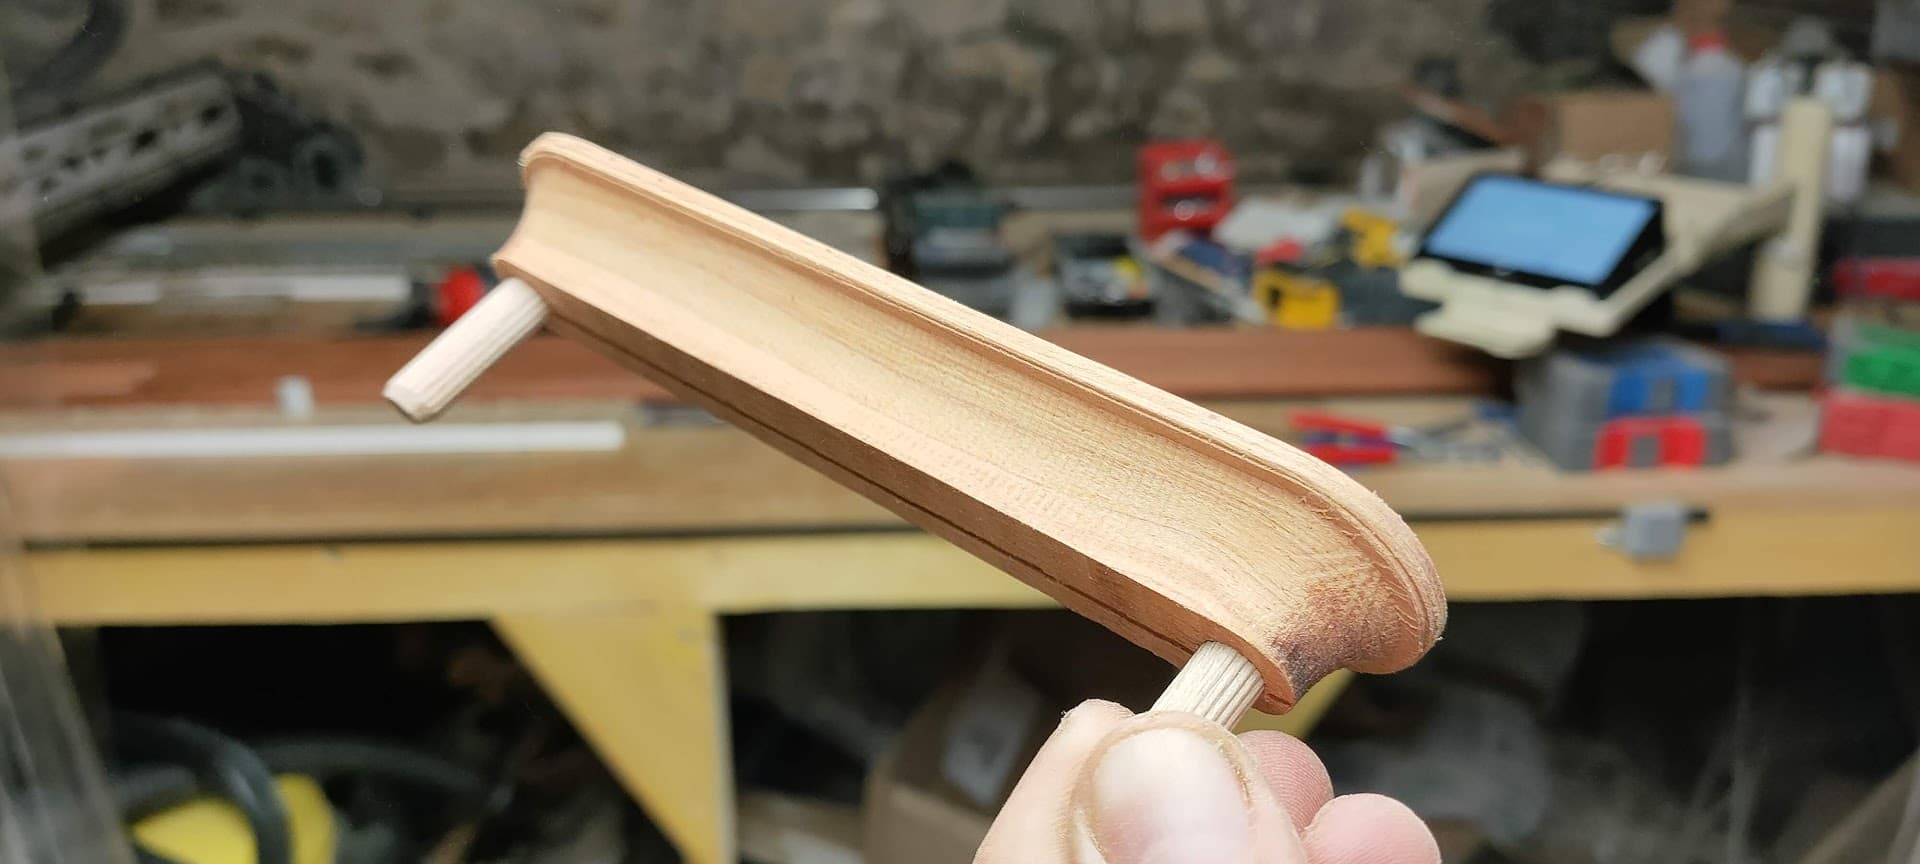
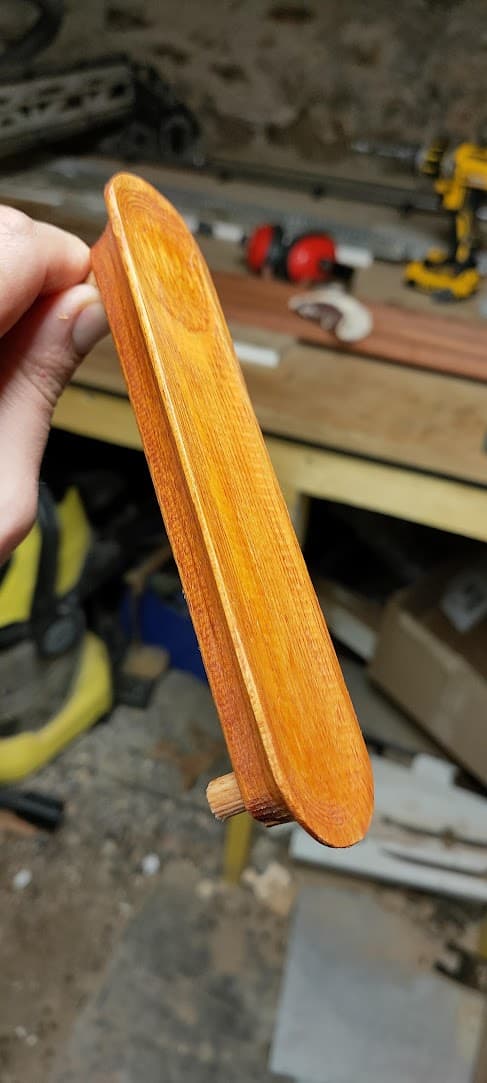
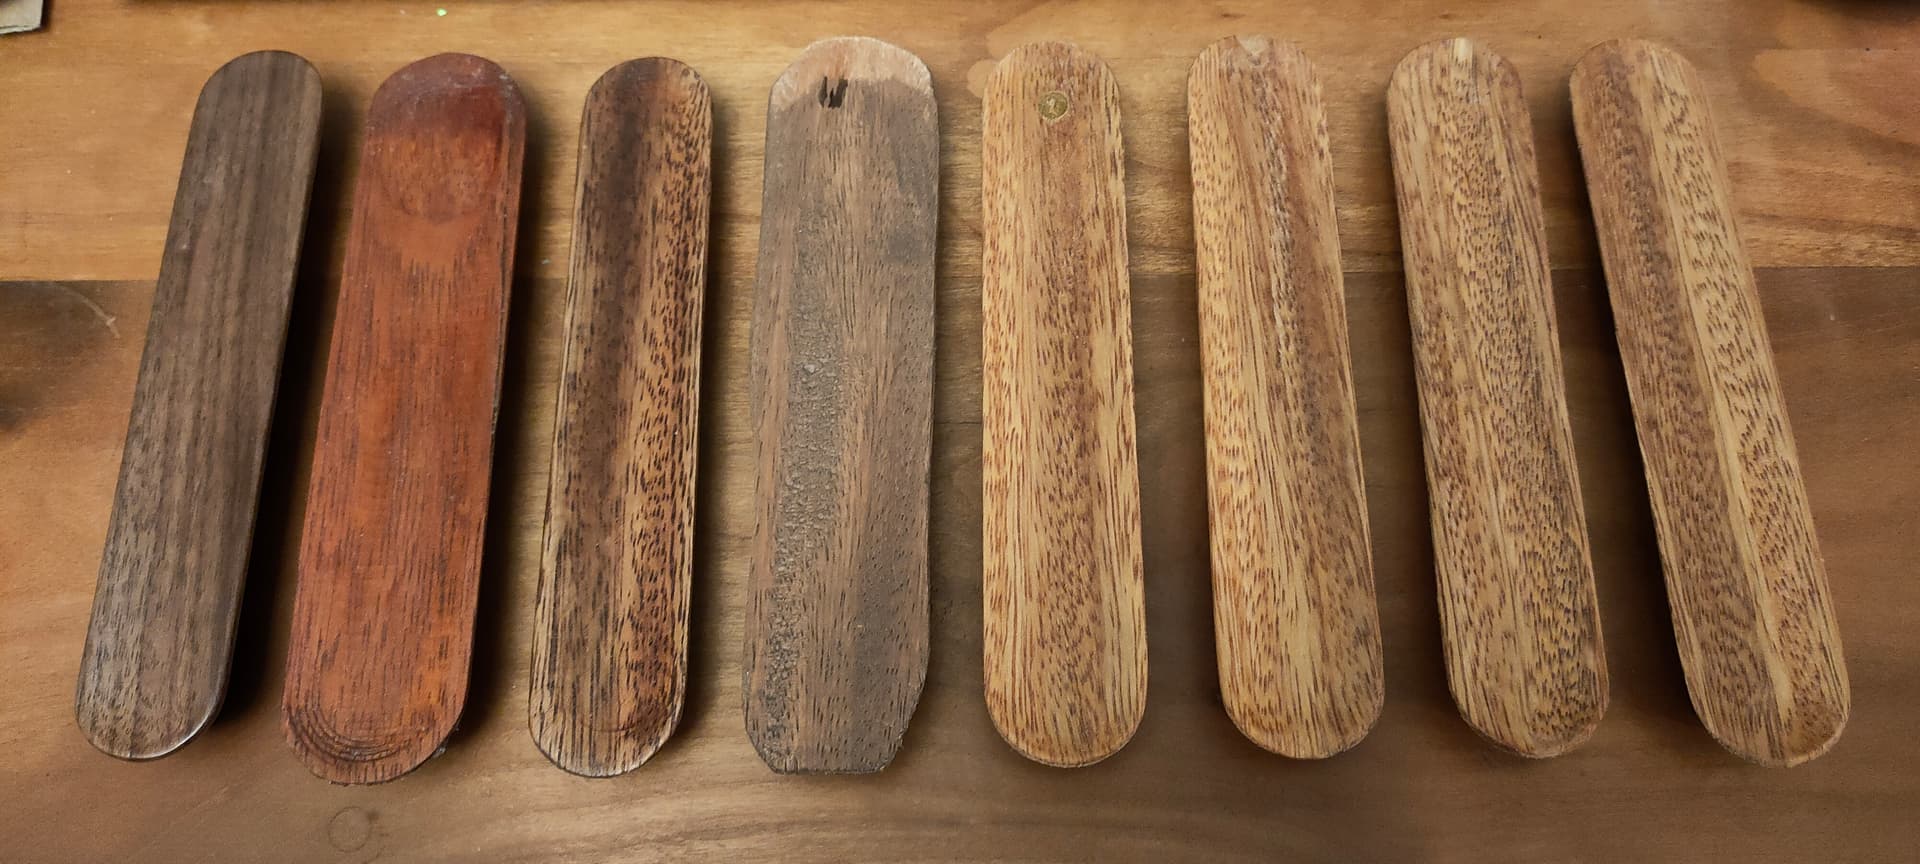
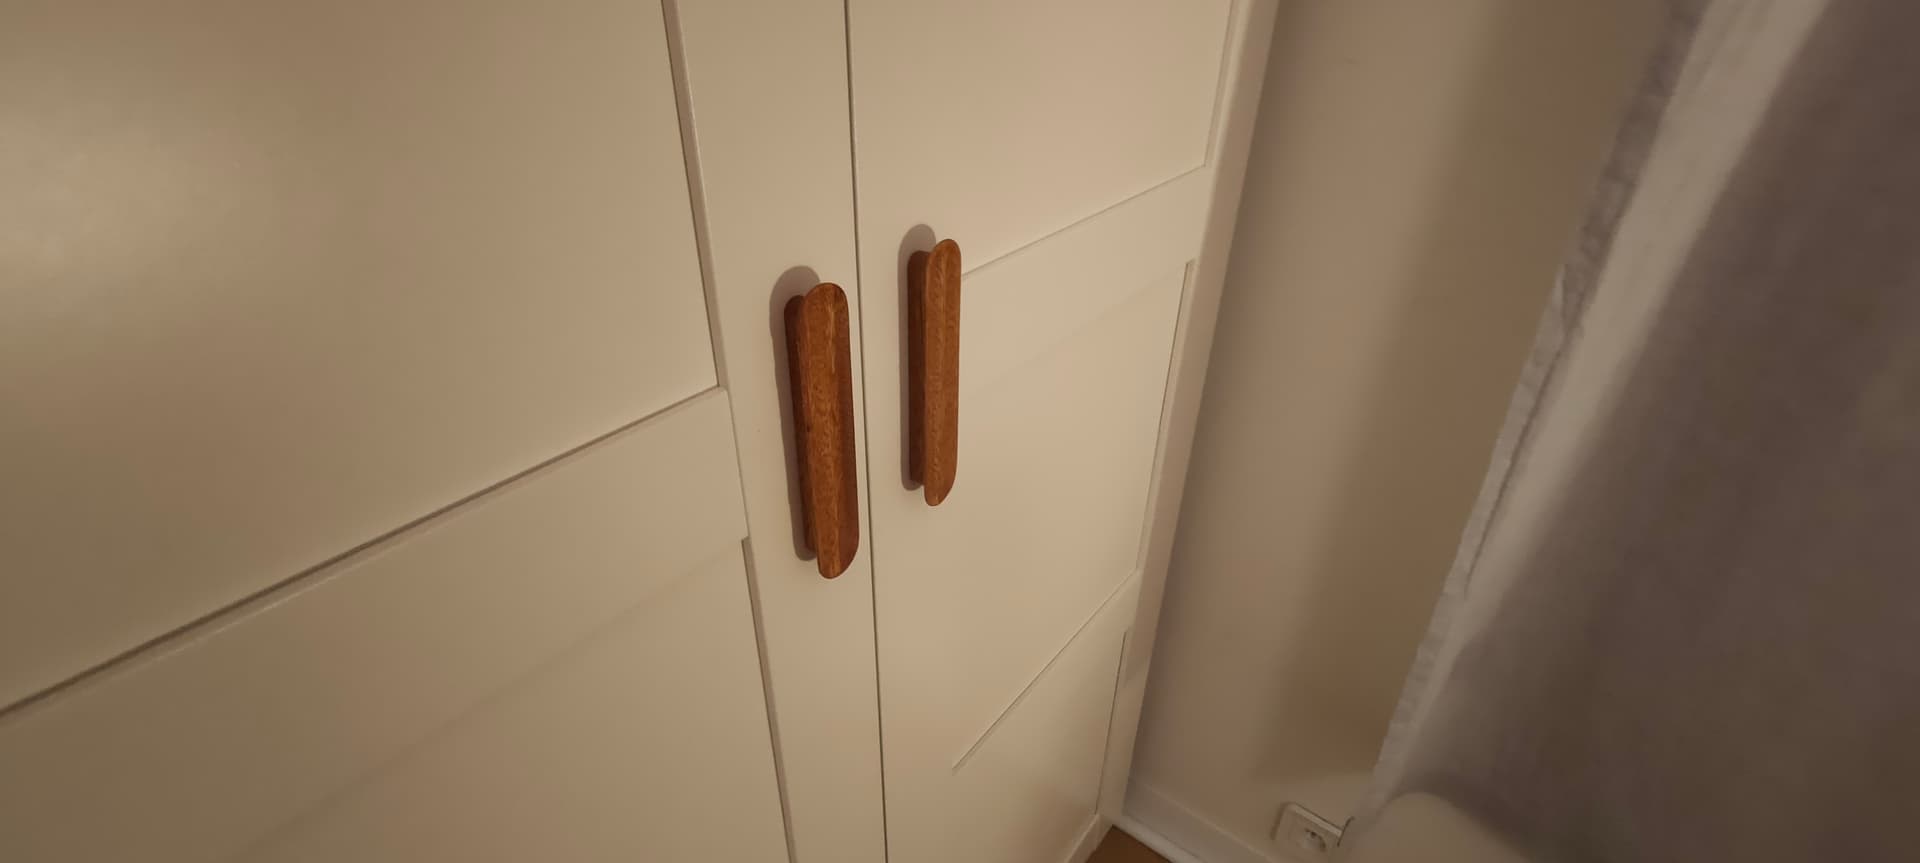
The first one I did was in Jatoba wood, but my wife didn’t like the color at all, that’s the one on the right
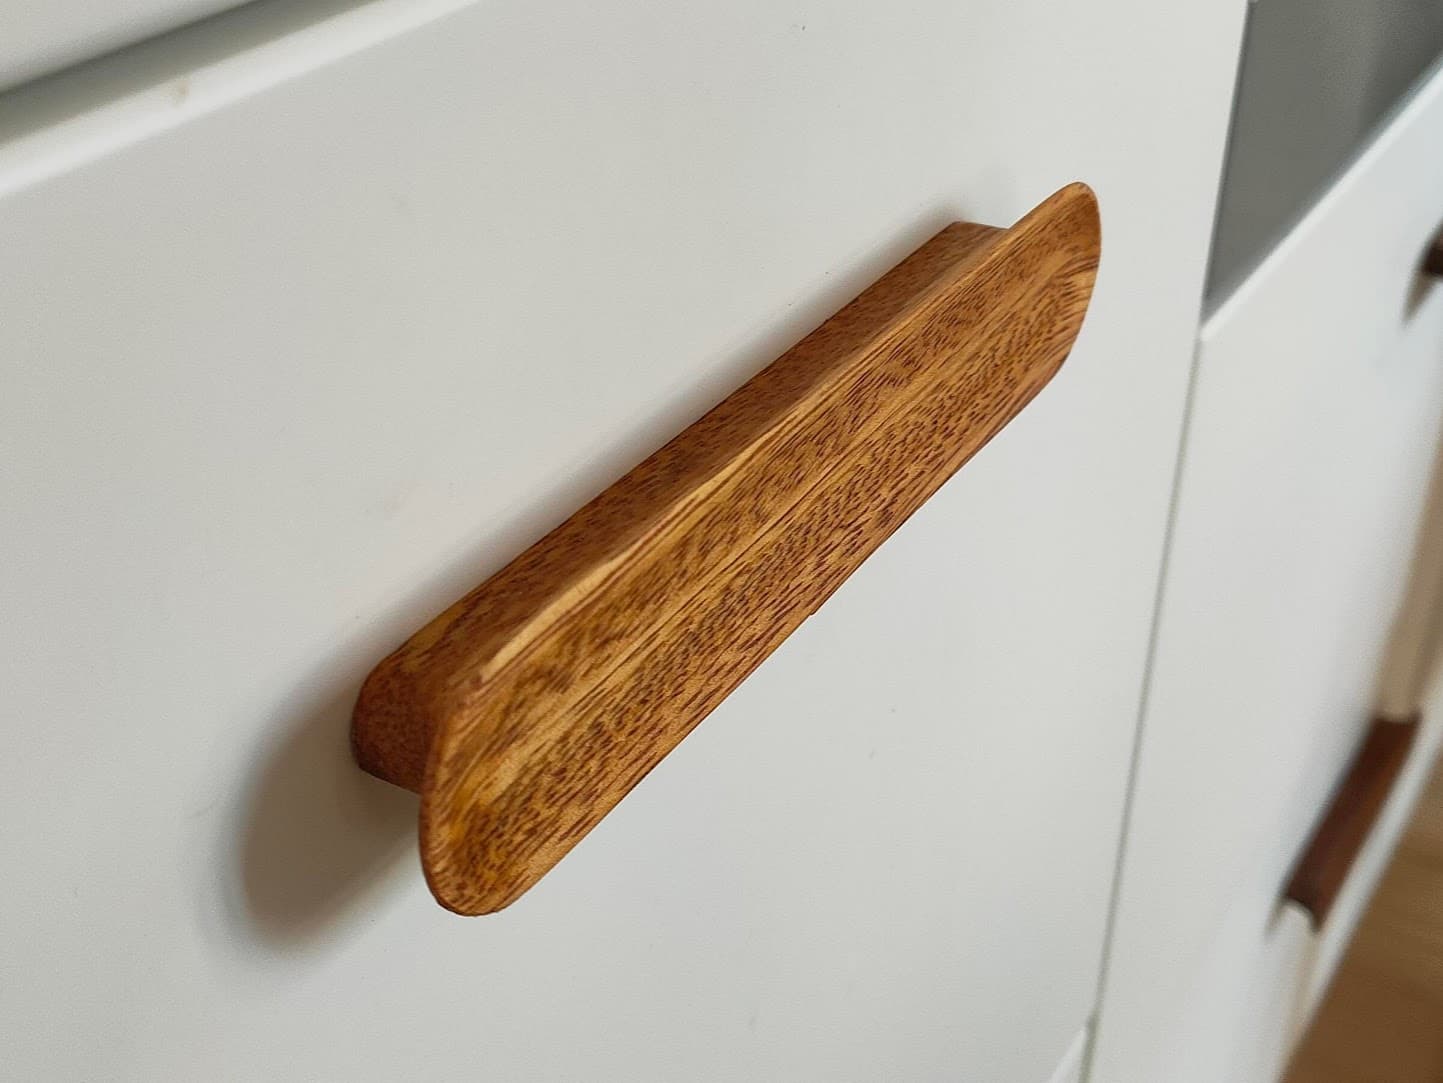
The one on the left is probably what we will keep, this one is a bit thinner, and is made out of Tali wood, stained dark and coated with glossy varnish

Same Tali handle, but before it was stained, I kinda like this one, but it’s a bit too yellow-ish

3D Model, nothing really complicated, except for the little “cup” on the top, I had to be a bit creative for this one

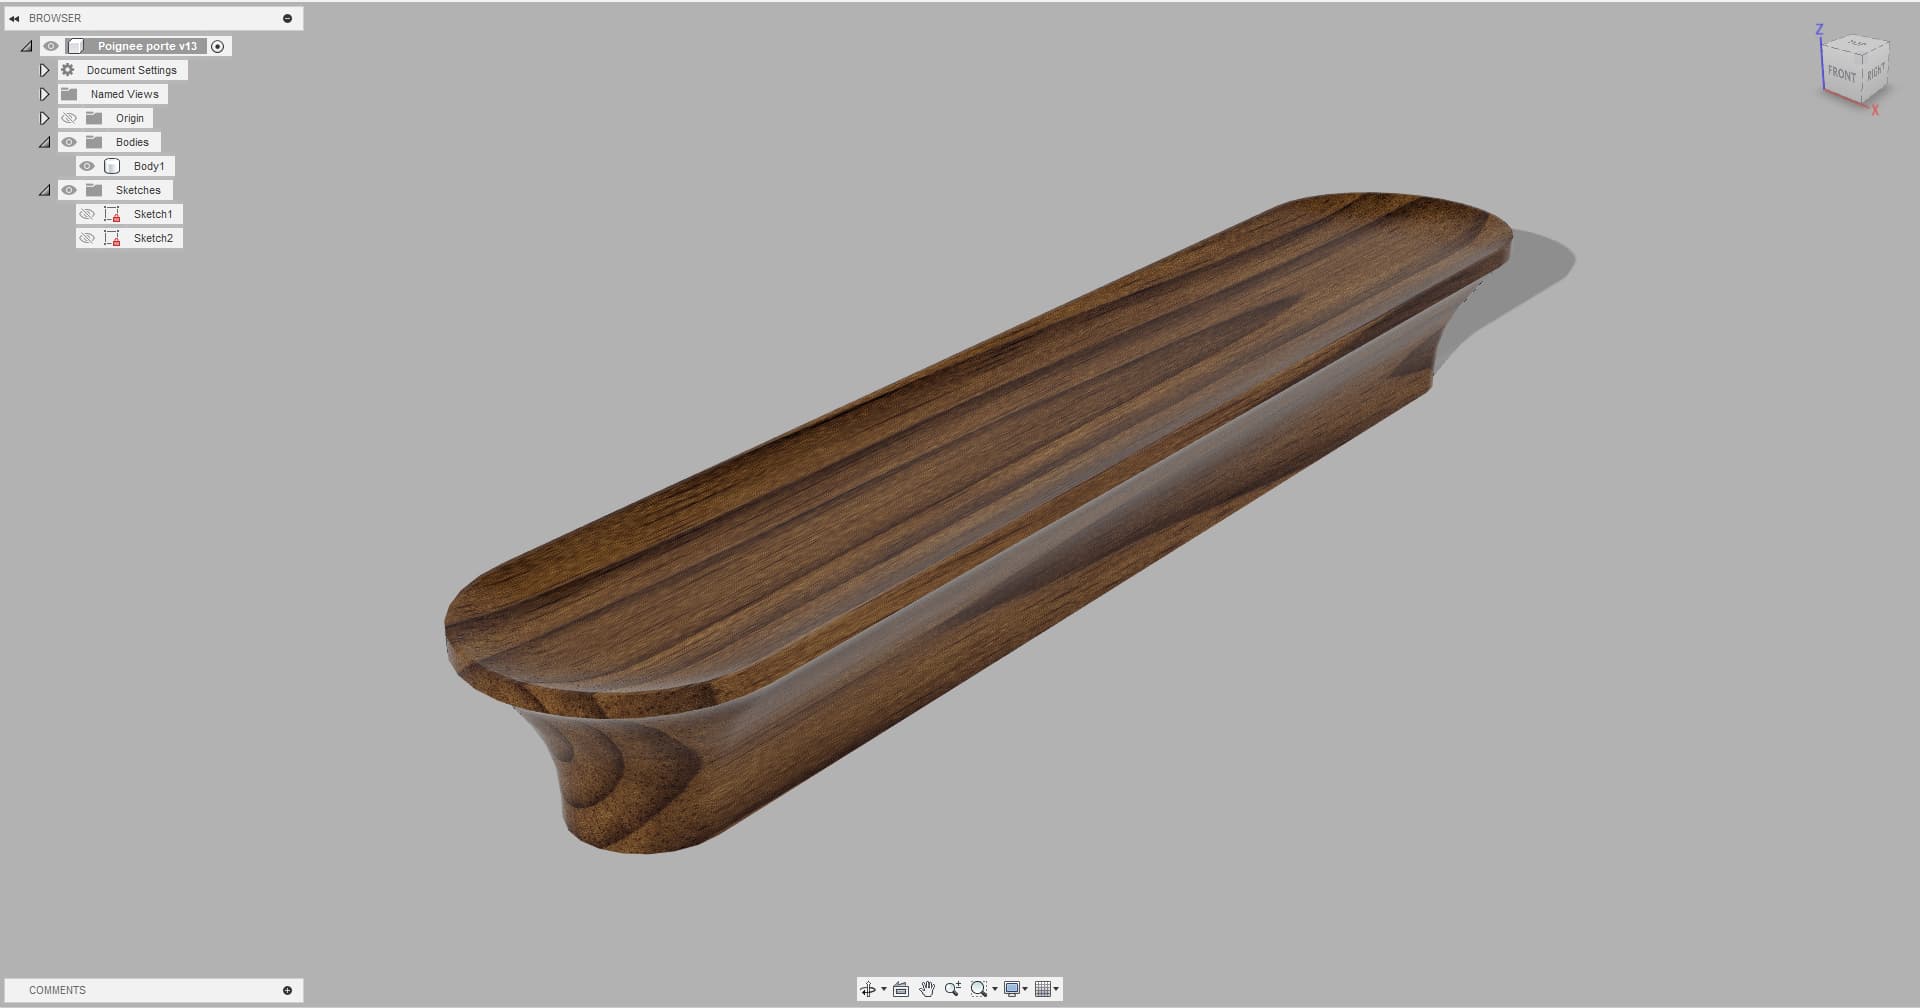
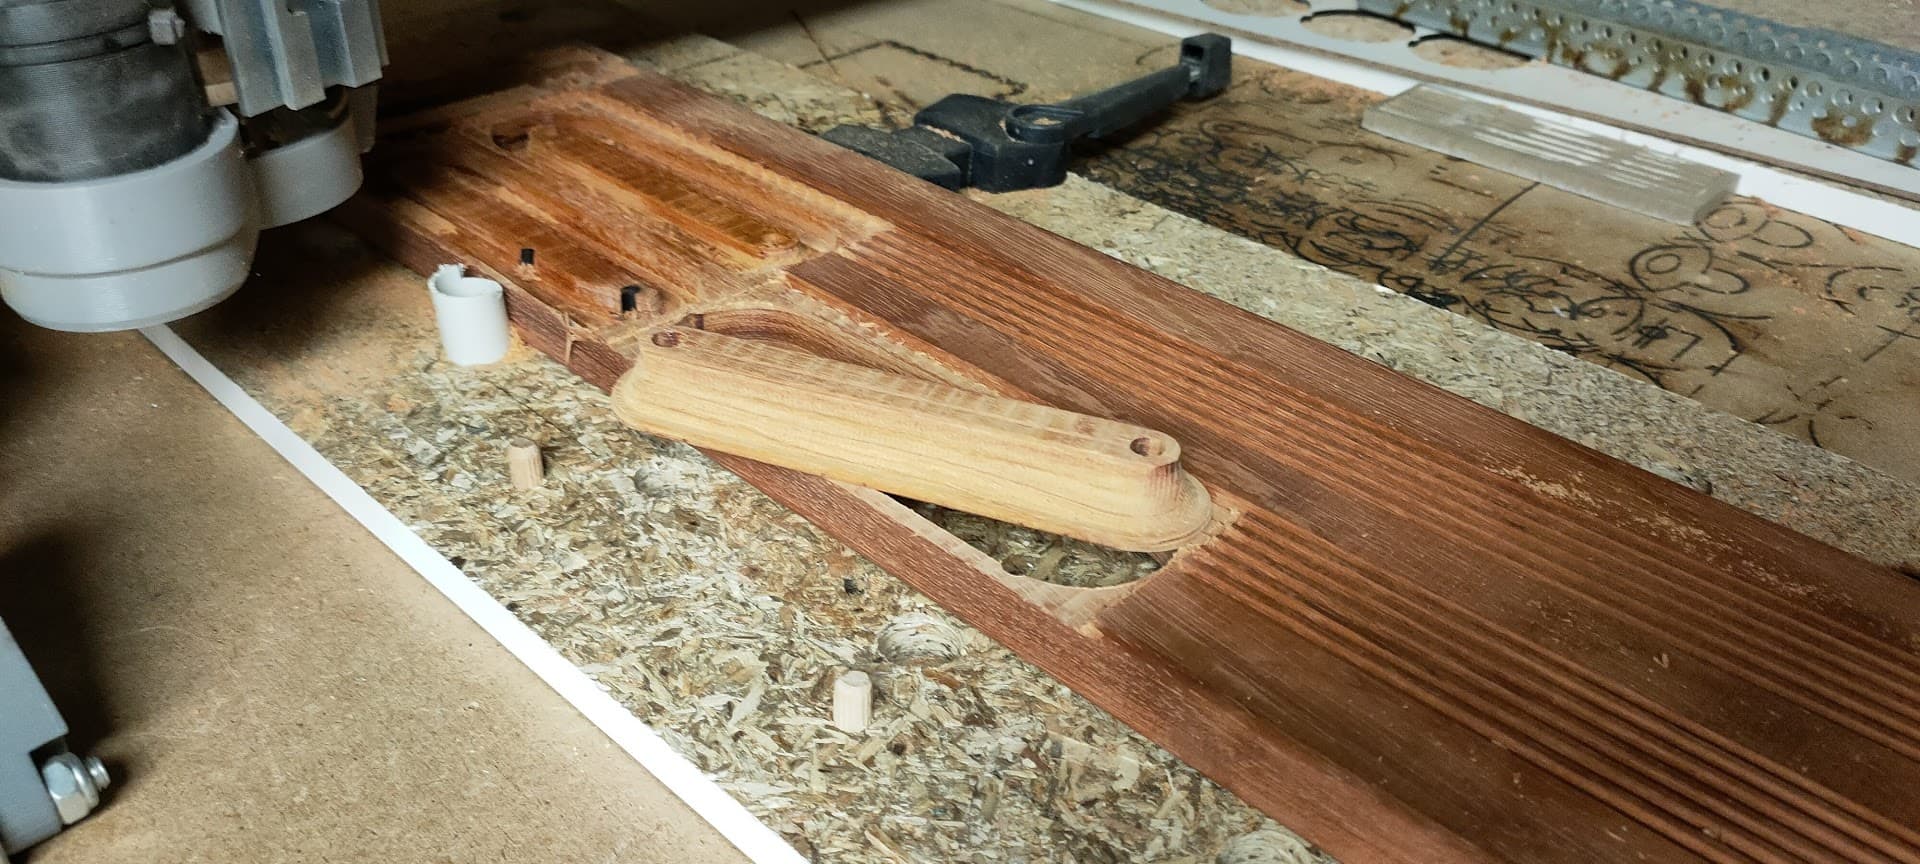
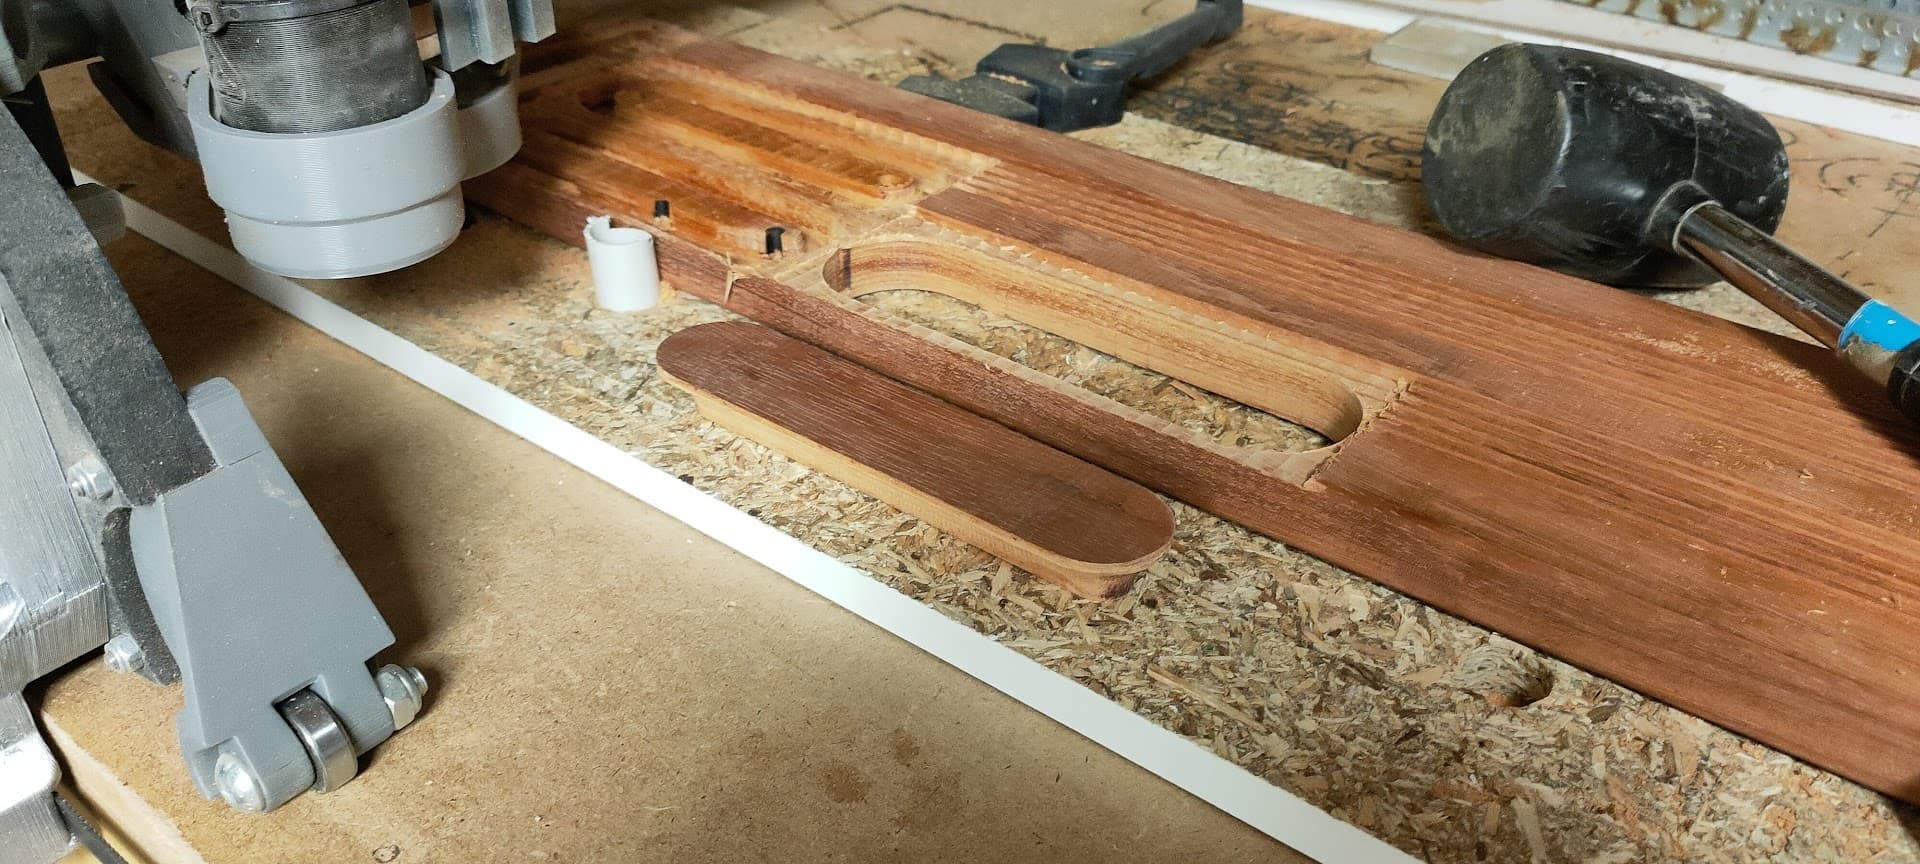
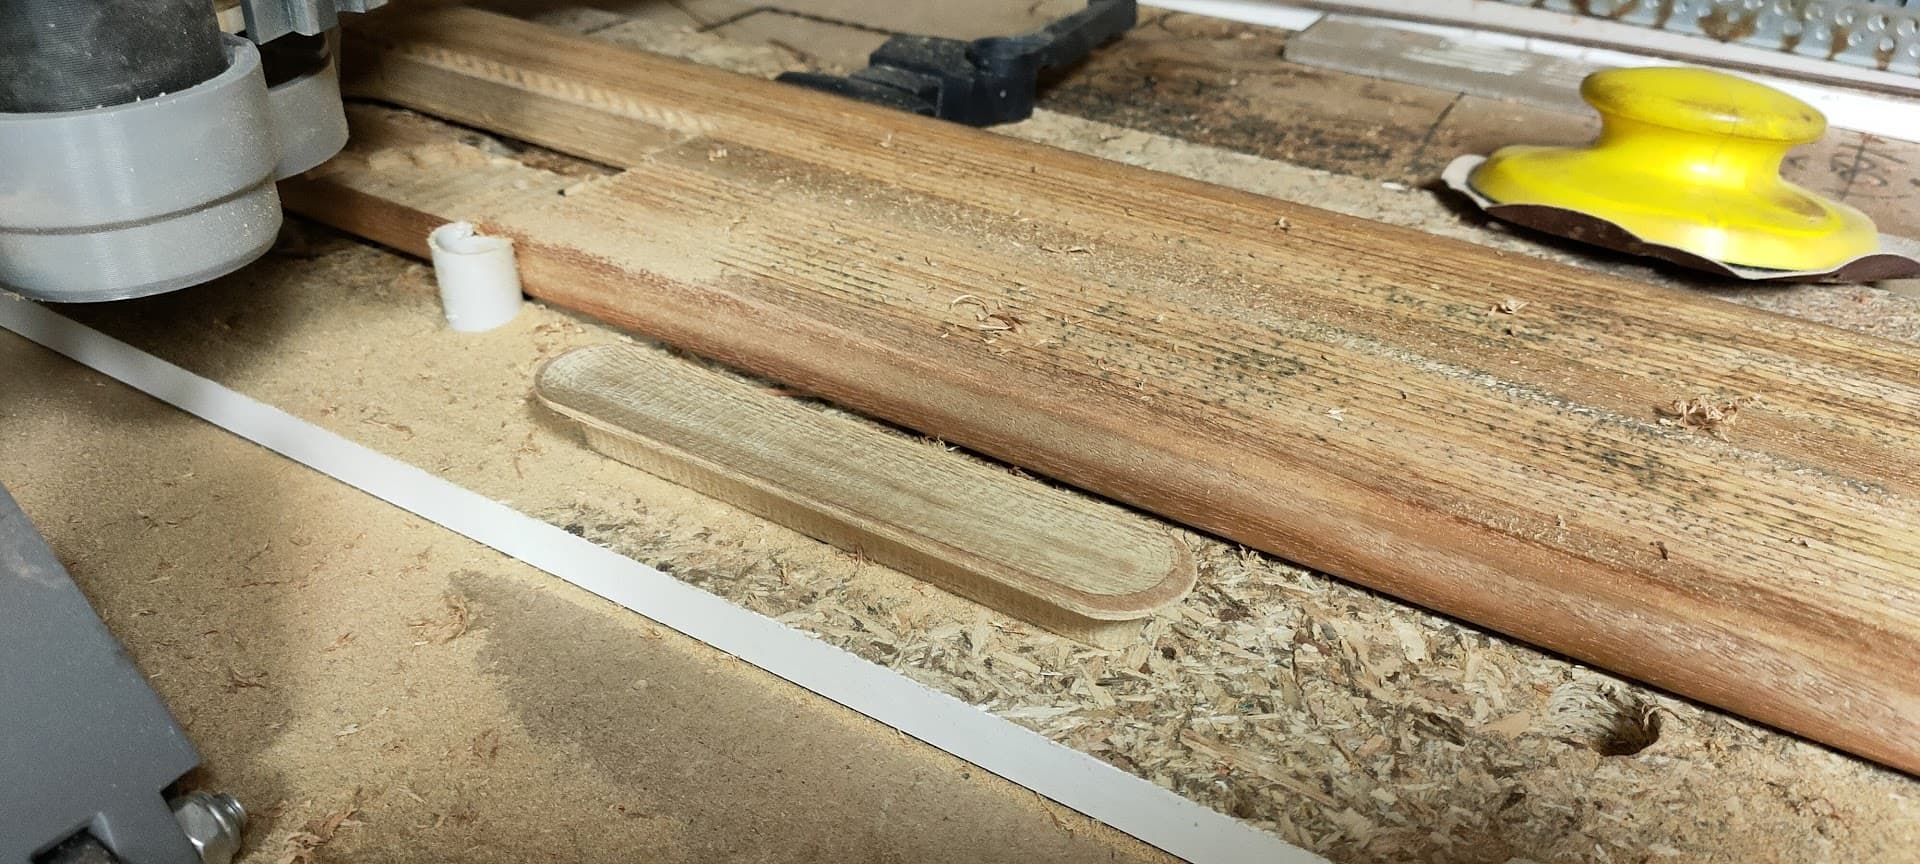
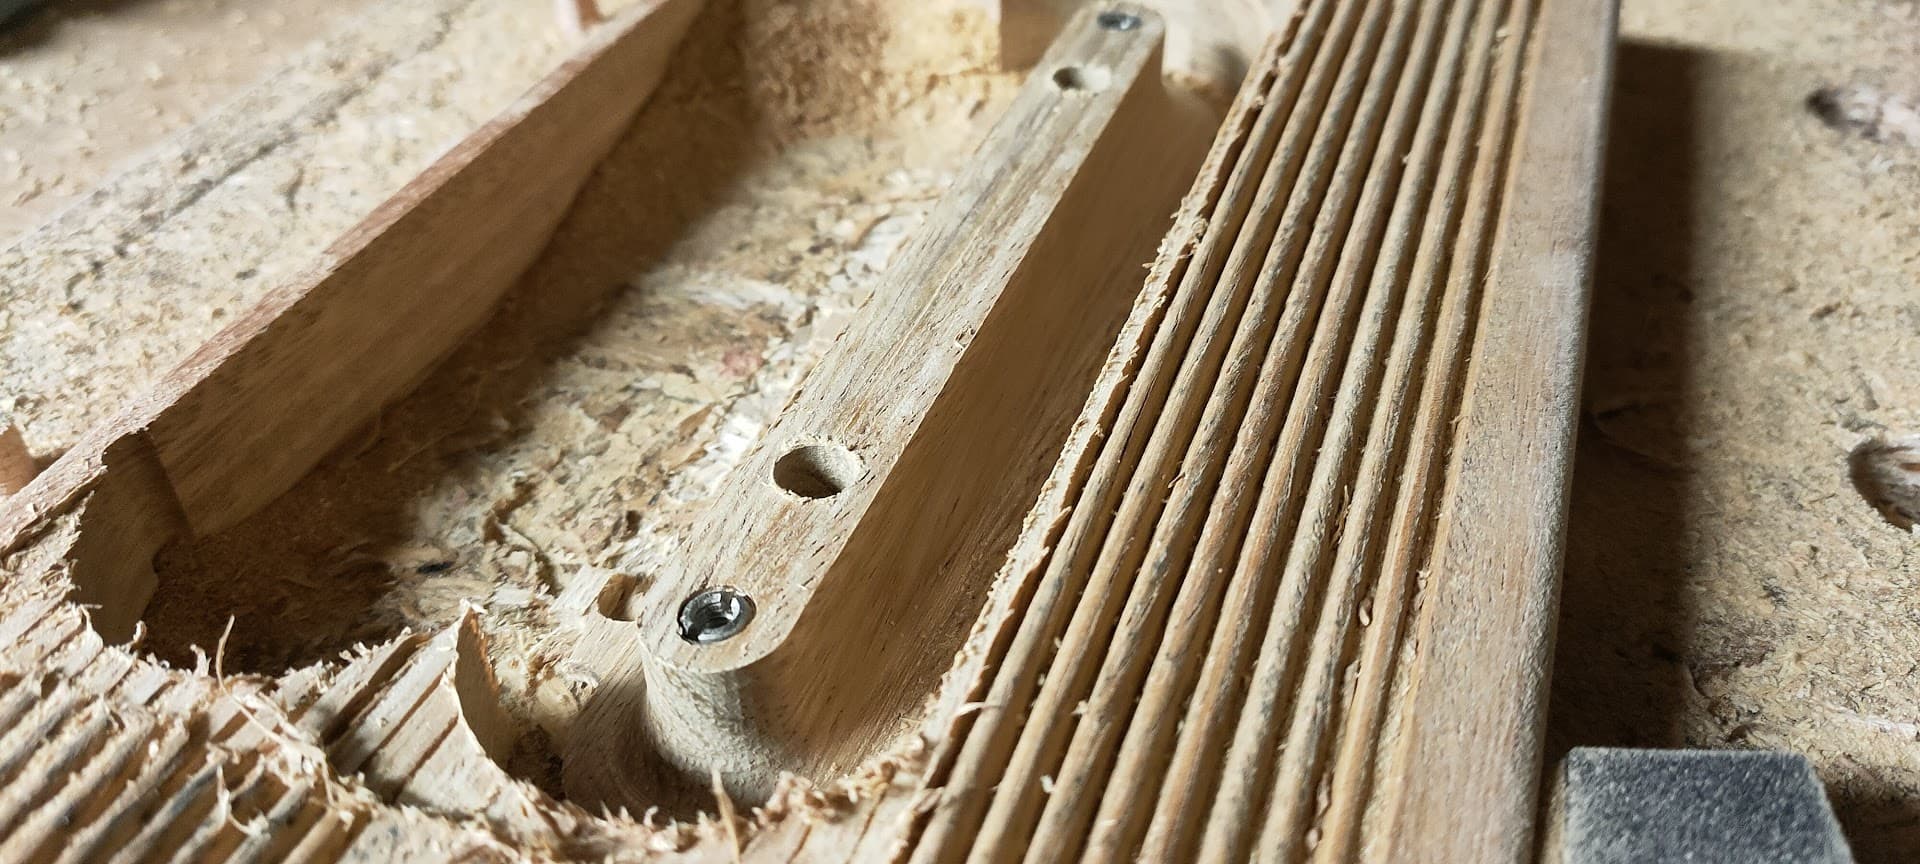
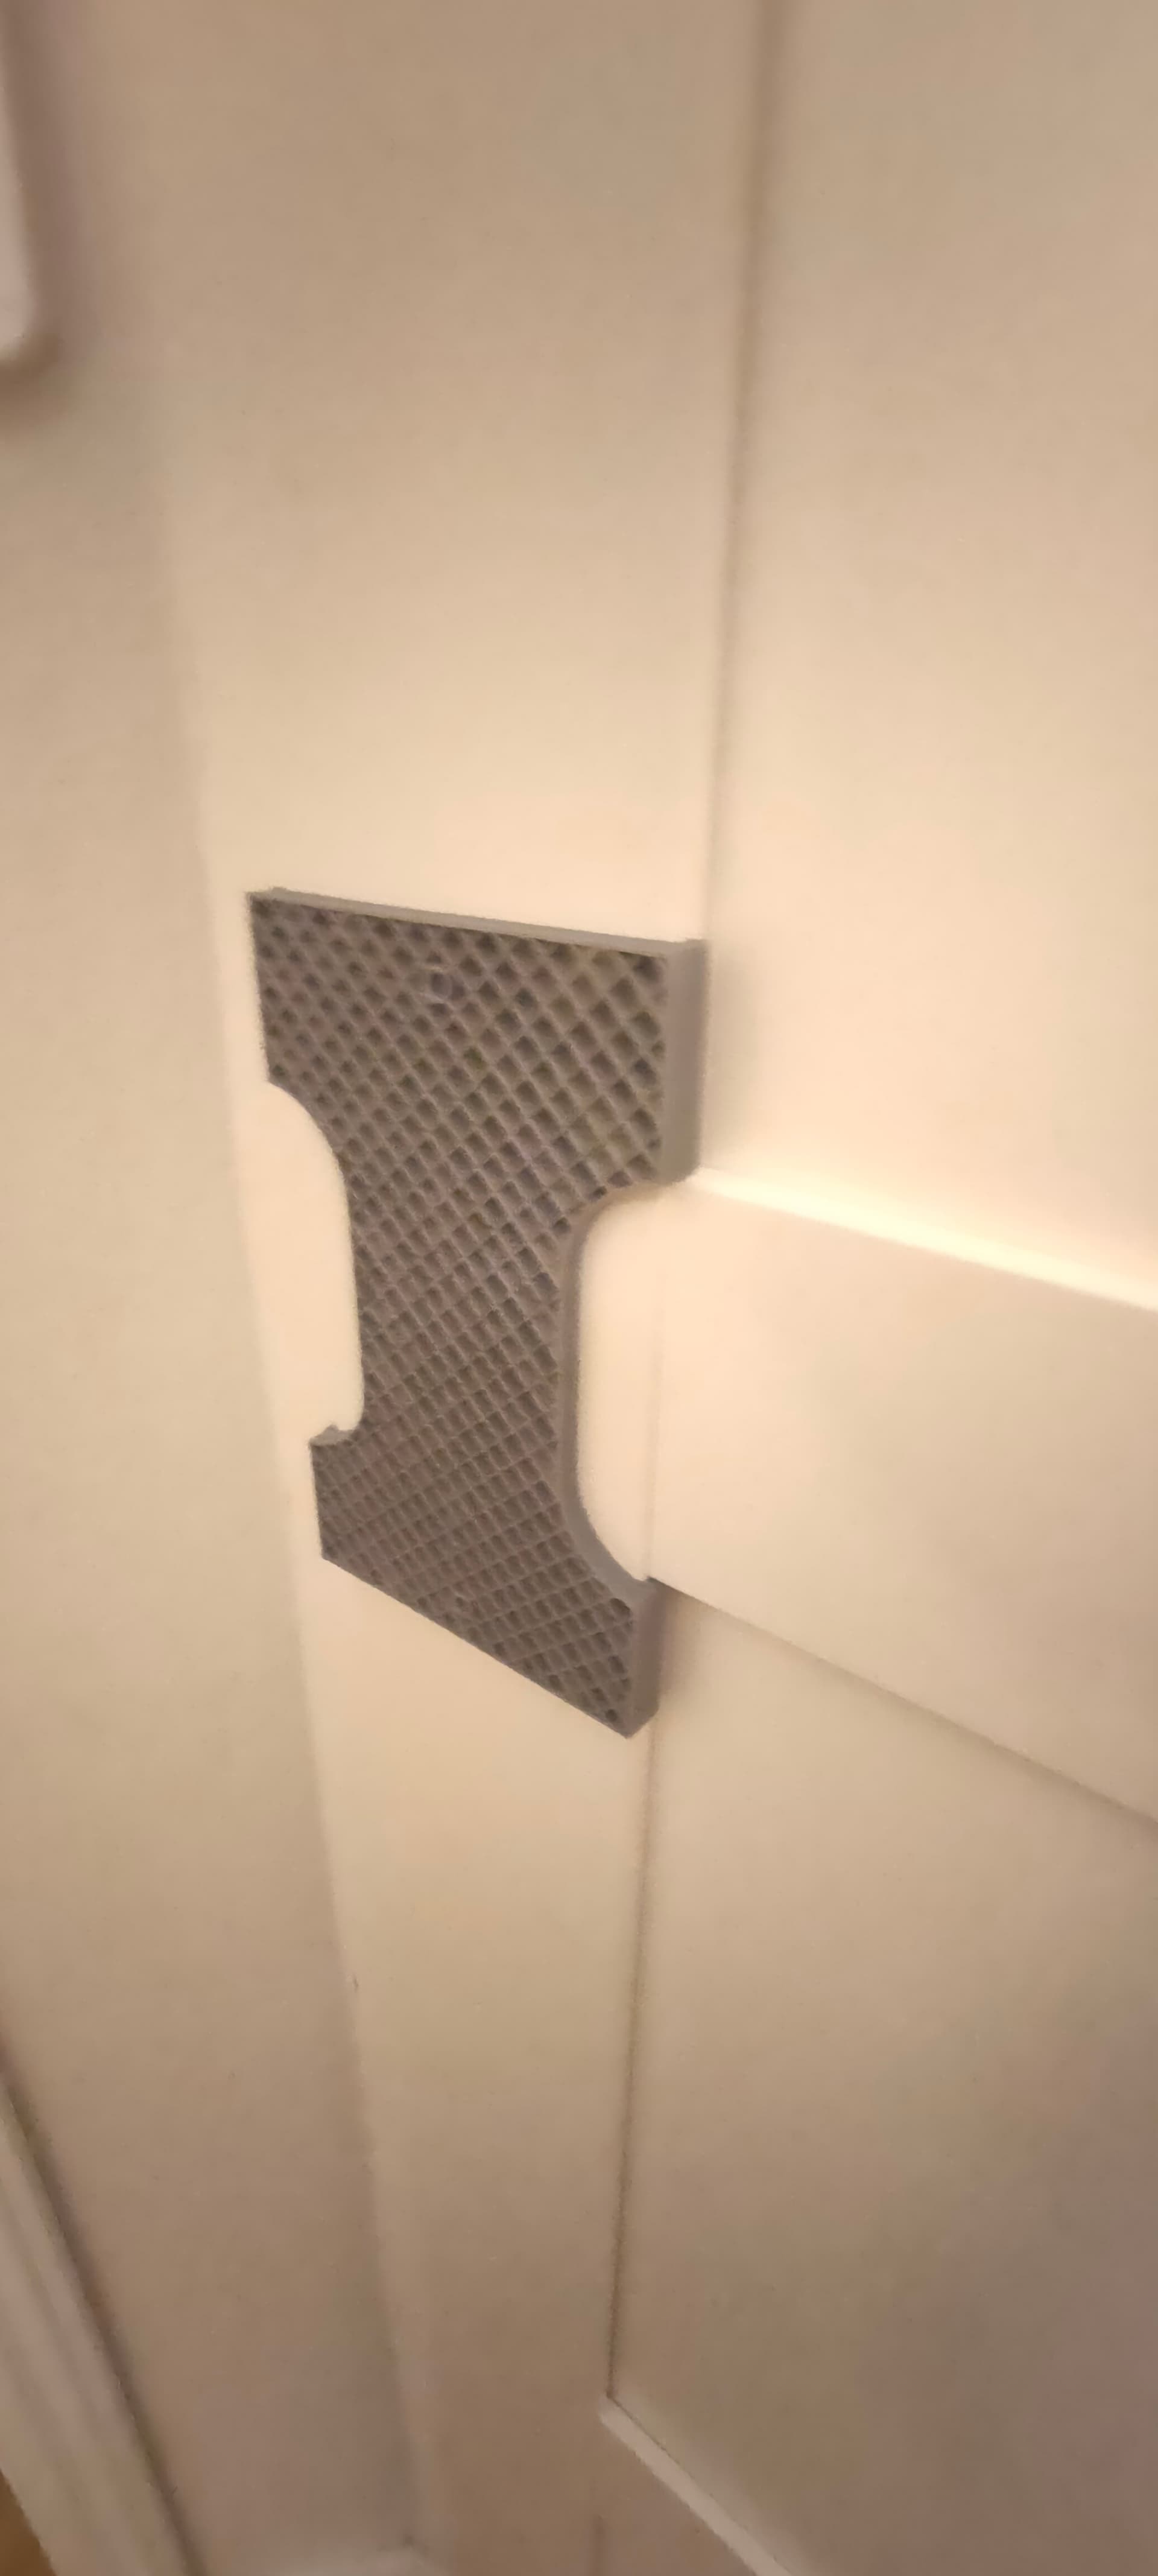
The handle is machined from the back first, boring the two holes, then doing an adaptative cleaning, and finally making multiple parrallel passes
Note: I just ordered spherical bits, the straight 6mm bit will have to do for the prototypes…

After that, I drill two 8mm holes in the work surface and insert dowels
The part is then flipped and inserted on the dowels

Then a very gentle curve is machined on the top

Now I just need to make 6 of these… :stuck_out_tongue:

17 Likes

:+1: :+1:

Freaking fancy!!! I love it nice work for sure.

1 Like

Nice! I think I like the Jatoba one better but I don’t have to live with it. :grin:

The new router bits arrived! :smiley:
The finish is sooooooo much smoother with a ball bit, almost no post-processing required, that’s great!

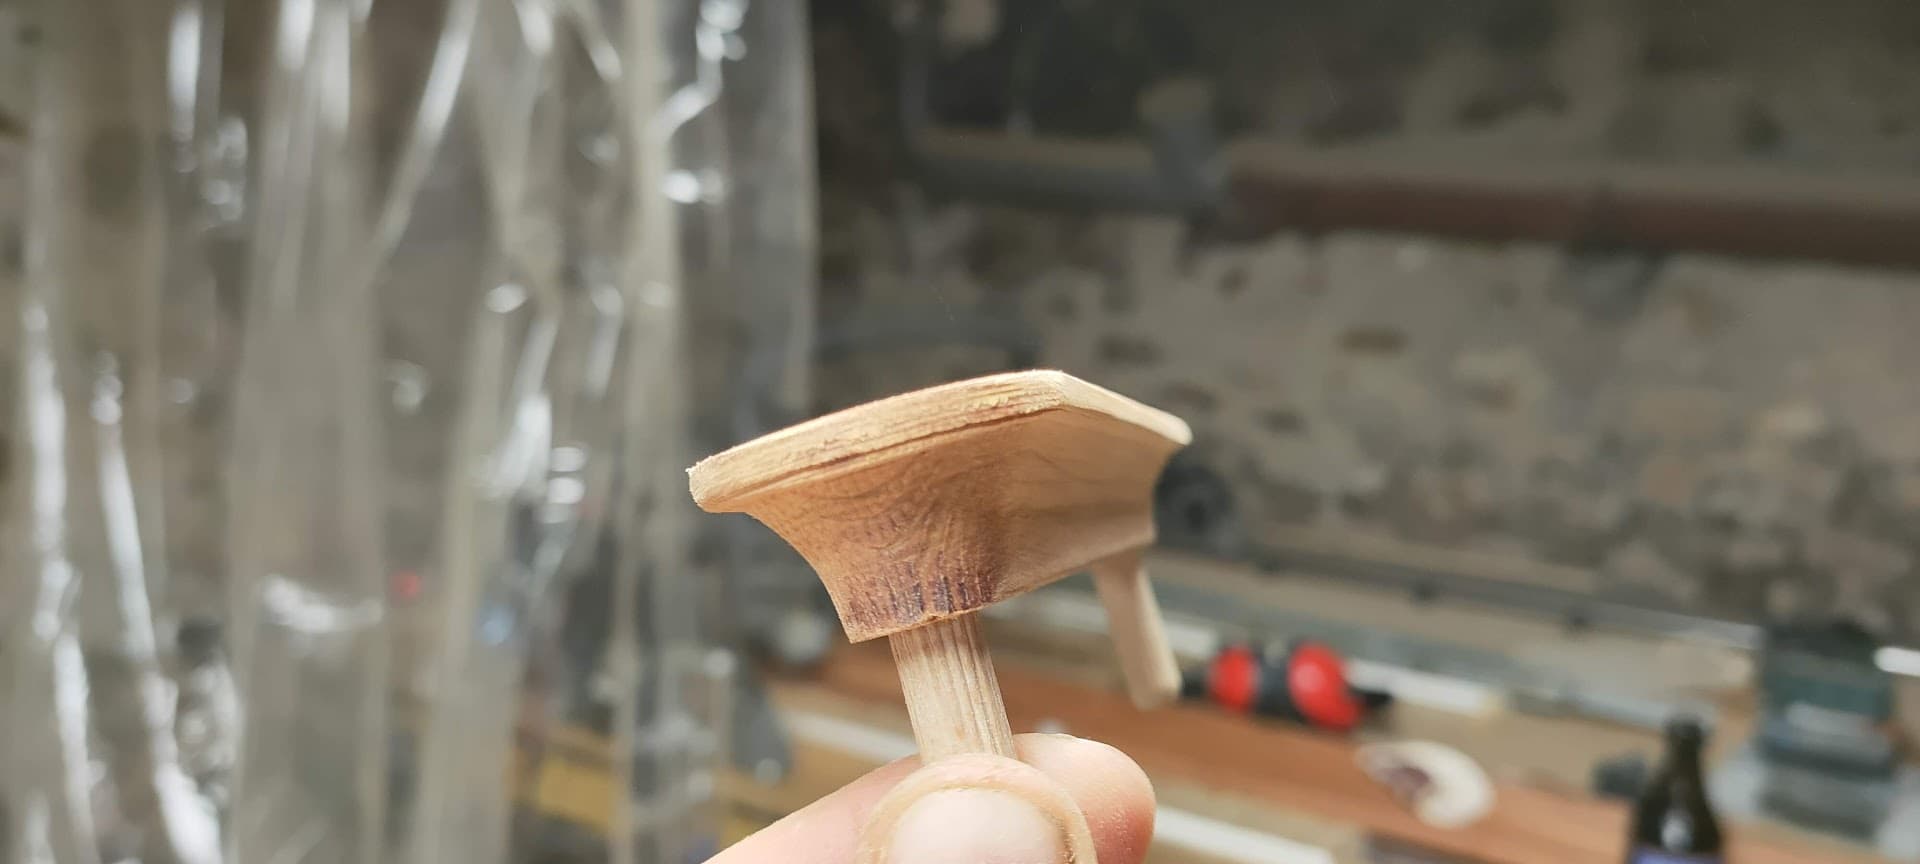
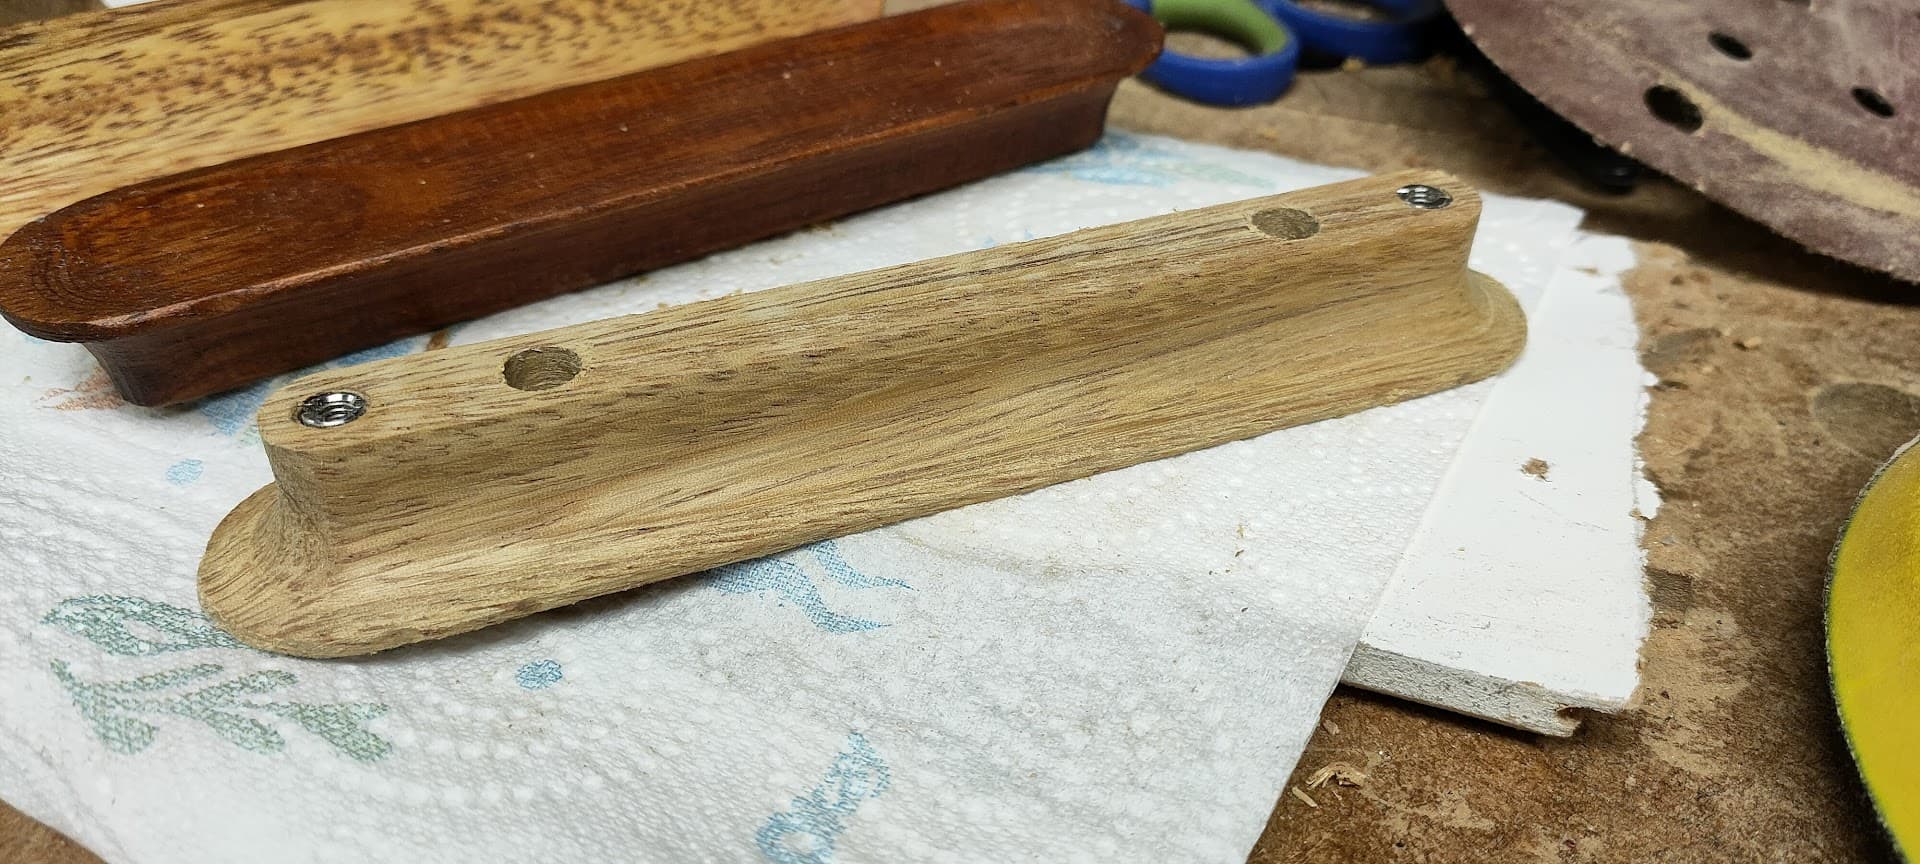
I had some trouble with the metal stud for the bolts, the wood was too thin and exploded when I installed them
So I just install them just after boring the holes, and before hogging out all material around.
This in turn requires drilling two more holes to serve as reference/fixture for the double-sided operation, because of course I can’t use the original holes anymore

It also seems we are switching to a natural oiled finish after all, which doesn’t look half bad I think…

3 Likes

Picking the finish for something is always the hardest part. I have so many scraps in the shop with different finishes on them from previous projects.

Can’t happen if you only have mineral oil and paste wax. :joy:

Behind the scenes…

Left to right:

  • Original inspiration, handle from our kitchen, Wallnut
  • First prototype, Jatoba (natural, then stained), too large
  • Second prototype, Tali (natural, then stained). Nice, but poor surface finish (made only with straight bits)
  • First production piece (with the ball bit), Tali, stained. Skipped a step… :slight_smile:
  • Second production piece, Tali, oiled. The wood shattered while installing the bolt holder, made a hole though it trying to make it fit…
  • Last three are the first “usable” batch, Tali, oiled. There are a few dents here and there on the edges but they’re ok
4 Likes

Quick timelapse of the machining
It’s a bit rough but I’ll try to make a better one for the next part :slight_smile:

4 Likes

I’d hate to go through all this work, just to screw up centering and aligning the handles on the doors…
So, of course… here comes a jig :slight_smile:

I don’t want to wake up my daughter and I don’t have enough m4 bolts anyway, so the 4 other ones will have to wait until tomorrow…
But the feeling when you install handles you made from scratch is pretty satisfying :smiley:

4 Likes

… and if they look that great the joy should be even bigger :slight_smile: I personally think they’re fantastic :slight_smile:

Do an undressing door handle next! :yum::sweat_smile:

I’m sure you have a 72 letters long word for this in german :wink:

You’re spelling Schrankportal-Manipulationsinstrument wrong!!!