Hi.
Im trying to figure out how to make the best setup for double sided cut.
Today i have it setup so i manually move the spindle out to a 0 point on th ework piece and then use a touch sensor to set Z. And at the same time it sets 0 on X and Y.
But to be able to get the same 0 on x and y every time im thinking of installing end stops.
My existing calibration lines:
M0 Insert Touch plate
G28 Z
G1 Z2 F150
M0 Remove start
G1 Z-0.5 F150
G92 Z0
Now the question.
Can i set X and Y 0 with the end stops. Have a fixed location for the board. Then manually move out the spindle to a random spot to use the touch sensor to set Z?
Or is there any way to use a XYZ probe? Maybe with the new Jackpot card?
Is there any spot (preferably 2) that you’re cutting all the way through the board?
Is the piece regularly shaped and symmetrical in regard to the cut?
You can do edge detection with the jackpot, but not with built in web interface. You’ll need to run different control software. At least that was the answer I received when I asked similarly a couple weeks ago.
Assuming 1 is no and 2 is yes, the simplest route would be to set up a physical point for work holding A 90% corner clamped to the workspace that you can just put the piece into and clamp it down. Then you set 0’s 1 time, cut flip cut.
Assuming 1 is yes then 2 doesn’t mater. You can run 2 index pins. 1st cut is to drill through in those 2 locations, cut 1 side, flip dropping index pins through the piece into the bed and cut side 2. Again, 1 time 0 and you’re done. With a little more fiddling you don’t even need the pins, just the holes drilled. The pins are the faster route and takes some of the humar ennor out of it.
I have a MPCNC with dual endstops and homing X and Y gets you very close to the same position every time.
But for two sided work you need to get the workpiece to the same position. Or atleast to a known position on the workpiece.
I have been playing with two sided work with success.
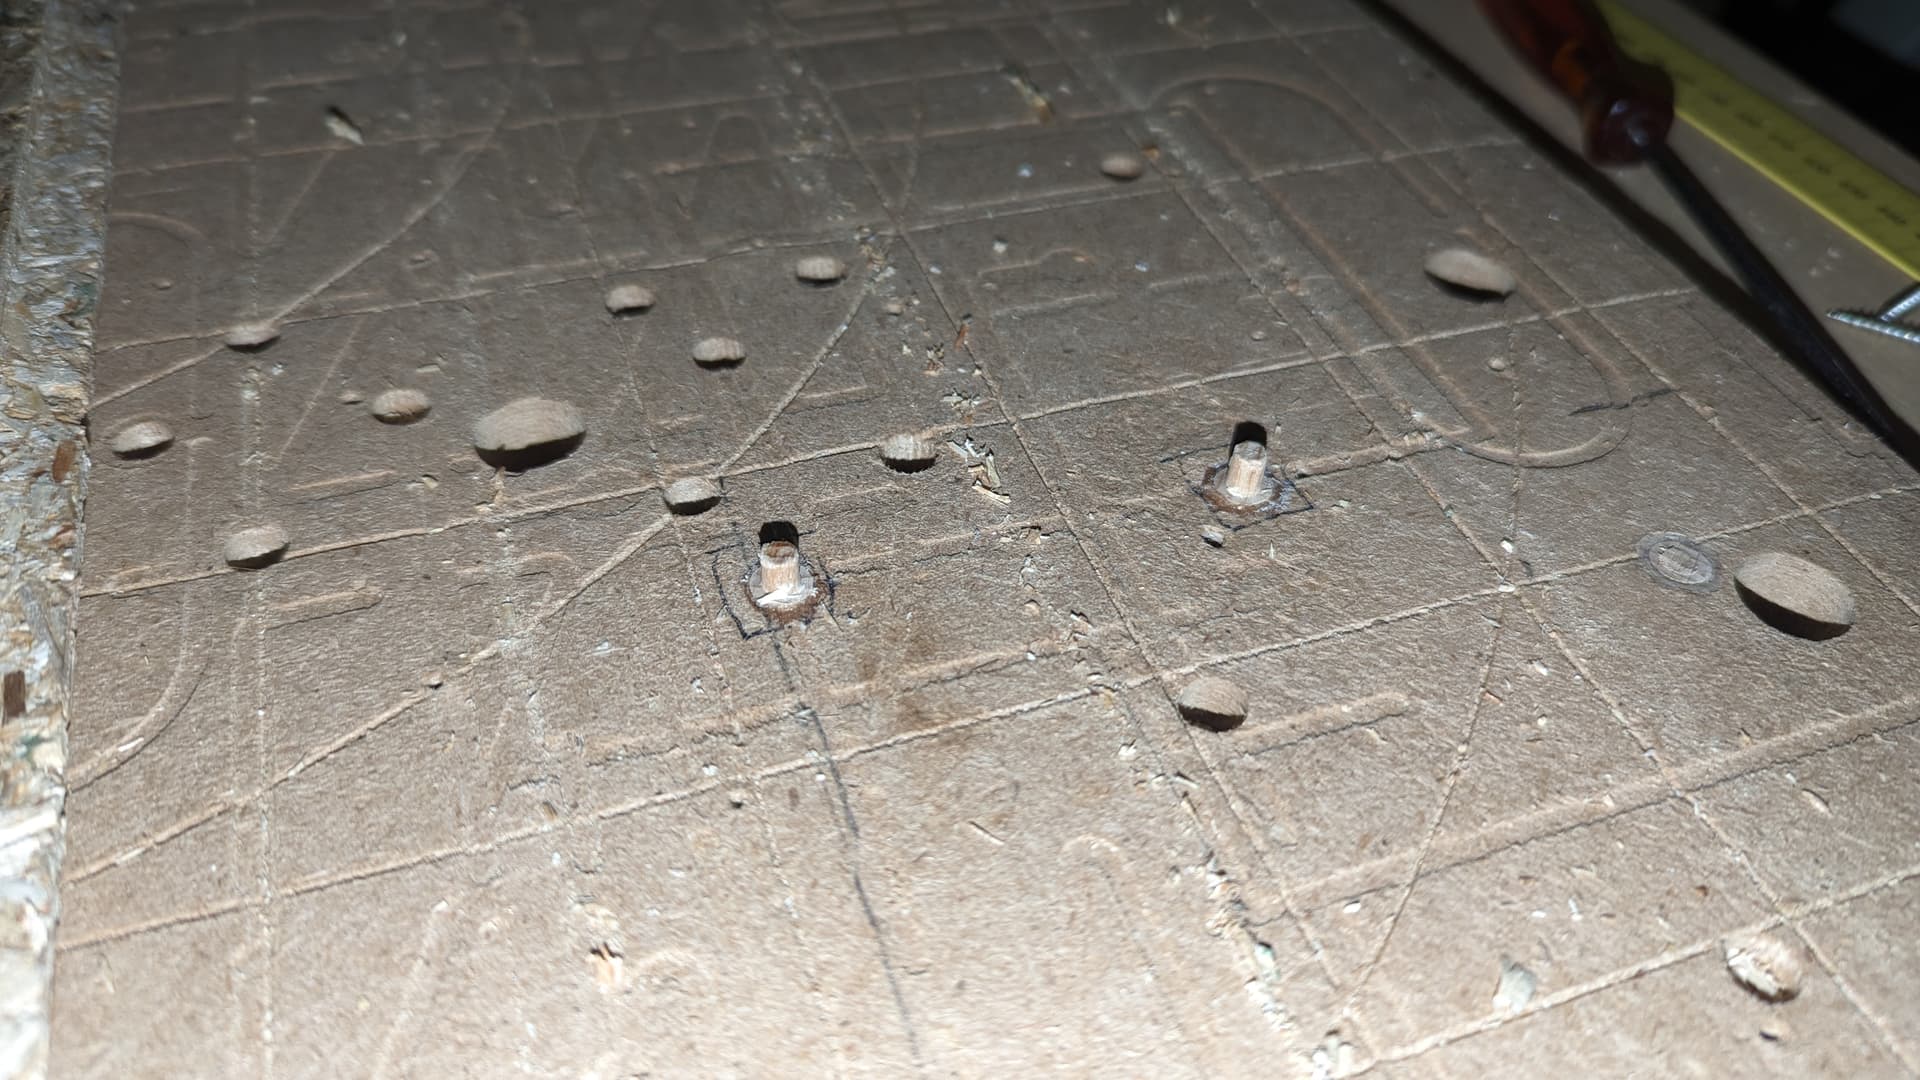
The way I do it is with locating pins. I add these in cad. If possible I used existing holes in the part. But also add holes outside the part if needed.
I mill 8mm about 10-11mm deep holes in the spoilboard or an extra scrap piece on the spoilboard. Put in dowels that stick out 5-10mm and mill the parts that stick out to the size of the holes I added in cad.
That way I can pull out the dowels and replace them if I need to re home or do some more work a few days later on the same parts.
Homing the MPCNC gets me close and the milling the new dowels gives me the exact position of the work piece.
You don’t need electronic endstops to create a repeatable home for your machine. Physical endstops that are square with the machine will do the job. Hold your axes against the stops ,and then engage your steppers.
The easiest way to not lose your job (0,0,0) is to leave the steppers engaged while you flip your board. Just move your router out of the way electronically, and then execute a G0 X0 Y0 Z0 F500 when you want to start on the second side. This will work even if the g-code for the second side is in a different file than the first side.