Nice. I also mangled my Harbor Freight dust collector.
I’m in the stages of planning full automation of my dust collection also. Maybe I’ll make a thread here about it if anyone is interested. No one in my family thinks it’s a cool as I do lol
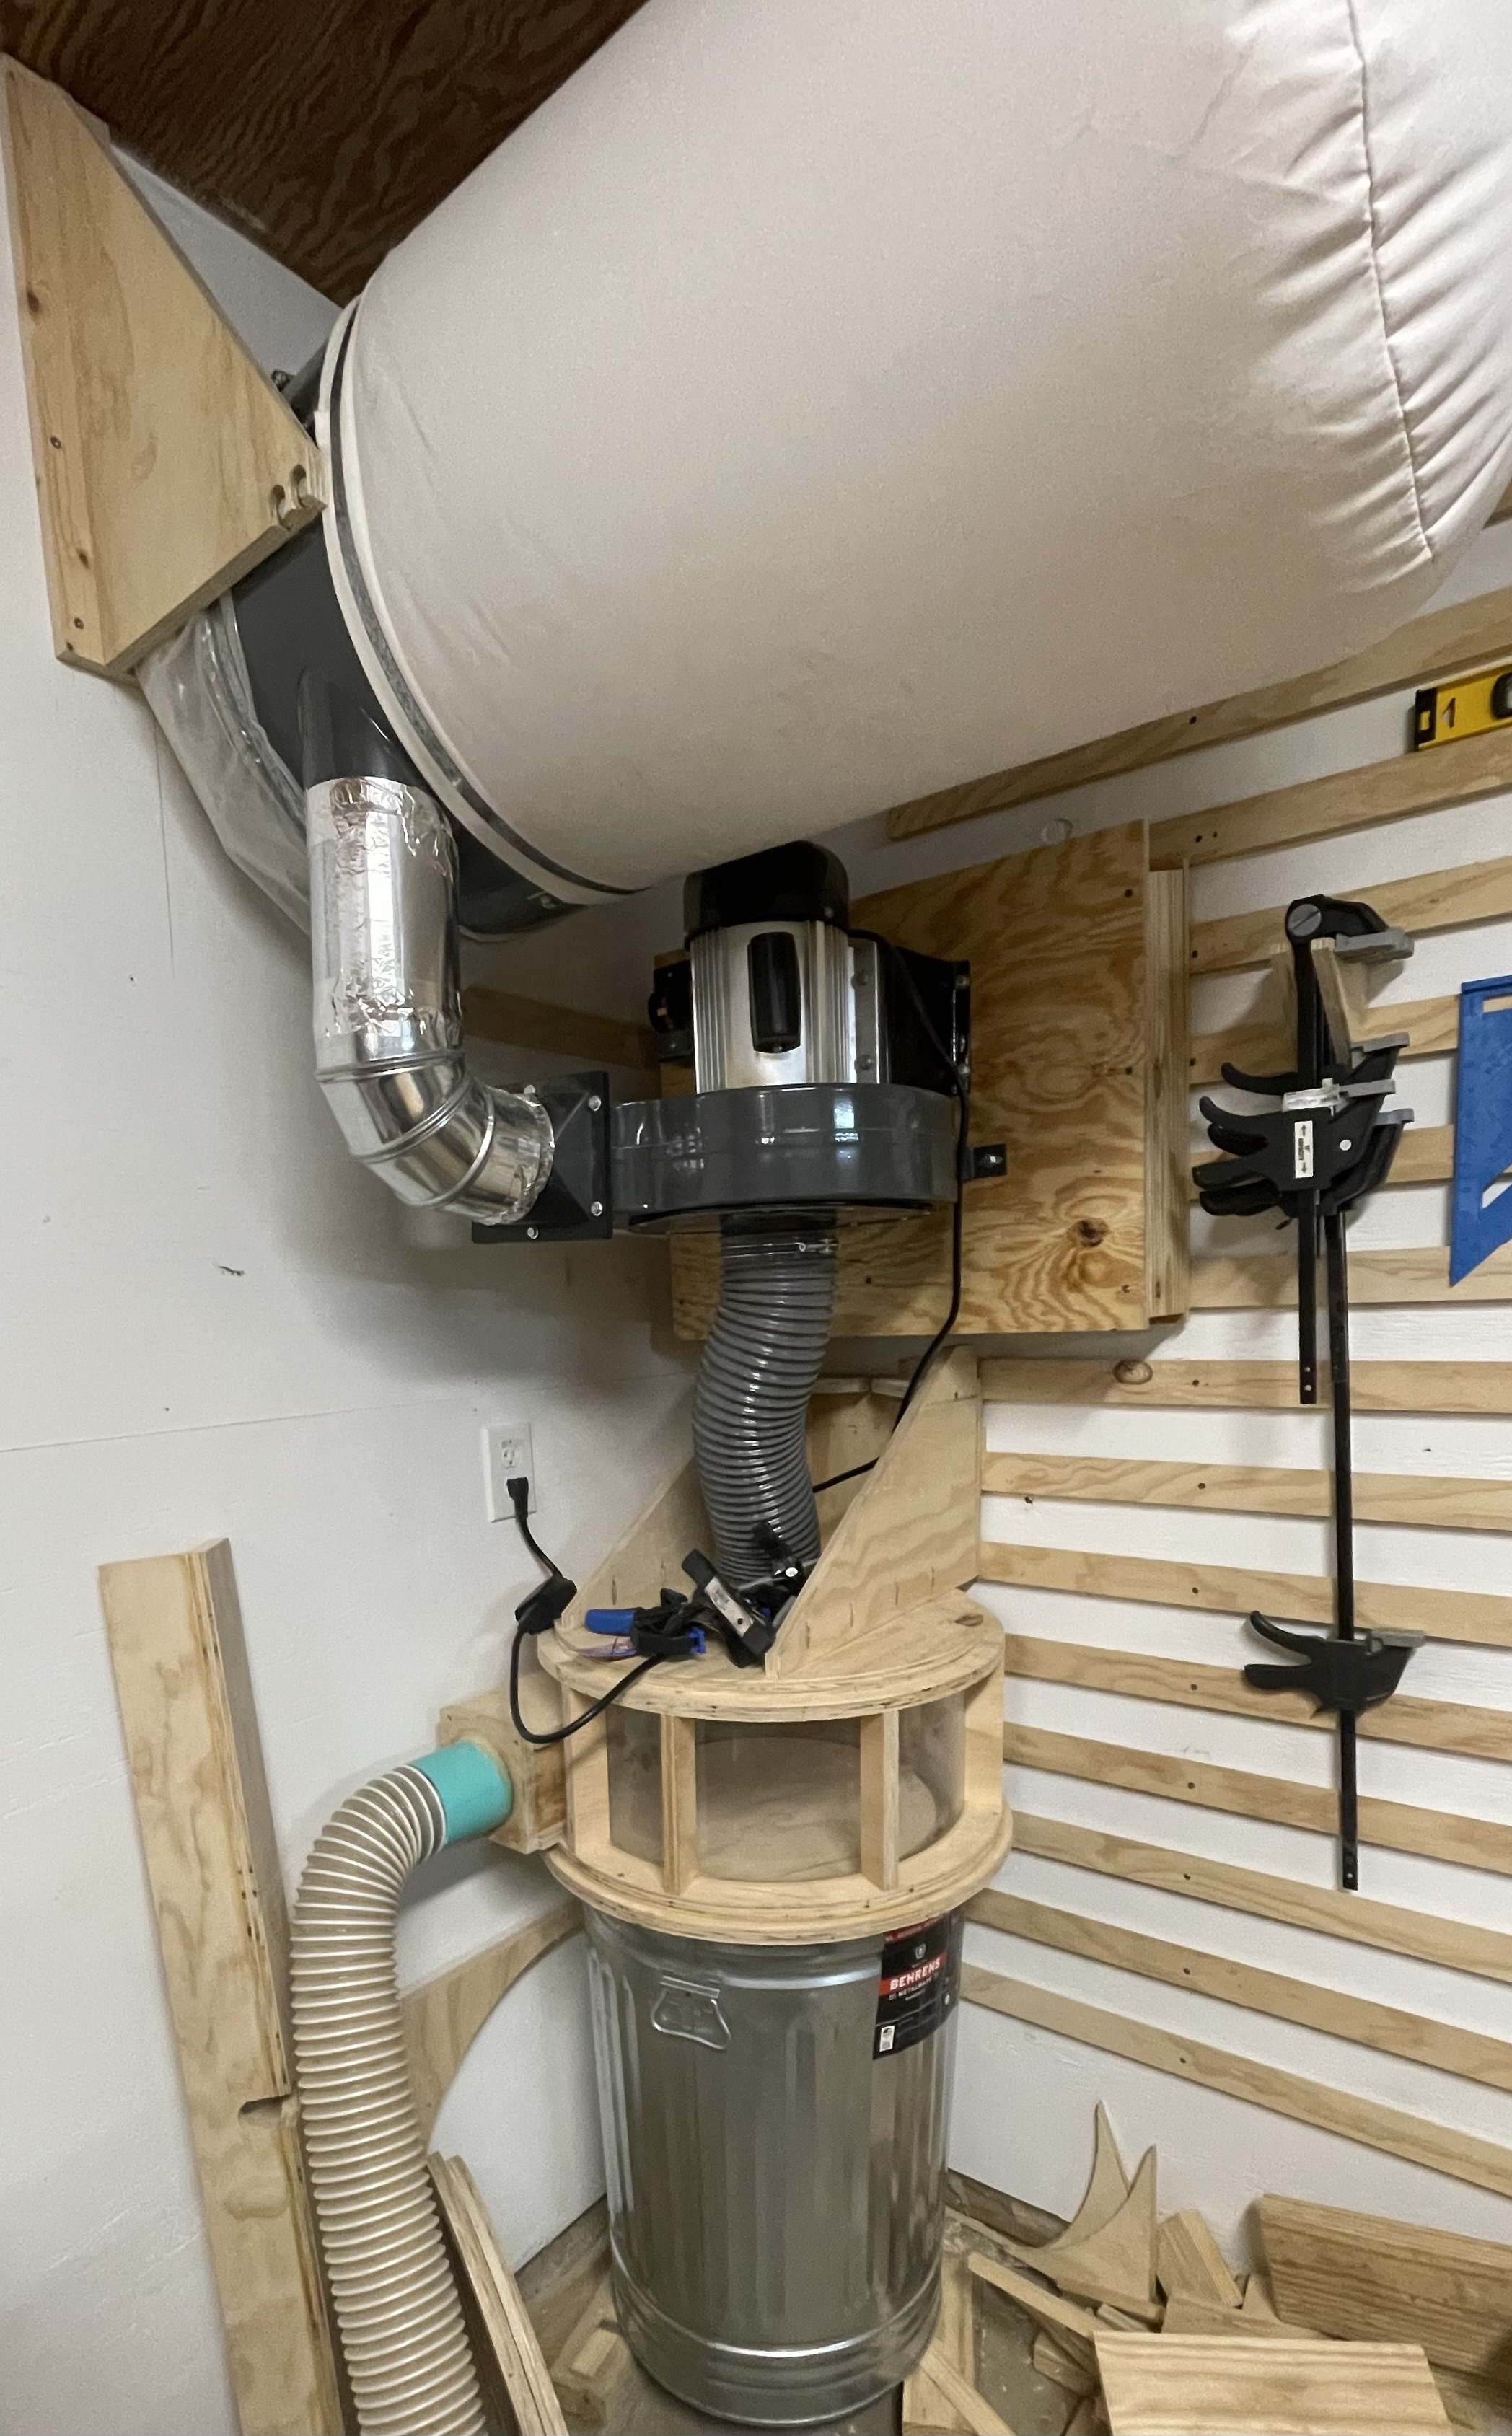
It’s not. I looked it up for a bit and was intrigued by it. There’s lot’s of people that have plans and stuff, but I just kinda winged it.
Got some of that 1/8" polycarbonate and screwed it to the sides and sealed it a bunch with silicone.
Before that I had a little small WEN blower on it and it made a big difference not having to empty that bag so often
I couldn’t remember for sure and was too lazy to look it up
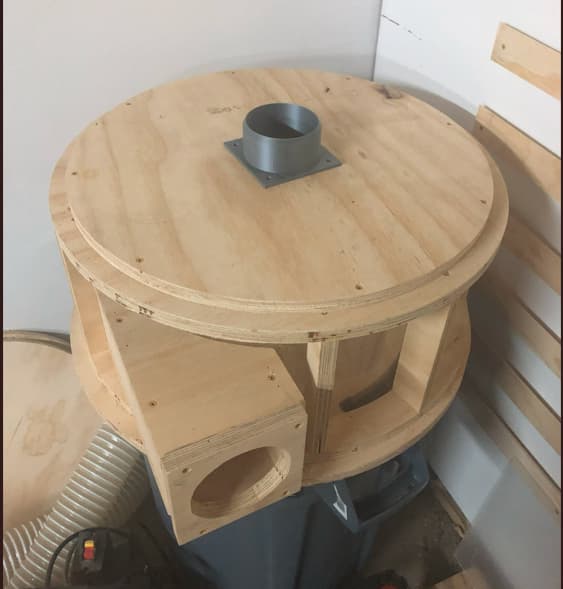
I didn’t make plans for mine, but I probably have some pictures somewhere from when I put it together…
The thing I like the most is that it stops any big chips, screws, etc from striking my impeller, and stops planer/jointer shavings from clogging up the impeller inlet
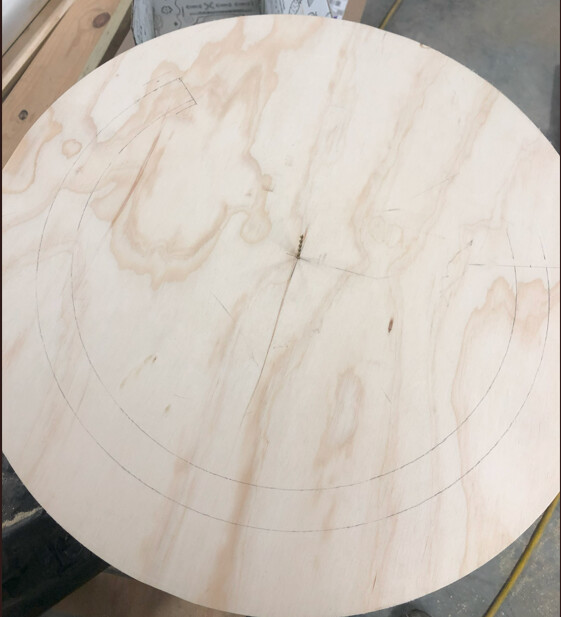
The only trick to it is getting the beginning of the hole that the dust falls in lined up so that it starts a bit away from the inlet. You want the hole to be on the main part of the travel path of the sawdust.
I also printed another part like what is on top and have that on the inside pointing down to try to stop any dust from getting sucked in too easily.
I converted my HF DC into a thien baffle setup. I have the motor after the TB like you. But I then just went outside on the side of my shop away from my door. There isn’t anyone out there that would be bothered by it. And I’m not running a cabinet shop 50 hours a week.
I considered doing that, but I was concerned with sucking the cool/heat out of my shop in 2 minutes
I figured it would let my air flow better, but I didn’t want to spend half a day trying to warm up my shop in the winter to suck it all out in a few minutes.
I don’t know if it would, but the complaints about that were 50/50, so I was cautious.