I had checked the grub screws but will do again when I’m back at the machine in a few days. Is there something more to do than just tighten and visually check that one is engaged on the flat side?
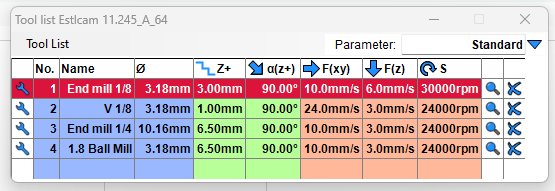
I am doing a 0.32mm finishing pass. Is that too large?
If your core is rocking that can for sure cause what you are seeing. Make very small adjustments until you get all the rocking out of the core. You want all the bearings touching the pipe.
Noticed you have nice Alu cut struts, did that gum up, or damage the bit? Or are you still seeing these cut quality issues with a fresh new carbide single flute upcut bit running on your Makita at a relatively low RPM? Am still learning, observed folks here seem to do ply finish pass of 5-10% of bit’s cut diameter.
Struts are just painted 1/4” hardboard, and it’s a different bit, but I could try a totally new one.
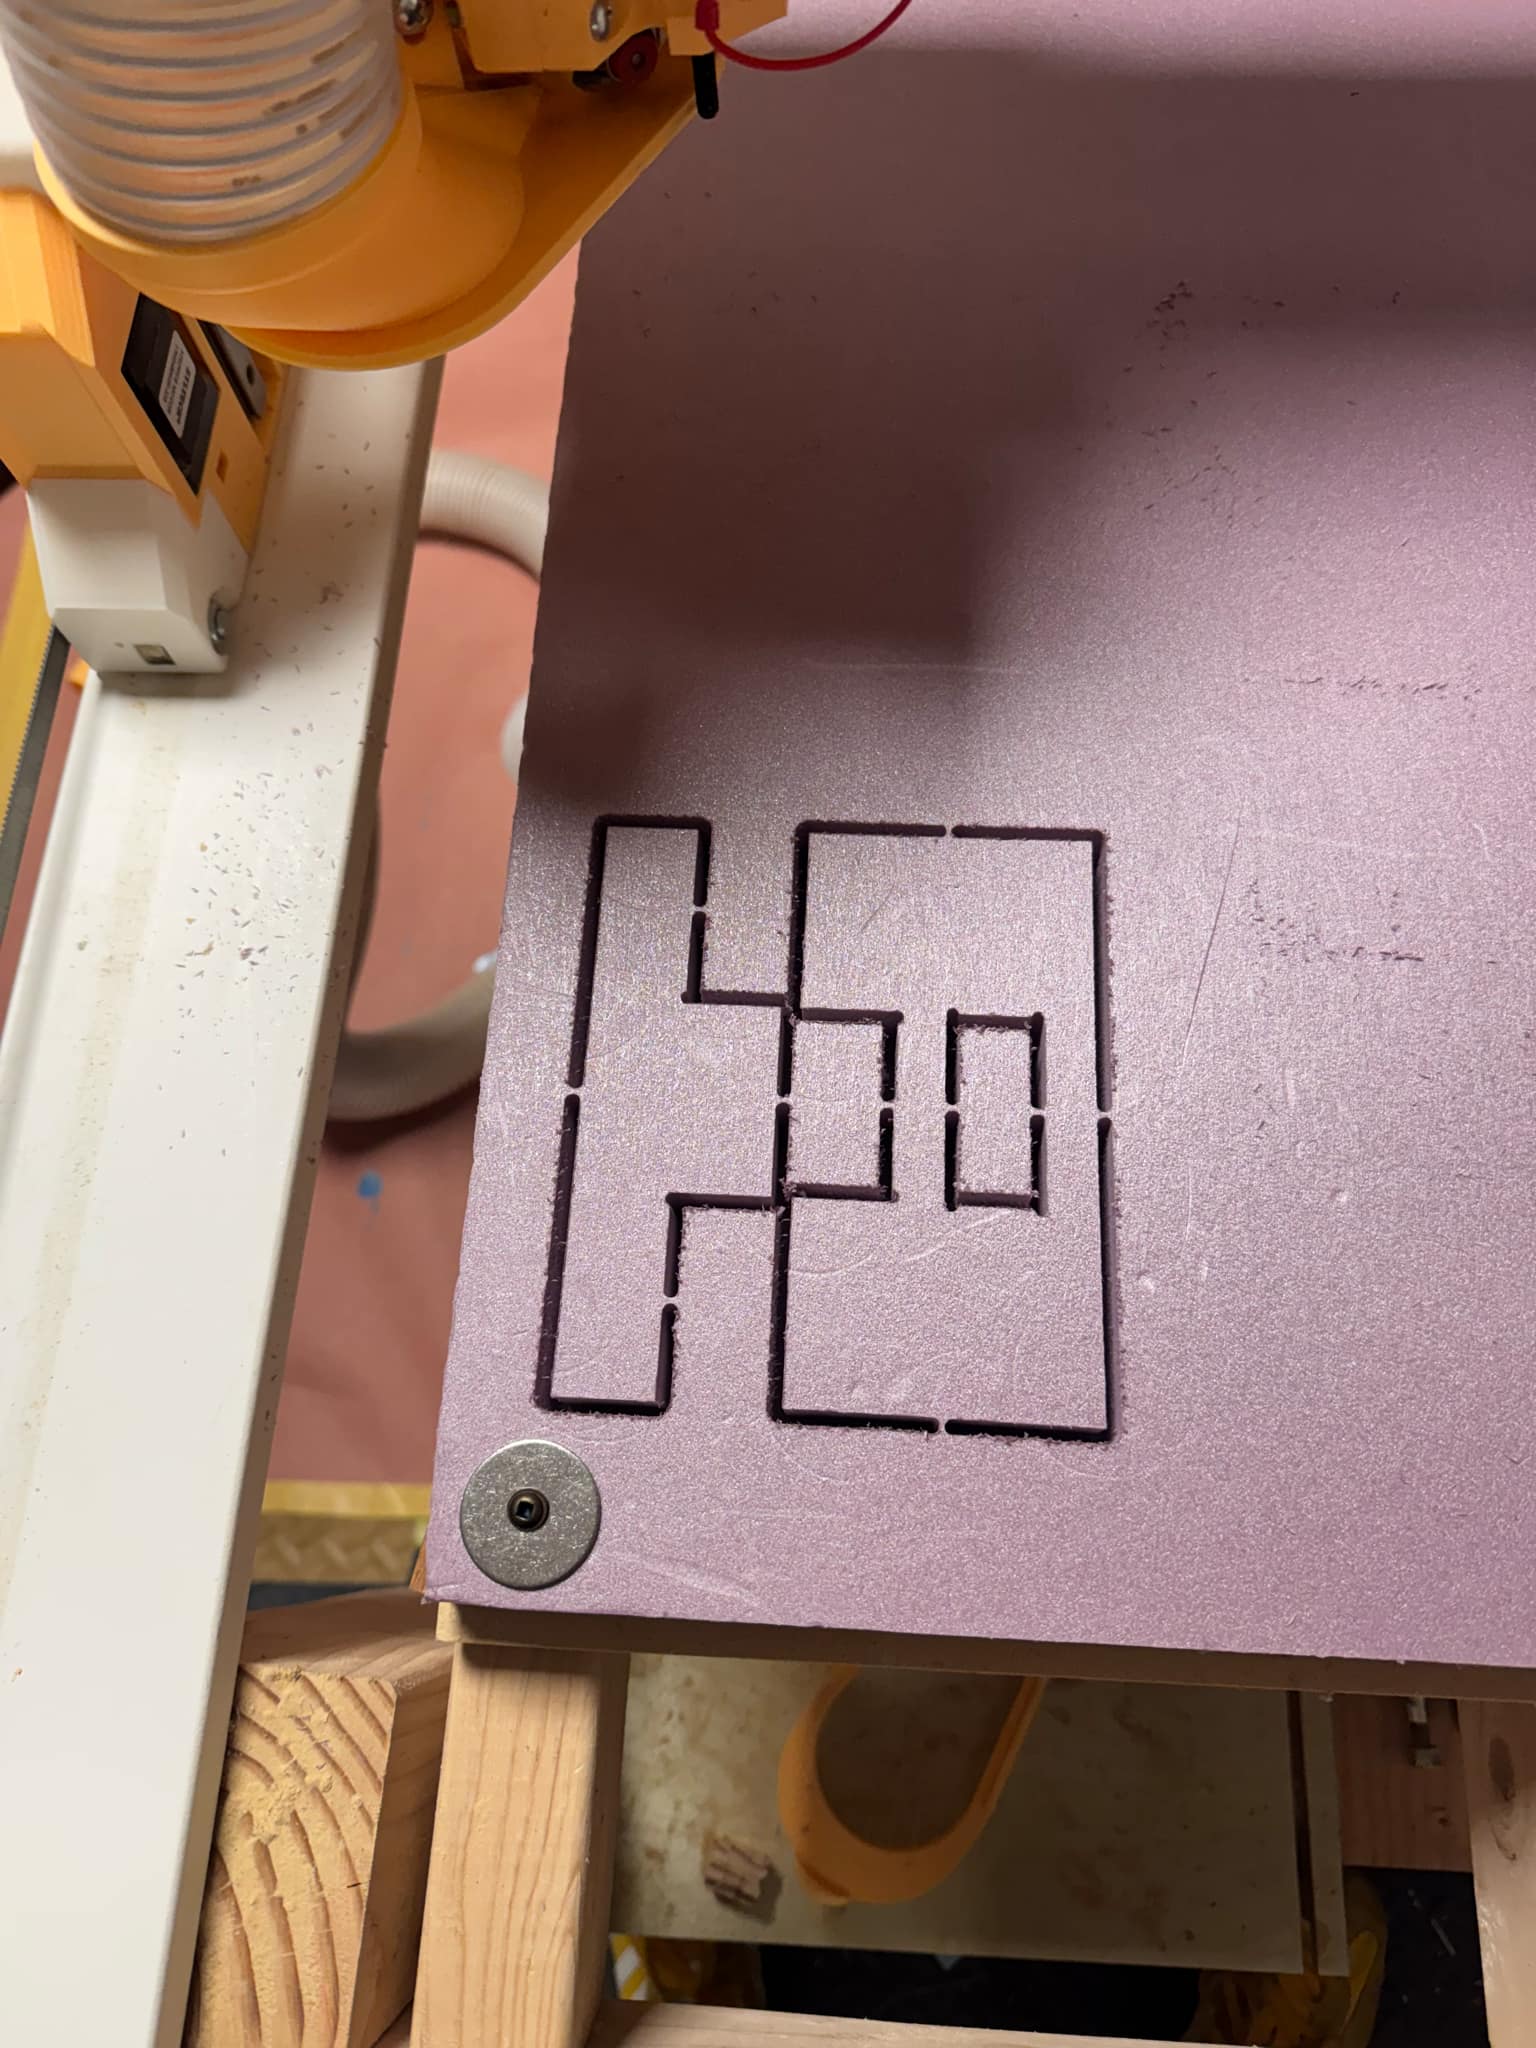
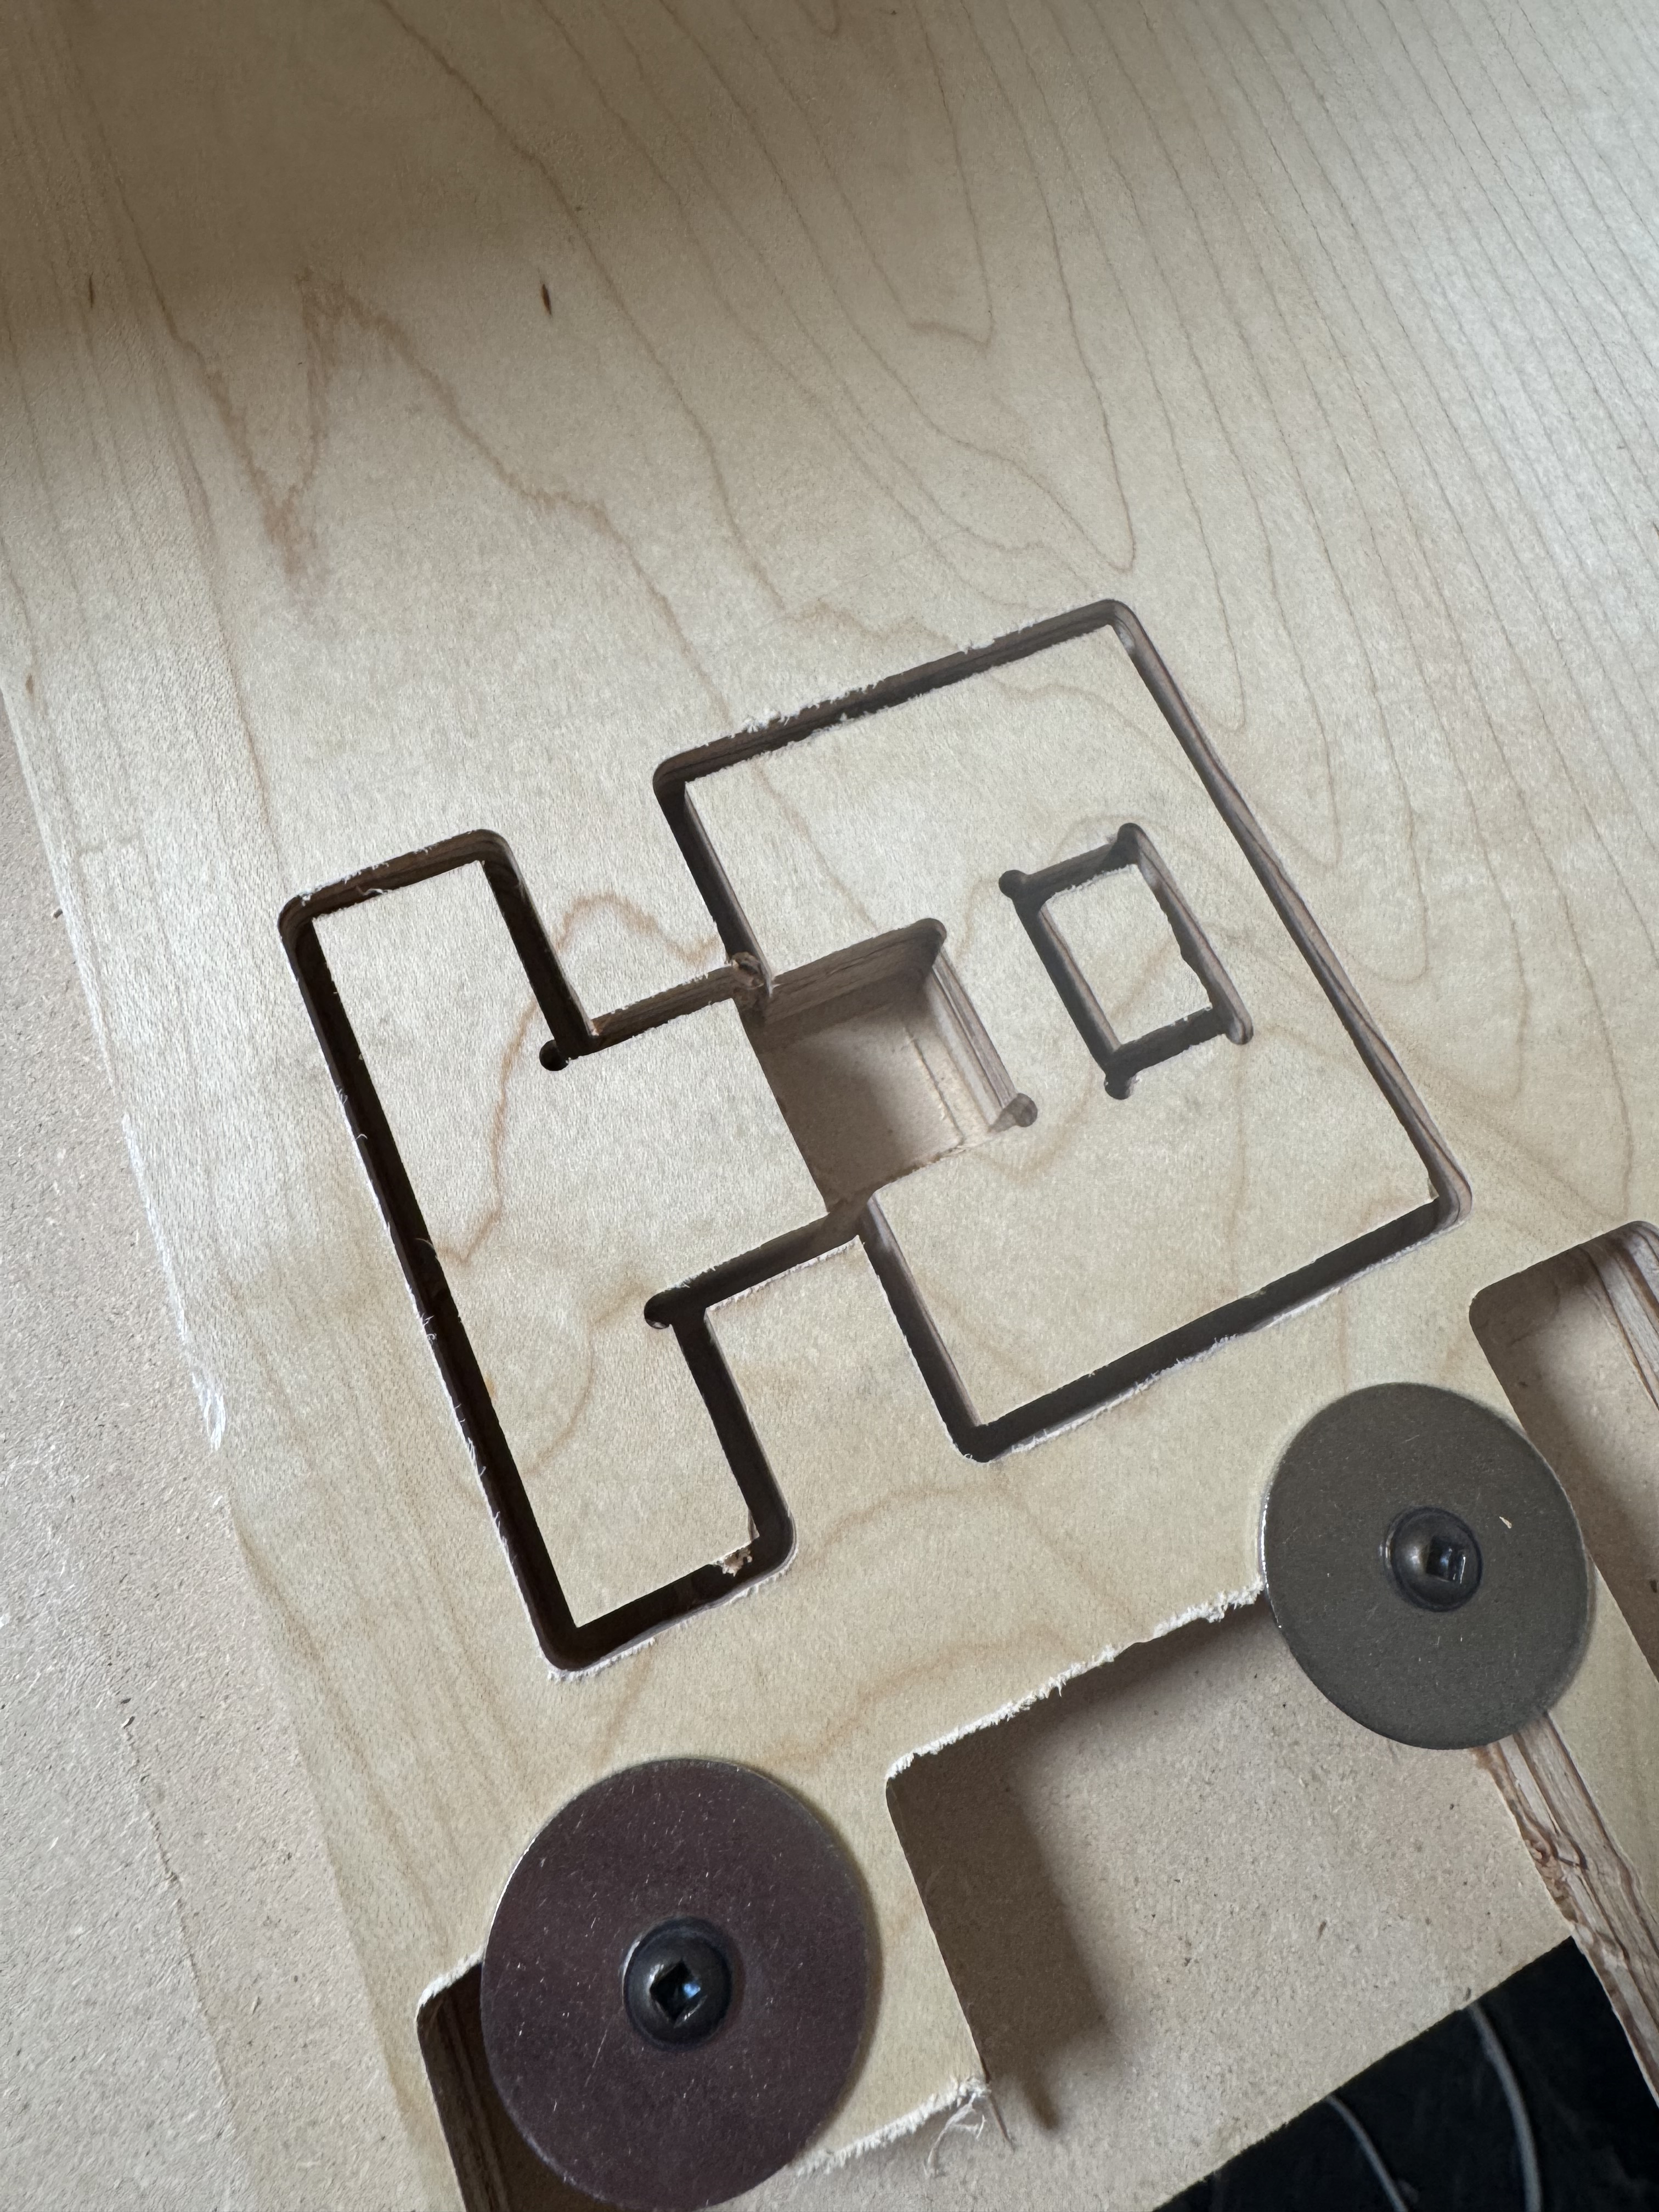
I was initially at a 6 on the Makita but dialed it way down (I think to 2/3?) and increased feed rate because I could smell the wood burning and see the edges darkening. The second test cut I did was not discolored on the sides, but still misshapen.
I’ll second the bit swap if the mill is cooked because you could smell it. Does it appear discolored on the cutting end? It looks like you are cutting maple ply. That is hard. Id slow to 7 mm/s and run the makita router at 3, but that might still be high. Less aggression may help you if your bit is sharp, but you should be in the ballpark as it is.
Since i dont have the same material you have, it is an estimate. If it is too far off of your intuitive spidy sense it may not be good advice and your experience here should be the better gauge. The router probably needs to be slowed. The intent was to minimize cutting deflection, if that was the issue, by slowing down, however it sounds more like the mill needs to be replaced.
I don’t have evidence to back this up, but I think there is a sweet spot where things work well and you have sharp bits and you’ve got the router speed right. But there is also a very conservative speed where you are making dust and heat, but going slow and deep enough that the bit stays good for longer and you can still get something accurate and good.
We used to make a lot of projects in what I’ll call the “dust zone” around 8mm/s and that works but isn’t optimal. But halfway between the ideal and the dust zone is a zone where you get a lot of heat and destroy bits.
That’s my guess. But I haven’t really done any tests to confirm that.
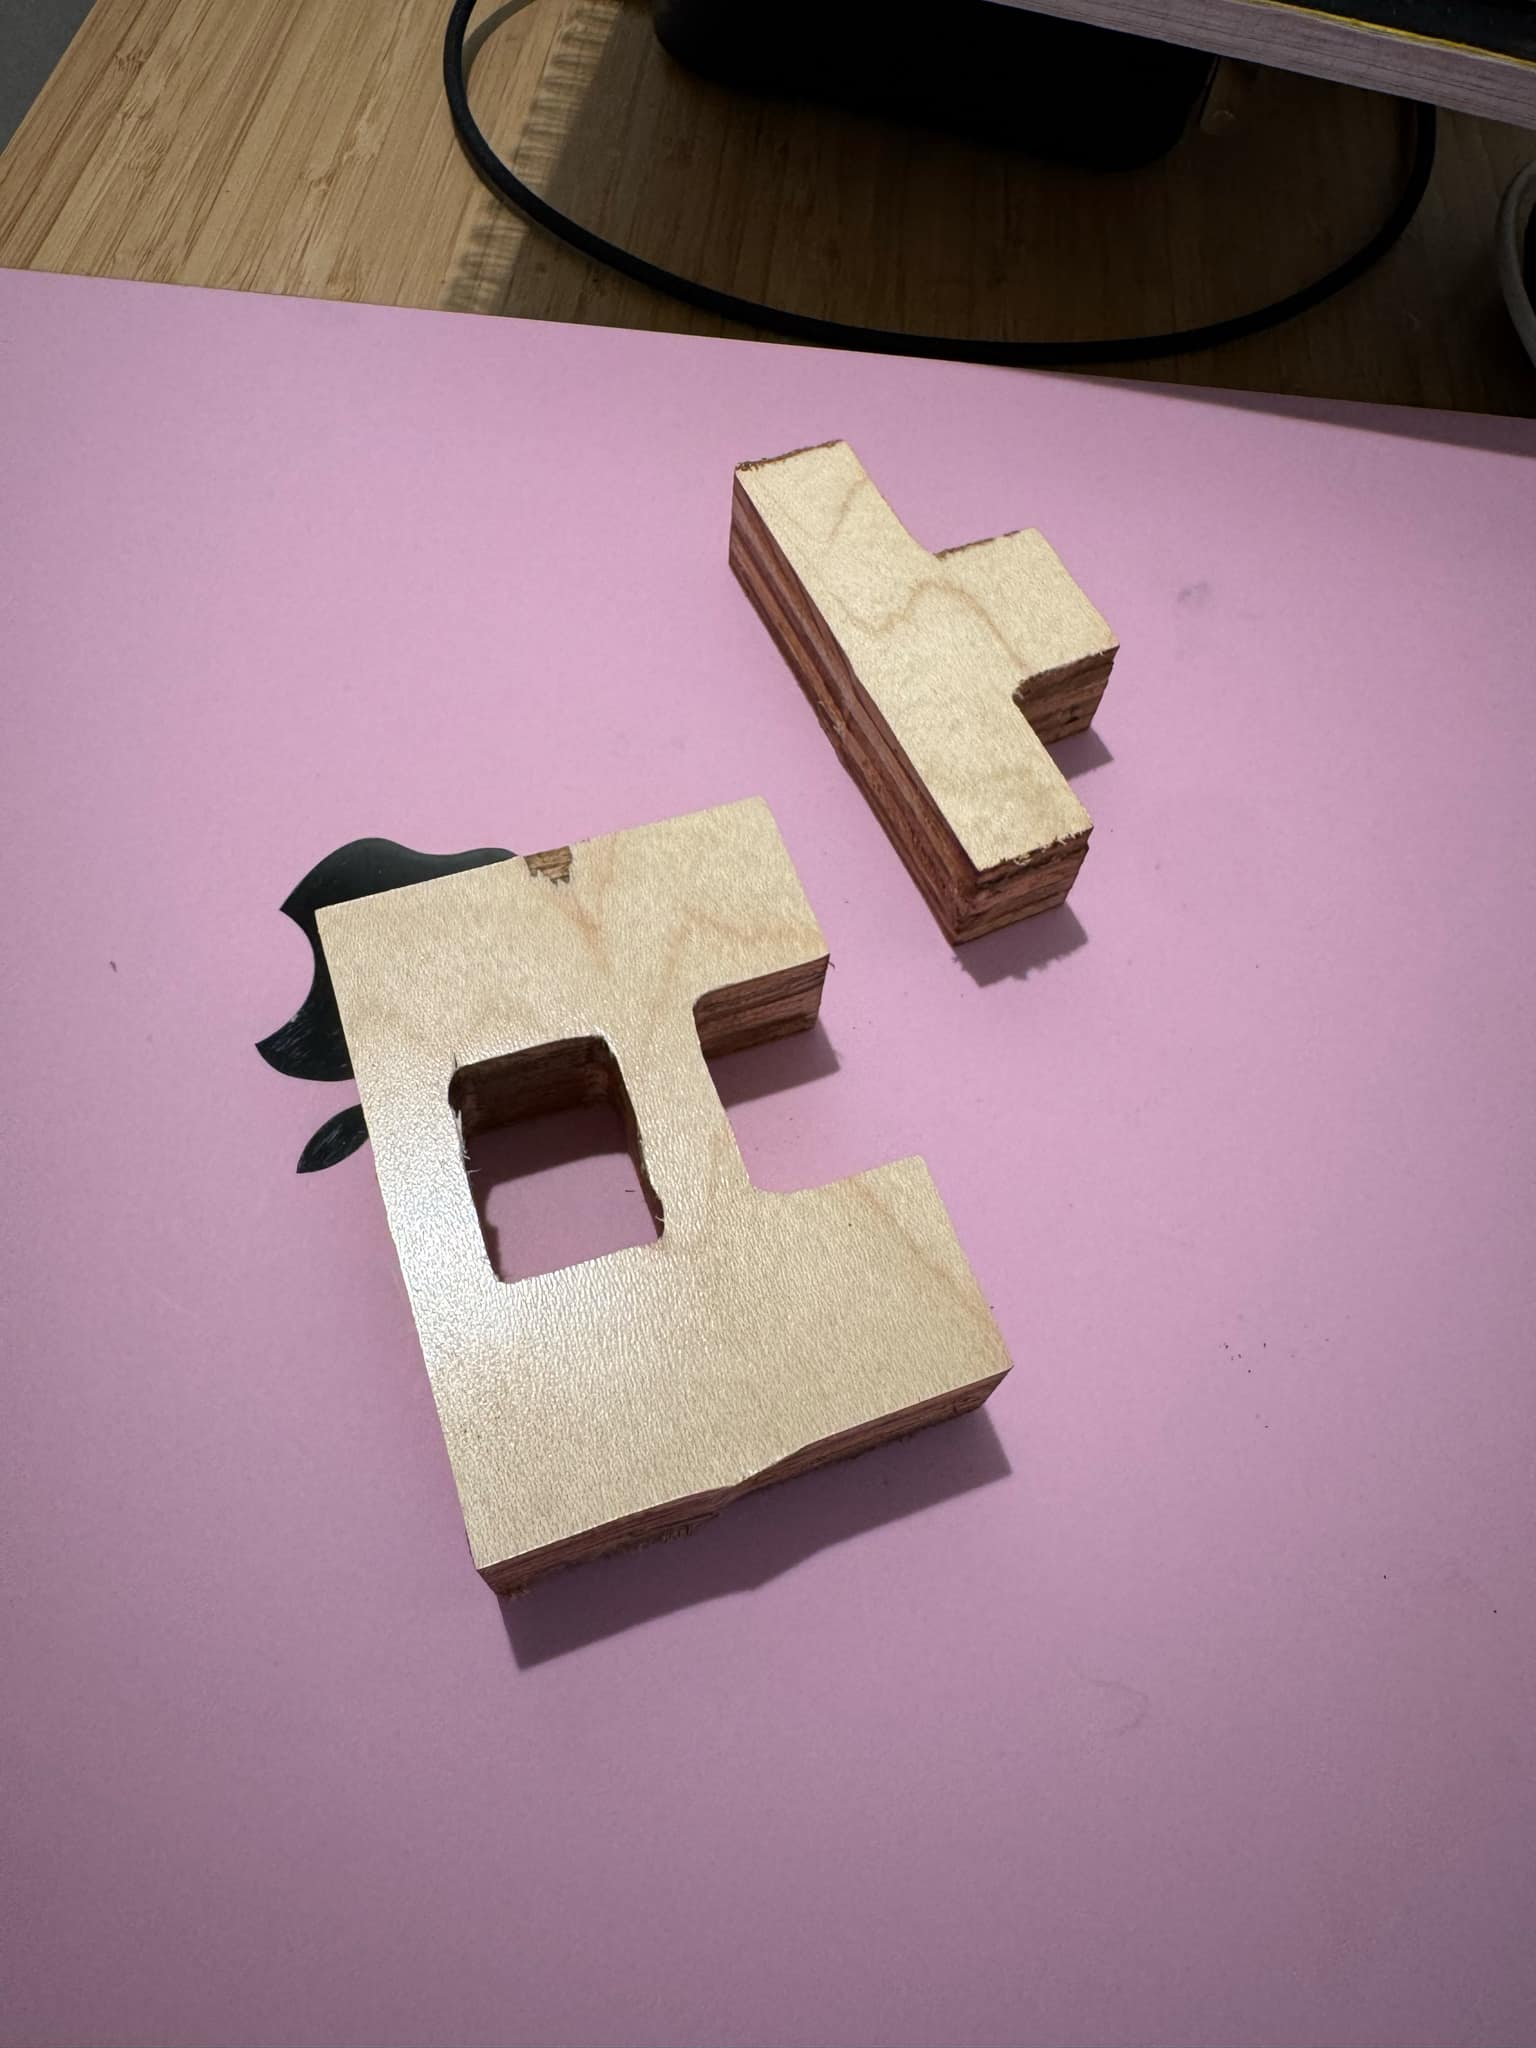
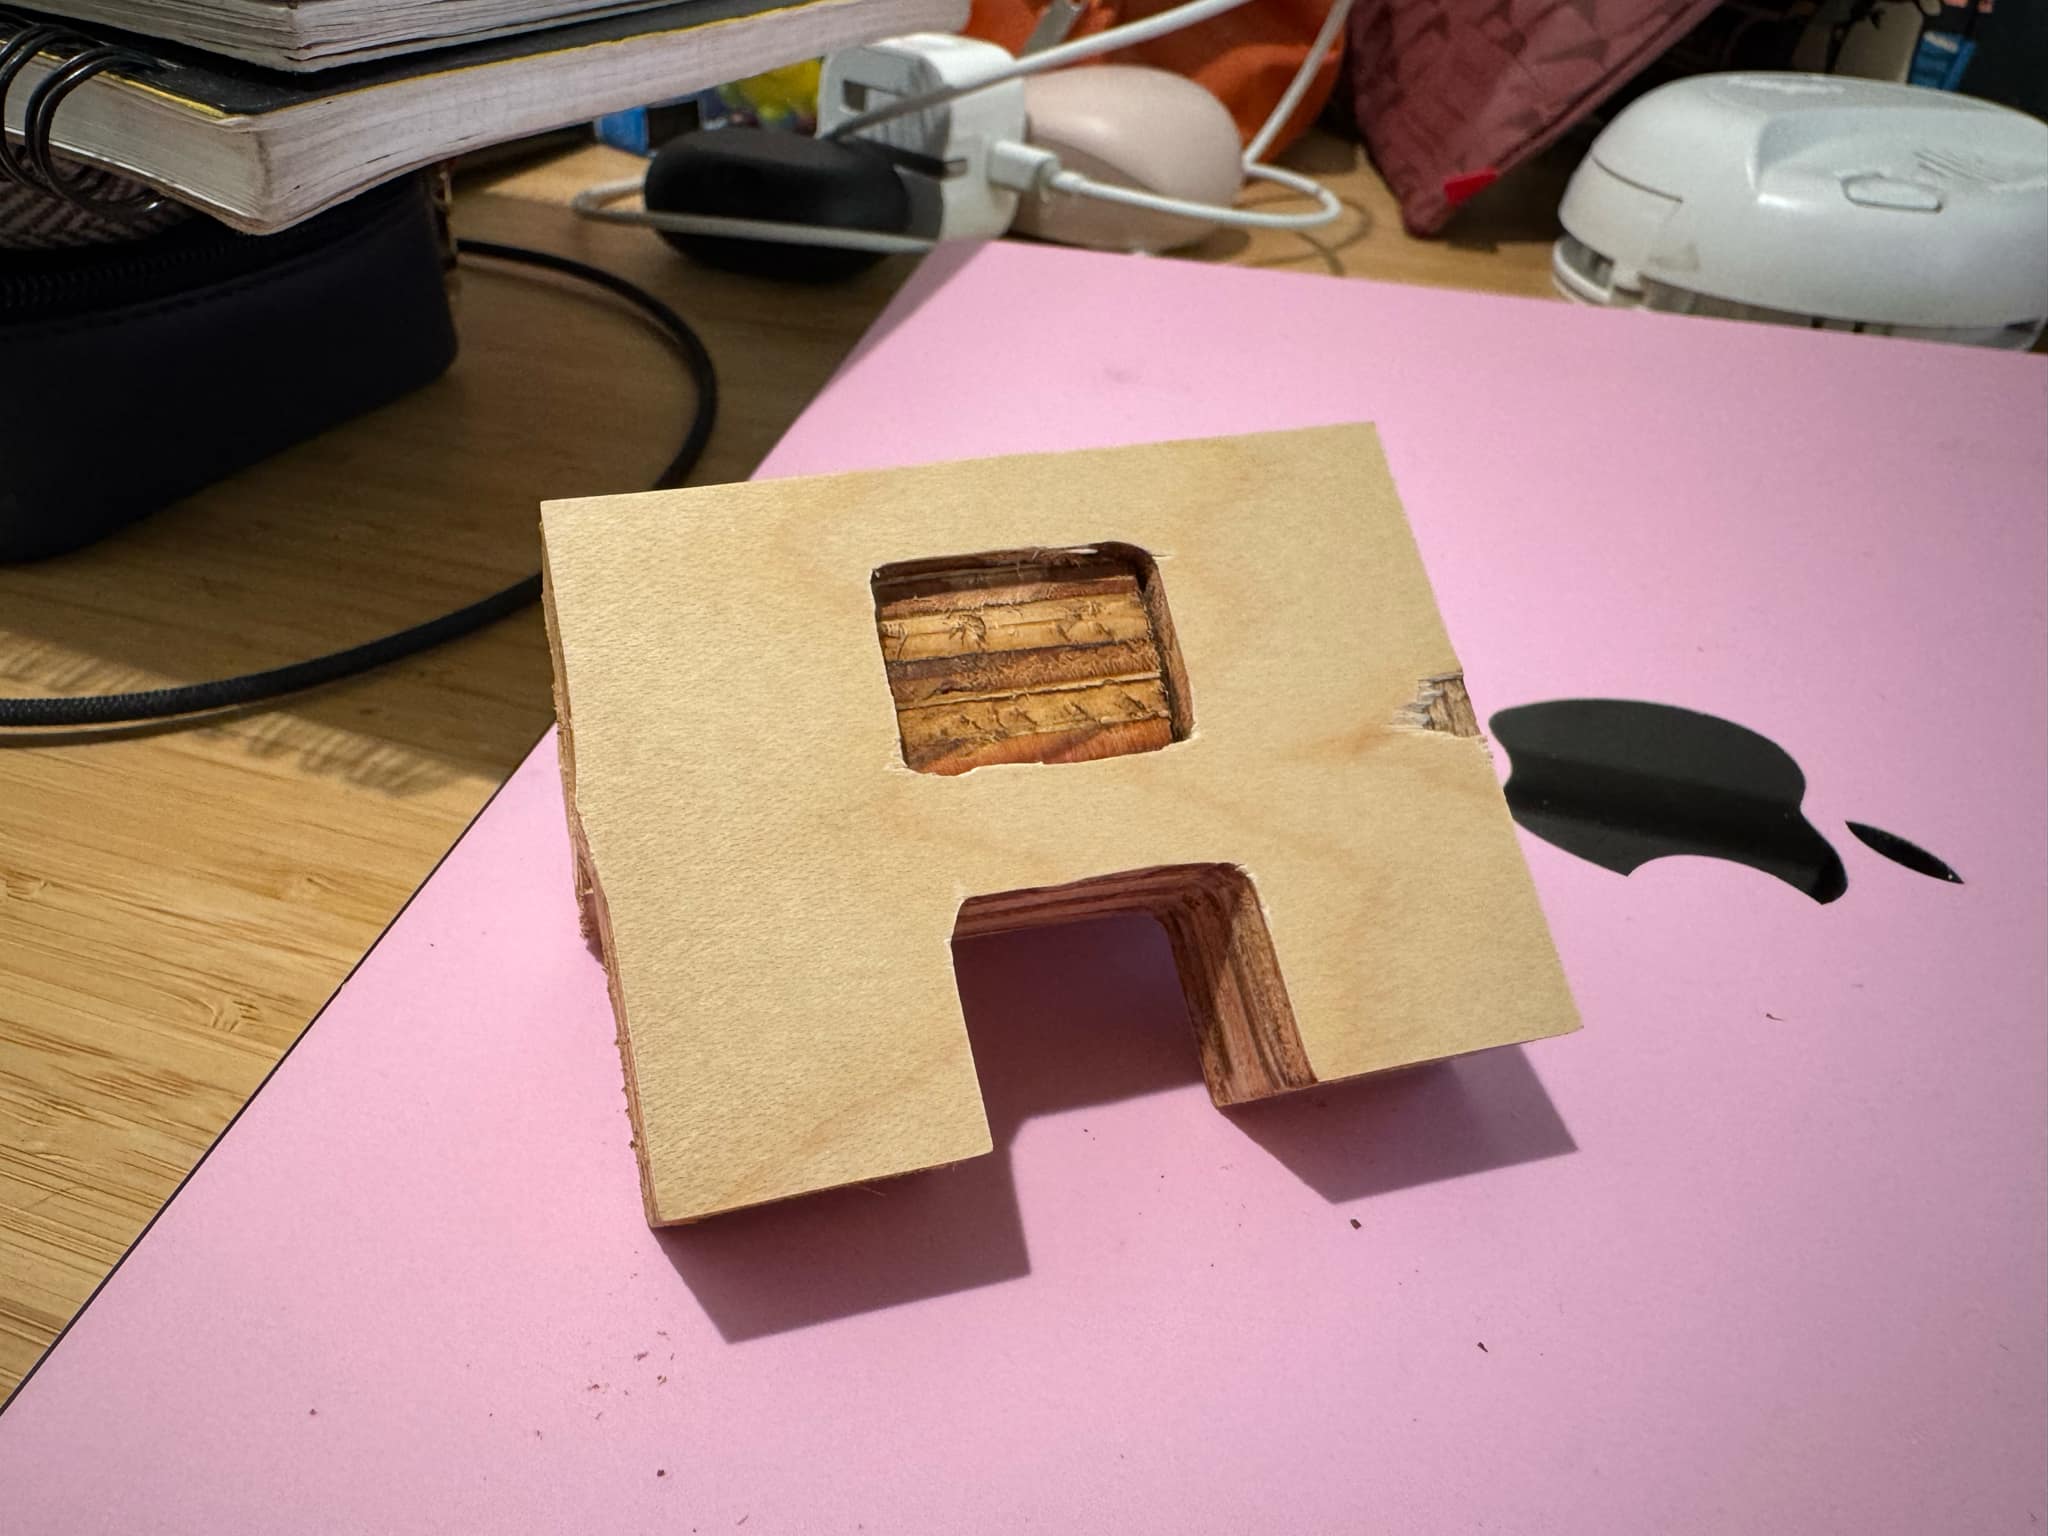
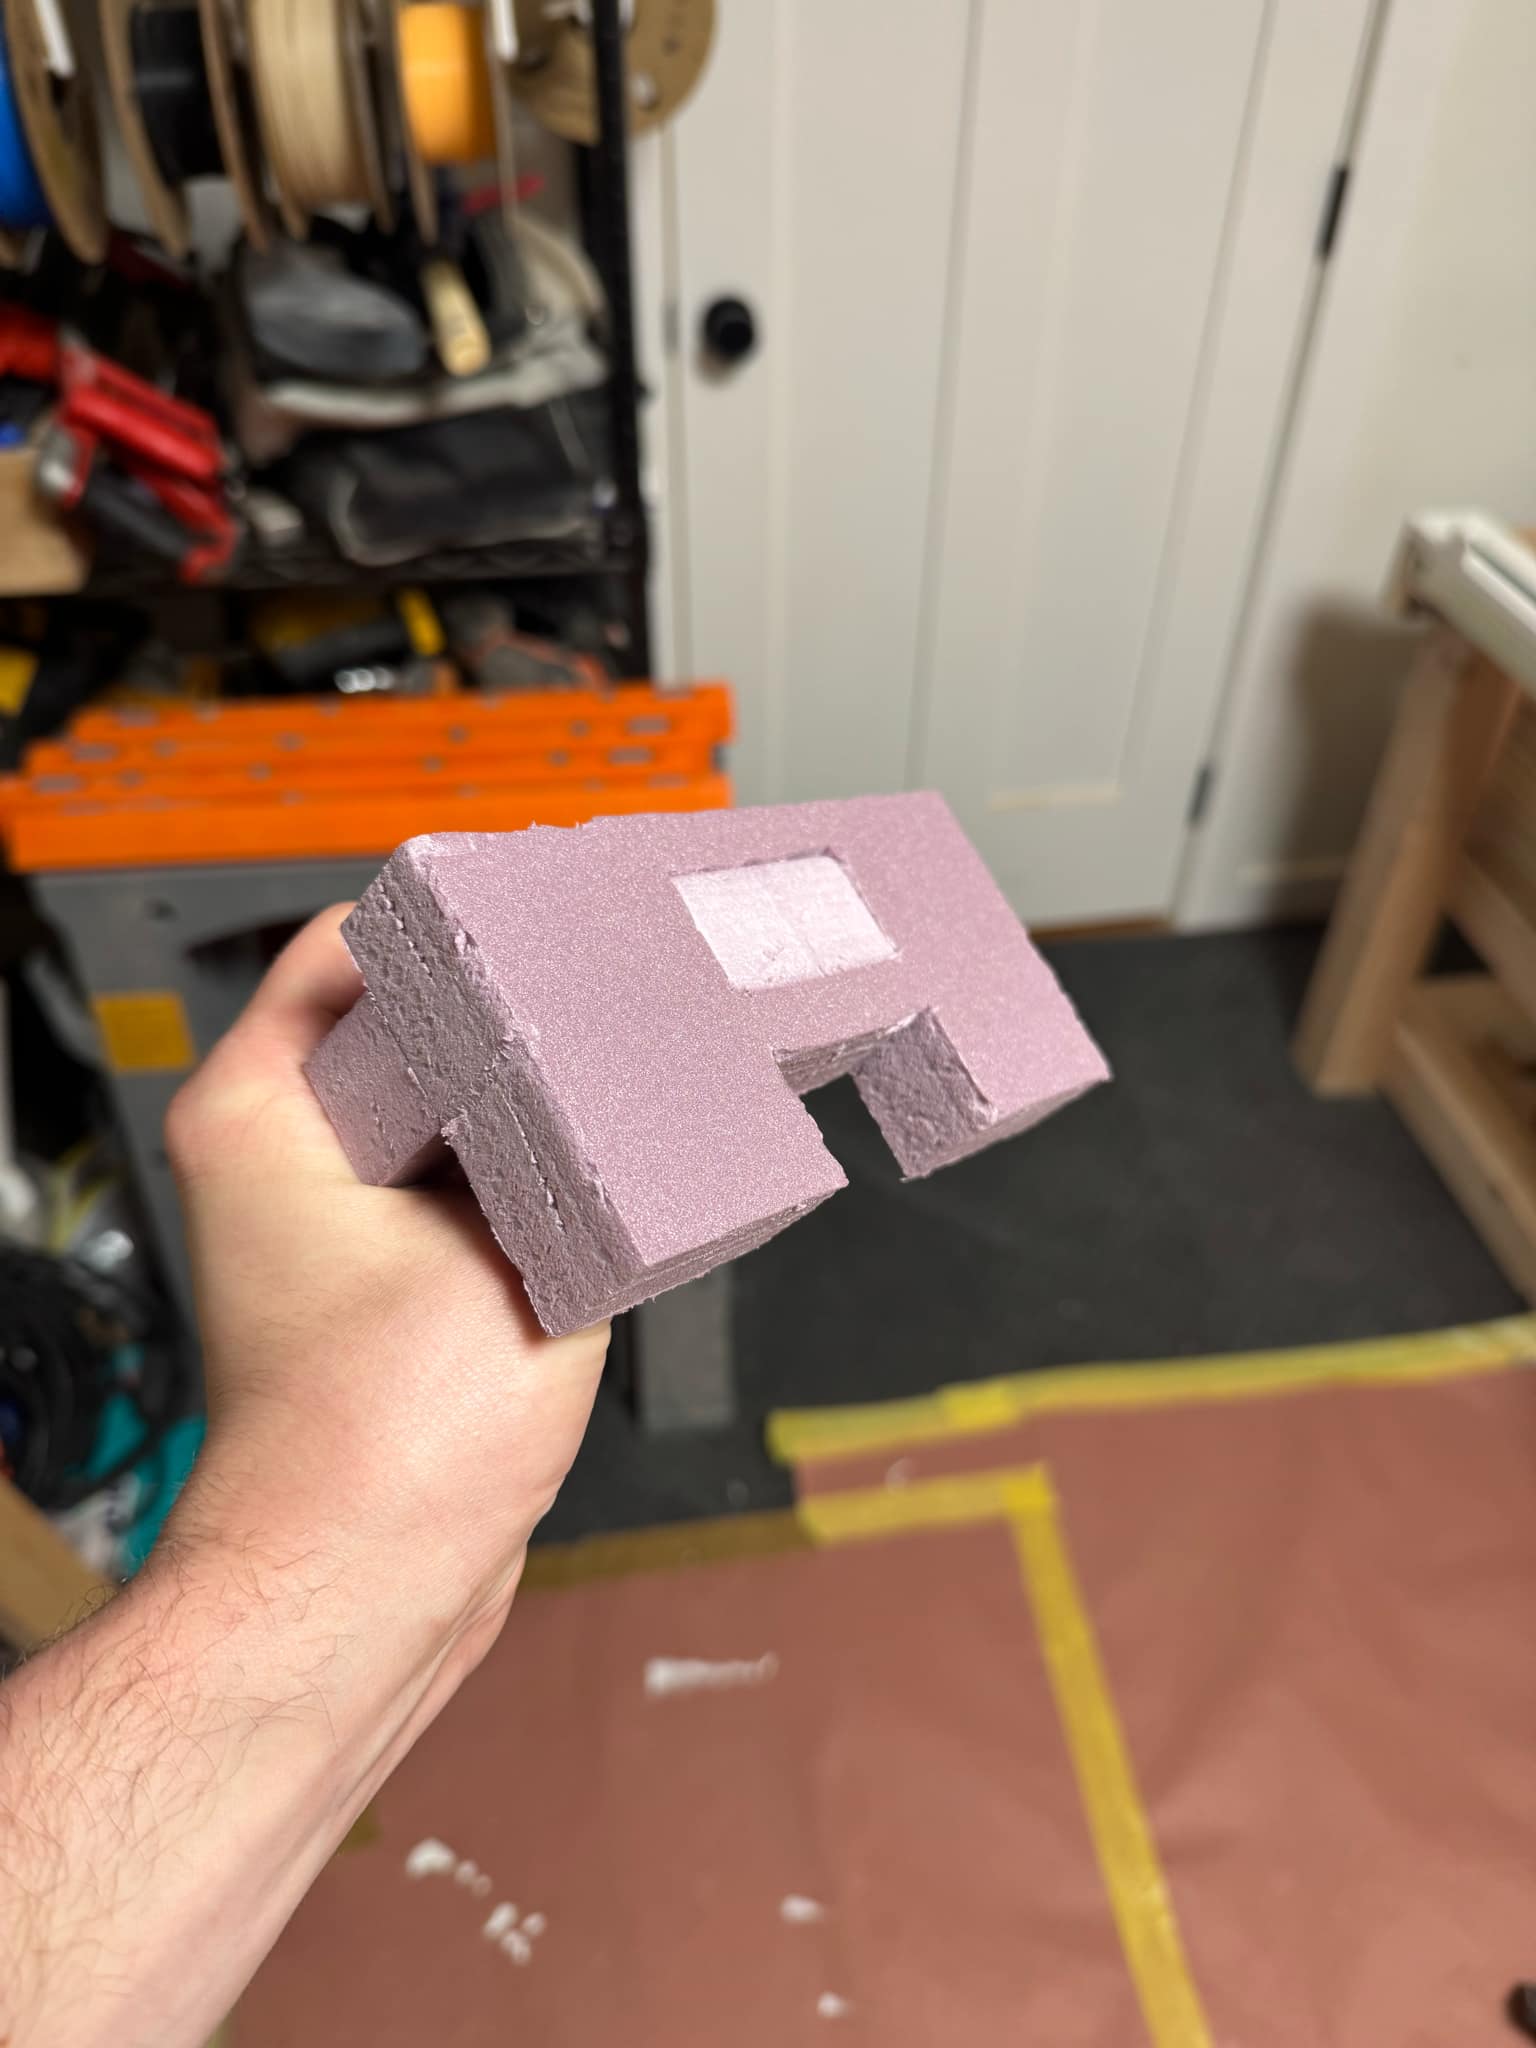
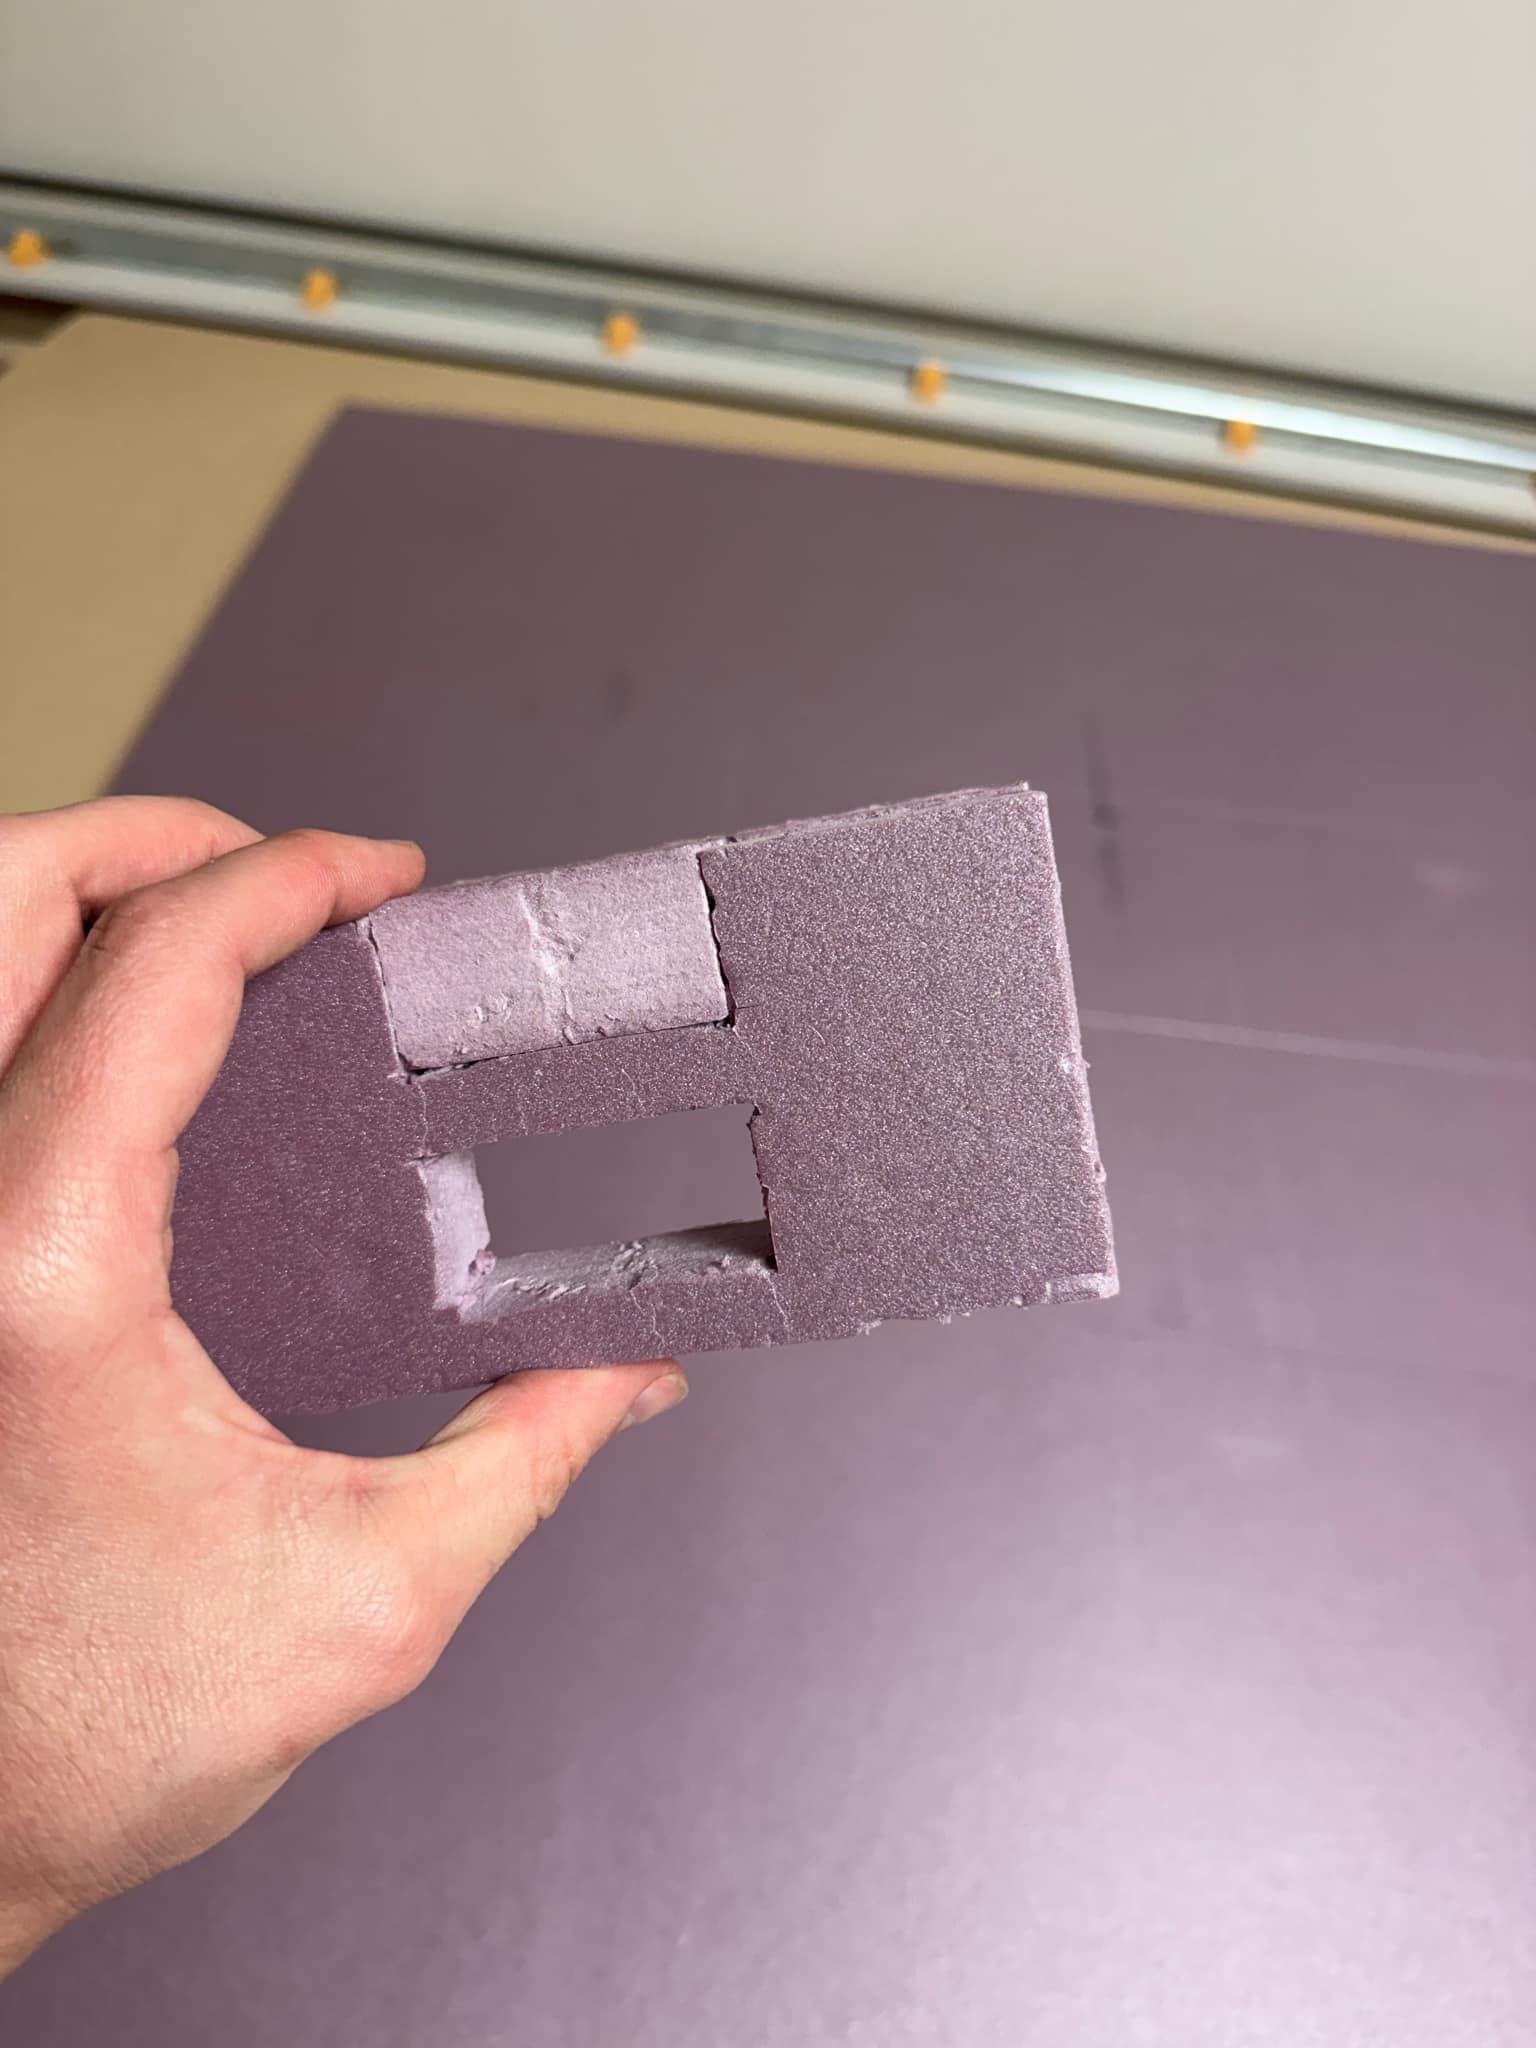
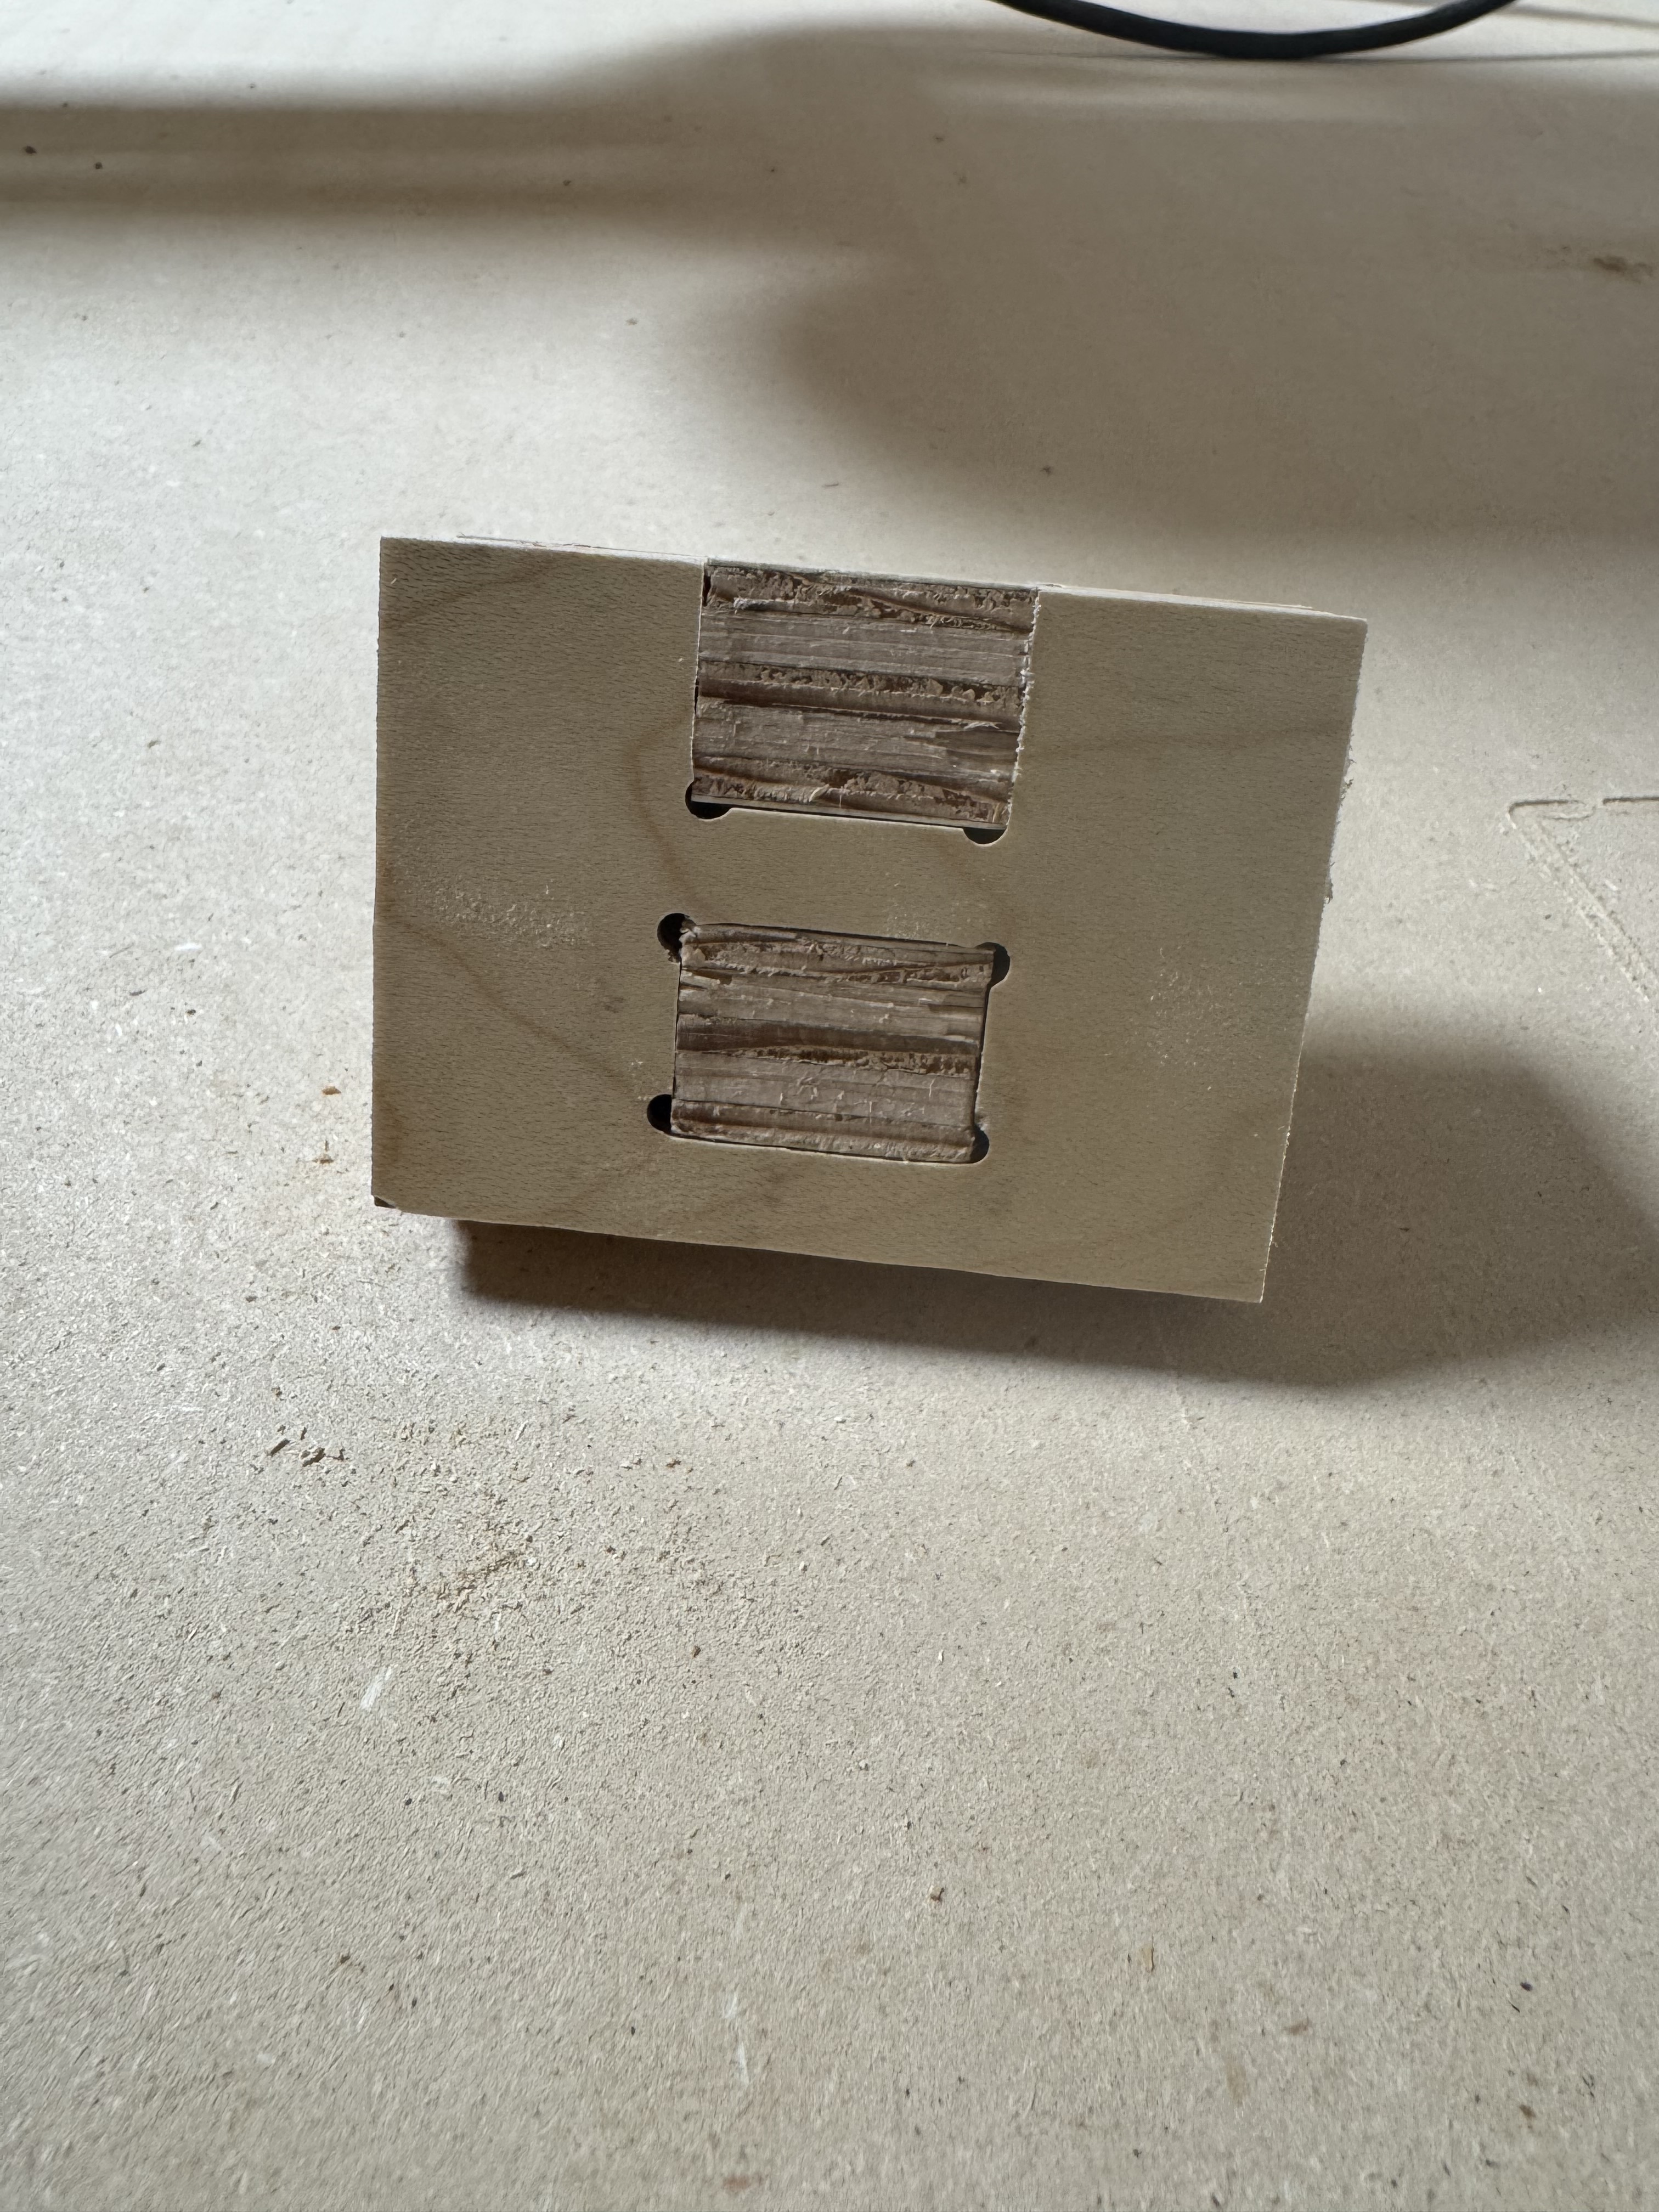
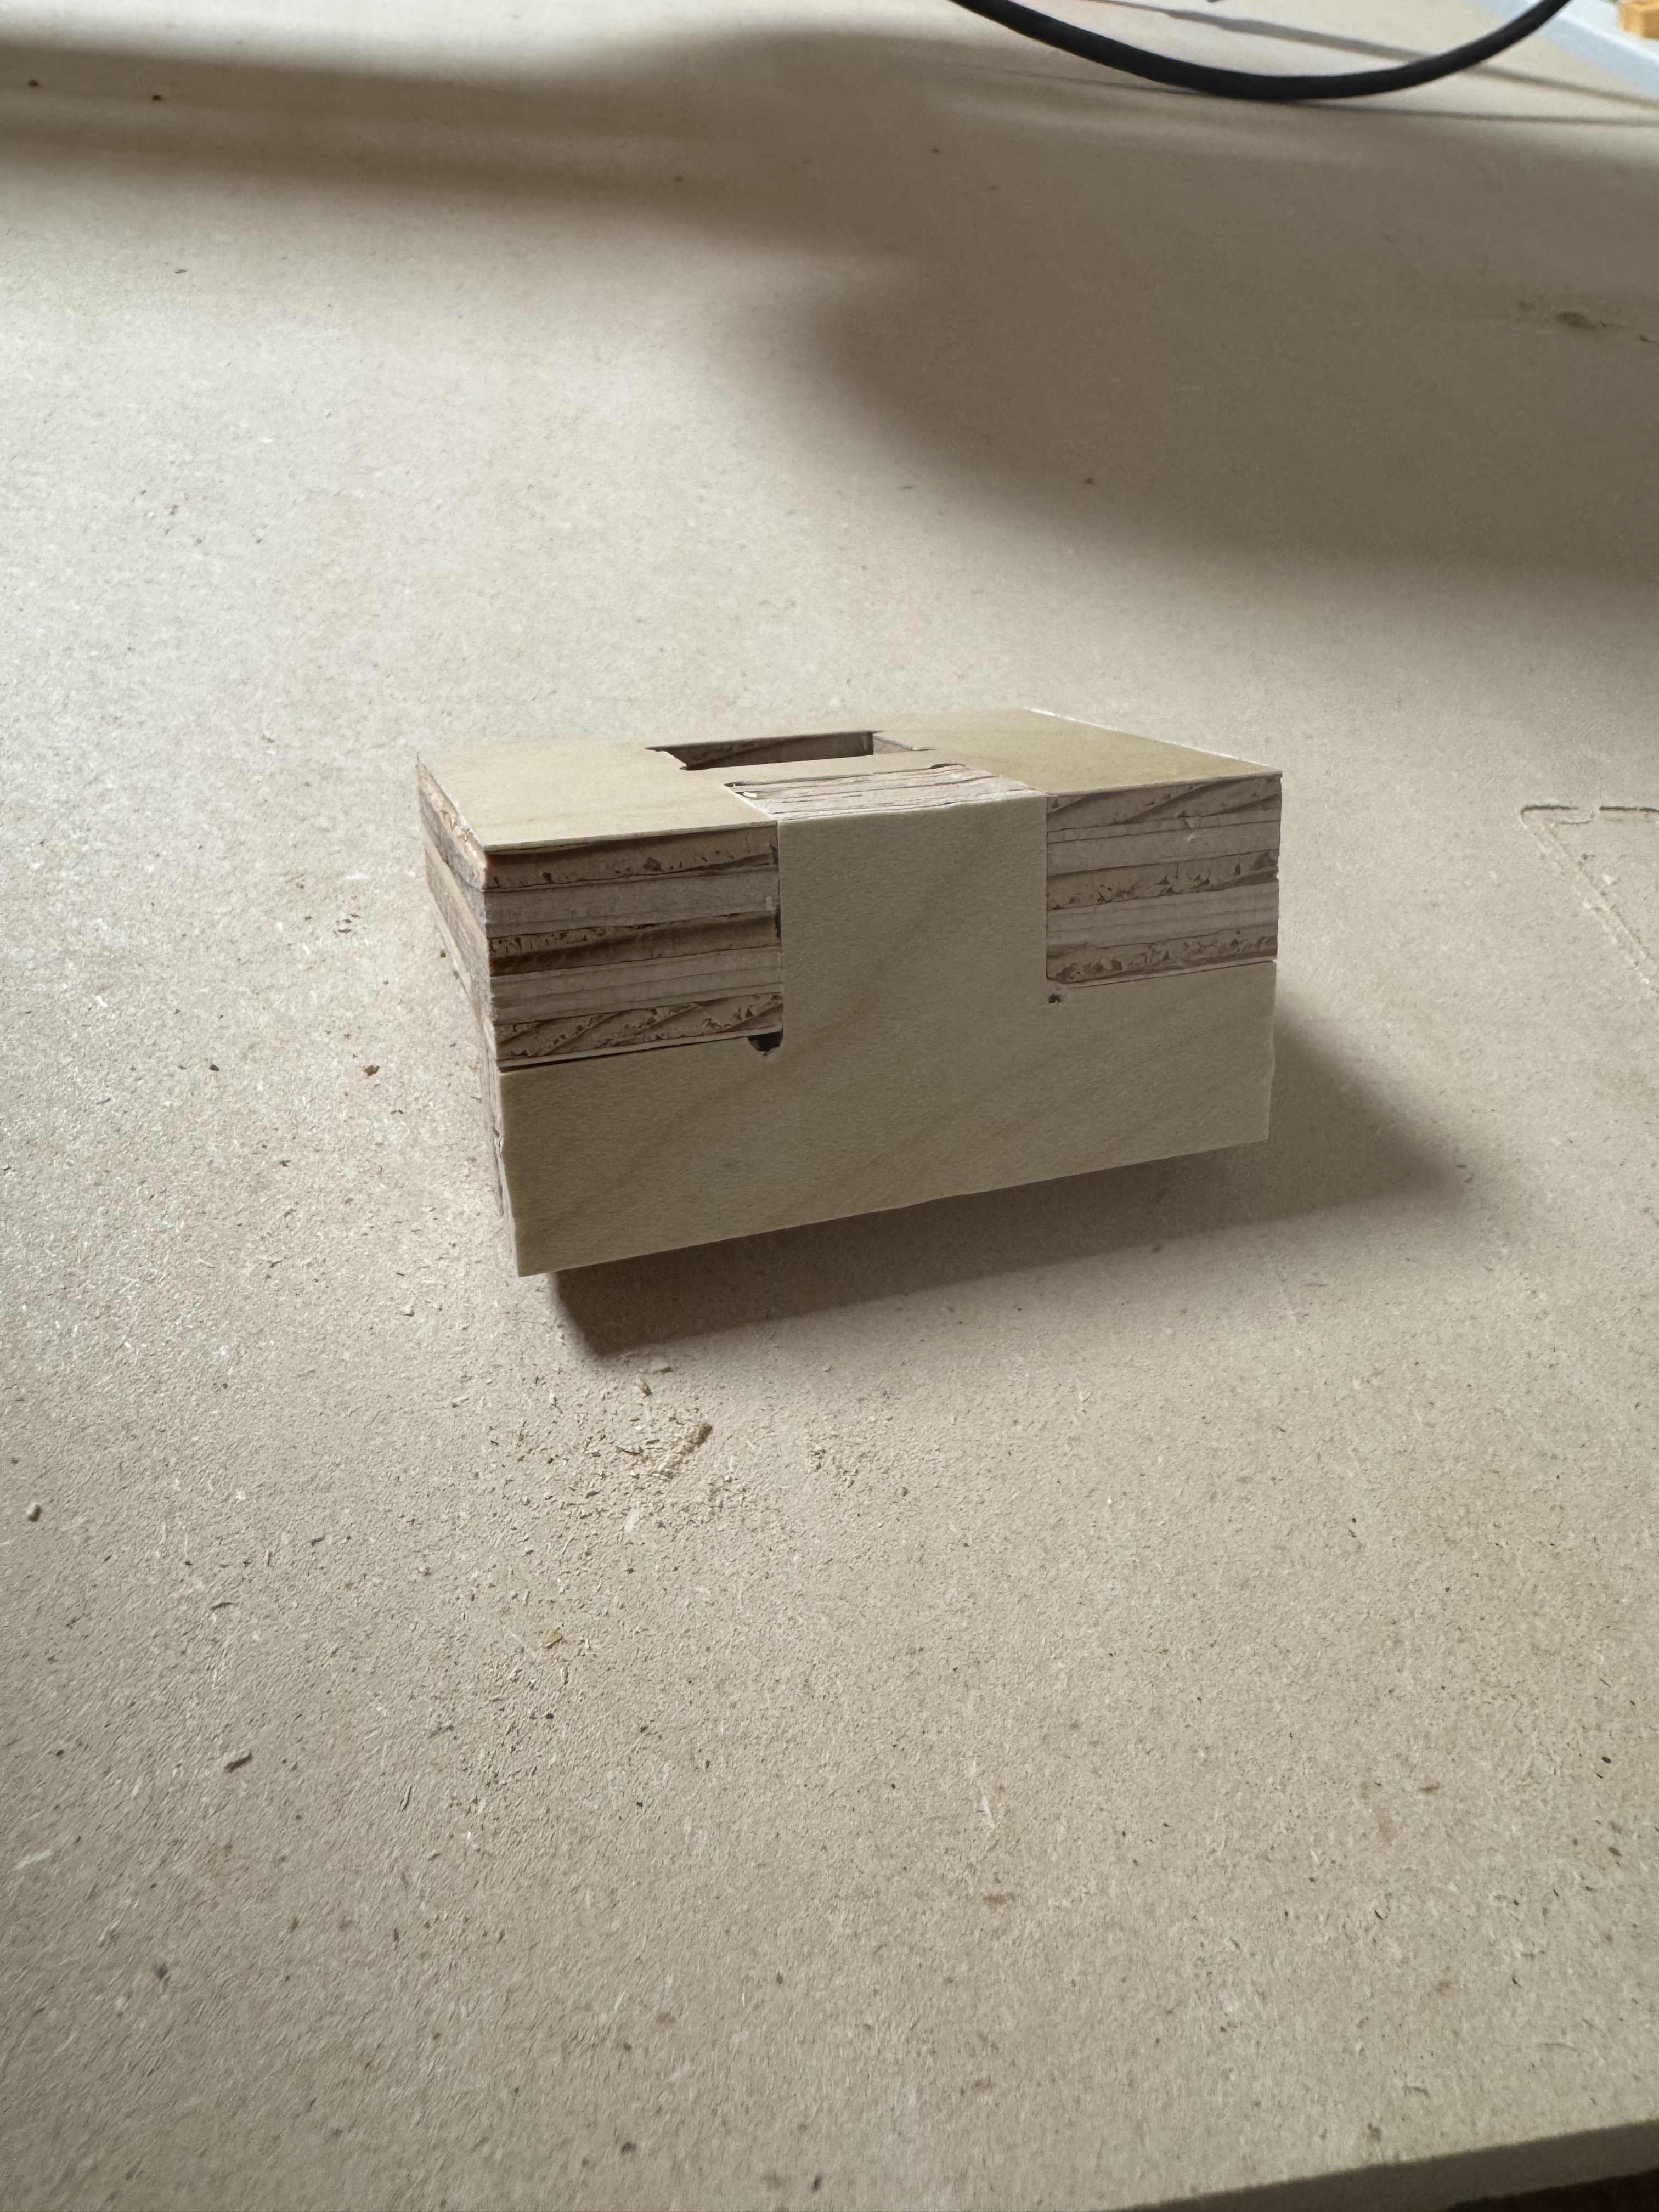
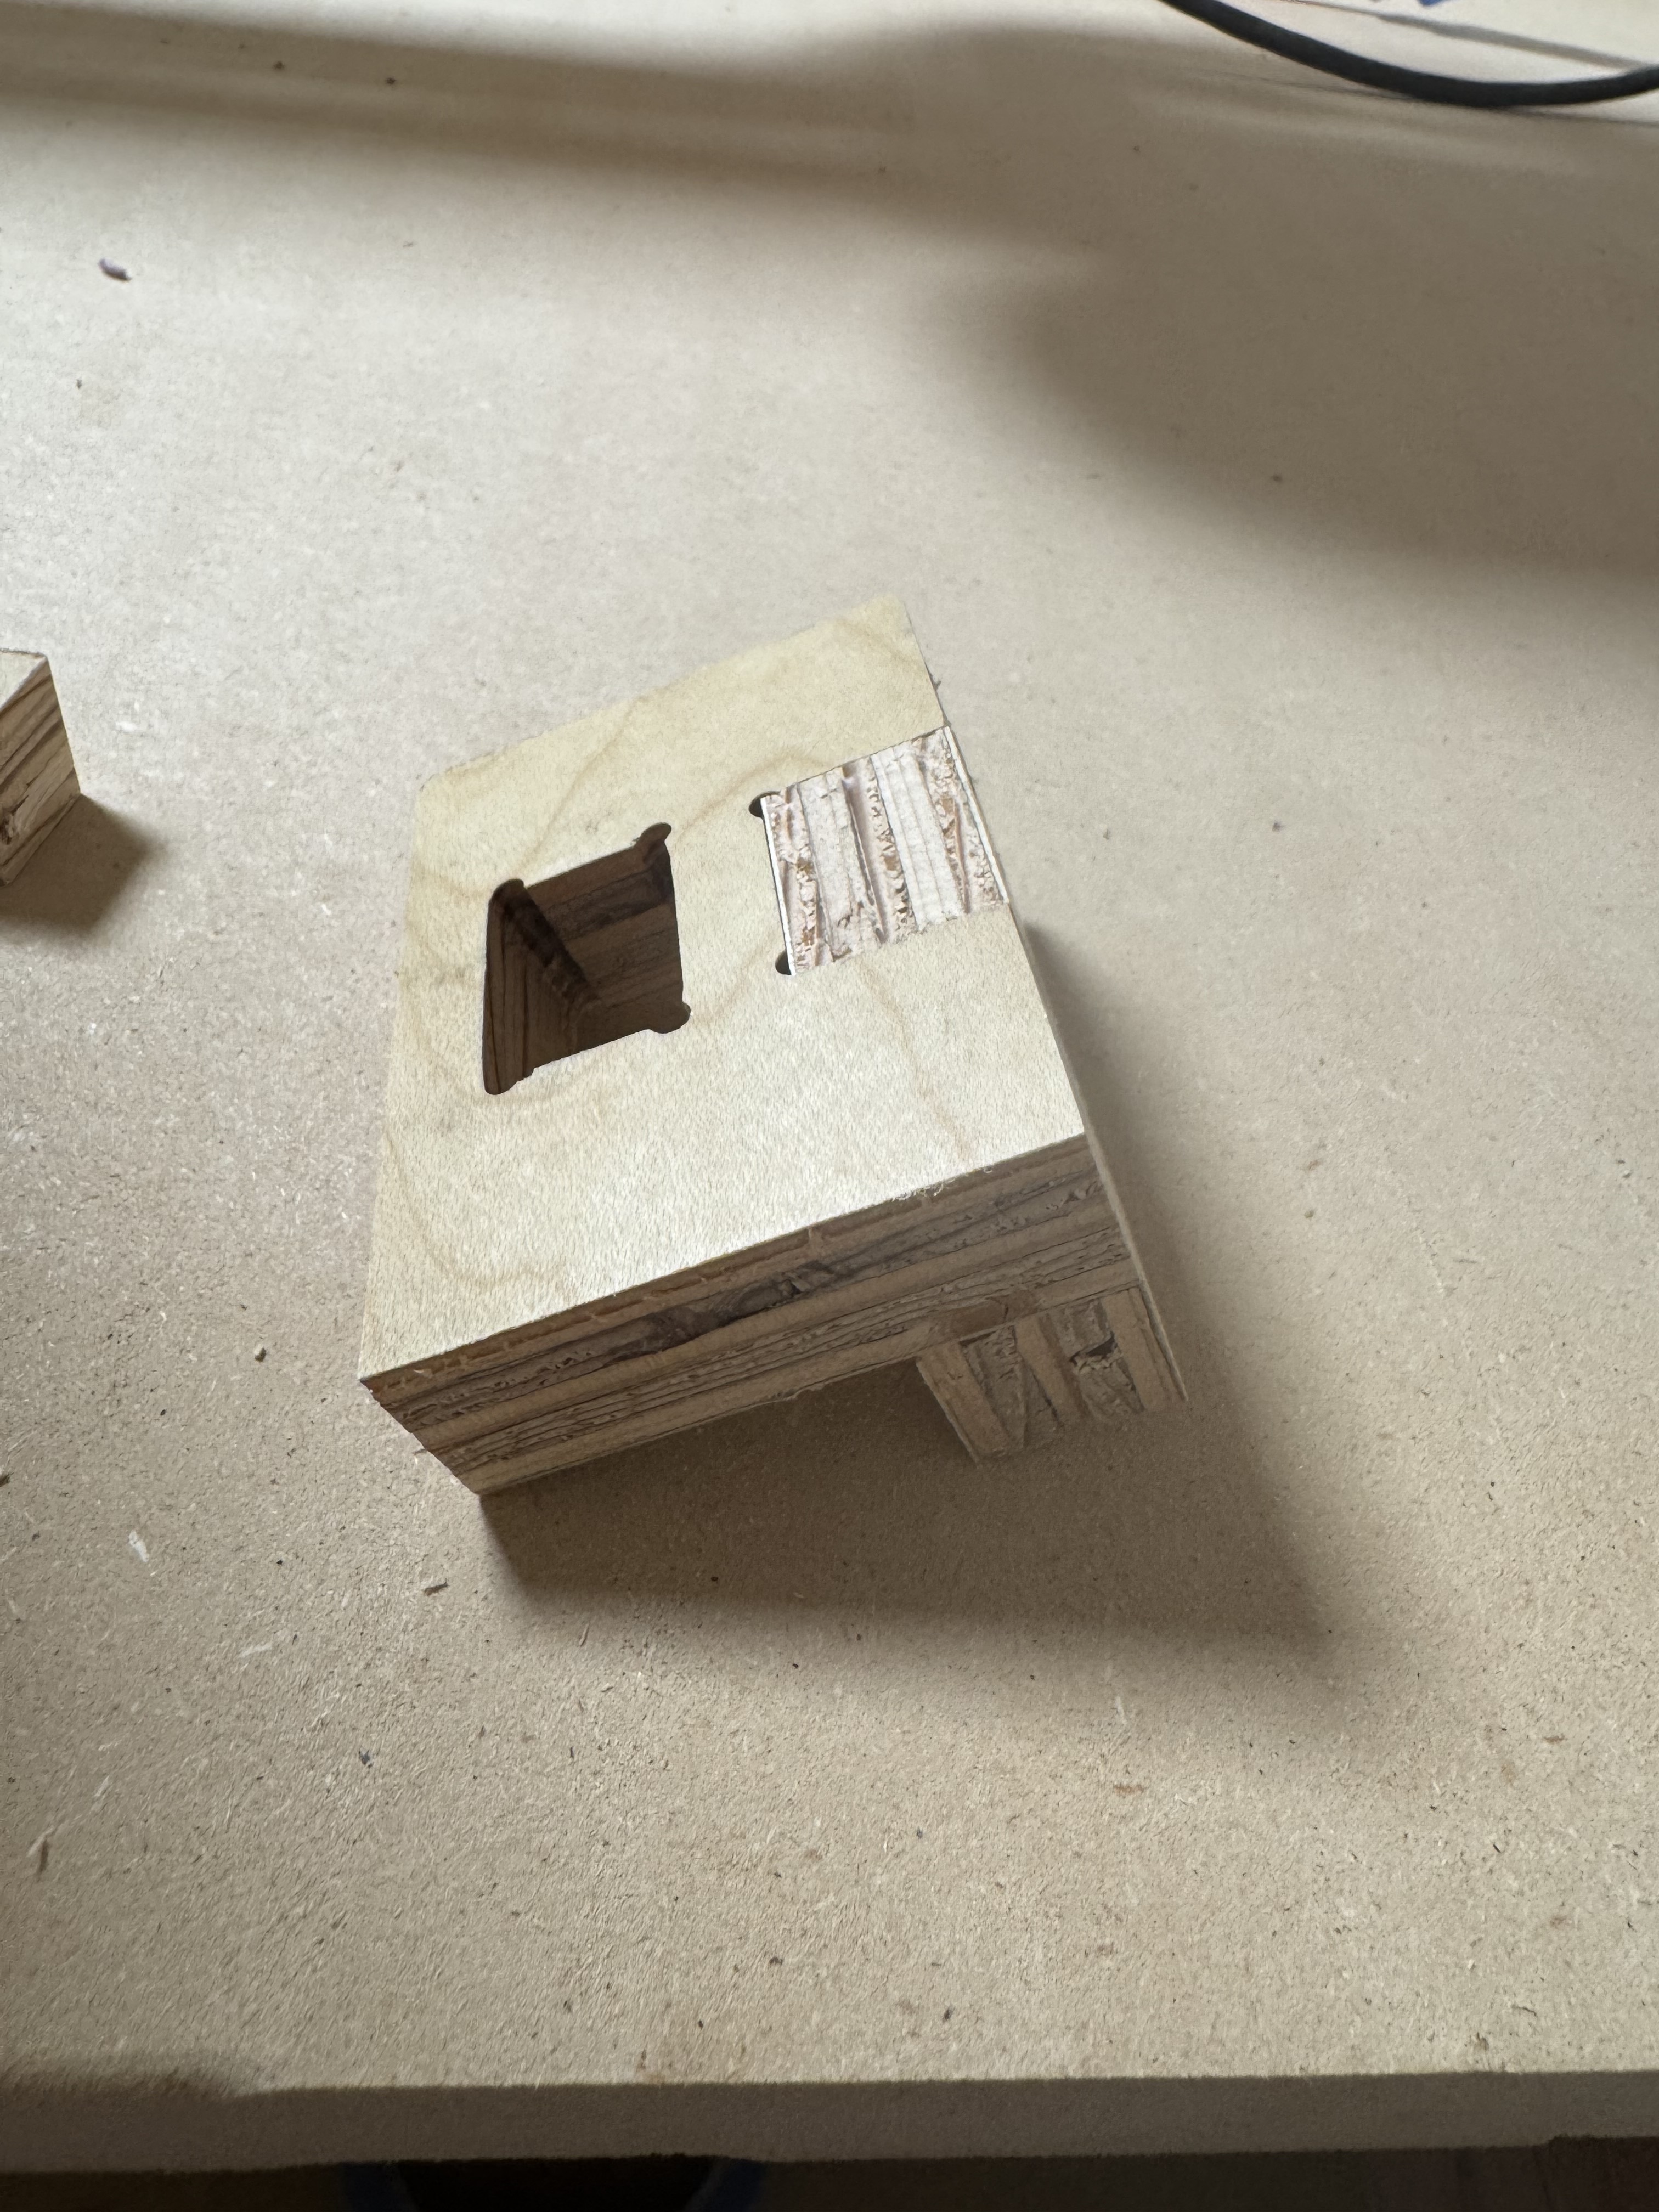
I decreased my depth of cut and tightened my Y belts a bit. I also switched to drilling the holes with a boring bit before swapping for a endmill to profile. That really seems to have helped!
Still the holes look a little off kilter. Not sure what I’m doing wrong there, but if they were lined up the rectangle holes would be way too big. So… who knows!
I am doing dog bones in the original sketch. The issue is that they are 1 bit width in diameter, which means that they are mostly cut by the full-depth finishing pass. This was causing deflection.
But, now that I’ve written that, maybe I can just up the diameter to like 1.25 bit width. I’ll try it tomorrow.