I’ve got no good tables for a 2’x4’ LR4 I’m planning.
I want to have something nice in the end and I’m thinking the parametric torsion box table would be a good option. I don’t know of any other table designs that I’d do instead (yet).
I don’t have a table saw, so was going to use LR4 set on my garage floor to cut initially.
(Obviously) It requires some pieces that are longer than the cutting area of the machine. Is cutting those few long pieces in two setups reasonable? Alternative would be to just make them with my skill saw and a straight edge.
Due to the number of inner ribs and the importance that they are cut true and lined up well, I was thinking it wouldn’t be a good idea to try and skill saw the whole thing.
Any other suggestions for tables would be appreciated.
I like the design! Looks like you built that last year. How has it held up?
My main worry is that the LR4 will take all the out-of-flatness from a table and make surfacing difficult or poor quality.
It is kinda funny how that works. You can build the machine, use it to surface it’s own spoil board and the table is then flat to the two Y rails. Even in that surface is twisted or bowed that will translate into the work surface.
Best part about that is anything you put on the table to cut will conform to that shape as well. In the end it is incredibly accurate.
If you build a Torsion box table, the only real advantage is it is super rigid and should hold its shape. Initially, it is no more flat or planer than any other table. In fact there are so many pieces chances are it will start off more lumpy than a more simple table before surfacing.
Ahh. That is the key. Significantly lowers the bar for what the minimum flatness should be.
Just need to be flat enough that and end product (cutting board etc) doesn’t rock or have obvious curl.
Super excited to start building! About to start printing the 3 big parts then I’ll order all the hardware.
The key here is the X gantry is always pretty dang flat/straight. So one axis is handled and will always be good. To have a table with enough of a Y axis twist to show up in your work would be extremely obviously messed up.
If you plan on using thicker material and are actually concerned about this, then use a straight edge from corner to corner in an “X” to shim your table as flat as you can before surfacing it. I bet you will be very shocked at how flat it is after.
I can say I do not think anyone has ever mentioned it in a real project and only a few people actually have a decent torsion box table.
If you are only using sheet material, there is no worry about this at all.
I want to shout this so everyone can hear it in the back. I built a table similar to Mike’s close to a year ago. I still haven’t surfaced it and it hasn’t been an issue for my projects. Most people, myself included, seem to overthink the table.
The bar for through cuts (profile cuts) is low, even for large, full size tables.
For engraving, where flatness matters quite a bit more, the bar is still pretty low for small tables, and starts getting higher the bigger the table gets. But even then, surfacing (flattening) the spoil board with the same machine that will be doing the engraving, gets over the bar.
In my actual experience, my first table was challenging because of (I think) sag over time.
For smaller tables, torsion box is overkill. For full size tables, the added rigidity of a tight, strong torsion box, can resist sagging. When I made my current torsion box to mount on top my saggy first attempt at a full size (full sheet capable) table, followed up by resurfacing the spoil board, is when my situation finally got nice enough I could do engraving over the whole area - not perfect, but above the bar.
In many cases, probably all cases (or at least almost all), if you’re creating a series of identical items on a full sheet, that will be both engraved and profile-cut, you could cut all the profiles first, then do the engraving on each part, later, all in the same spot on the table, so the engraving area is small, and the bar is lower again.
Simple. Through cuts are less picky. Just cut an extra bit intonthe spoilboard, and you’re good.
Engraving is typically a shallow cut, and often with a V bit. On a 45° V bit, change the depth by .5mm and you also change the width of the cut by .36mm. This is often quite clearly visible. So if the left side of your piece is 0.5mm closer to the gantry, it will have sloppy corners and be slightly wider, or the right side will be fainter and narrower. Or both.
Engraving requires careful levelling of the work piece.
You CAN use a straight bit to engrave as well, of course and the results might look OK, but then you can’t get sharp corners. The CNC makes sharp corners with the V bit by raising the cut to the top surface, where the V bit is very thin, but if that surface is higher than the machine thinks, it still won’t be sharp.
I read posts of yours before stating that you recommend using a 1/2" bit to surface the spoil board. Could you share a link to what you recommend? I didn’t see one on your site.
If you’re going to be doing mostly profile cuts, in which sheet materials are being cut all the way through, then I would encourage you to use shimming to get your table/spoil board as level as possible and not even bother with surfacing the spoil board. Surfacing the spoil board has benefits for certain uses, but it takes a long time to do it, and it generates an enormous amount of MDF dust, and you really don’t need to bother with it if you’re doing profile cuts.
I used a 1x1 and single sided 1/2" MDF table on all my LR builds up until last year. Those table tops actually just sat on top of a much smaller actual table, super huge bow in the Y axis direction, never once had an issue. I think the bow actually helped keep my X super flat. All my MPCNC’s were 1x3 and 1x2" MDF up until the big sexy build. I don’t think I ever surfaced a single one of them until this most recent LR table.
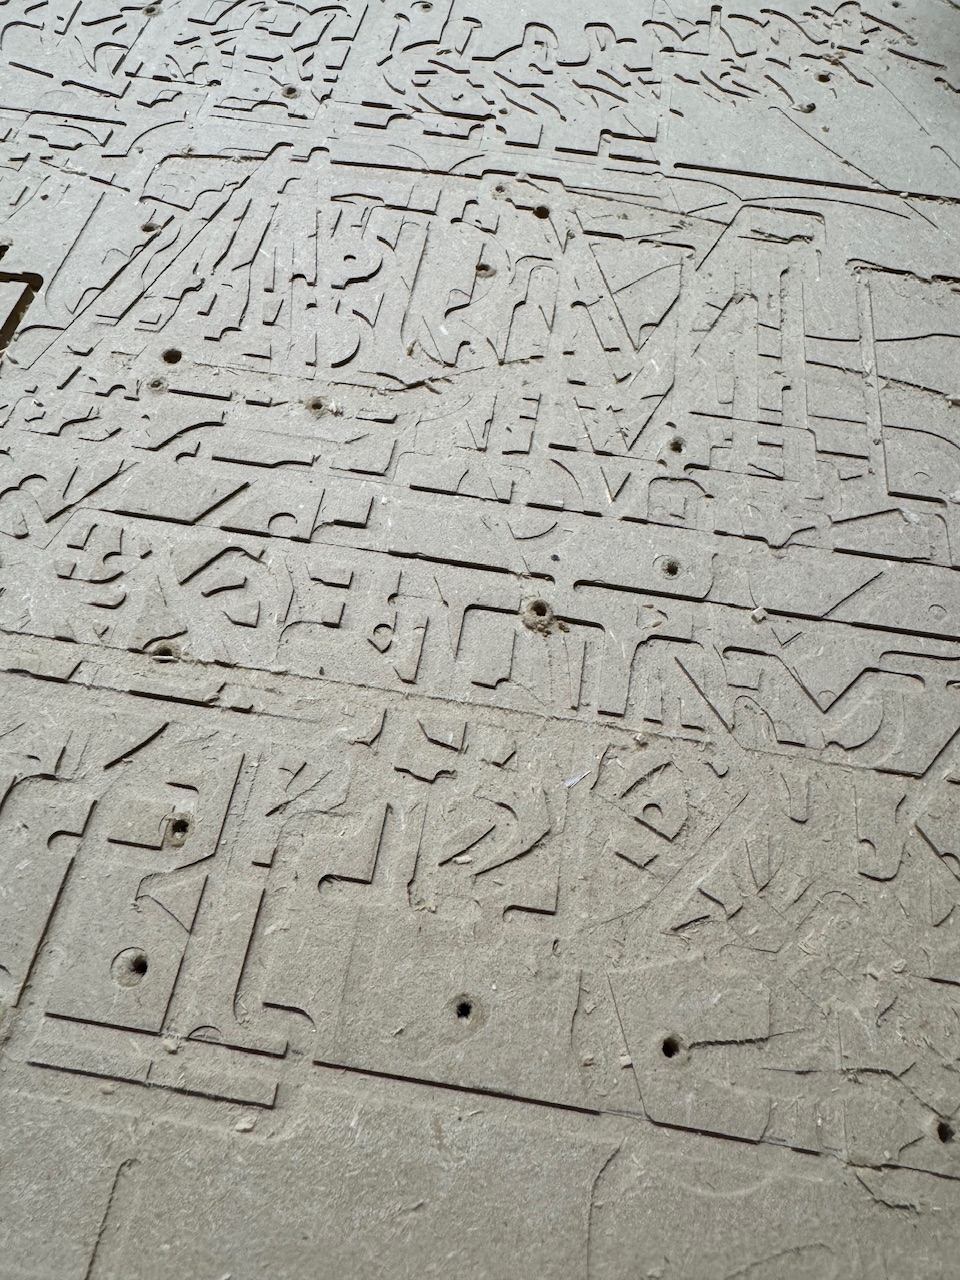
If you are new for 9 years we never once recommended even surfacing your table. We had recommended surfacing portion for a few select projects but it really truly makes zero sense for a new user to build a fancy table surface it super flat then screw up cam and drive an endmill 1/2" into your spoil board. If you look a the LR4 build instructions and see my table it has a 6mm square cut into the surface. Mistakes are made even 9.5years in.
Do not overthink it. You need to make things, when it get to the point of needing 0.01mm accuracy in the Z direction we will give you some tips and tricks.
For some reason this is all still getting blown out of proportion.
As for V carving, the answer is not a perfectly flat table. That helps a bit. If you need a super crisp V-carve the answer is Surface your material, do not move it, swap bits, and then V-Carve.
A lot of the myths are getting perpetuated and I am going to pop in a try to get things back on track.
It is not as complicated as it can be made out to be.
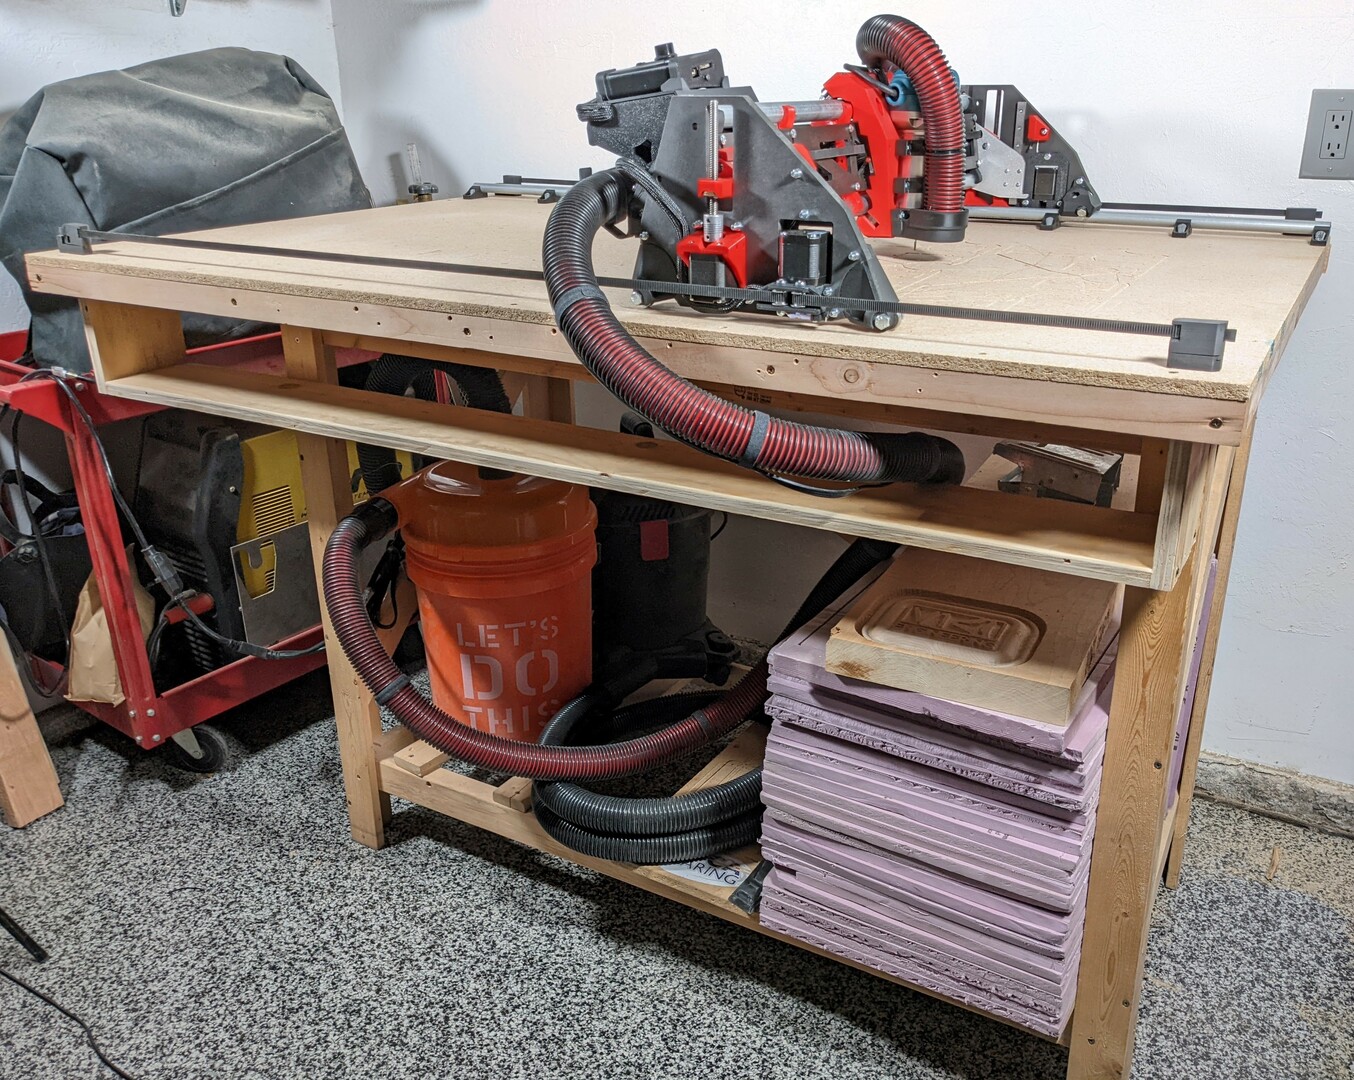
1x table, one sided spoil board, sitting on a 1x3 table. Not fastened down, you can actually lift the entire thing off the table. I am fairly certain every piece of that was scrap.
@vicious1 thanks for the thorough insights. Really enjoying the community here and cannot wait to make chips. The push towards simple and good-enough is much appreciated. Sketching up a 2x4 table that I can fit parts for in my car as we speak.
Far be it for me to argue against “appropriate accuracy” when it comes to the table. All the analysis that’s been presented is obviously correct.
However, there is one use case that makes it a little more demanding, and that is carving (as distinguished from engraving).
For the usual carving project, if the table is reasonably flat across the dimensions of the project, then simply flattening the stock before doing the carve (not moving it after flattening, of course) should normally be sufficient.
However, one of the interesting opportunities that arise with the CNC is the use of a multiple layered substrate. If done carefully, this allows you to expose different materials at different depths. But, for this process to work properly, the surface of each layer must be parallel to the surfaced spoilboard, probably to within 0.5mm, depending on the specific project.
For 2 or 3 layers, careful stock preparation and assembly (glue up) is reasonable and may allow slightly more error in the spoilboard, but, the more layers and thinner layers there are, the more precision is required.
(And, yes, I recognize that this application is somewhat esoteric, but if the opportunity presents itself, this sort of accuracy may be needed. )