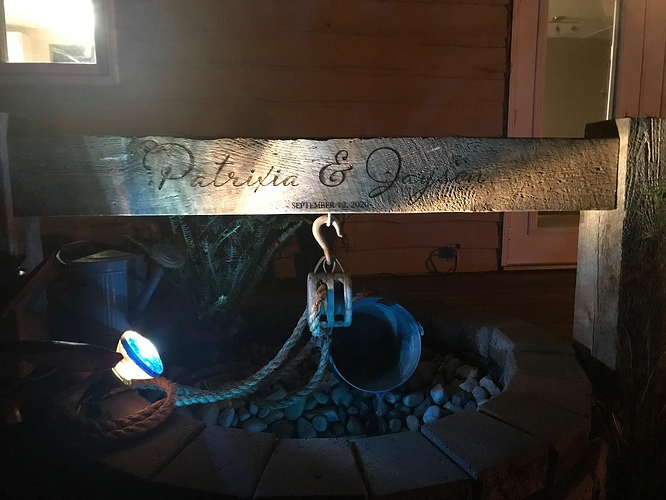
Current Laser Project (Barn wood wedding sign)

Been keeping my eyes peeled for opportunities to do some custom work for people, and someone posted a couple days ago in a local FB group that they needed something burned with a laser. So I fired off a message.

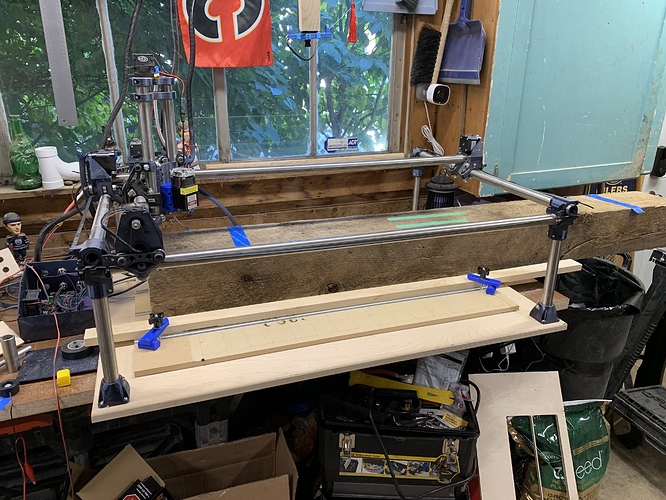
I was close to him, and could do the work right away, so we worked out a deal, and he dropped off the material a couple days ago. Big whoops on my part… I thought he wanted a 6" x 8" piece of barn wood burned. Simple enough… Turned out it was a 6" x 8" x 66" piece of wood! Fricking beast!

So… Had him drop off a couple of other samples so I could play with the burn parameters, and off I went to Metal Supermarket for some new legs. Here’s the before pic:


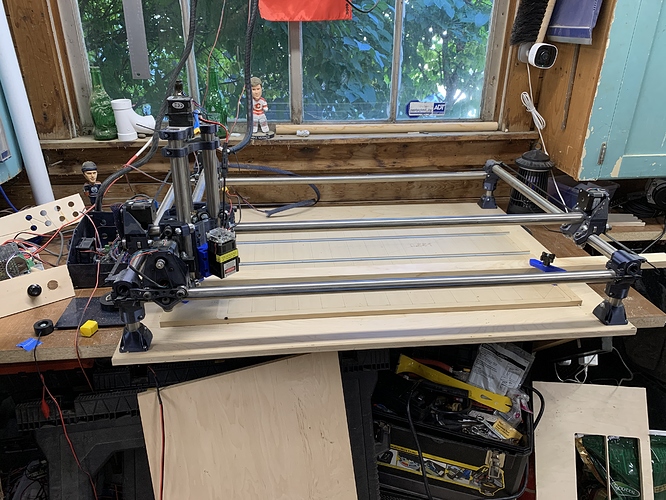
Nice normal MPCNC, right?

Here’s the stretch version, with 9" legs instead of 3":

So far, so good. Playing with Lightburn, and registration marks. Think I’ve got a grasp on what needs to happen, but we’ll see. Famous last words. Wedding is on Saturday. :frowning: So he needs it by tomorrow. I’ll follow up with another pic when it’s done.

After this, someone else replied to my post on the FB post, and they were looking for someone who can help them out with some laser work. Another wedding (in 2 weeks this time), and he made a bunch of BBQ scrapers for the bridal party, and needed them engraved with the initials and wedding party position for each member. So they’re stacked up on my workbench, waiting for my machine to shrink back to normal size.

C

7 Likes

It’s great that you’re agile enough to react to those “special requests.”

If you get more “tall” work, I’d seriously consider building up a torsion box base, maybe with a couple of drawers, and boring holes under the long legs so you can just slide up and down when you need the extra height.

2 Likes

Had to McGyver an air assist last night. Was working on the burn till 2am, and not happy with the results. The sample piece he gave me burned beautifully. The actual piece burned inconsistently, had smoke issues, and then my laser stopped at about midnight and I had to figure out how to restart a Lightburn project halfway through.

Just burning the second half of the image. What a pain in the butt!

And Tom, that’s a good idea. I was trying to think of a way I would do dovetails on this rig, which would mean a way of putting a piece in vertically. Might be able to combine that in some kind of “flex table”. But flex only as far as options go, not stability. :slight_smile:

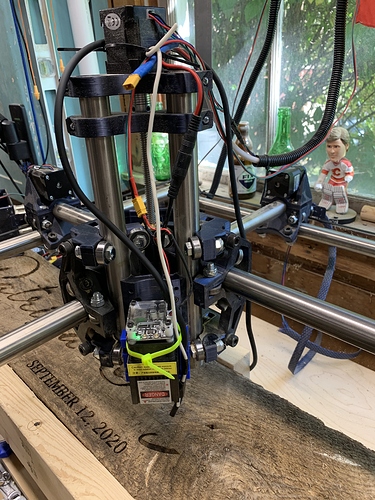
The air assist is a 950 gph air pump I bought for the purpose, but hadn’t set up yet. Hadn’t needed it, for the stuff I’ve done. So in the middle of the night, I ended up bending a piece of 12 gauge wire from the Z motor mount down to the laser, and then taping the air hose to that. Ended up working surprisingly well.

C

3 Likes

Client just picked up the piece, and was very happy with it. So that’s a good thing!

Things I learned…
Make sure to understand the client’s project before pricing. Having to buy new SS legs ate up most of my profits from the piece. On the other hand, the flexibility of the MPCNC design made it easy to transition! And now I’ve got the hardware to handle it in the future.

Air assist rocks. In the picture below, the “&” was burned without the air assist, and the “J” was burned with the air assist.
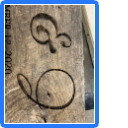
AirAssist example

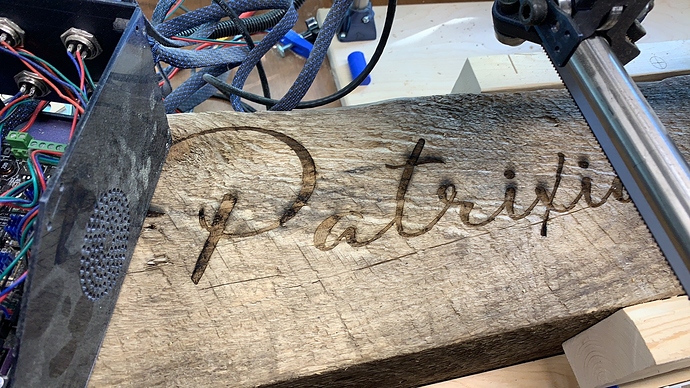
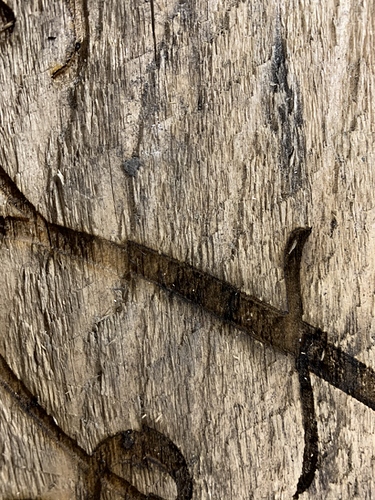
Failing the air assist option (for whatever reason), 3M low tack tape works surprisingly well for removing smoke marks from irregular surfaces. Because of the weathered surface, sanding was NOT an option. So while I was waiting for the last part to finish burning, I was noodling how to clean up the smoke. So I tried the tape I had picked up for paint masking. Here’s the “before” tape cleanup, and you can see how smoked the cross-stroke of the “t” was.

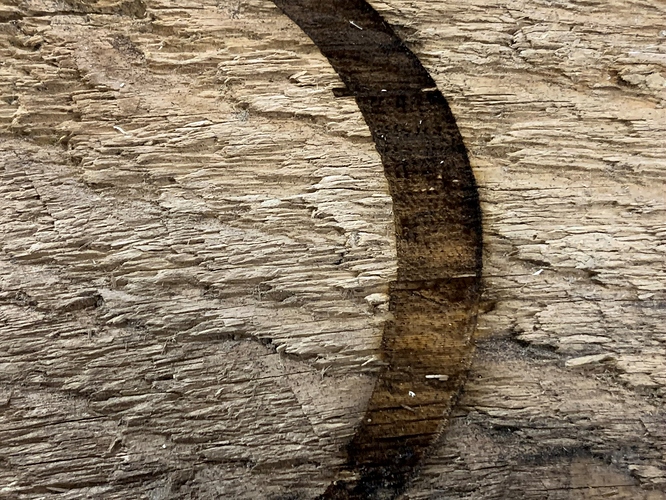
And in this picture, after I had gone over the smoke with the tape:


Another lesson… When things go south on you, having a repeatable starting point is essential! And don’t panic! About midnight last night, my machine just stopped moving at about 3/4 the way through the job. The last line etched was about 3mm above the cross-stroke of the “t”. And about then, I just felt sick. So I ended up making a copy of the Lightburn file, then removing all the nodes of the text below that point (because I really didn’t want to burn the whole thing over). I then used the registration marks on the 2x4’s to line things up, along with the “Position Laser” menu option in Lightburn to make sure that when I started the job, it was going to burn at the correct point.

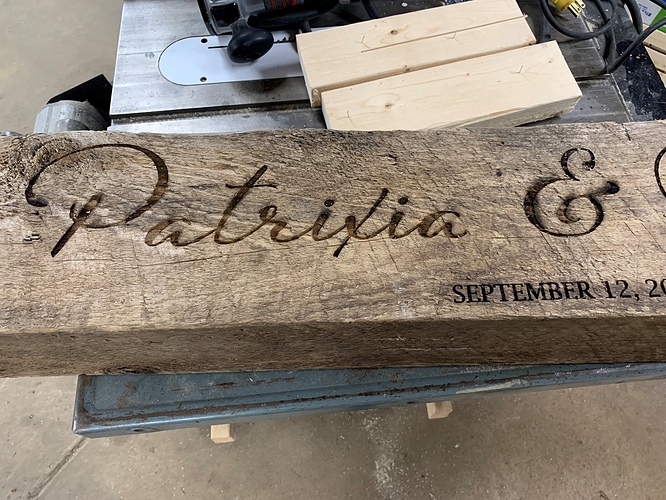
For some reason, I ended up having to manually re-position the beam for each of the three sections I had to do (the top of the “P”, the top of the “t”, and the top of the “&”) separately. When it was done, I couldn’t tell where the job restarted. In the pic below, the restart was somewhere between the two sections that had missed steps (surprisingly enough)…

The first missed step happened before the job failed; I think my control board or drivers overheated after 5 hours. The second missed step I have no idea why it happened, but at that point, I was watching the job like a hawk, and as soon as I noticed it was out of alignment, I whacked the beam over the 2 mm it needed to be back in sync with the job. What a fricking nightmare at 2 am!

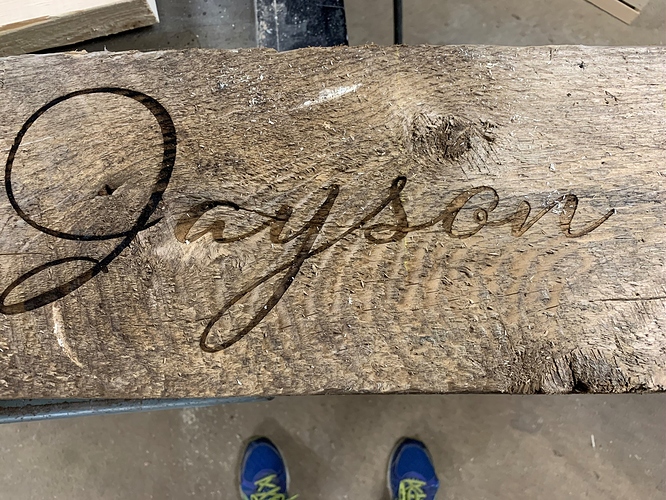
So then this morning, I used the same technique to burn the “Jayson” on the beam, as my MPCNC wasn’t big enough to handle the entire width. Had the air assist on from the start this time, and it burned beautifully without any issues. No missed steps, no smoke issues, nothing.

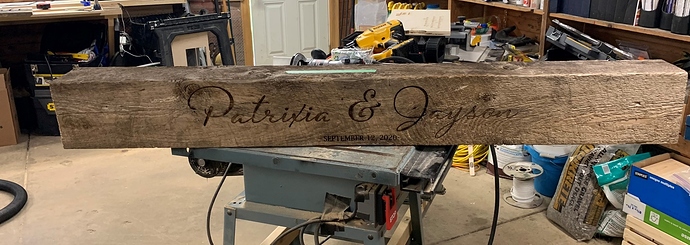
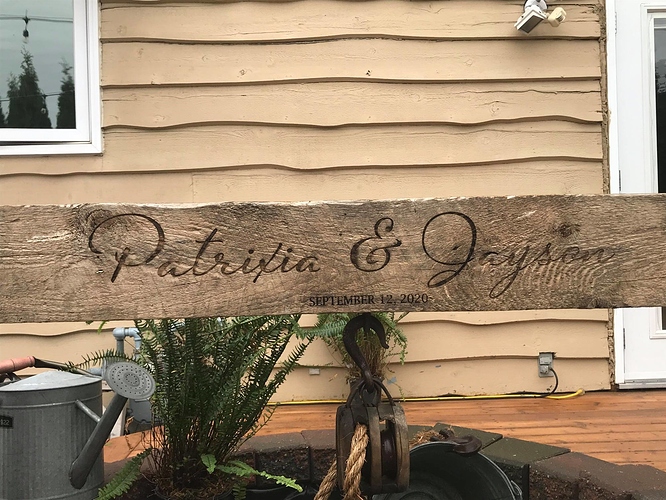
Anywhoo… Anyone finishing reading this saga deserves a cookie. Or beer. Or something. Here’s the end result. Hoping to get a pic of it in place.

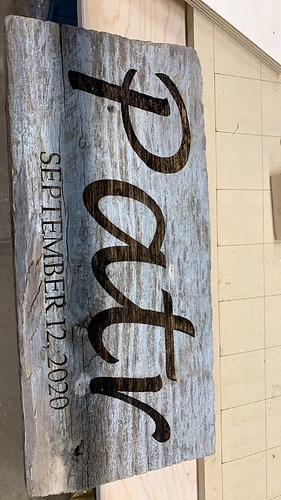
And for the record, this was the sample board the client gave me, and the test burn I did on it. No laser required, and it just burned beautifully on the surface. The actual beam was a nightmare. That would be another lesson learned… When asking for a sample to do a test burn, make SURE it’s from the same piece of wood. But even the beam didn’t burn consistently from one area to another.

Clint

5 Likes

That output looks pretty good. I am jumping to conclusions here, but my guess is that ended up being part of some kind of altar accent piece at a wedding? I suspect a lot of people would freaking love to have that at their wedding (and pay well for it) and then they would end up with a really big souvenir. Also, wedding stuff has an enormous markup for whatever reason. Little errors won’t be noticed on a workpiece that large either, because it will probably be hung 9 feet off of the ground. Seems like a win-win for you and this contractor.

2 Likes

Yeah, I’m guessing it’s going to be used as a table piece or something. Hoping to get an “installed” pic.

Definitely didn’t make money on this project, but the guy is a happy client, and is a business that could lead to more work, so I’m ok with the outcome too.

And speaking of wedding shit… My GF and her boss are bouncing around the idea of doing wedding flowers/decorating as a side-biz, so I made sure she’s aware of some of the potential with my toys. I mean, tools! :slight_smile:

And the guy who wants the BBQ scrapers done for an upcoming wedding is bidding on a job to do cutting boards for a local builder, and he’s looking at getting them engraved too. So he’s going to be in touch on that, which could be more lucrative as well. And not as much of a pain in the butt as a 50 pound beam…

Clint

1 Like

In the immortal words of James “Stumpy Nubbs” Hamilton - sit back and have yourself a cold one, 'cause you’ve earned it my friend.

2 Likes

And it is really Patri-x-ia? :wink:

LOL. Yes! And I have his text to prove it! :slight_smile:

C

1 Like

I didn’t know what they were doing with it, but it looks great! Makes some of the pain fade a bit more. :slight_smile:

3 Likes

stunning work

you mentioned “air assist” what is that?

Pat,

Take a look here:

Basically, using a small stream of air to blow away the byproducts of the laser on wood interaction. Can help clean up the smoke damage, and can also assist with cutting.

I experimented with my air compressor turned down as low as I could, and just holding it in position as I made some cuts and burns. When that was successful, I purchased this:
https://www.amazon.ca/gp/product/B06XDKRYC6/ref=ppx_yo_dt_b_asin_title_o00_s01?ie=UTF8&psc=1

That’s what I used for the last half of this burn.

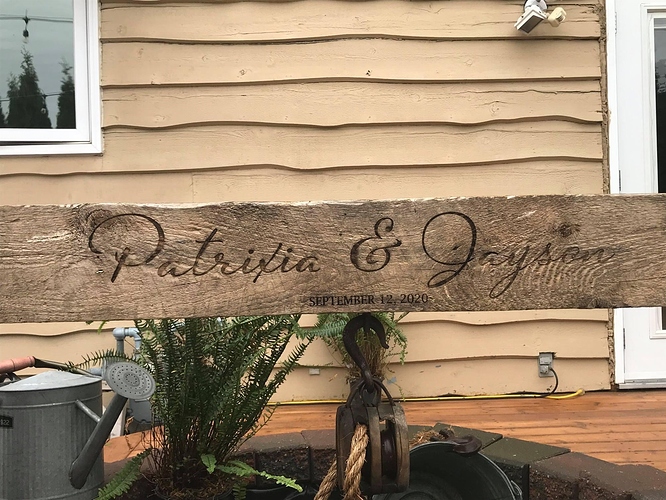
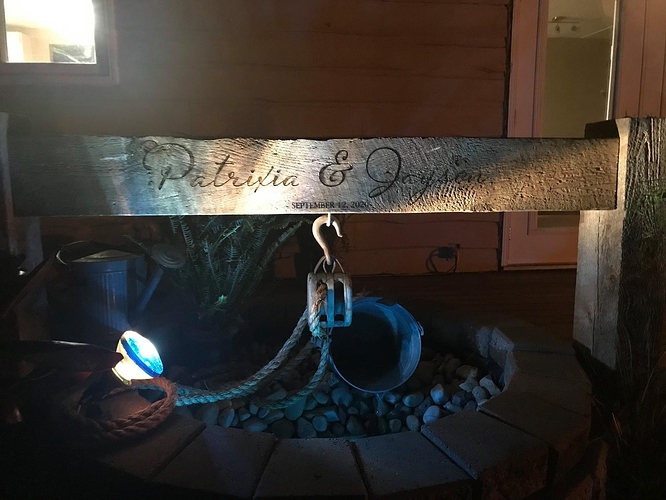
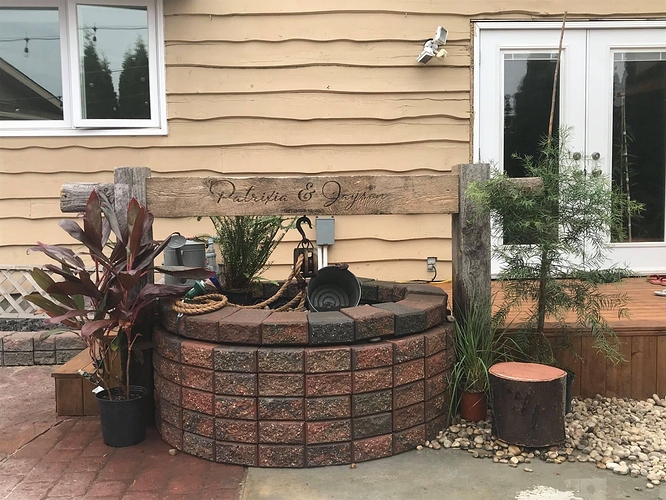
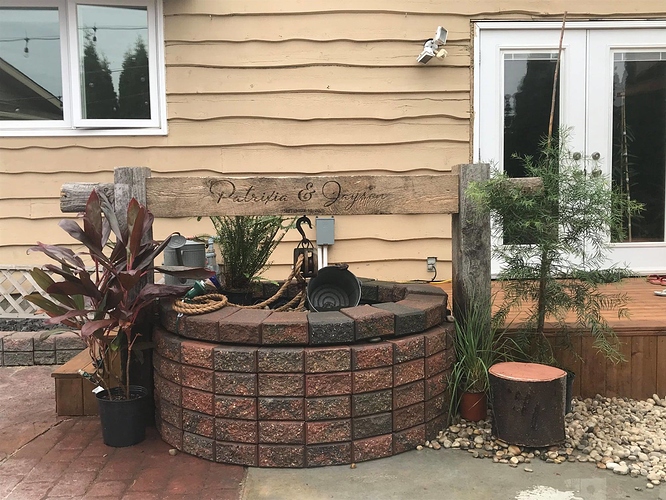
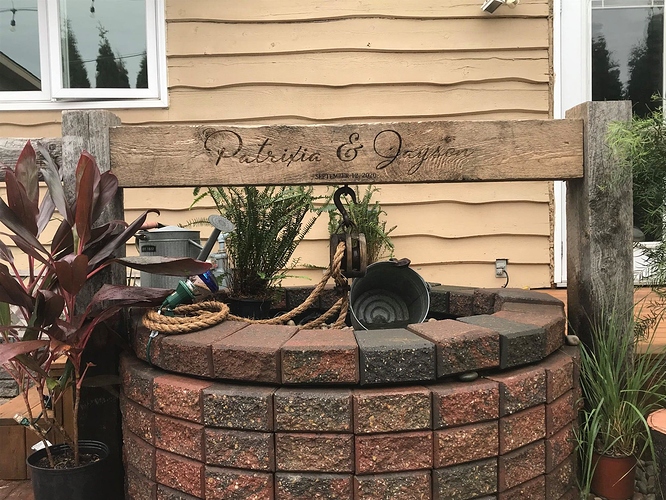
Here’s some pics that the client sent, after they set it up. Turns out it wasn’t “just a table piece”… Glad I got it done in time, as it was a central piece in their decorations, I think.

2 Likes

this is dope, I am trying to do some sanding can you suggest what would be the best tool…

Sorry, John. I didn’t do any sanding. It would have taken away all the “character”. I just used painters tape to clean up some of the soot from the laser, and it was good to go, thankfully.

C

This is great!