This one is pretty old now, but I hesitated quite a bit before posting it because it boast quite a bitter end ![]()
A colleague of mine bought an old barge/boat to rebuild and adapt as a secondary home
That was quite a massive project, thousands of hours and $ invested over 3-4 years
As we developped some kind of sympathetic relation , he asked me if I could help on some of the smaller tasks
1. Cutting a dashboard panel
First task was to cut a dashboard panel for all the navigation instruments in the cockpit
He provided me with an SVG file of the layout, and I quickly laser-cut it out of cardboard to test the fit and feel
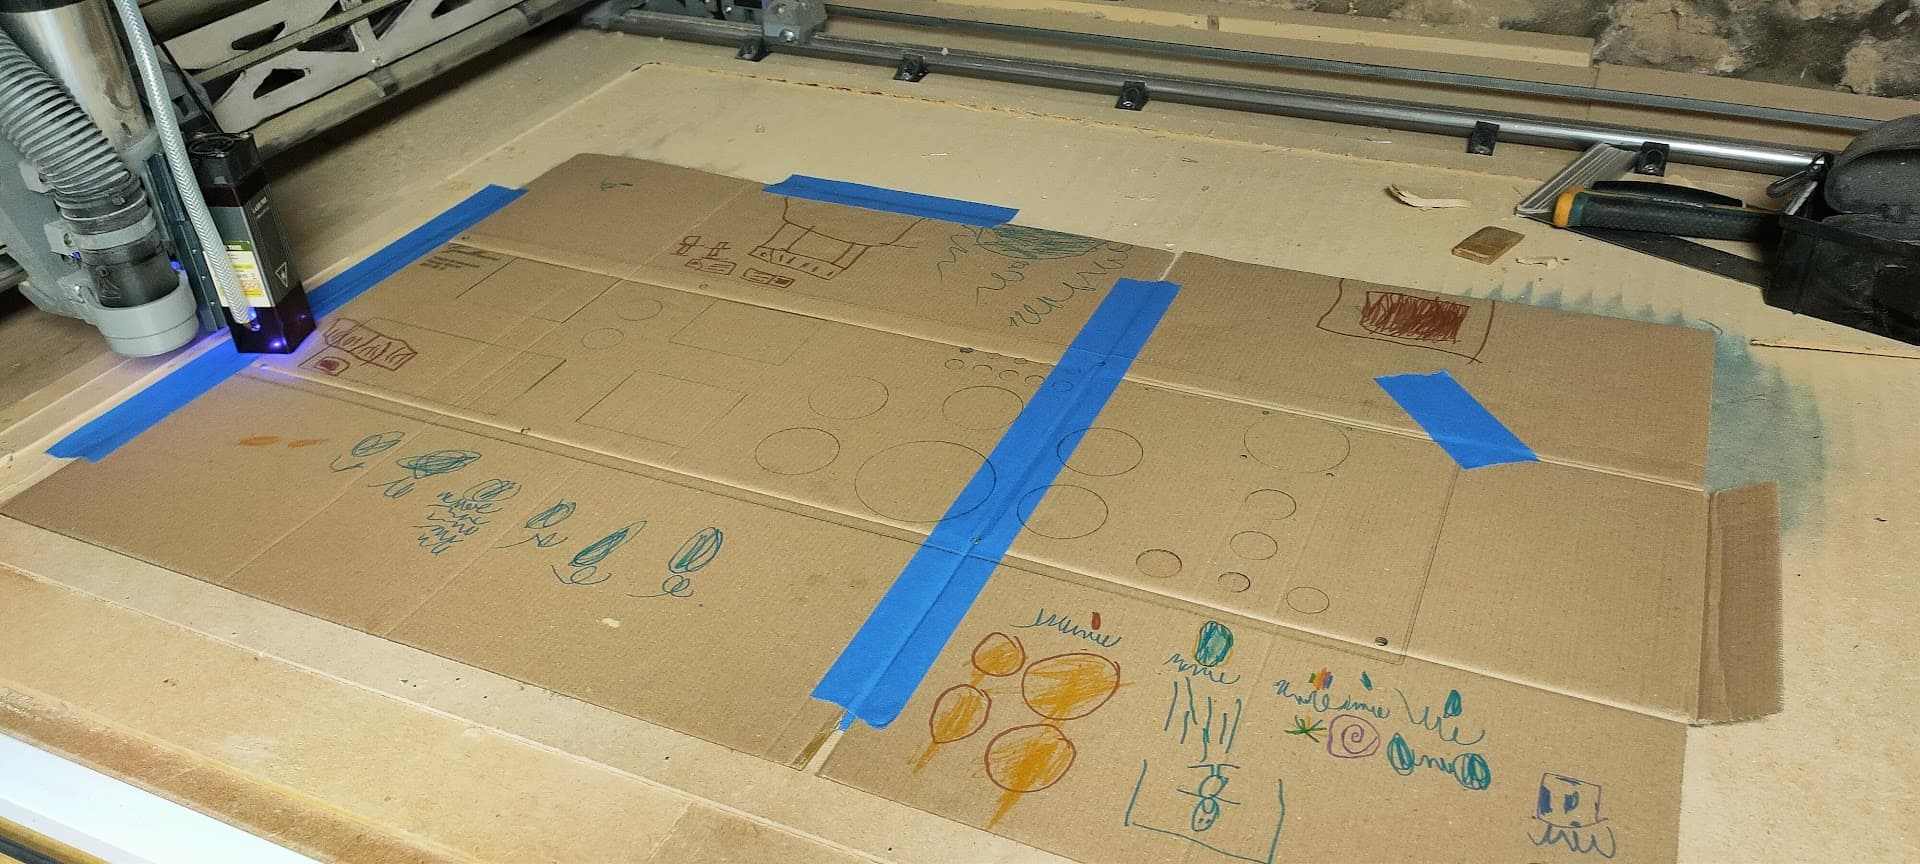
Fun fact: As you can see, the first prototype was cut out of a genuine spaceship dashboard courtesy of my 5yo son
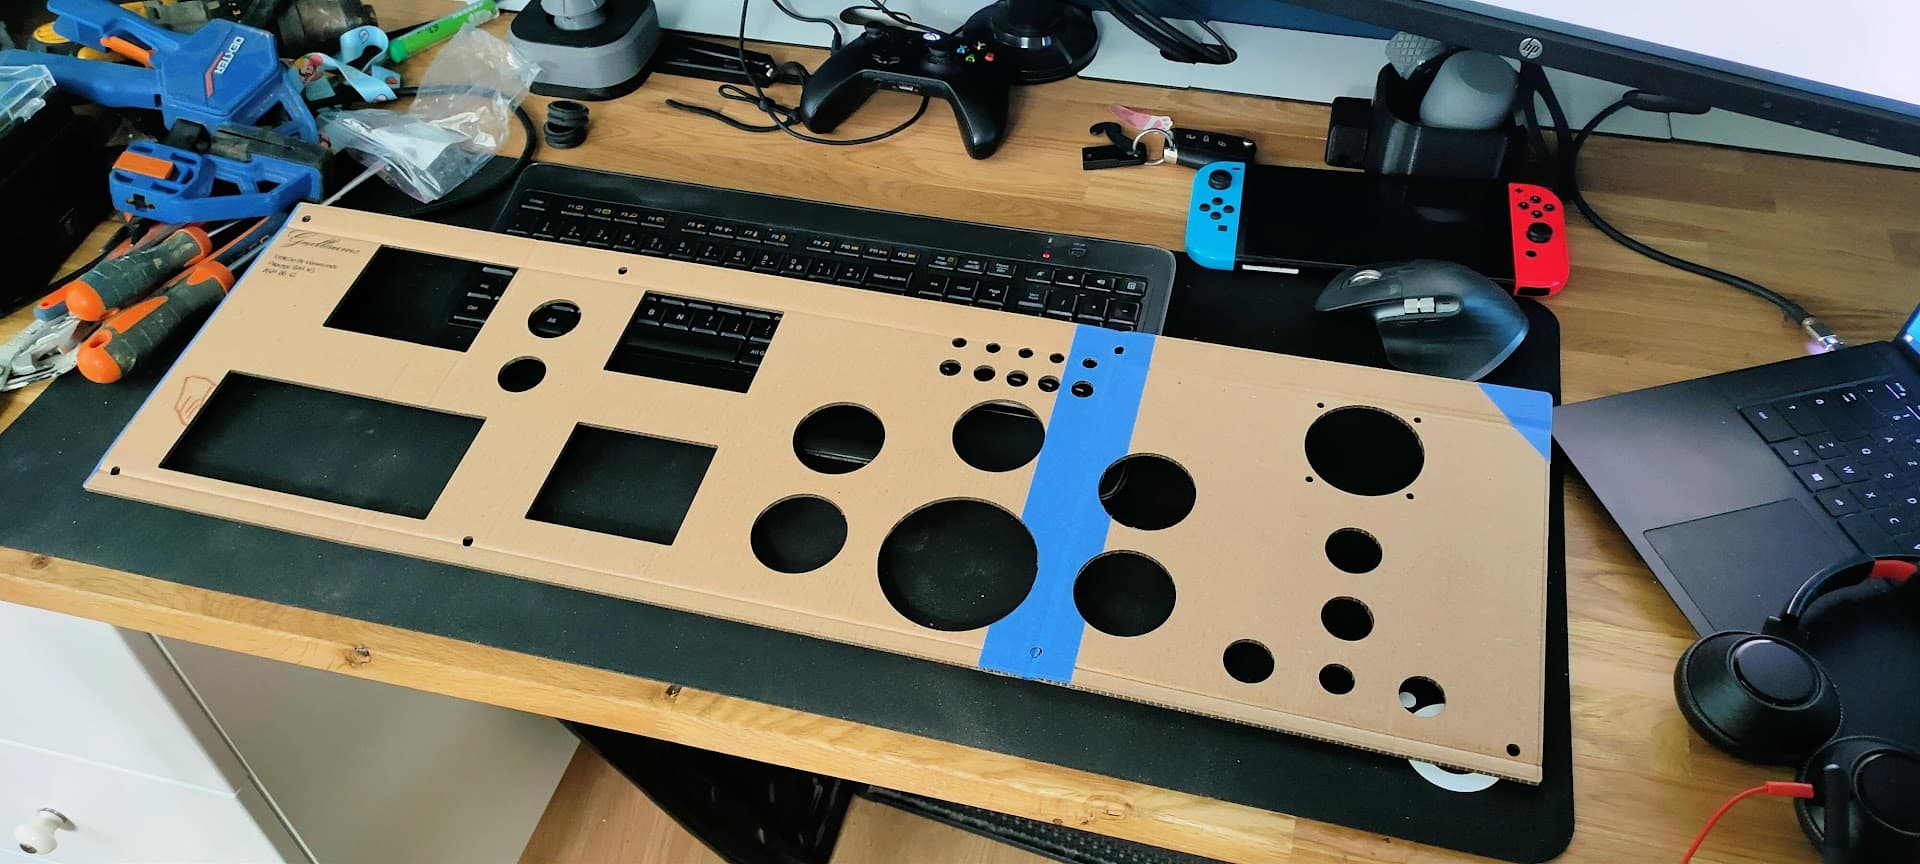
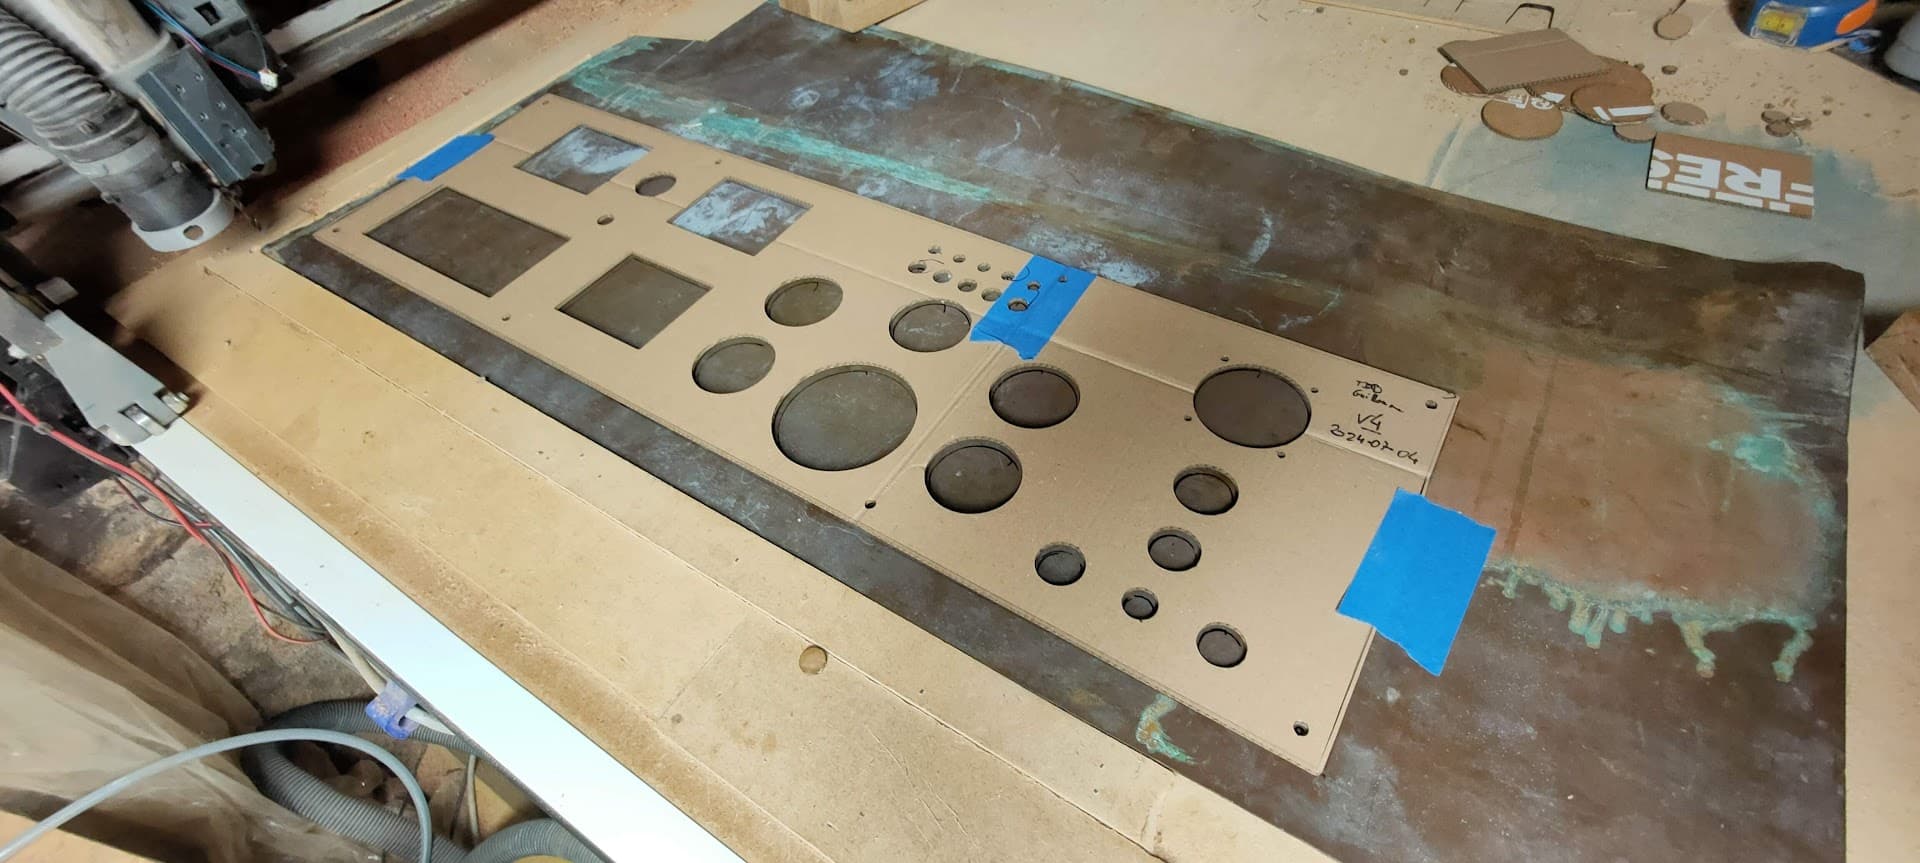
Prototyping like this is always a good idea, as he spotted a few mistakes and optimizations, and we did 4 prototypes before committing to the final cut
Final product was cut un a 3-4mm thick copper plate using trochoidal milling (hats off to @Tokoloshe)
I made a few boo-boos but nothing too problematic
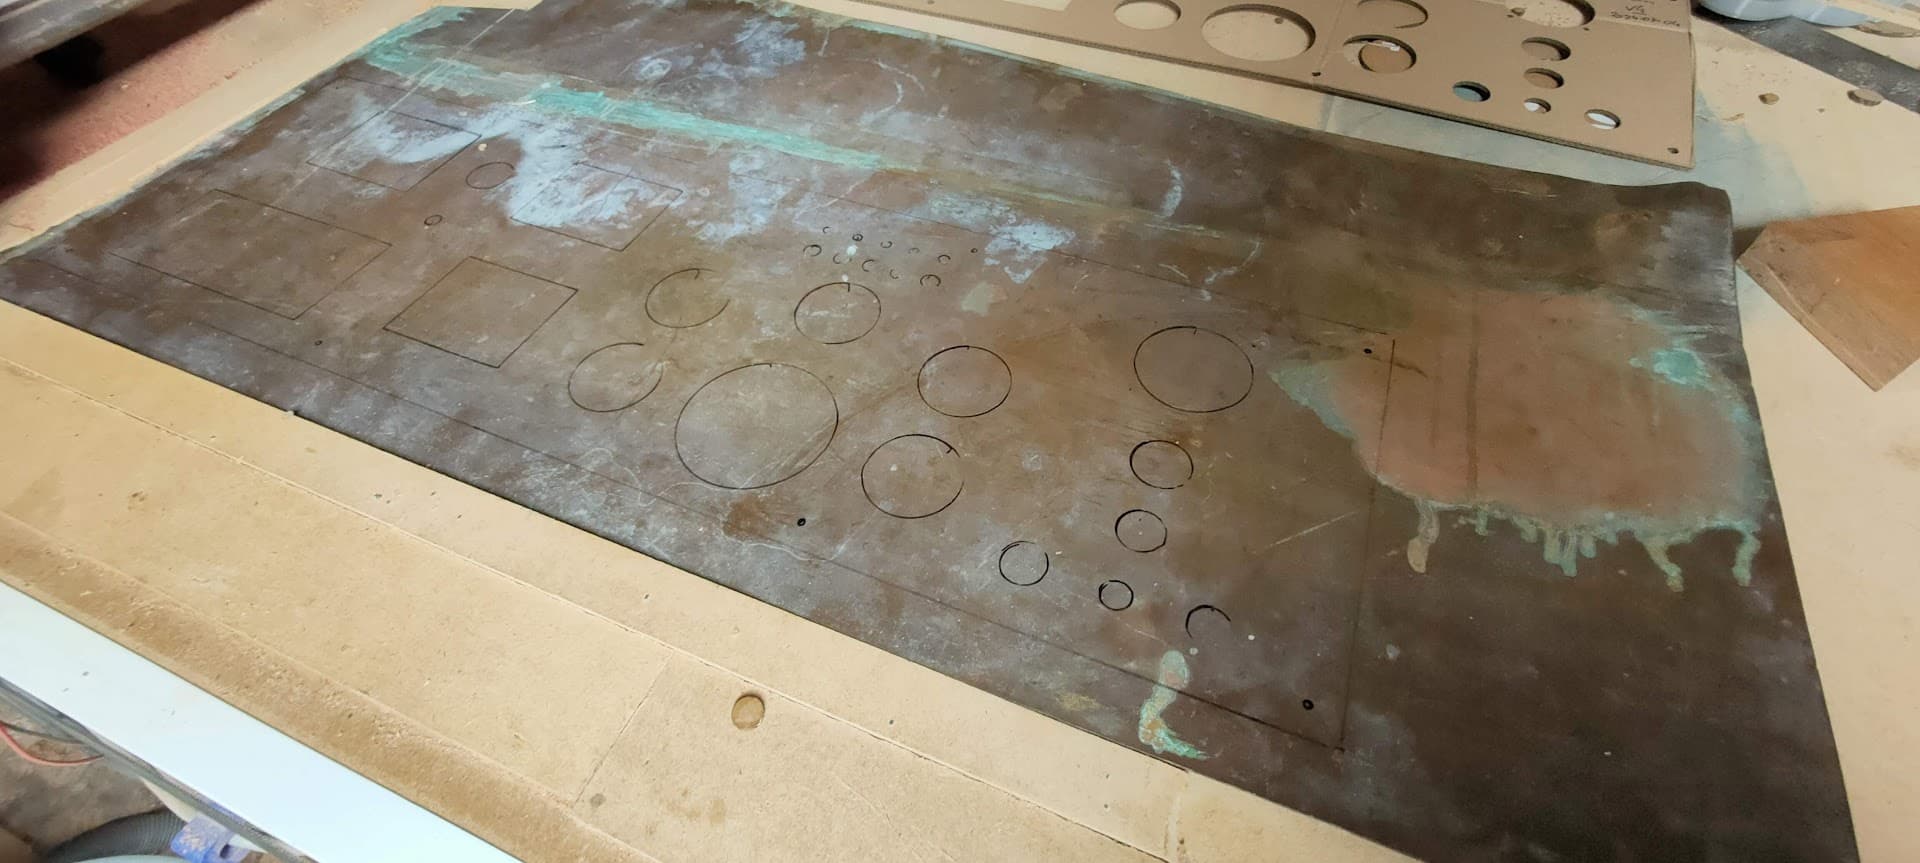
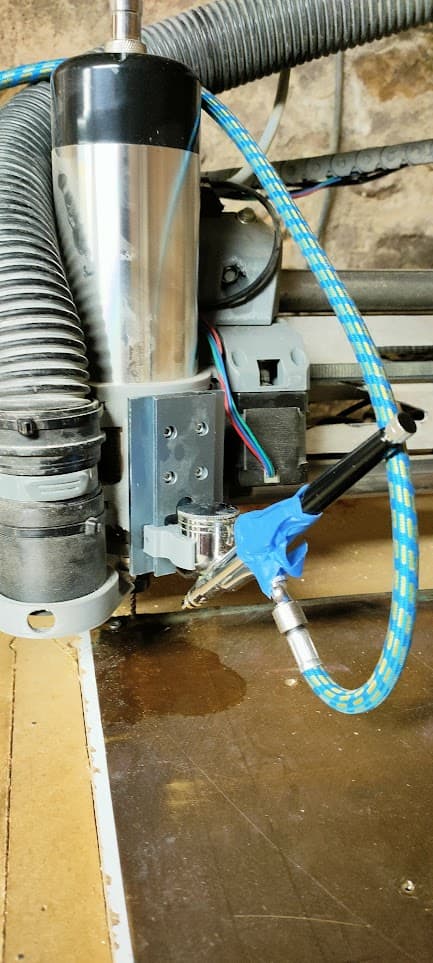
I had to make an ugly kludge to spray some IPA during the cut ![]()
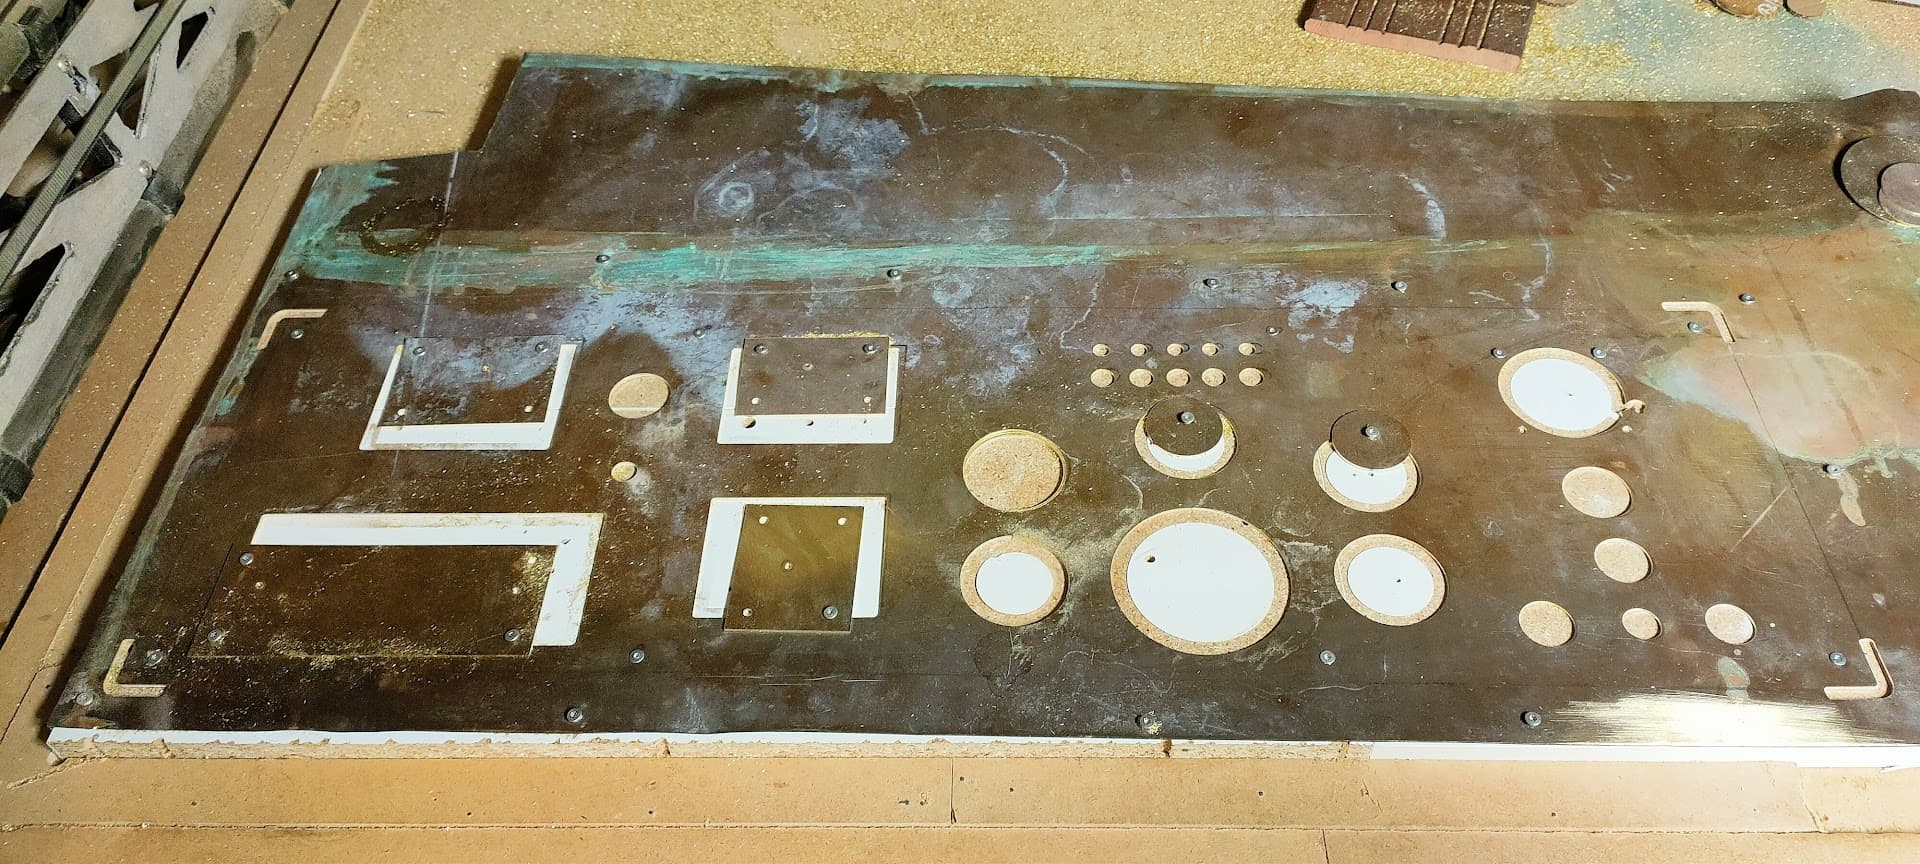
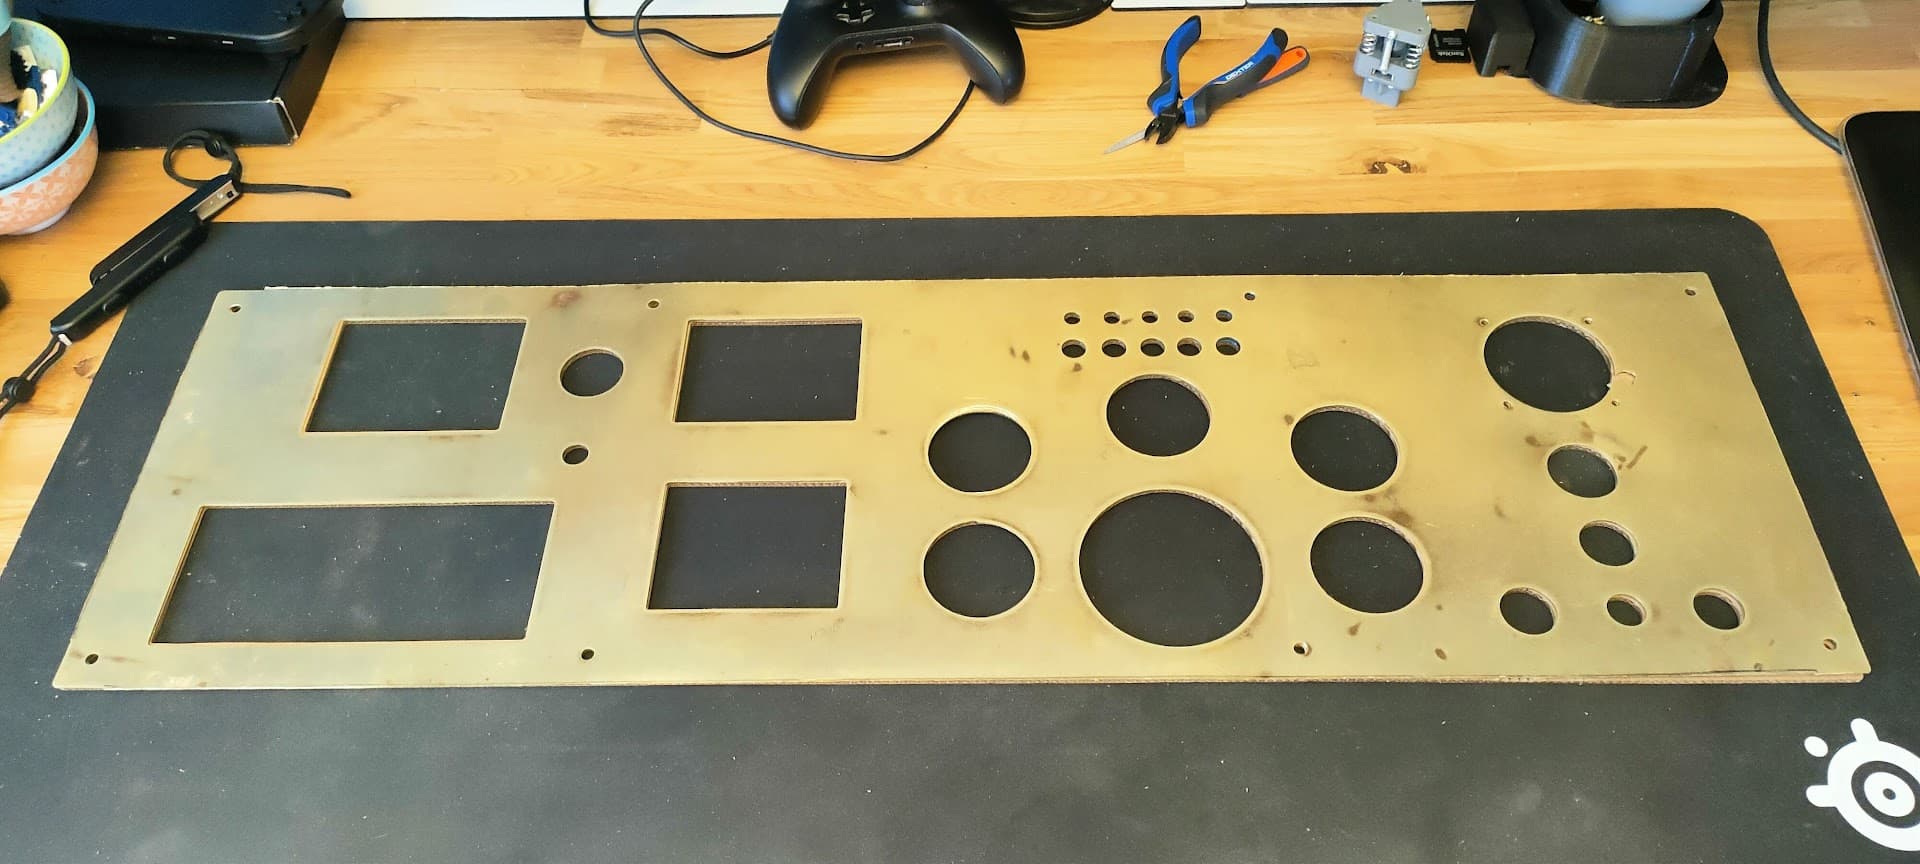
After a bit of cleanup…

2. Sonar support
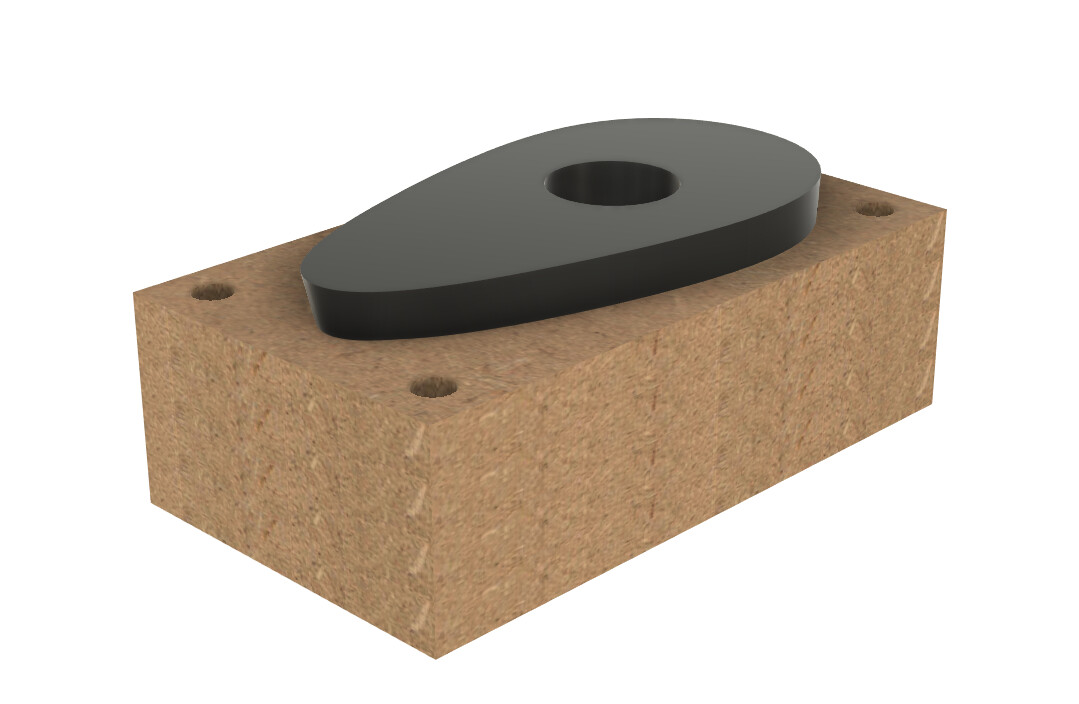
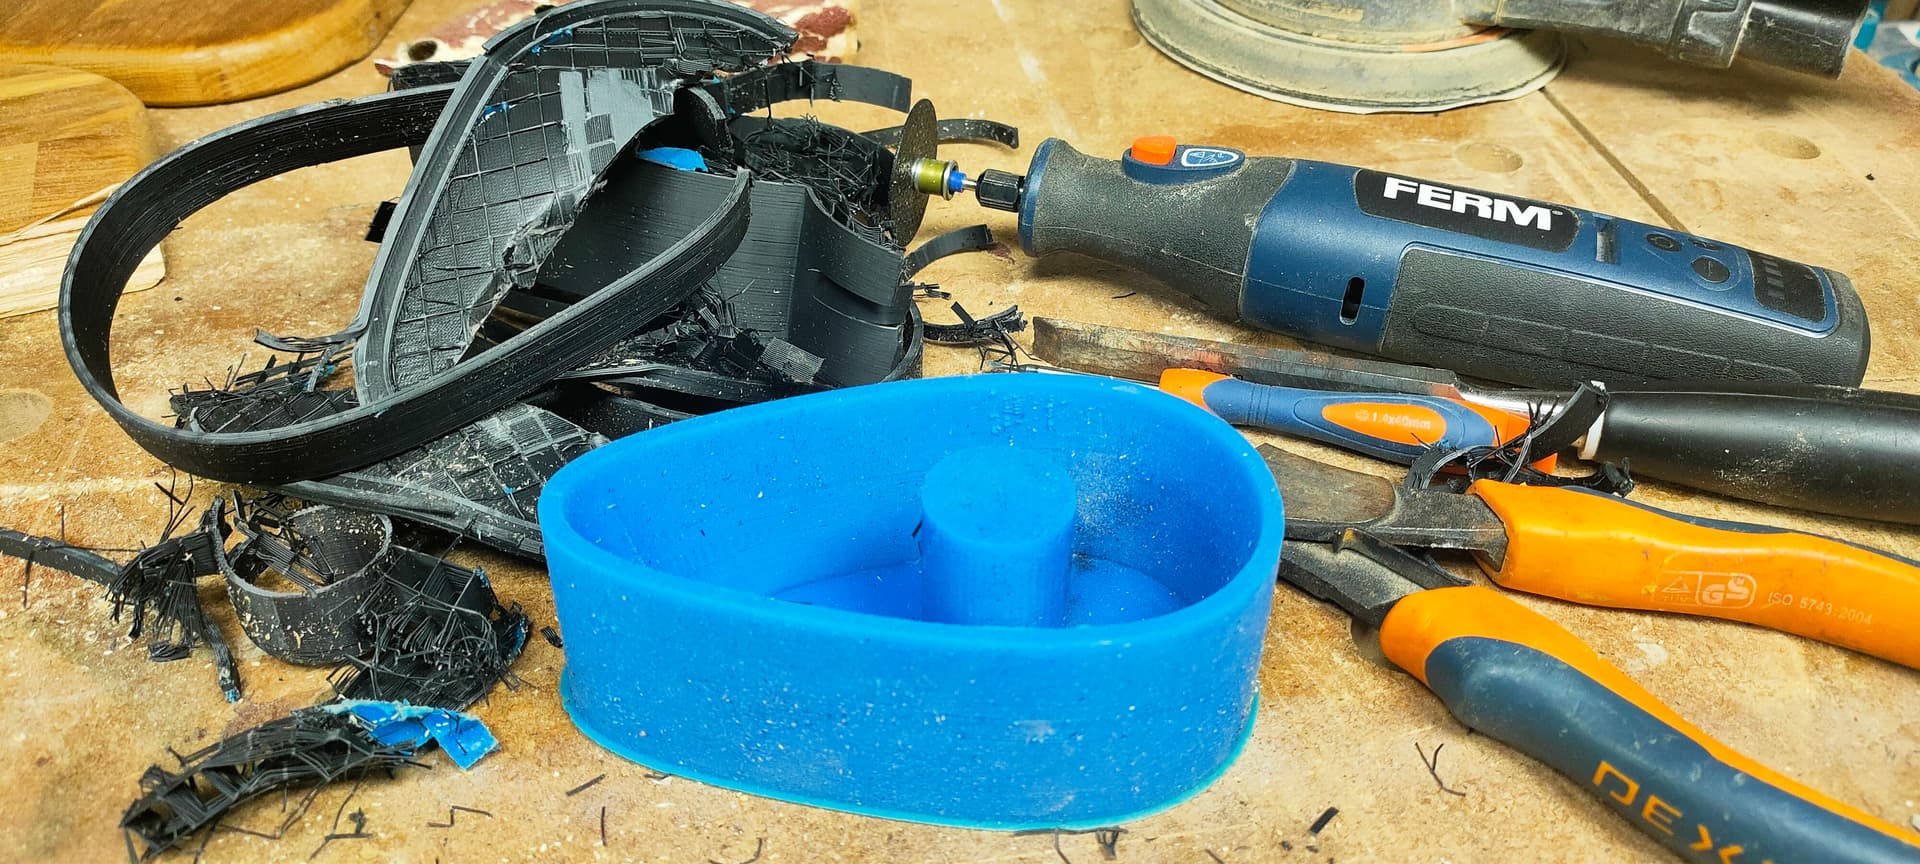
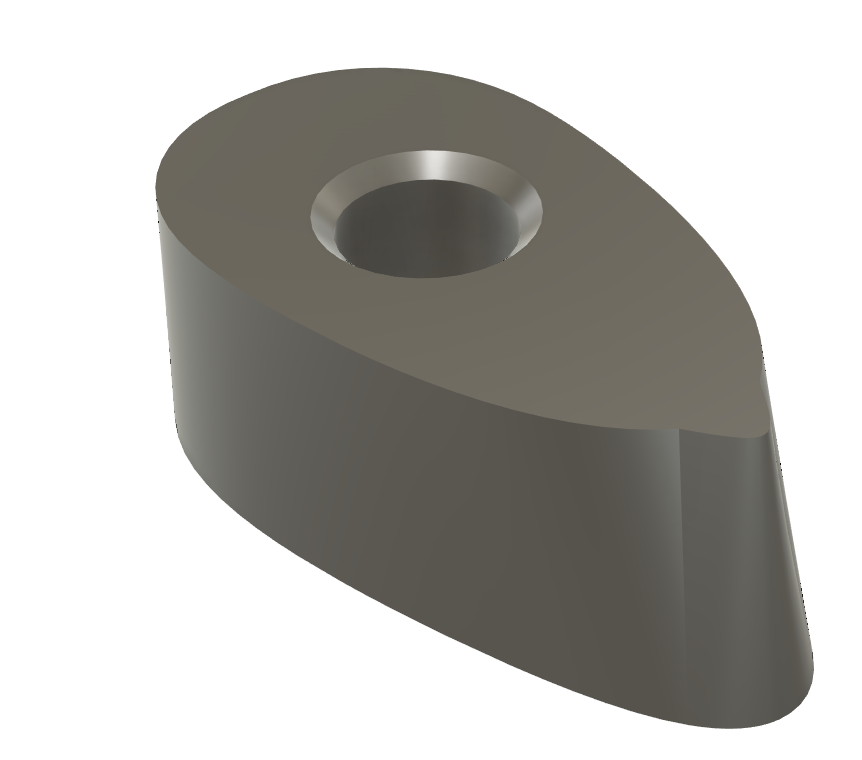
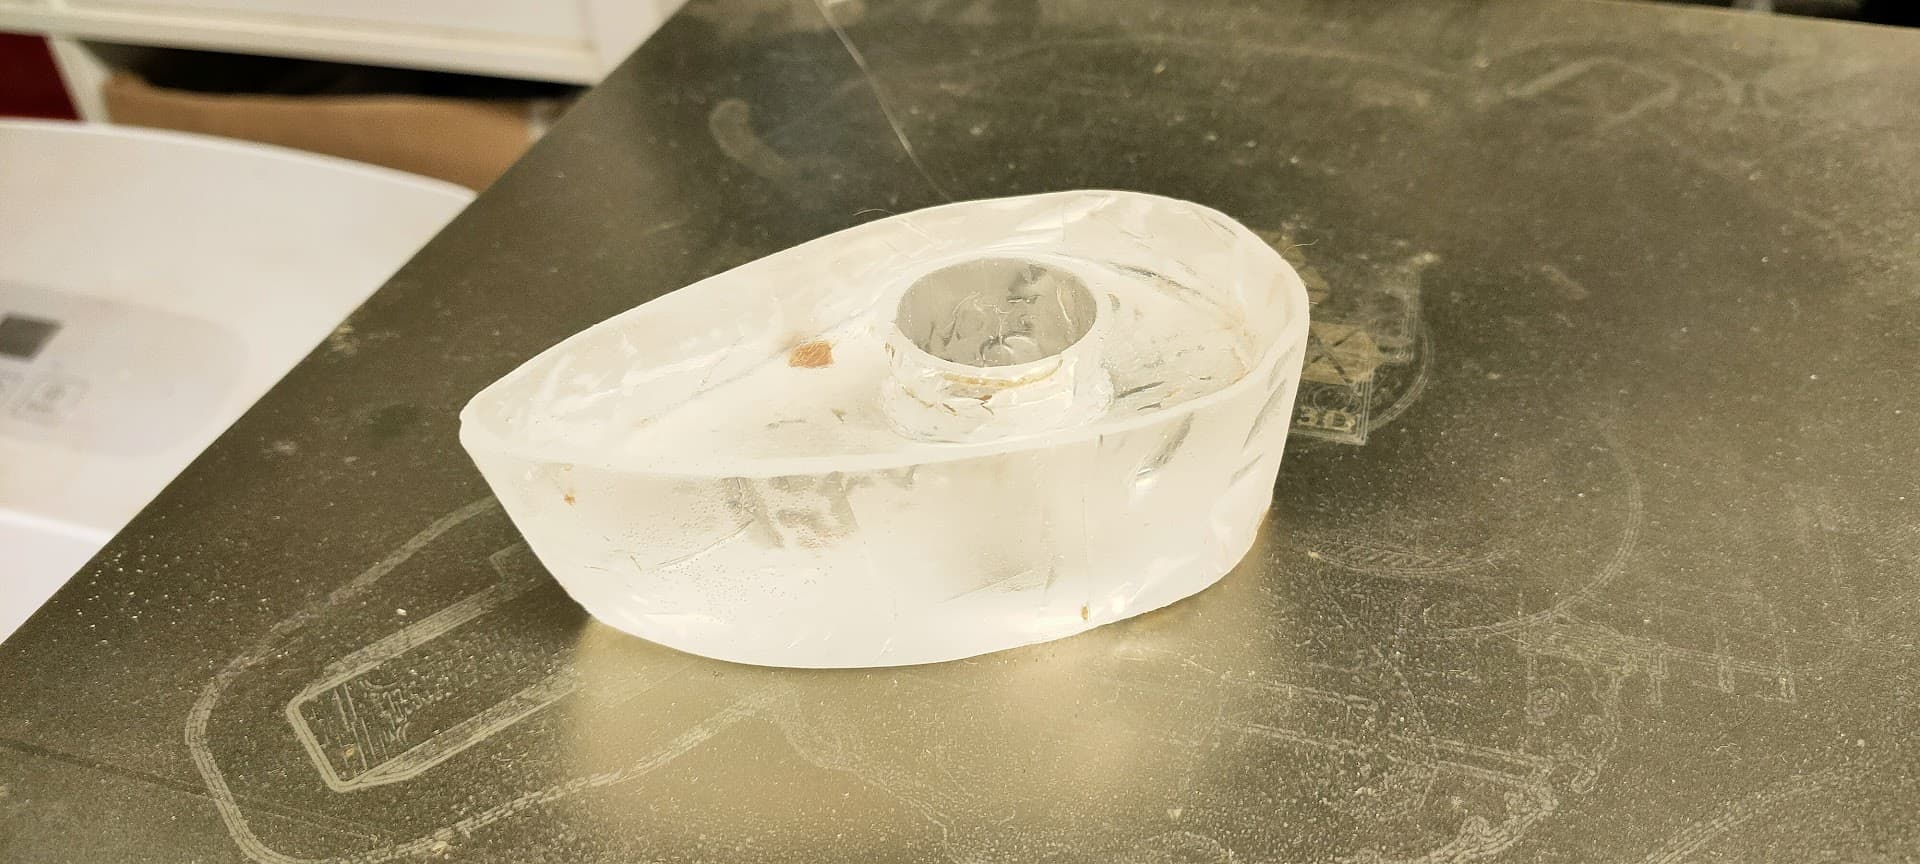
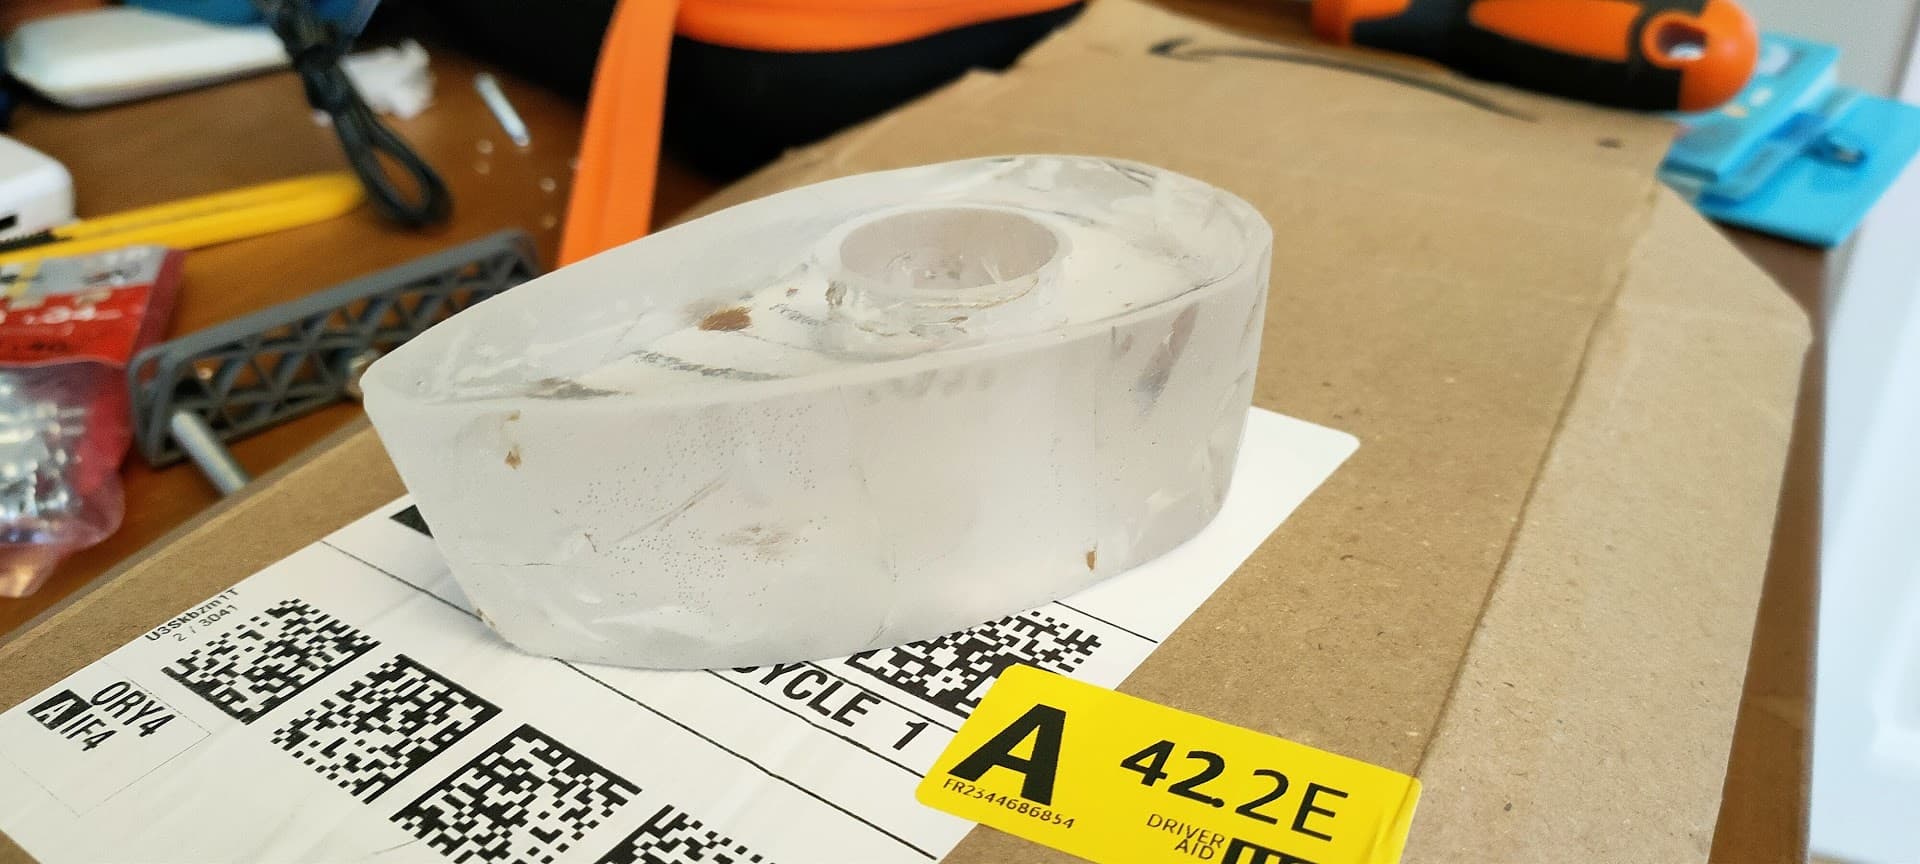
Second task was to recreate the sonar support.
The original is a kind of rubbery fixture that goes under the hull of the boat, with a hole through the middle were you can stick the sonar
As he needed to cut part of this support to adjust to the size and shape of the hull, he wanted to have a “copy” of this part in case he messed up
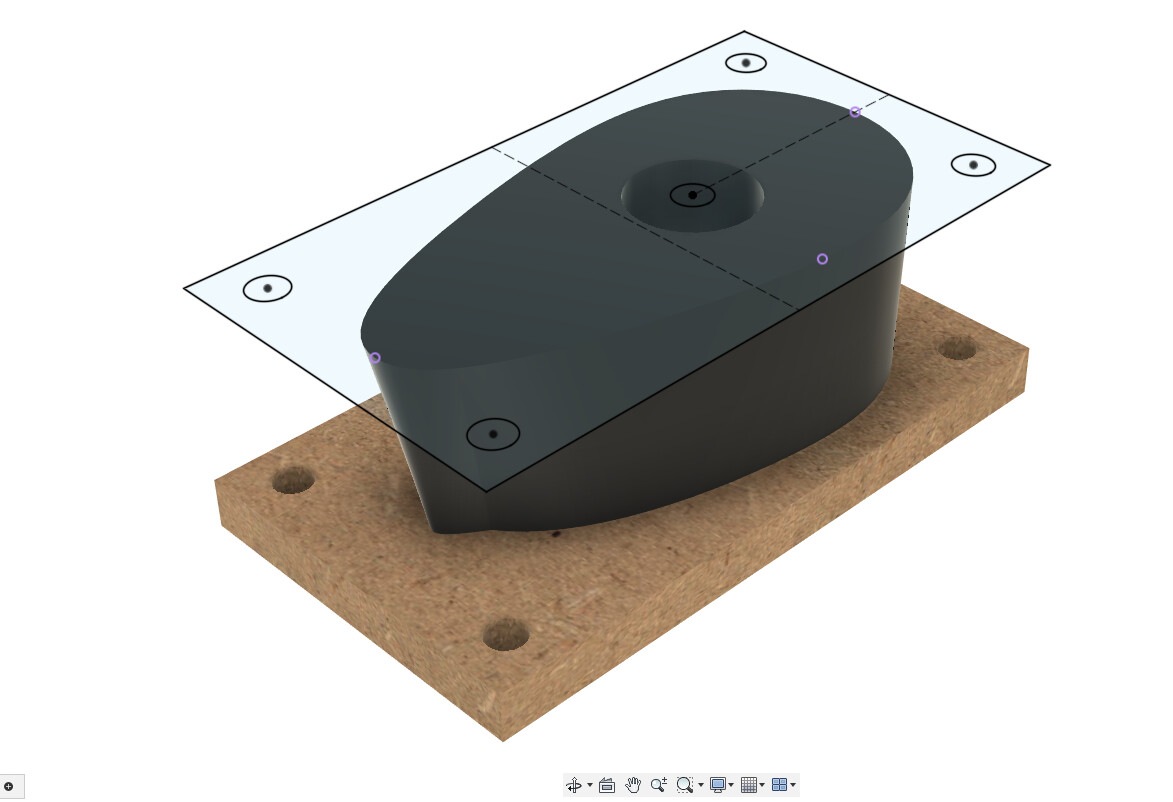
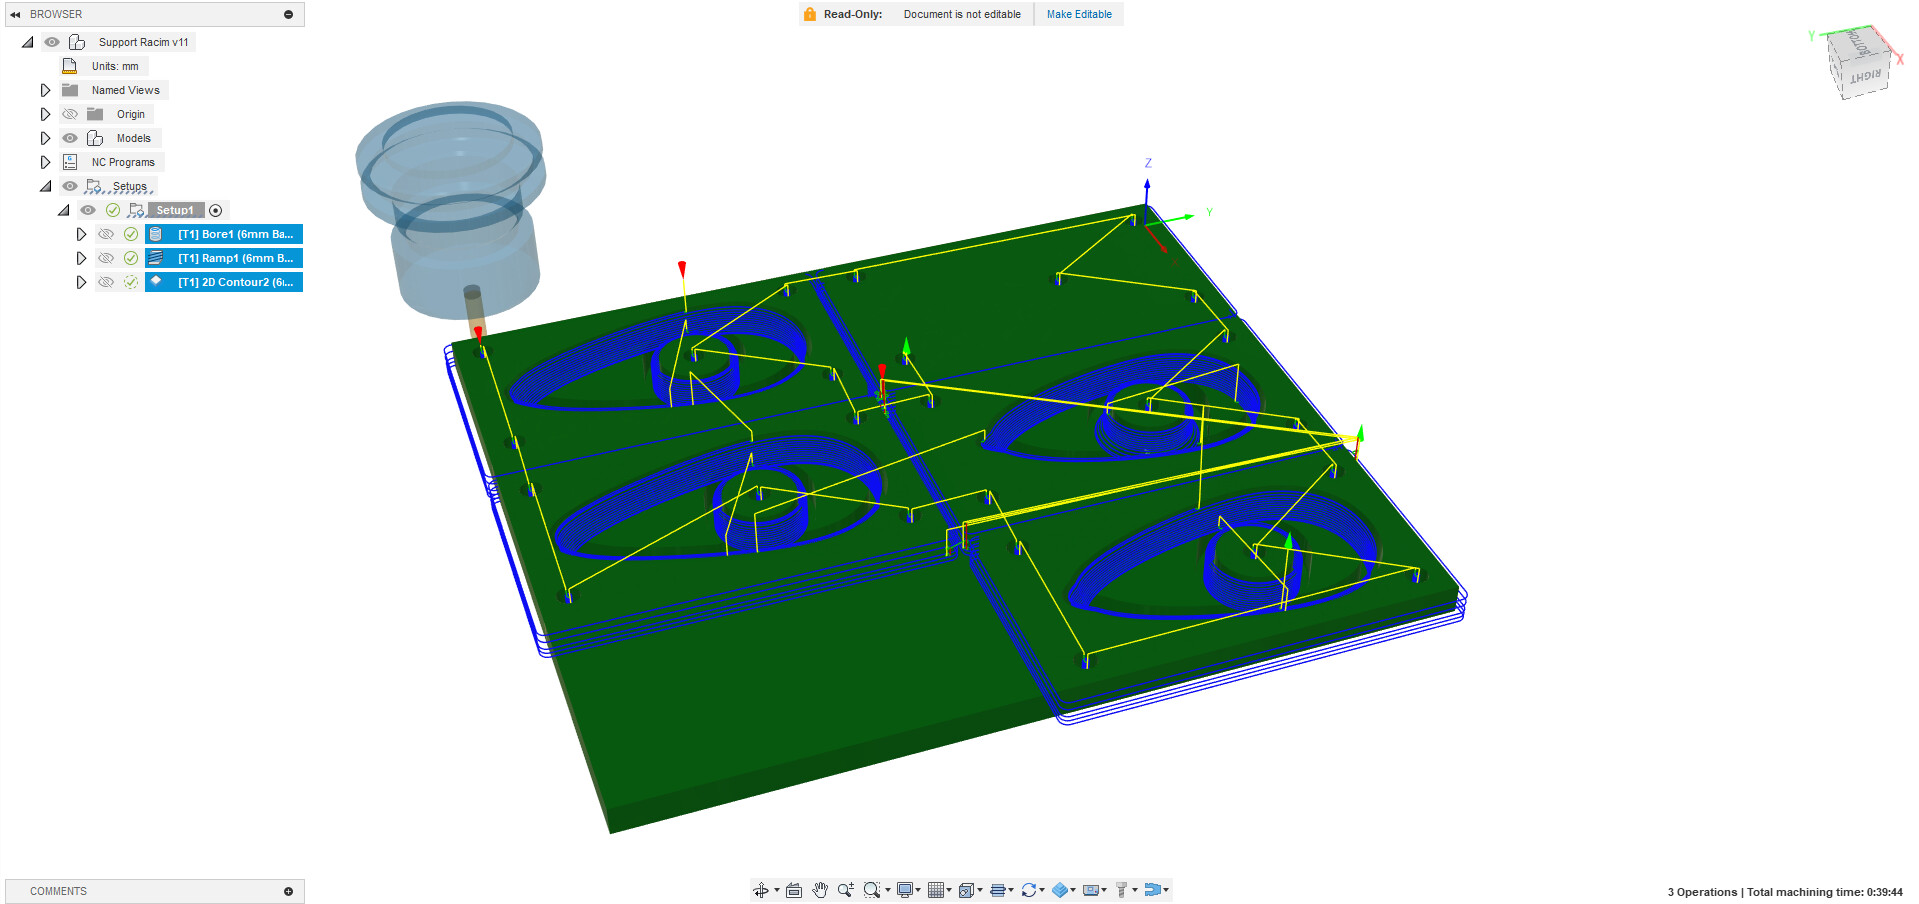
I measured and modeled the part in F360
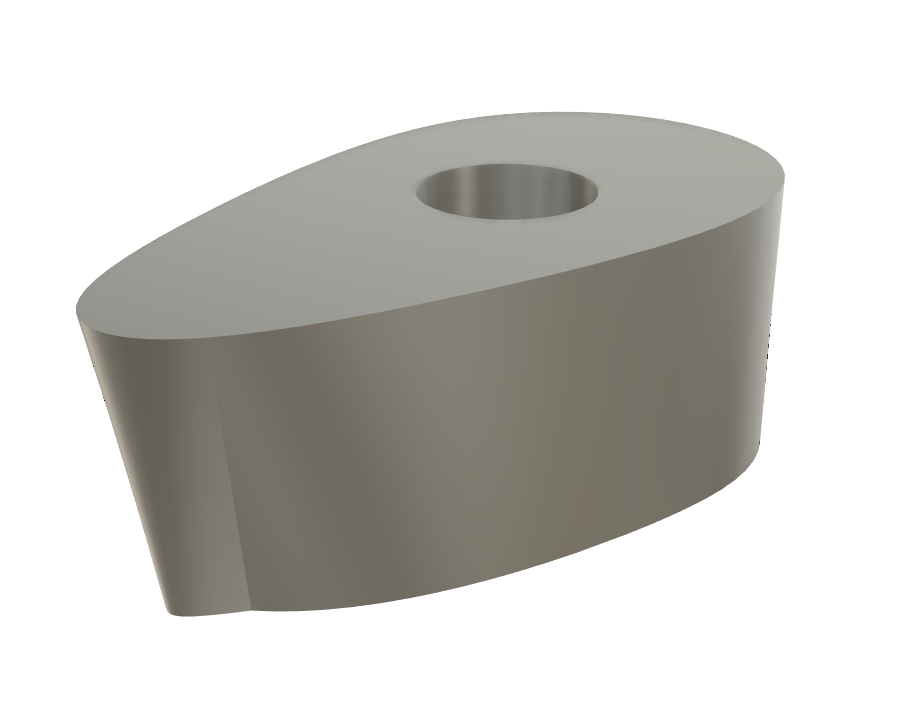
As the part lives underwater and needs to be watertight, 3d printing it was’nt going to work…
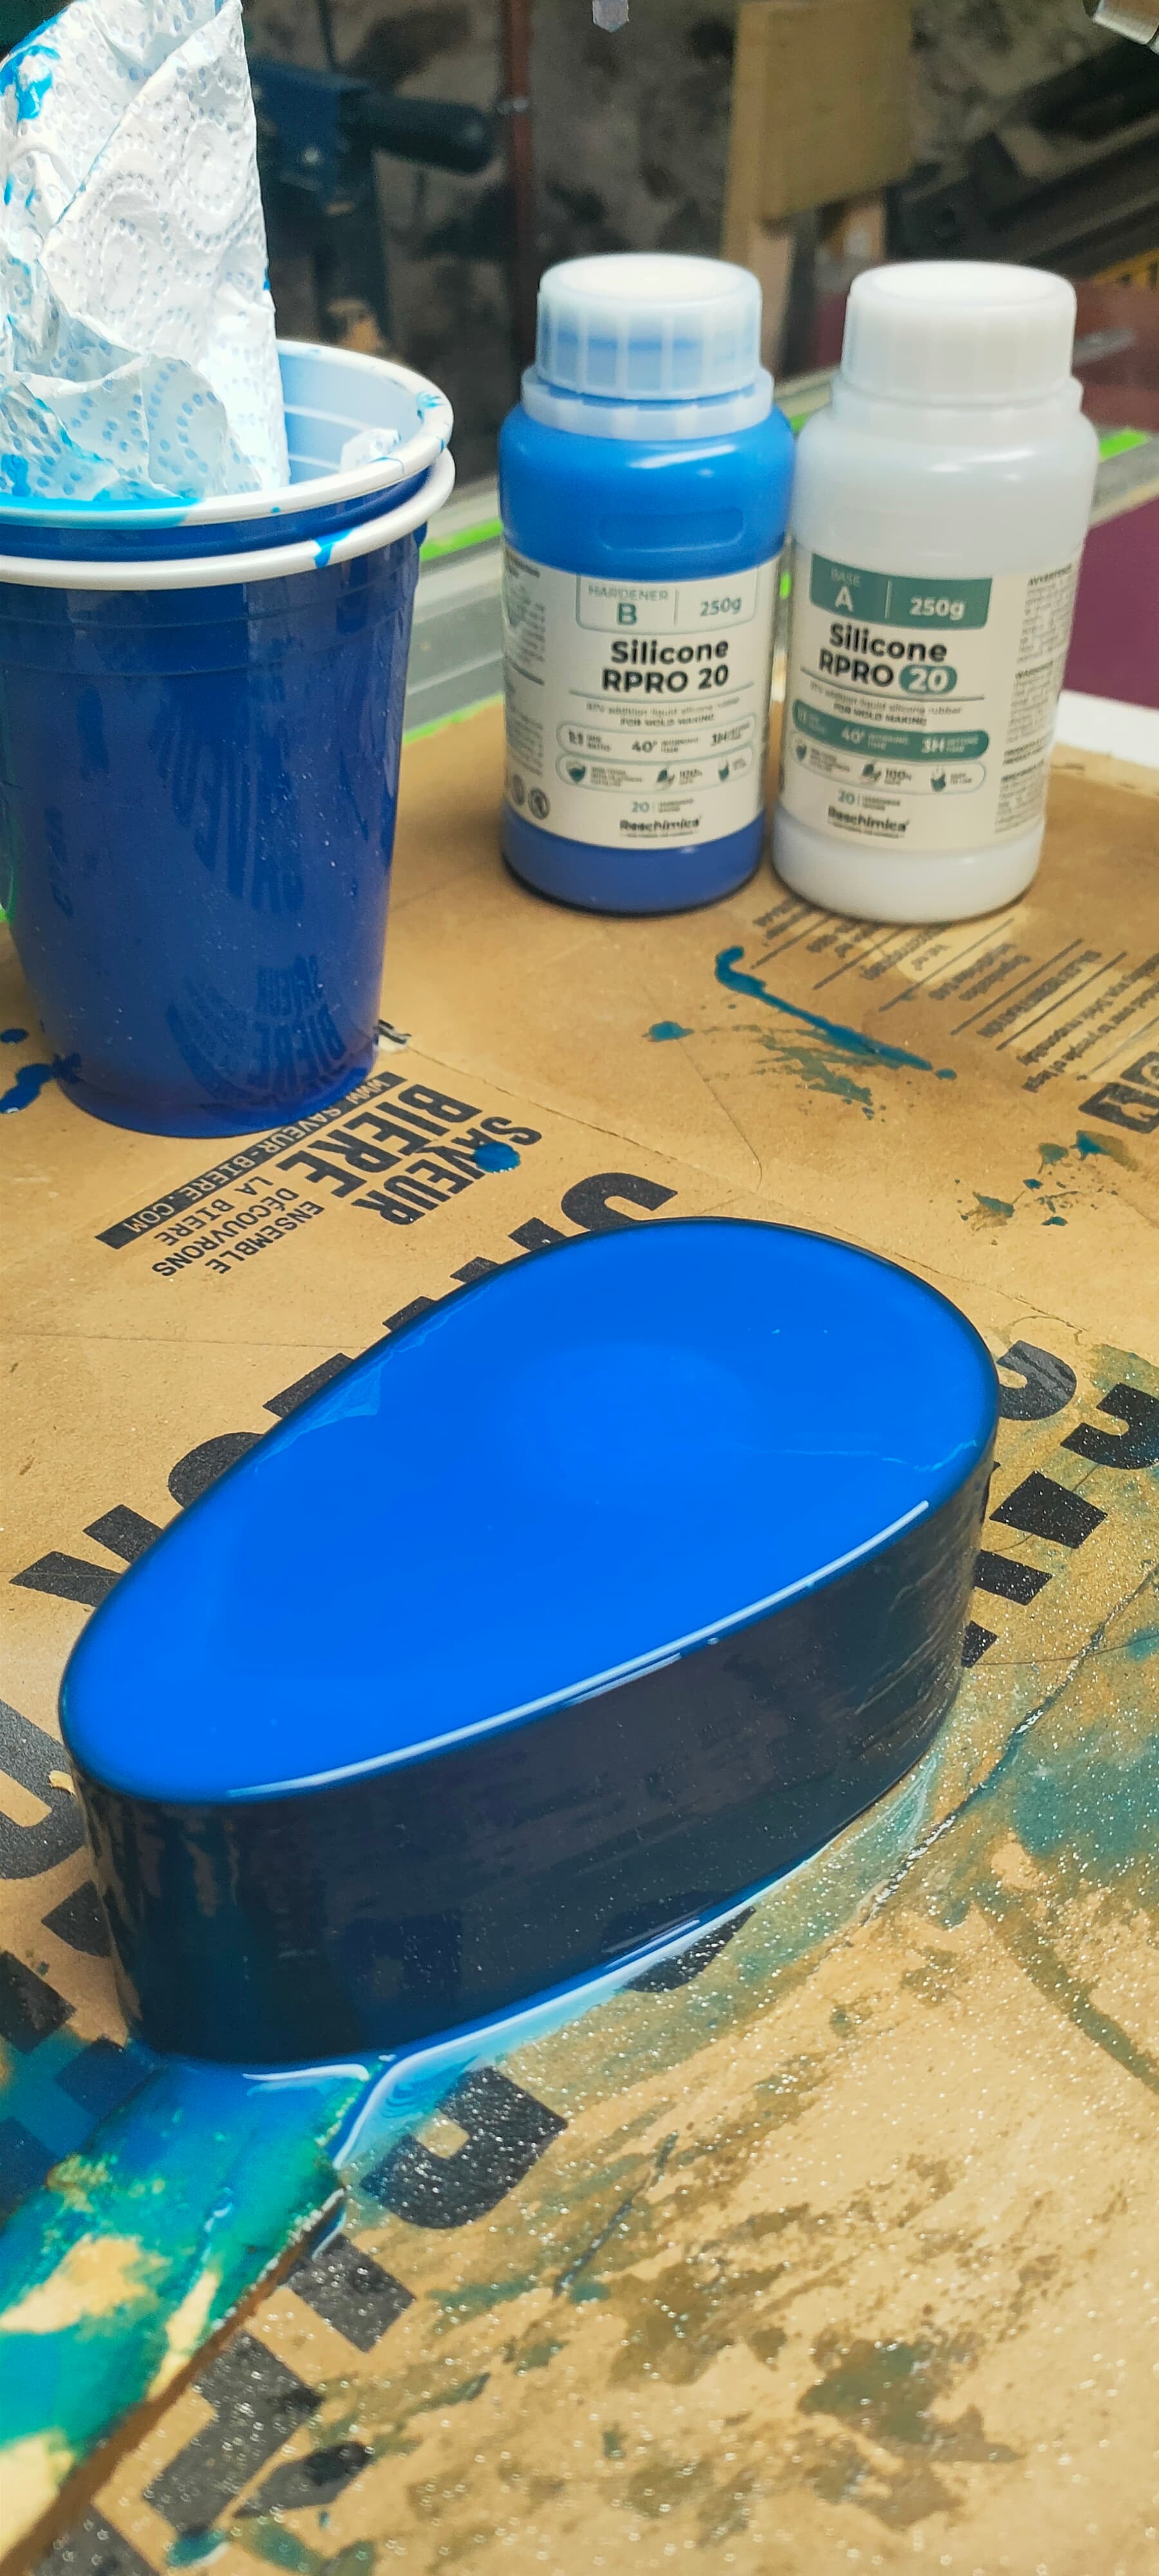
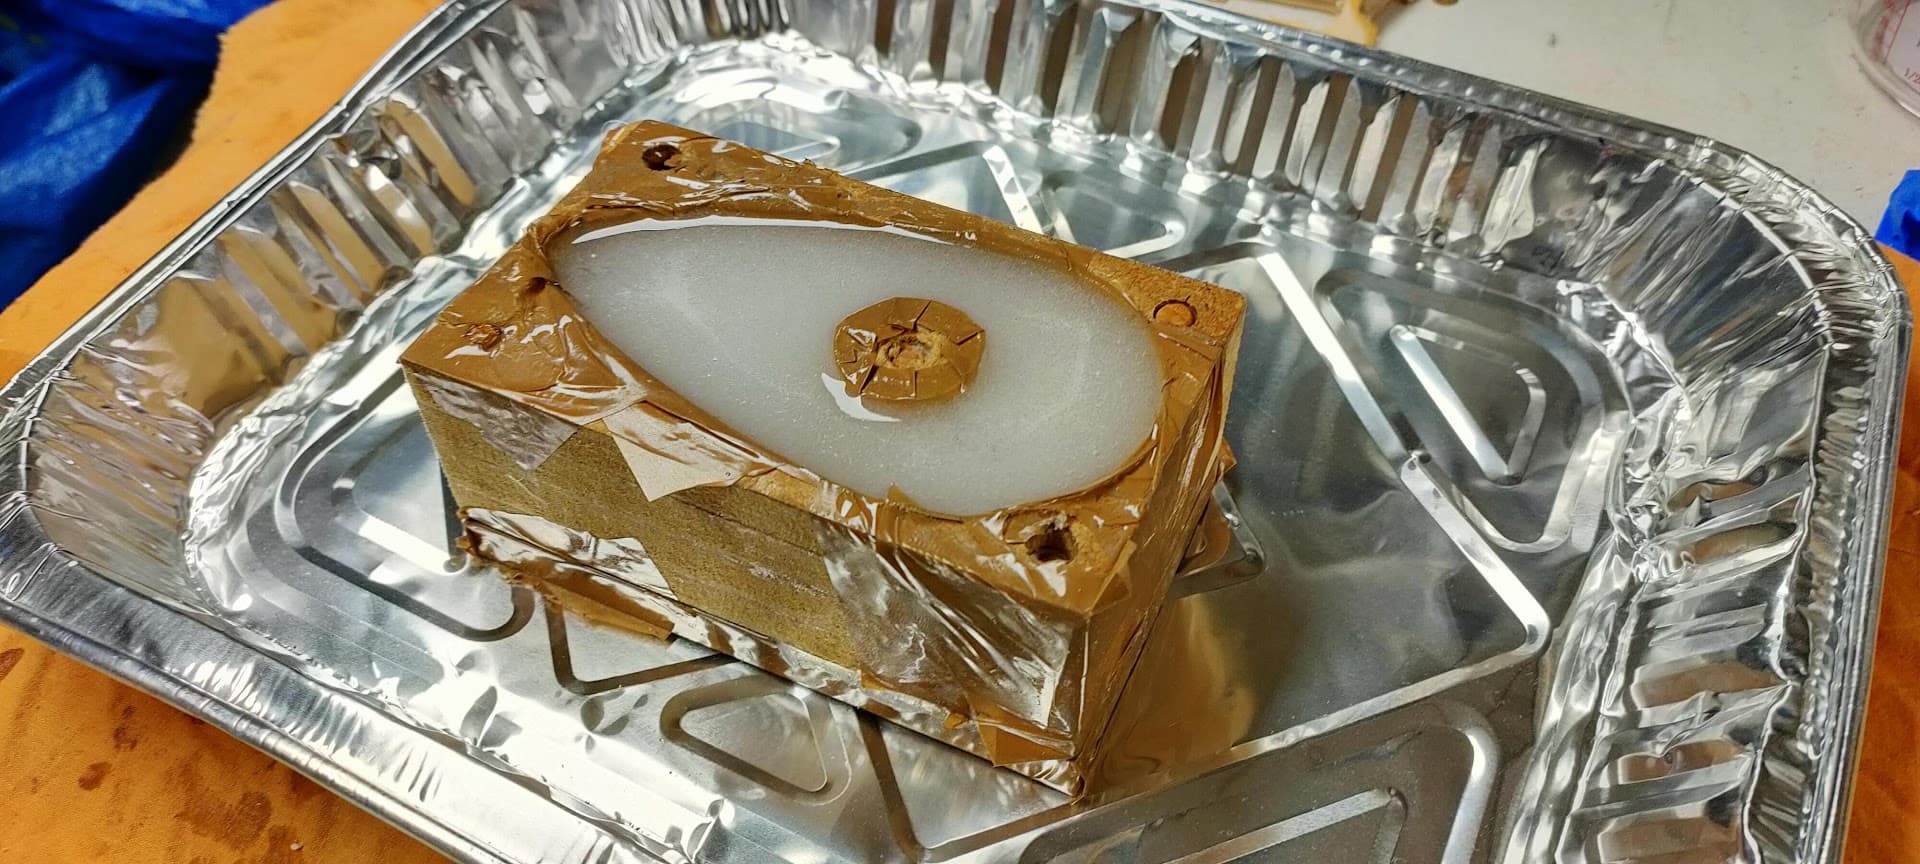
I decided to print a mold, and make the part out of epoxy
I initially printed the mold in TPU and poured the epoxy

I don’t have pictures of the utter mess it made, but trust me,the TPU mold wasn’t watertight ![]()
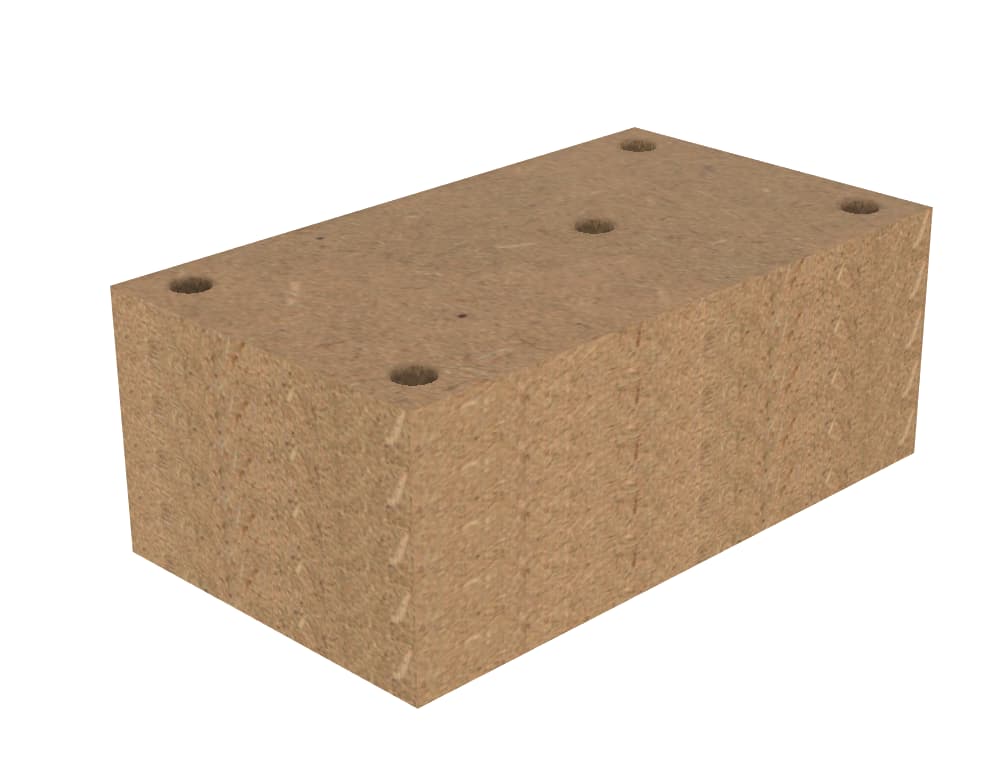
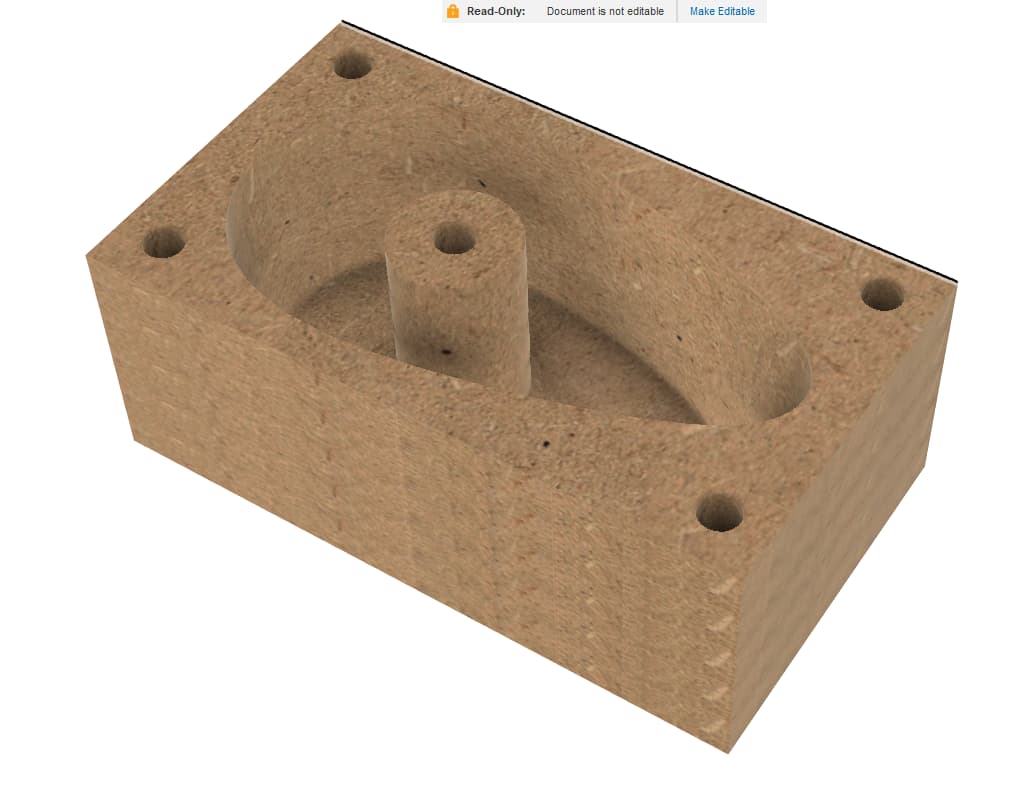
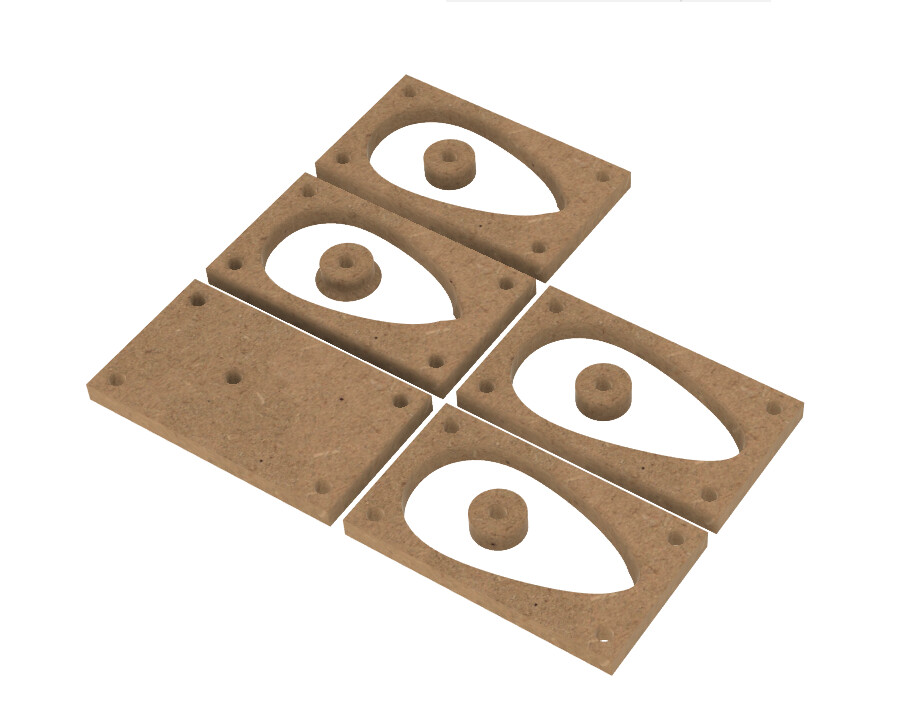
Second mold was made out of stacked sheets of MDF I cut on the LR3
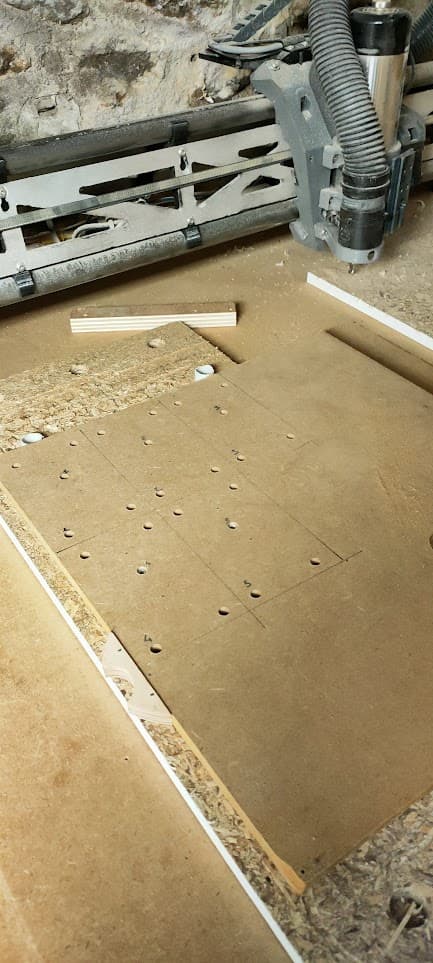
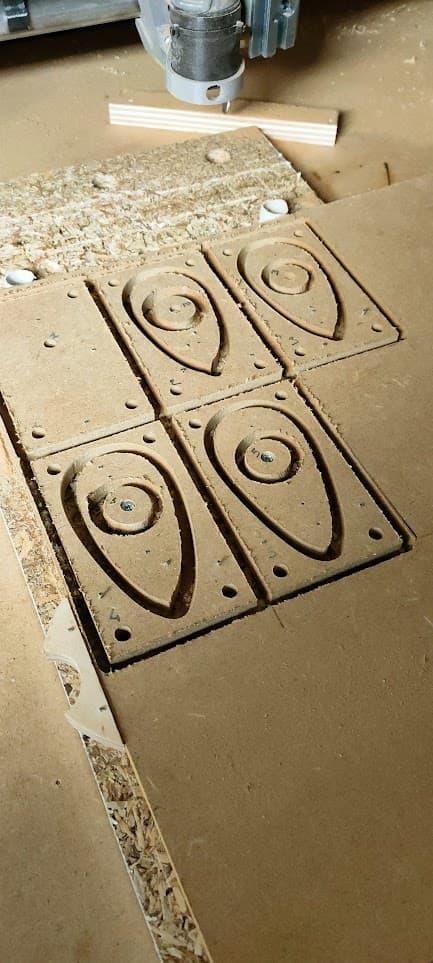
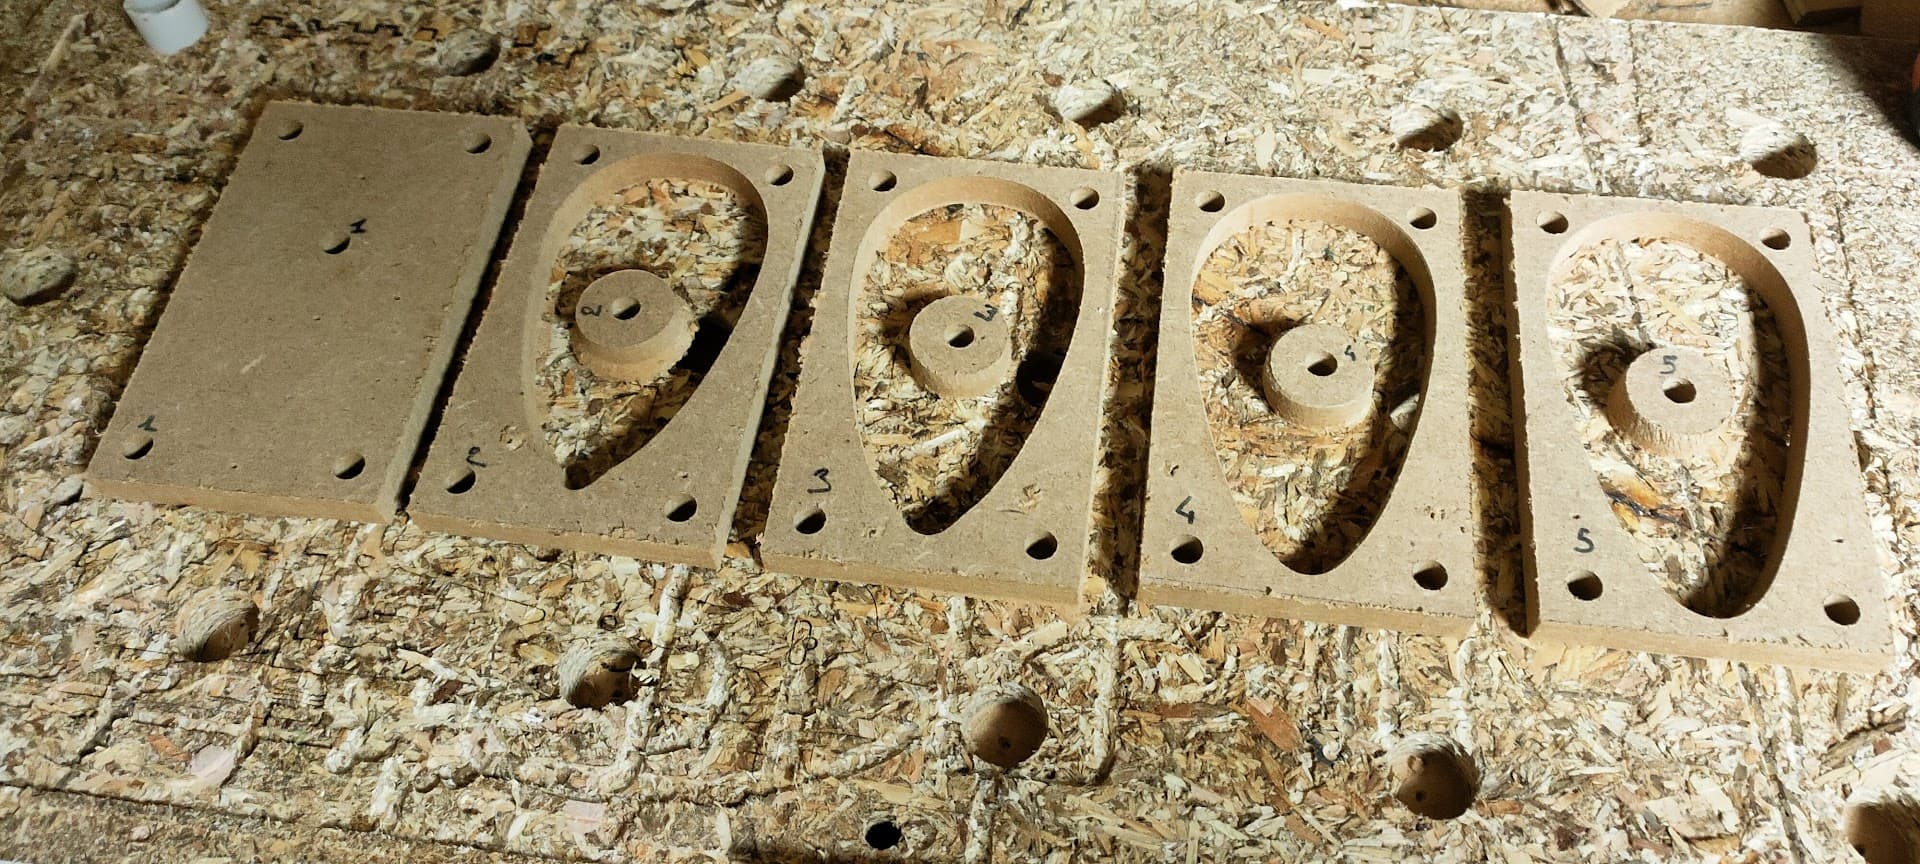
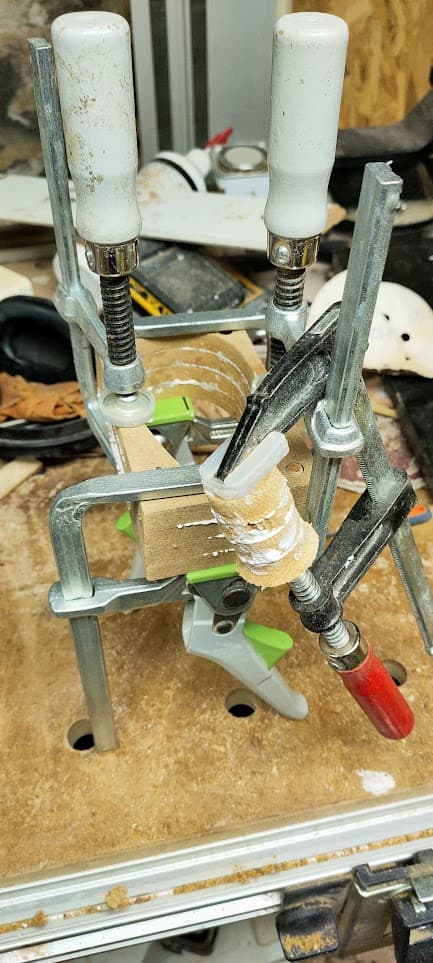
This time I added extra security measures ![]()
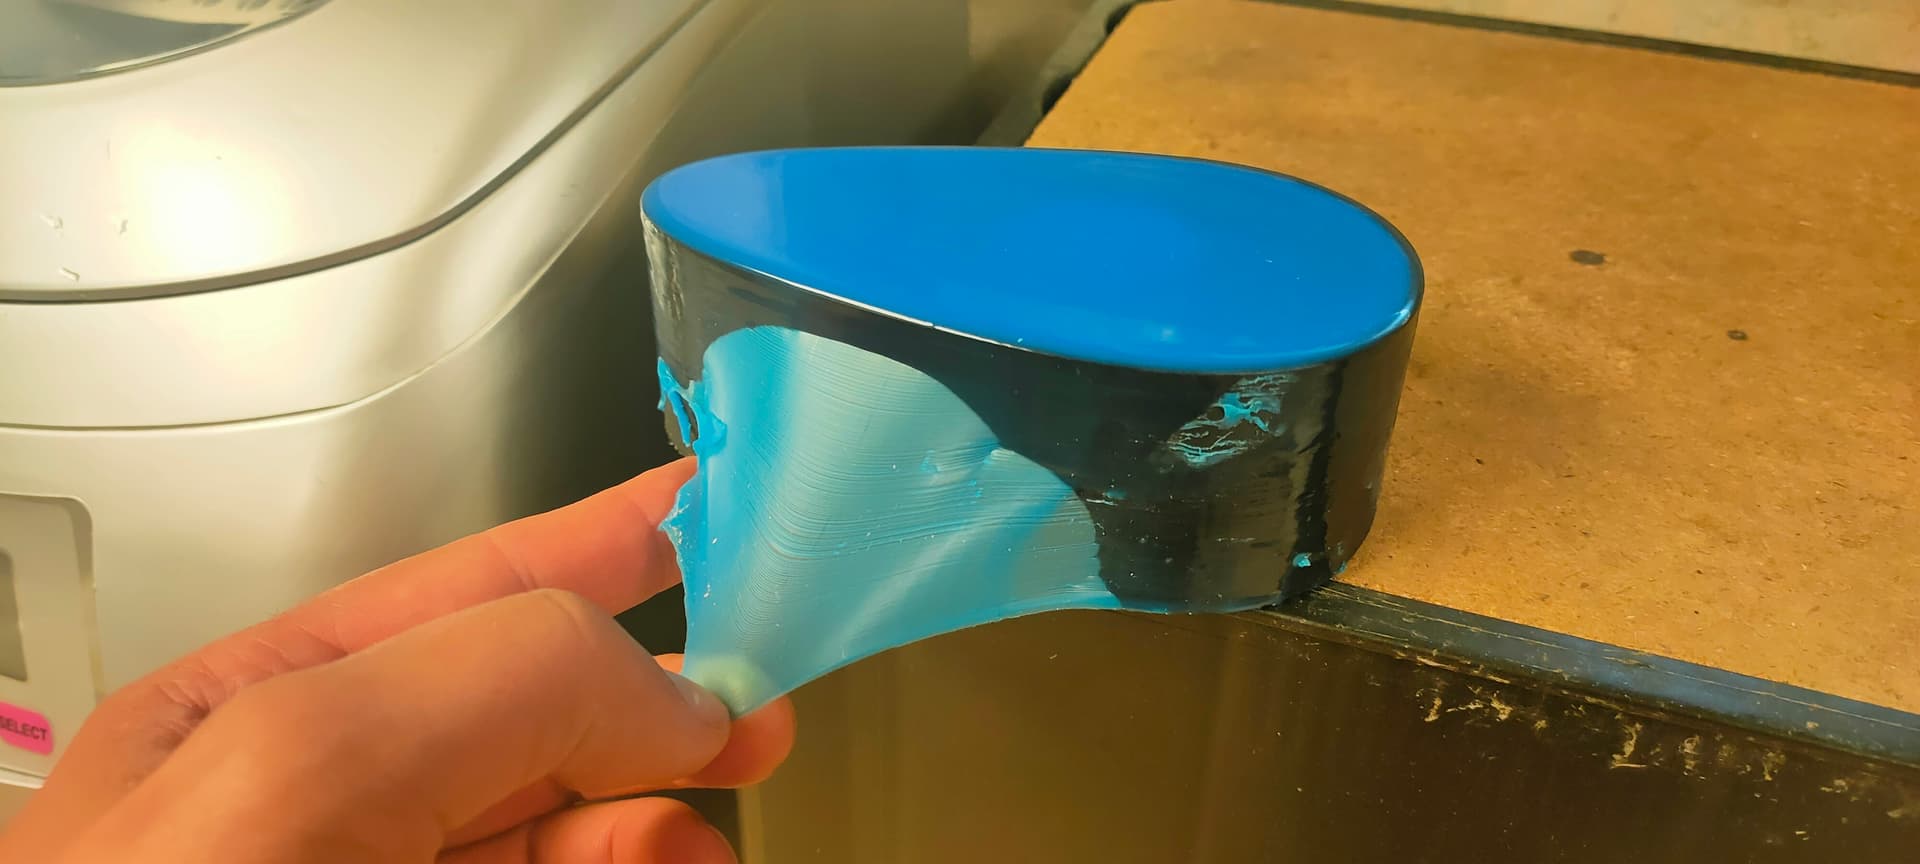
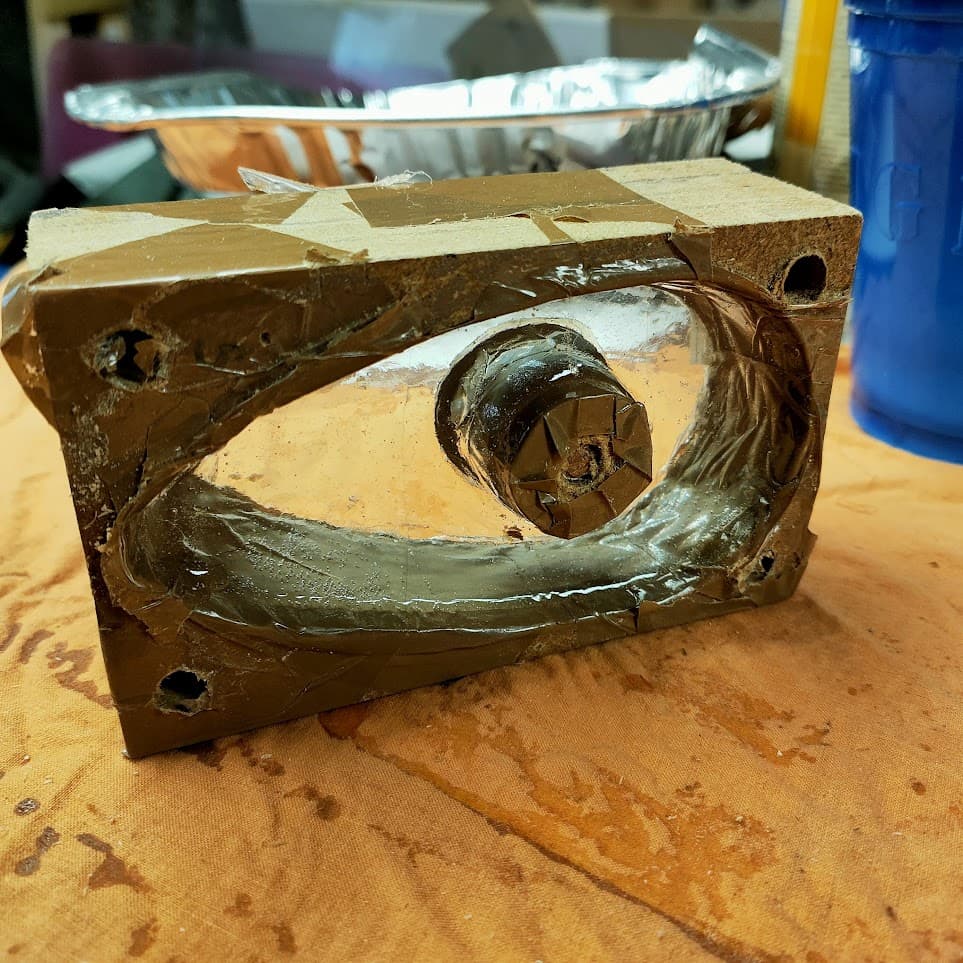
De-molding:
3. Extra project: Small nameplate
As a small birthday gift, I made a small wooden nameplate with the boat’s name
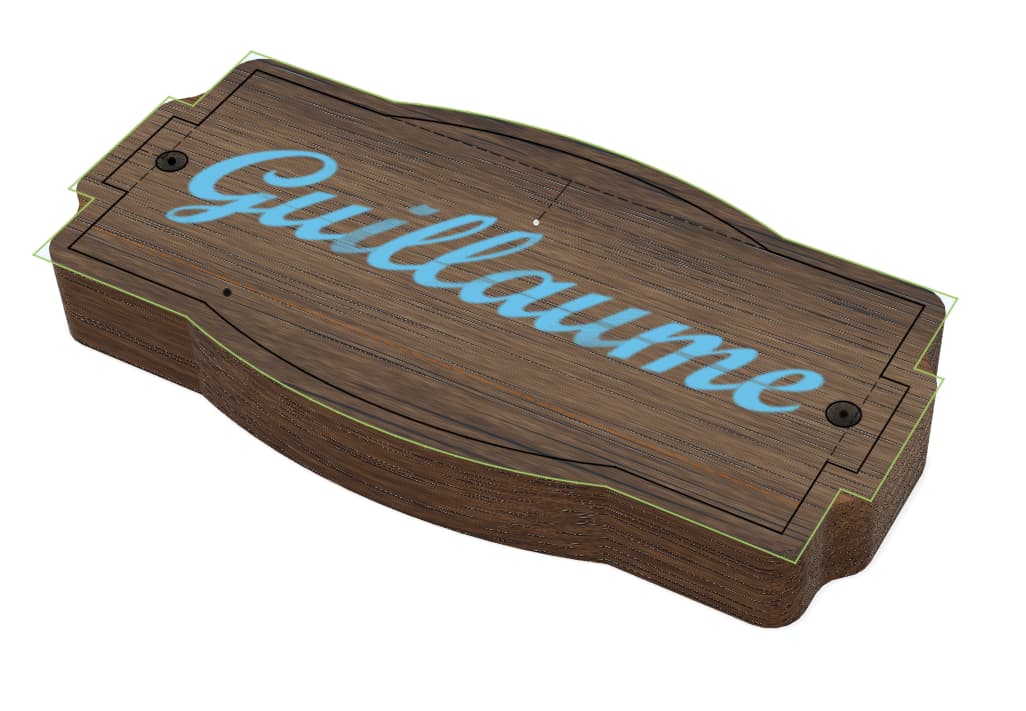
It’s made out of exotic woods, the blank is first cut on the CNC
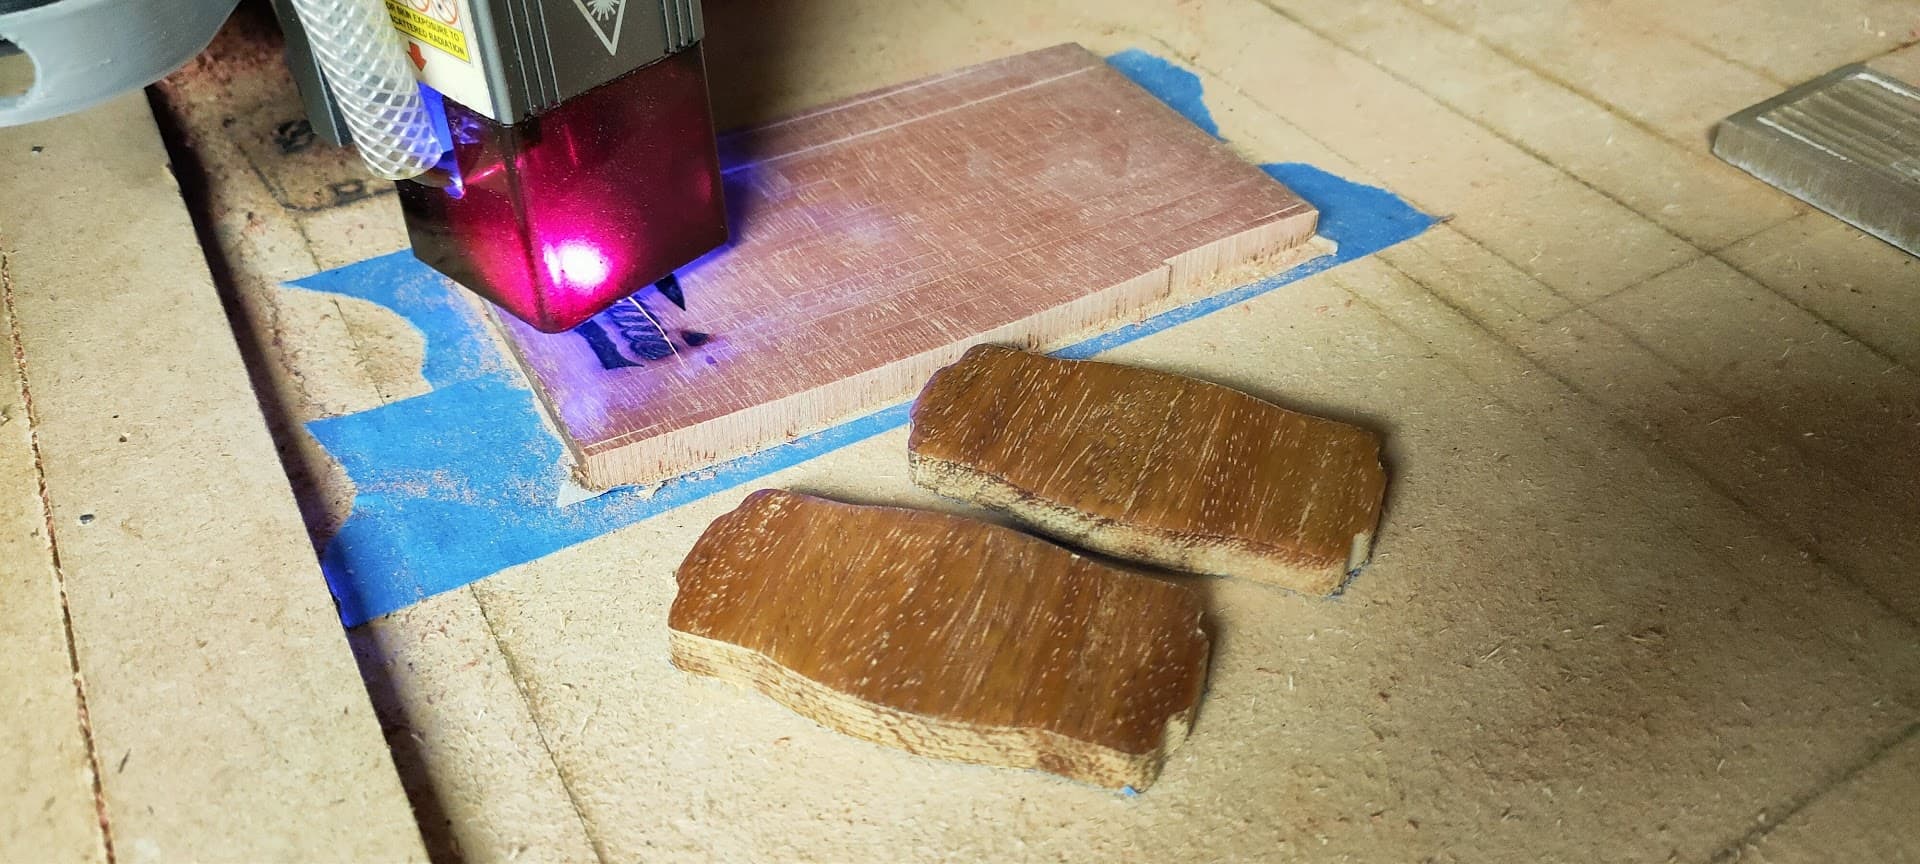
Then I lasered out the inlayin the blank, and another time in negative in another species of wood
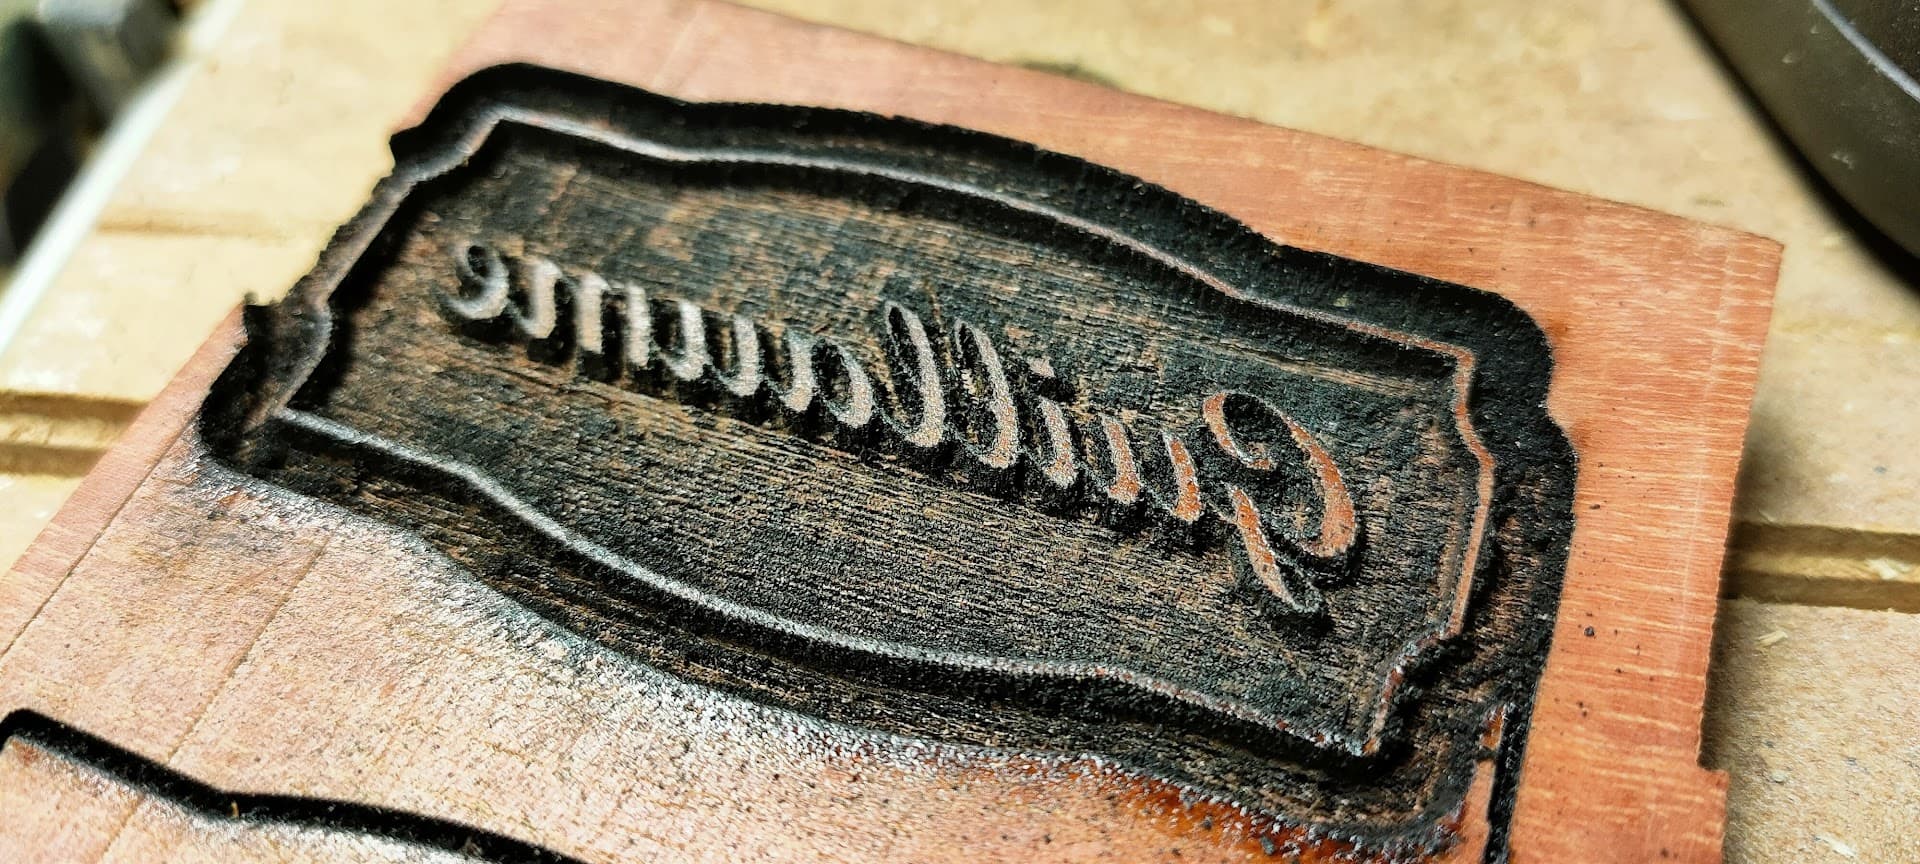
Stick the negative text into the blank, hog out excess wood, and there you go
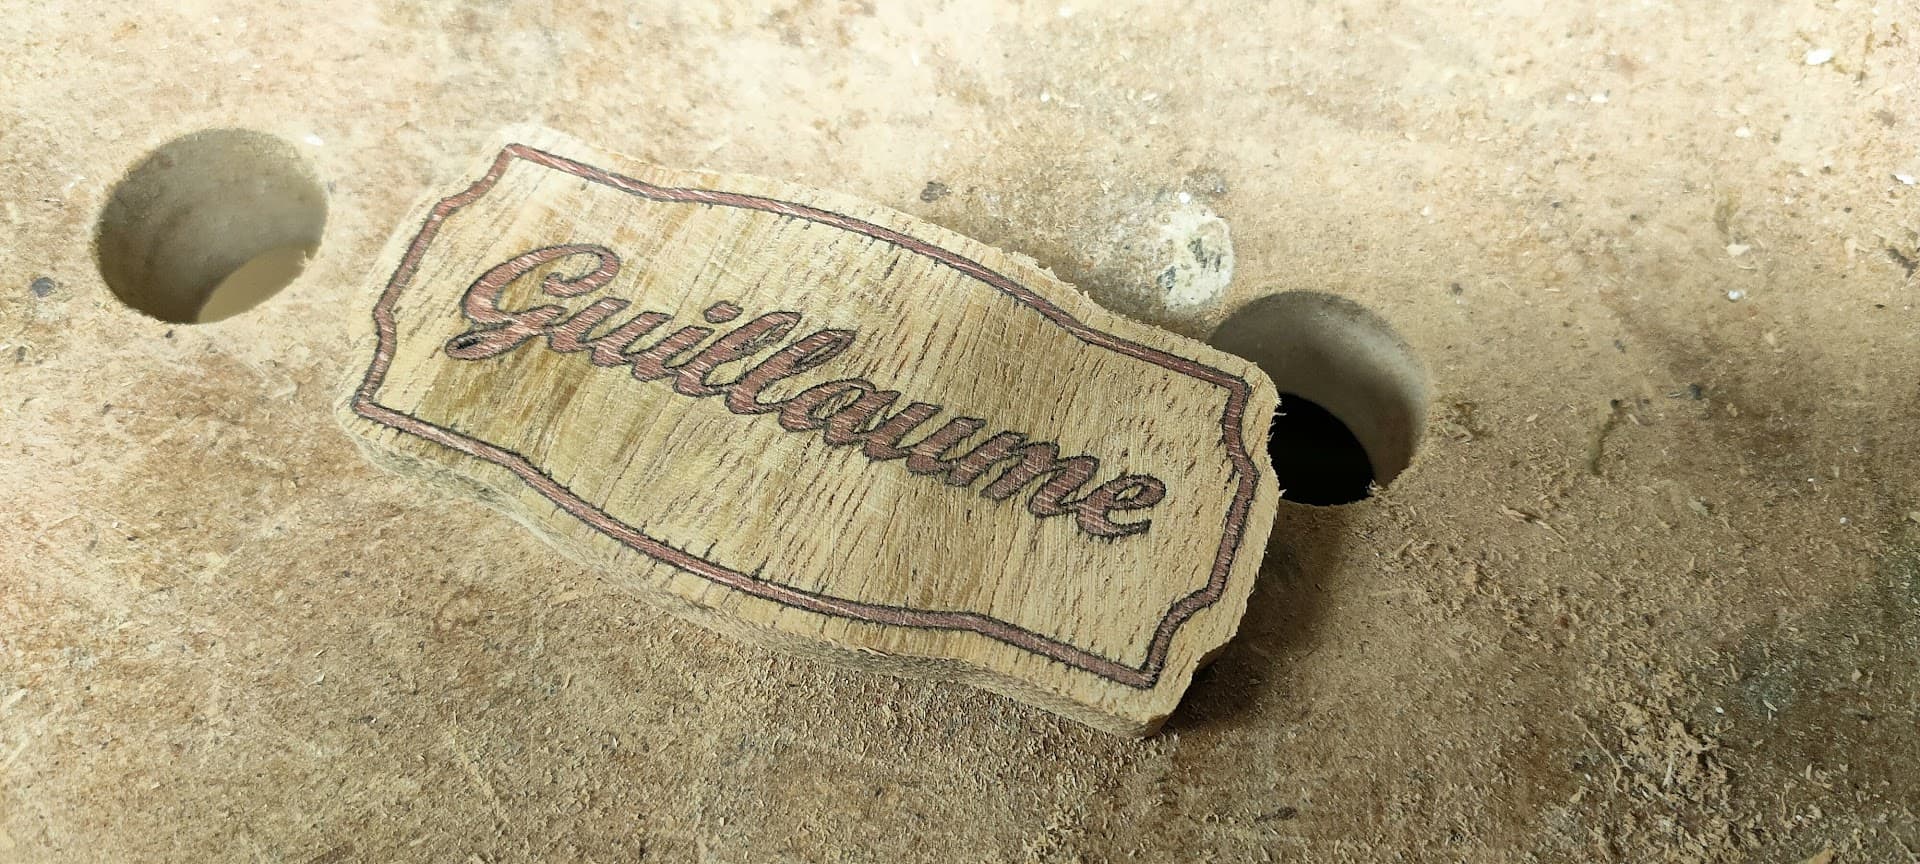
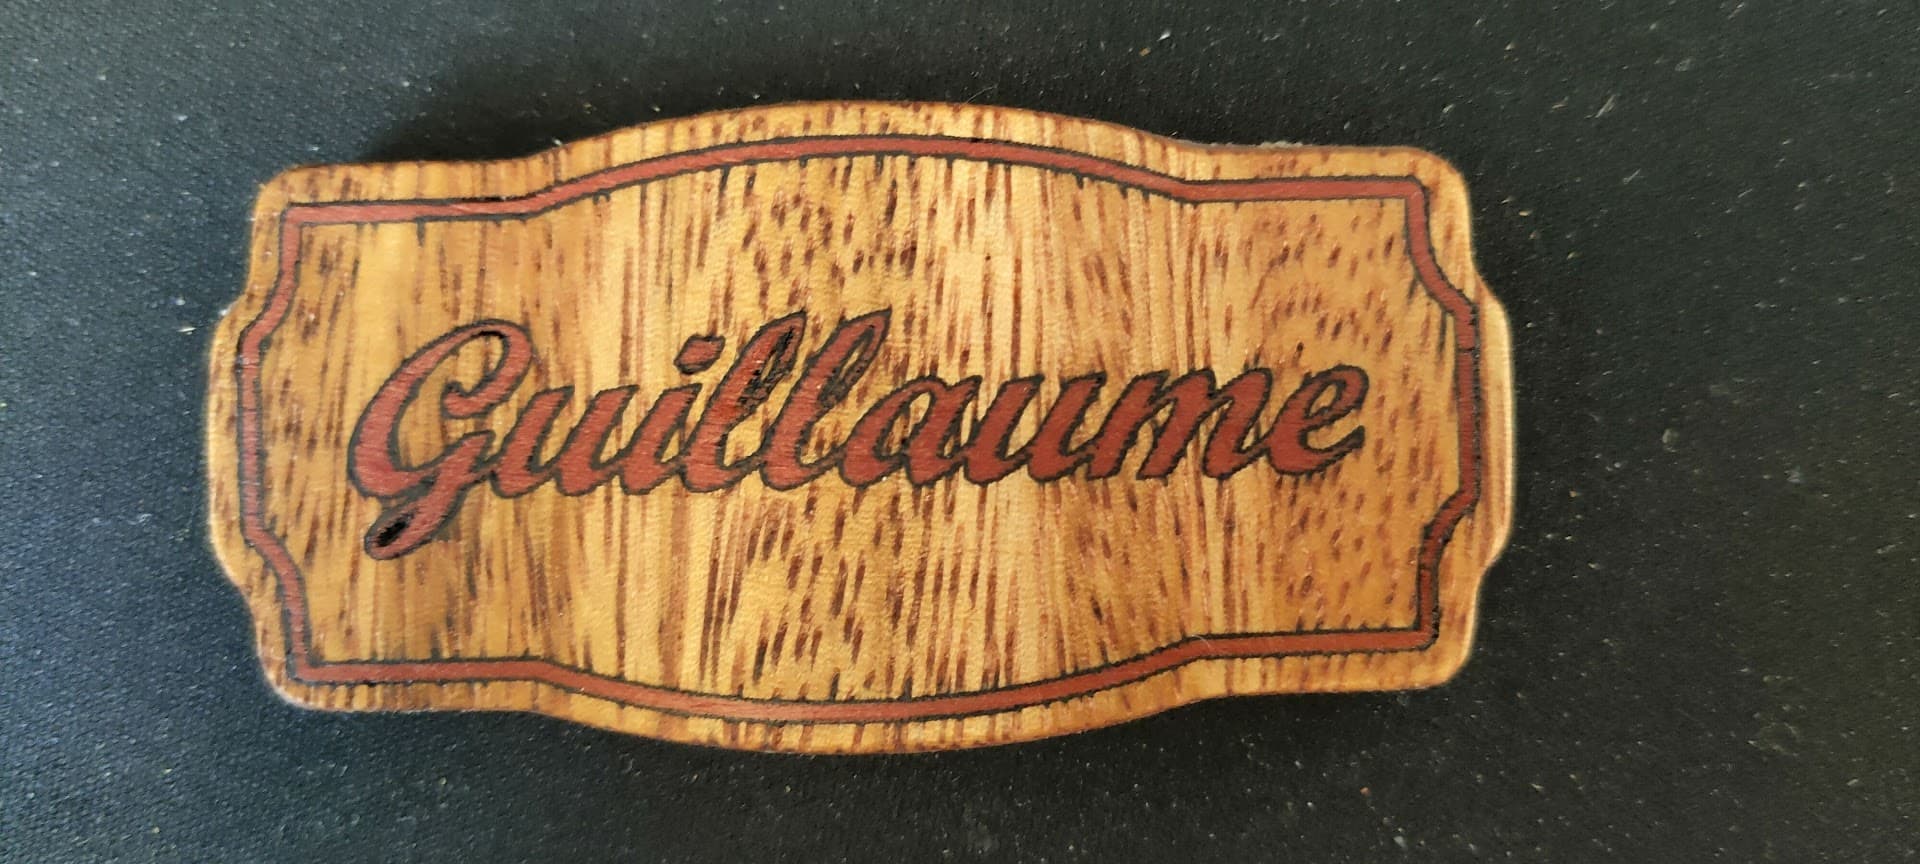
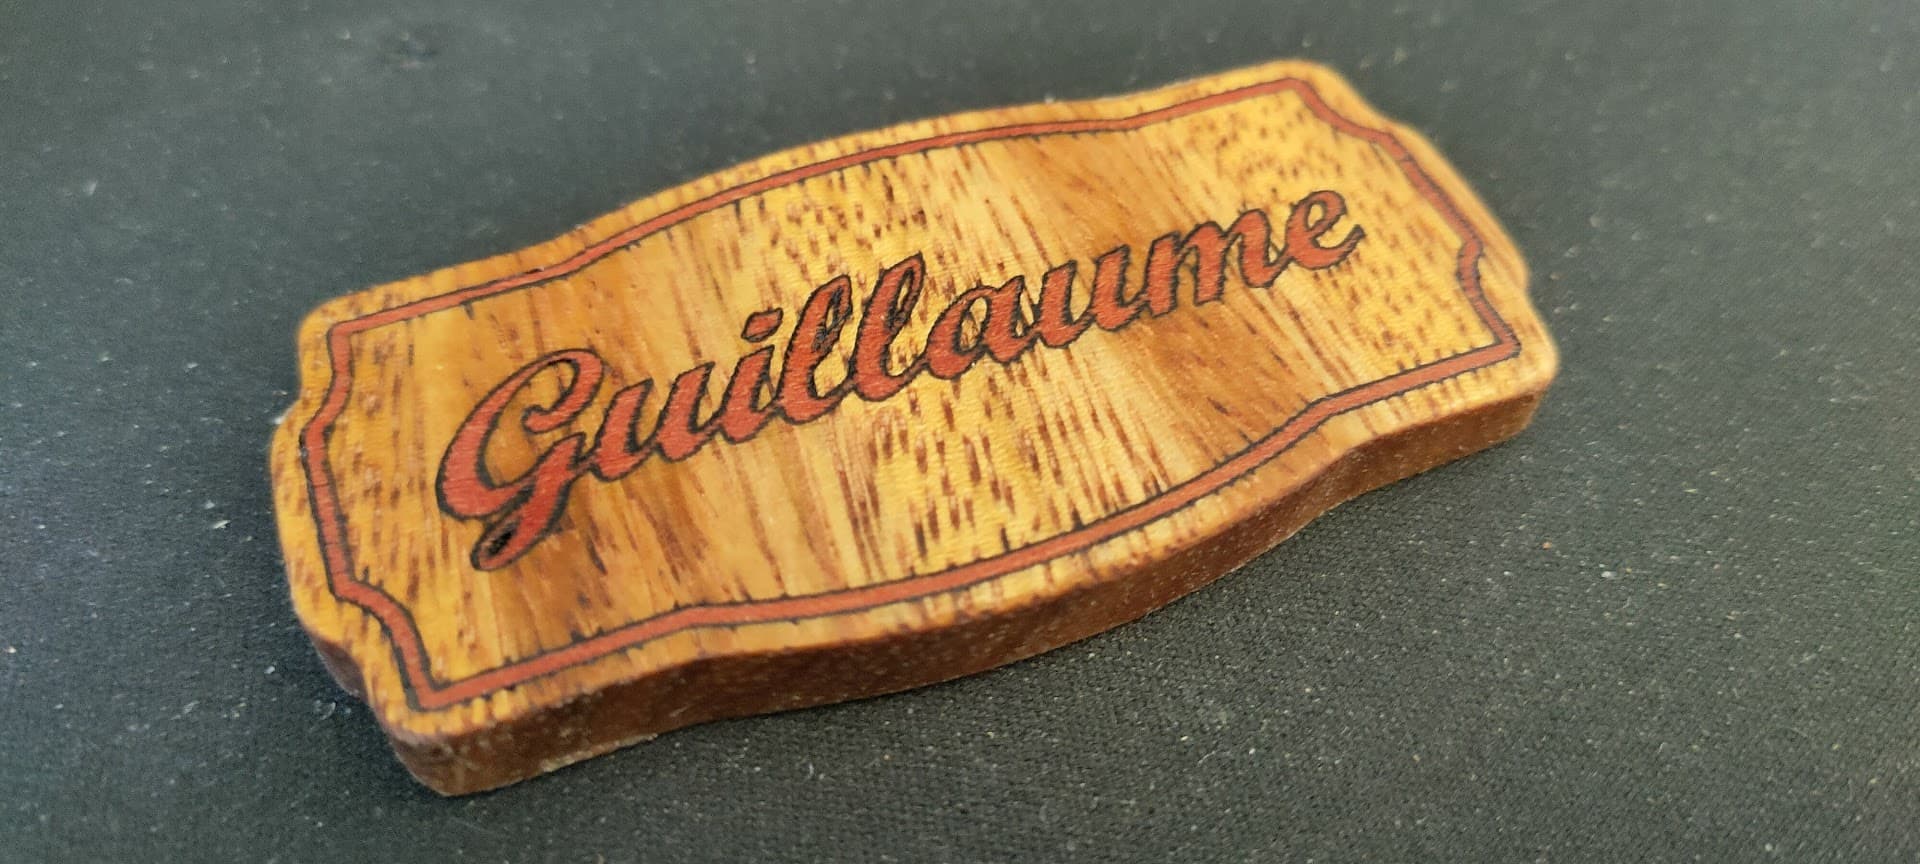
After a bit of cleanup and oil (small deffect in the G but that’s no biggy…)
4. The bitter end
A few month later, I asked my colleague about the state of his work.
I knew he was approaching the end, as the last time we talked about it, motor had been revised, and he was installing solar panels…
His answer just chilled me: “I just finished one last weld in the hull this saturday, and we went out for lunch… when we came back, the boat was on fire…”
A small drop of weld just made it’s way to the bottom of the hull, and fell into some residue oil… you can imagine what happened next… ![]()
As bitter as this end can be, I wanted to share some of those small projects I helped with on this big project, because there’s quite an interesting variety of techniques involved, and it pushed me to try new things and find new solutions.
I hope I can lend a hand to his next project soon, time will tell… ![]()