Hello V1 Family. I’m starting the journey of converting my LR2 over. I will try and post updates here as I go. I have a makita router and have just sourced all my hardware and parts I need. Starting on printed parts now. Luckily I just finished building a Voron V2 so I have the build space now to print the core. (I built the LR2 using FF creator pros but the new core doesn’t fit sadly.
One question: Has anyone made a list of the printed parts sorted by main and accent color? I know this is minor and maybe kinda silly but I’m having a hard time figuring out which part goes where. I also realize that everyone’s “accent” color parts may be different then what I would consider but any ideas would be helpful!
EDIT: I just saw “Nielp”'s build post and his layout of printed parts helped me greatly!
Have all my parts printed and I have all my hardware as listed in the LR2 to LR3 conversion BOM.
What size are the bolts that hold the bearings on the core? In the guide it goes straight from M5 nuts to installing the bolts but no mention of the size. I’m guessing not M5’s
No. Can cut struts with partially built LR3, but then you’ll need to partially disassemble to get Core out of the way so Front strut can be fastened. See pics in LR3 Docs → Disassembly
That said… if you have a working LR, would be good to cut Struts up front (and mount during initial beam assembly) to simplify/speed-up your LR3 build.
I had started my LR2 build back during the lockdown. I had completed all the mechanical assembly, all that was needed was the wiring, configuration and the creation of a suitable table. Then we decided to move. So the LR2 parts went into a box with the plan to get to it when we got settled in, which took over a year. This month I pulled it out and, for the first time in quite a while, looked at V1Engineering to discover that the LR3 had come into the world. So, time to shift gears.
One of the things I had done while settling in was to build a mobile workbench with the plan for it to accommodate the LR2. The bench was built using Ron Paulk’s plans (t’s a torsion box with 20mm holes spaced at 96 mm to mimic the Festool MFT. Buying a Festool Track Saw made me want the MFT style bench. This stuff happens.
The new LR3 design is better suited to what I have in mind so, here we go again! Of course, I was eyeing a faster printer so I took a plunge and ordered an FL Sun Super Racer which has been really impressive printing the LR3 parts.
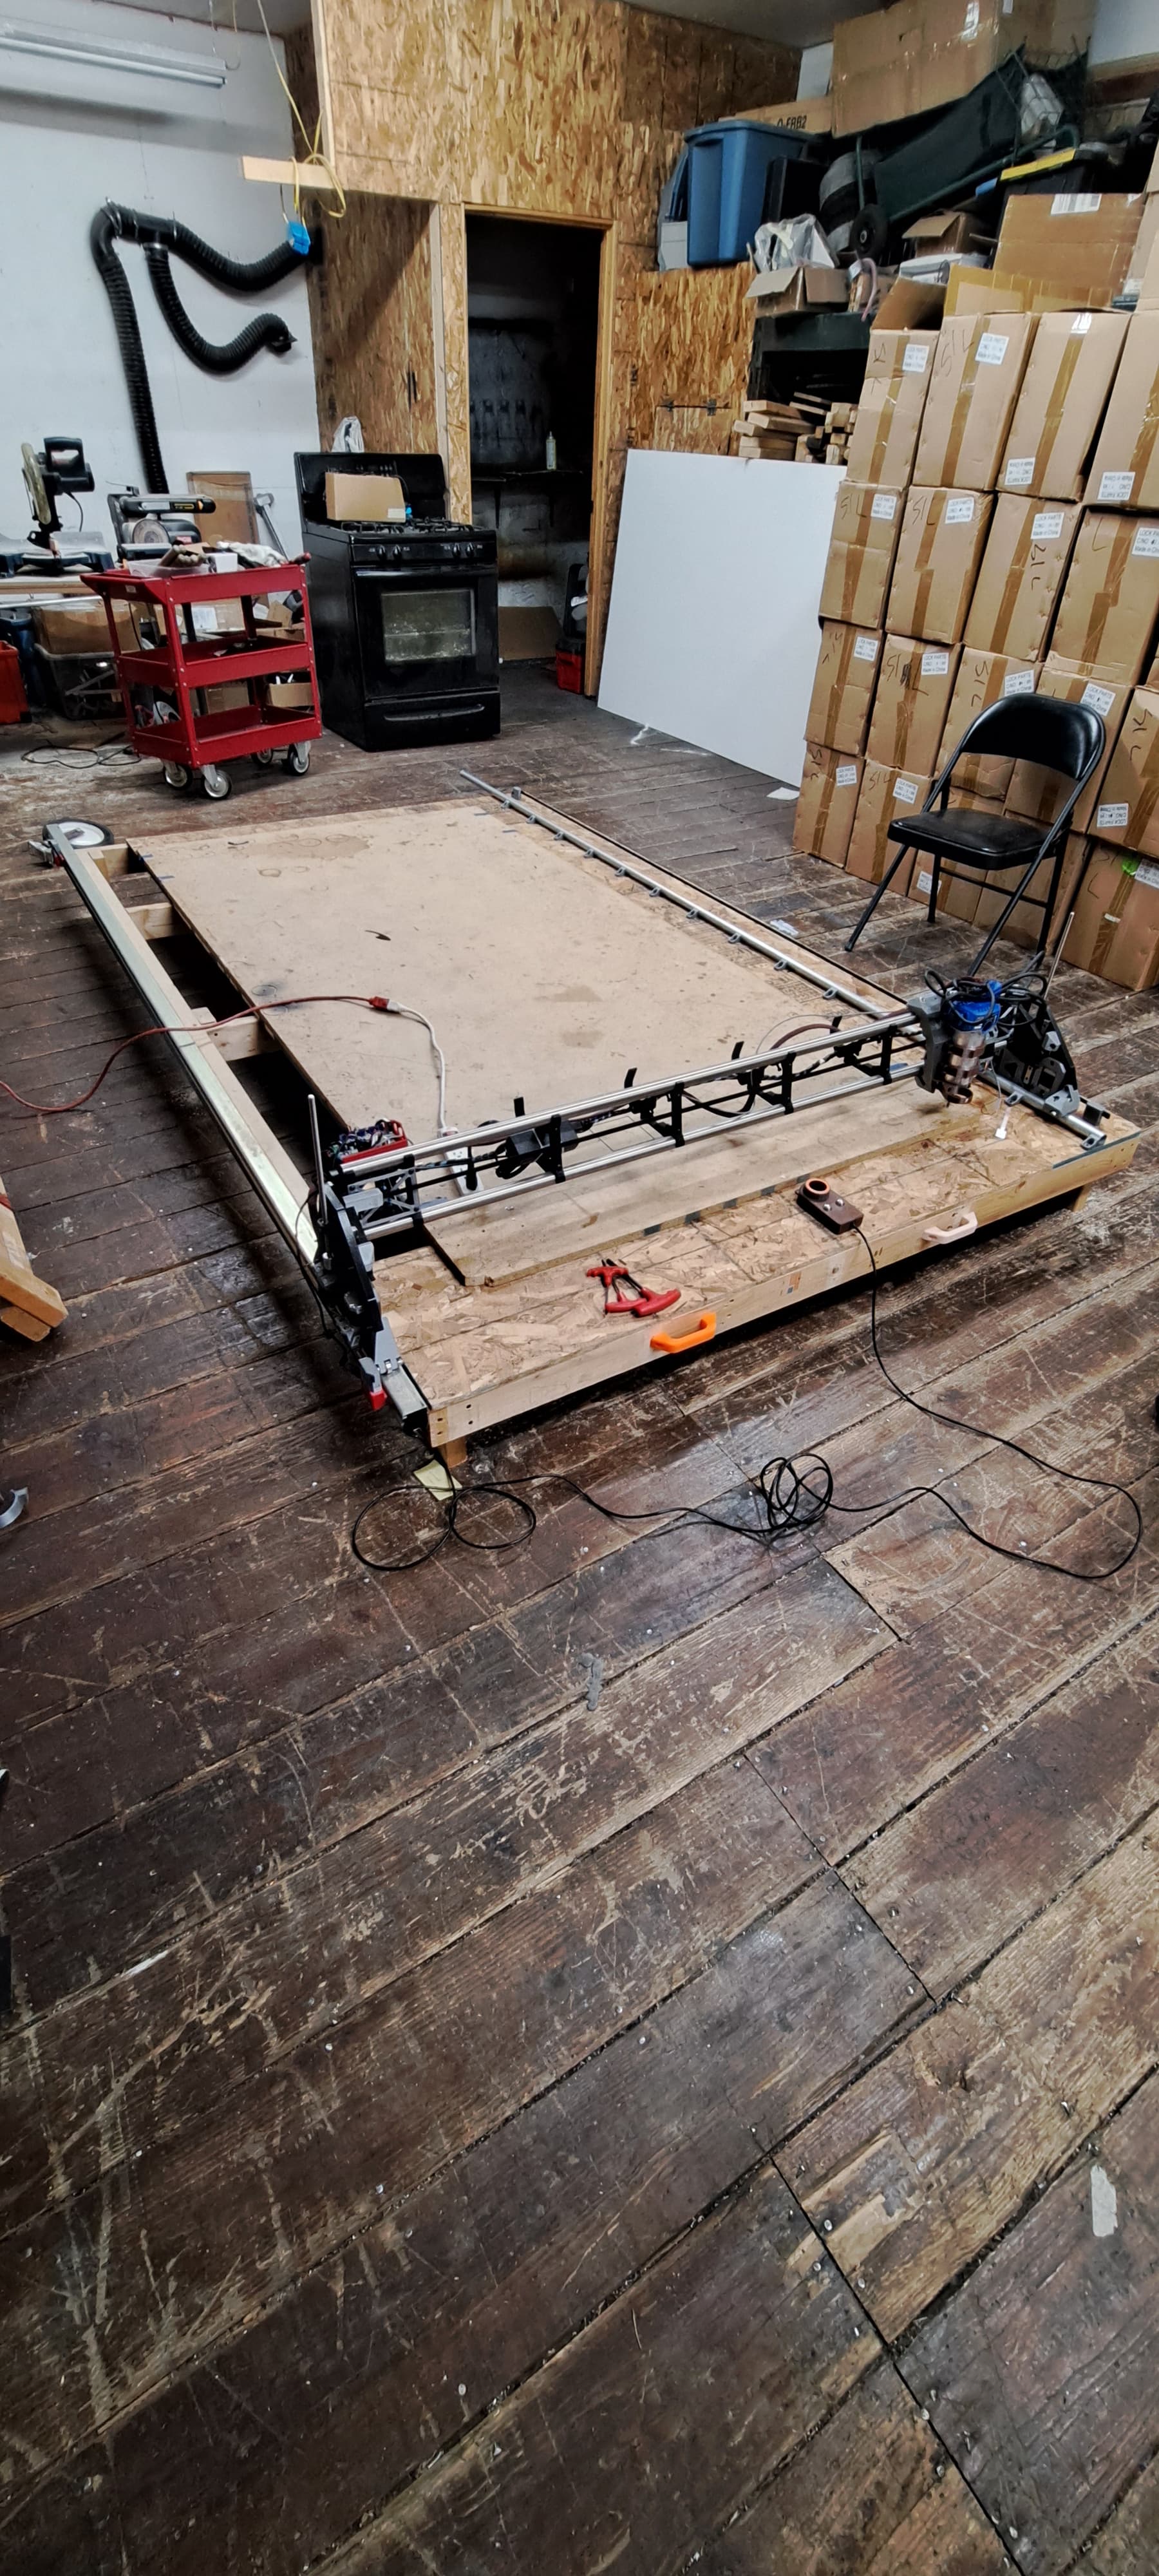
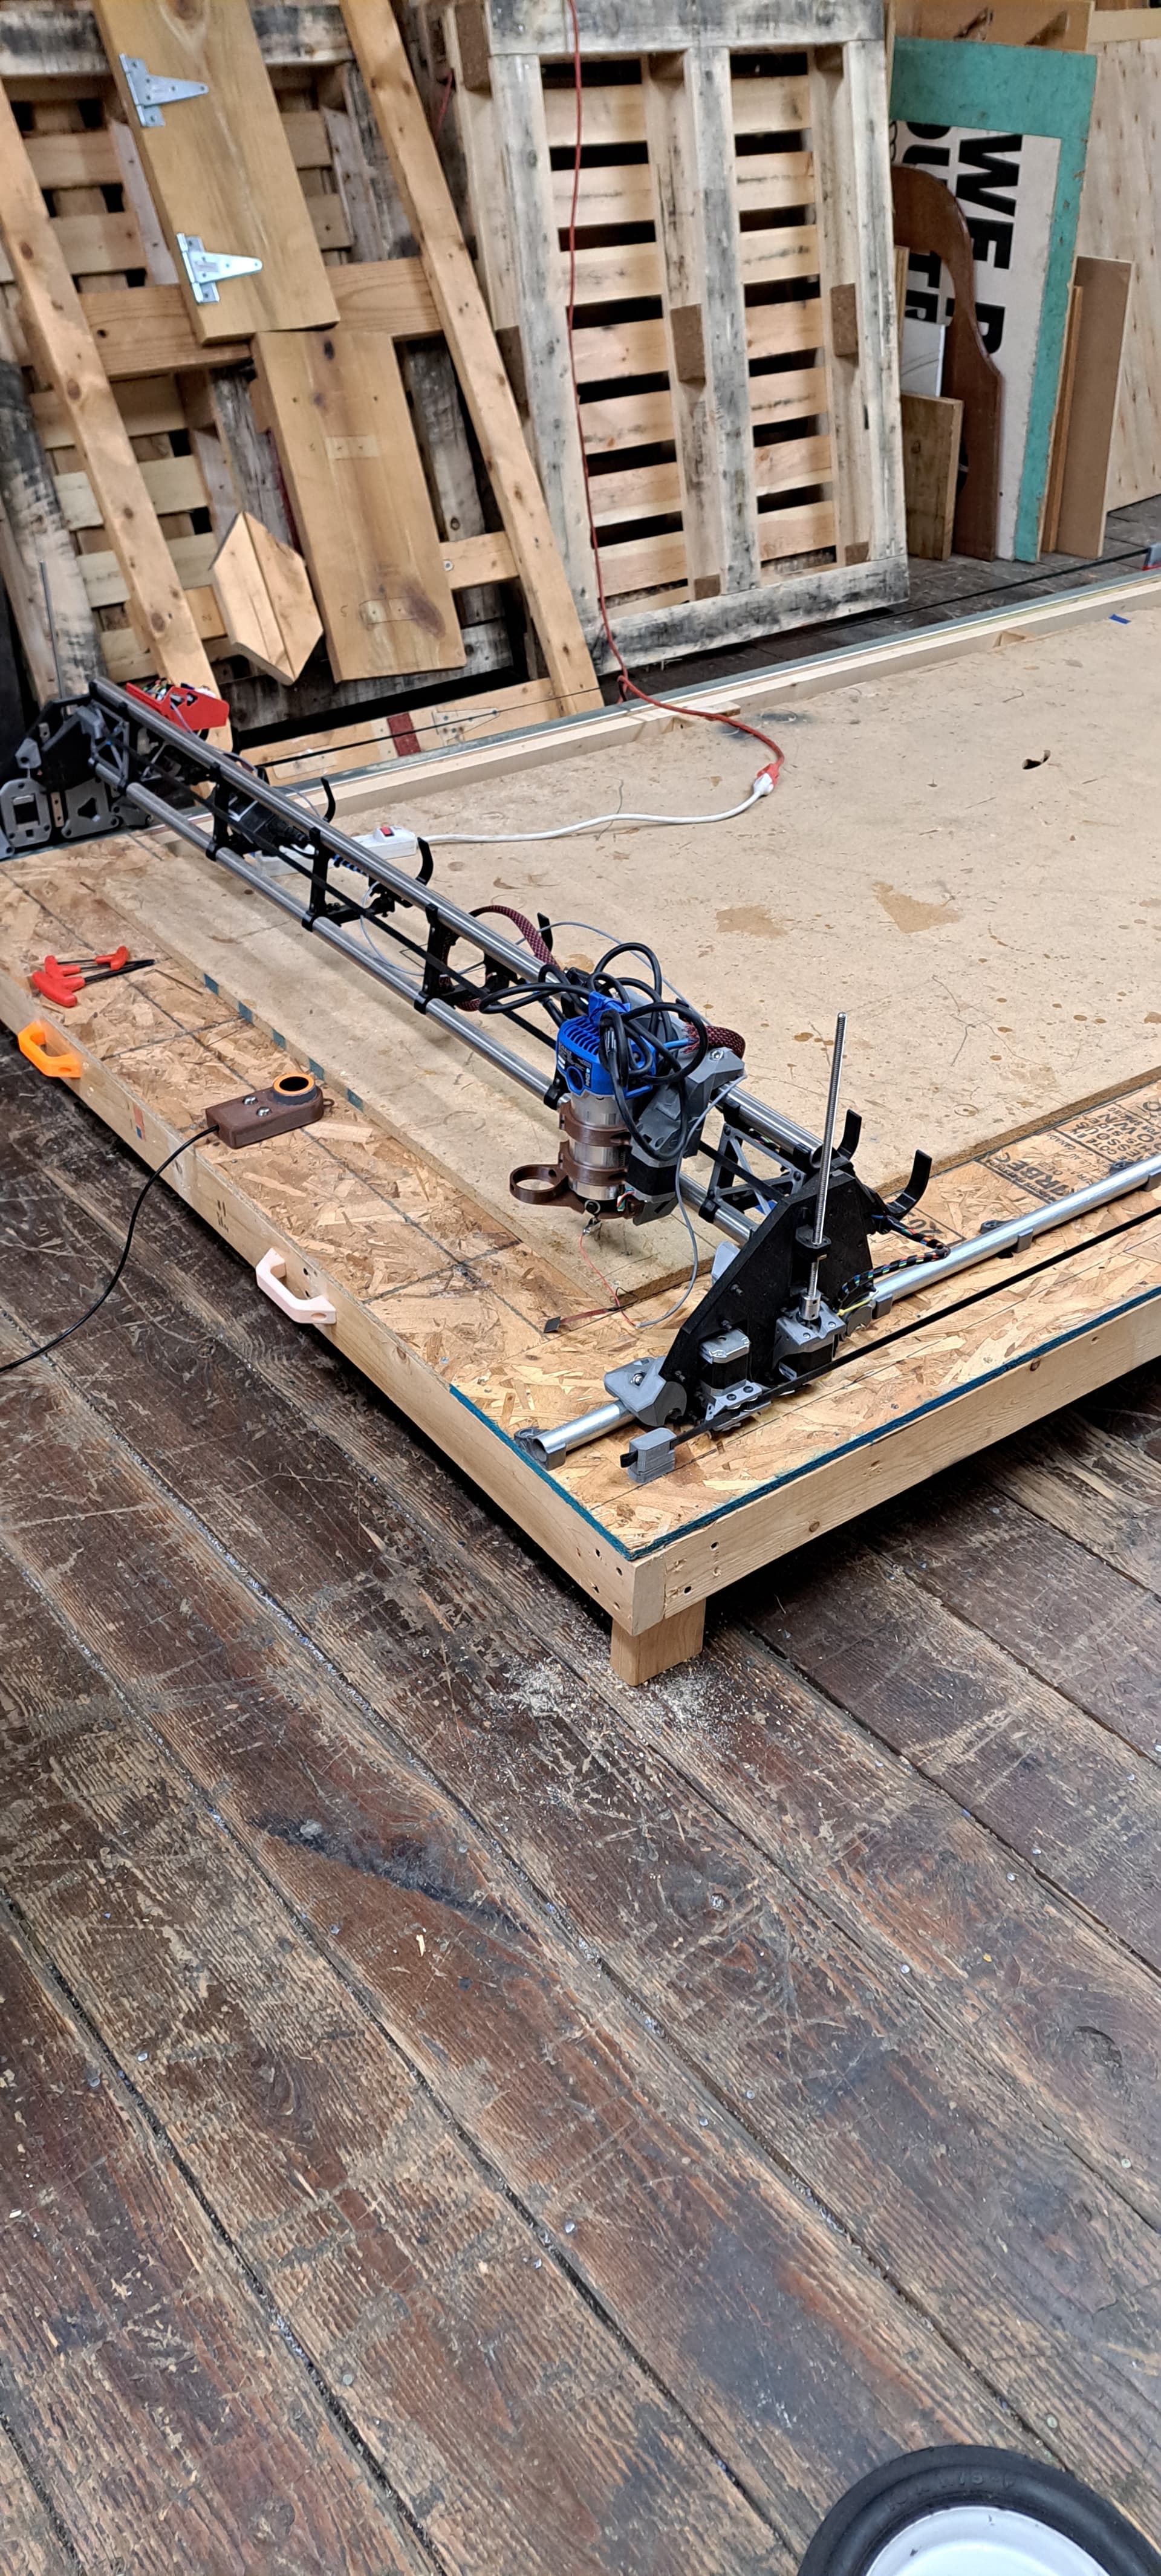
Been a long while. Got the Kobalt router, Jackpot controller and M5 dial pendant on. On a temporary table until we move to a new building. I’ve got Highs and Lows all over the place I’m trying to figure out.
So from one day to the next The last 2 inches of travel on my X on the left side, the core is binding up before it gets to my stop. It’s really hard to push by hand. I’ve been running this thing left and right, homing all week long with no issues. Has anyone experienced this? Nothing has fallen on it, No one has tripped on it. I’m going to check the bearings on the core but what the heck.