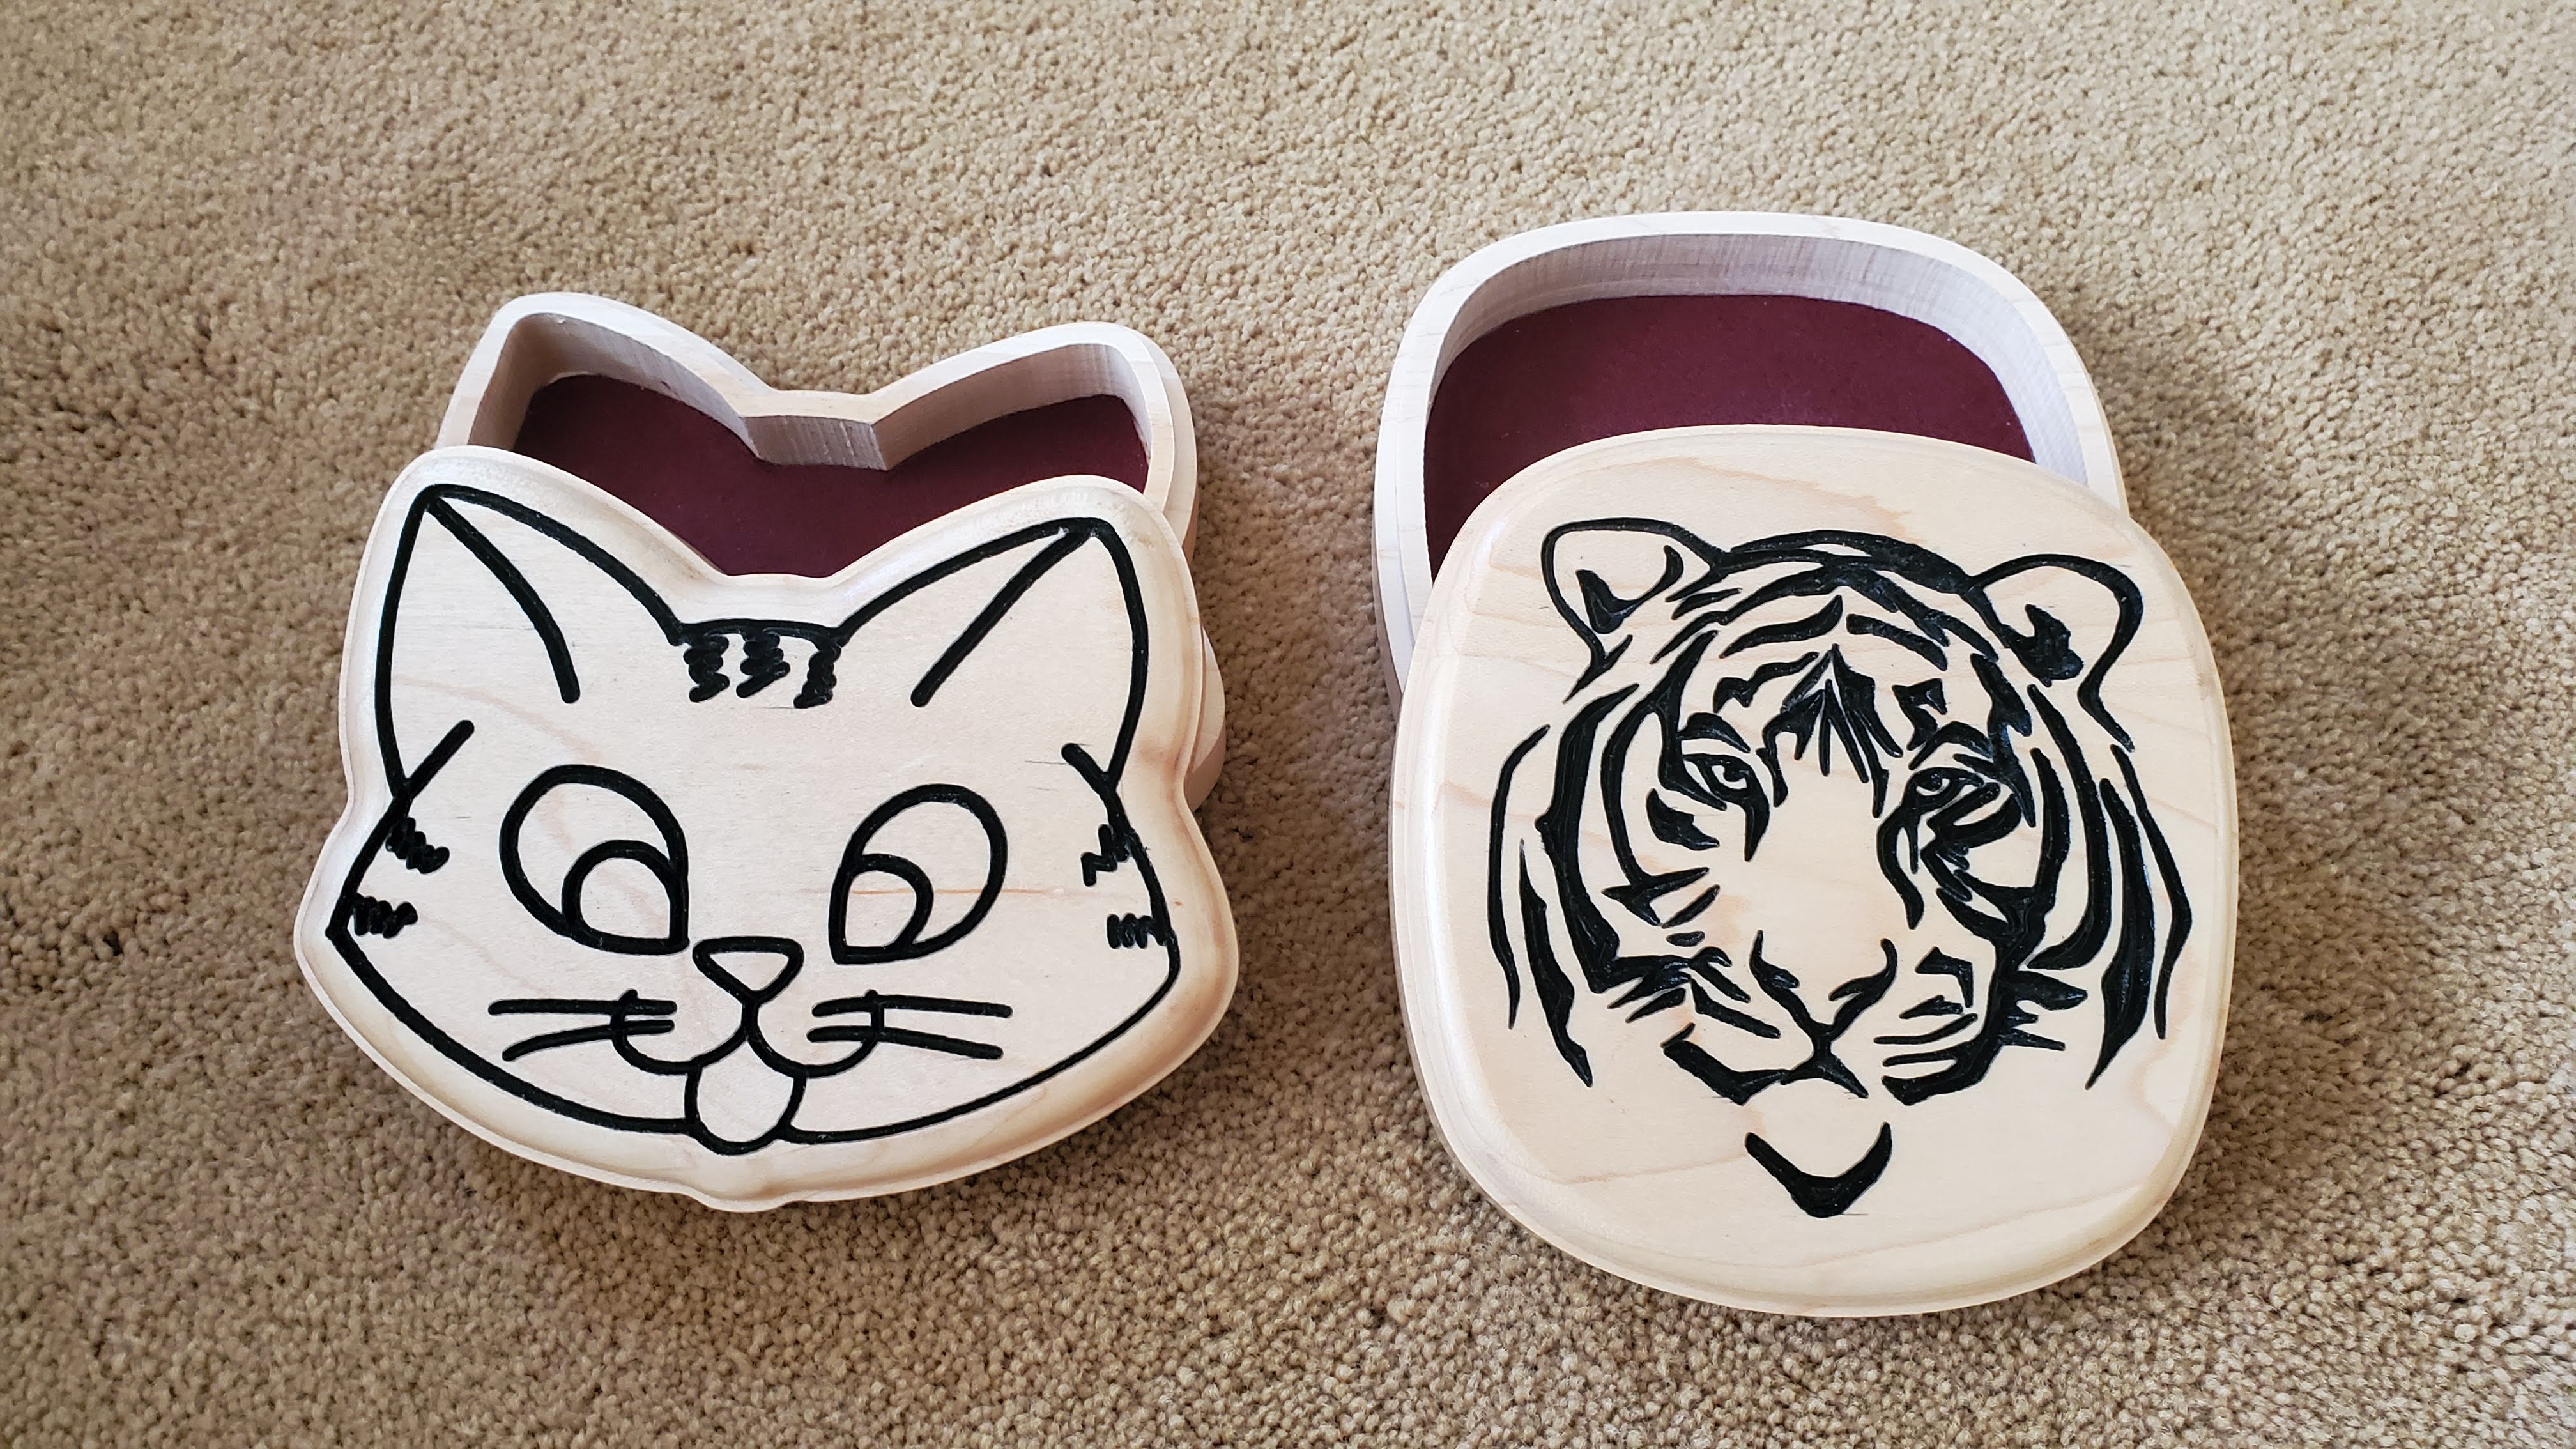
I’ve made several boxes where I set up the MPCNC to route the top and bottom out of the same piece of stock. The lid then fits over a raised rim on the bottom to form a box about 1.35" tall with a cavity just enough for some jewelry or trinkets (about 1.1"). This time I tried a two sided operation with an engraved face, just flipping the stock and re-zeroing at the corner (bottom right for the engraving, bottom left for routing). The setup in Fusion 360 was not hard, but needed care to get exactly right since I didn’t reference with pins, but it came out quite nice. I left .015" gap for clearance on the lid and did 2 finishing passes with a .010 stepover to get the lid to fit nearly perfectly. Then just sand the sides flat to remove tabs, spray the top with paint, plane off with a sharp plane (see Rob Cosman’s tips on sharpening) and a final finish with some lacquer. Took 2.5 hours for each box. Happy to share the Fusion design if anyone wants to try it out.
Lovely work. Looking at your engraving video, I don’t see a mask. How did you get such clean blacks lines without the black color bleeding into the grain of the wood around the engraving? Unless I take off a large amount (damaging to the engraving), I still get bleeding unless I take precautions.
With a porous wood I spray the lid with a clearcoat (from all 4 sides) and then the black paint. Then I plane off the top with all the excess paint and finish. In this case I was using a very dense maple that was not prone to bleeding.
Even in the case of porous woods like pine I’ve had excellent results using a quick-drying paint. I love the duplicolor flat black acrylic paint for this purpose. Fast drying and very little bleed.
Note that all top coats over the engraving (clear or colored) need to be shot from all 4 directions to get the nooks and crannies.
Oh, and one other thing: I say “plane” the top off intentionally because I’ve had less than great results with just sanding. Sanding tends to tear the paint edge and leaves debris in the painted voids that is very hard to get out even when scrubbed aggressively with a toothbrush.
Thanks for the info. I’ve watched several of Rex Krueger’s videos on restoring and tuning hand planes in the last several months, and have it on my list to add a well-tuned plane to my tools. But all I have currently is a rusty, harbor freight plane that I doubt is very tune-able. And with Covid, I’m not visiting swap meets or 2nd hand stores to find a decent plane to restore. I did pickup some masking material that I’ll be trying in the near future. Have you used masking material for painting engravings, and if so what was your experience?
The only masking of that sort I’ve done was with vinyl cutouts done on a Crikut. Those actually work very well and you can get great definition, but need to use some professional techniques. I’ve used it finishing some high powered rockets, and wet sanding was required to avoid edges, etc.
Mask alignment to an engraving has too many variables to contemplate. A small depth difference in the engraving makes a mask too inaccurate to use. I’ve filled metal engravings and sanded it clear, and I’ve filled wood. Alternatives are to engrave through a veneer into a contrasting wood/plastic or CNC an inlay. I’ve not yet tried an inlay but it’s on the list. I suspect it will require some care with the MPCNC to avoid alignment issues.
One thing that REALLY helps if using Fusion is to decrease the Tolerance on milling/engraving passes to .001 from the default of 0.1. This makes an enormous difference in the finish on the sides of the engraving.
Seriously, though, take a look at Rob Cosman’s youtube videos on tuning a plane and sharpening a plane iron. Even though I eventually bought a better plane, my old garage sale item tuned up just fine and getting a fine edge on the iron made all the difference in the world.
Actually, yes I have tried cabinet scrapers. I use scrapers extensively in furniture but in this case they were too slow and harder to get a planar surface. At the wrong angle they also tended to dip into the engraved patterns too much for my liking. Light passes of something like 3 thou with a smoothing plane worked great and didn’t tear the paint at the edges.