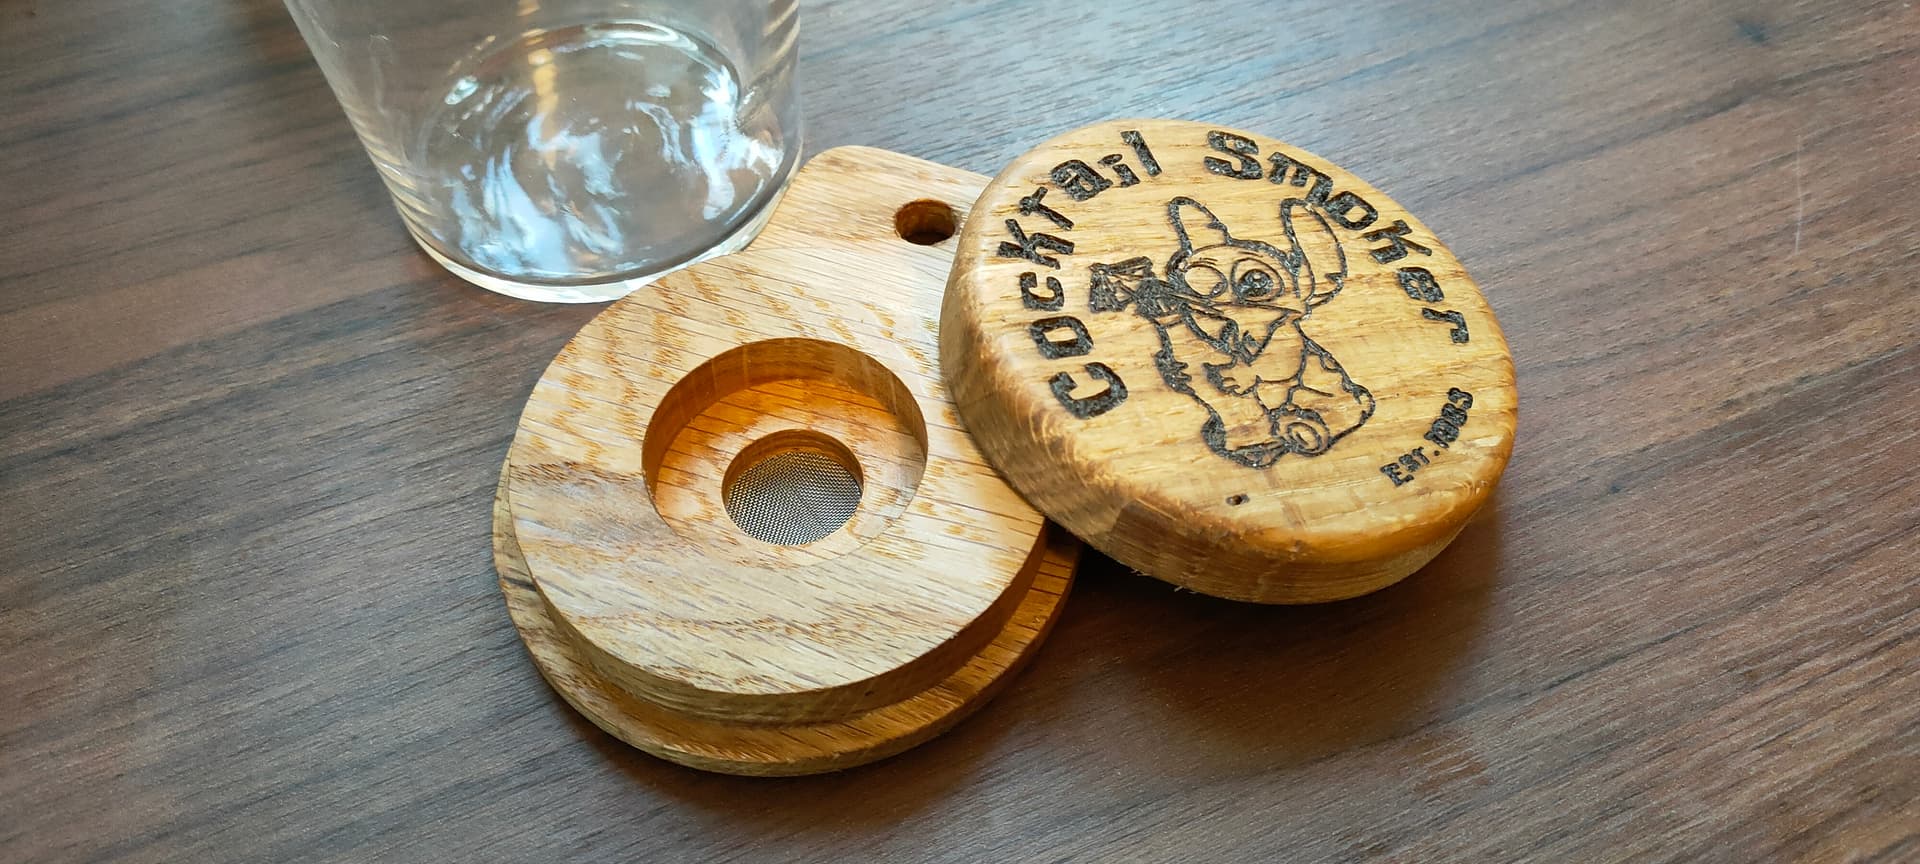
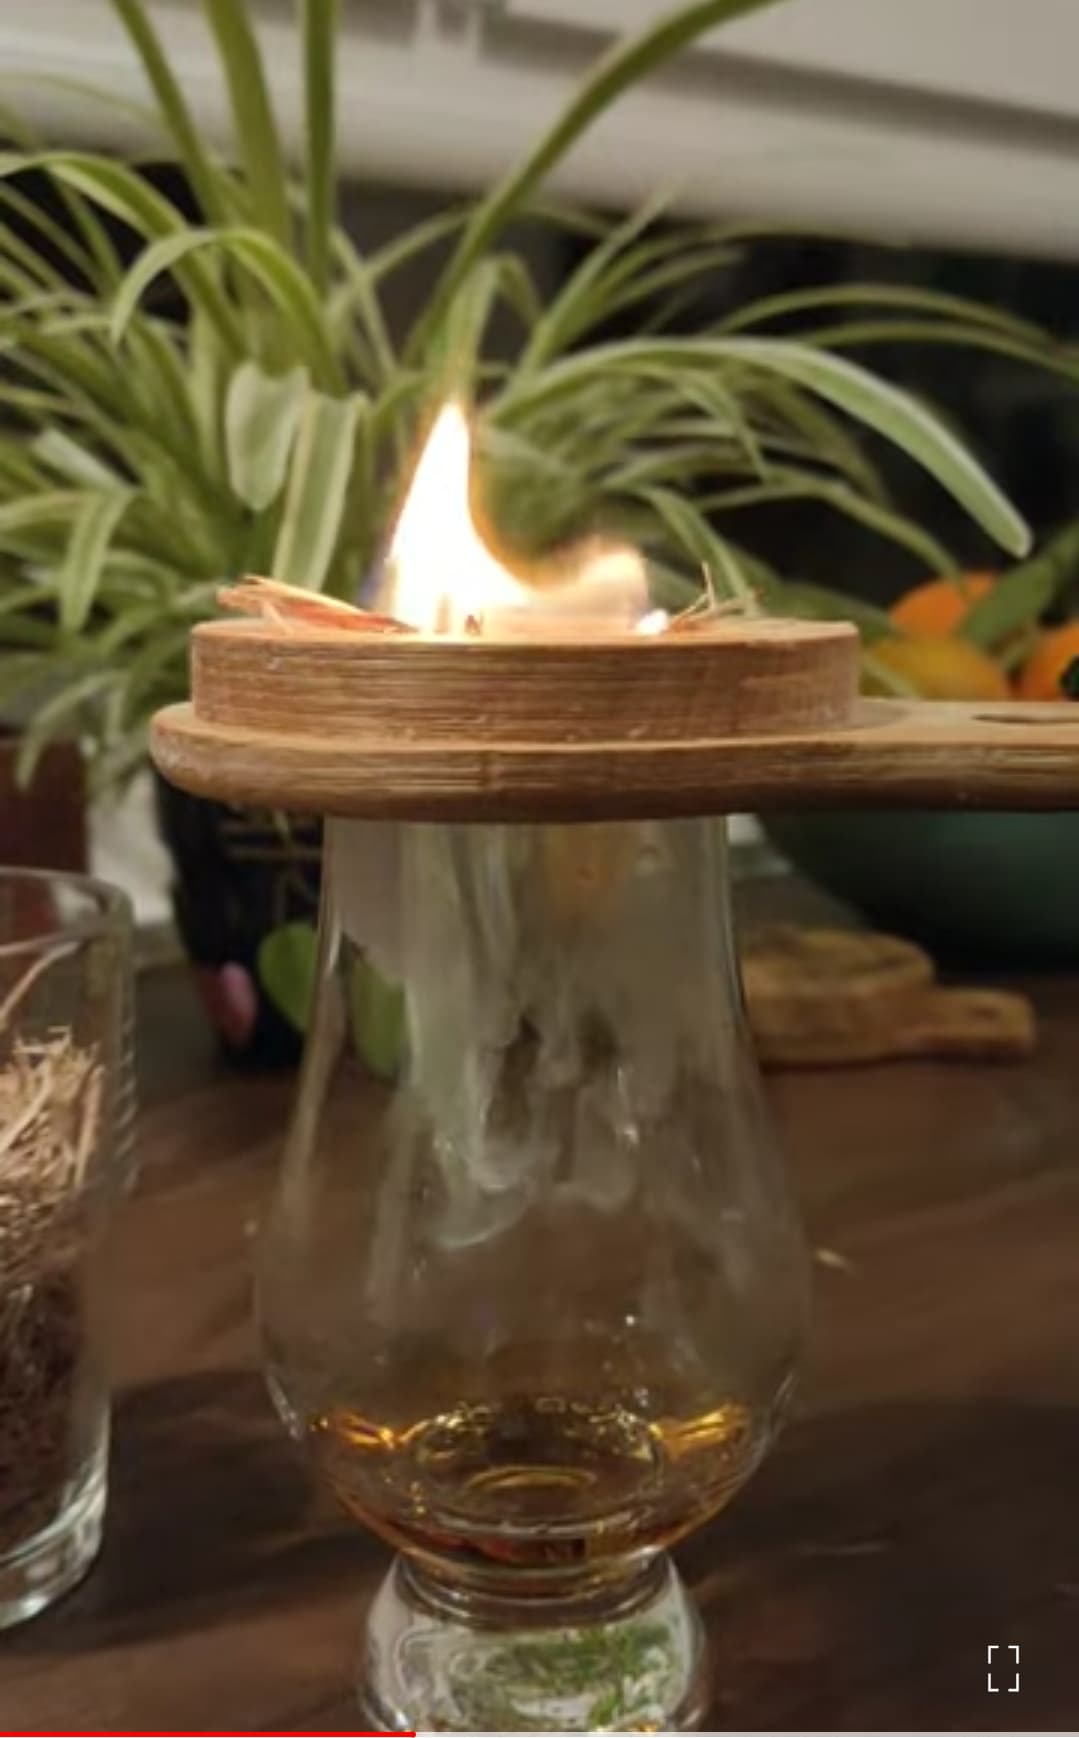
Pretty simple project and design, but it offers a lot of customization possibilities, and makes a nice/cheap/easy gift for family and friends
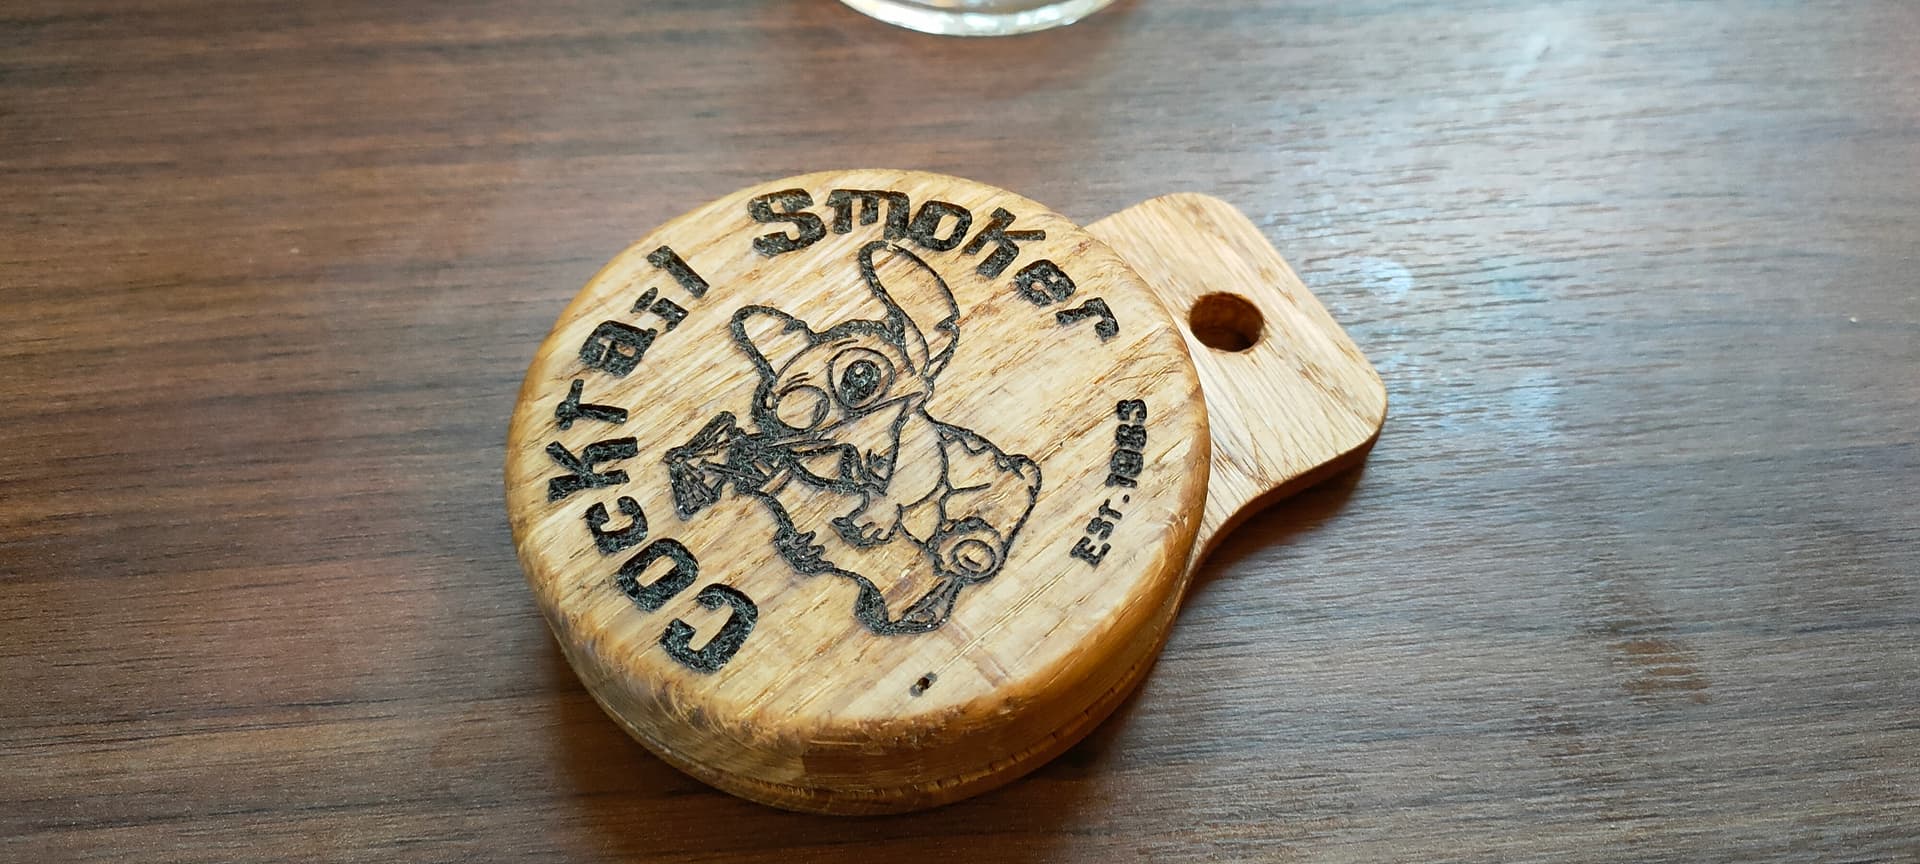
Combining this with the laser module for customization offers a nice finishing touch while keeping it pretty easy to do…
Also, I’m using this as a pet project to learn about batch production, as I will make a few of these for the holiday season…
Getting one good sample out of the machine is one thing… but being able to machine 5-10 of these without having a different issue each and every time is a whole other matter…
Optimizing CAM for machining time as it adds up pretty quickly is also very interesting…
Learning a lot with this
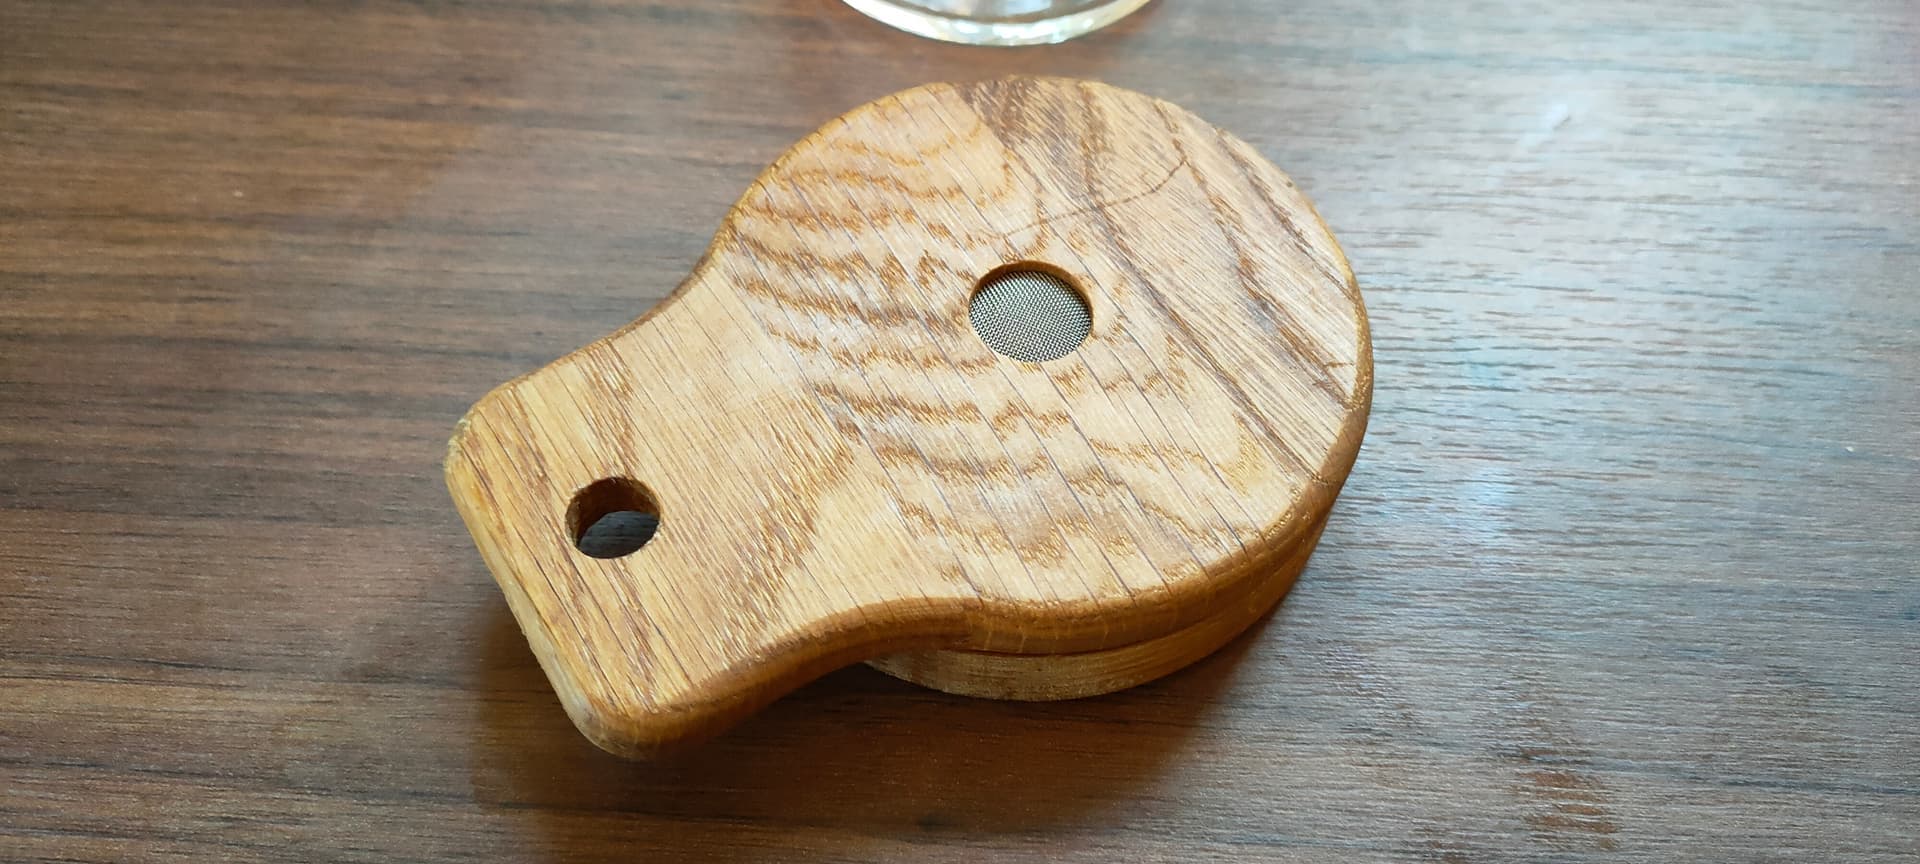
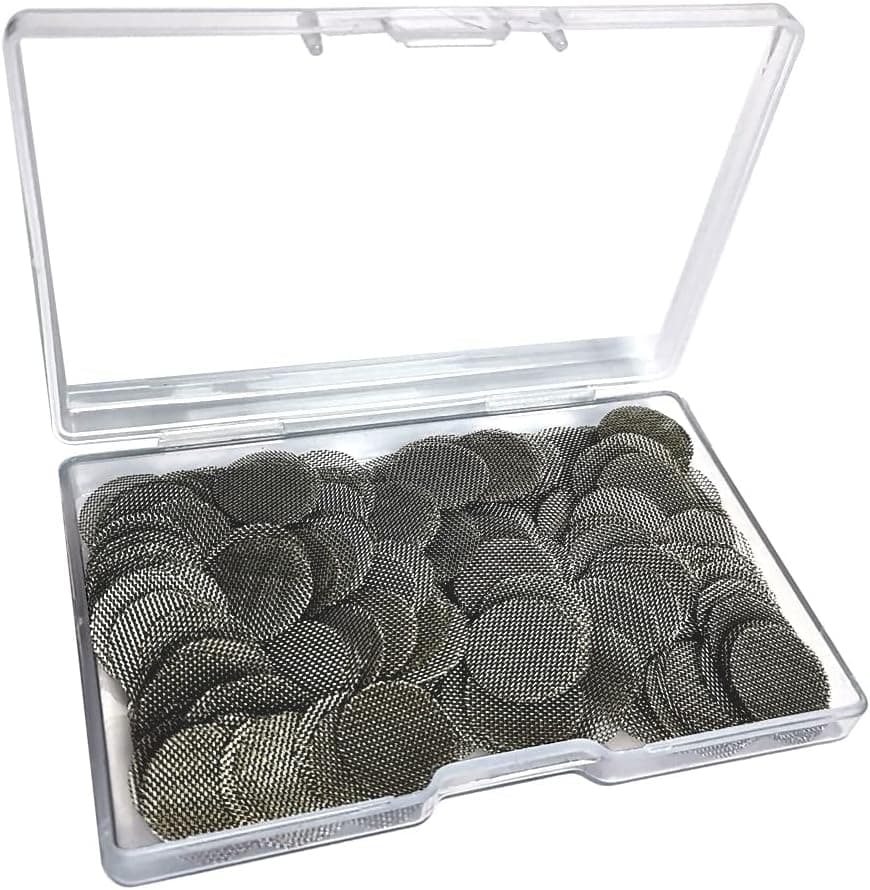
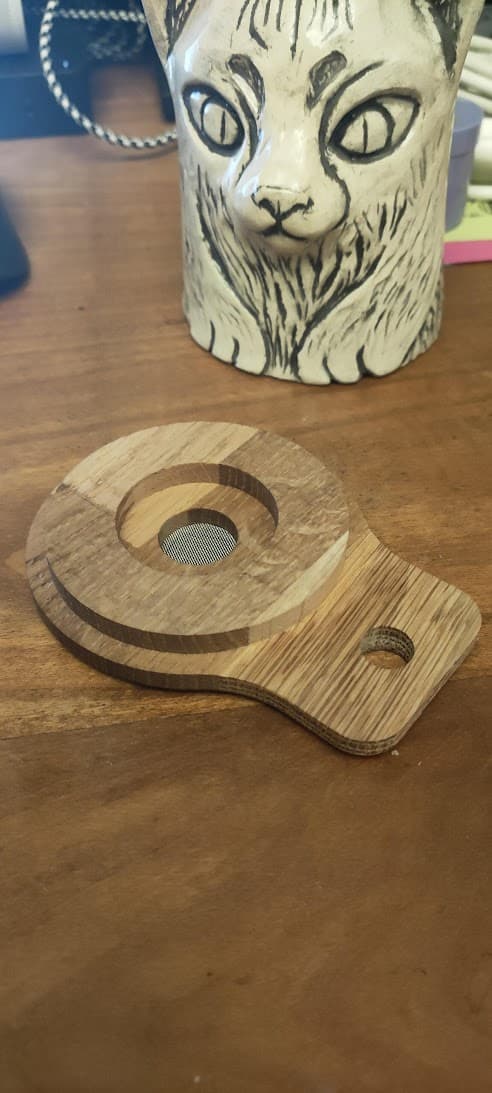
I got pipe screens for mine. 200 PCS 3/4 Inch Stainless Steel Pipe Screens, 3/4 Inch Metal Pipe Screen with Metal Box Amazon.com. I dont think it matters stainless is good
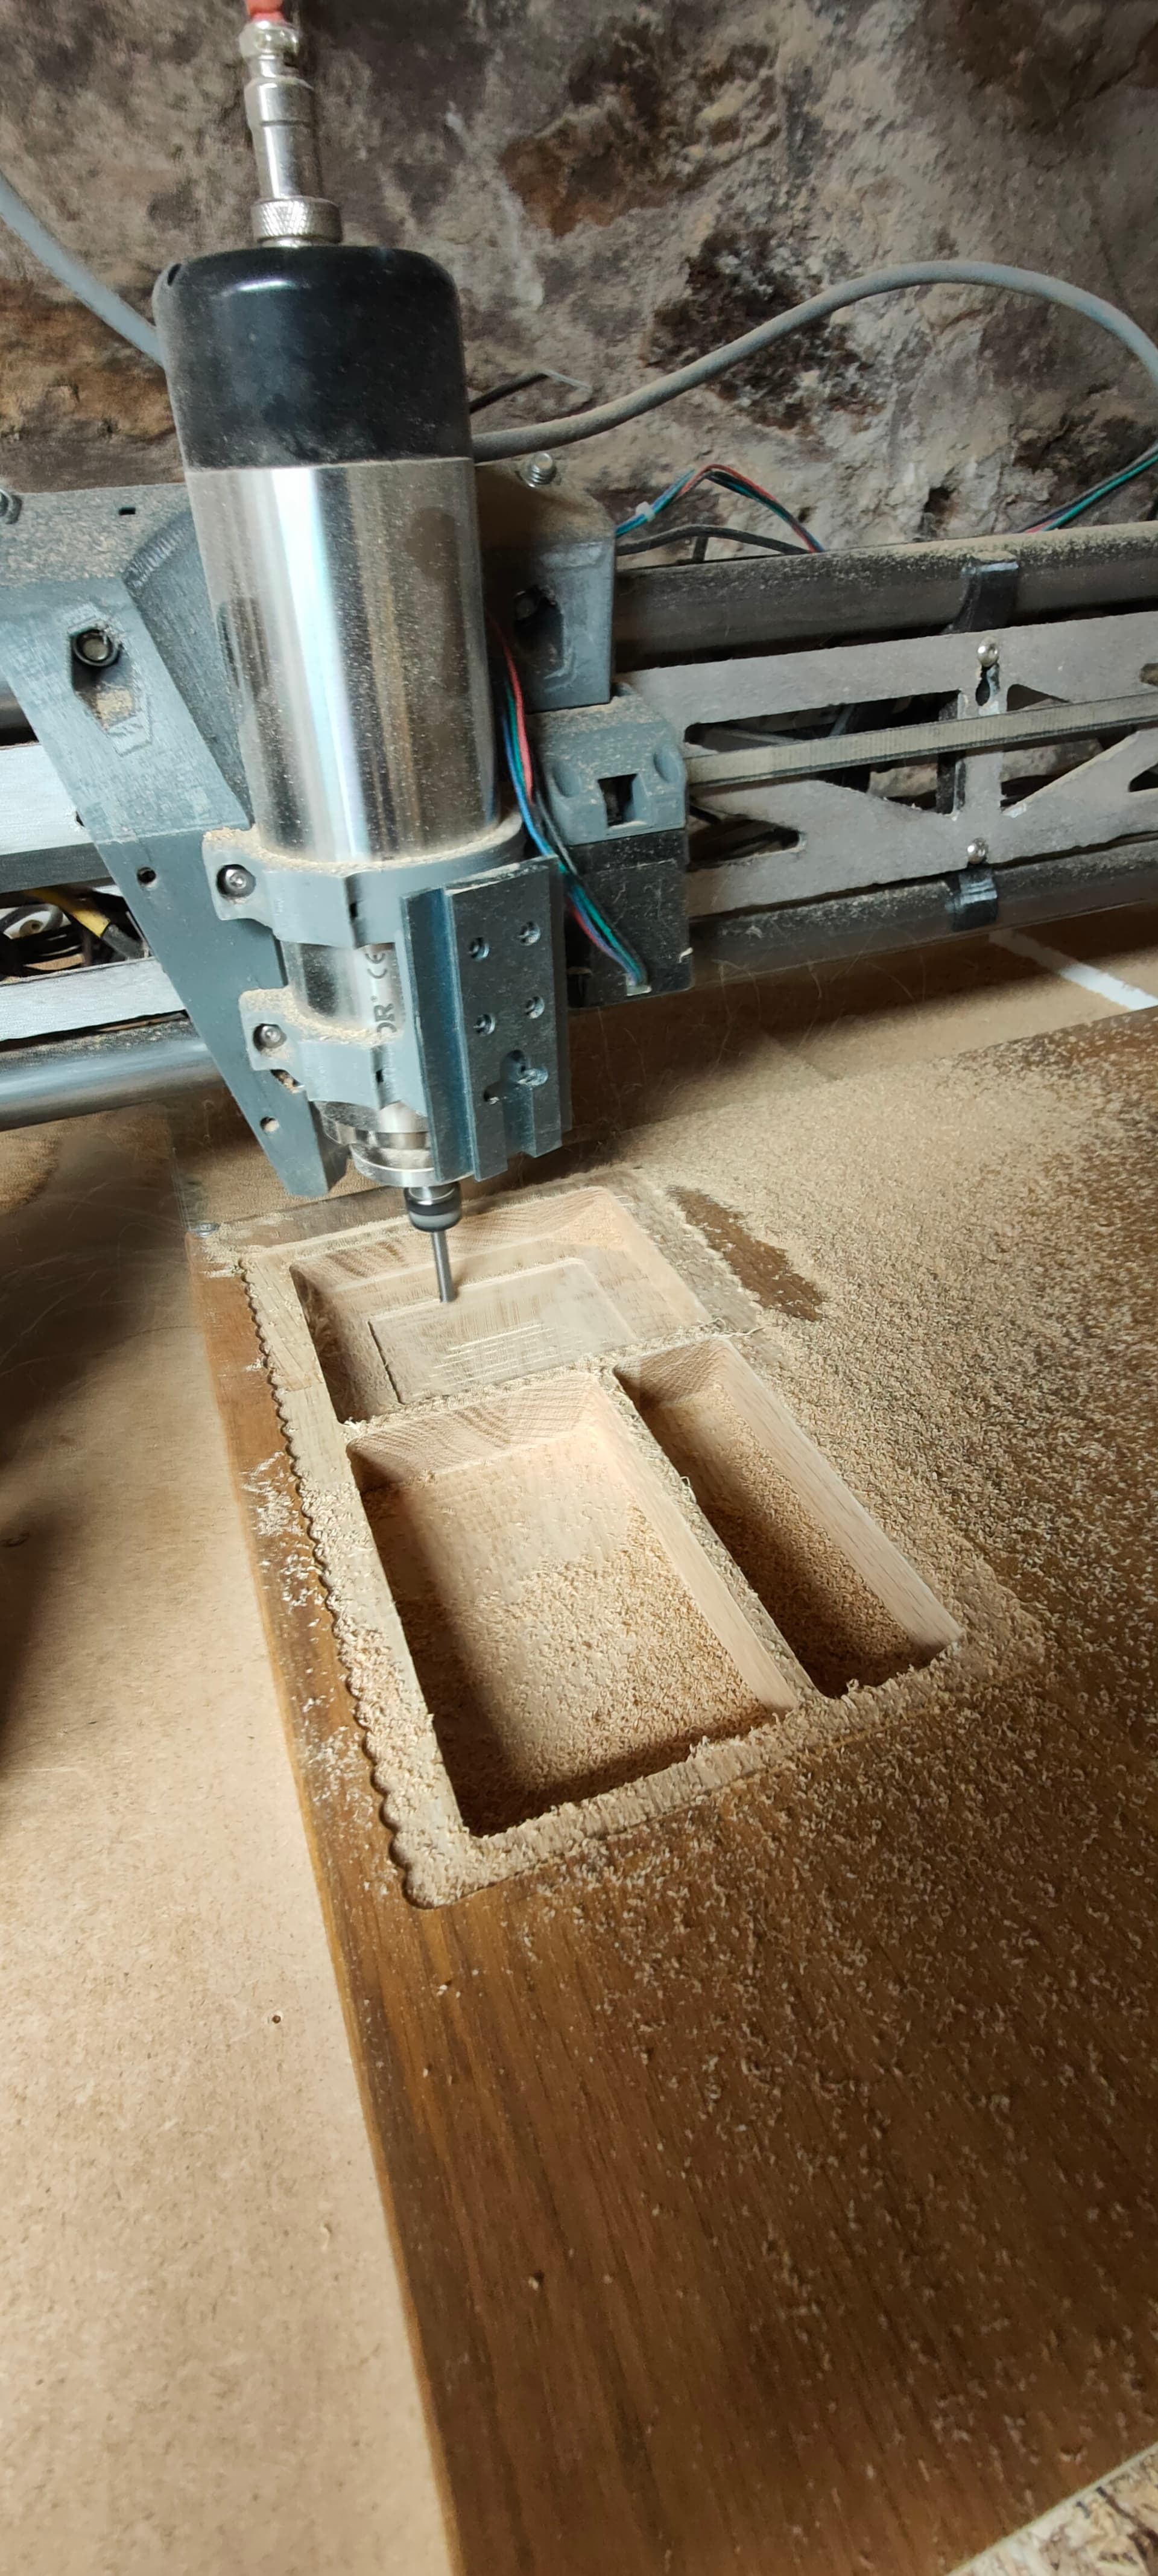
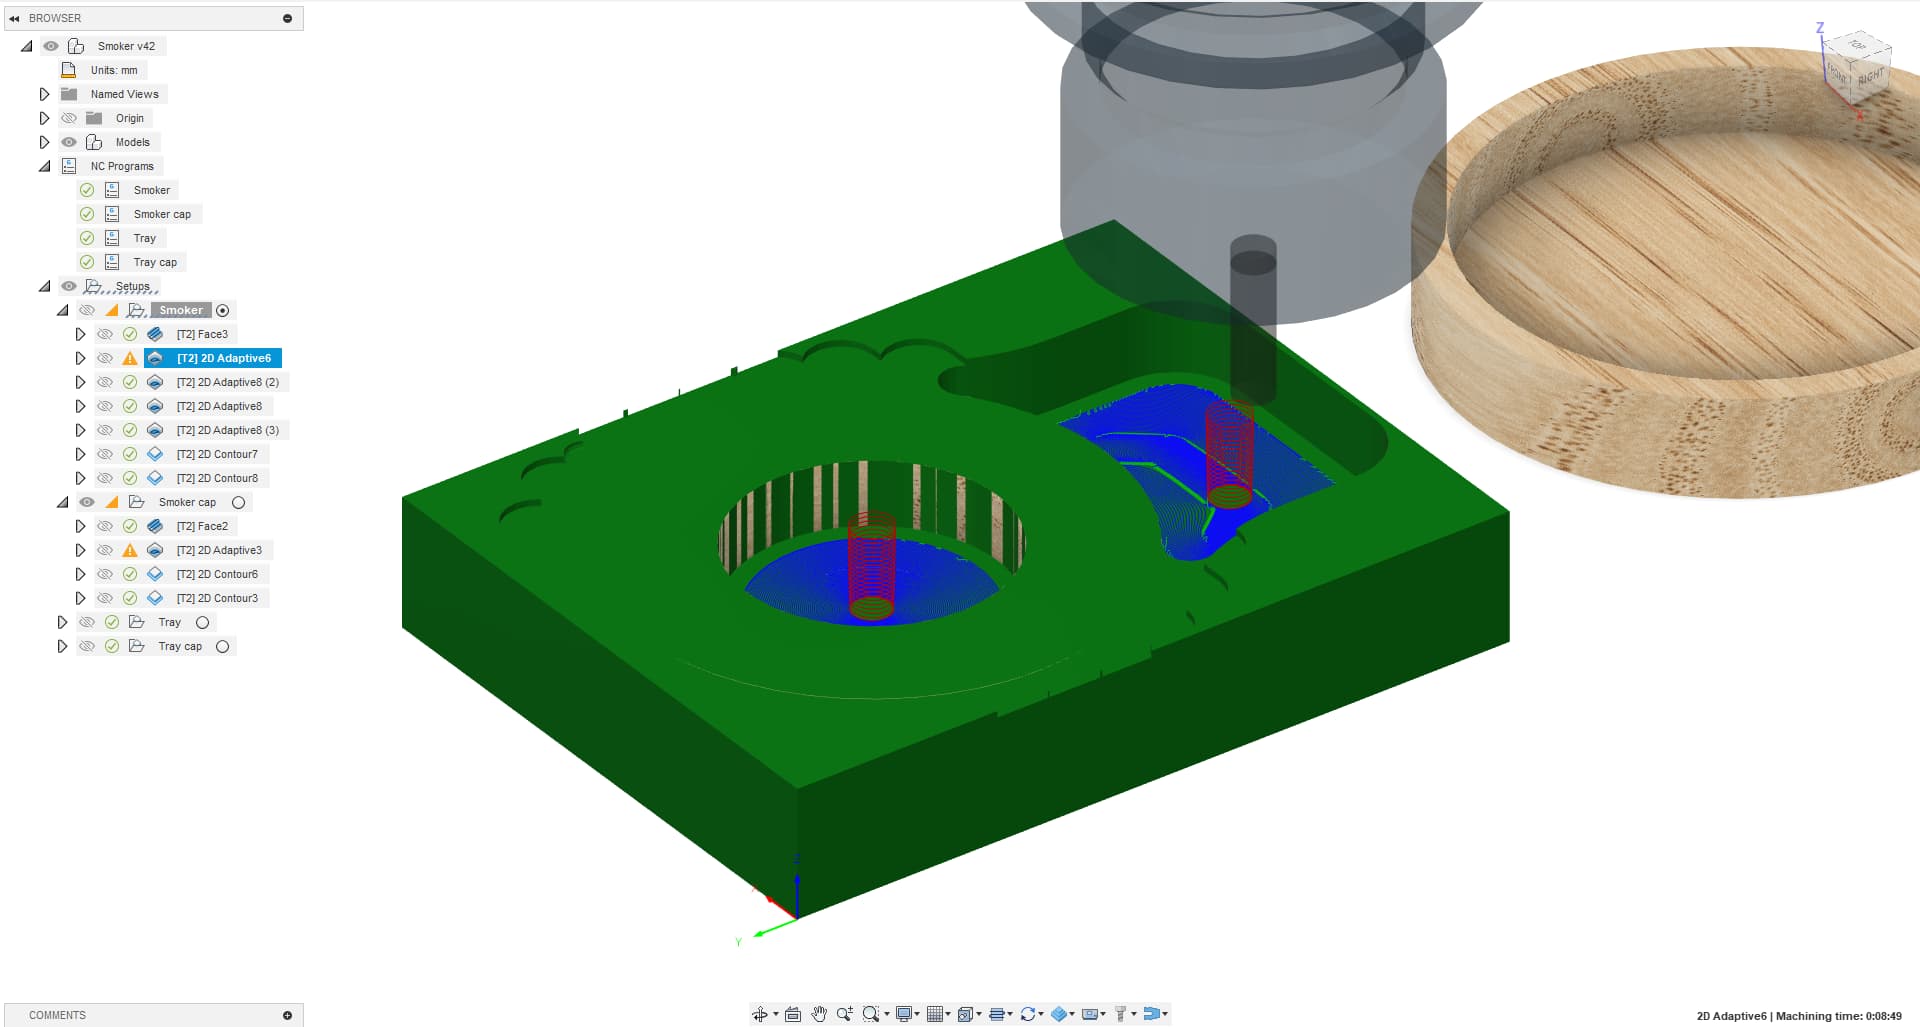
I refined the CAM program and managed to get the machining time to 35min (smoker + cap) down from 55min
This is achieved through trochoidal milling (2D adaptative clearing in F360), with a single pass at full DOC (10mm), but minimal engagement of the 6mm bit (between .5 and .25mm engagement) at 1000-1500mm/s
Some areas get a few vibrations, but these are not dimension critical.
On dimension-critical areas, I just run a 2D contour finishing pass to ensure correct precision
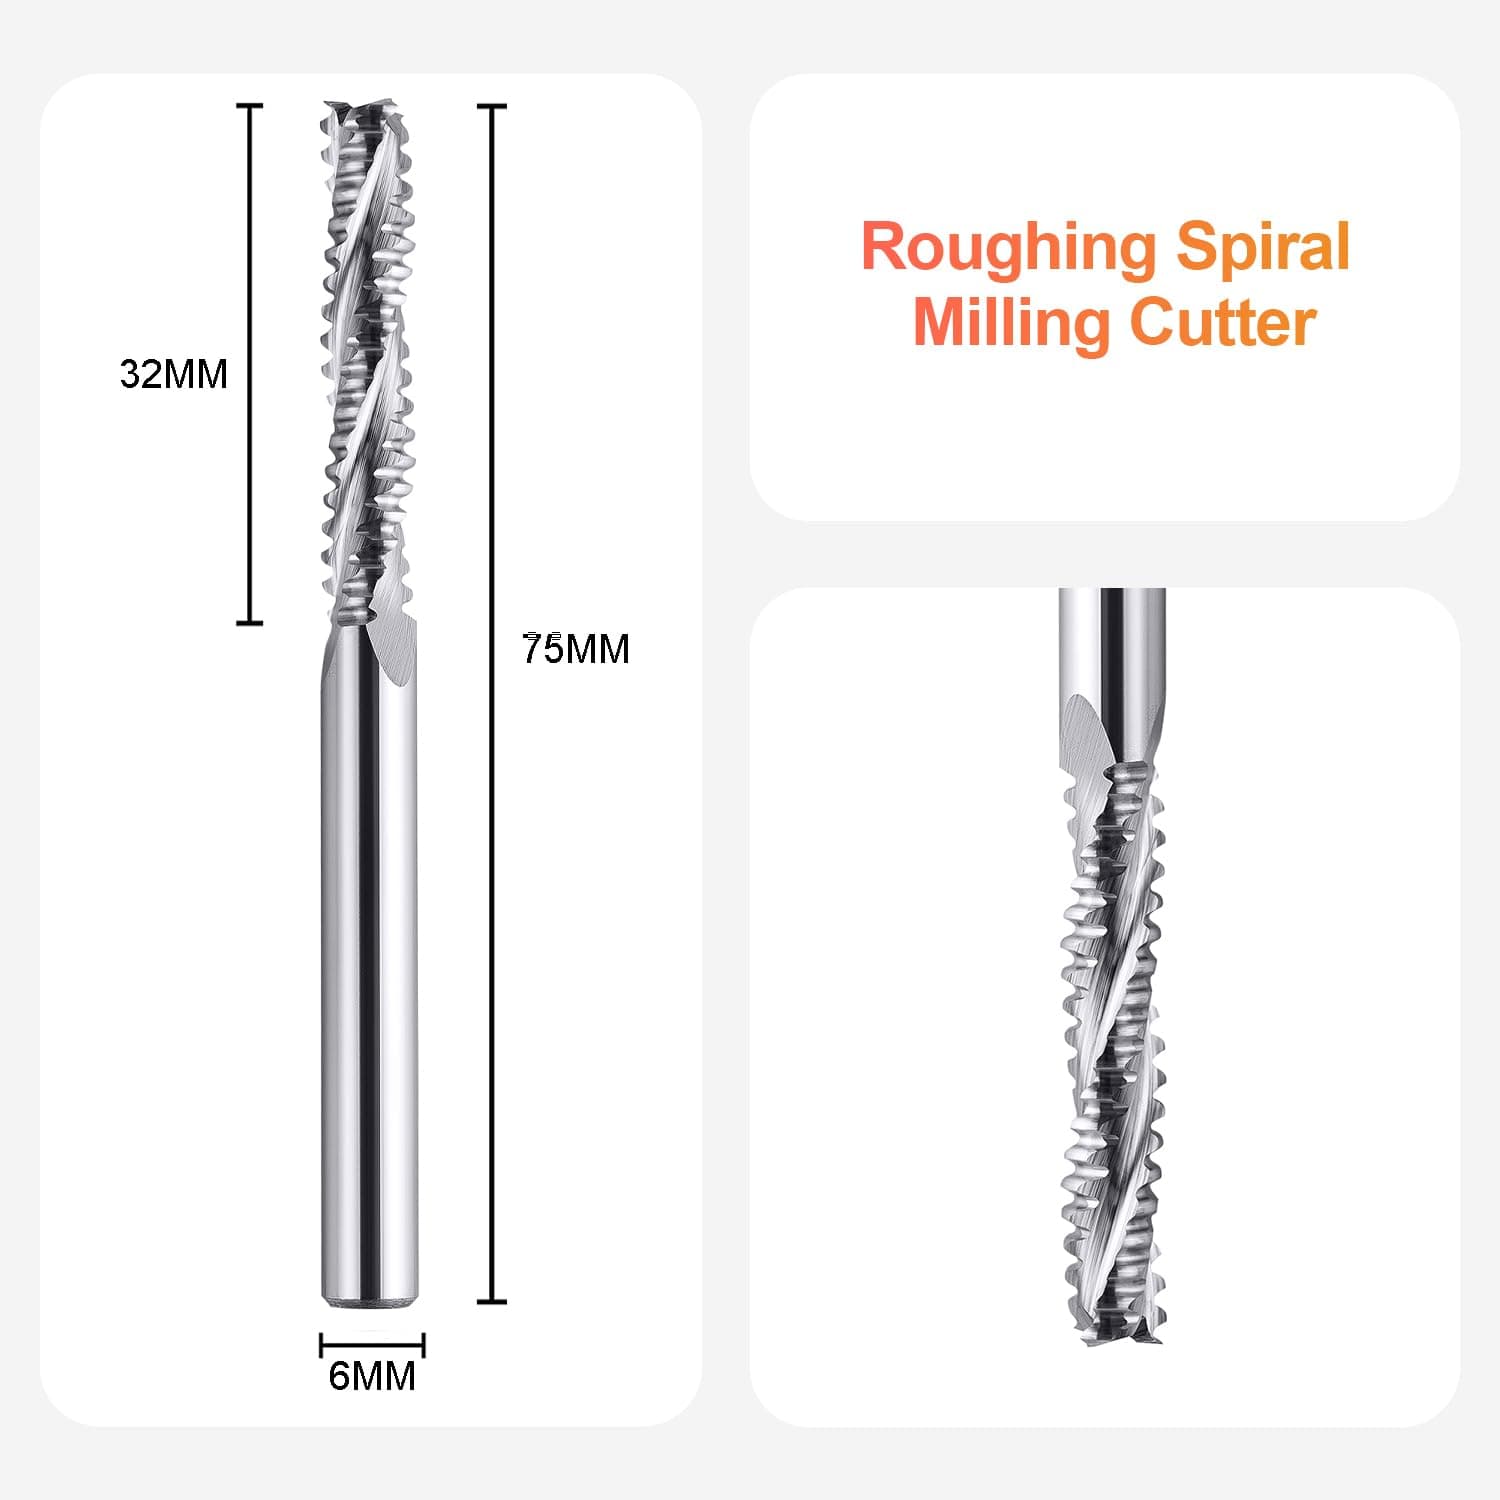
It’s quite brilliant at removing material (I made 18mm DOC single passes in particle boards o_O), but being an upcut bit, and a pretty agressive one, it leaved significxant tearing to be cleared in post-processing
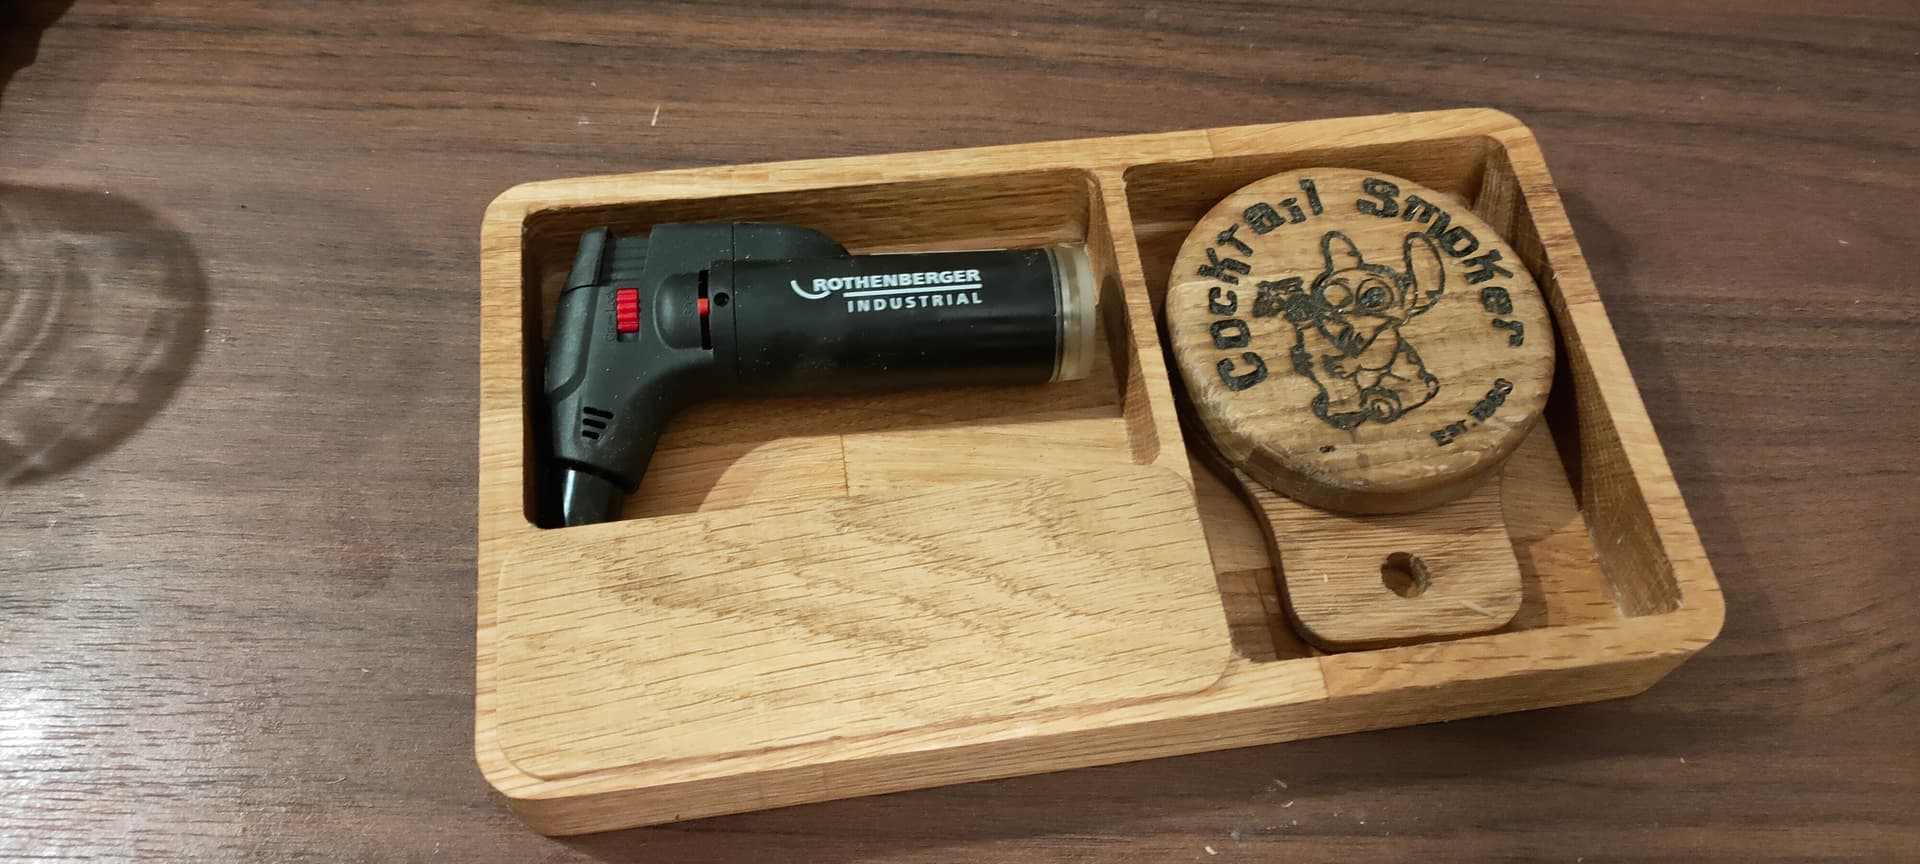
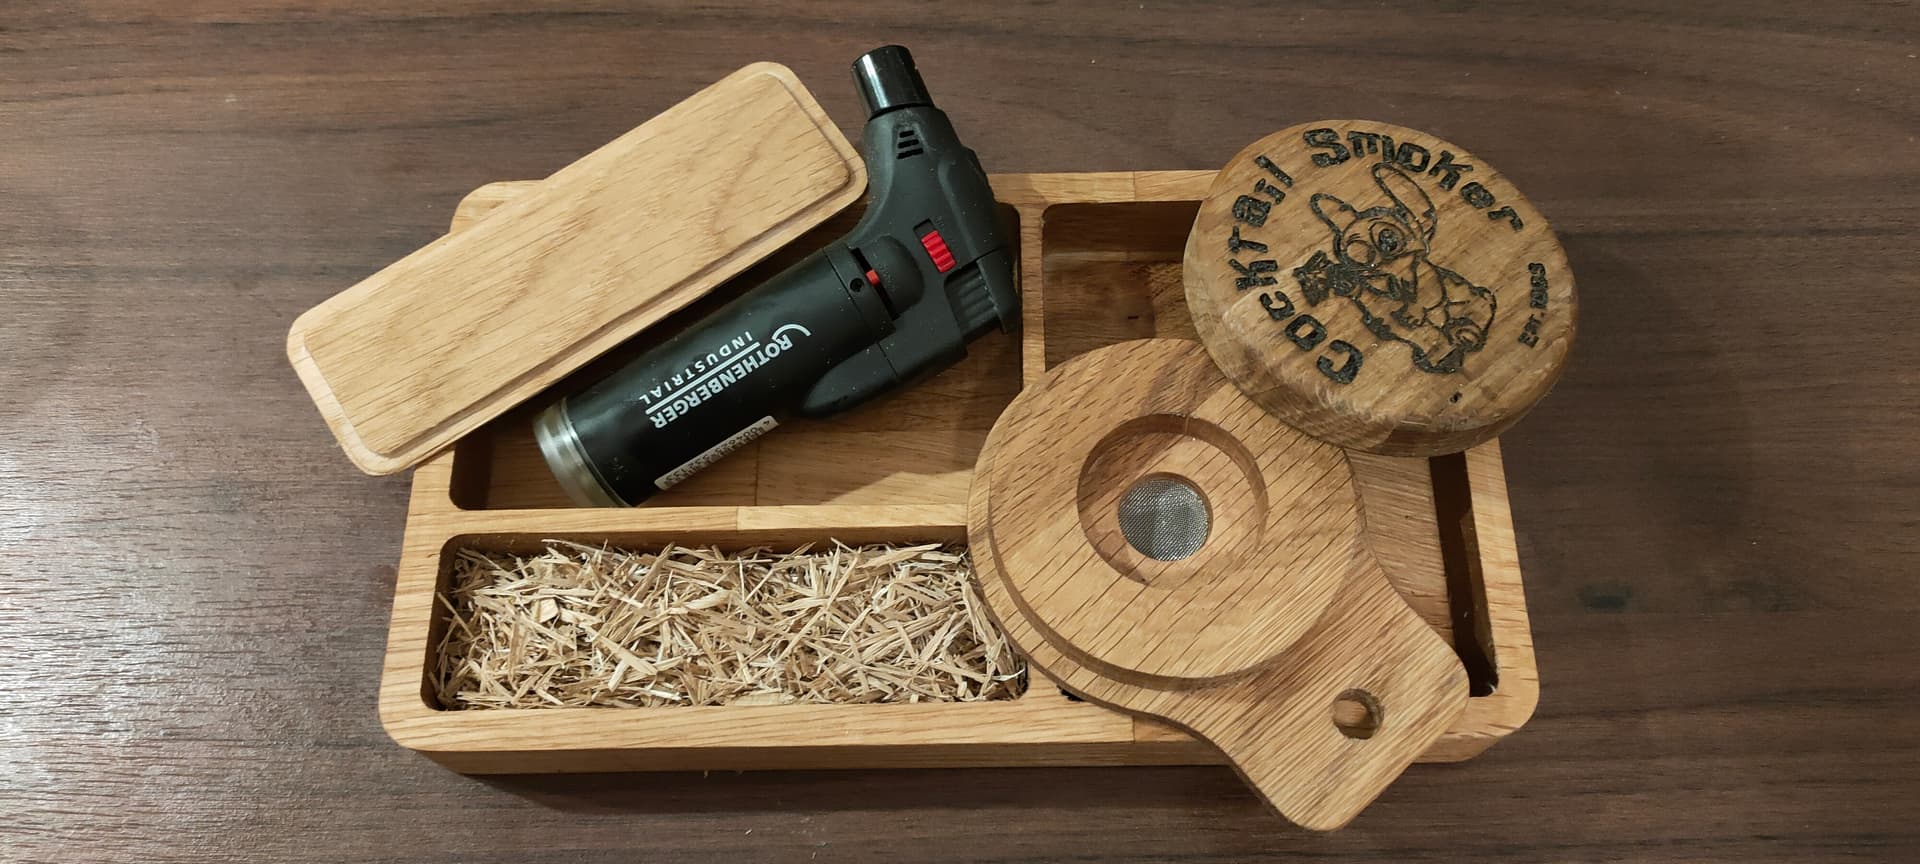
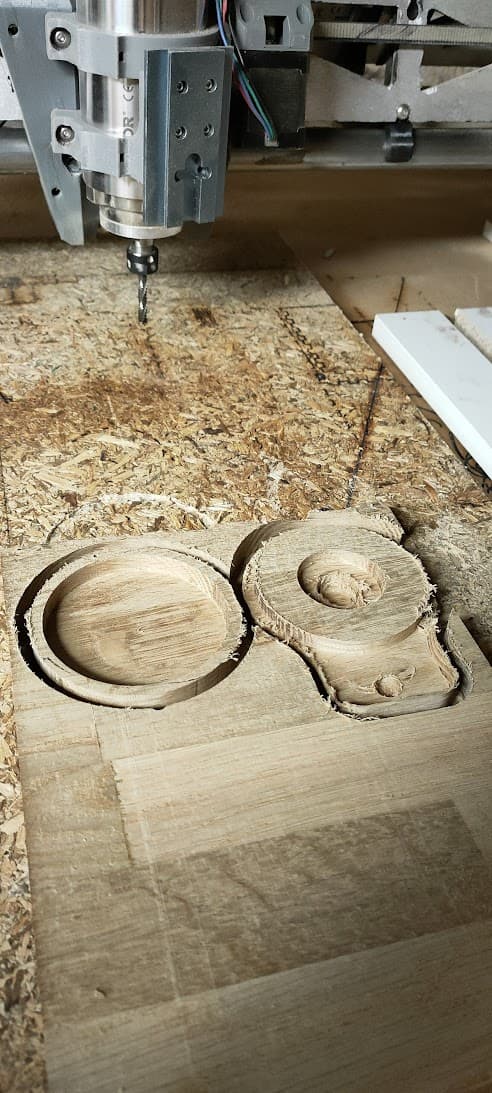
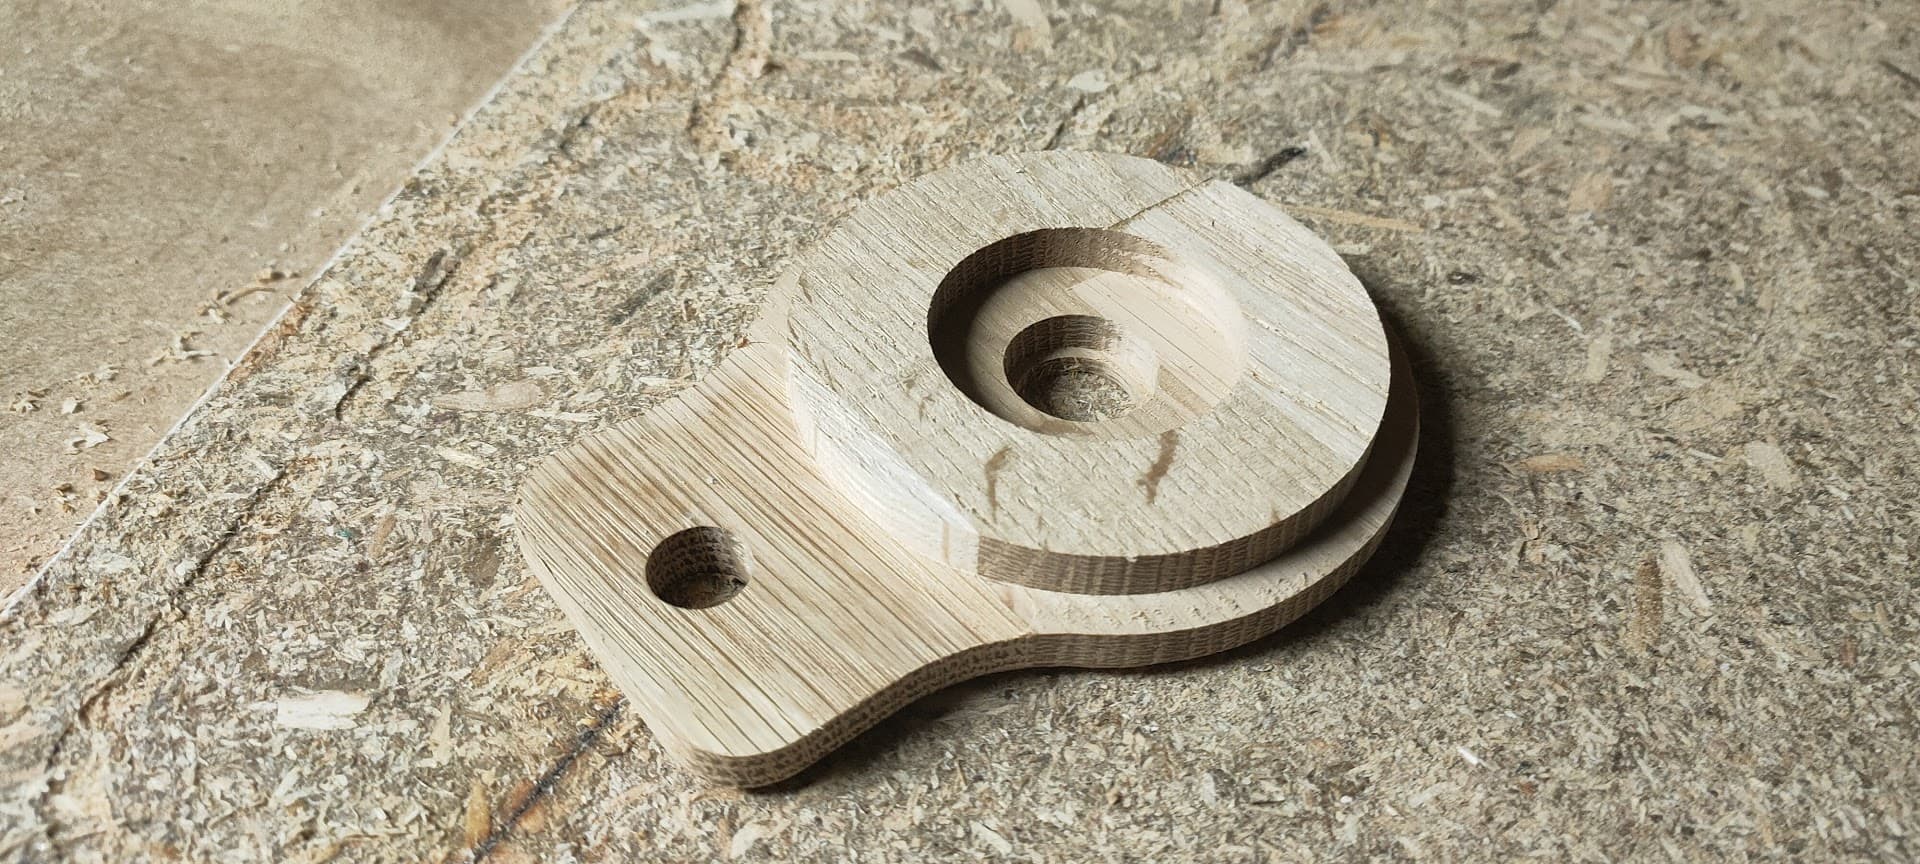
The only cleanup I have to do now is removing the tabs, which is quite easily done by just adding a fillet with my table router
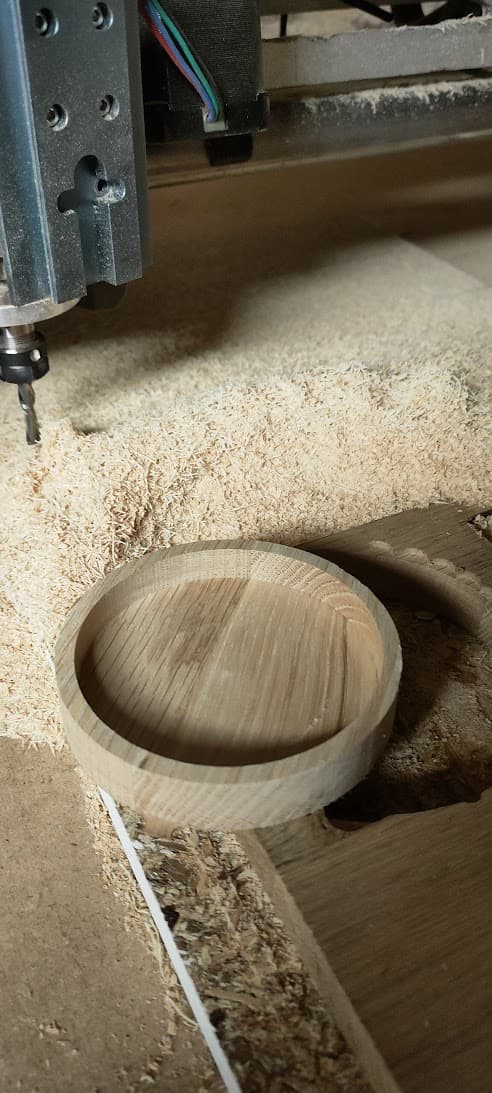
This is the part straight out of machining, just after adding the chamfer
That is the part I really enjoy, optimizing. For one-off stuff I go pretty conservative, more than one I keep refining until I really get the times down.
I bought myself some smoker supplies, can’t wait to try one. Thanks for the motivation.
I want to go crazy with it, I need a fine point taper ball end. I figure it is small enough to go nuts and it will not take too long to mill out, Maybe even two-sided…my first.