I am building a 3D printed Cnc tube notcher. Well that’s the plan I am not 100% sure on what route I will go with for cutting. Ex plasma or router. I took inspiration from one I found and bought the plans to make online (https://youtu.be/FhsAKh7Dkm0?si=rtaE2mtJ2vBKWgfp) but that was made out of metal and it was more suited for large heavy wall tube. I am mainly making this in the hope it would be a portable kinda like a suitcase 4130 thin wall tube notcher to aid in plans I have to build a home built airplane. Things to consider I know are HAZ and tube slippage also starting a router bit but we will see how that works when we get there.
I have a jackpot 3 board that I will use a lr3 config that I will modify to add another stepper to the x axis as I have 3 stepper that will drive the tube forward and back.
Two that will rotate the tube for the cut profile. And one for raising the cutting device.
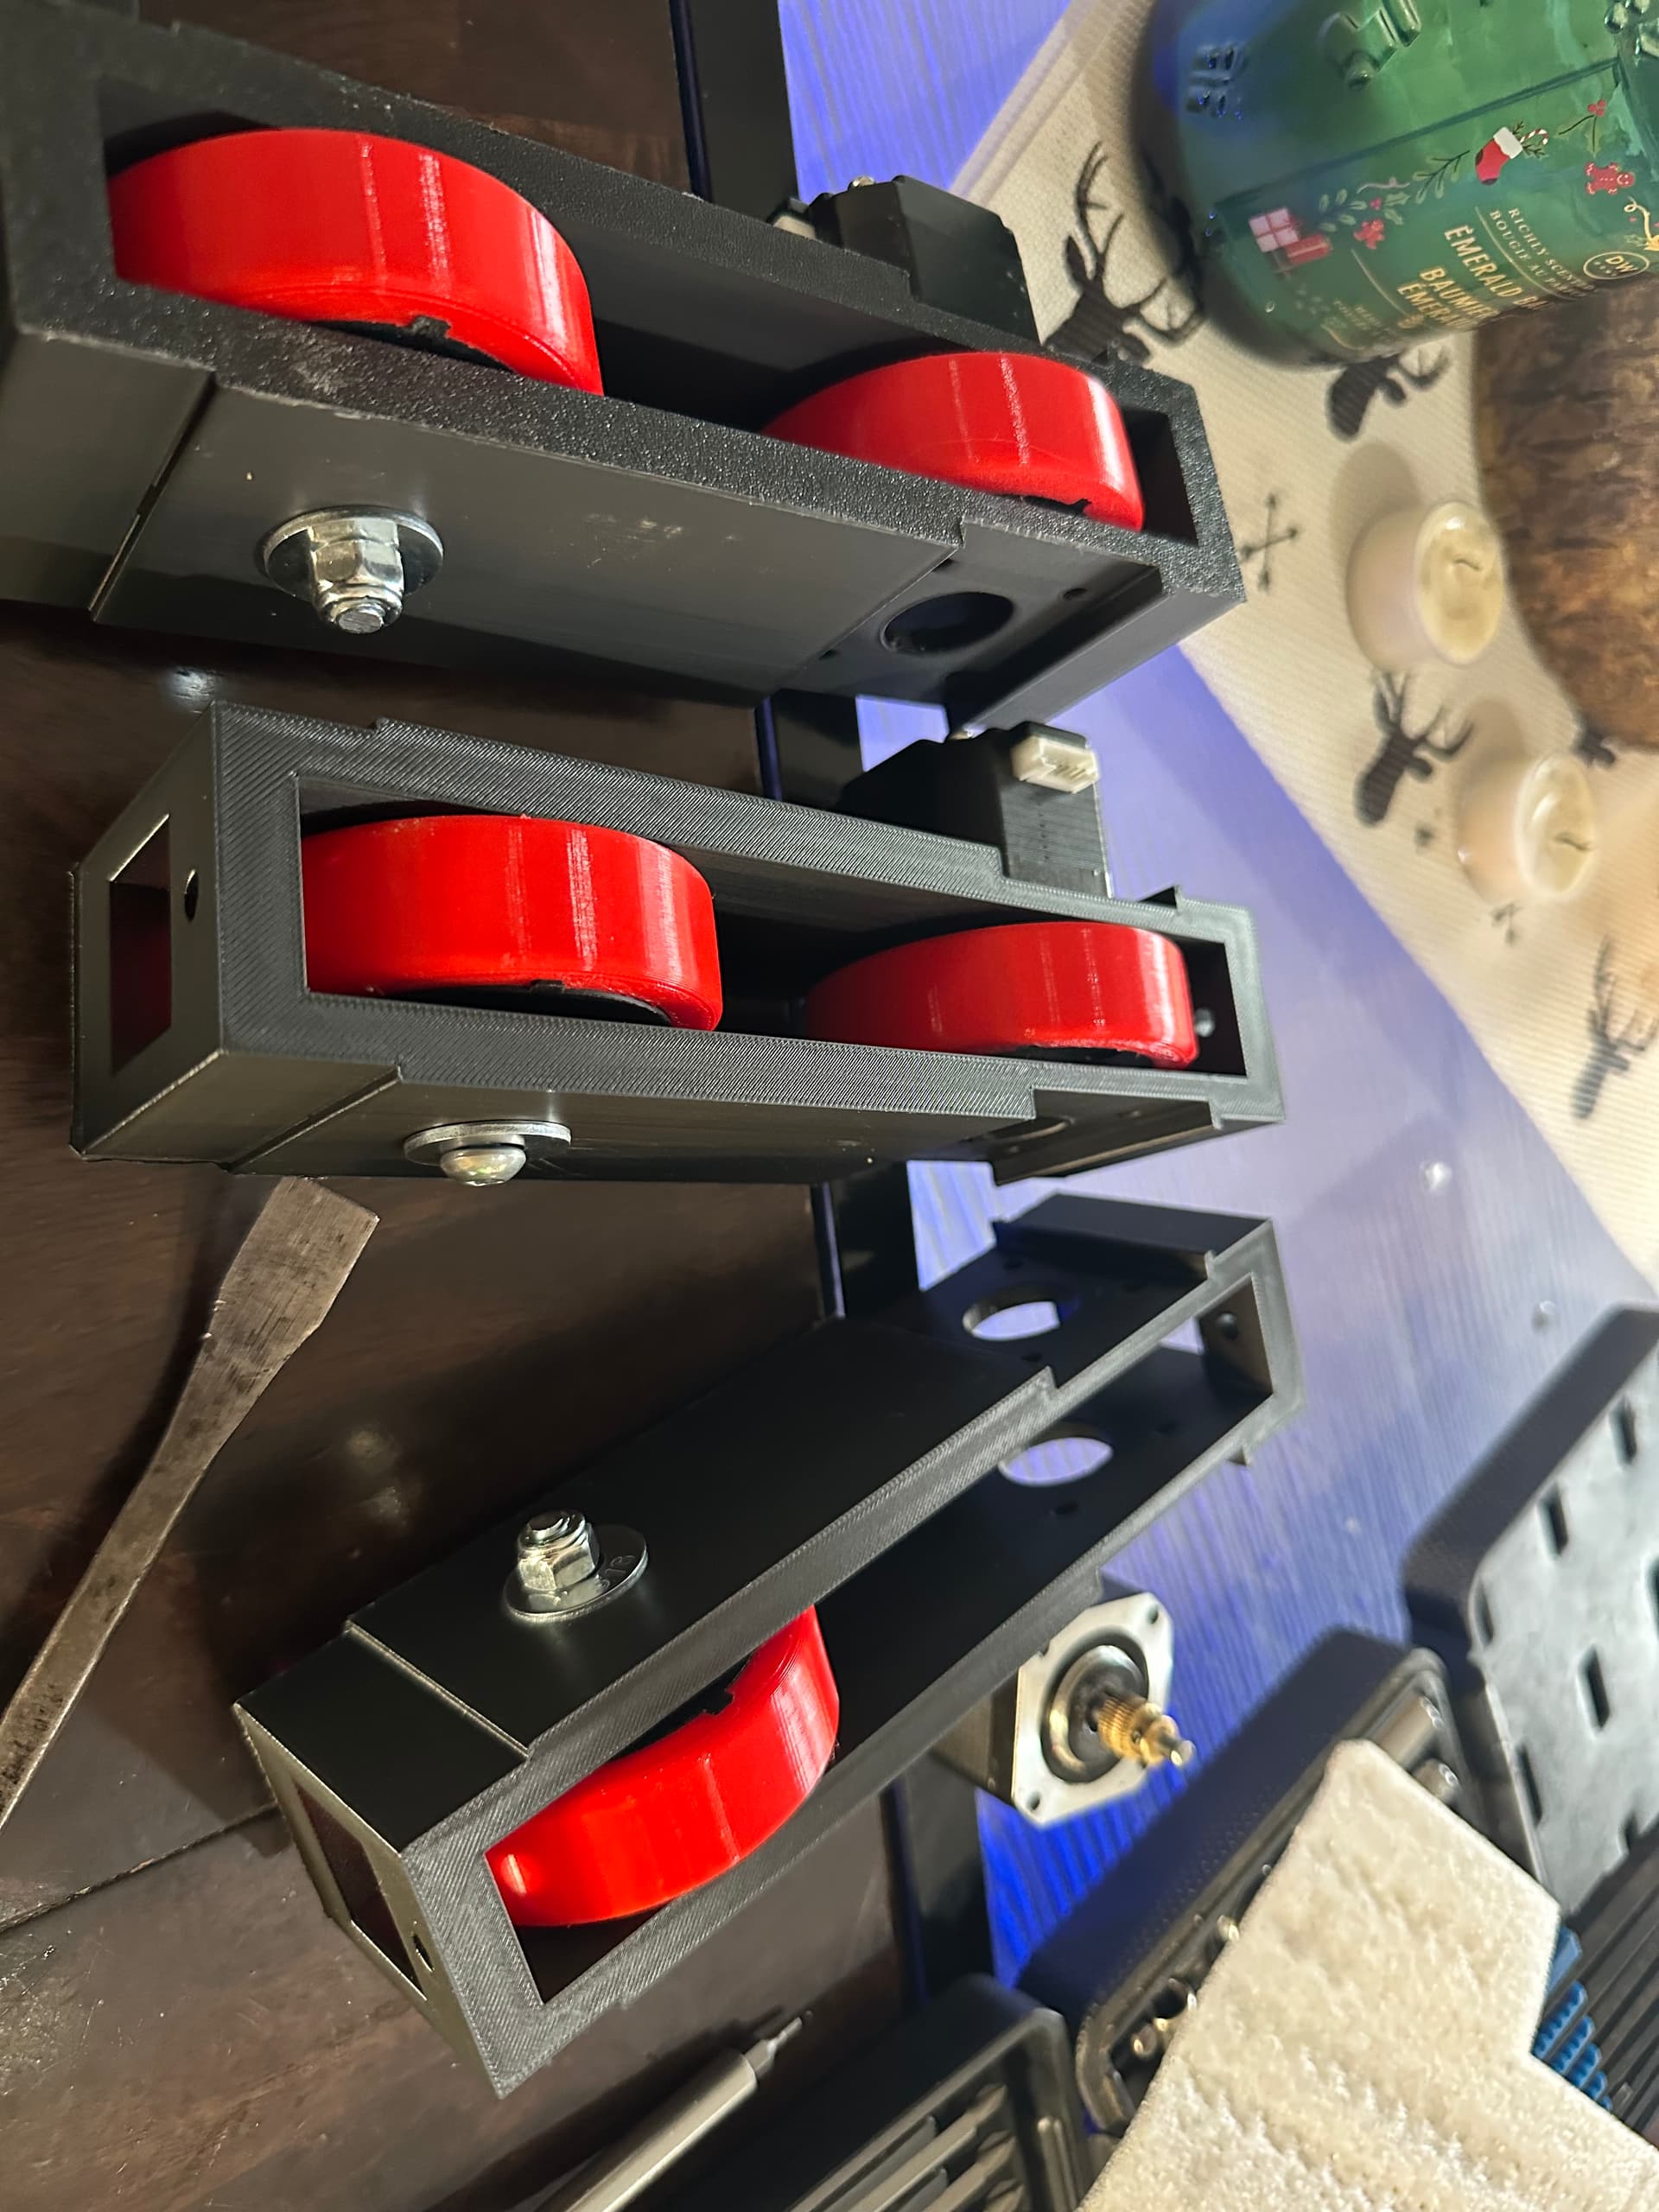
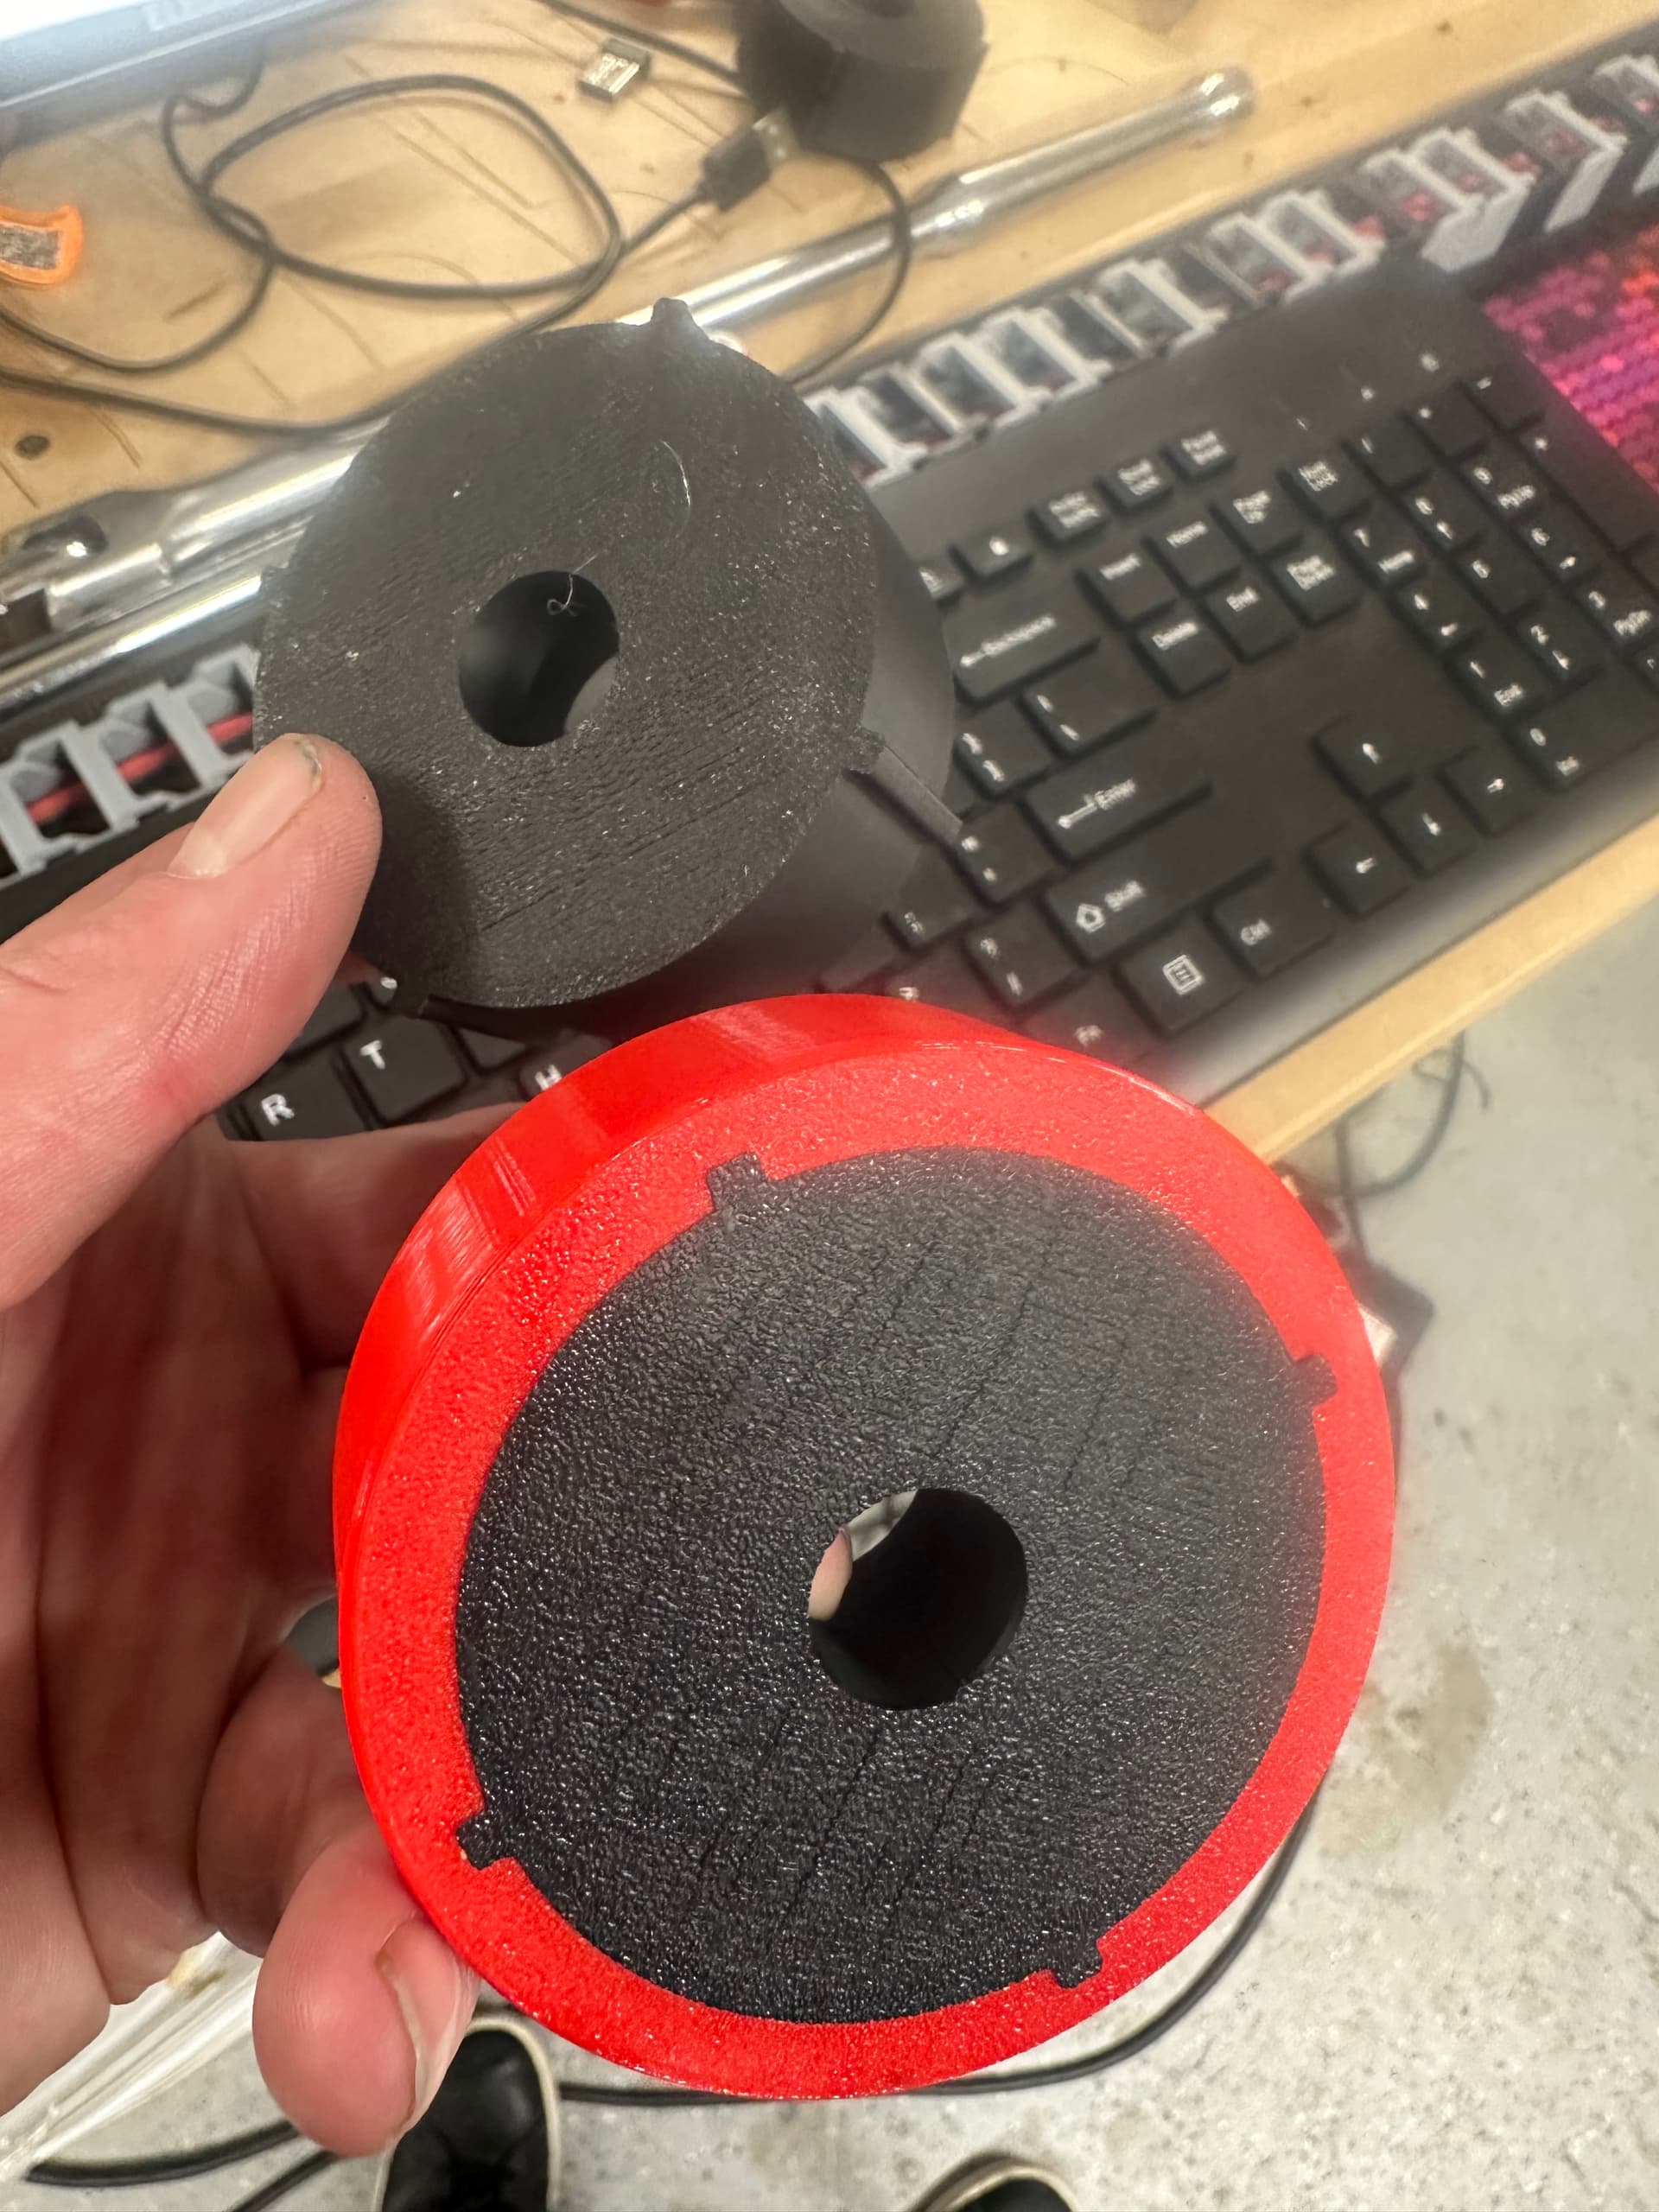
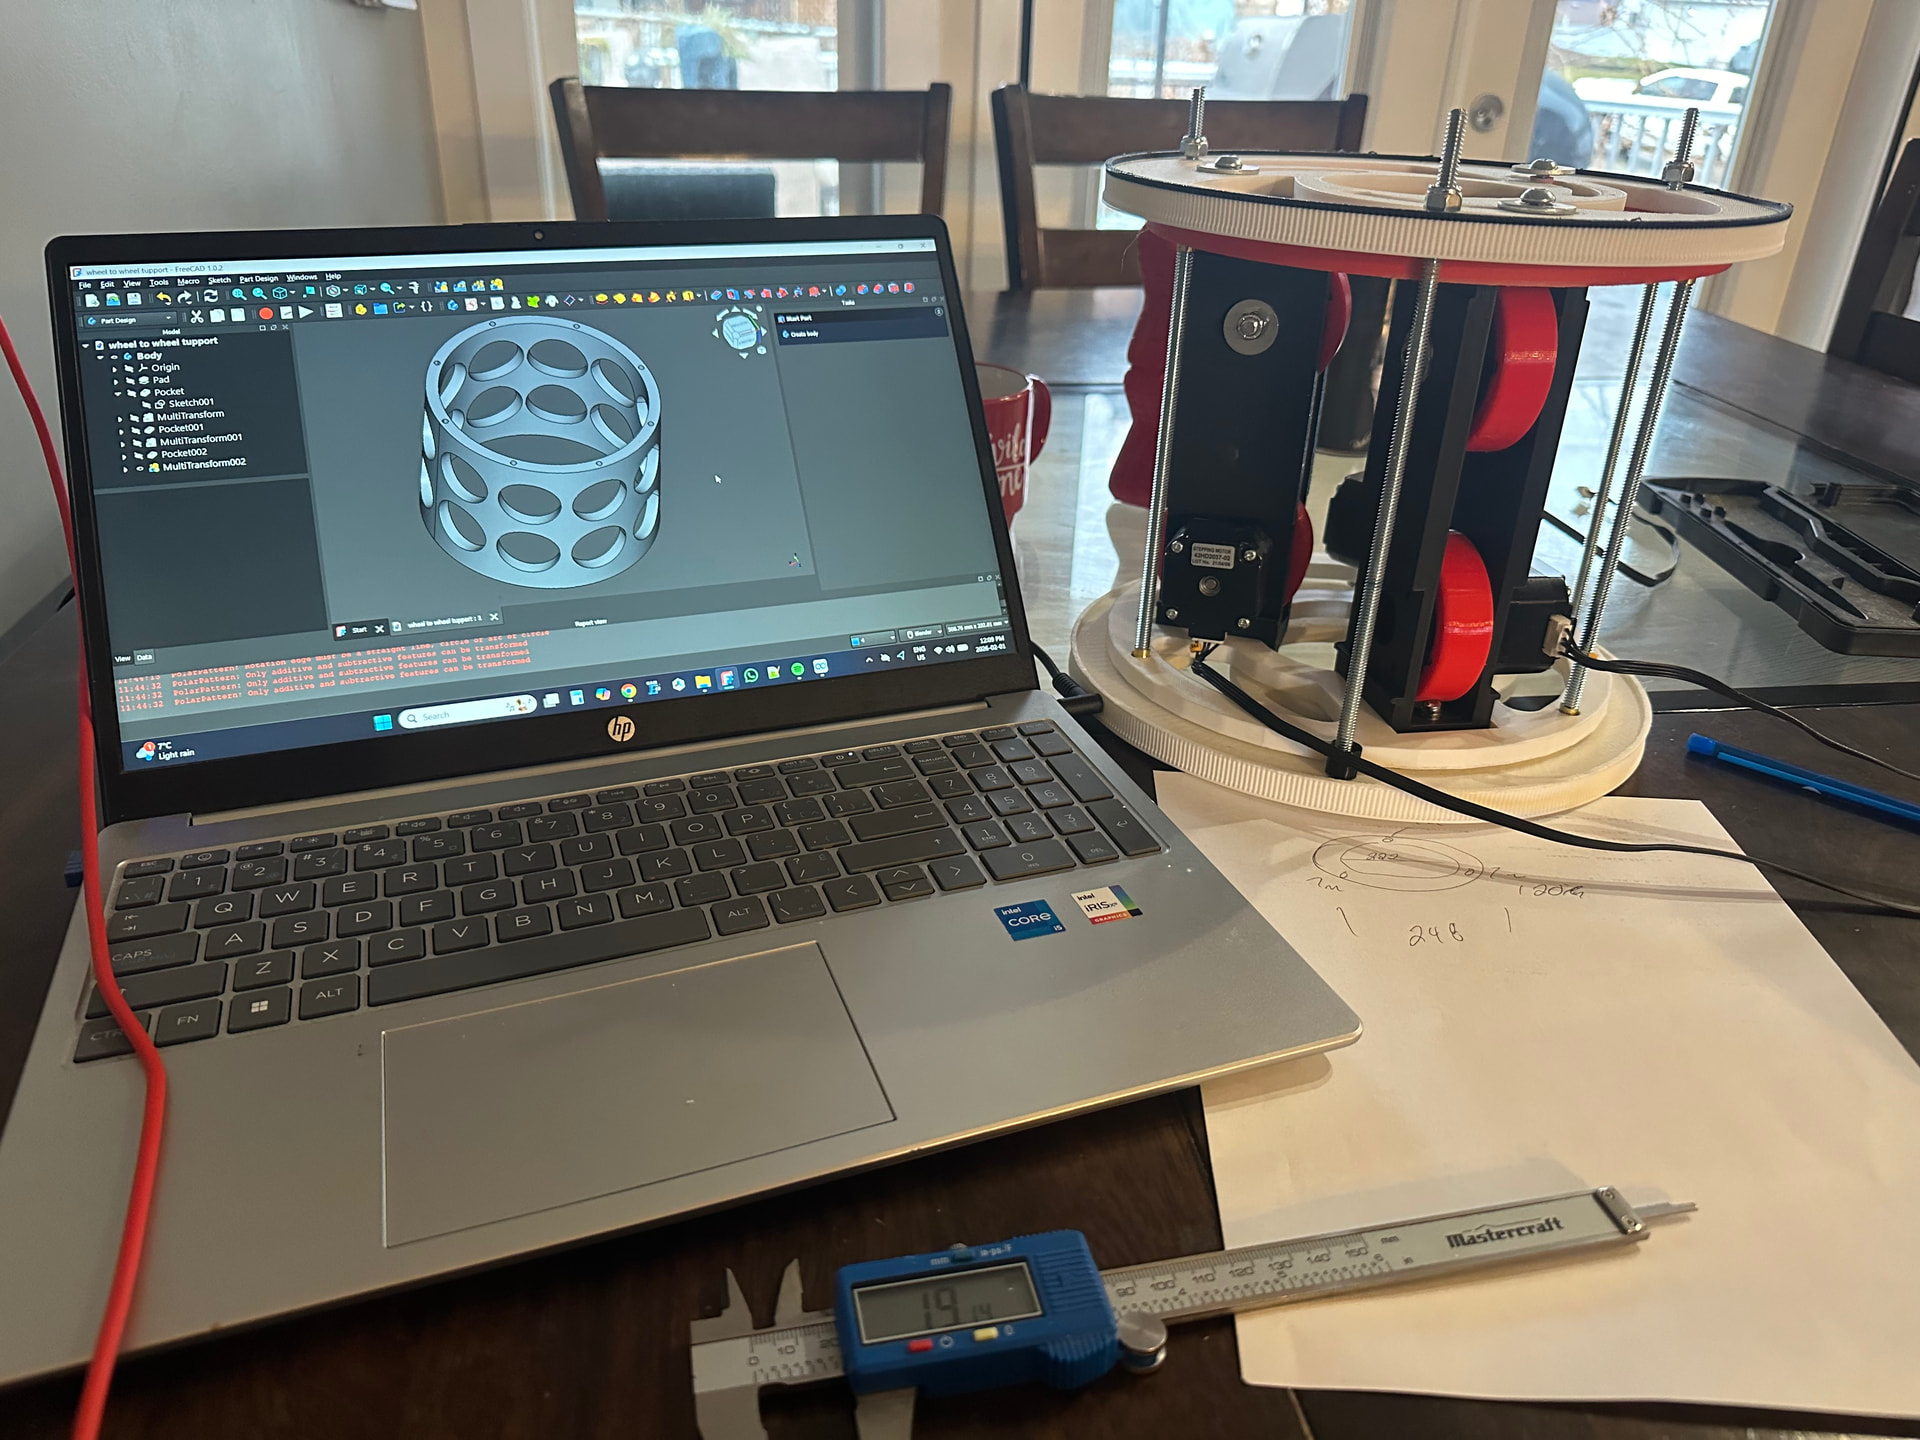
I have a semi finished prototype that I have been working on for quite some time refining. I have the truck or tube slider parts made but the rotating drum assemblies I will have to add a gt2 belt profile to them so I don’t have slippage and I can rely on it being accurate.
Anyways just a start but I wanted to post it here so I can keep track of it and also get some feedback or help/tips.
I doubt I will be any help with this project, but I will for sure be watching it! I have no need for a tube notcher, but I still think its cool!!! Thanks for sharing!
well the most logical one would be a bearhawk as my father has built 4 from scratch he just actually won a lindy award at eaa last year for his.
but i have a really weird love for flying boats so i really want to make something along those lines. I really wanted to make a super simple design that uses a standard aluminum boat hull but this is all pipe dreams for now.
well i will see how this Ai thing works really cheated on this one and i fgeel like it wont work bc it was just too easy but i asked air to make me a yaml from ryans lr jackpot 3 file. i asked it to add another stepper to y axis that operates the same as others.
Nothing wrong with a Bearhawk. Amazing your dad has built four! I have always wanted to build an airplane. I finally bought a 2021 Skyreach Bushcat with a rotax 912ULS and full glass panel.
Things I have learnt from my experience so far. Ai can be helpful but oh man it can lead you astray.
Fluidnc boards can only handle 2 motors per axis. And those are motor 0 and motor 1 in you config.yaml file.
Also fluid nc assumes you put all the axis in your config.yaml file in alphabet/ascending order.
Ex. XYZABC
Fluidnc treats the ABC drivers (where the steppers plug in) as a bit different from the XYZ drivers. The xyz drivers have their own dedicated addresses sort of like a home address in the code this is
addr 1 addr 2 or addr 3.
For the ABC drivers they don’t have any more addresses so they use a thing called a CS pin to give it a sort of address. So for a dual motor on the same axis you would have say Y axis as
motor 0
Addr 3
Cs pin no pin
“This shows the stepper address or where the stepper plugs in as addr 3 and doesn’t use a cs pin”
Motor 1
Addr 3
Cs pin 23 (or the driver that is either abc and whatever it has written beside it for a i2os xx)
This is not to be taken as correct I am just writing this down while it’s in my head and I will go back and fix it as I learn more.
But the biggest thing is I have no direct way to make 3 steppers move in the same way. Using config.yaml anyways I know I could wire it parallel or possible add a external driver so now that’s what I am going to look into unless someone knows how to daisy chain a extra stepper driver for a extra y axis and not get code 152 (152 is a messed up config file as in a addr is duplicated or you have a shared car pin iirc )
Really? Weird. After all, the axis configs fall under a label for each axis.
That’s not a requirement of FluidNC, that’s a detail of the hardware implementation that it’s running on. For instance, Bart’s new Doberman controller uses an ESP32 S3 chip that has enough IO that you don’t have to do hardware muxing with a chip select pin. Also note that even on hardware that does utilize CS muxing, the XYZABC silk screen labels are just that, you can actually assign any axis to any driver output. In any case, yes, your reminder to pay attention to required CS pins is a good one.
If you’re using a board with integrated drivers, wire the steppers in parallel (or series, depending on your requirements).
If you’re open to using external drivers for every axis, then you could use a board that supports external drivers (such as Bart’s Doberman or 6x CNC Controller or some others) and wire the stepper driver inputs in parallel.
Yes i see what your saying I also got this board knowing that if my plan doesnt work i will be able to use it on one of my other V1 machines this fluid nc is so nice and the jackpot board is very nice. I will have to do some more research and maybe jus some trials i am sure for certain size tube the parallel wiring would work.
It would be nice to have a way of adding a external drive like the board you suggested as i have thought about a kind of idler stepper that would help feed in a long section of tube. kind of like a driven trailer if you will to keep the tail end of the tube supported and have it not add drag to the feeding steppers. This is soemething that would be a good addon if the plan actually works lol.
Well I ordered that Doberman board to give it a try, sounds like it could be fun now I need to figure out what machine gets the jackpot 3 upgrade the lr4 or the mpcnc lol. That multiple config.yaml option sounds interesting a guy could almost just have a couple presets for all his machines and then just plug it in for each one. Thanks again for the input.
Small update, manually made some gt2 gears for my tube roll axis man that was a pita only to find out it was some glitch and the gears workbench worked on my other comp
Oh well. I did get 3 axis to move together so I am going forward for testing
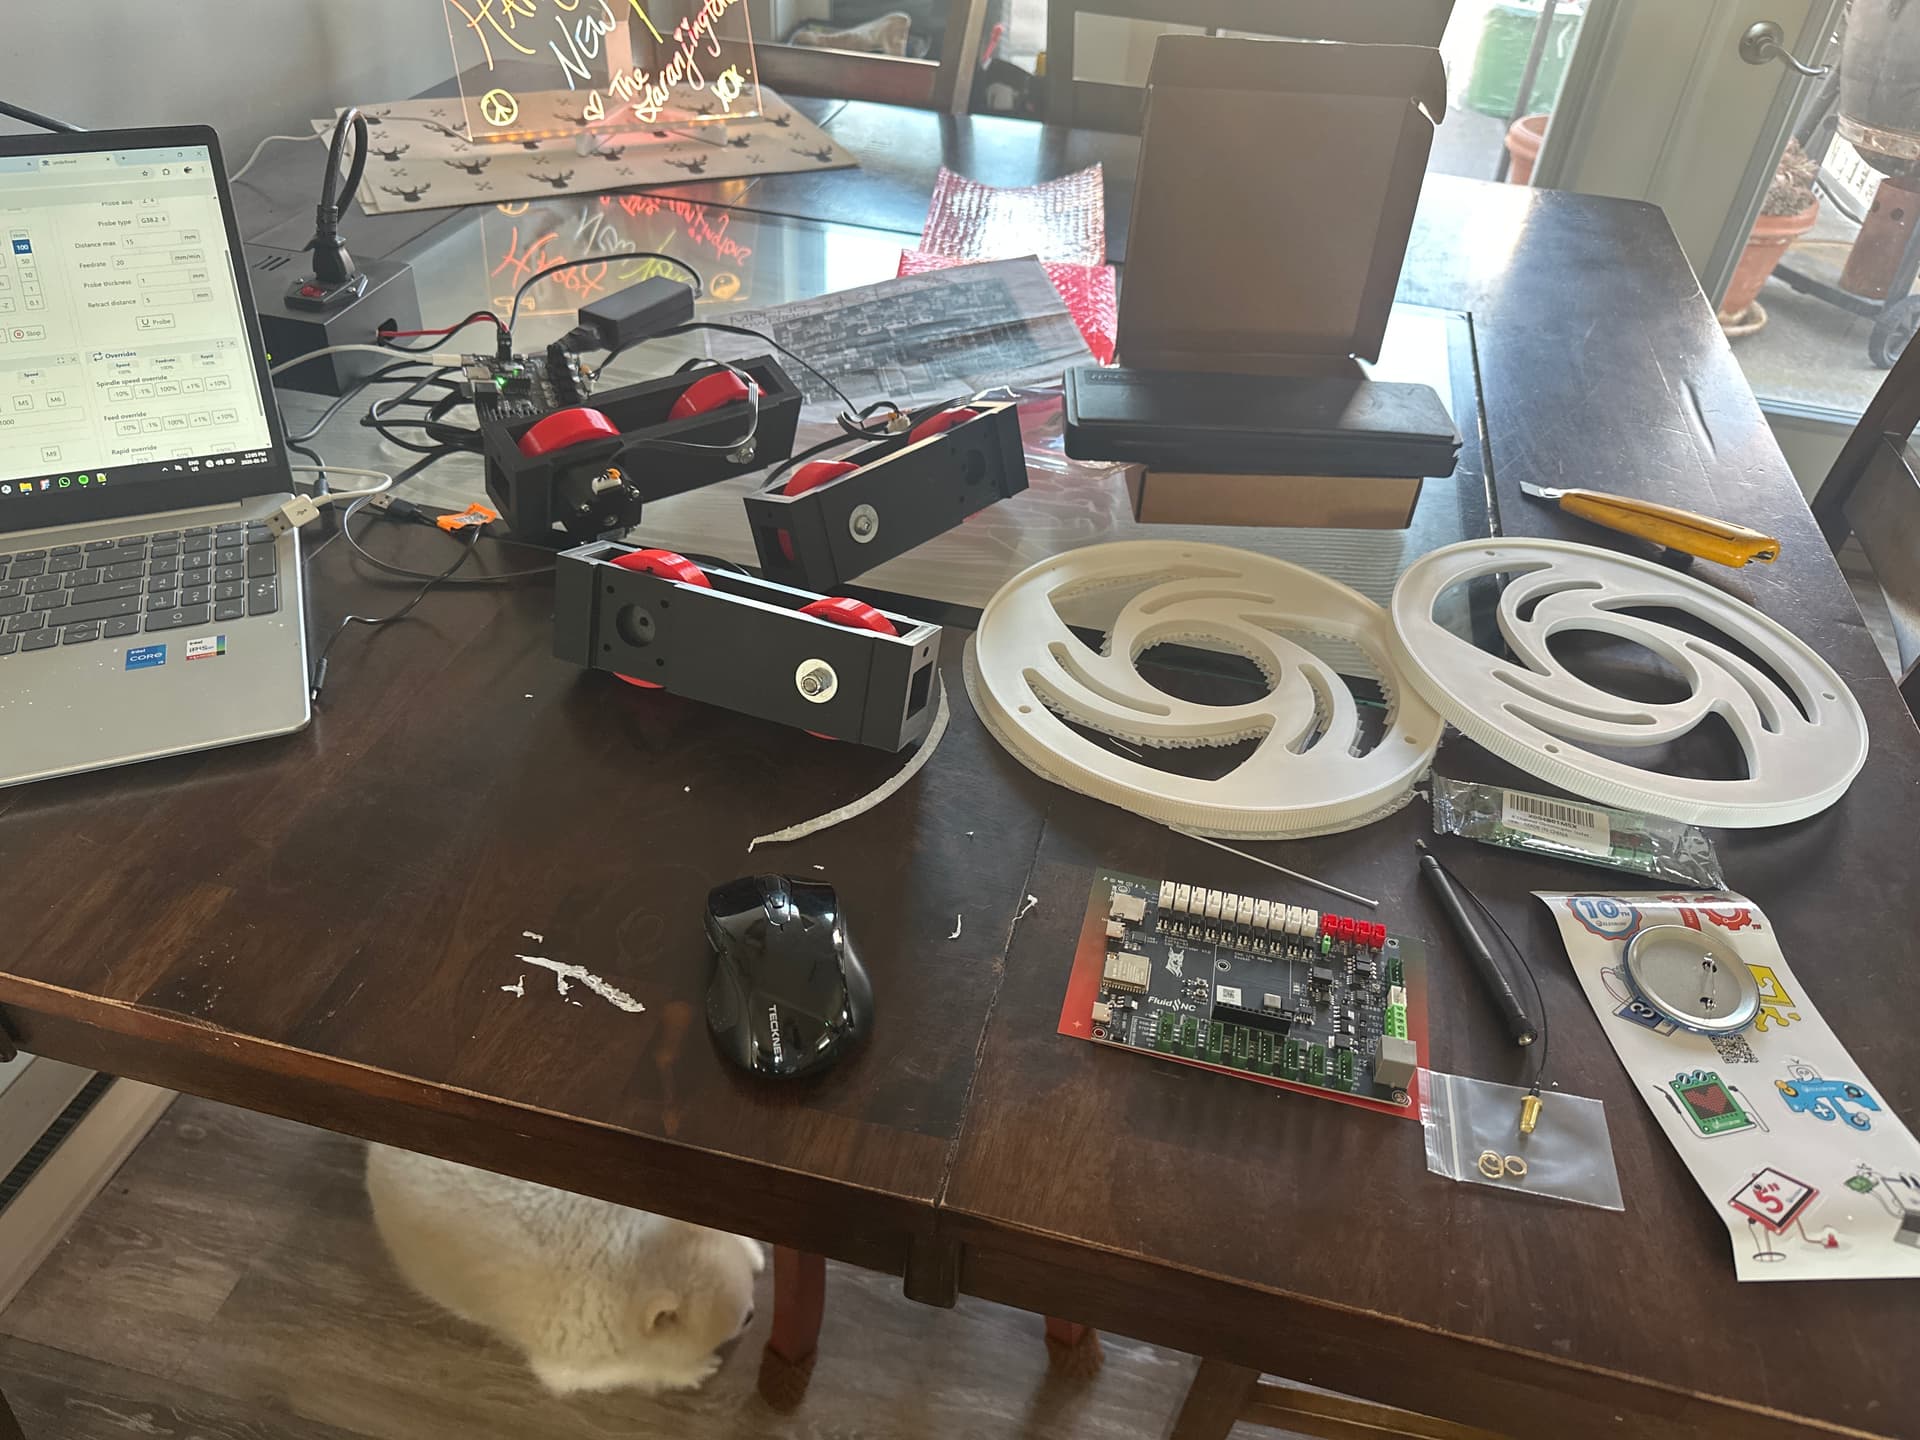
I did get the Doberman fluidnc board in and my dog isn’t happy. Very neat board and one of these optocouplers as well. next on the list is to put my inserts into these gears and bolt them together and figure out the inner pipe clamp portion.
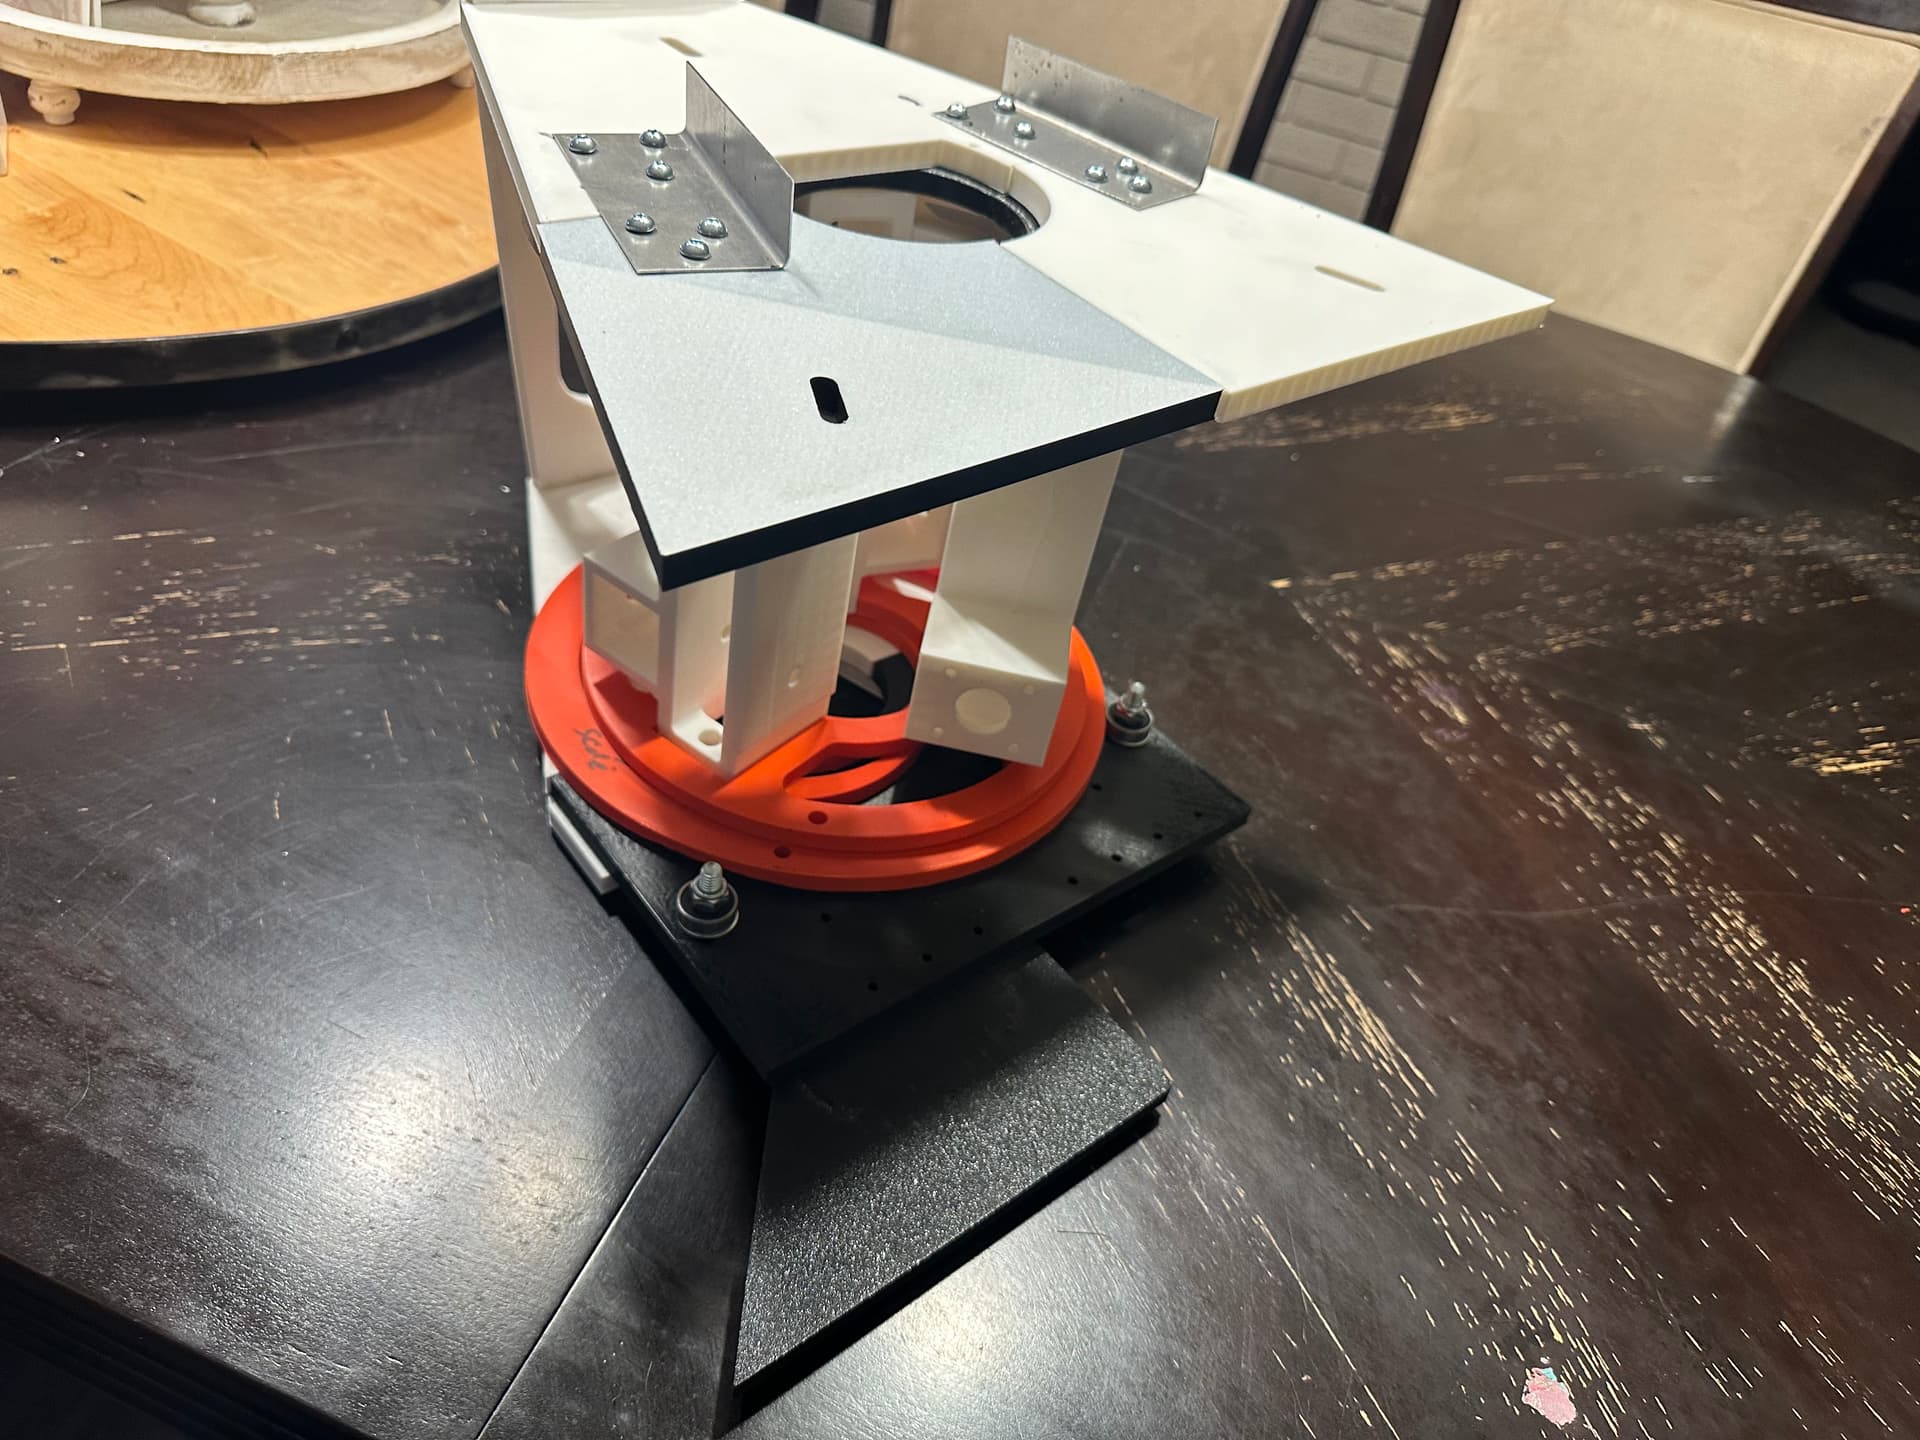
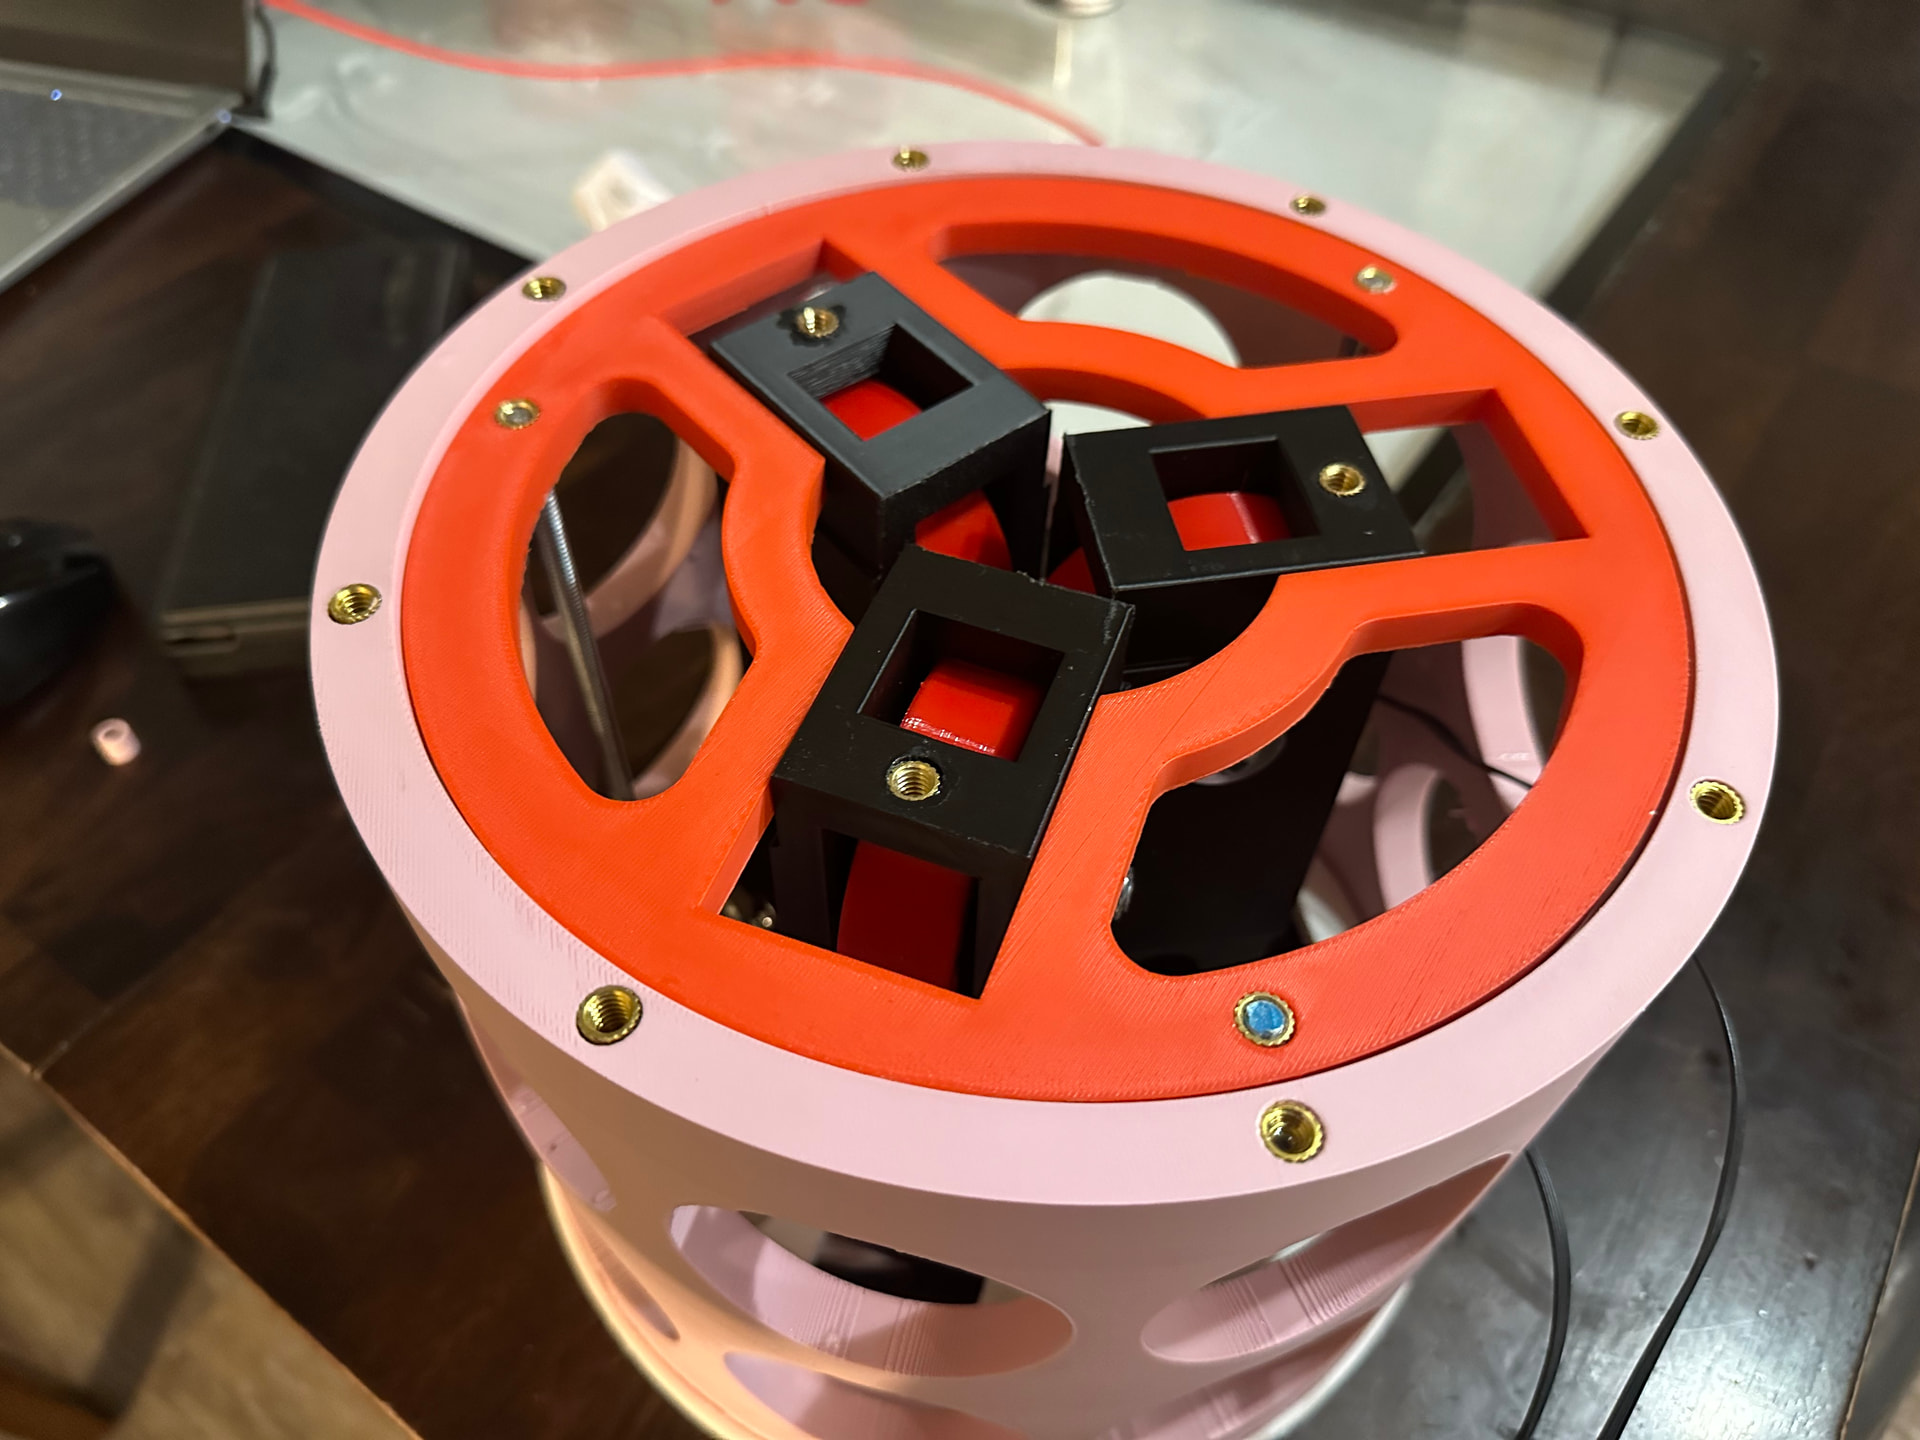
Trying out a support cage instead of support rods. Should be more stable and take up the cap between the inner rotor and outter. Some graphite will help I bet with friction.
Also man it’s hard to hold this thing and move it while recording.
Support cage was definitely the way to go so much more solid and will take up the gap between rotors for smoother action.
I think I will do this for the inner rotor as well.
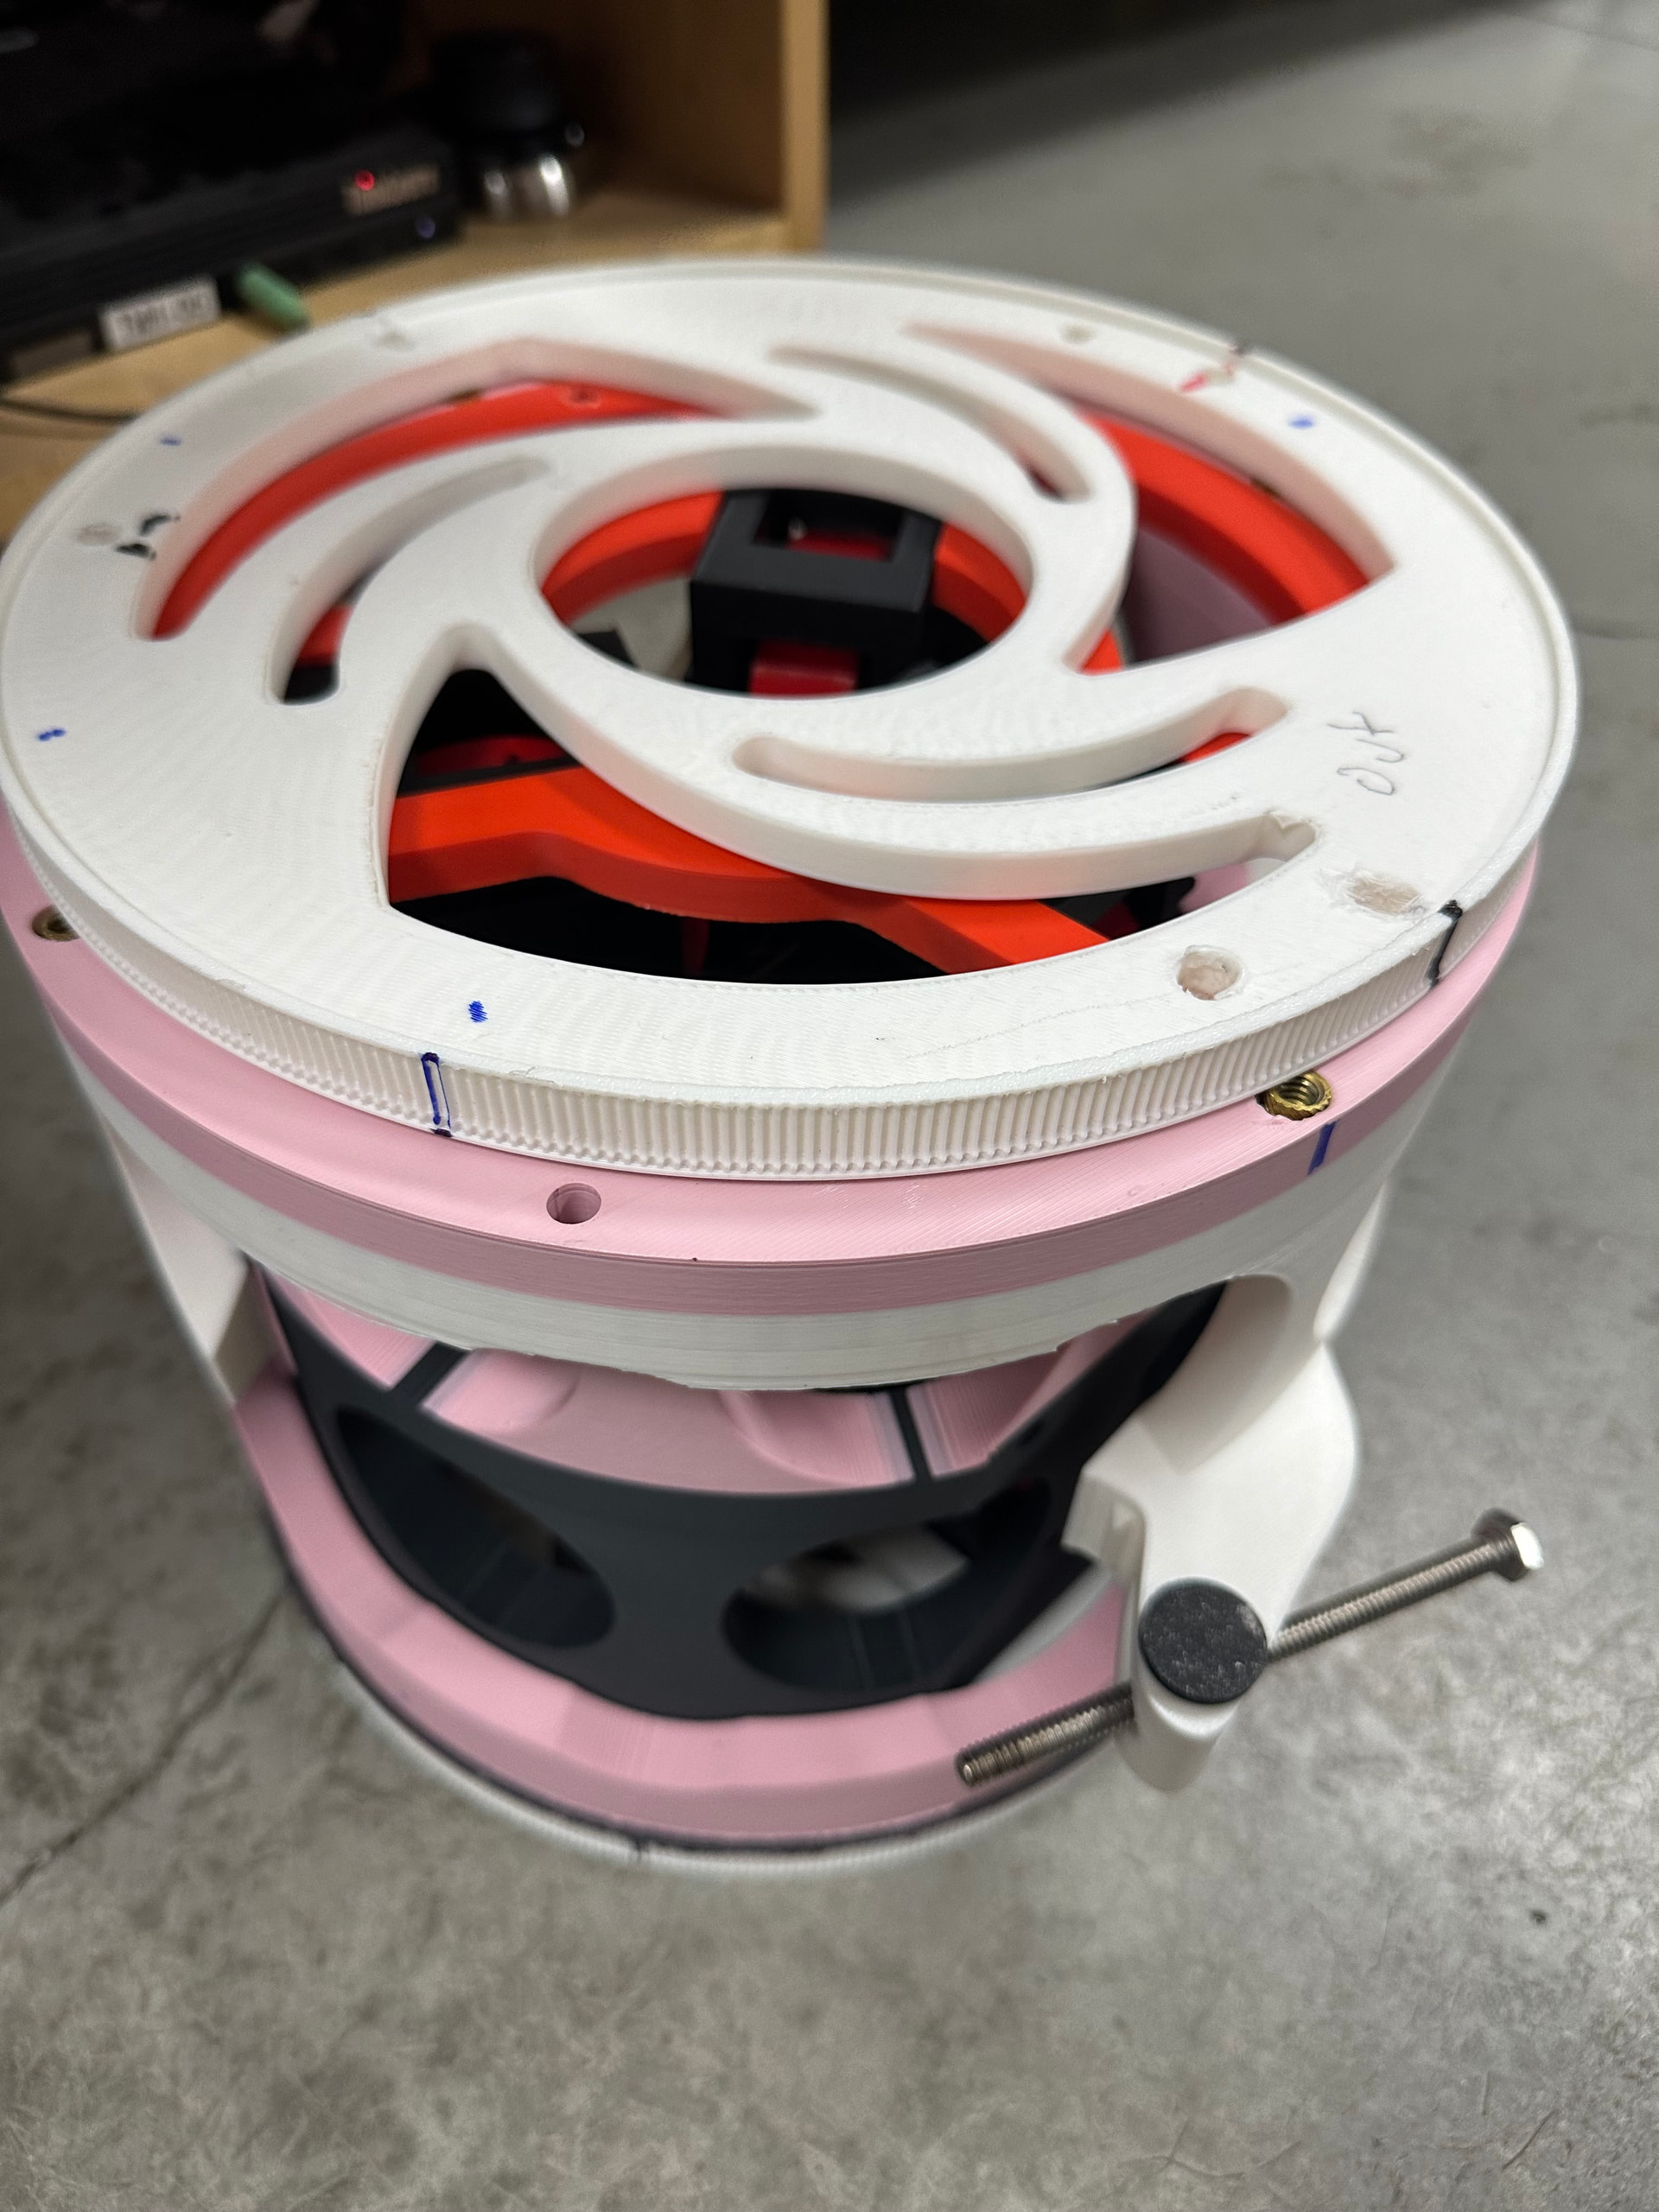
Now I need to figure a way to tie the two rotors together and adjust it to clamp the tube. I am thinking I will use the holes in the cage and have a sort of plug with a captive swivel nut .
I thought I did, but the pictures I’m seeing don’t sink with my understanding. I was envisioning a notch cut to smoothly weld two pipes together with a flat seam? Usualy a plasma cutter ?