Downloading them one piece at a time did not work?
I just used the download links at the sites that K Cummings provided
Sorry wrong thread
Well, I got those 2 working.
Now, to figure out what I’m doing with them
Since I have too much time on my hands waiting for the Rambo boards to make my order,I have been pondering the size again.
Since I am still figuring out what all I want to make, it’s a little bit difficult picking an ideal size.
It seems that the most common size is 24"X24" but was starting to wonder about 30"X18"
I would appreciate those of you experienced users to chip in on limitations to either or pros and cons.
Thank you
That’s not really “bigger” enough to make a huge difference in your experience. The 30 inch side might require some lengthening for the wires, but I’m not sure. Either way, don’t get hung up on it. It’s easy enough to change the size later. I did it twice before converting to the lowrider.
Thanks, Tony.
I’m sure glad all you guys are here to help me make less mistakes.
I have a feeling I’m going to invent some new ones when I get started.
As an aside, does anyone have a wooden ring template?
That’s something I want to try after I get set up and running to add to my wife’s craft show jewelry inventory.
I saw and can’t find again on YouTube how someone set up and made, like 20, or so at a time
1 Like
My first (maybe second) post here was thanking everyone for all the advice they’d given, and also for all the questions they’d asked. I spent a lot of time reading and got hold of all the things I had thought to ask as well as a bunch of things I hadn’t. Feels good to be on the other side, now.
As for rings, what are you thinking? Ring could mean a lot of things.
Wooden rings like jewelry.
Either solid wood or laminated veneer.
I did find a few videos on YouTube with some different software but I think I may have the concept.
But, if anyone has experience, I’d appreciate any tips
I am running a 24x36 with 1" stainless. Very fun build. I am a total rookie here, so I followed Ryan’s advice on serial (Non dual-stop). I bought the whole electronics package from V1 and it works perfectly. I finally transitioned over to Fusion360 and it works great using Guffy’s code. TY Guffy! Lots of fun once you get it built and moving! Here’s a pic of my 2nd spoil board I ran last Friday. Good luck on your build!

3 Likes
Looks good! Although it could be straighter 
1 Like
I’m trying to figure out how he mounted the MPCNC on the wall like that.
3 Likes
My camera skills sometimes are nicht so gut!
2 Likes
I’m a super rookie myself. Just starting to understand estlcam. Would you recommend going for F360 and Guffys code?? I’ve just used tinkercad/inkscape and estlcam so far.

Wooden rings are easy, it’s literally two circles, but you will still have to true them up by throwing them on a drill and sanding the outside, or making a makeshift lathe on the drill like I did.
3 Likes
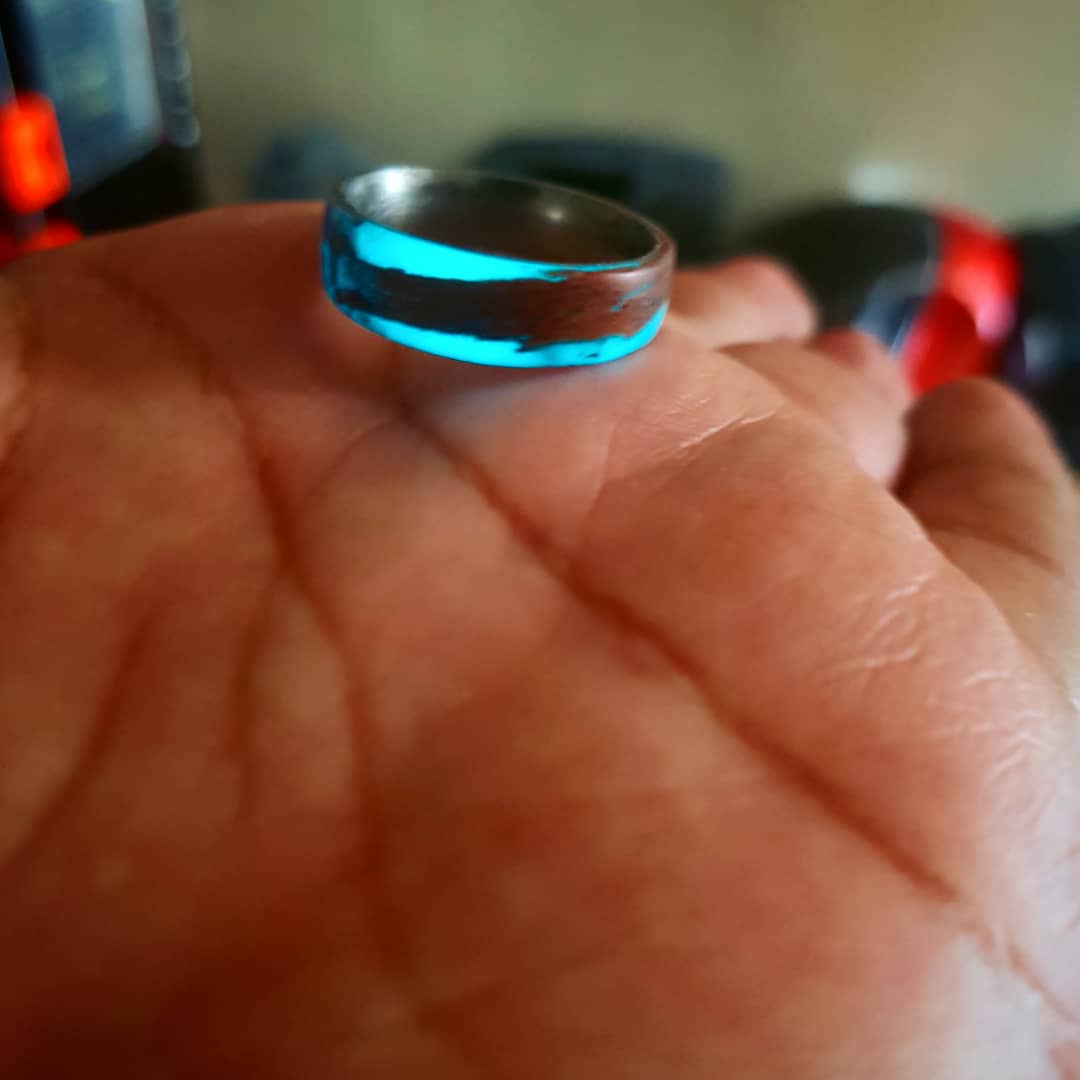
The easiest way to do a laminated ring, IMO, is to wrap it around a ring core you can get for a few bucks on Etsy. Titanium, stainless, Sterling silver, carbon fiber, etc. You can also cut the core from wood and then wrap veneer or shavings from a plane around it. Solid wood rings are pretty weak, so this gives it some strength.
2 Likes
I 3d printed one a while ago. I sketched the cross section in xz, set it away from the origin by the radius length, then revolved it around the z axis. Didn’t look anywhere NEAR that nice, though!
Thanks, Aaron and Tony
Nice rings
I was thinking on laminating several layers
I would throw onshape into the hat as a contender as well. You don’t have to install anything, and it is pretty easy to learn. The 3D part is mostly just making a sketch, and either extruding it, or rotating it to make shapes. You can add bevels or roundovers with a few clicks. When you are happy with the 3D and want to make a 2D DXF for estlcam, you can just make a new sketch, and bring in all the details from the 3D part using the “use” tool. None of that is going to make any sense, but if you watch a few minutes of videos, it will.
I have used fusion too, and there are a lot fewer questions in onshape. Fusion is constantly bringing in these forms with a bunch of different options. I am sure it is very powerful, but I am not doing this as my job, I don’t need all of that. The nail on the coffin was that I use Linux as a desktop, so I had to use a windows VM to run fusion, which really used a lot of resources on my computer. FWIW, you can also use fusion as the CAD platform, and export DXFs to use in estlcam. It’s a similar operation, you make whatever you want in 3D, and then make a sketch and trace the important features, then export the sketch.
3 Likes
I would think that laminating up your own multi-layered plywood could be helpful. The problem I see with a solid wood ring is that, at some point or two, you’re cutting across the grain, and you’ll have a very weak point or two. But if you laminate up a bunch of layers of veneer running in different directions, you’ll always have at least a few layers of wood grain holding things together. Not as strong as laminating around the circumference, for sure, but still better than solid wood.