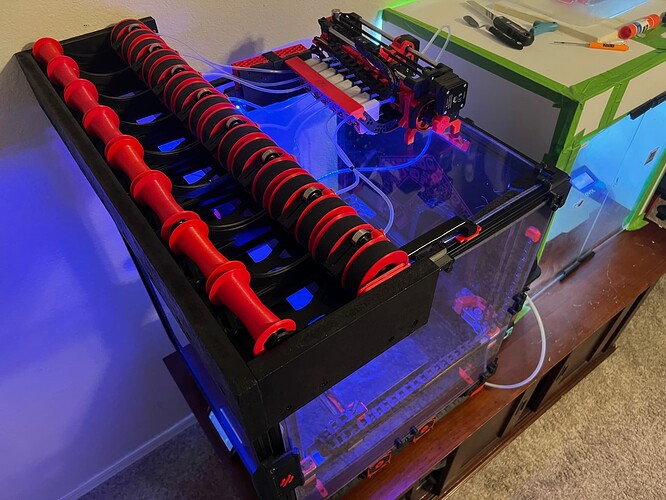
Chaz with another ERCF V2 Siboor kit

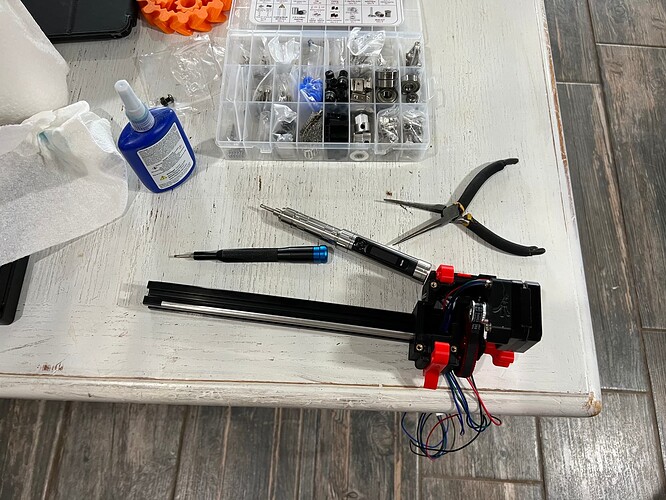
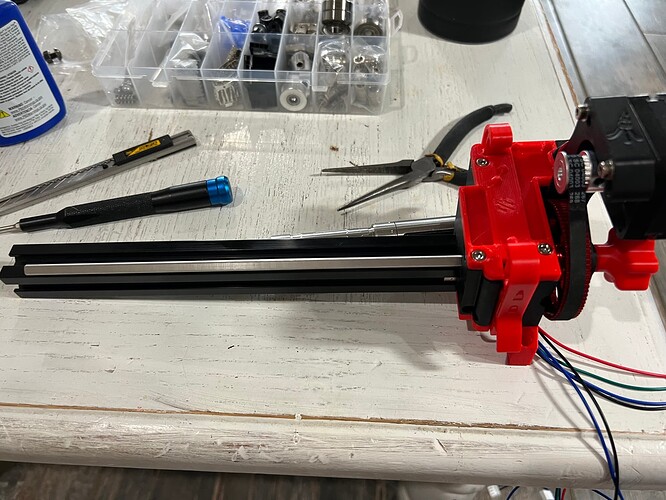
Going to try my best to document this build, but it has started this weekend with the goal of my 3 adult kids helping me out. They missed out on the Voron build, because I was so impatient, and I really want them to get their hands and minds on this build. So, with that said, sharing the build with them will take priority, but I have enough from today to share.

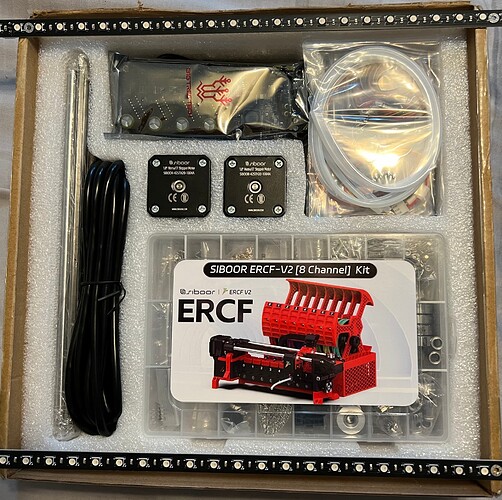
This is a Siboor ERCF V2 kit. It’s being printed with Polymaker Polylite ABS, in Black with Red accents, just like my Voron 2.4 build. The plan is to build this pretty much as the kit is presented. I’ll be doing the filametrix cutter on my stealthburner/galileo 2 extruder with 2 toolhead filament sensors. (The kit comes with hardware for 1 sensor, so I ordered some extras) Also will be using the Cottontail Buffer.

I found the Siboor github ERCF V2 page, which helped with matching printed parts, with what the kit was actually created from. This made parts selection much easier, as there are a few different options, and even 2 releases in the official ERCF V2 git. https://github.com/Lzhikai/ERCF-V2-Accessories

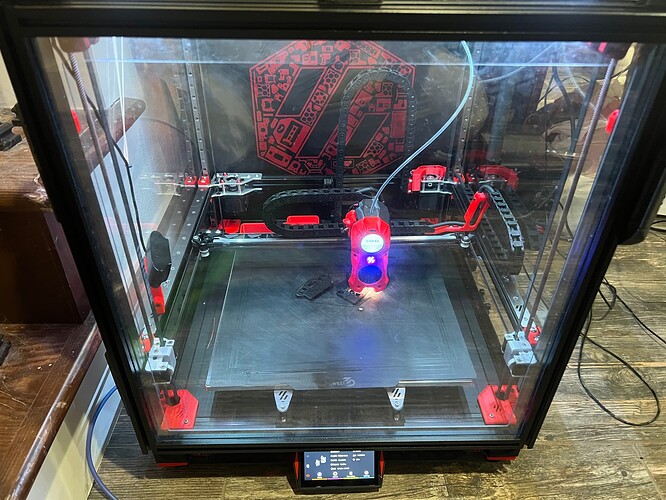
My Voron was built 2 years ago, but recently was given many, many upgrades (Aluminum parts, lightweight xbeam, etc.) so it was needing tuning, input shaper, and all that jazz. Following Ellis’ tuning guide, https://ellis3dp.com/Print-Tuning-Guide/ and with satisfactory shake n tune results, we set out to get dimensional accuracy with the only thing left to tune: extrusion multiplier/flow ratio. We used a couple prints to help fine tune this variable with the Polymaker ABS, [Printables][Printables] and settled on .92, printed with the recommended slicer settings and conservative speeds, and started printing.

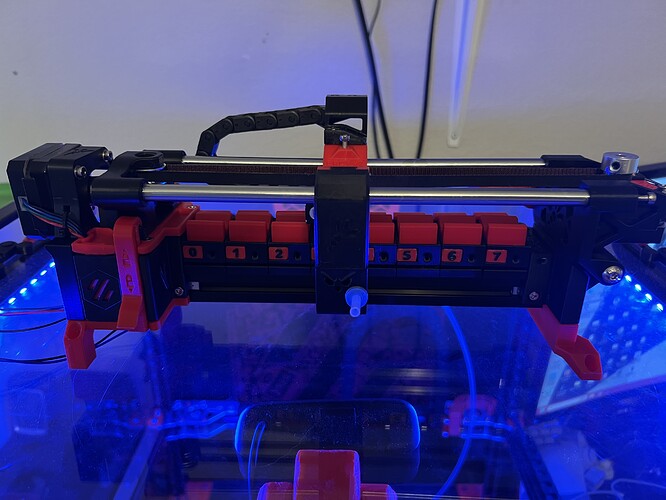
We were able to finish the Gear Box section of the build, and are currently printing parts for the filament blocks, which will be started tomorrow. So far I’m satisfied with how everything is fitting together, and also impressed with the kit so far. Not many pics to share, but here are a few. More to follow.

Opinions and suggestions welcome.
3 Likes

Be sure to test the pre gate endstop pcb before you install it. Mine was all kinds of messed up and took adding wires to get it functional

Oh, and DANG these filament blocks take FOREVER to print. I’m guessing because most of it is tearaway supports from what I’m reading. ugh

1 Like

Just checked over mine with a multimeter and it’s good. What was up with yours? Cut traces or wrong pins?

1 Like

I’m not sure. But only 1 was working correctly. #4 was shorted internally somewhere in the pcb and had to be completely cut away to make it work with the added wires. I still have to figure out the LEDs when I get back home as well


Bad lighting, but the ERCF is done. Everything fit and messed as expected. No issues so far.

Now to start the cotton tail.

3 Likes

Looking good! You should be all up and running by the time I get home. Good then you’ll know how to help me make mine better lol

Well, I’ve been planning on adding the cutter and twin sensors to the toolhead, and suddenly I’m having extrusion problems. New Toolhead is printed, the Cotton Tail is not, and need the Voron printing to print those parts. (Don’t trust the sovol SV06 with ABS, unless it’s an emergency)

So looks like I’m upgrading to the Filametrix twin sensor galileo v2 tonight. Wasn’t planning on this specific order, but… blah, stuff happens.

1 Like

Well at least it was something you were planning to do anyways.

I only have the one sensor. No room on my current tool head for the one after the extruder bit it seems to be working ok without it. I just have to get it feeding better and I think a lot of my issues will be much better

1 Like

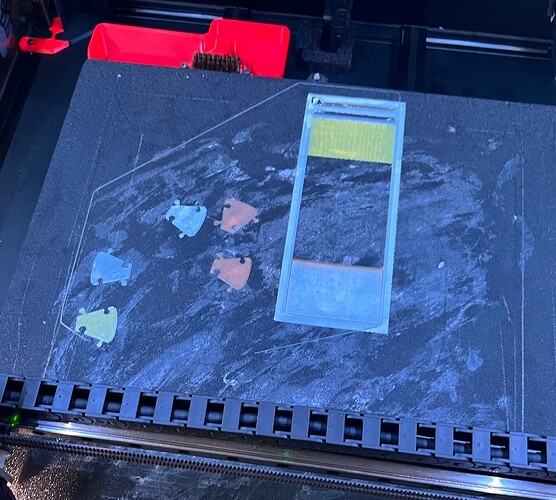
Long time, no post. All that is left is the first test print this evening. Wish me luck!

3 Likes

Looking REAL good! I finally got mine back together last night. 3rd times the charm it seems. Also came across a new version that doesn’t use the coupler blocks anymore!

1 Like

Looks good!

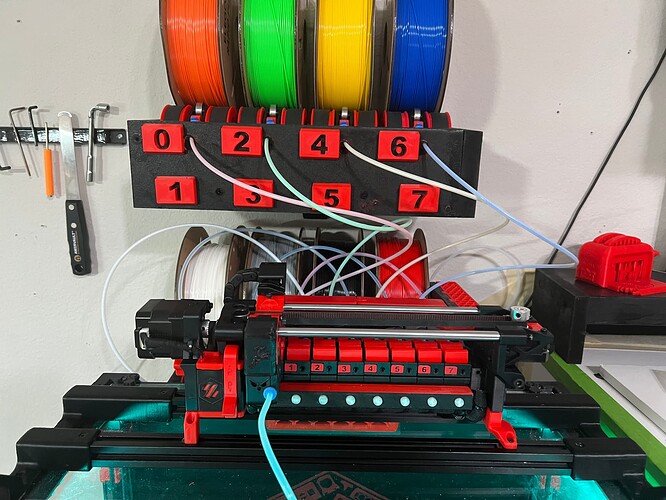
The Filamentalist directly behind the feeder work great, but the 2 or 3 on each end don’t the bowden is too curved and the stepper just doesn’t have the juice to retract it back through all the curves. So… Back to square one. I’m going to try the cotton tail buffer AND the Filamentalist combo (mainly the later just to hold each spool before it enters the buffer. Trying not to buy a more powerful stepper to drive all that filament. I had the cotton tail mostly printed out anyway, so why not try it?

Yep. This is what I am finding out right now. They are just too tight and adding the friction from the Bowden is enough to put them over the top.

would it work with a longer bowden tube but straighter? You could put 4 in front and 4 right behind and run the tubes under/between the ones in front.

This is actually what Im doing. Wall mounted two shelves of 4. Work has been busy though, more to come.

1 Like

Here is what I came up with. Works great, filamentalist side. I am still having trouble with Gate 2 and Gate 4 slipping but getting very very close.

3 Likes


Getting so close to all the gates feeding consistently, but not quiet there yet.
Yellow failed to retract all the way out the gate, and stalled, wouldn’t recover. More work tonight, hopefully we finish this test print.

1 Like